
Maxl
-
Posts
156 -
Joined
-
Last visited
Content Type
Profiles
Forums
Gallery
Articles
Everything posted by Maxl
-

ROTJ reinforcement for Austria & the Empire
Maxl replied to Maxl's topic in Build Threads Requireing Maintenance
Have now cut the elastic for the abdomen: http://s1098.photobucket.com/user/mar_v85/library/abdomen%20finish%20cutting%20elastic and on the back the elastic is already glued http://s1098.photobucket.com/user/mar_v85/library/chest%20gluing%20elastic today (I mean 04/06/2016) I do nothing more ... * yawn * good night! -
ROTJ reinforcement for Austria & the Empire
Maxl replied to Maxl's topic in Build Threads Requireing Maintenance
Sorry, what means LFL? Thanks, Paul again for sending a new one [emoji106] [emoji16] sent from Deathstar -
ROTJ reinforcement for Austria & the Empire
Maxl replied to Maxl's topic in Build Threads Requireing Maintenance
I used many builds for reference. And everybody riveted it different ... -
ROTJ reinforcement for Austria & the Empire
Maxl replied to Maxl's topic in Build Threads Requireing Maintenance
damn! on both sides of the ammo? how can I do it right now? -
ROTJ reinforcement for Austria & the Empire
Maxl replied to Maxl's topic in Build Threads Requireing Maintenance
Sorry, what do you mean with reference material? Why wrong place? :-/ Ok, thx for the tip (E6000) sent from Deathstar -
ROTJ reinforcement for Austria & the Empire
Maxl replied to Maxl's topic in Build Threads Requireing Maintenance
Now I trimmed the flexible U shaped gasket around the edges of the chest. http://s1098.photobucket.com/user/mar_v85/library/chest can anybody help me with "how to glue" the gasket? Shall I do it with the E6000? greets, Markus -
ROTJ reinforcement for Austria & the Empire
Maxl replied to Maxl's topic in Build Threads Requireing Maintenance
I just riveted the ammo belt. http://s1098.photobucket.com/user/mar_v85/library/rivet%20ammo%20belt%20right%20tigh I hope that's ok so far ... -
ROTJ reinforcement for Austria & the Empire
Maxl replied to Maxl's topic in Build Threads Requireing Maintenance
First test-fitting successful: http://s1098.photobucket.com/user/mar_v85/library/test-fitting The ammo belt on the right tigh, velcro on the left shin and the white sole of the boots are still lacking. But I'll try to assemble the ammo belt in the evening today. The first velcro is already glued: http://s1098.photobucket.com/user/mar_v85/library/left%20shin%20velcroing greets, Markus -
Humperdingle's CFO ROTJ Shock Trooper
Maxl replied to humperdingle's topic in Build Threads Requireing Maintenance
Looks really GREAT!!!!! Nice work!!! greets Markus -
ROTJ reinforcement for Austria & the Empire
Maxl replied to Maxl's topic in Build Threads Requireing Maintenance
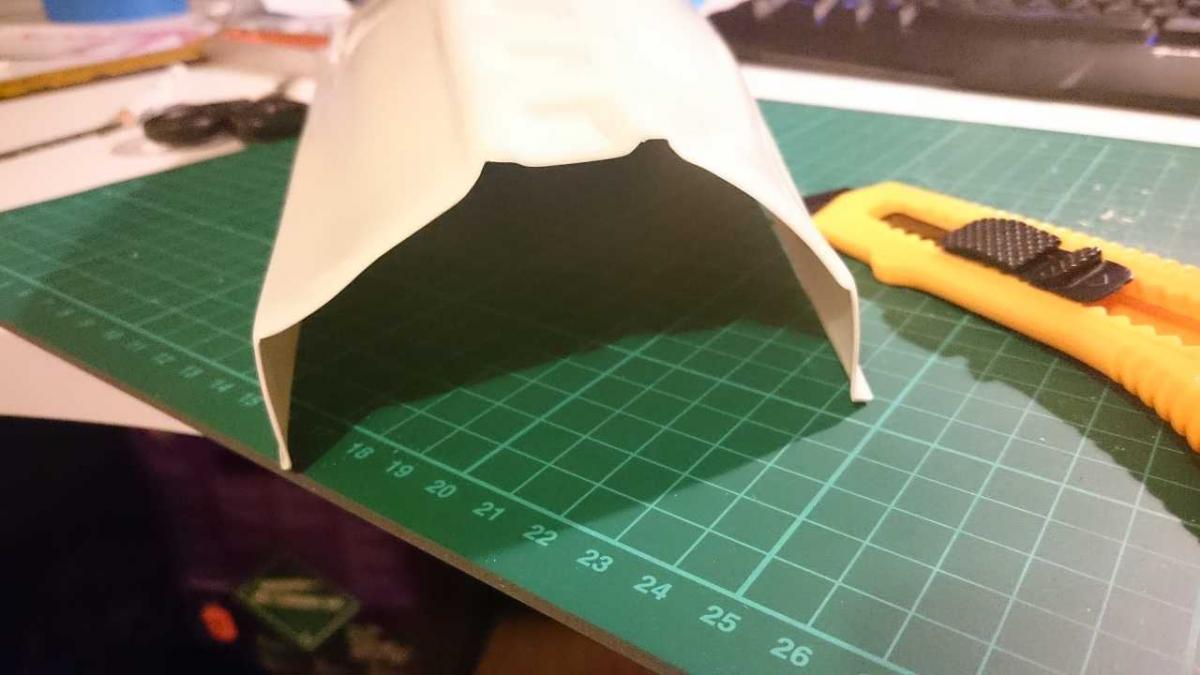
So, .... sniper plate is finished now. Worked fanstastic!!!! http://s1098.photobucket.com/user/mar_v85/library/sniper%20plate%20finished The only thing that annoy me is that i didn't protect the shin armor before setting the first rivet, cause I slipped with the rivet pliers and scratched the shin armor. Now there is a 3cm long scratch. But otherwise it worked fantastic So notice for everyone: protect armor before riveting anything greets, Markus -
ROTJ reinforcement for Austria & the Empire
Maxl replied to Maxl's topic in Build Threads Requireing Maintenance
Yesterday I finished the right tigh . Here the results: http://s1098.photobucket.com/user/mar_v85/library/Tigh%20right%20finished%20gluing and also glued the second velcro on the left shin (The squirrel has a hard time feeding itself ) http://s1098.photobucket.com/user/mar_v85/library/shin%20left%202nd%20velcro%20gluing I riveted some plastic only to see for me how it works. It works fantastic and 'test-riveting' was successful! It looks good to me http://s1098.photobucket.com/user/mar_v85/library/Test%20riveting Ok, Paul! Now I'll risk it to rivet the shin. Please pray for me that it works as well as my 'test-riveting' ..... -
ROTJ reinforcement for Austria & the Empire
Maxl replied to Maxl's topic in Build Threads Requireing Maintenance
how much space shall be between shin and sniper plate in the front? -
ROTJ reinforcement for Austria & the Empire
Maxl replied to Maxl's topic in Build Threads Requireing Maintenance
Yes, that was a bad mistake to glue the shins before gluing the velcro It works laborious, but it works befor I'll rivet the sniper plate I have a question: is it possible to glue the front of the sniper plate for more support? I know that it isn't screenaccurate, but nevertheless will I get CEN-status? -
ROTJ reinforcement for Austria & the Empire
Maxl replied to Maxl's topic in Build Threads Requireing Maintenance
Two days ago I finished glueing the right tigh and fixed the velcro on the left calf (one piece). Velcro worked better than excepted I hope it sticks. Photos of it you can see here: right tigh http://s1098.photobucket.com/user/mar_v85/library/right%20tigh left calf http://s1098.photobucket.com/user/mar_v85/library/Shin%20left%20glueing%20velcro So, now I will try to rivet the sniper plate. Greets, Markus -
ROTJ reinforcement for Austria & the Empire
Maxl replied to Maxl's topic in Build Threads Requireing Maintenance
Ah, understand! No problem -
ROTJ reinforcement for Austria & the Empire
Maxl replied to Maxl's topic in Build Threads Requireing Maintenance
What do you mean? -
ROTJ reinforcement for Austria & the Empire
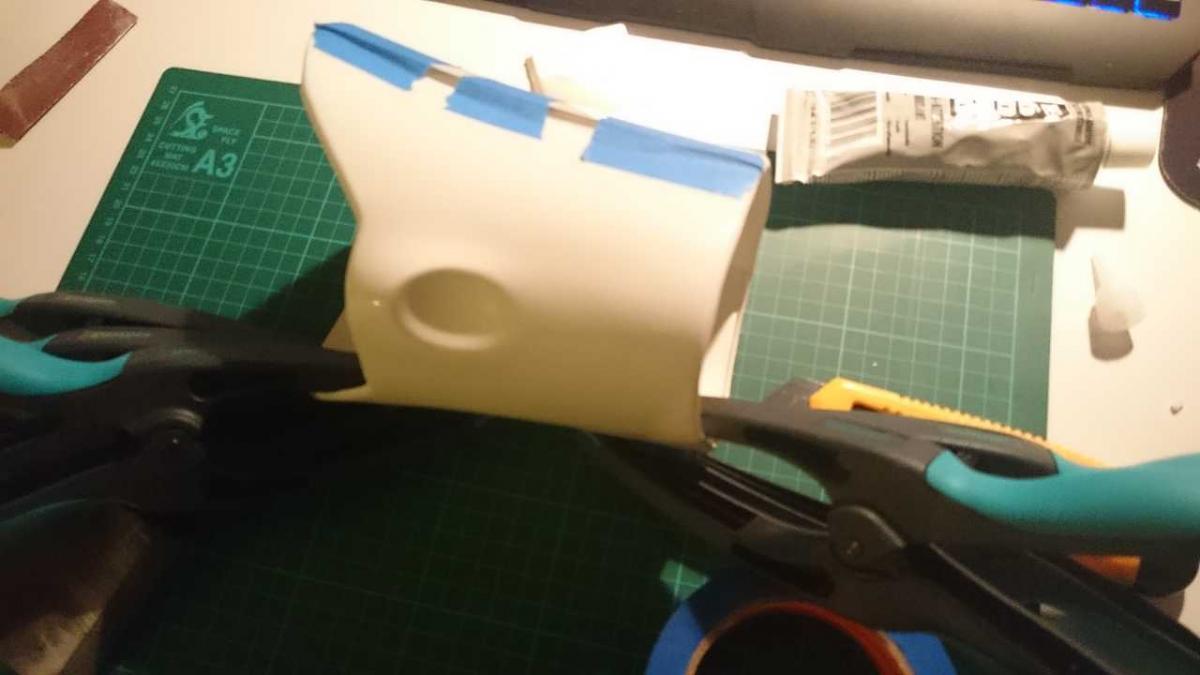
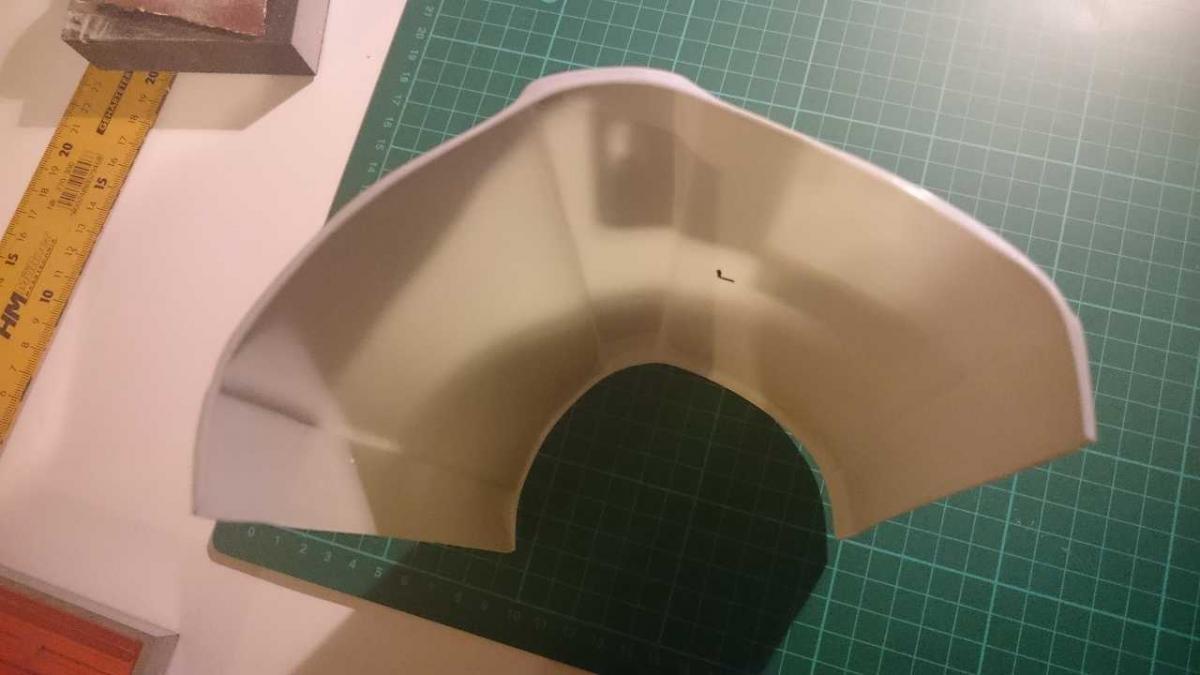
Maxl replied to Maxl's topic in Build Threads Requireing Maintenance
Hello everybody again! Today I investigated about the sniper knee plate. Here is my result of it: http://s1098.photobucket.com/user/mar_v85/library/sniper%20plate I have not glued but brought into position with the clambs. Hope it looks good so far Maybe I rivet them tomorrow. Are the rivets for CEN-level painted white, or shall I let them raw? There is nothing described in CRL ... Thanks, Markus -
ROTJ reinforcement for Austria & the Empire
Maxl replied to Maxl's topic in Build Threads Requireing Maintenance
Haha! Yes, I think the megnets I have are not strong enough. -
ROTJ reinforcement for Austria & the Empire
Maxl replied to Maxl's topic in Build Threads Requireing Maintenance
Thank you, Paul! Ok, indeed it is difficult for me but I'll try to be not too exact I desided to assambling the thighs before glueing the velcro on the calfs. Here again some pictures of the left thigh (enjoy ;P and feedback, please): http://s1098.photobucket.com/user/mar_v85/left%20tigh/story https://www.dropbox.com/sh/h50b7dkia15t0lh/AAB8TVRRnApVg70Yju6gqTMMa?dl=0 it was indeed difficult to fix the glued front of the tigh. I hope it will hold. -
ROTJ reinforcement for Austria & the Empire
Maxl replied to Maxl's topic in Build Threads Requireing Maintenance
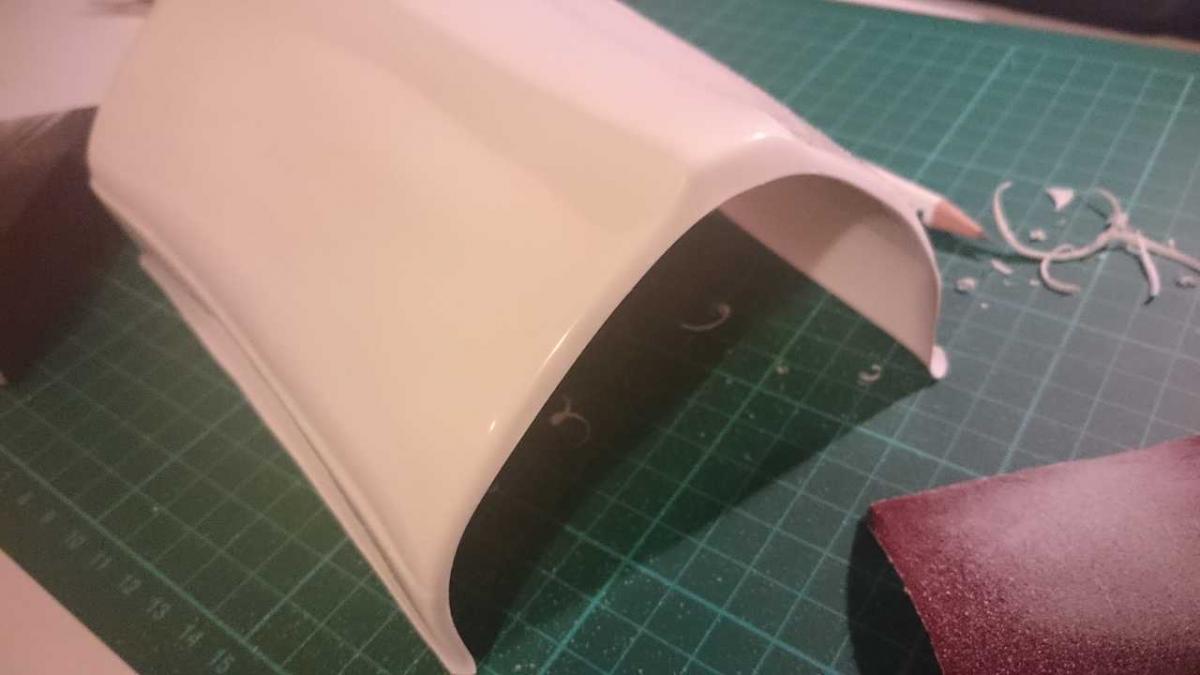
this is the left shin: https://www.dropbox.com/sh/o5zu8qmgstfphca/AABgiGTuRUzwWVnquXsV_mUHa?dl=0 and here is the right shin: http://s1098.photobucket.com/user/mar_v85/library/Shin%20left After nearly every step I tryed shins on to see if they fit or not. Measuring, drawing a line, cutting and sanding the edges to get them smooth (as shown in the fotos of the forearm ). I wrote "don't glue !velcro!" on the backside of the shin to do not glue the wrong side - it's only a note for me next time I will glue the velcro - until then ... may the force be with you! -
ROTJ reinforcement for Austria & the Empire
Maxl replied to Maxl's topic in Build Threads Requireing Maintenance
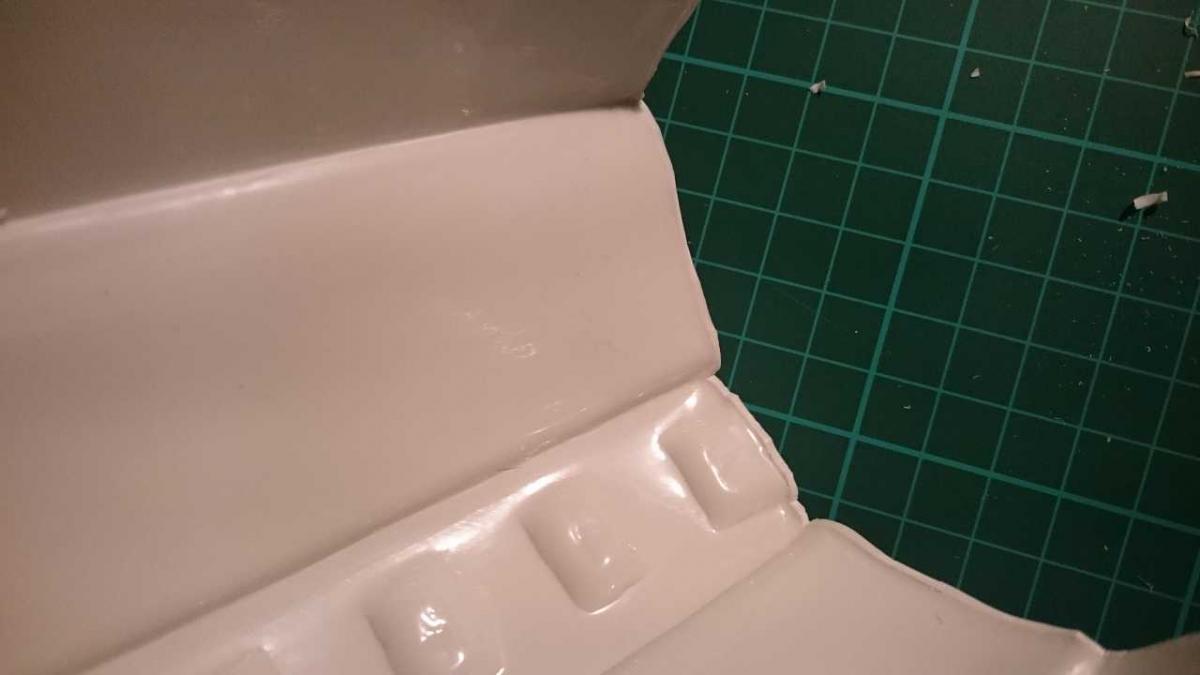
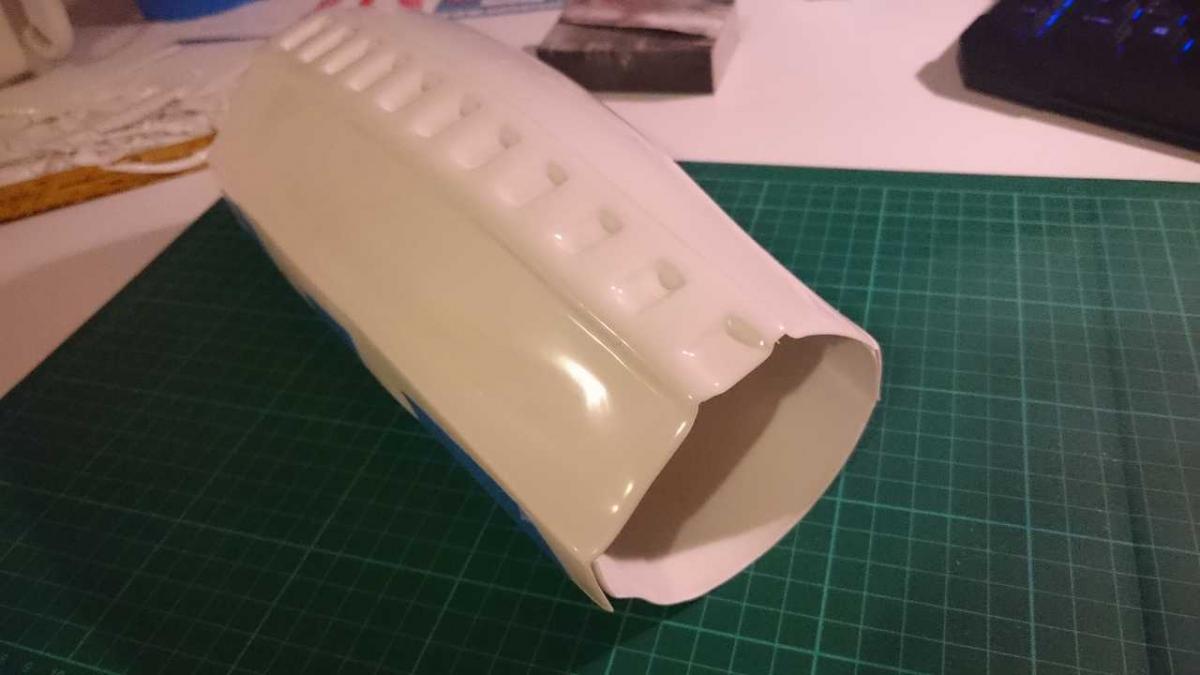
So, here is a Link cause 58 pictures load up here would be insanity . I hope it works. If not, please let me know ... http://s1098.photobucket.com/user/mar_v85/library/Forearm%20left http://s1098.photobucket.com/user/mar_v85/library/Forearm%20right The pictures show my working process for the left forearm. But it is also the working process of the upper arms, shins and tighs and so on ... -
ROTJ reinforcement for Austria & the Empire
Maxl replied to Maxl's topic in Build Threads Requireing Maintenance
Thank you! -
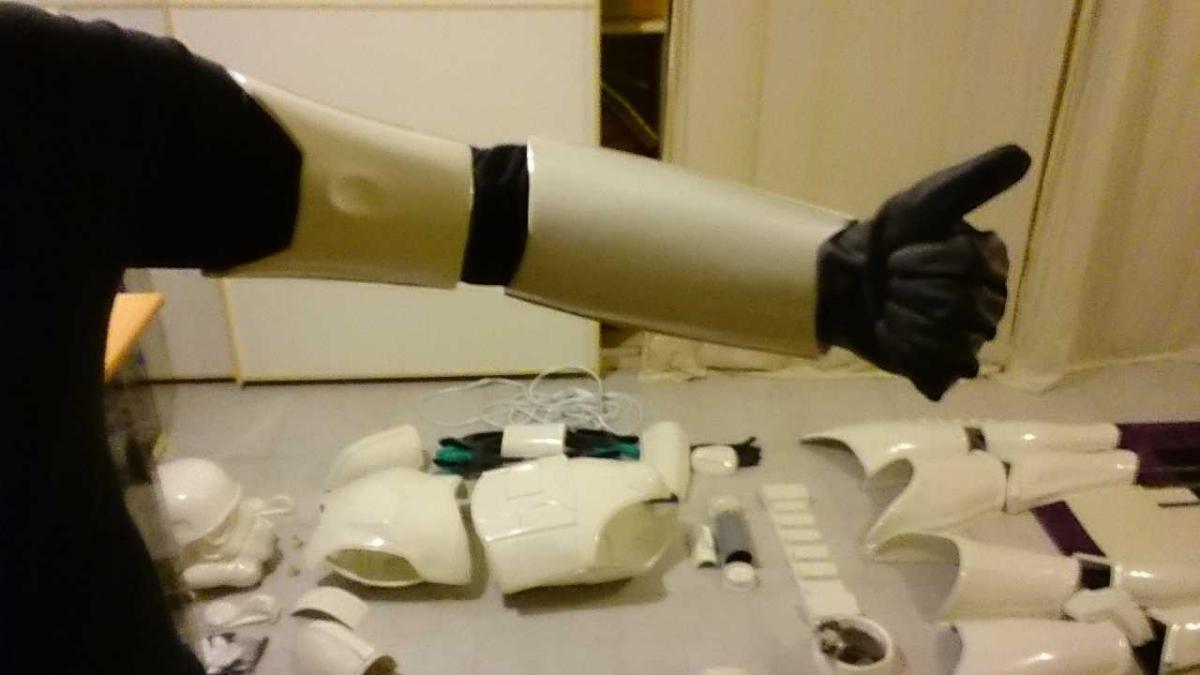
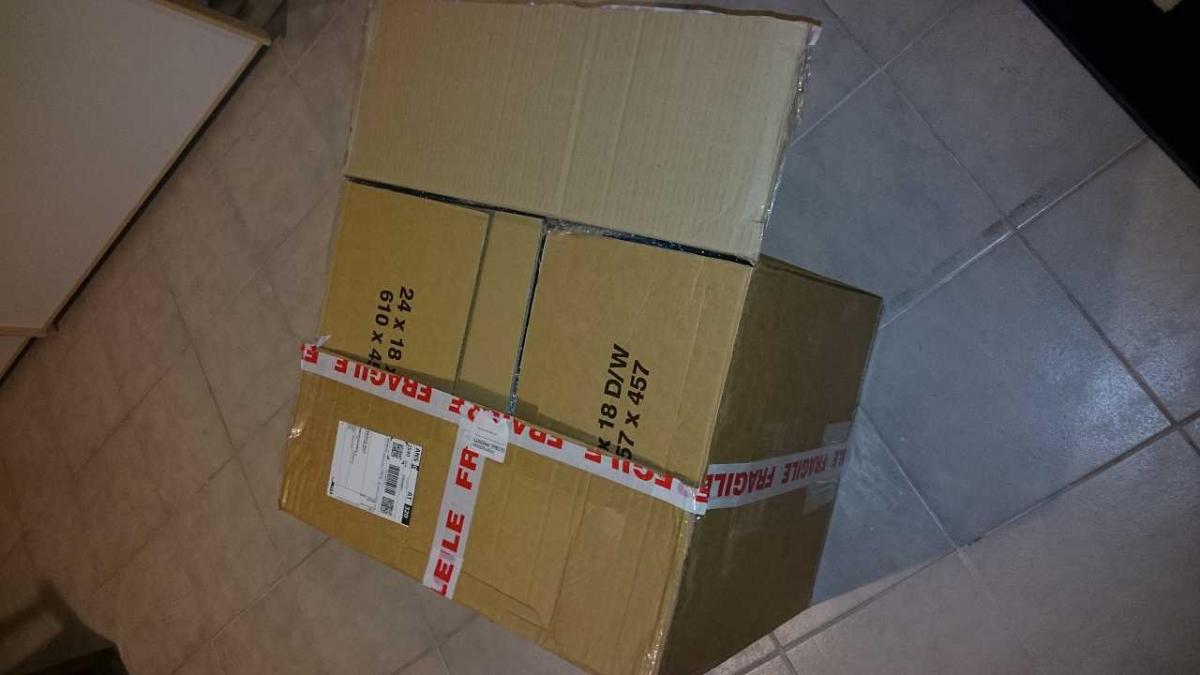
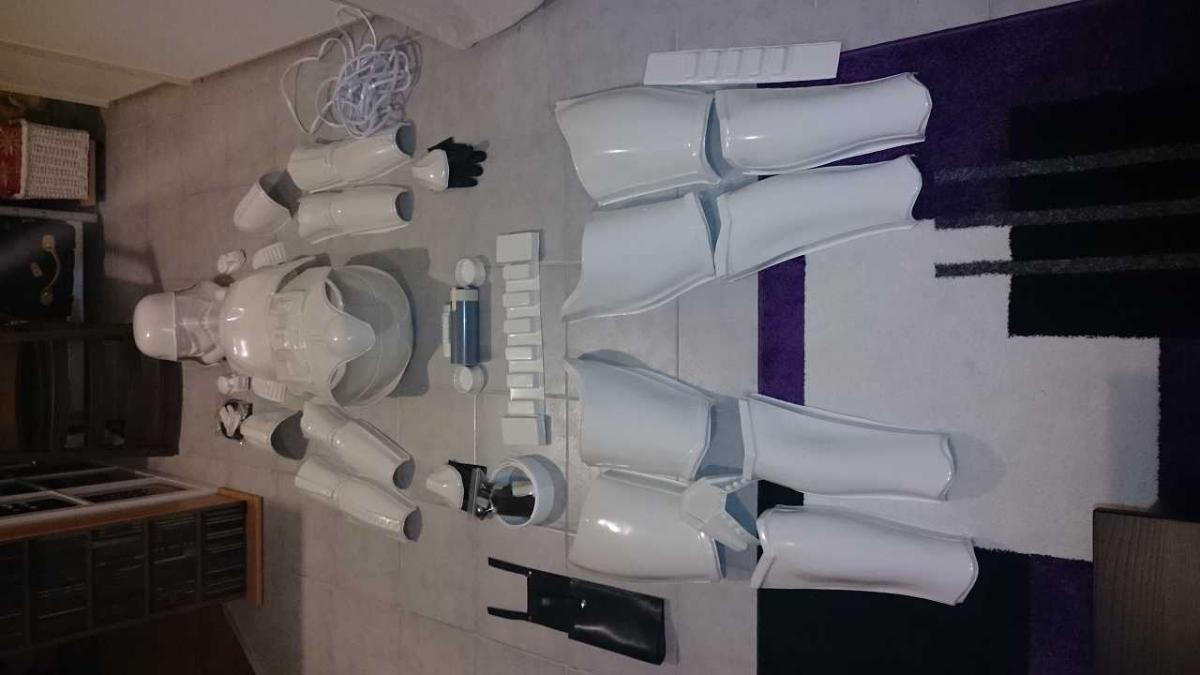
Hi girls and boys! This is my first Build Thread, but before I start, very warm THANKS to Paul of Troopermaster!!!! It is a really, really nice armor!! Thank you very much!!!! I try to get centurion level, so I need your help to make my dreams come true! Every hint is helpful and useful for me and here the most important and first picture (sorry for the twistet pic. I don't know how to turn it right. I tryed everything ...): After unpacking an sorting out it looks much better...(except the twistet pic :/) don't wonder, the armor lies mirrored. So the left side is on the observers left side (oh, my english is aweful ... ) I started trimming with the upper arm and left only a small return edge (about 2mm). I think it looks quite good ... now trimming the forearm (without retourn edge on the front side) meanwhile the upper arm and the forearm are finished and they fit very well there is no space for more pictures but i'll show it later... greets Markus