


DizzyStormtrooper
-
Posts
629 -
Joined
-
Last visited
-
Days Won
1
Content Type
Profiles
Forums
Gallery
Articles
Media Demo
Posts posted by DizzyStormtrooper
-
-
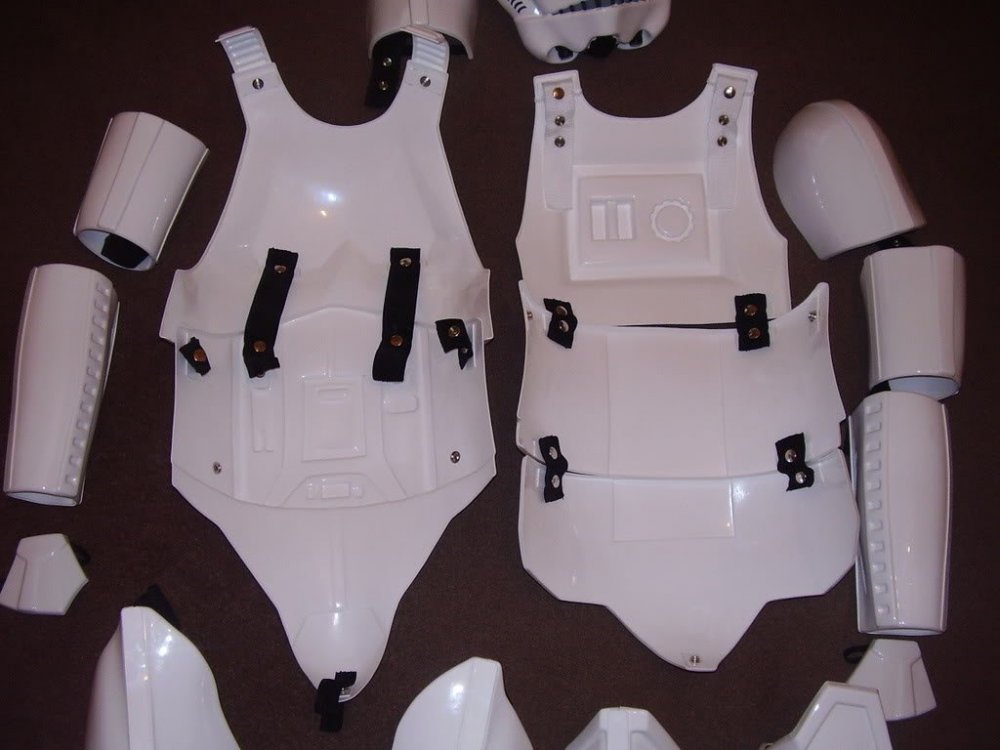
ive broken this out of the closet finally! the parts were Lou's "b grade special" with miscasts and bubbles ahoy so i naturally had to pick it up being the cheapas- i mean "financially responsible" individual i am. i usually dont start build threads until im far enough in that im almost finished, so anyway...
thanks to Vern for pointing me in the direction of templates and measurements i needed, that guys the guru of guns.
ill skip to the major points. got the pipe cut and drilled to spec, cleaned up all the burrs inside then painted it black INSIDE before putting the bolt in so you wont see any white after its complete.
 put the bolt it slightly, then cocking lever, then fully insert the bolt so the lever is held in by the body. not sure if i was off when i drilled out the ejector port, but you can see some more detail and some numbers on the bolt, but i think that makes it look cooler, more real.
glueing the... grip thing. idk what the parts are called but i love this project cuz its like having a real sterling. i wont screw it to the body like Nicky did but id like to for reassurance, but i want to see just how strong this epoxy is. i got it from walmart in the autobody repair section. it held when my motorcycle got hit!
 for the rest of the parts, i had A LOT of dremeling, sanding, exactoknifeing, and modding to get the mold pouring stems and excess resin off. many hours and a cloudy apartment later... (and i still have milliput to get and fill in missing areas)


 i got 2 power cylinder casts, not sure if that was intentional, but i cut off the back of one and put the fronts of the 2nd on it like this. idk if its accurate but it looks better.
 next comes mag and sight assembly
 -
yeah idk whats up with that either. i cant even log into my own garrison forum lol. spec ops fo life!
-
While an ATA would fit better out of the box, the most common black kits are AM but are meant for bigger people. check out my build thread on making armor fit smaller types on the spec ops site.
http://forum.501stspecopsdet.net/index.php?/topic/2443-dizzys-am-mods-and-build/
-Dizzy -
Basically sizes are as follows:
X-Large: GT/FX, AM, NE, RtMod
Large: MR, eFX
Medium: CAP, CAP-W, AP, TE, TE2, ATA, AA, RS
-
I have the same problem. just add foam but tilt the helmet down so you can still see!
-
id cut 1/8th inch off the top of the bicep cover strips, and a 1/4 inch of the top and bottom forearm coverstrips
-
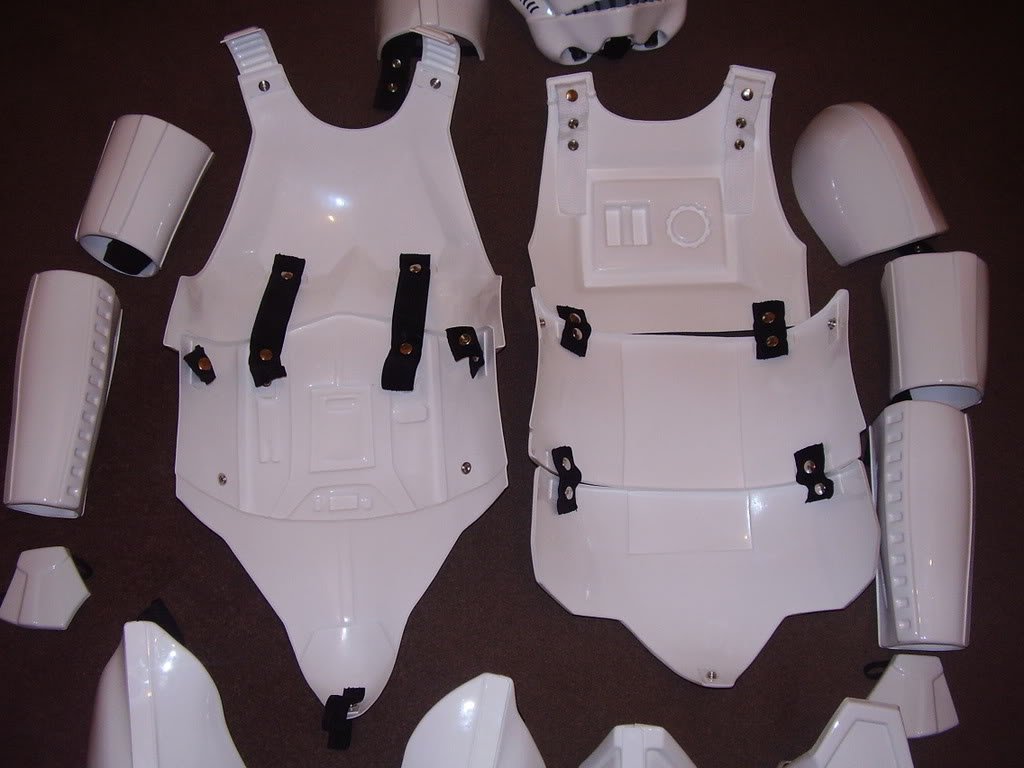
you dont need 4 yards of black. a minimal set up like TM's is all you need:
-
you can't bend over, sit down or climb stairs (some people can), then there's armor bites and pinching sometimes. Also in the end you'll be spending close too or over $1000 for the armor and everything you need for approval.
As for heat, lot of us use eastbay evapor hot weather compression tops and pants for undersuits, this stuff definitely helps with the radiant body heat the armor reflects back at you, and i'm in Arizona! A slight breeze feels like when you open the freezer
-
i think darthvorhees does helmet building services but not sure about 3 piece builds, hes in NY somewhere. always best to get some garrison buddies to help. an armor party is what that is. it usually costs some pizzas and drinks etc. not sure if tk bondservant still does armor commissions, but with that kit its best to do it yourself for the best fit. afterall what if someone does it for you and it doesnt fit correctly? plus building services can cost ballpark couple hundred dollars which is more money you dont need to spend on your already expensive armor.
-
Just do what he did: http://www.whitearmor.net/forum/topic/10434-pandatroopers-am-build-threadam/
Your NE armor is the updated version of ours but the assembly method is the same. Do the helmet last. A so you know how the armor fits and see if you'll need a smaller helmet and B you'll have the skill from the armor to tackle the finer details of the 3 piece.
Also get in touch with your garrison and see if you can throw an armor party
-
why does ian look incredibly uncomfortable in the chair?
also nice boots on the rubies display lol
-
i did some experiments today. if i put it in the back plate its not loud enough even with volume up to max, and squeels like the dickens if the speaker is too close to anything.
ironically the mic also screams if its too close to, or in, my mouth lol. looks like ill have to get one of those newer models in a higher wattage.
i have another mic thats unidirectional but its battery powered, the bats dead so i cant test it yet, would any sound engineer troopers know if a powered mic vs the aker powered mic affects anything?
-
great idea with the holes and dowel in the stock!
-
you dont have troopergear armor, you have NE armor. look through peoples NE build threads. theres some gap in the dome which is easily fixed with the right clamp and glue technique demonstrated in those threads
-
Cool I'll do some experimenting, I thought there'd be an issue since they still run on the batteries
-
Couldn't have done it without your mesh gaz thanks again!
-
you will need:
-mic tips
-metal screen material
-scissors
-superglue (optional)
-highlighter or dry erase marker
1. Cut mesh into circle a little bigger than the size of a nickel (this is so it stretches and doesnt fold)
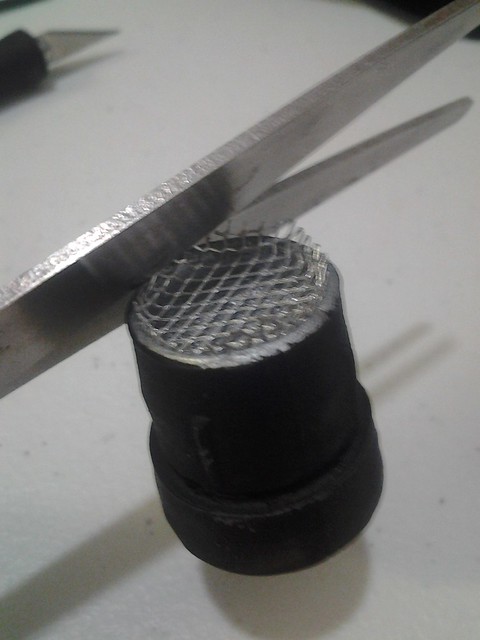
2. Sandwich the mesh between mic tip and upside-down highlighter/marker cap like this
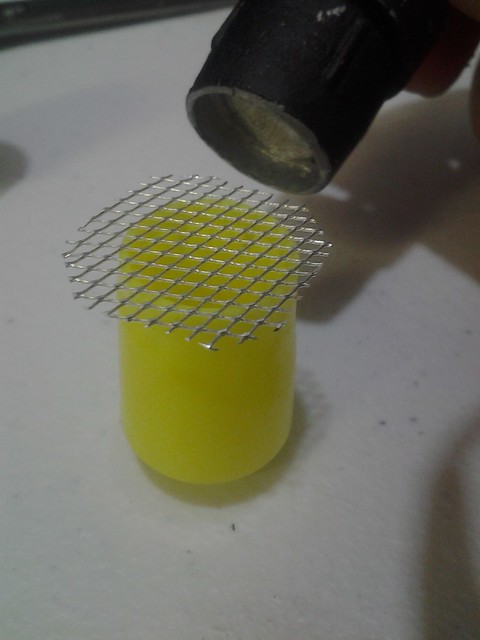 3. Push down slowly and evenly
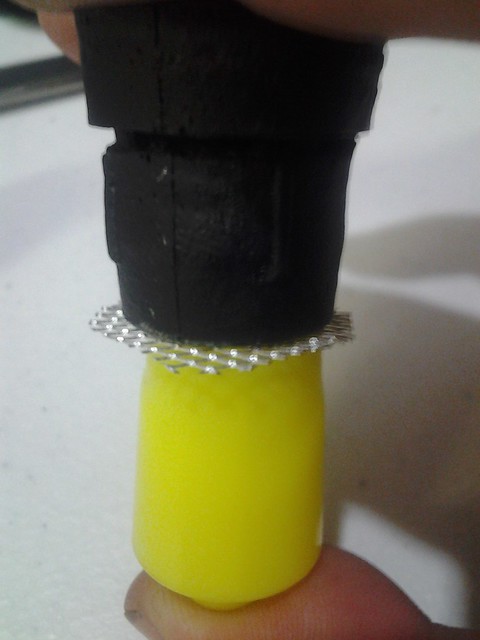 you can see what i did here
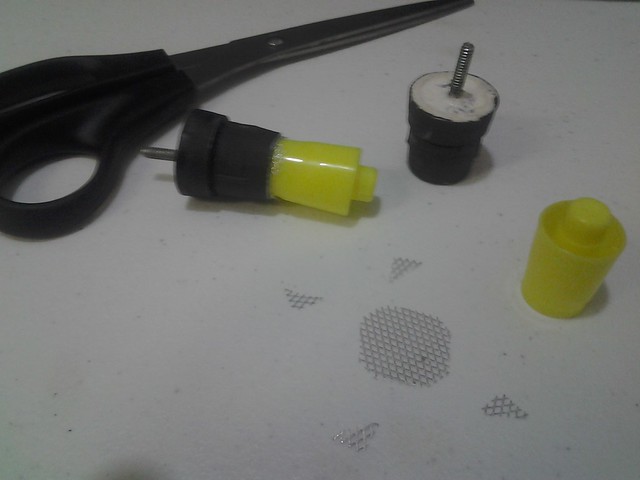
4. trim the excess. this is so it goes in evenly and you dont end up mashing it down
 5. pull now-bent screen out and flip it over.you can put a bit of glue around the inside, id recommend so it wont fall out. when installing i like to use an exacto knife to evenly push in the screen from the sides
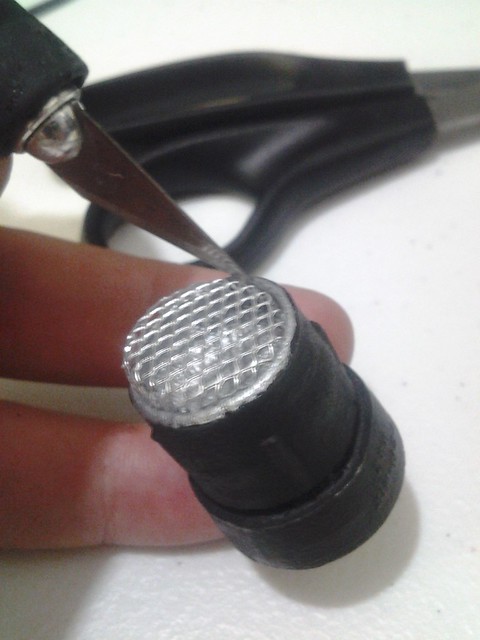
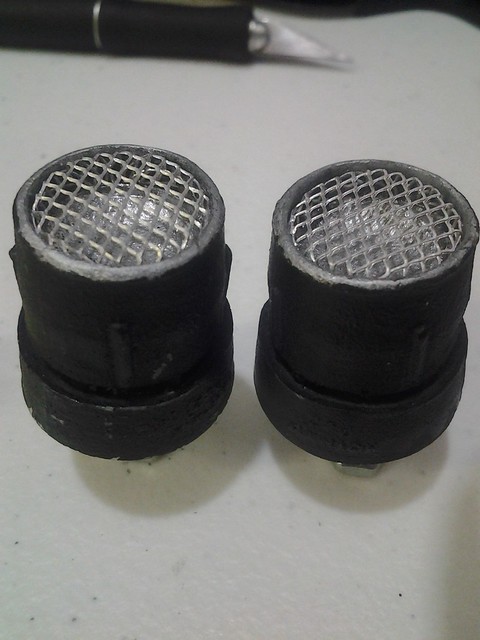
do the same with the other one and there you go!
-
 2
2
-
-
heres what i want to do.

this stuff isnt velcro, its like futuristic velcro. little mushroom shaped things connect like velcro, it even sticks to itsself! its called 3M dual lock and its expensive but i got a roll for free.
assembled this way would be much stronger than overlap, and it only sticks out 3-4mm with the cover strip

-
It bugs me to see peoples Velcro fail and split the shin backs open. I want to butt join the sides using this non Velcro type stuff with a cover strip over it. its not required to have screen accurate closing is it? As long as they appear closed?
-
I'm planning on getting the ptt. I've just been testing placement in my apartment. I'd put the speaker in the back plate but it just sounds muffled in there. I wonder if taking it apart and gluing the speaker itself to the armor would make a difference. Maybe I need a different mic? There's just too much interference
-
I gotta find which connections to connect the plug so I can plug in one off those Hasbro voice changer helmets into an amp.. You can't just wire it to the hasbro chip output speaker leads right?
-
Lol.. Harrison forge.....
-
Eastbay evapor or whatever its called. There's 2 top versions, a regular crew style and one with a turtle neck type deal. I got the latter so I don't have to wear a neck seal on troops. Also, order a size up on the pants.
Also I have the starter top from Walmart, I like it, its comfortable, but they don't sell the pants.
-
With the speaker in the chest, mic in helmet, and volume low I'll still get it, but I want to hear myself so I put the speaker lower like on the ab or on the belt, turn the volume up a bit and still get it.
Its an older model aker amp. It seems the frequency finds its way through the armor no matter the distance/volume.
Maker of things.... And what to do
in Recasting Discussion
Posted
a little update, i dont think he sells armor anymore cuz of us lol. either he made a new ebay account or just stopped selling armor..
btw, is styrene that thin stuff they make those extremely cheap 70's style masks for kids from?