LEGENDDAN
-
Posts
141 -
Joined
-
Last visited
Content Type
Profiles
Forums
Gallery
Articles
Everything posted by LEGENDDAN
-

TM/SDS The Glory of an HYBRID
LEGENDDAN replied to LEGENDDAN's topic in Build Threads Requireing Maintenance
Hello again everyone. I am trying to upload more pictures to try to continue this adventure, but apparently I am not able to upload more pics on the regular attachment mode, since I’ve reach the maximum capacity (512K) (Attached thumbnail), however, I know, I must be doing something wrong here, I know there is another way to “Insert Picturesâ€, but I sure don’t know how to do this. Is there something that I have to do first with my pictures in order for me to be able to insert them??? When I try to use this method to “insert picturesâ€, it requires: Image URL (http://) I am not very good with computers so, please If someone could help me to learn what I need to do. Gracias -
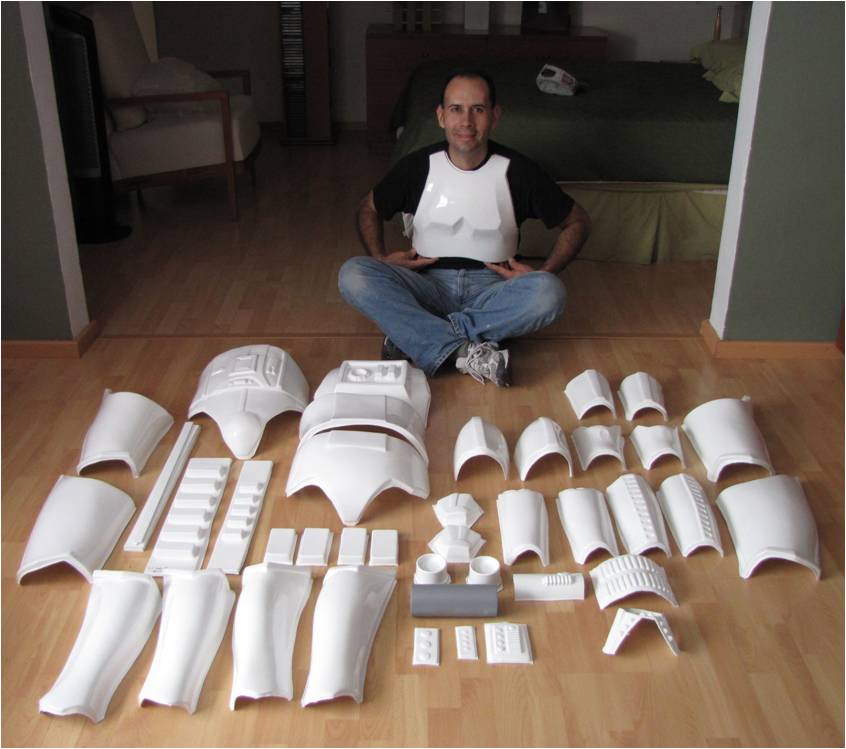
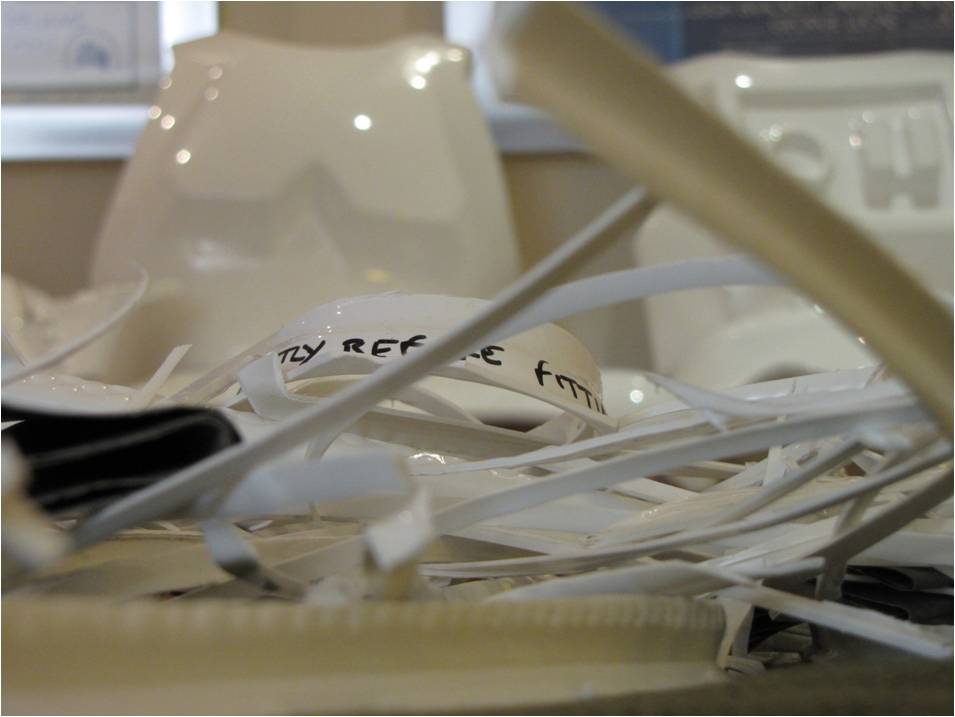
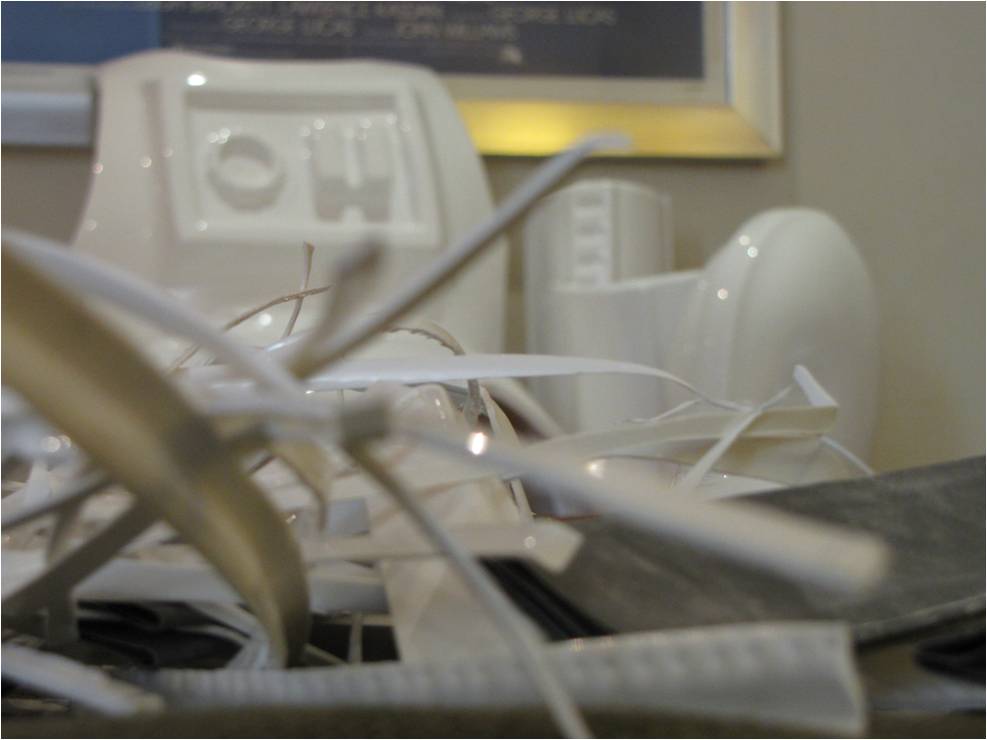
I would like to share with you all, some pictures of what has been my experience building my TM kit and to complete my full set of armor. My helmet is a SDS Helmet, I purchased it almost five years ago, before I even new the 501st. or the FISD existed so, my armor it’s a glorious hybrid TM/SDS. I'm more than content with the results; it does a great job of looking fairly accurate. Getting it… I just could not anticipate to this, all I could say was “WOWâ€. This is a perfect and outstanding armor. I could not believe the awesome quality, the awesome detail and gorgeous work, great, great kit. The pictures do not make this armor justice; you have to see it to believe it. This armor way exceeded my expectations, is even better than I expected. Truly beautiful and magnificent craftsmanship. I am so content to finally own one of these fabulous armors and helmets, the best of the best. CONGRATULATIONS to those who own one. I can't express with words how satisfied I am; some said a picture can say more than a thousand words… so here you have a few thousand words…


-
EIB Requirements/Feedback from the Experts.
LEGENDDAN replied to LEGENDDAN's topic in Expert Infantry Program
I did my home work regarding how to mount my hand plates to the gloves, I’ve followed Terry’s tutorial and I would like to share with you all what I think it turn out very good. I did my own version; I did some modifications to adjust it to my own hand size. Thanks to my wife, she did all the sewing for me, (as usual) and the result it feels very relaxing, I don’t feel any stress on my hands any more, very comfortable to say the least. Enjoy. -
EIB Requirements/Feedback from the Experts.
LEGENDDAN replied to LEGENDDAN's topic in Expert Infantry Program
I did Velcro them on to my gloves, I’ve used the industrial strength Velcro type, but if feels like they will fall off my hands without noticing, and I am looking for a better way to do this. And guess what, I’ve just found what I was looking for; this is it, looks very secure, very nice and very comfortable. Gracias Terry for sharing!!!! As per my blaster, I will remove the front one. Thx. -
EIB Requirements/Feedback from the Experts.
LEGENDDAN replied to LEGENDDAN's topic in Expert Infantry Program
Thank you Paul for your response, yes it does helps. Additional questions on this regard: As for the hand guards: Speaking of the ABS hand guards. When you place them on the gloves, do you Velcro them to the gloves, or do you use elastic as the example picture I am sending as reference? What is the accepted way for EIB? As for the E-11 Blaster: According to your opinion, and if I understood correctly. If I remove the second-ring on the blaster, the rest of the blaster it would be okay, it would now be accepted for EIB? Thanks for your help. -
Hello and greetings everyone, After reviewing the EIB requirements for the ANH stunt, and as stated, I would like to receive feedback from the EIB Experts on this forum regarding questions and doubts I need to clarify. For the helmet; Must Have or Should Have Lenses may be green or smoke? Or Lenses should be green only? They should be dark enough that viewers cannot see the eyes behind them? The mesh behind the teeth area, it matters for EIB? OR it does not matter? For the Holster: Must Have or Should Have Holster should be attached to the canvas belt from behind, using two fasteners at the bottom. These may be rivets or Chicago screws. I know the stunt ANH should have these two, but I do like to look of the four rivets, so, 2 is best, 4 is okay? How strict that guideline is for EIB? For the Gloves: Must Have or Should Have Must be black rubber or nomex gloves are accepted as well? Hand plates: ABS or Latex? For the Blaster: Must Have or Should Have My E-11 Blaster has a D ring on the left side on the front part of the barrel, is this accepted? In general, is my E-11 as is accepted? For starters, let me hear your scream about this doubts. Thank you
-
Thats an excelent picture for reference. Thank you for posting it. I just don’t want them to waste their money on something they will be regreting sooner than latter. The paint job that my friend did with the FG armor looked great before his first trooping, but you will not believe now how noticeable are the crackings, after only 5 hours under the sun. Price paid finally comes alive!!! I don’t have my armor yet, but sure its worth waiting. Nothing like TM
-
Thank you all for the advices.... In my case, I have been eagerly awaiting over ayear now, for the right time for me, to get one of the superb armors from the true master of armor, trooper master. But this is only me, however. I do have a friend down here, who just bought a full stormtrooper fiberglass armor, and five other friends who are triying to get this armor from the same fiberglass maker (because it’s cheap), and I am trying to convince them to stay away and not to get involved with fiberglass. If any one has any pictures as how this armors will turn on at the end. So any help, it would be great. Thank you all again for the advices...
-
ANY TIPS OR ADVICE, ANY GOOD REASONS WHY TO STAY AWAY OR TO AVOID THE FIBERGLASS ARMORS???
-
Possible LFL licensed TK armor
LEGENDDAN replied to giric thren's topic in Hard Armor (General Discussion)
Rubies is a joke.. the armor is so sad and they really have no clue how they just selaed their own fate. This stuff will end up in landfills. Or greatly reduced. Take your pick.. BTW folks, the pic is of a real tour suit and it is photoshopped to try to look glossy.. the helmet is the only thing added. Since they have 4-6 tour suits left, I am sure they just cleaned it and tossed it on to a model. The gun is a tour gun too. The double rivets for the belt is the dead giveaway. T*E ------------ -
Any one that owns and uses or just home displays any of these armors. I would Like to get myself one of these superb pieces. I am 1.87 meters height (close to 6’2), weight 82 kg., but not sure which one will fit better. Any one with experience as how this armors worked for you. I would appreciate any advice. Thx.
-
I CAN WAIT NO PROBLEM AND THX FOR POSTING.
-
This combination looks absolutely fantastic, congrats. Can you share where can I get in touch with the TM armor seller, so far I know its in the UK. But not sure, please advise and thx. Can you reply to my e-mail: [email protected]
-
My Stormtrooper SDS ANH display
LEGENDDAN replied to mikajedi's topic in Build Threads Requireing Maintenance
This looks great Michael . As right now today in fact, I am just about to buy a set just like yours (from SDS) and I was searching for some references, (like yours) Please advise. Please get back to me direct if you can to: [email protected] Have you tried it on, your armor for trooping or just to display it? How tall are you, regarding the size of the armor , I am 1.87 metters height. Your Stunt helmet. Have you use it or as well just for display? In my case I want to get the battles spect and the armor. Again, please get back to me direct if you can to: [email protected] Regards from Mexico.