EastCoastStoneCutter
-
Posts
42 -
Joined
-
Last visited
Content Type
Profiles
Forums
Gallery
Articles
Everything posted by EastCoastStoneCutter
-
Alay's ANH Stunt build (AP, first build)
EastCoastStoneCutter replied to Alay's topic in ANH Build Threads
Hey Sarah, your progress looks great! I'm actually starting my own AP TK Stunt build as well and was wondering, on the thermal detonator, if you cut down any of the PVC pipe AP provided and/or trimmed any of the key pad? I did a fit check and with the end caps and PVC, it totaled 8", .5" past CRL. I'm hesitant to cut anything yet and still need to sand and paper the pipe grey. Sorry, hope I didn't hijack your thread. -
@pewpewpew found the pack of 22 clamps at home depot, good deal. I initially tested using office binder clamps but they have limited accessibility. @illusionz_09 good thing as my gray spray can should be coming in the mail soon. I've started fit checking the shoulder bells and arm. Will start gluing those tomorrow. Sent from my HTC6525LVW using Tapatalk
-
HOWTO: Magnetic Plug and Socket. No more velcro.
EastCoastStoneCutter replied to TK4205's topic in TFA Stormtrooper
Hey random question, can magnets be used for an ANH TK? I received my AP armor, but haven't started cutting or gluing yet. Still looking up best approaches and methods. Thanks. Sent from my HTC6525LVW using Tapatalk -
Thanks for all the info on the decals everyone! Unfortunately due to my first attempt, I do not want to rip it off and stretch the decals further. I will either try my luck during submission or paint them once everything is done. Separate questions: 1.) For the TD, is it safe to assume the gray paint is humbrol #5 gray, just like the traps, frown? 2.) In terms of clamps for all the gluing would c-clamps work just as well as the spring clamps I see everyone else using? Reason being I already have about 10 c-clamps available. Sent from my HTC6525LVW using Tapatalk
-
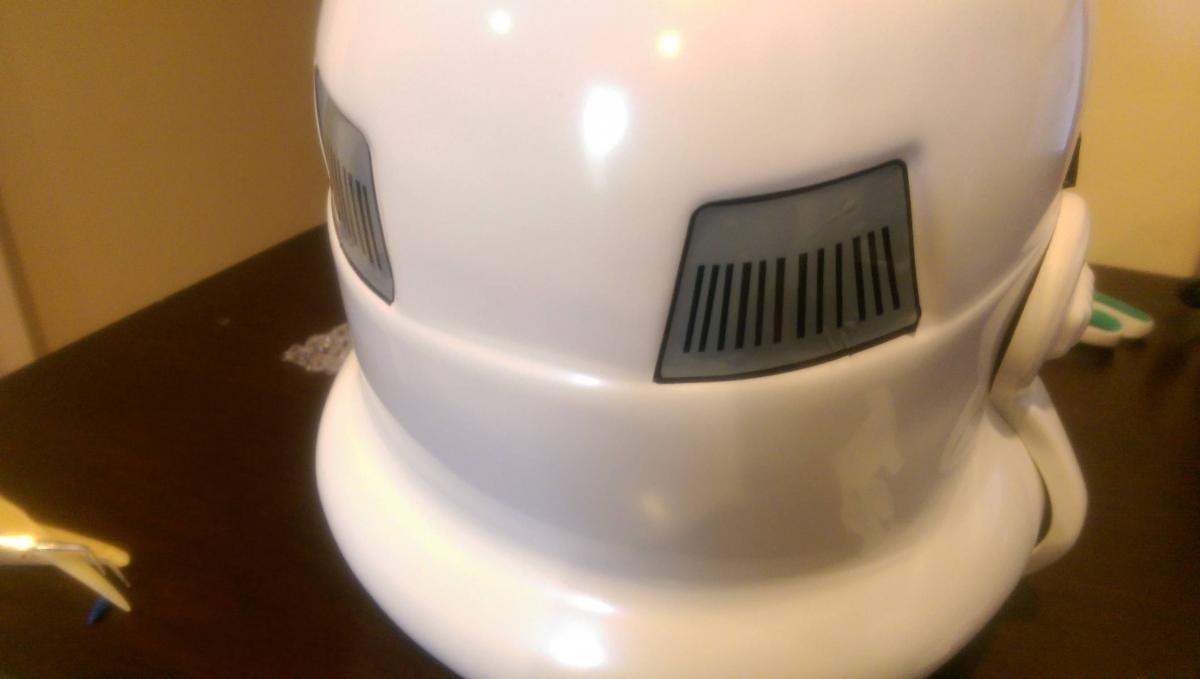
Obtaining the armor pre-trimmed was definitely worth it IMO. BTW, how picky should I be with the decals? I realized putting on stickers/decals is an art and every time I try to redo it, it looks worse! Dang bubbles... Also, my head is big, so I had to rotate the bucket 90 degrees to get my head inside. This is without putting the trim Finished as much of the helmet as I could; will search for paint, tools, and other parts of the costume the rest of today.

-
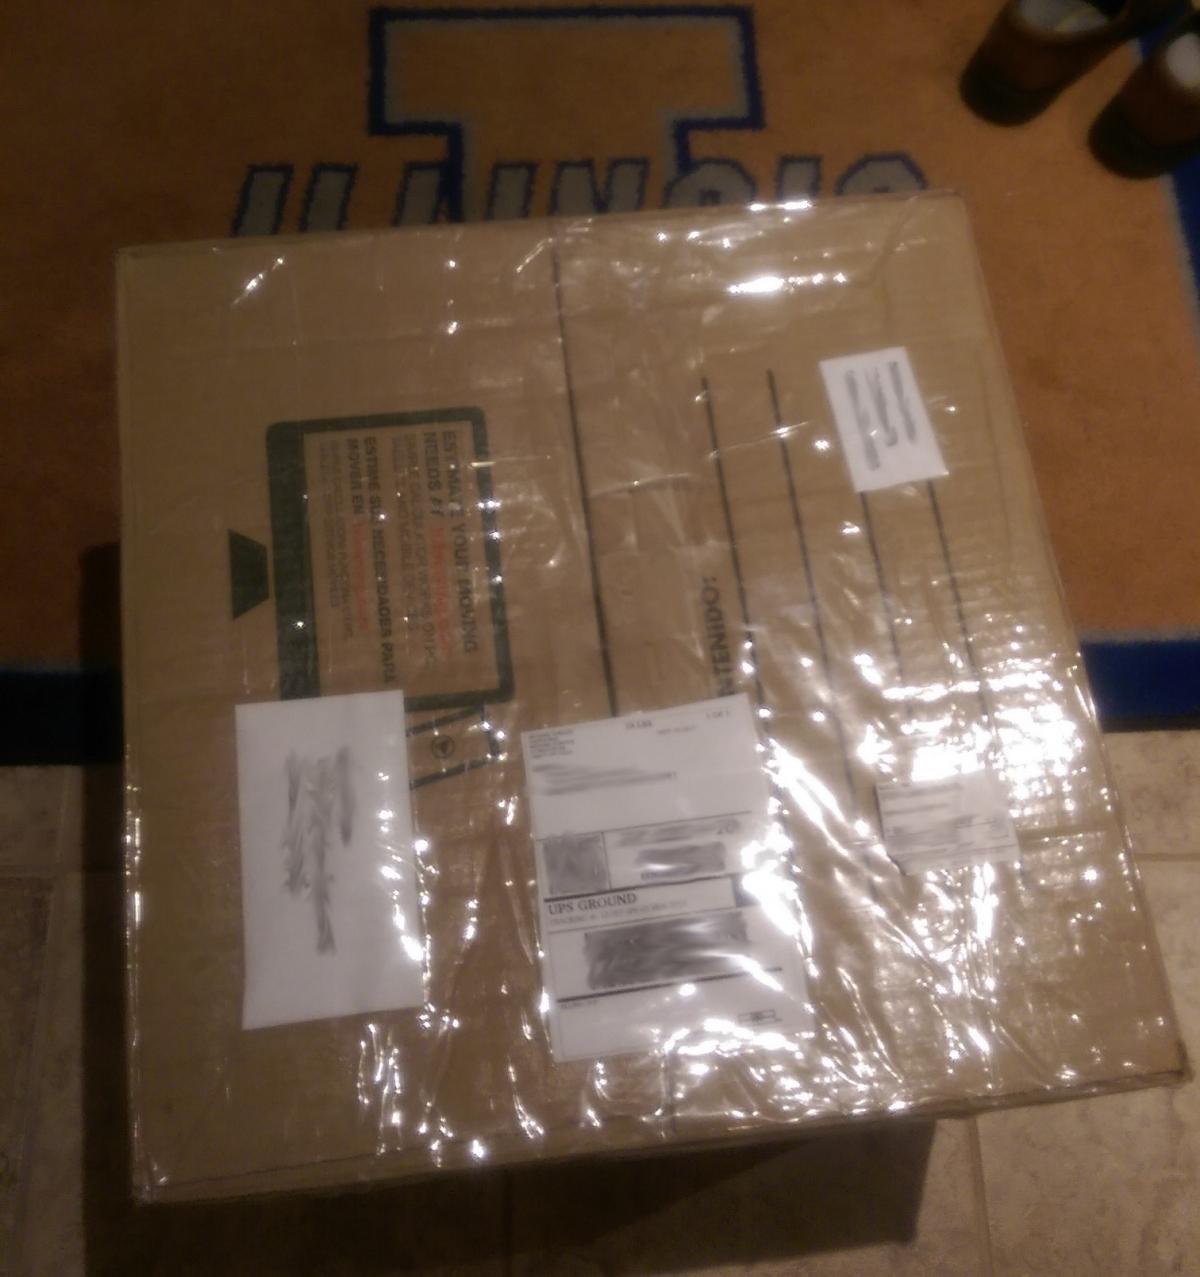
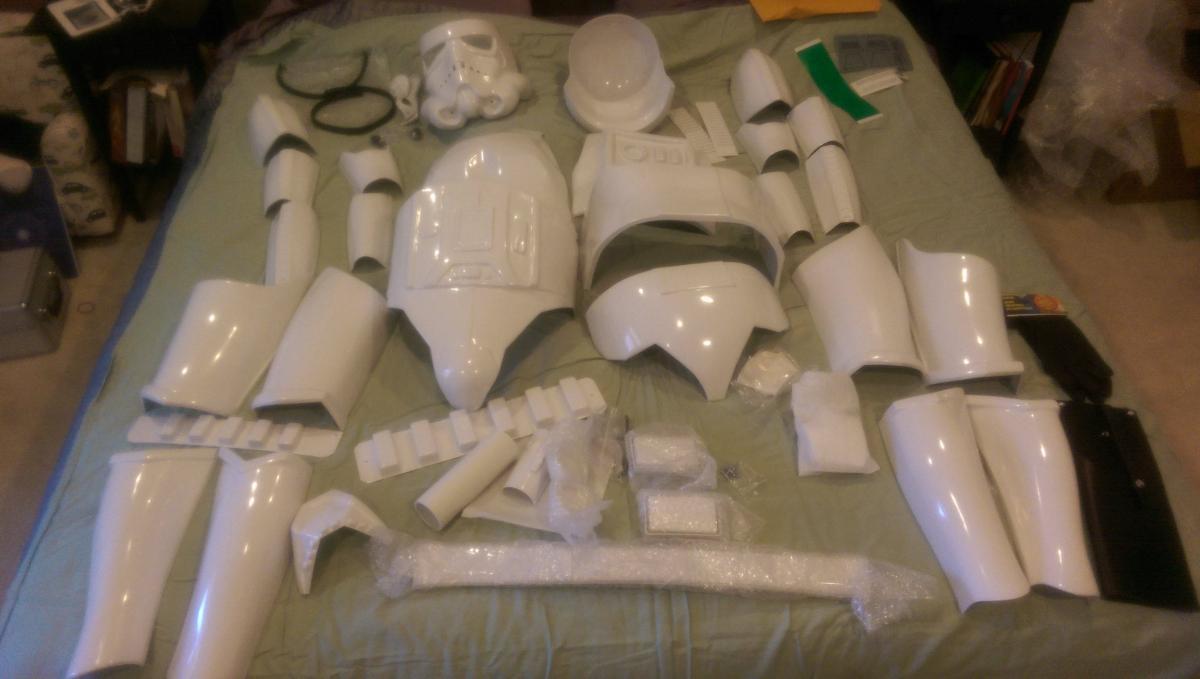
Update 18 Feb 2017: I'm wayyy overdue in taskers I set for myself after I finished my costume. Below are my lessons learned (in no particular order). My 1st full trooping is next week so I might have more to add. If you are interested in the rest of my build, it's below. Any questions, i'm happy to help fellow troopers! Sand/rough up latex hand guards before using Locktite Gel to glue to rubber gloves. This worked enough, but still need to find something better. The liquid/running Home Depot super glue did not work. Use rubber washer between snaps and elastic; less stress and tearing from donning on and off. Do not take off shoes with your other shoe as it will scuff and cause black marks; although they may be able to be washed out with some Shout. Have somebody help measure cod to ab nylon connection; when I first did it, it was too short and pulled cod down, pulling the kidney and back armor down with it. Give some small space/leeway with the canvas belt to ab snap; mine is very tight and sometimes pops out because I did not compensate for snap spacing with ab. Sand the metal that comes into contact with canvas belt and kidney/cod plate to prevent scratching. Use soft part of Velcro (loop, not hook part) and glue to metal for thermal detonator to also prevent scratching of armor. Figure out better shoulder snapping method to decrease stress on the connection from shoulder bells to shoulder straps. When making strapping in general (nylon, elastic, etc.) leave 0.75 inches from each end of snaps for proper finger grips to remove snaps when donning off armor. I only left 0.50 inches on some and I have limited finger grip to unsnap. For thigh to leather belt connection use 2 inch elastic rather than 1 inch; stronger and would probably stay put better rather than rotate as I walked. When donning helmet, try to push neck seal towards neck so it doesn't get caught with helmet. Always measure multiple times before cutting. Test fit location of snaps, nylon, ABS pieces, etc and mark with pencil before applying glue to confirm location of glue; once you start gluing, some odd angles tend to move pieces away from intended location. Buy stronger magnets like neodymium. Circular basic magnets from Home Depot did OK, but some places really required stronger pressure. Always shake paint before applying; if not, lighter color of paint tends to surface and you're left with semi-transparent white paint where thick white paint should be. My BBB day was last Wednesday, but with travel, just started opening it today! Uber excited after having unboxed it. I feel extremely lucky because most folks ordered their armor then picked up other parts of their costume while waiting for the armor; my situation is the opposite where I was able to obtain the armor (less than two weeks from ordering nonetheless!) and then start picking up other parts. I guess it was just timing cause AP had somebody's armor ready, but they did not have all the funds available at the time, whereas I had the funds ready. Not rubbing it in, just very grateful for the timing. Due to not having any supplies like glue, lexan scissors, proper clamps, etc, I'm going to start the helmet today. Anyways, photos attached; sorry my phone's camera lens is somehow forever smudged, so the photos are not crystal clear.