
Addertime
-
Posts
488 -
Joined
-
Last visited
-
Days Won
1
Content Type
Profiles
Forums
Gallery
Articles
Media Demo
Posts posted by Addertime
-
-
You've done amazing work on this Christine!
As the leg opening lines up with the bottom of the kidney, it looks like the best course of action now is to remove a little material from the top of the ab plate at the arm opening and then restore the return edge.-
 1
1
-
-
Welcome John!
Your story is a familiar one and you'll find a lot of kindred spirits around here.
Do your research and reach out when necessary but I think much of the satisfaction comes from the journey of the build.
Best of luck! -
Welcome to FISD!
You certainly went all in. Best of luck with the builds!
-
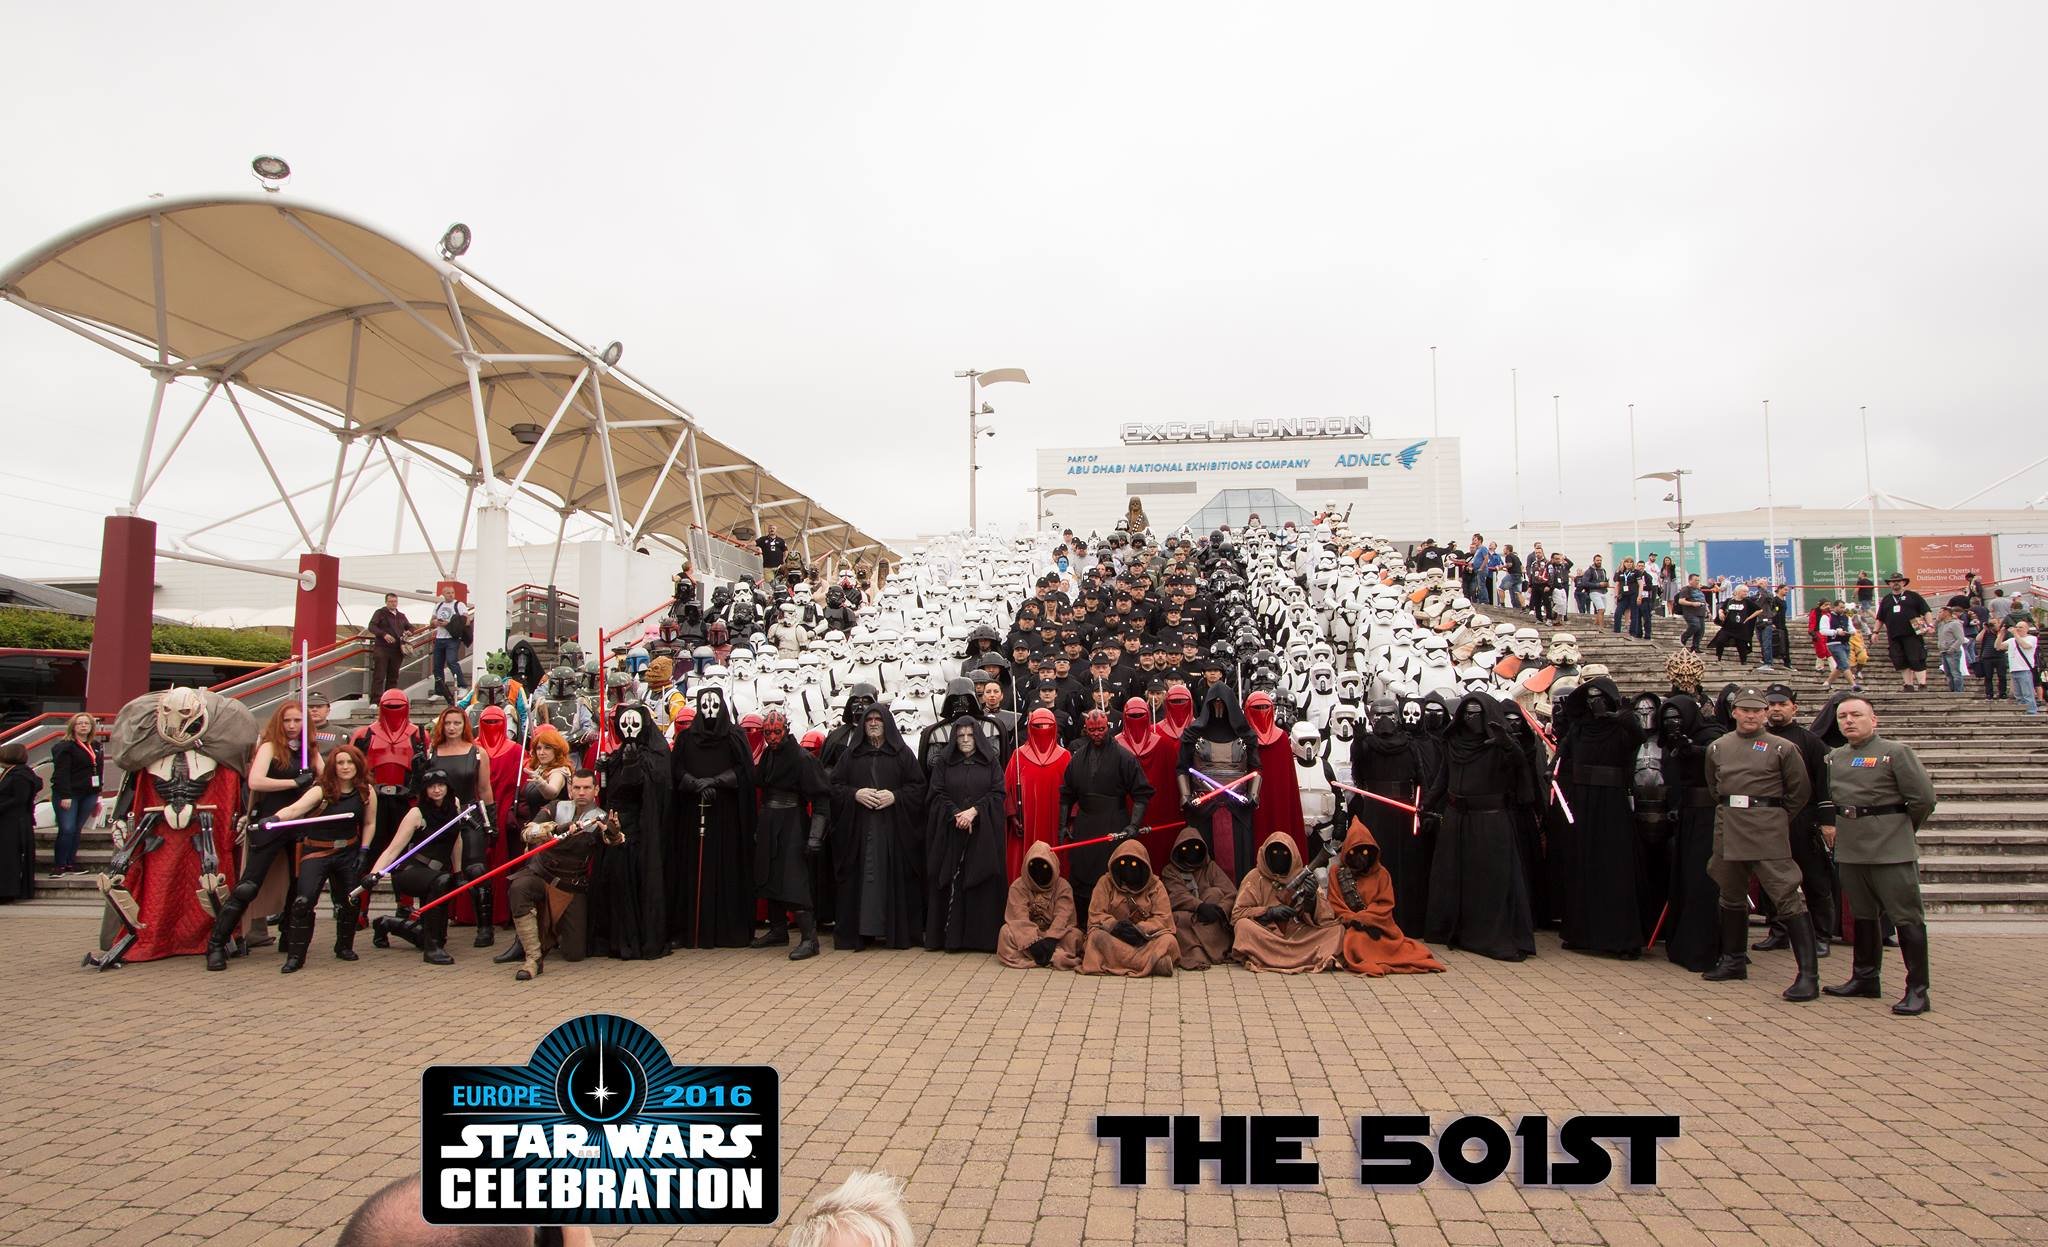
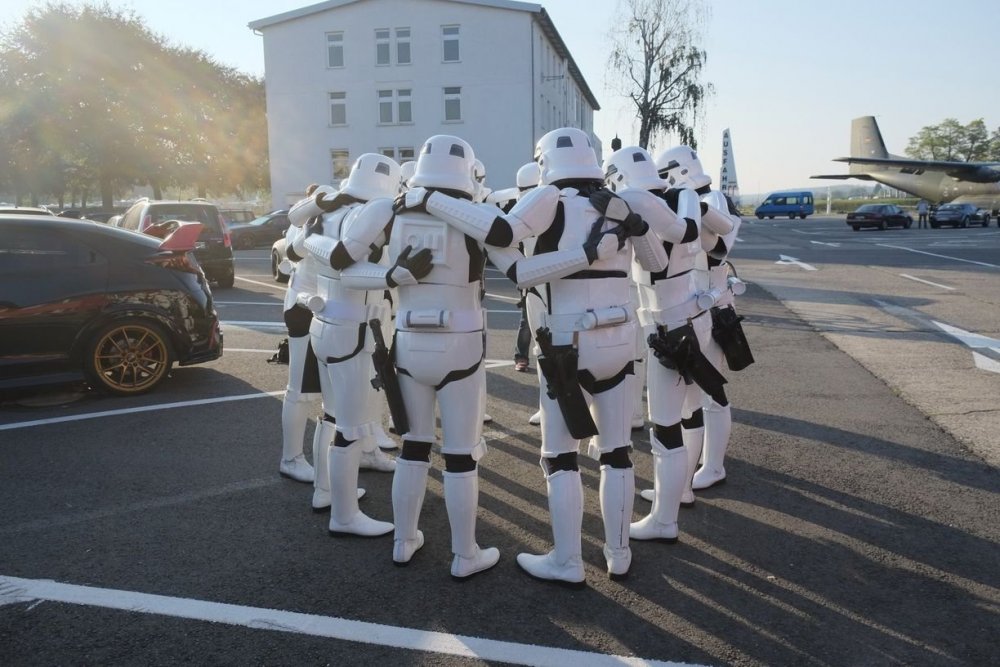
Today, I attended my first troop and it was a blast! 240 members of the German Garrison signed up to attend and somewhere on the web there will be photos of a bunch of us in the hold of an Antonov Cargo plane for a group photo.
Much like the journey of the TK build itself, my first event was filled with moments I've read about here on FISD many times. Camaraderie, feeling like a celebrity, being part of something that is a shared lifelong dream... all those things became real moments as I walked and talked with people at the event and it was awesome but one moment stands out in my mind, I was walking through the vendor area early in the event and out of the corner of my eye I noticed a little girl, maybe 4 or 5 years old, in a white Princess Leia gown, her blonde hair put up in two buns, staring at me intently. I stopped and looked toward her, bent down and gave the little-kid-wave (hand up and just fingers) and her eyes went wide, her jaw dropped and she instantly raised her little hand and mimicked my wave. She seemed just awestruck that I had acknowledged her in the crowd. I turned to walk away and looked back, she wasn't tugging on her parents to tell the story, she was keeping it for herself and smiling from ear to ear as she watched me walk away. That was a pretty amazing feeling.

-
3
-
-
Welcome aboard!
Ordering a vendor kit is really still DYI unless you commission a build which doubles (or more) the price. I put well over 100 hours into my TK kit over the course of three months and another 150 hours into my scratchbuilt blaster which has taken almost 9 months to complete... and all of this was done in my apartment with basic tools.If you are thinking of vacuum forming, you'll spend considerably more time and money going that route but whichever way you go, as long as you enjoy it, you're doing it right.
-
Welcome Richard! You think you may be past your prime but you just stepped into a world filled with people exactly like you. Many of us enjoyed the original trilogy on the big screen and now that we have time and money, are finally fulfilling our childhood fantasies of being stormtroopers and believe me, when you first see your kit come out of the box, you'll get goosebumps.
-
It doesn't count until it's been baptized in blood! LOL
(the blood of your enemies totally counts)
Ha! My first troop is this weekend and if I have to descend any stairs there may yet be blood.

-
1
-
-
I remember looking at this thread when I first began my build. Now that it's completed, I perused this again to see how much of it actually applied to me and I can say that this list is pretty definitive. I had all the tools but the expendables list was the most helpful bit for me, save for the Band-Aids. I actually don't think I cut myself even once.
-
Brilliant work!
It looked pretty scary but you made it look easy.
Nicely done.
-
1
-
-
Welcome to FISD Calvin!
-
Big boo-boos need big BandAids. I think the paste is going in the right direction. I used that method to join the various return edges on my kit because I didn't like the corners catching on things... especially me.
You've moved into the realm of body and fender repair here and I'm interested to see how it plays out. I'm concerned that the plastics are similar in hardness so it will need a light, even touch to get the finish right without marring the primary substrate too heavily but I have no doubt that your tenacity will prevail.
-
1
-
-
I've done a fair amount of vacuum forming over the years.. The amount of usable table comes down to two things... how efficient your heating system is and how strong (and fast) your vacuum system is. Nichrome coils set in ceramic insulators is the best way to evenly heat sheet plastics in my opinion and using a high volume tank to create your negative pressure is gives much sharper pulls than a shop vac.
That having been said, if you built (or had access to) a well-designed VF table to accommodate say 2' x 2' squares of material, I think you would use about two 4' x 8' sheets of plastic for a full suit, maybe little less if you were able to get good pulls on grouped items. If your system is less efficient, there will be more failures and the amount of material used will go up.
-
1
-
-
Welcome Shane!
You're not an "old" guy around here. Your story is how a lot of us came to be here.
-
2
-
-
Hi Jared,
Head over to the Getting Started area of the forum for plenty of discussion on vendors and kits:
http://www.whitearmor.net/forum/forum/38-getting-started-read-this-first/There are many more options than the two you mentioned.
Enjoy.
-
1
-
-
-
I went the bra hook route. They're hard to fasten and unfasten when alone and the seams flex open and closed which makes noise while walking. I considered velcro but saw it a few times at SWC Europe and it looks lees than good. Maybe a hybris is the answer? Straps with some strategic velcro? This is what I've been pondering.
-
1
-
-
If Only You Knew:
- The build road is an emotional rollercoaster. Hours of work sometimes has to be redone despite many hours of study and preparation.
- Most projects require three trips to the hardware store. This one will require many more. Luckily, there's Amazon.
- Just how cool it would be to sit back and look at it while building, especially the helmet.
Oops!:
- An extra set of ears comes in handy. Thanks Paul.
- Leave a little real estate around the ankles. It the calf armor is too tight around the ankle, It'll ride up on about step number two.
A funny thing happened on my way to the Death Star:
- My armor is by TrooperMaster. Originally, it was the ANOVOS price that drew me in but after a couple of conversations with them, their customer service was abysmal and I realized they were only drop shipping from the Chinese manufacturer. I decided it was better to pay more and get a kit made by a fan rather than a faceless Chinese factory, even if it is licensed. I received no instructions, no soft goods and paid almost double what the ANOVOS kit costs and I have no doubt I went the right direction. I could contact the maker for personalized advice and parts and I had the satisfaction of knowing that I bought from someone who cared deeply about the product.
Having been here on FISD for almost a year and having seen all the various armors and the details from the makers, I would absolutely buy from any of the fan makers in the future even if the cost is more than the Chinese option.Shout Outs:
- Thanks to Marc Hense (German Garrison) for inviting me over to look at his kit and armor building room while I was waiting for my BBB.
- UKSWRATH for the best build thread going. A lot of basic questions were answers by a quick look there.

-
Looks like you're there, Christine!
Someone told me when I was building to leave enough space to be able to insert three fingers into a piece of armor with the muscle flexed. That works out to about a half inch or a little more of space and it seems to be a good rule of thumb. I also did what Rasmus did and made the ankles a little tight which tends to make the calves ride up so learn from our mistakes and leave a little more real estate around the ankle so gravity can do more of the work.
But again, lookin' good. -
2
-
-
But, I finally have my own, true office that I don't have to share. I can actually display all my stuff that my wife doesn't like.
This is the key to a happy marriage.
I live for the words, "Don't you have a blaster to work on somewhere?"
-
TK-11427 - Requesting 501st access please.

http://www.501st.com/members/displaymemberdetails.php?userID=22410
-
Hey, no worries! It's not a huge deal. It was kind of falling short even before and I WOULD like it longer. I should have looked at more reference photos to notice that detail! My TD clips came in today too. Tomorrow I'll try to to to the store to get the right screws (do they have to be slotted and round head? Any other specifications)? Building is going to get tricky now that I'm back to school...!
The original screws were slotted, pan head screws which are typically sheet metal screws. The head size has been determined to be about 5mm. From my research, this translates to a #4 screw (a #6 is close also). Slotted screws are a bit of a rarity these days but the screws in question can usually be found in the stainless steel section of the screw aisle at a good hardware store or online from Grainger or McMaster Carr.
-
2
-
-
I made it through EI with my brow trim cut at an angle. I wouldn't worry about replacing it. Not sure about centurion though...
sent from my phone
It doesn't say anything in the CRL about it. Look at the screen caps in the reference galleries. Most of the cuts are straight with one or two being angled. Some the trim pieces are too long and extend a bit past the trap and some are short just like the Dave M helmet pictured here. So... short or long... angled or straight... all are screen accurate.
-
2
-
-
Haha! I said mine looked like go-go boots too. Leave the shins stuck to the boots when they're sitting in the corner for increased conversation about them.
Yeah, for me, the top of the shin is right at the base of the knee cap. I can just barely bend my leg to 90° and the back of the calf armor bites into my leg. That's untrimmed. I wanted all my photos done untrimmed and then I plan to tailor it slightly for comfort later. It's screen accurate to remove a crescent from the back of the calf and thigh armor but I would like to keep as much plastic as possible because I like the look.
You might want to push them a bit lower on your boots before you begin trimming.
-
2
-
-


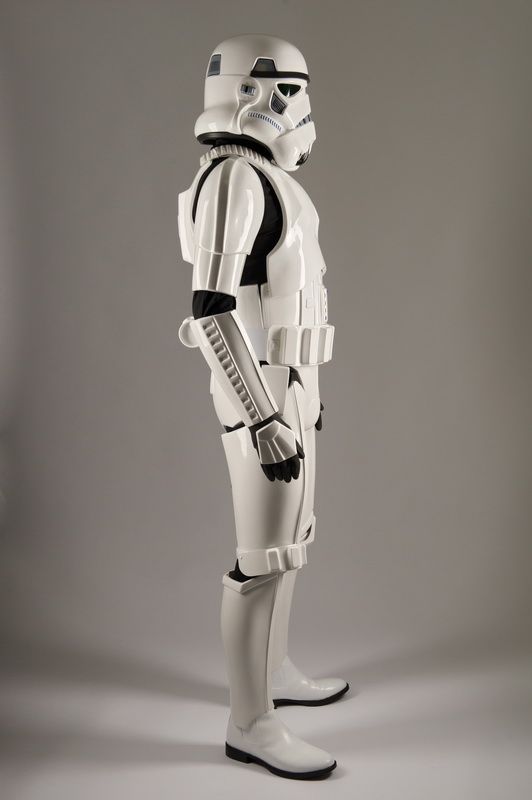
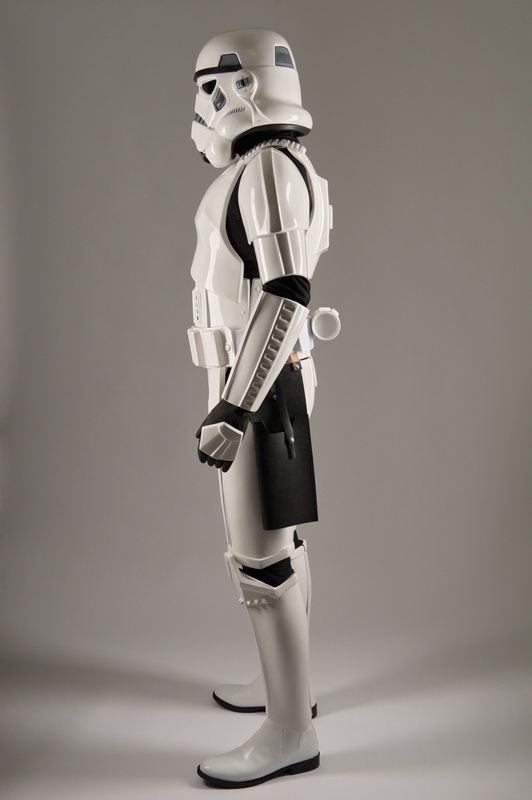
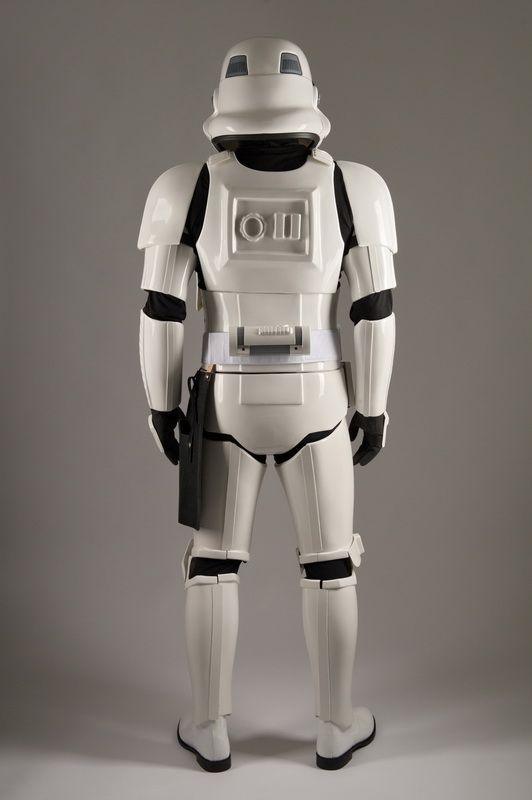
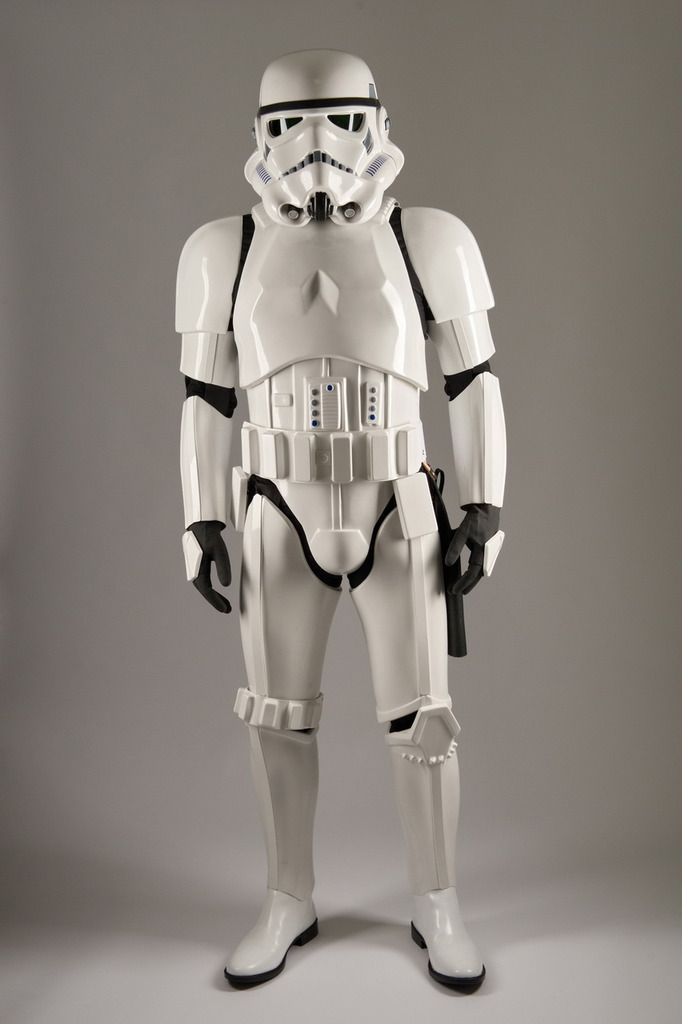
TK-11427 Requesting ANH Stunt EIB Status [TM] [642]
in Request Expert Infantry Status
Posted · Edited by Addertime
PERSONAL INFORMATION
Name - Michael Avina
FISD Name - Addertime
Legion ID - 11427
Garrison - German Garrison
501st Member Link - http://www.501st.com/members/displaymemberdetails.php?userID=22410
MANDATORY INFORMATION
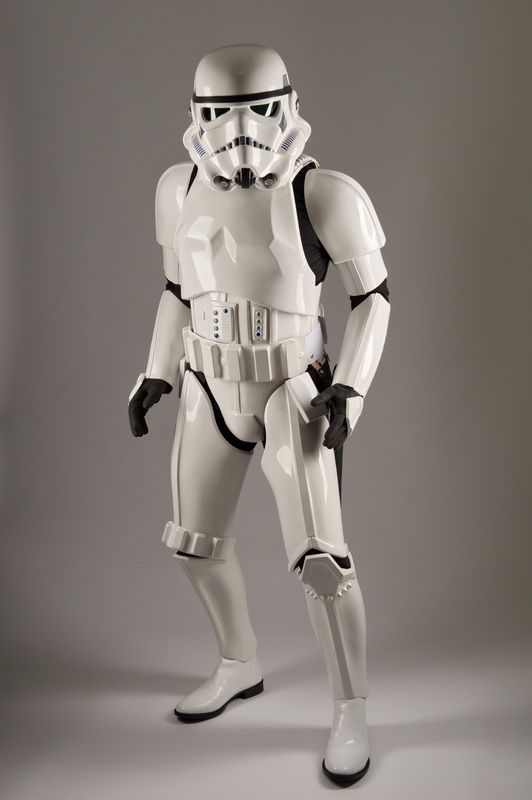
Armor Maker - TM
Helmet Maker - TM
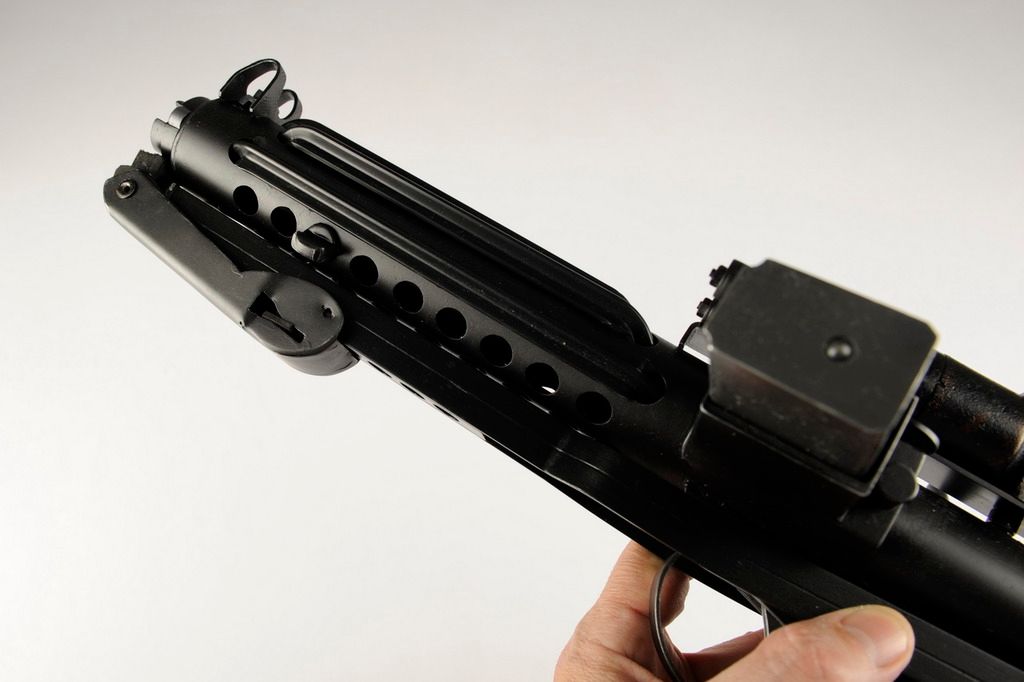
Blaster Type - E-11, Scratchbuilt
OPTIONAL
Height - 5'10"
Weight - 165 lbs
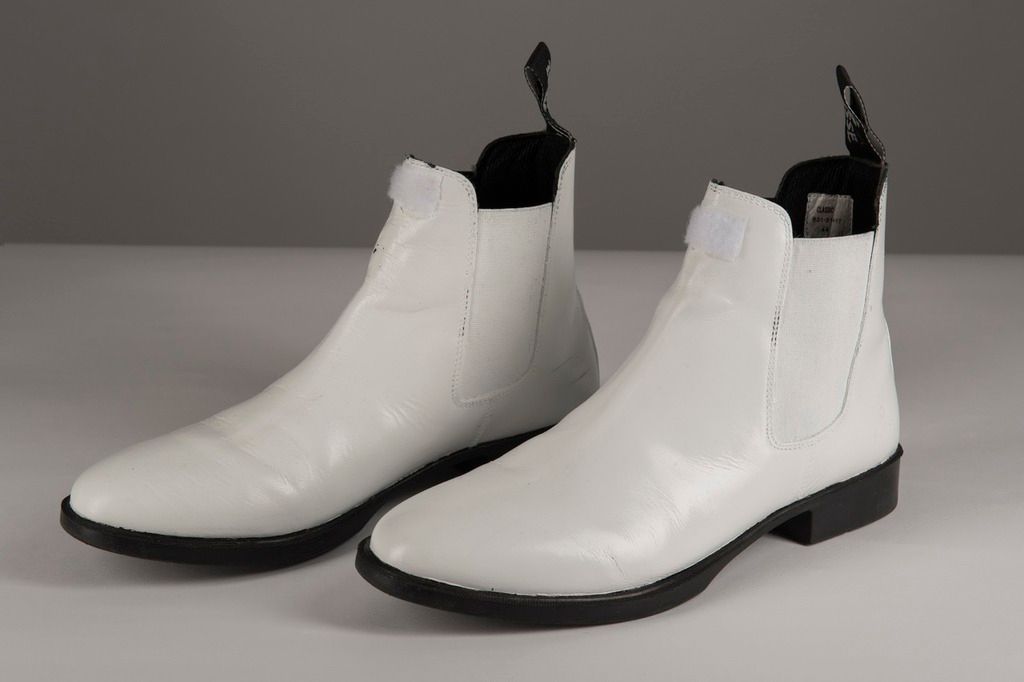
Boots Maker - Busse - Self Painted
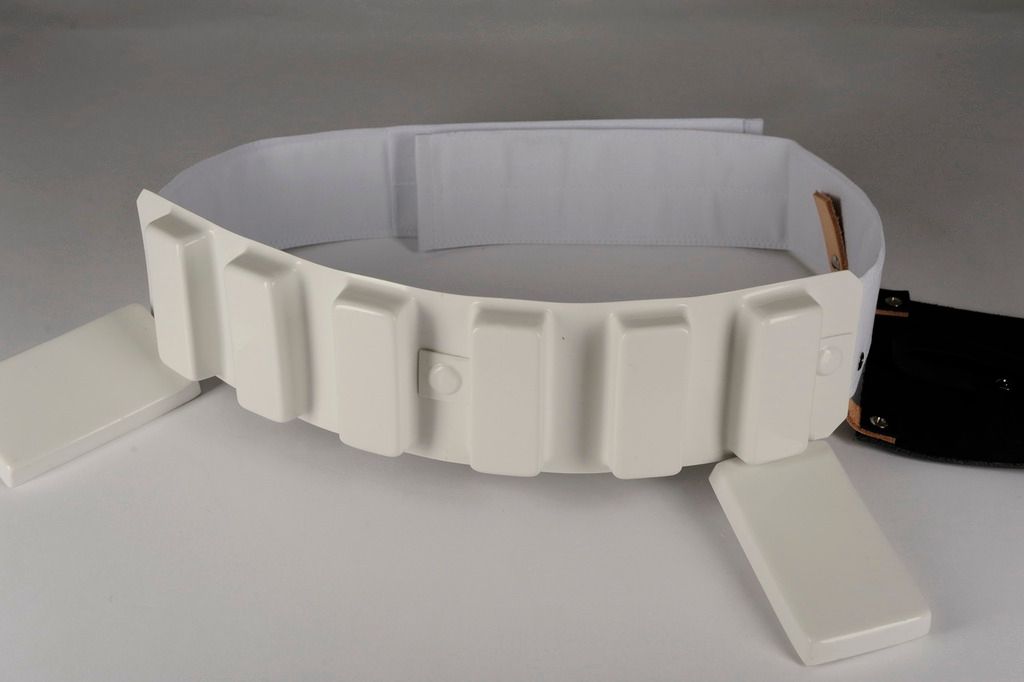
Canvas Belt - TKittell
Hand Plates - TM
Neck Seal - Darman
Holster Maker - Darman
Full Body - Front
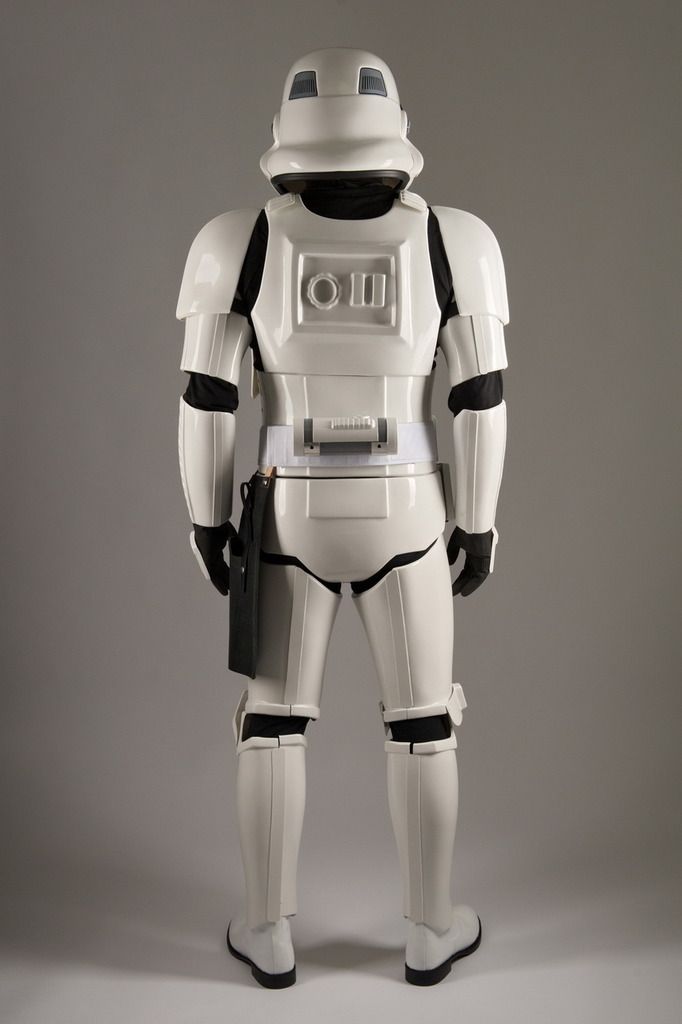
Full Body - Back
Left - Arm Raised
Right - Arm Raised
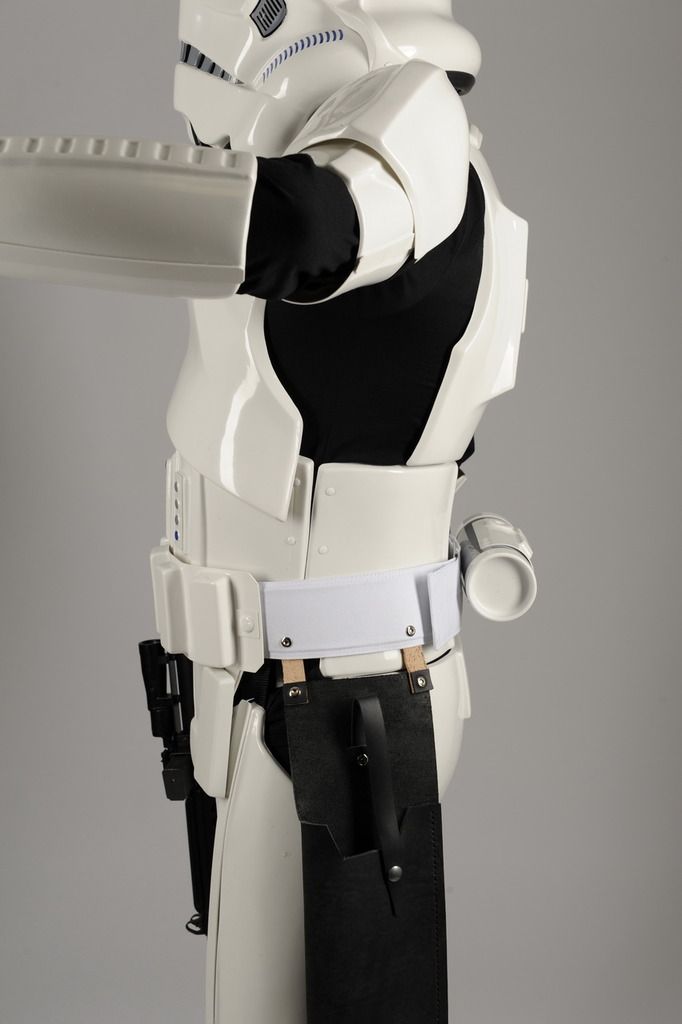
Right Side Detail
Left Side Detail
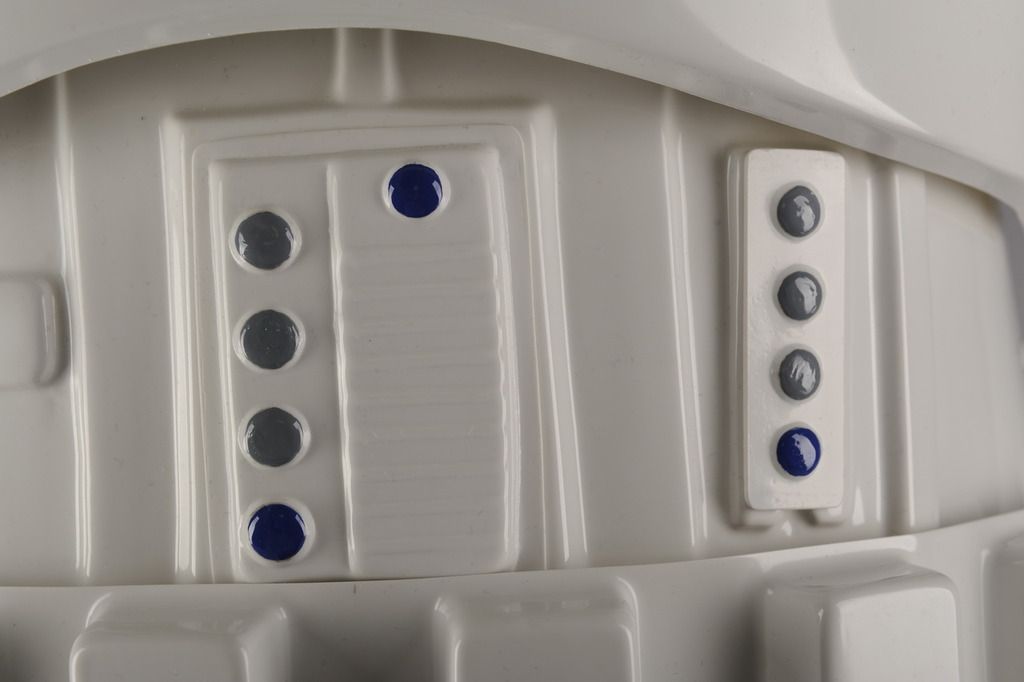
Abdomen Details
Action Shot
Cod and Butt Plate Attachment
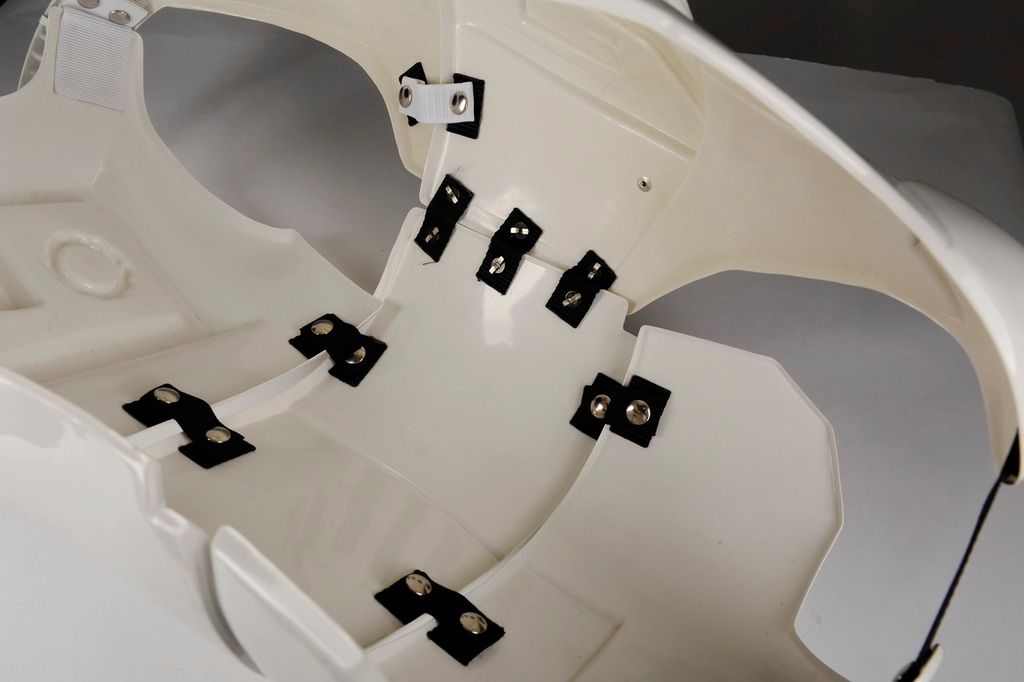
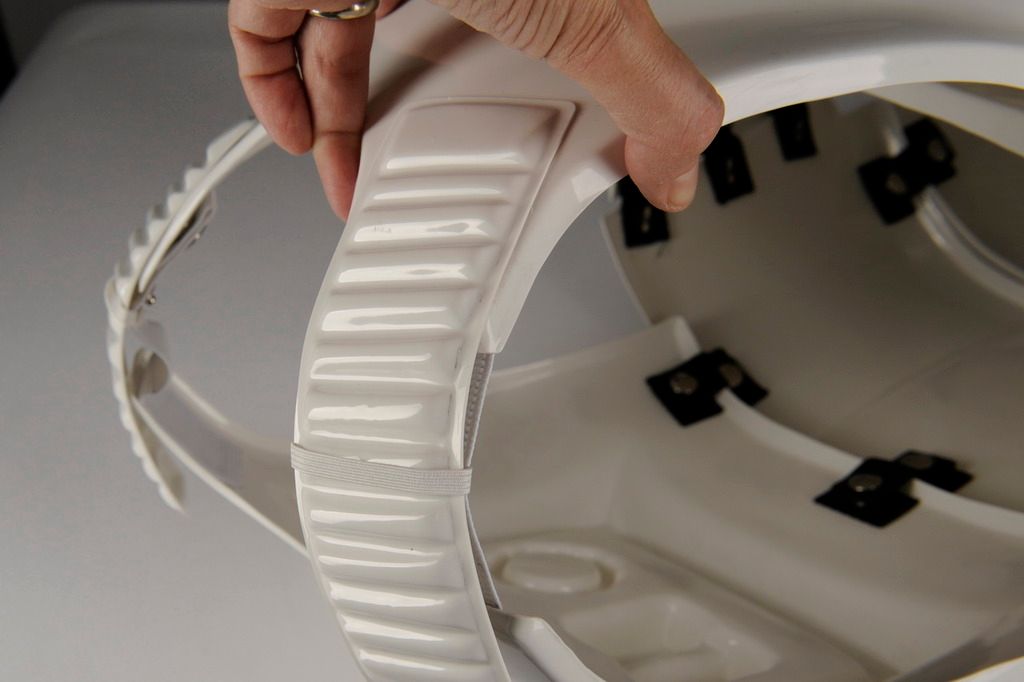
Interior Strapping
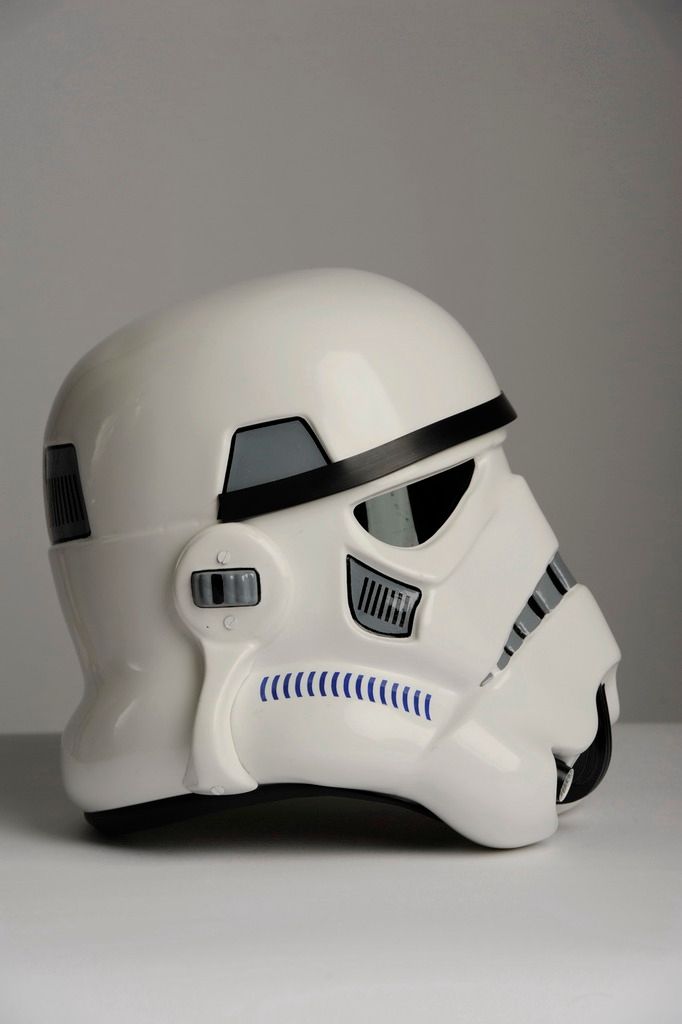
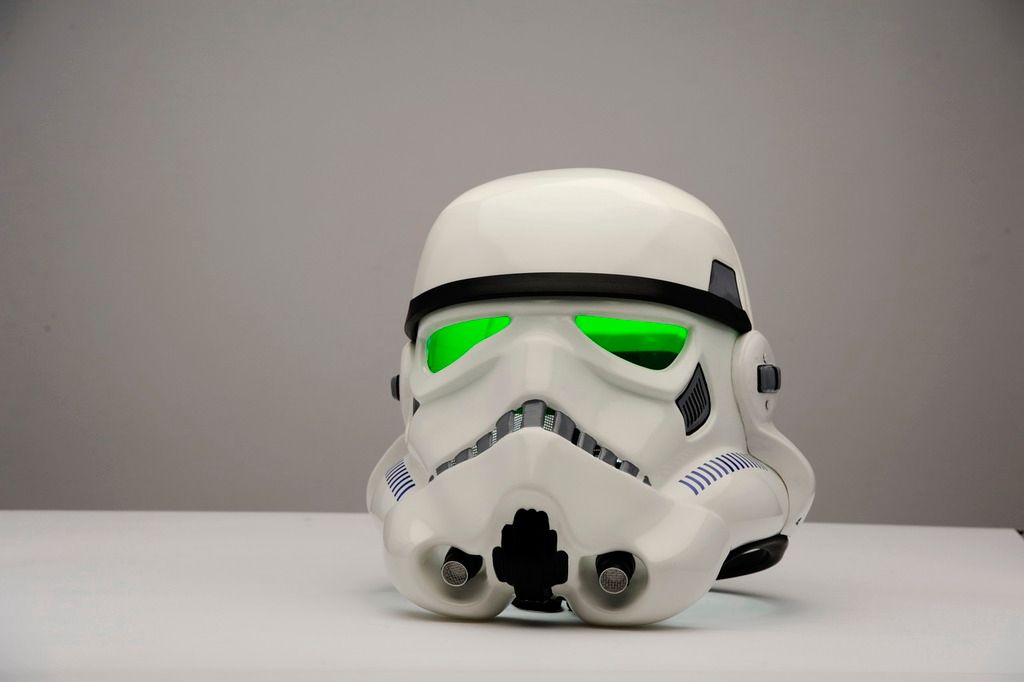
Helmet Details - Front
Helmet Details - Back
Helmet Details - Left
Helmet Details - RIght
Hovi Tip Detail
Lens Color
Blaster - Right
Blaster - Left
Blaster - D-ring
Blaster - Detail
Neck Seal
Thermal Detonator
Holster Attachment
Belt
Chest / Shoulder Detail
Sniper Knee - Front
Sniper Knee - Side
Thigh Ammo Pack - Rivet and Rounded Edge
Boots