

BrinkHouse
-
Posts
591 -
Joined
-
Last visited
-
Days Won
9
Content Type
Profiles
Forums
Gallery
Articles
Media Demo
Posts posted by BrinkHouse
-
-
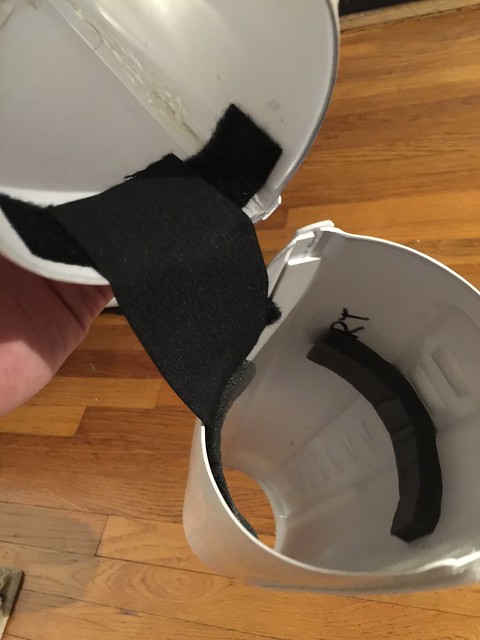
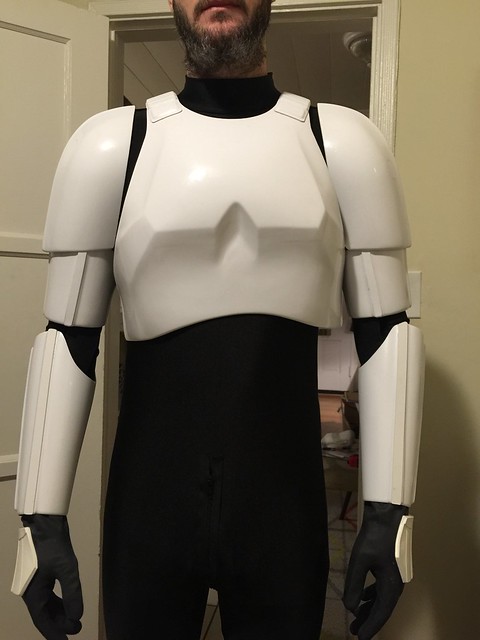
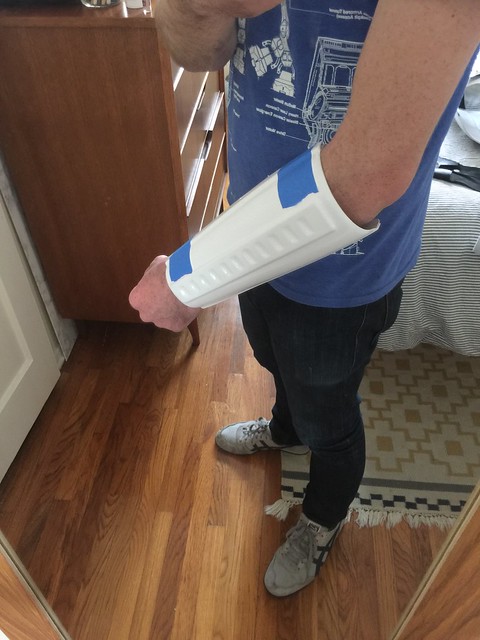
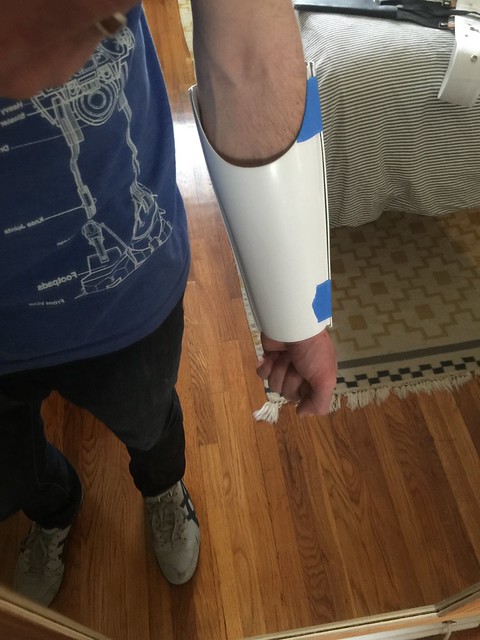
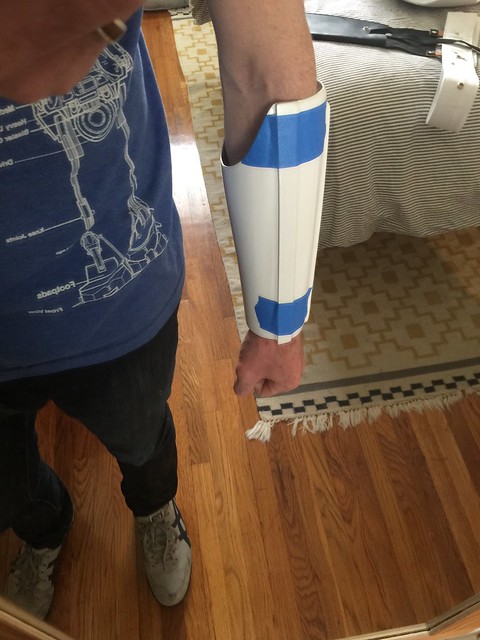
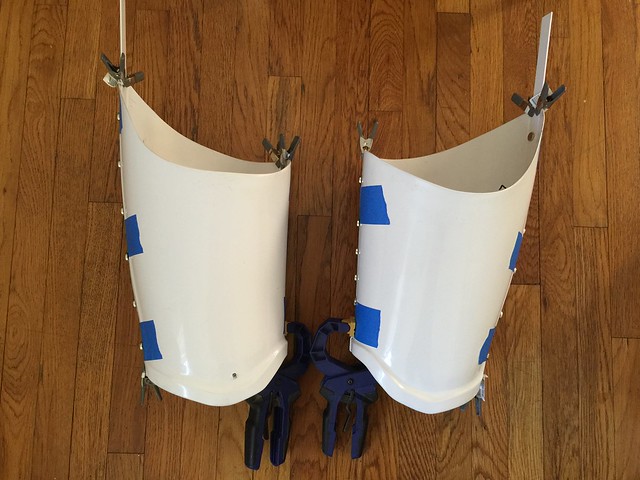
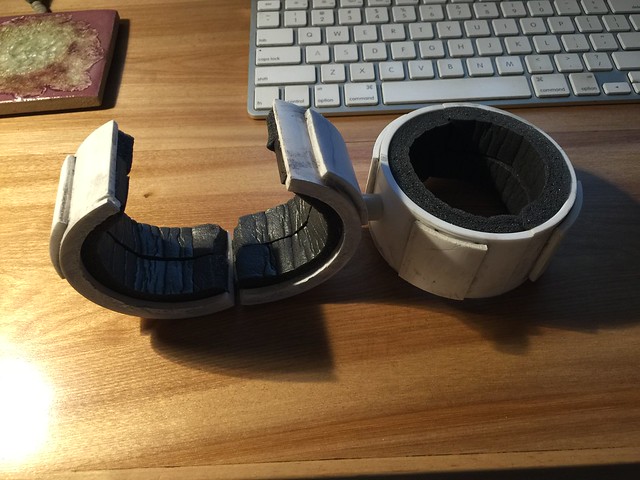
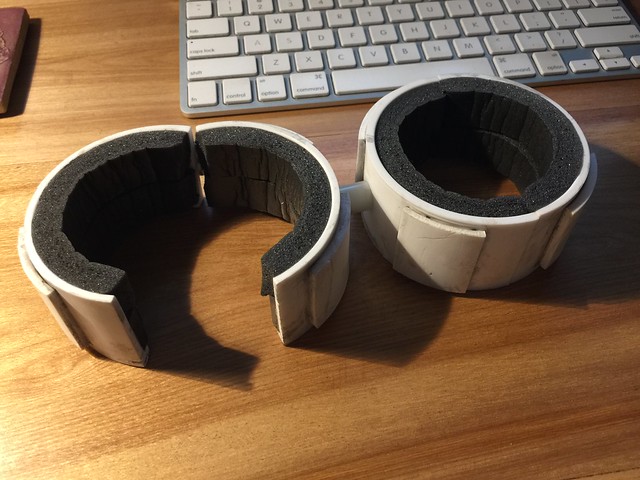
Finished the forearms! For some reason, they were the scariest part. I don't know why. I ended up having to go with a velcro closure, because my hands are just too damn big but I think it's fine, not very noticeable.
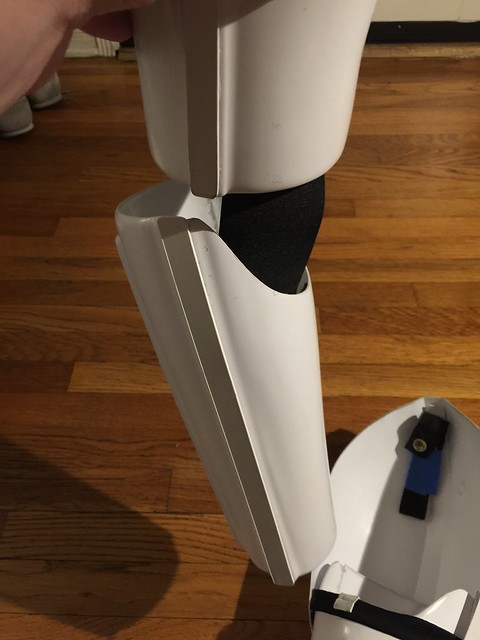
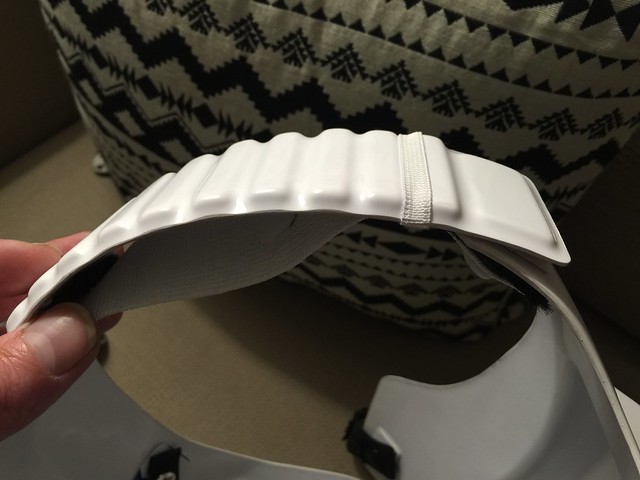
I installed the strapping between the bicep and forearm, using 2" black elastic. I opted for velcro on both ends instead of gluing it, in the event I need to remove a piece. Holds plenty strong and I like that I have the ability to adjust the gap distance if I need to.
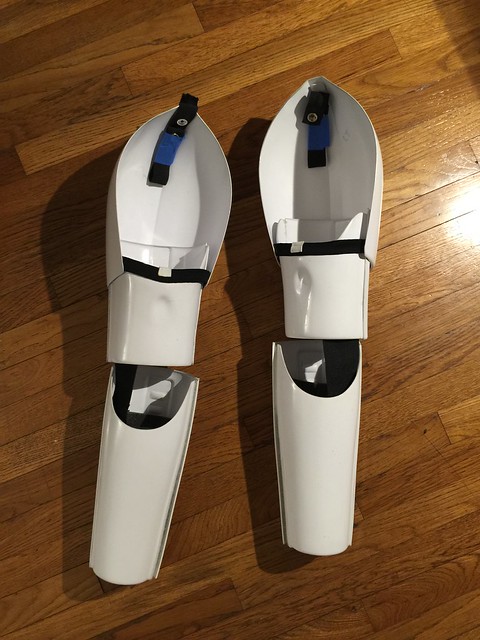
And here's a photo to show the completed arms attached to the shoulders. What do you guys think?
-
 1
1
-
-
Thanks, that's a big help!
-
This thread is giving me flashbacks. Excellent job Andrew
Thanks man, just started reading through your thread, that sounds like flashback territory for sure! Haa! Glad to see you were able to get it together, I'm sure you'll agree having to go through this process means we probably experience a whole lot of little headaches most people are able to avoid.

-
Yeah, I'll reverse the strip. Thought I had that right! Haa.
I did actually grind off quite a bit of that top track, despite them looking similar in the photo.
-
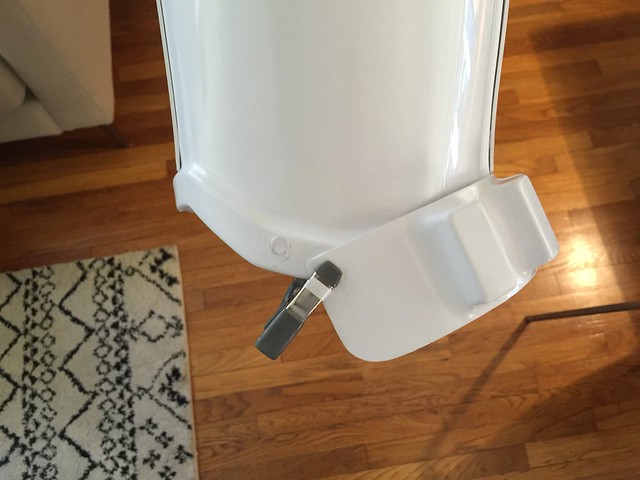
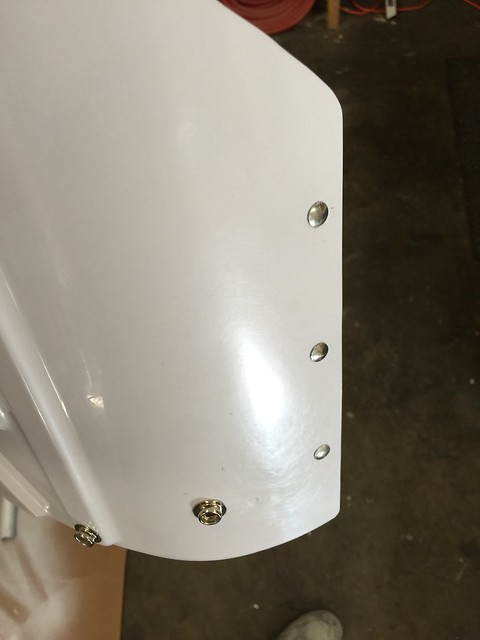
Having a small issue with the knee ammo, it lines up well on one side, but due to the curvature of the thigh and the way it's shaped, it causes the other side to have to be higher up. It was originally riveted this way so I assume the first owner had this issue as well. But seeing as I'm aiming for EIB and eventually Centurion, I'd like to get it right if I can.
What do you guys think?
(dont mind the messy ABS patch, still need to work on that)
Update:
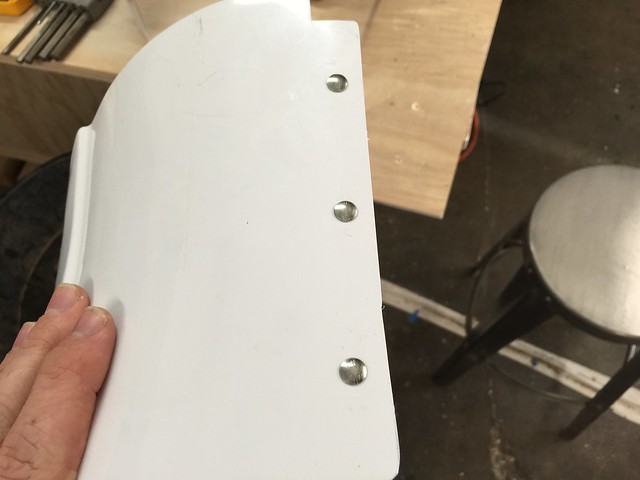
Here is another configuration that works, but it causes the ammo boxes to not overlap the cover strip. Is this the better of the two?
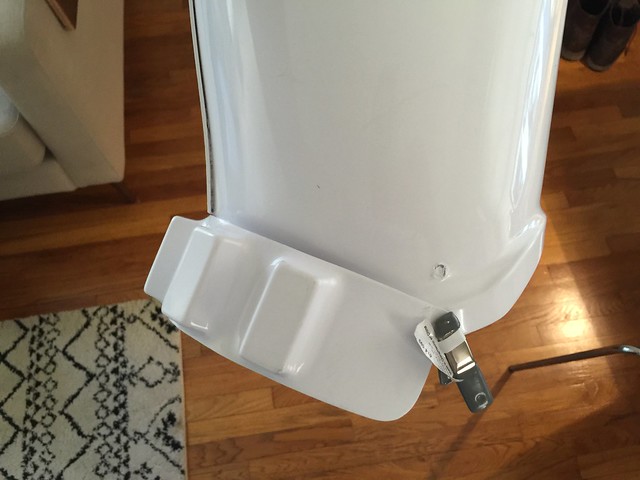
(need to fix cover strip which is peeling)
-
Looks great! I have a few questions.. Did you sand/bondo the seems or fill in the screw holes? And I haven't cut the rail on mine yet but I did cut the space between the scope and the rail. That leaves a bit of a gap between the two halves as you know, did you fill it in? If so, with what?
Sent from my iPhone using Tapatalk
Thank you! Yeah, I sanded the seam with a dremel and then used an epoxy putty to fill it. It worked ok but if I were to do it again I would probably use actual bondo. Seems like it would've filled in the cracks and sanded/shaped better than the epoxy. I just ended up embracing some of its imperfections, as I knew the detail and canon of this build would never be spot on.
Regarding the space under the scope, I did not fill it. By the time I remembered that it was there I had already mated the two sides and bondo'd the seam. Honestly, with the paint and all the finish, it's near impossible to see unless you intentionally flip it over and look in there. If I were to have filled it, I probably would've used green stuff or bondo with the halves separated, then shaped it before reattaching them.
-
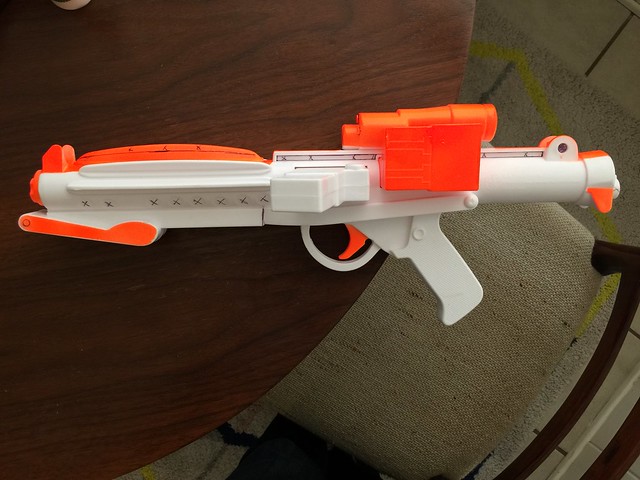
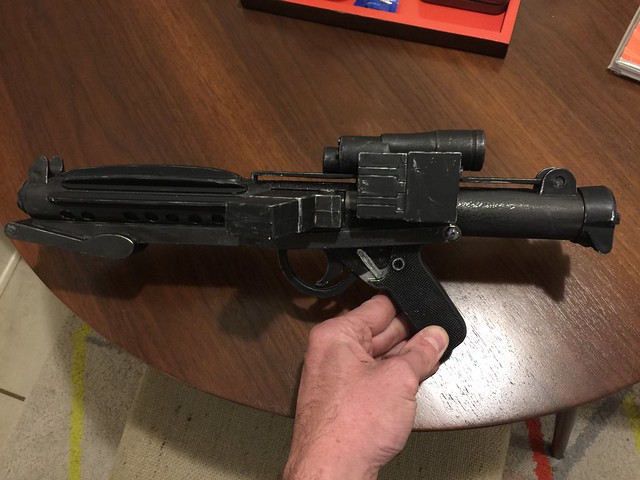
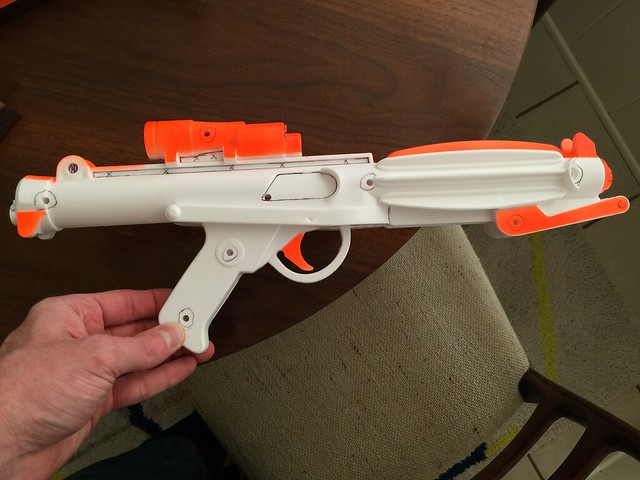
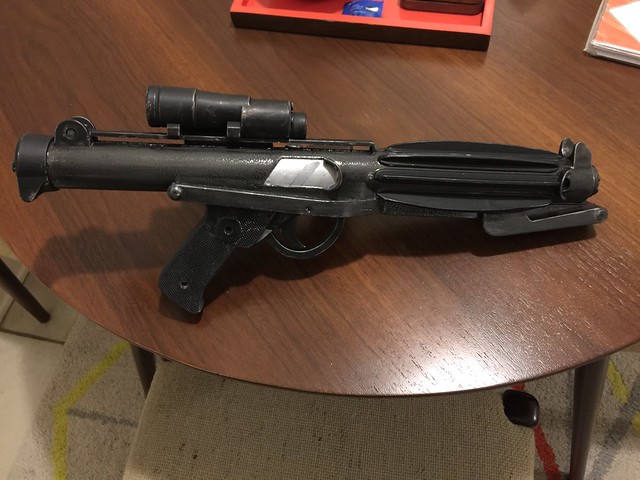
Hey guys! I'm pretty much finished (barring some minor cleanup and touchups) with my Rubies E-11 blaster mod, here's the before and after. If you guys have any specific questions about it please fire away. I have a bunch of photos I took during the process, I'll do a post mortem soon with lots more pictures. Enjoy!
-
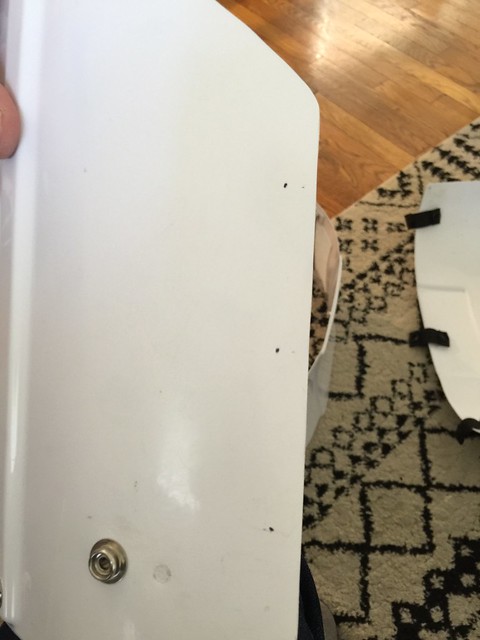
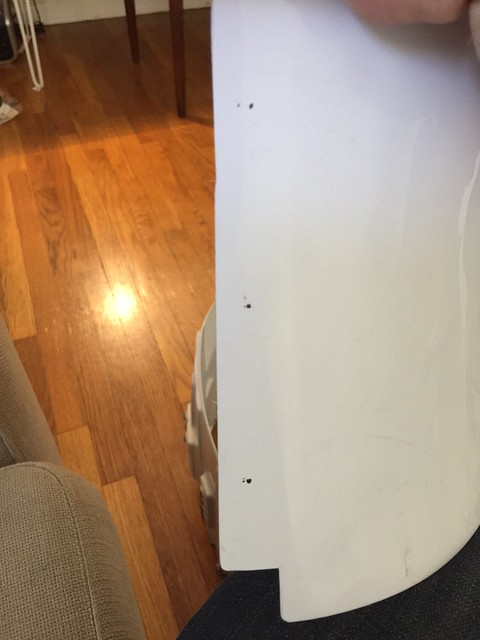
Can you guys give me some direction on the forearms? They are taped at the tightest amount of overlap already molded into the armor. There is definitely a small gap at the top and bottom, but I'm worried if I go any smaller I will be forced to use velcro as a closure since I wont be able to get my hand through. (I have really big hands) Overall they don't seem too bad, but you guys know a whole lot better than I do.

-
Pretty funny stuff. These guys members here?
http://www.theverge.com/2016/1/11/10749010/star-wars-stormtroopers-501st-interview-jokes-ces-2016
-
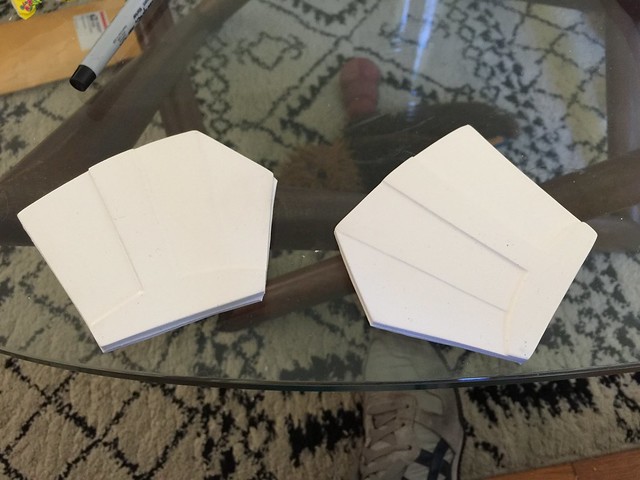
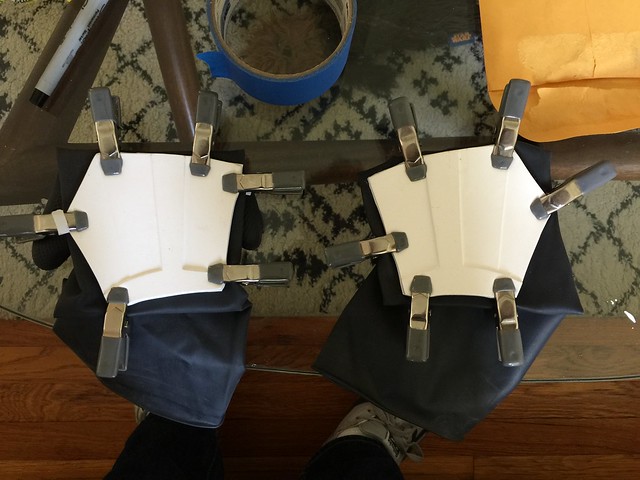
Calves are gluing. There are so many threads which show the cover strip process, I'm going to spare you the duplicates.
Otherwise, I got new white shoulder straps made up and installed elastic hold downs. Also got the kidney/ab rivets painted up.
Can anyone tell me where exactly the male snap should be installed on the upper right of the ab armor?
-
Any more progress? Working on one of these myself. Did similar inner barrel, opened up the barrel mouth, scope ends, cut out the plastic under the scope rail and added some weight inside before closing it up and bondo'ing the seam around the blaster. Not a lot of work and I think it makes a big difference towards the result.
Hope to see more of your build soon!
-
Also, there are 40+ magnets being used just in the above photo.
-
1
-
-
Damn you, super glue. Complete fail on my inner strip glue-up. I don't know if it's just the brand I'm using (Gorilla Glue) or what, but after 12 hours of being clamped, they just peeled right off. Back to the e6000 and another day of waiting...

-
Started working on gluing the calves and thighs today. Was so nervous about the whole thing and absorbed in trying to get it right that I totally forgot to take any pictures. When I get back to it tomorrow I'll try to remember to document.
In other news, I got the split rivets installed on the sides of the kidney and ab, think they turned out pretty nice. Just need to paint them up.

Also got my latex hand armor in from Trooperbay and glued them onto my rubber gloves.
-
1
-
-
Got bored today so decided to make some Imperial binders. Just put together with a some pieces from Home Depot. Probably $10 worth of stuff. Did a little wash/weathering paint to make them look used and abused. Pretty happy with the result, and comfortable too! You won't see my Rebel prisoners complaining.
Planning to make a black belt pouch to carry them in while trooping.
-
1
-
-
Also, is it acceptable to use Velcro as a closure for the forearms? Having trouble getting the pieces to the right size for my forearms while still being able to get my hand through. I still have some return edge on the wrist side to remove, maybe that will make the difference.
-
Couple questions I've been pondering as I wait for cover strips to arrive...
- On right thigh, should front cover strip go all the way to bottom, underneath ammo boxes? I assume it should.
- Is there a way to keep the butt piece from flaring out on the sides? The belt does an okay job of holding it tight but I could see it easily coming free with any regular amount of movement. I think I read in another build thread that someone had heat bent the sides in to match their contour. Wonder if that's the best route or if there is something easier.
- Do most people strap the forearm to the bicep with elastic/snaps? Seems like it would help keep the gap consistent and maybe help the forearm from rotating.
- Why did the stormtrooper cross the road?
-
You could also just make a set, great tutorial vid here-
-
I bought a pair very similar to these and after going through the entire dying and painting process, realized they did slip out from under my calf armor very easily. Super bummed. Not sure there is a fix other than my having to buy new boots and go through the whole process again.

-
Just got this, it's fantastic. Conforms to the body so there are no wrinkles. Very comfortable. I know not everyone is into the one-piece approach, but I did have a zipper sewn in to make using the facilities a non issue (or as non-issue as going to the bathroom in armor can be). Despite the photos there are no integrated gloves, which is great.
-
On 1/3/2016 at 8:22 AM, SlyFox740 said:
Wow, version 1 looks Great! The rubber seal looks nice and shiny when light reflects off it which is screen accurate. That glossy appearance is actually difficult to find in other materials. I was thinking about stacking some kind of soft rubber hose around a turtleneck and actually sewing them into place, very similar idea. You did an awesome job.

I'll have to watch ANH in Hi-Def to check out the back of Han's seal, I never noticed that before. For the closure I was just imagining butting the ends of the stacked rubber hose together with a very fine black zipper buried just beneath the butt jointed hoses so that it's not visible and sewed to the fabric underneath.
Might not be "screen accurate" but what do you think of that idea?
-Henry
Here's a grab of Han where you can sort of see the closure. it may not be a velcro setup like I used but it's similar.
---------------
I'm working on v2 now and the big thing I'm trying to polish from v1 is the ends of the tubes. Want to use velcro still but I also want to be able to close off the ends of the tubes, which I haven't been able to find a clean way to do yet.
-
And you haven't had any issues with the strength/hold of the snaps? My instinct is that it would be fine, especially considering the blaster itself is plastic and doesn't weigh much.
-
Loving watching this build come together.
It's the first rt-mod I've noticed since I finished mine and is just bringing back good memories of armour building
Looking good
Thanks and yeah it's a funny feeling, right now I'm just so excited to get it finished, but I know that as soon as I'm done I'll probably wish I was still building it. Grass is always greener, I guess.

-
Yeah, think I'll go with the chicago screw approach. Strong yet modular.
BrinkHouse ANH TK Stunt Build [RT-Mod]
in ANH (Stunt and Hero)
Posted · Edited by BrinkHouse
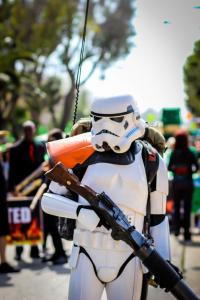
With all the major components of the build finished, I couldn't resist the urge to put all on and take an action shot! I still have a few things to adjust (boots are being completely replaced) and fix but it's 99% there, I think! What a great feeling wearing the whole kit for the first time.
"There's one! Set for stun."