

Coloursergeant
-
Posts
68 -
Joined
-
Last visited
Content Type
Profiles
Forums
Gallery
Articles
Media Demo
Posts posted by Coloursergeant
-
-
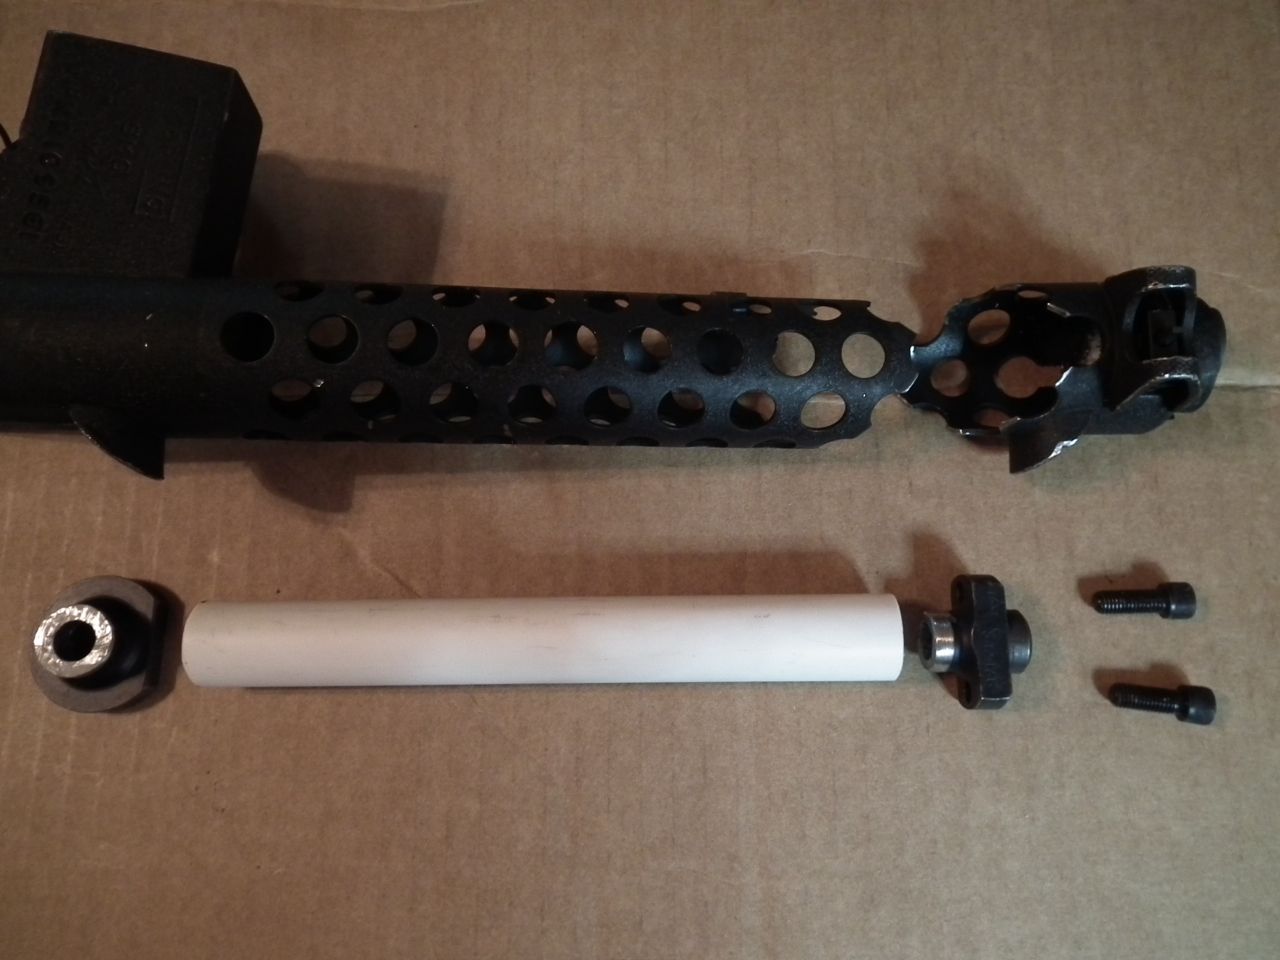
My next step was to prepare a new barrel assembly for the Sterling. The barrel that came with my kit was demilled, so it was cut into three pieces. Intact barrels, while available are expensive and I really don't need a functioning barrel, so I thought this was a good opportunity to save some weight and create a lightweight substitute.
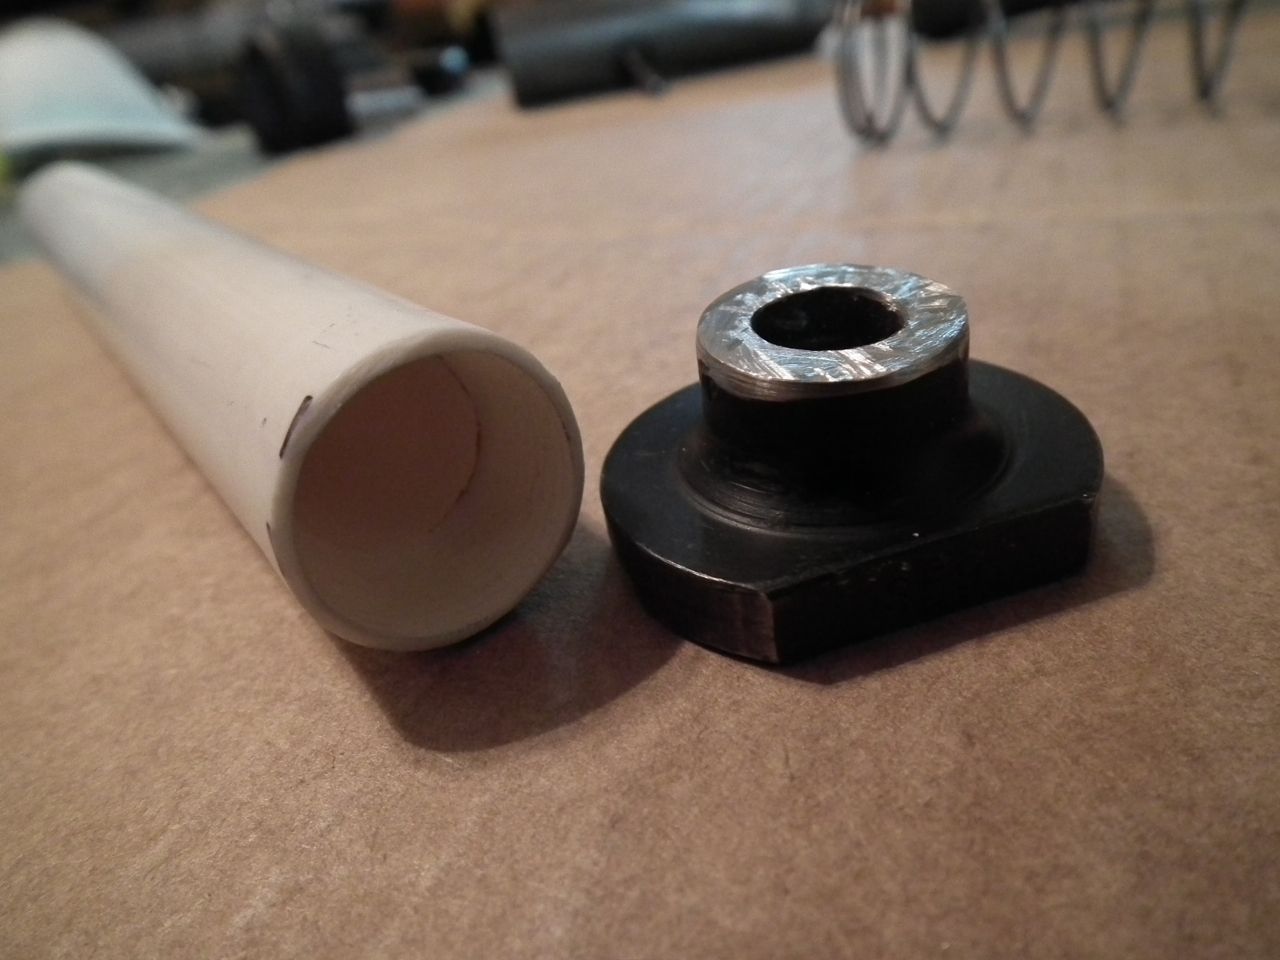
Using the front and back pieces of the original barrel, I found a piece of PVC pipe that fit perfectly over the front barrel stub. The rear stub is larger in diameter as the original barrel is tapered, but the PVC pipe was still big enough that it would fit over the rear piece once I counter-bored it to the correct size.
I did make sure that the length of the finished assembly matched the original and test fit it before bonding the pieces together with JB Weld.
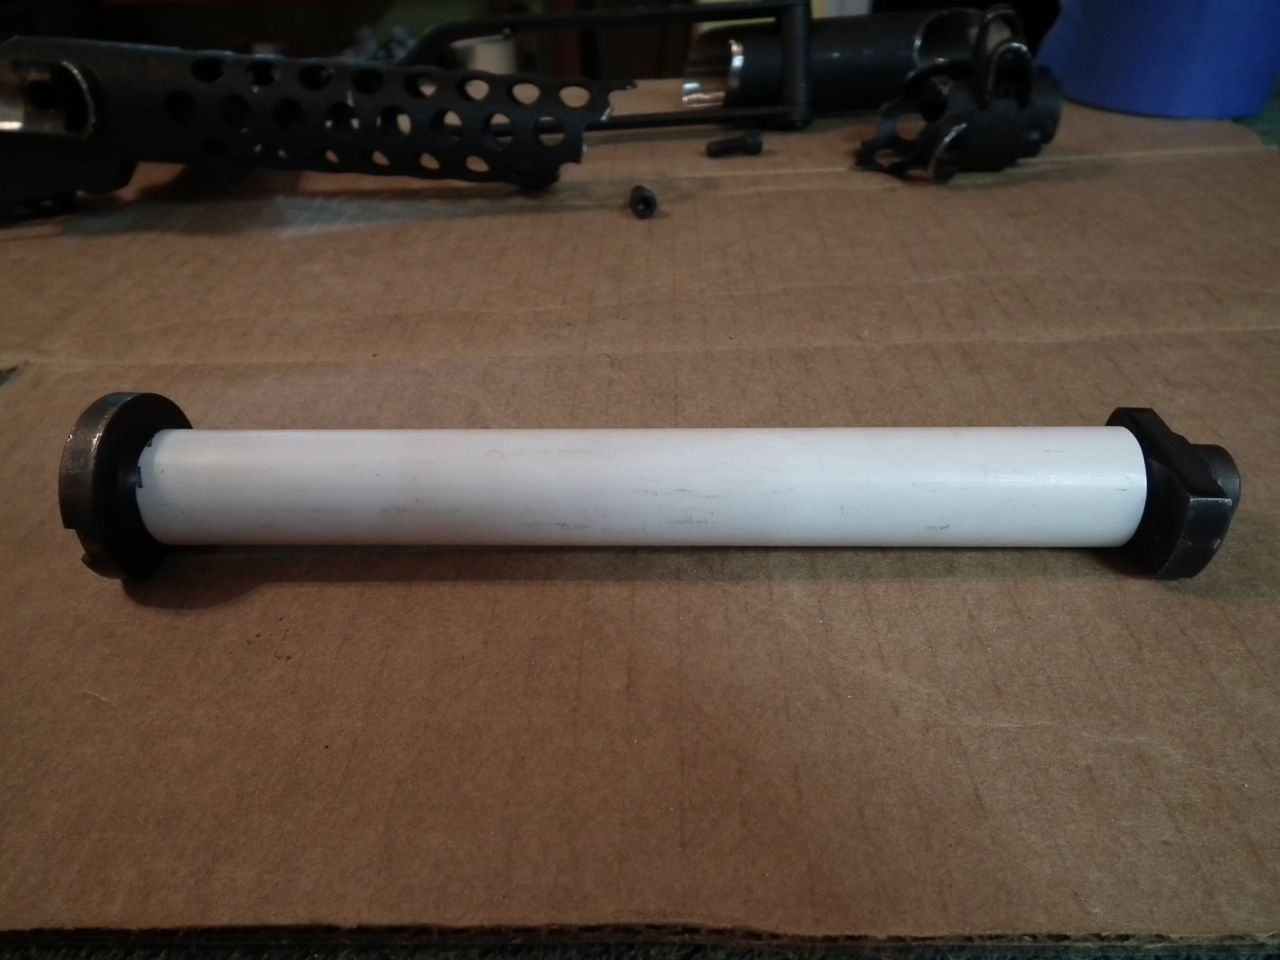
While the new barrel assembly is larger in diameter, it still leaves plenty of room inside the outer tube and it looks good when test fitted. I spayed it with some flat black paint once the adhesive set up.
-
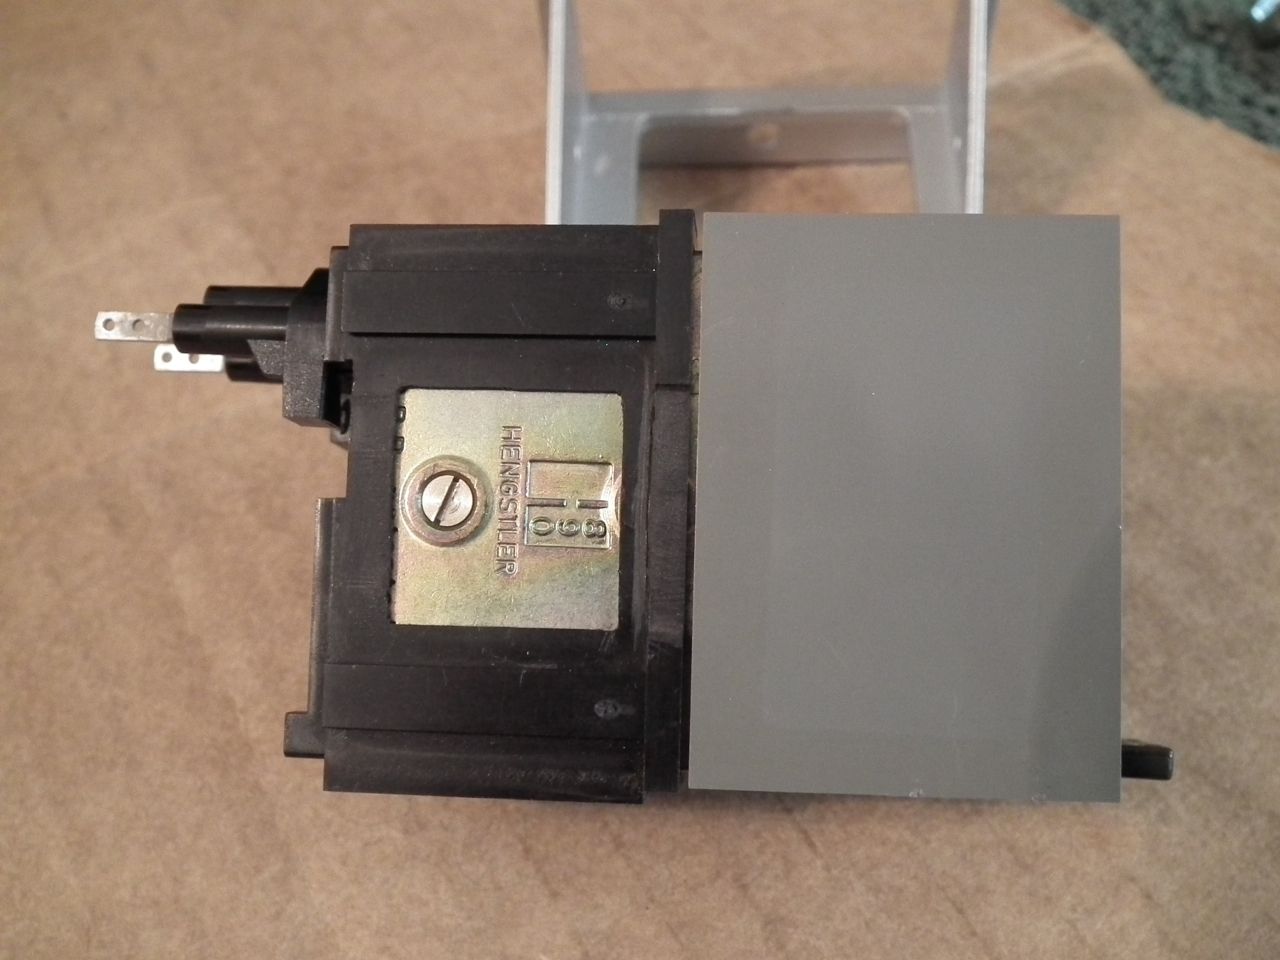
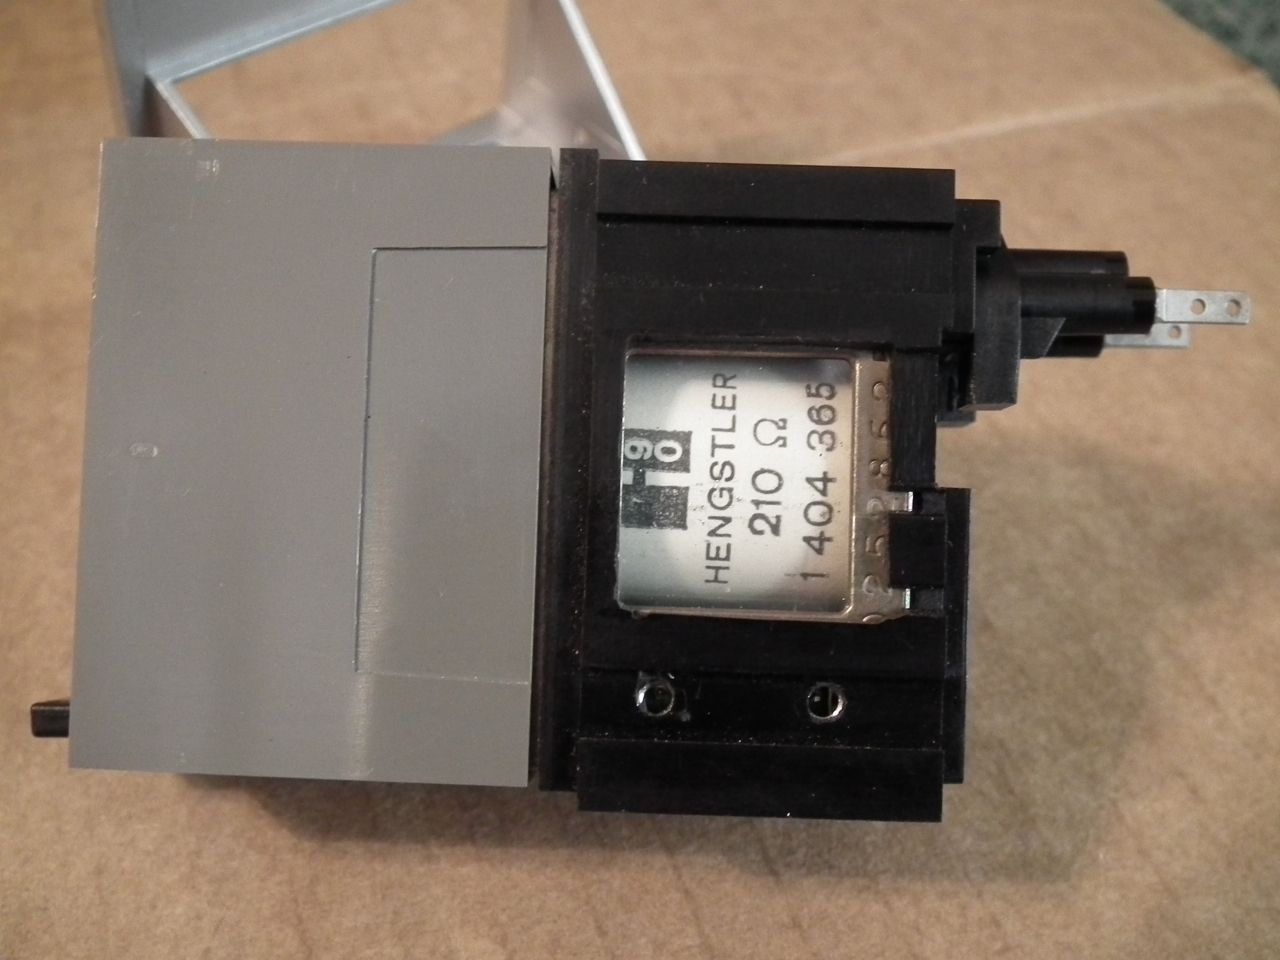
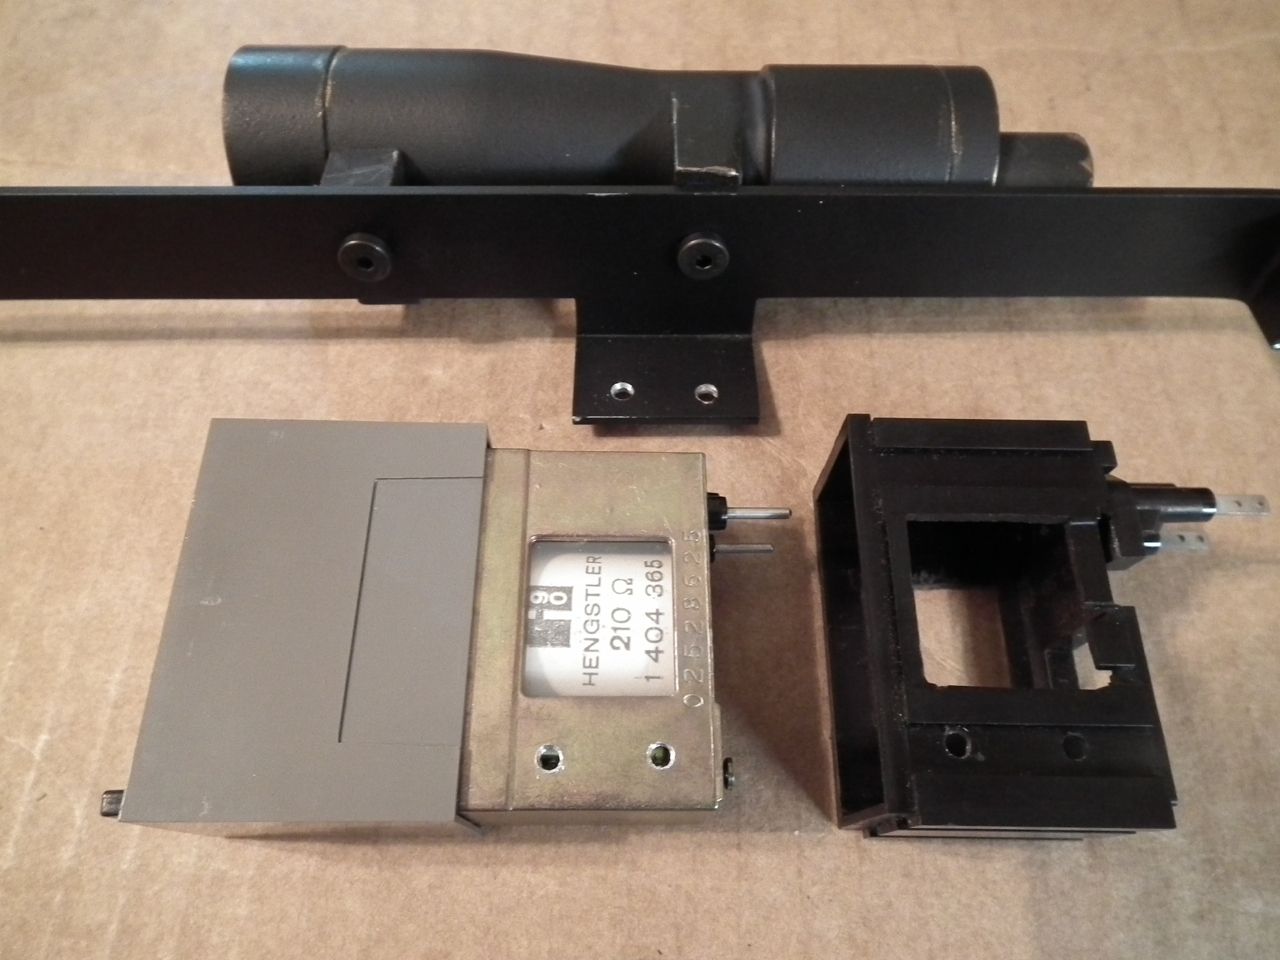
I got to work right away on the Hengstler counter. I wanted to modify the plastic socket to have the same sort of cutouts that the metal socket has. This went pretty well, although right after I finished I found better reference photos of the metal socket.
At the same time I drilled and tapped the side of the counter with two 4-40 screw holes to attach it to the scope mount bracket that just arrived from England.
-
 2
2
-
-
Hello Everyone!
This is the first thread I've ever started here. I love the E-11 blaster and while I have a great piece to troop with from RS (and a not-so-great one from SDS...), but there's just nothing like the real thing, so that means making it from real Sterling parts, and as many other originally used components as possible.
As a lifelong collector of militaria and historic military firearms, I have owned and built several display guns made from machine gun part kits, so I already had some ideas of where to look for a Sterling parts kit. After shopping around, I ended up purchasing a parts kit and magazine from Numrich Gun Parts Corp at an extremely reasonable price.
Here are a couple photos of what the kit looked like after some basic cleaning of the parts and grinding away the slag metal left behind by the cutting torch with my Dremel. The main body of the receiver tube has been cut in four places with a torch, but the cuts are well placed and not a lot of material is missing at the gaps.
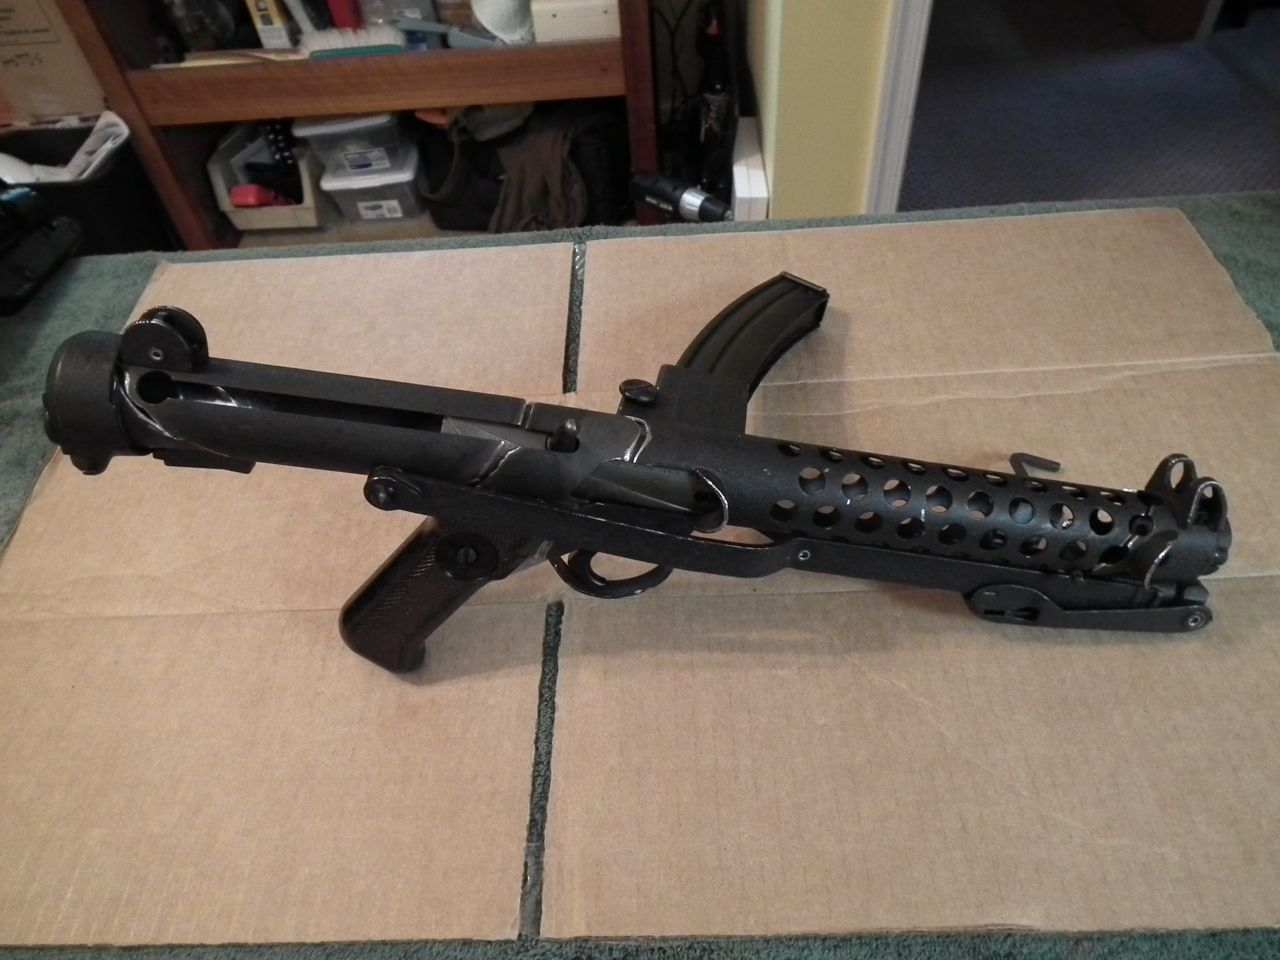
As you can see the kit I received has the textured crinkle finish on it. At first I thought I would sand it smooth, but now it has grown on me and I'm going to try to preserve it.
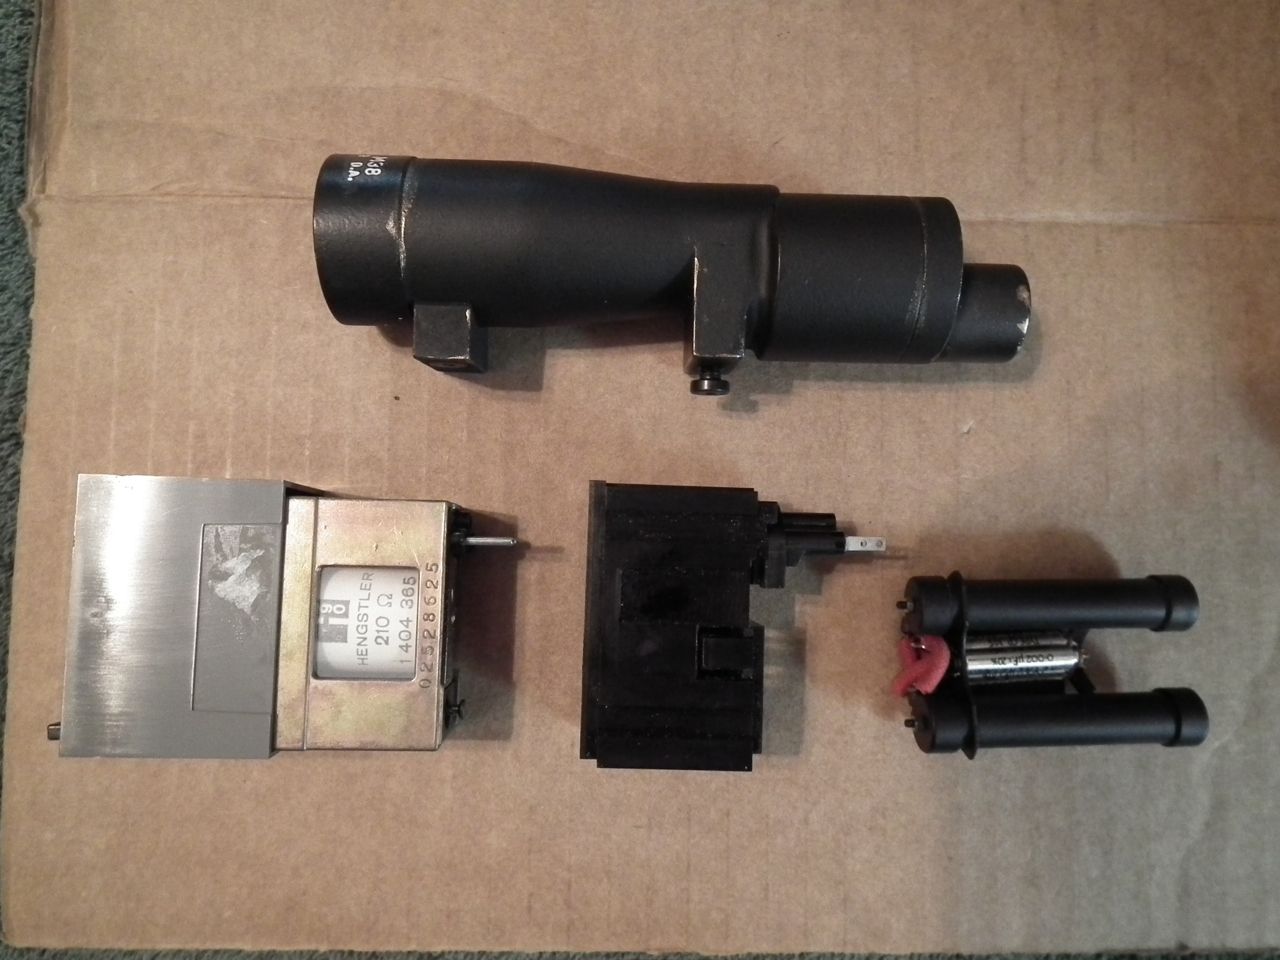
Next I started collecting the other items needed for the conversion. I was able to find an original Hengstler counter (six digit, resettable) although it is a later version with the H logo instead of the eagle. I am still happy to have found it though and at $60 I think the price was okay.
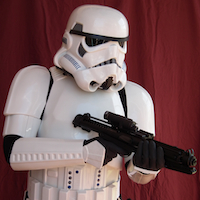
I also purchased the aluminum reproduction M38 telescope and the assembled type A power cells made by Fieldmarshall thru his eBay store. I have to say that I am very impressed with the quality of these items especially after reviewing much of the excellent research material available on this forum.
Here are the items I have acquired so far:
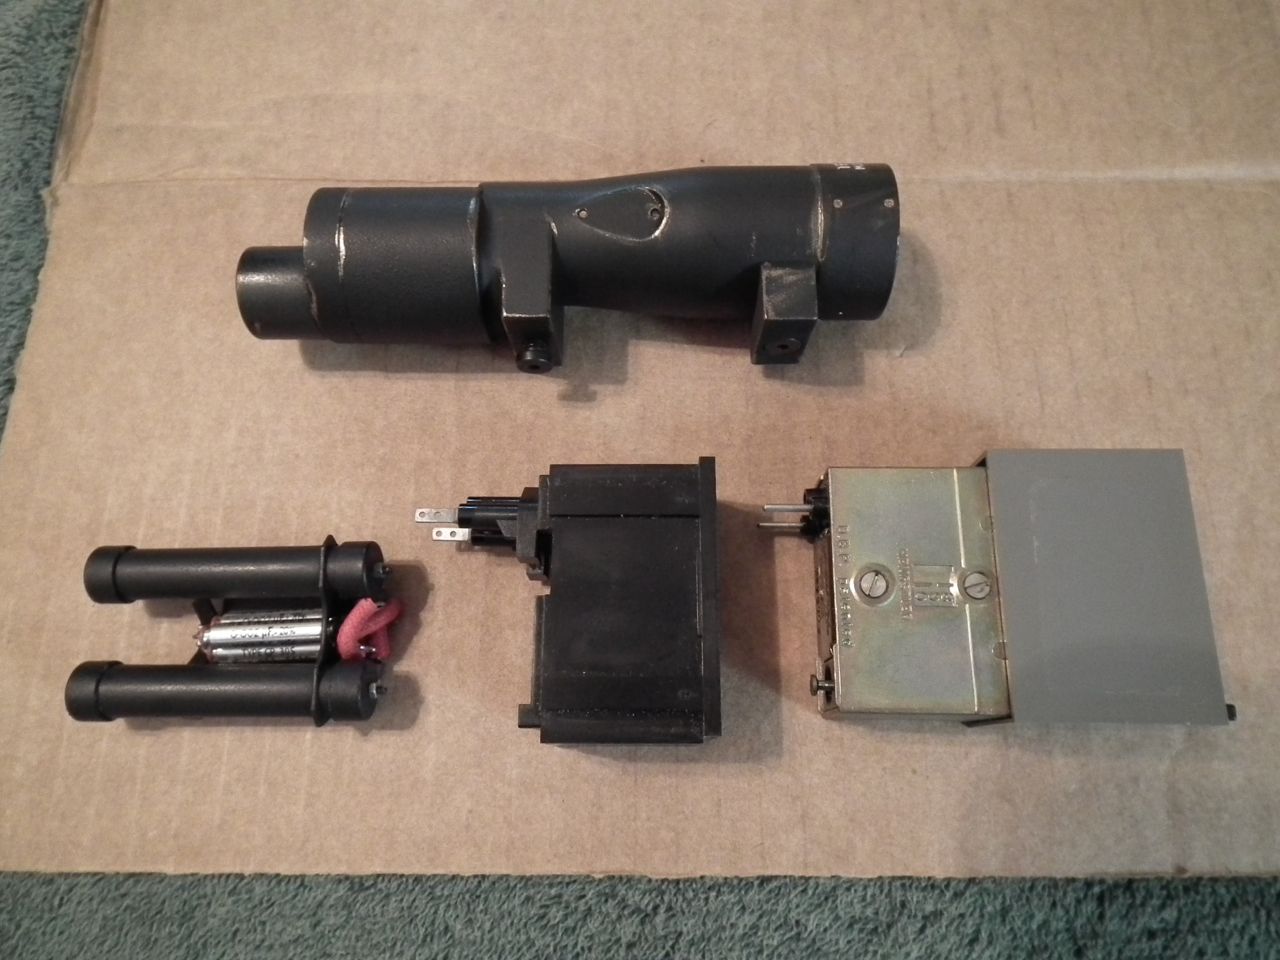
I also ordered a mounting bracket for the scope and Hengstler from a UK based eBay seller. I selected the type that attaches at the rear to the flip-up rear sight, as I didn't want to drill into the Sterling receiver tube.
The last item needed is T-Track, and I ordered a kit from Gino. After placing that order I learned about the track available from Roy at wannawanga, so I have ordered a set from there also to compare them. I am sure I will build another lighter weight E-11 for trooping, so it shouldn't go to waste.
I will post updates as I get started on the build!
-
1
-
-
I applied for an Amazon credit card while pre-ordering this helmet and they gave me a $70 credit, so got the helmet for $9.99!

-
2
-
Coloursergeant's Steel E-11 Blaster Build
in Build Threads Requireing Maintenance
Posted · Edited by Coloursergeant
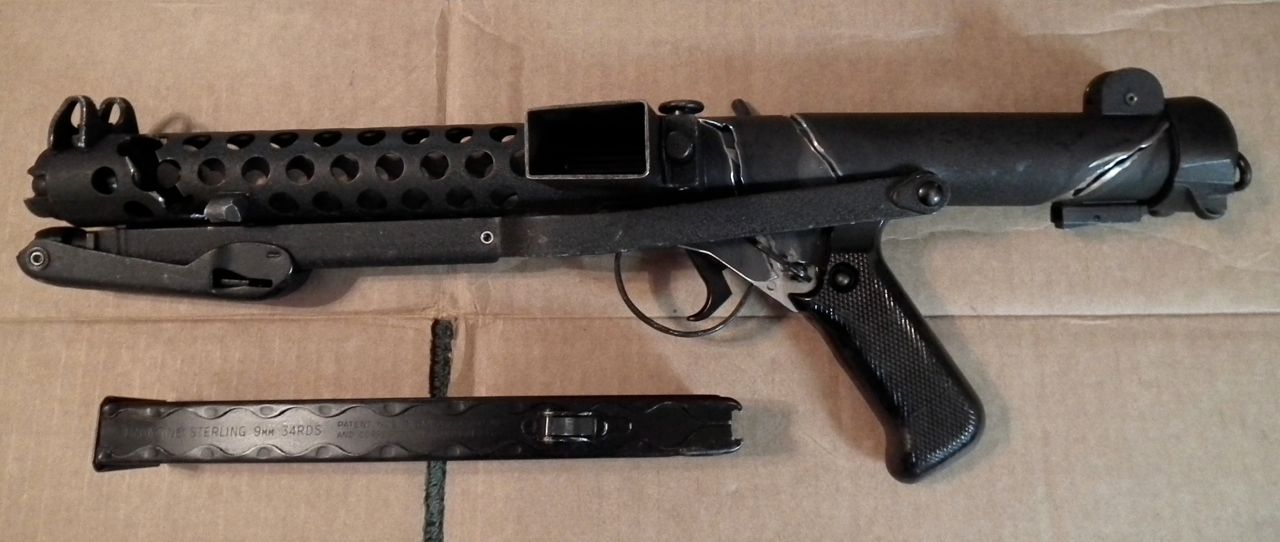
Now to tackle shortening the Sterling magazine. There seem to be a great many different lengths of magazines used in the films and promo images. I decided that I like the look with about an inch of exposed magazine, so I cut my mag into three pieces with the two ends about the same length, This gives me parts for two mags of the same length.
By cutting the mag spring short I was able to reassemble the bottom portion of the mag using the follower, spring, and base plate, much like the original mag was assembled. I did have to roll in the edges of the top of the mag where it had been cut in order to provide a stop to retain the follower inside the mag. This big metal follower makes the mag heavier than it really needs to be, so I may remove the follower later on and find something else to hold the spring in place.
I still have the other half of the mag that no longer has a baseplate, so I can always make a second mag by creating a bottom piece for it.
Here is the mag installed in the mocked up blaster.