


Cody42
-
Posts
98 -
Joined
-
Last visited
Content Type
Profiles
Forums
Gallery
Articles
Media Demo
Posts posted by Cody42
-
-
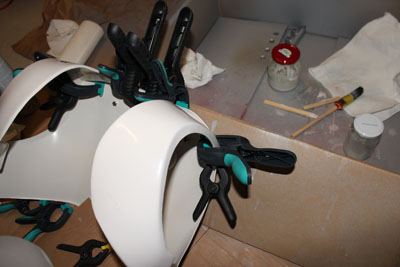
Day 8:
ABS Slurry takes forever to dry... Most of it could be sanded after 24 hours. It still takes some more time until it completely dries. This afternoon I started sanding some parts I filled yesterday. The surface quality is not the best, especially where much slurry was applied. So I'll have to smooth the surface with some filler.Additionally I started to line the gaskets and sew on velcro. The lining makes it a lot easier to put them on, as the rubber tends to stick to cloth.
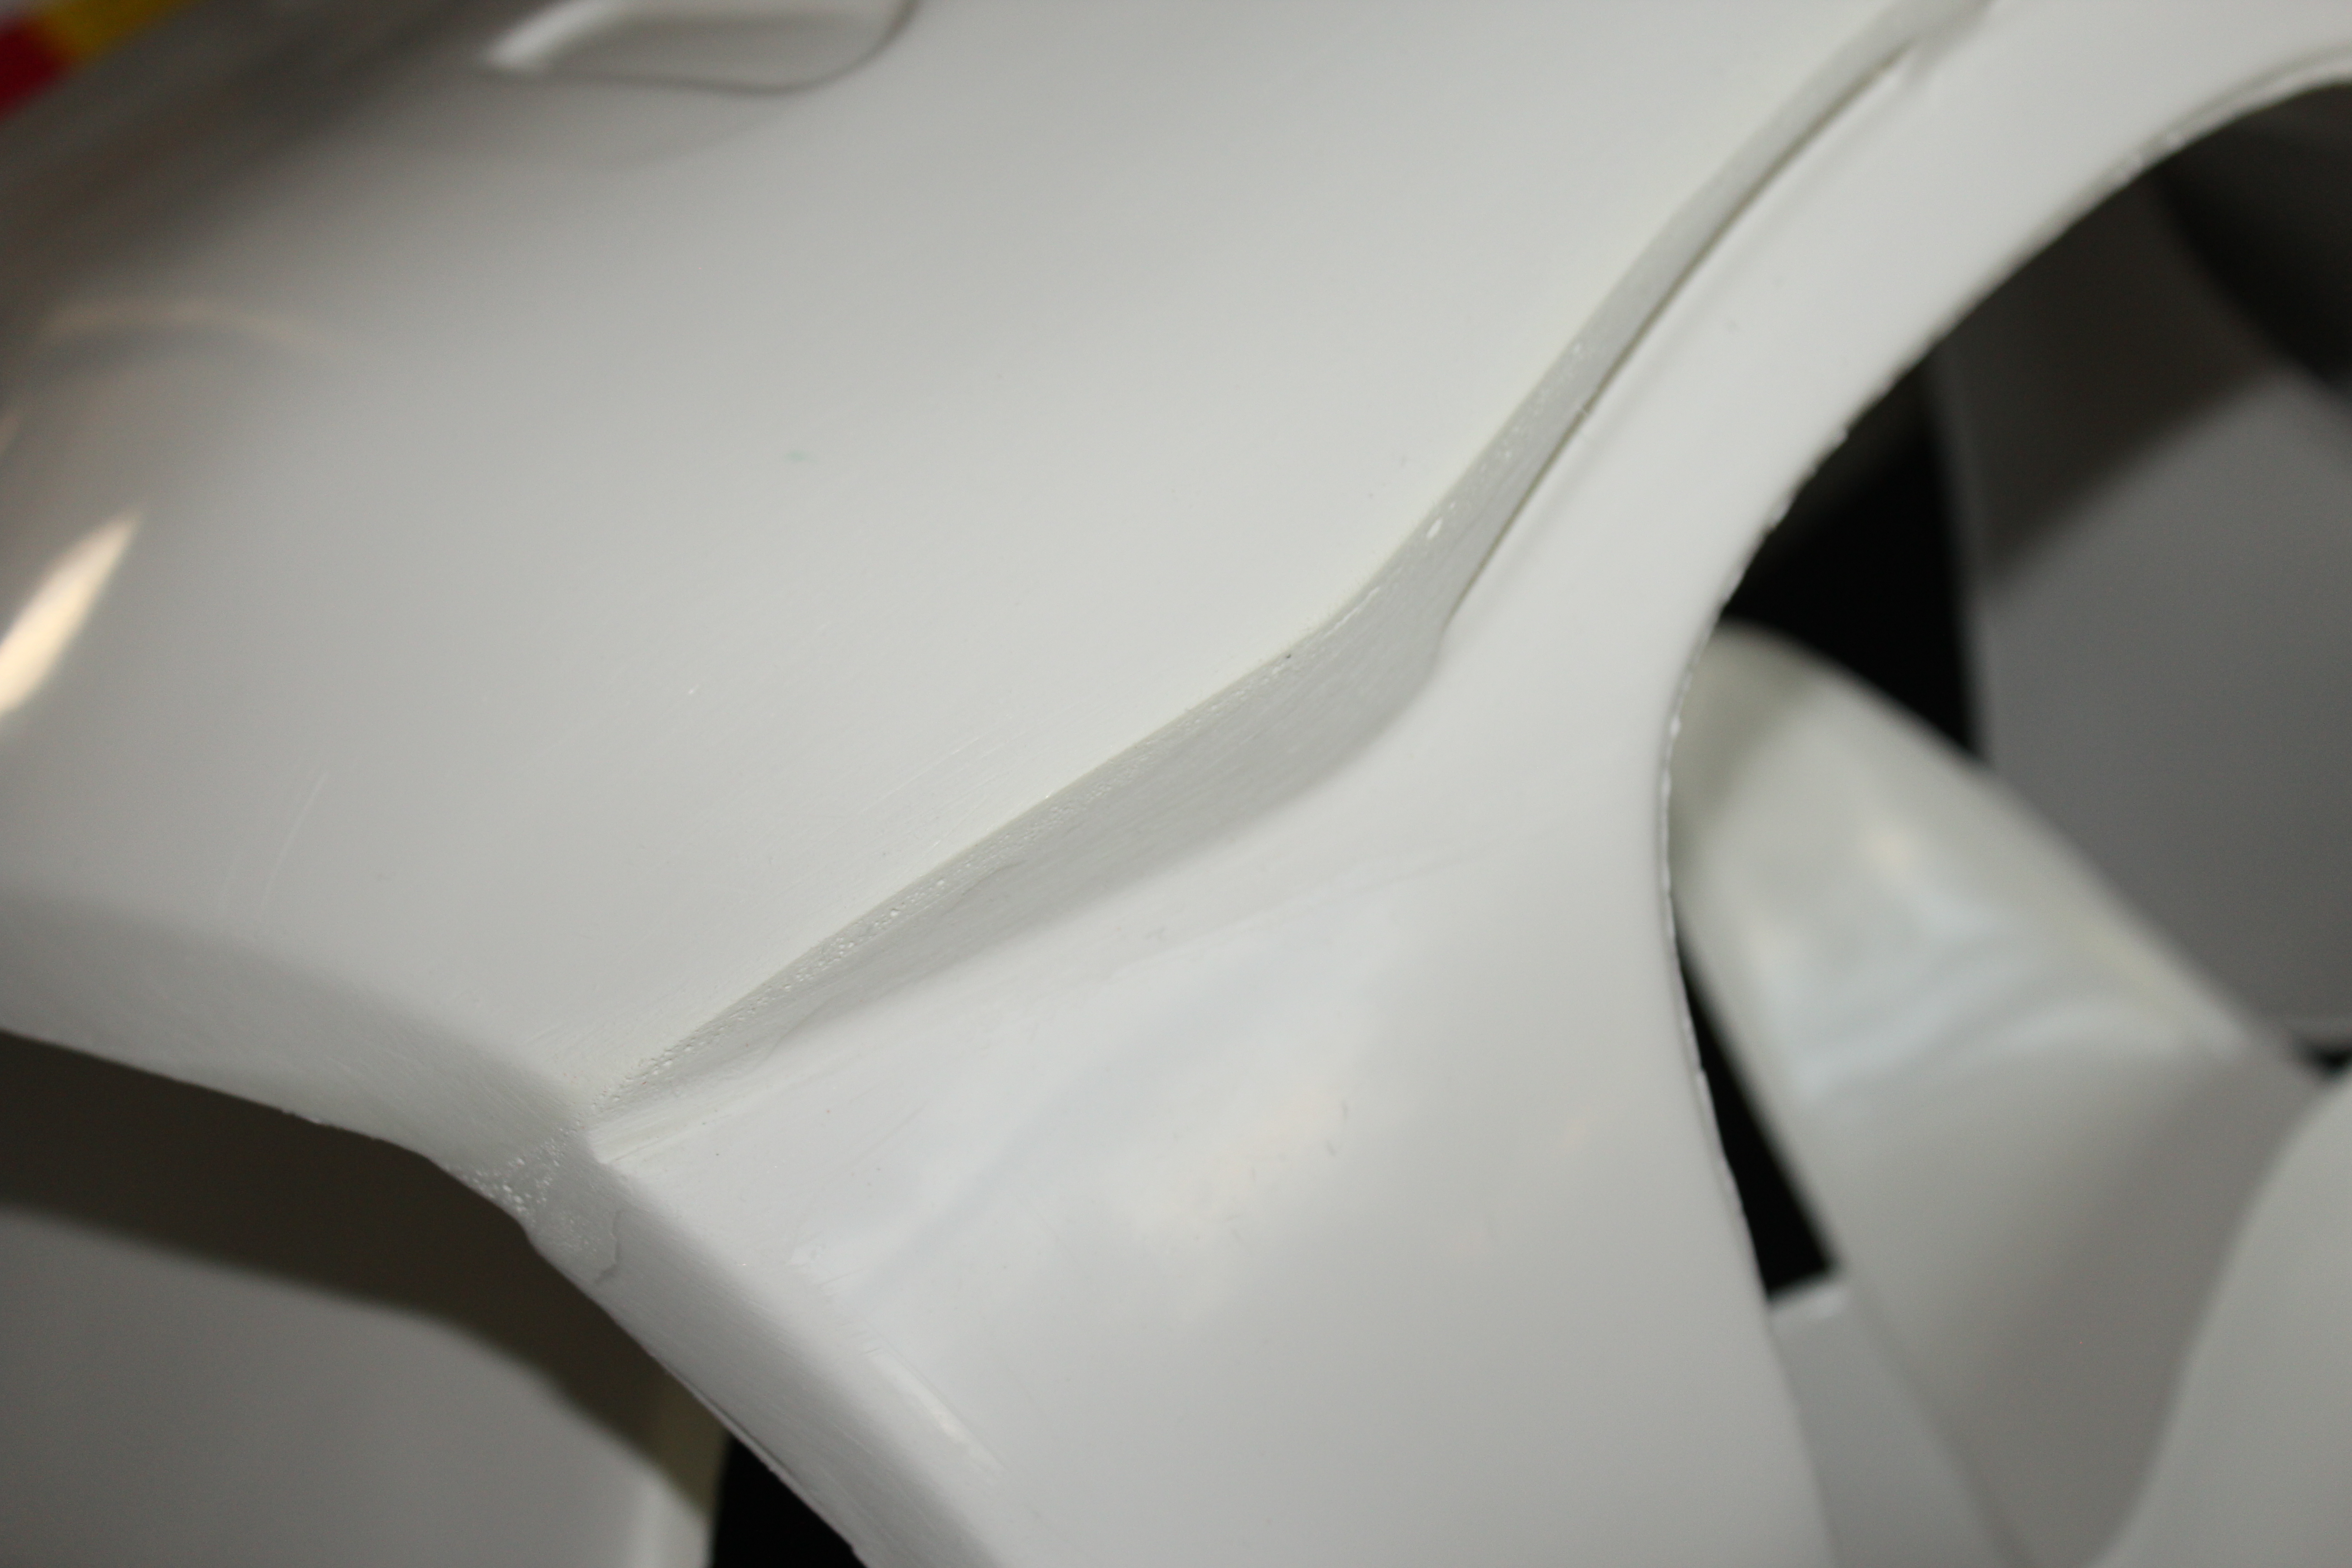
Sanded Back. You can easily see that it needs some filler.
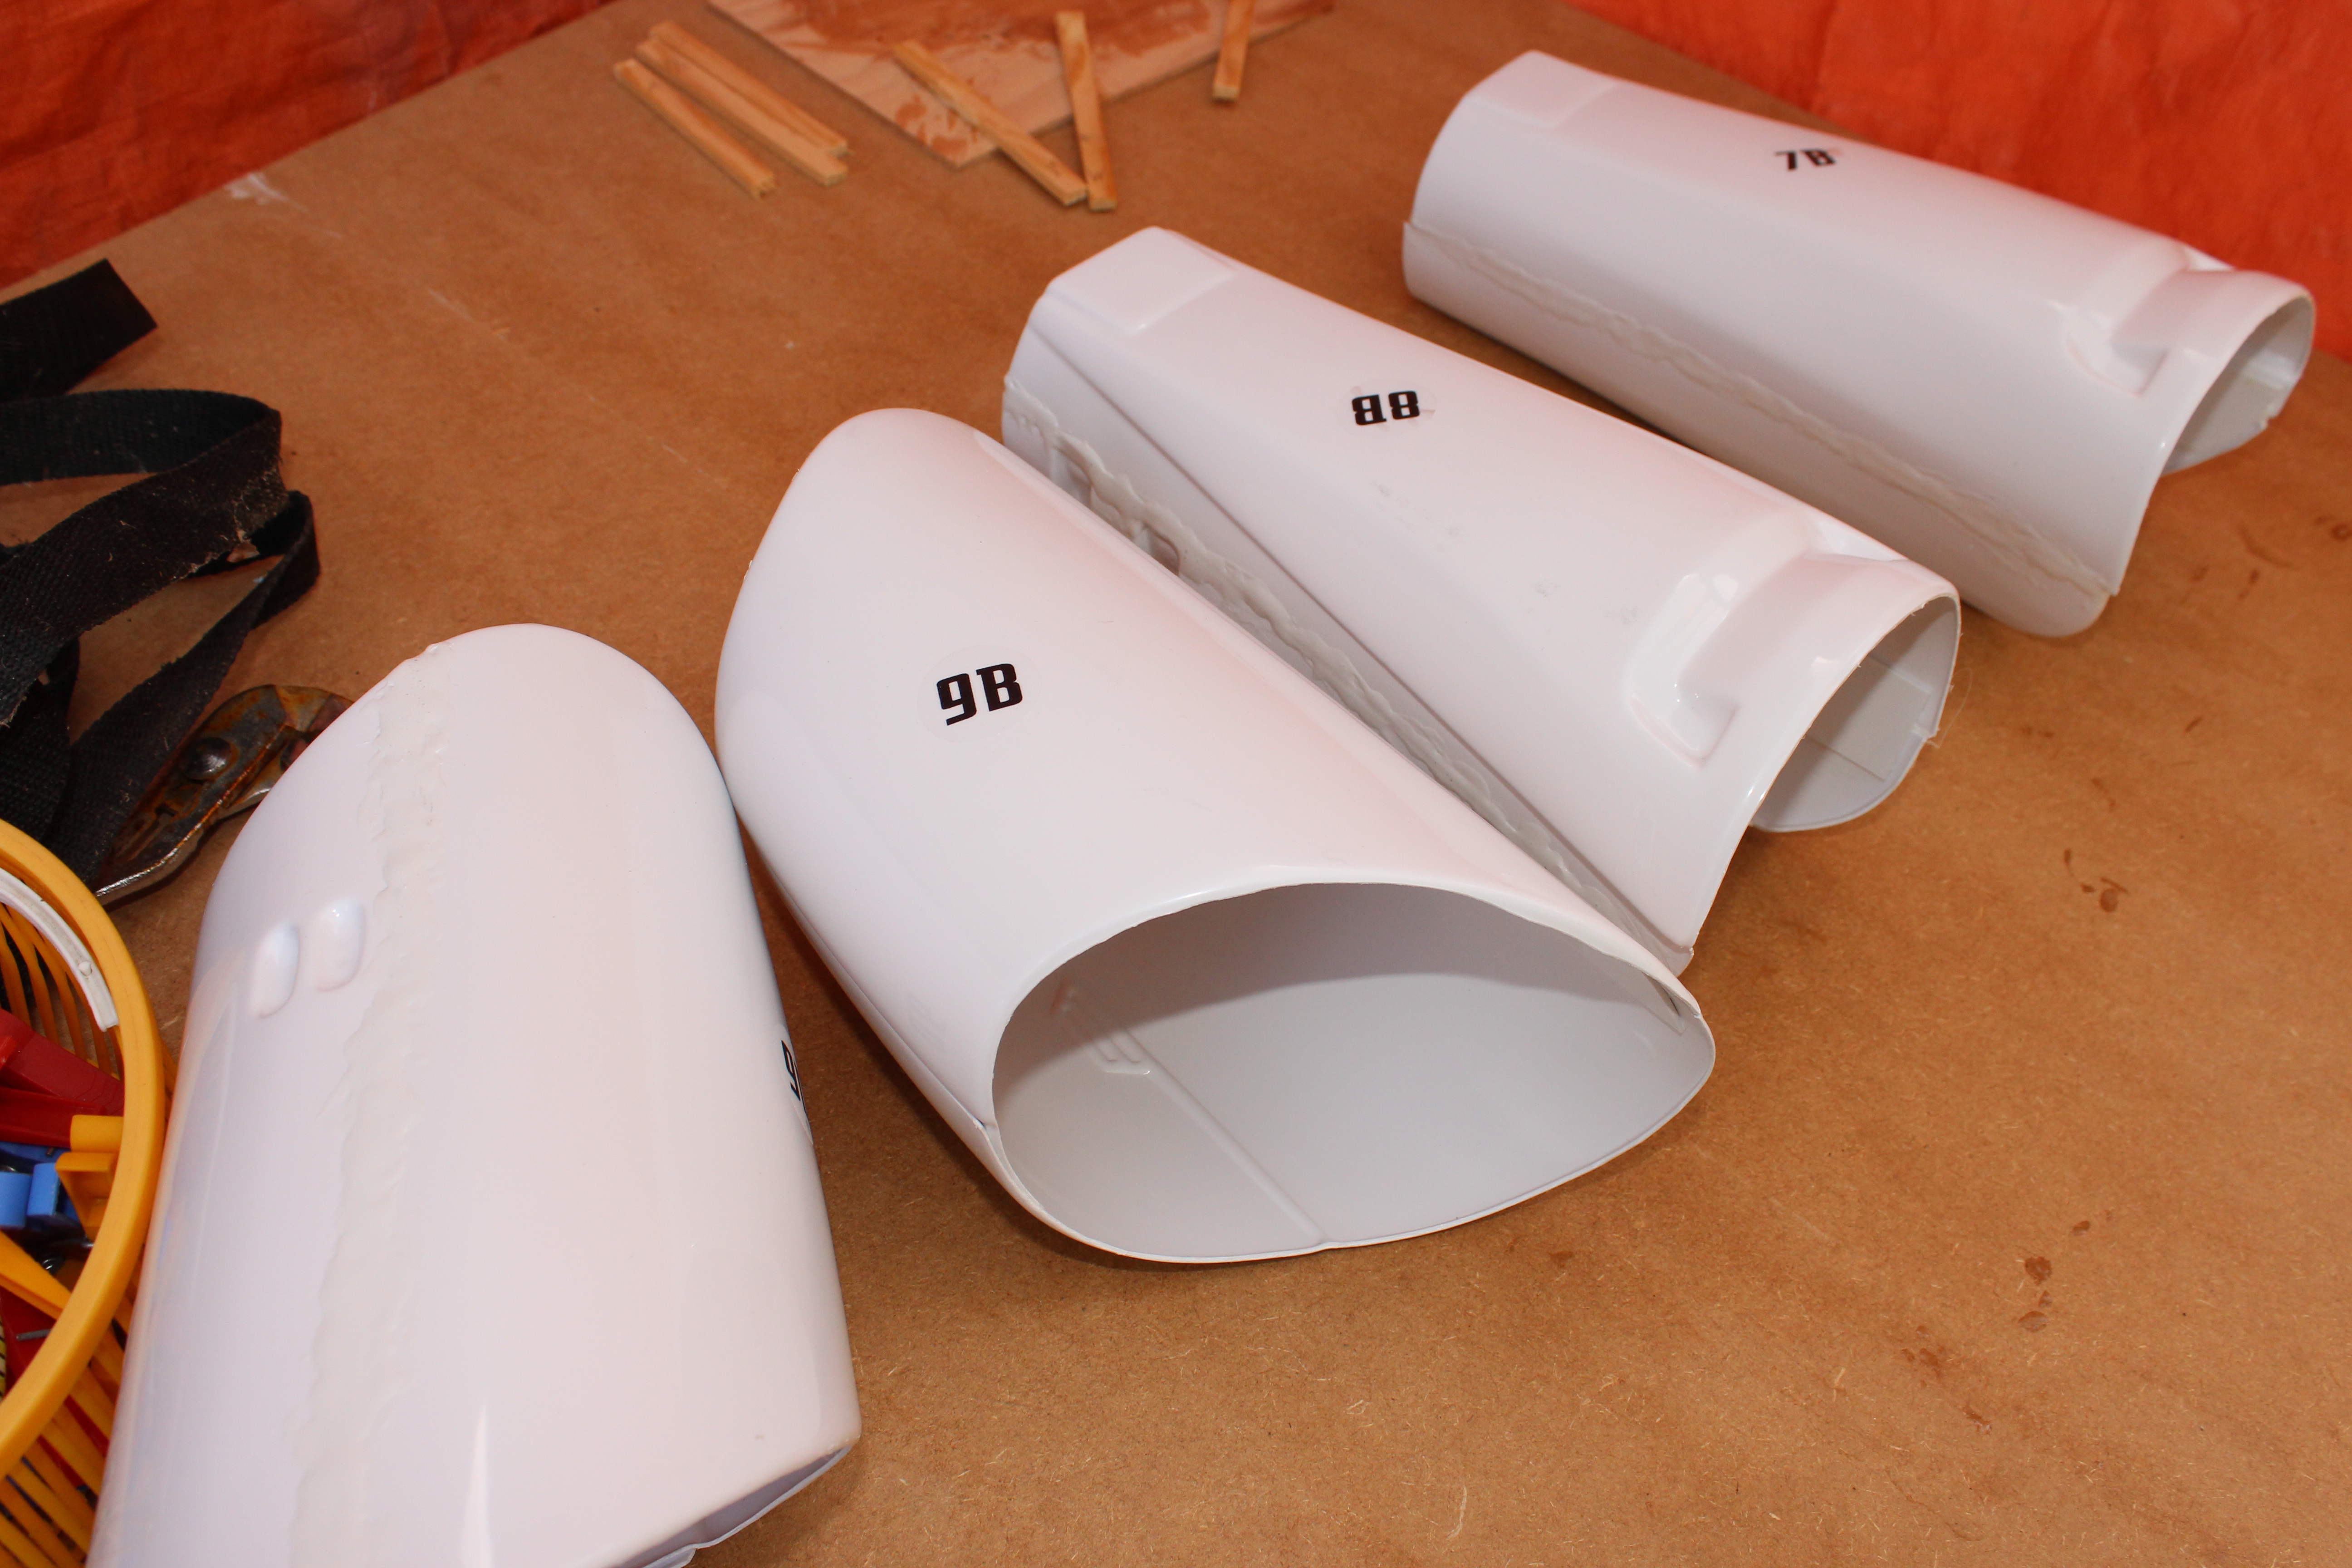
Arms, also need filler.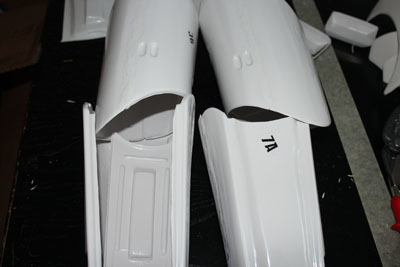
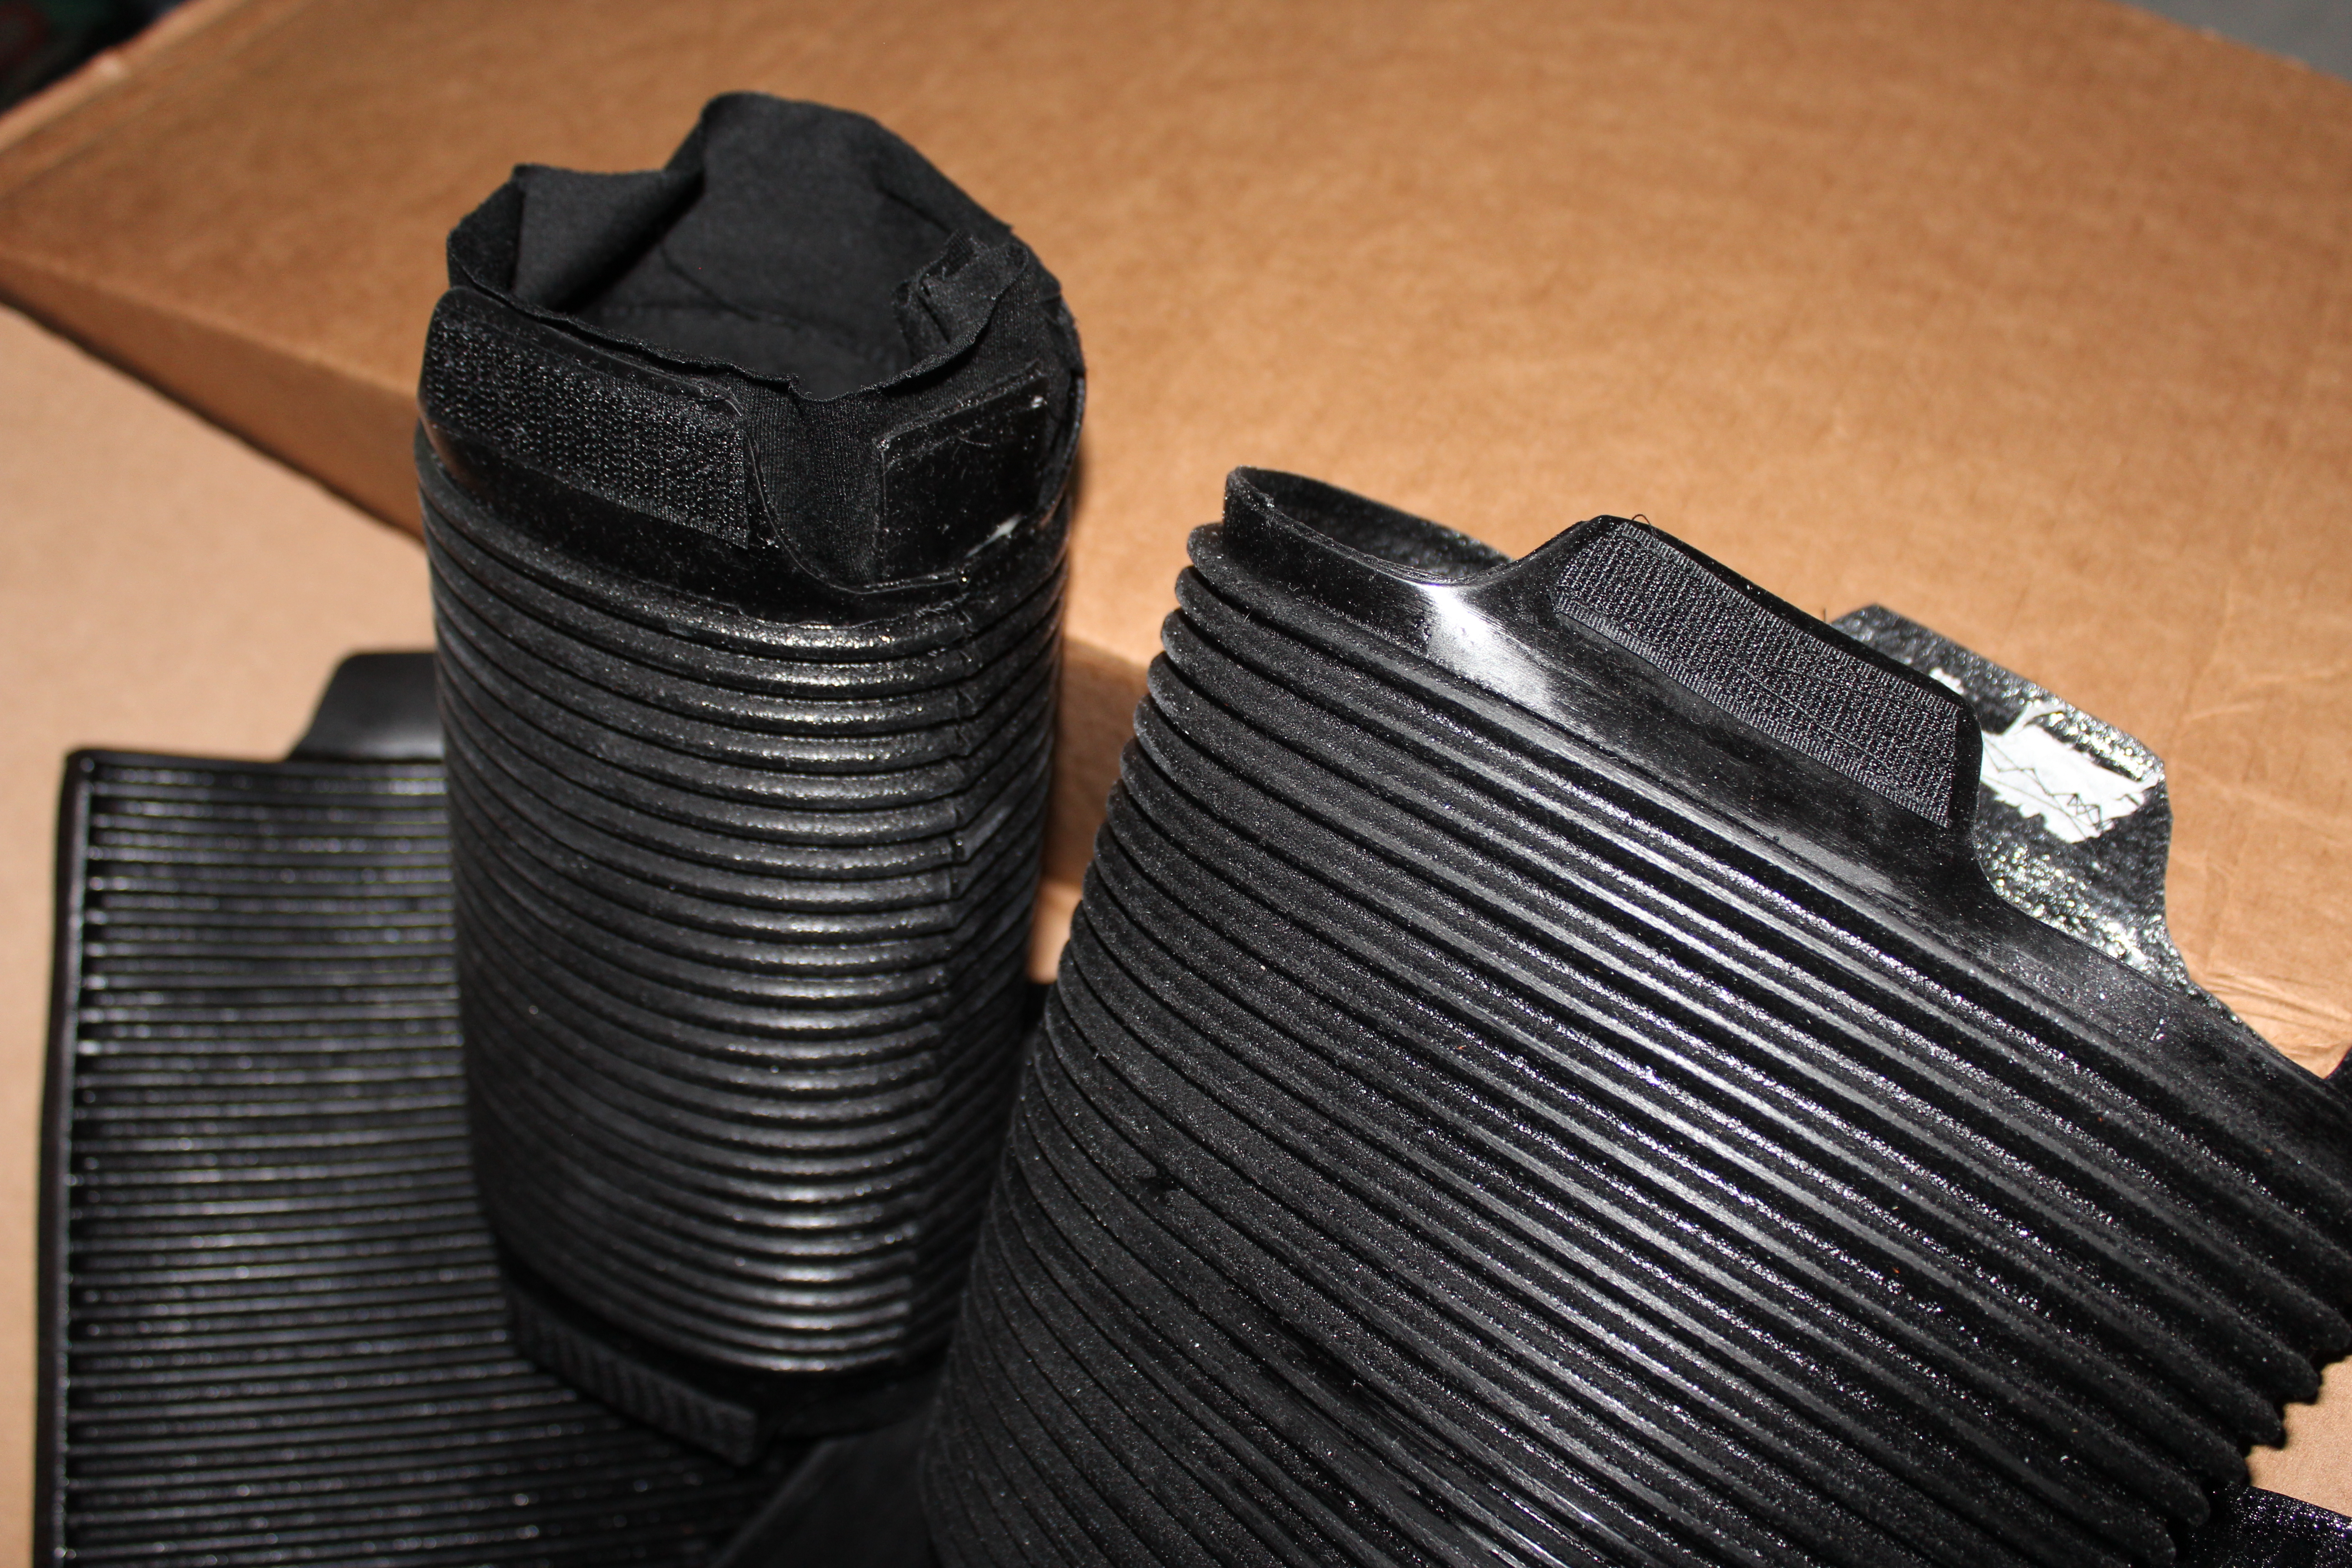
Gaskets with velcro sewn on, left already has lining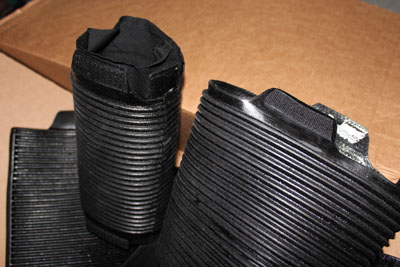
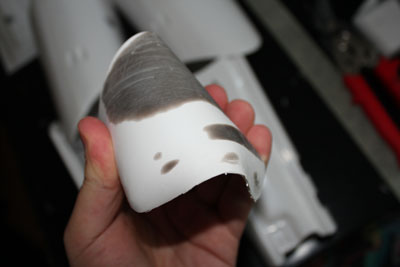
Testing some plastic filler on scrap parts. As you can see it withstands a lot of flexing. I repeated bending tests through out the day. I'm very confident this stuff won't crack or chip of.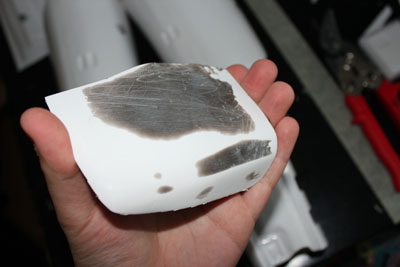
-
Day 6:
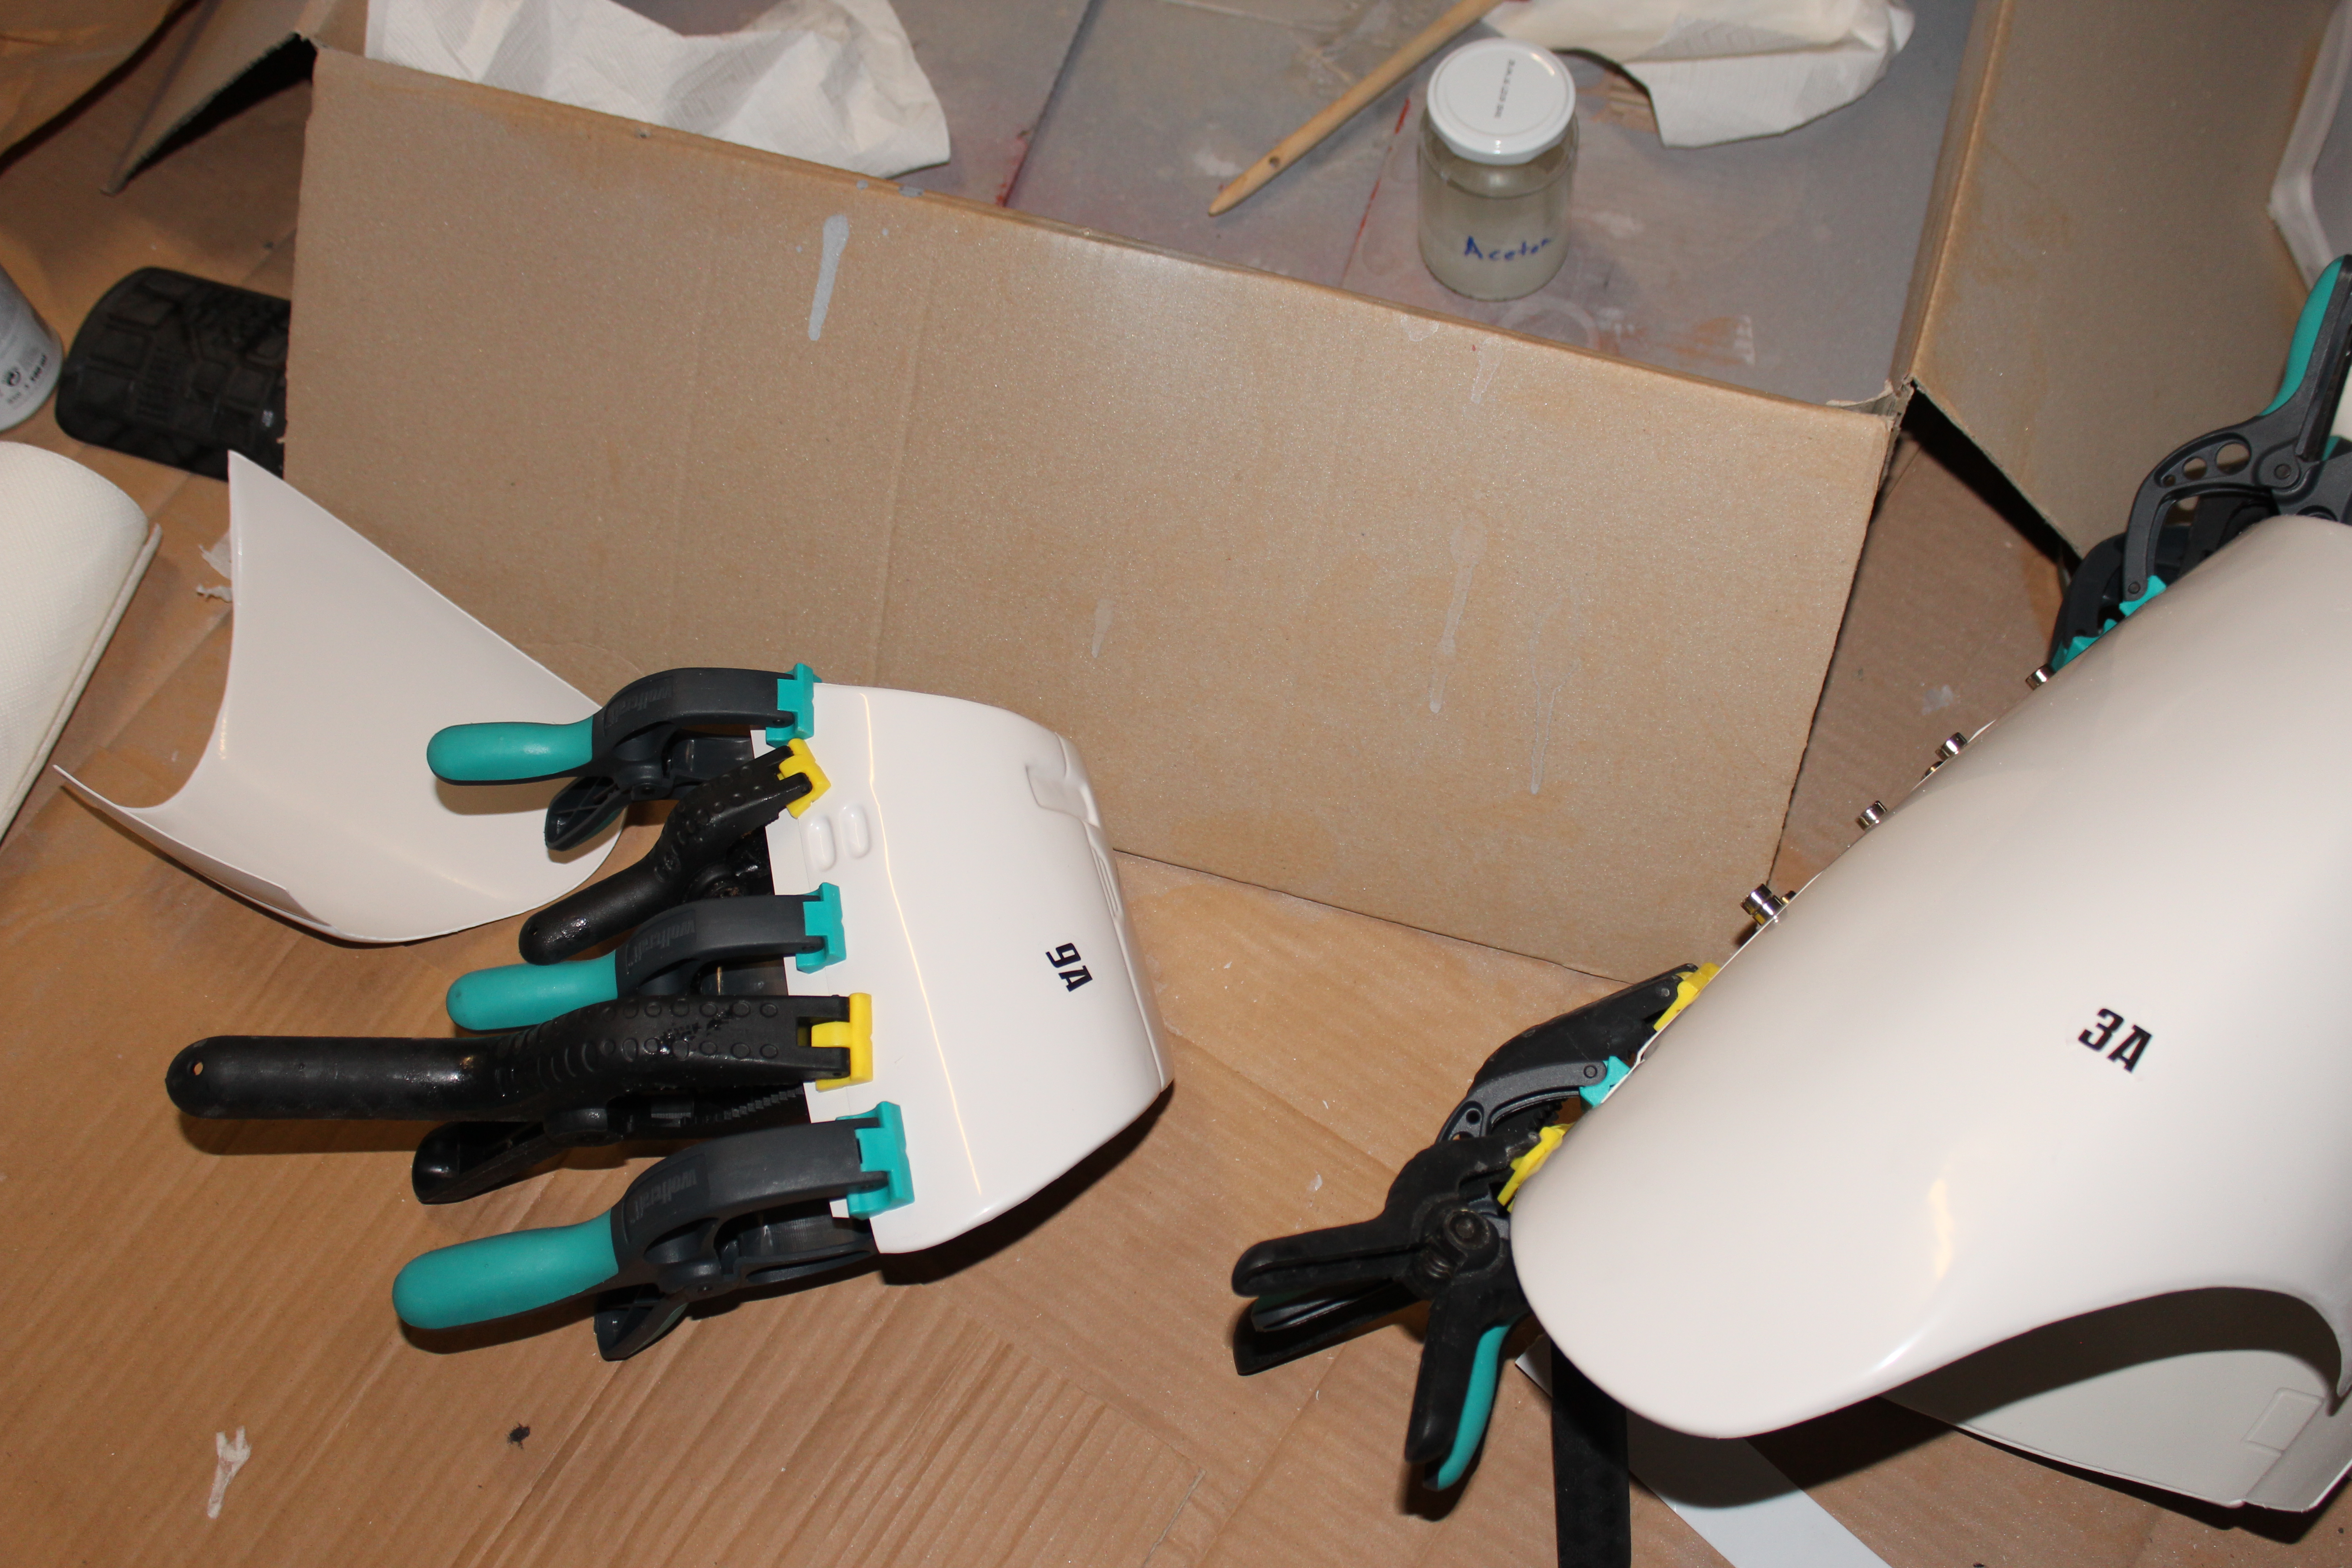
Actually just an evening and not a whole day. I used the time to close the arm parts I prepared last week.
Day 7:
First day of filling, more gluing and some work on the gaskets. I use ABS slurry instead of bondo, at least for a rough first pass. As after curing everything ist just one material it should be able to withstand the flexing much better. However presumably I have to do a second pass with normal filler.
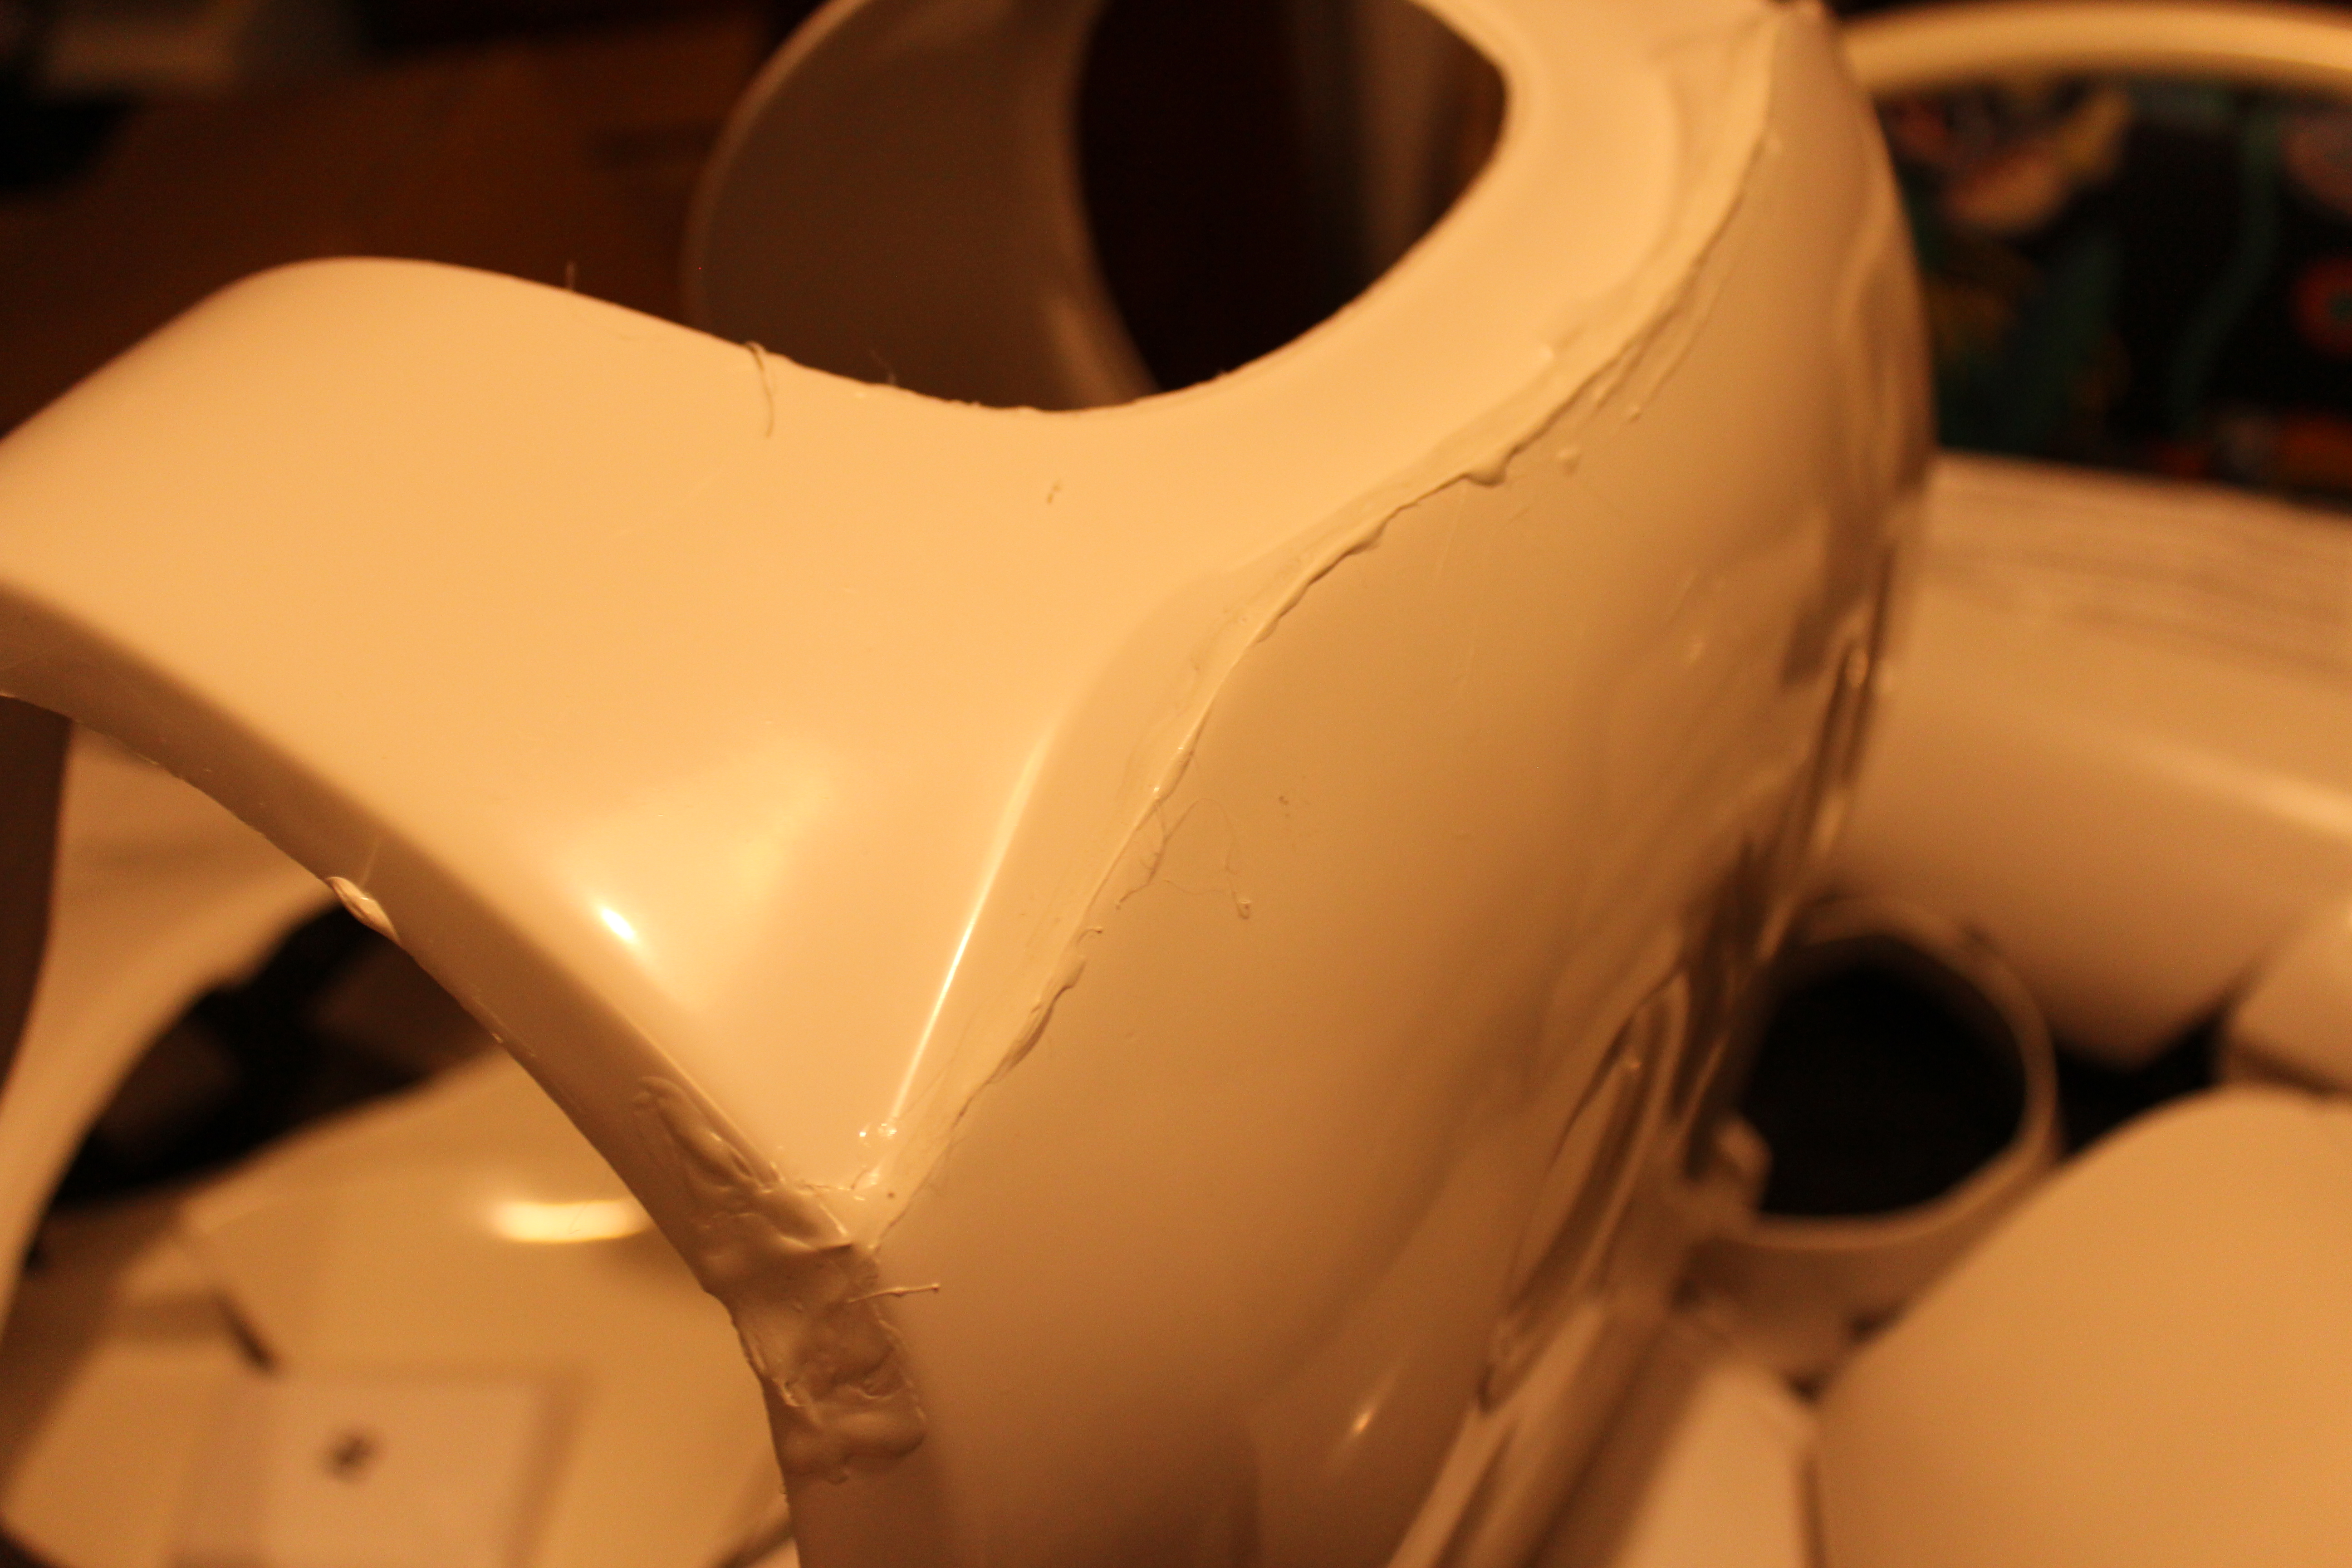
Fusing back and yoke:
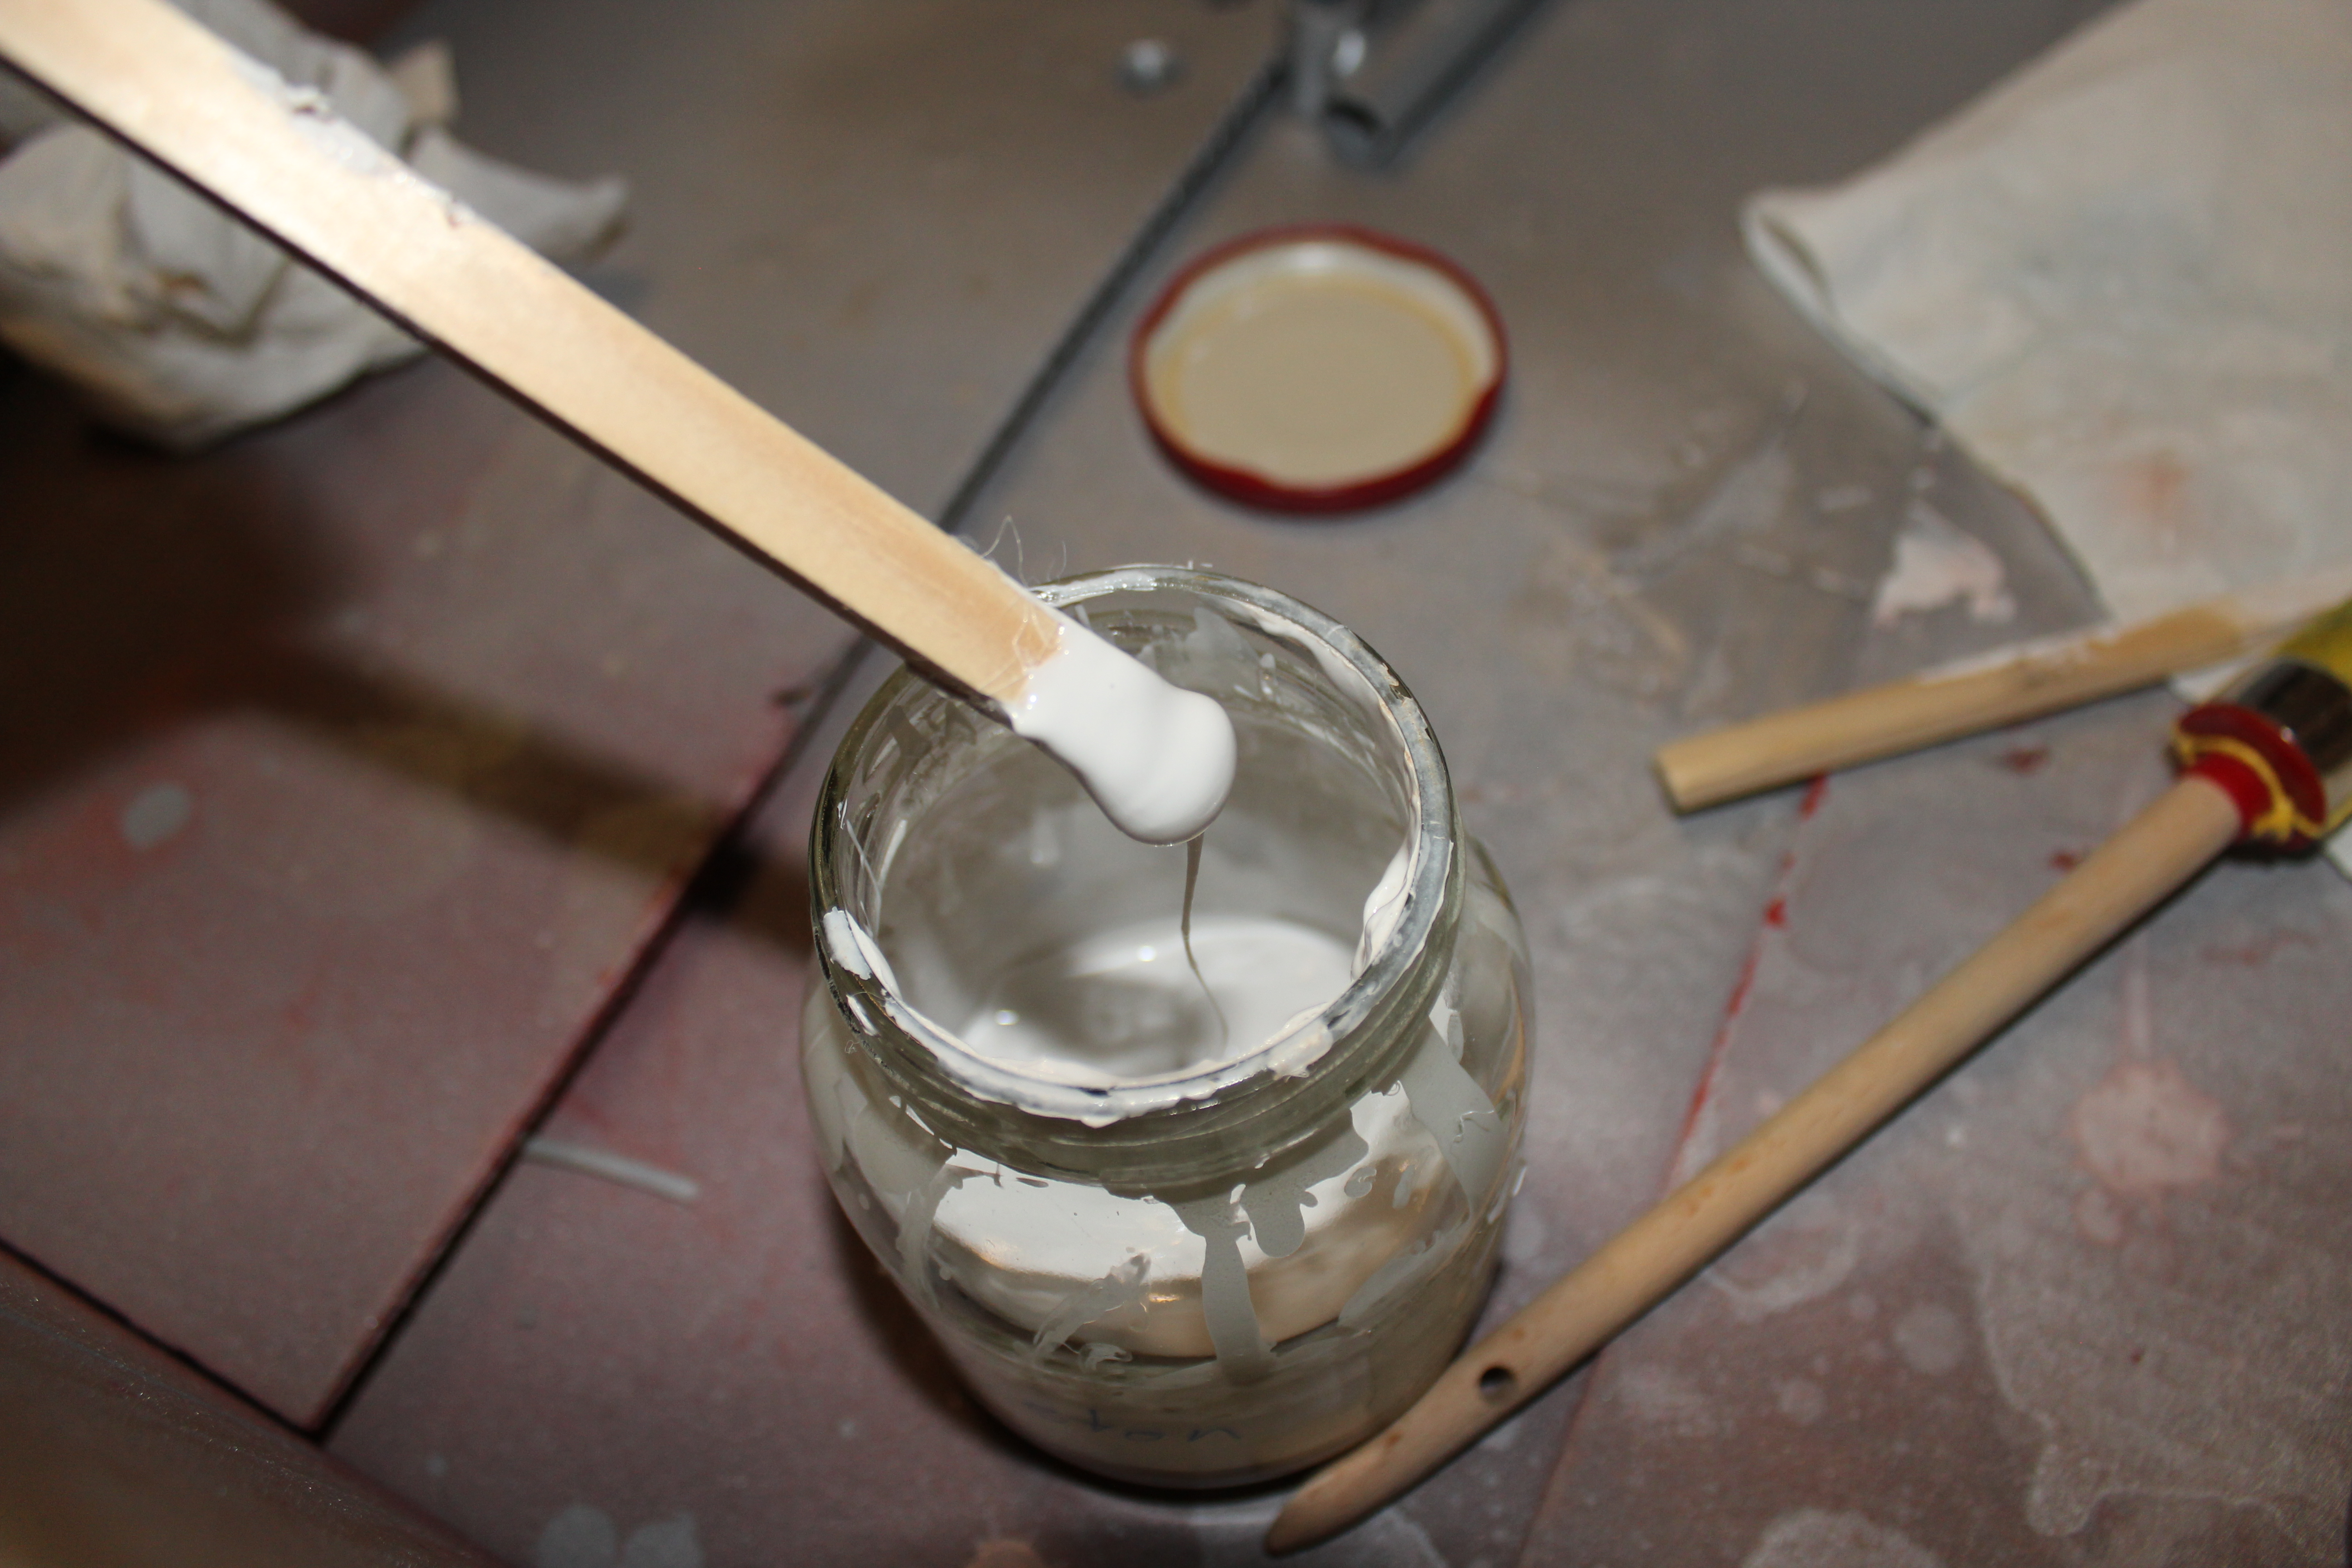
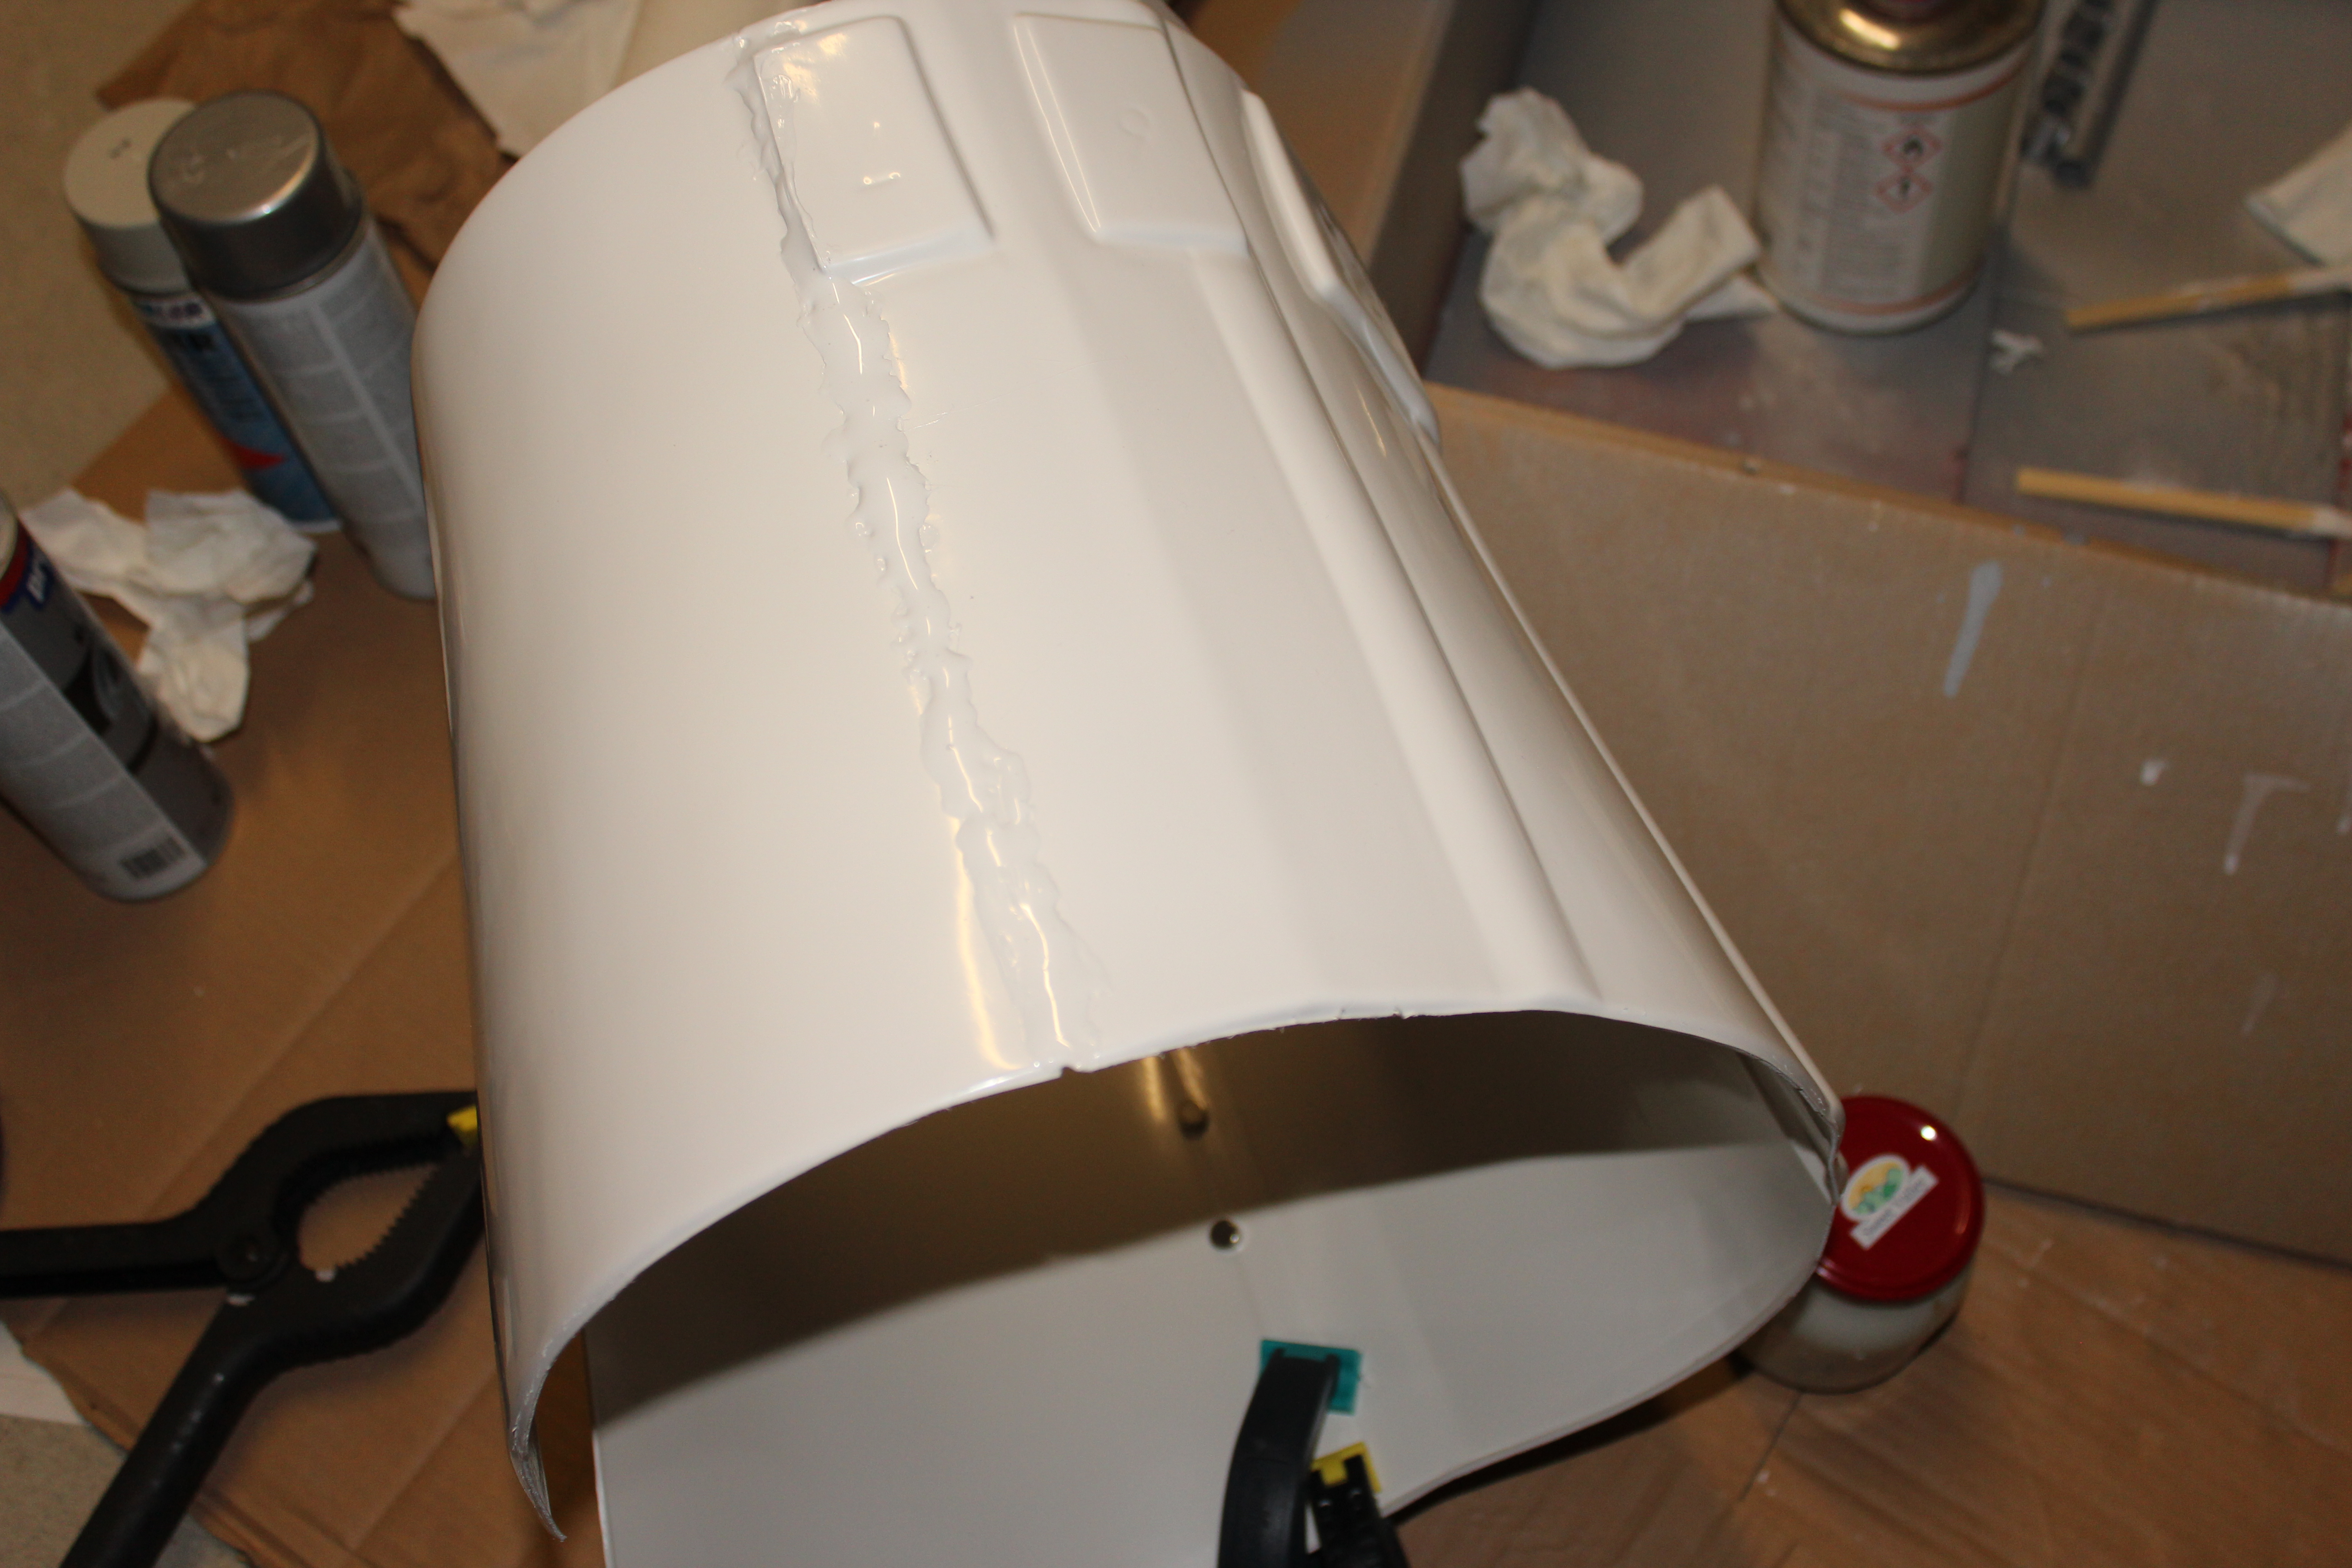
Prepared ABS slurry. I had to experiment a little with the ideal consistency for the various parts. Fortunately it can be easily adjusted by adding some ABS or Acetone.
Filled the arms.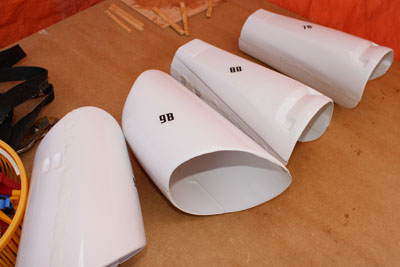
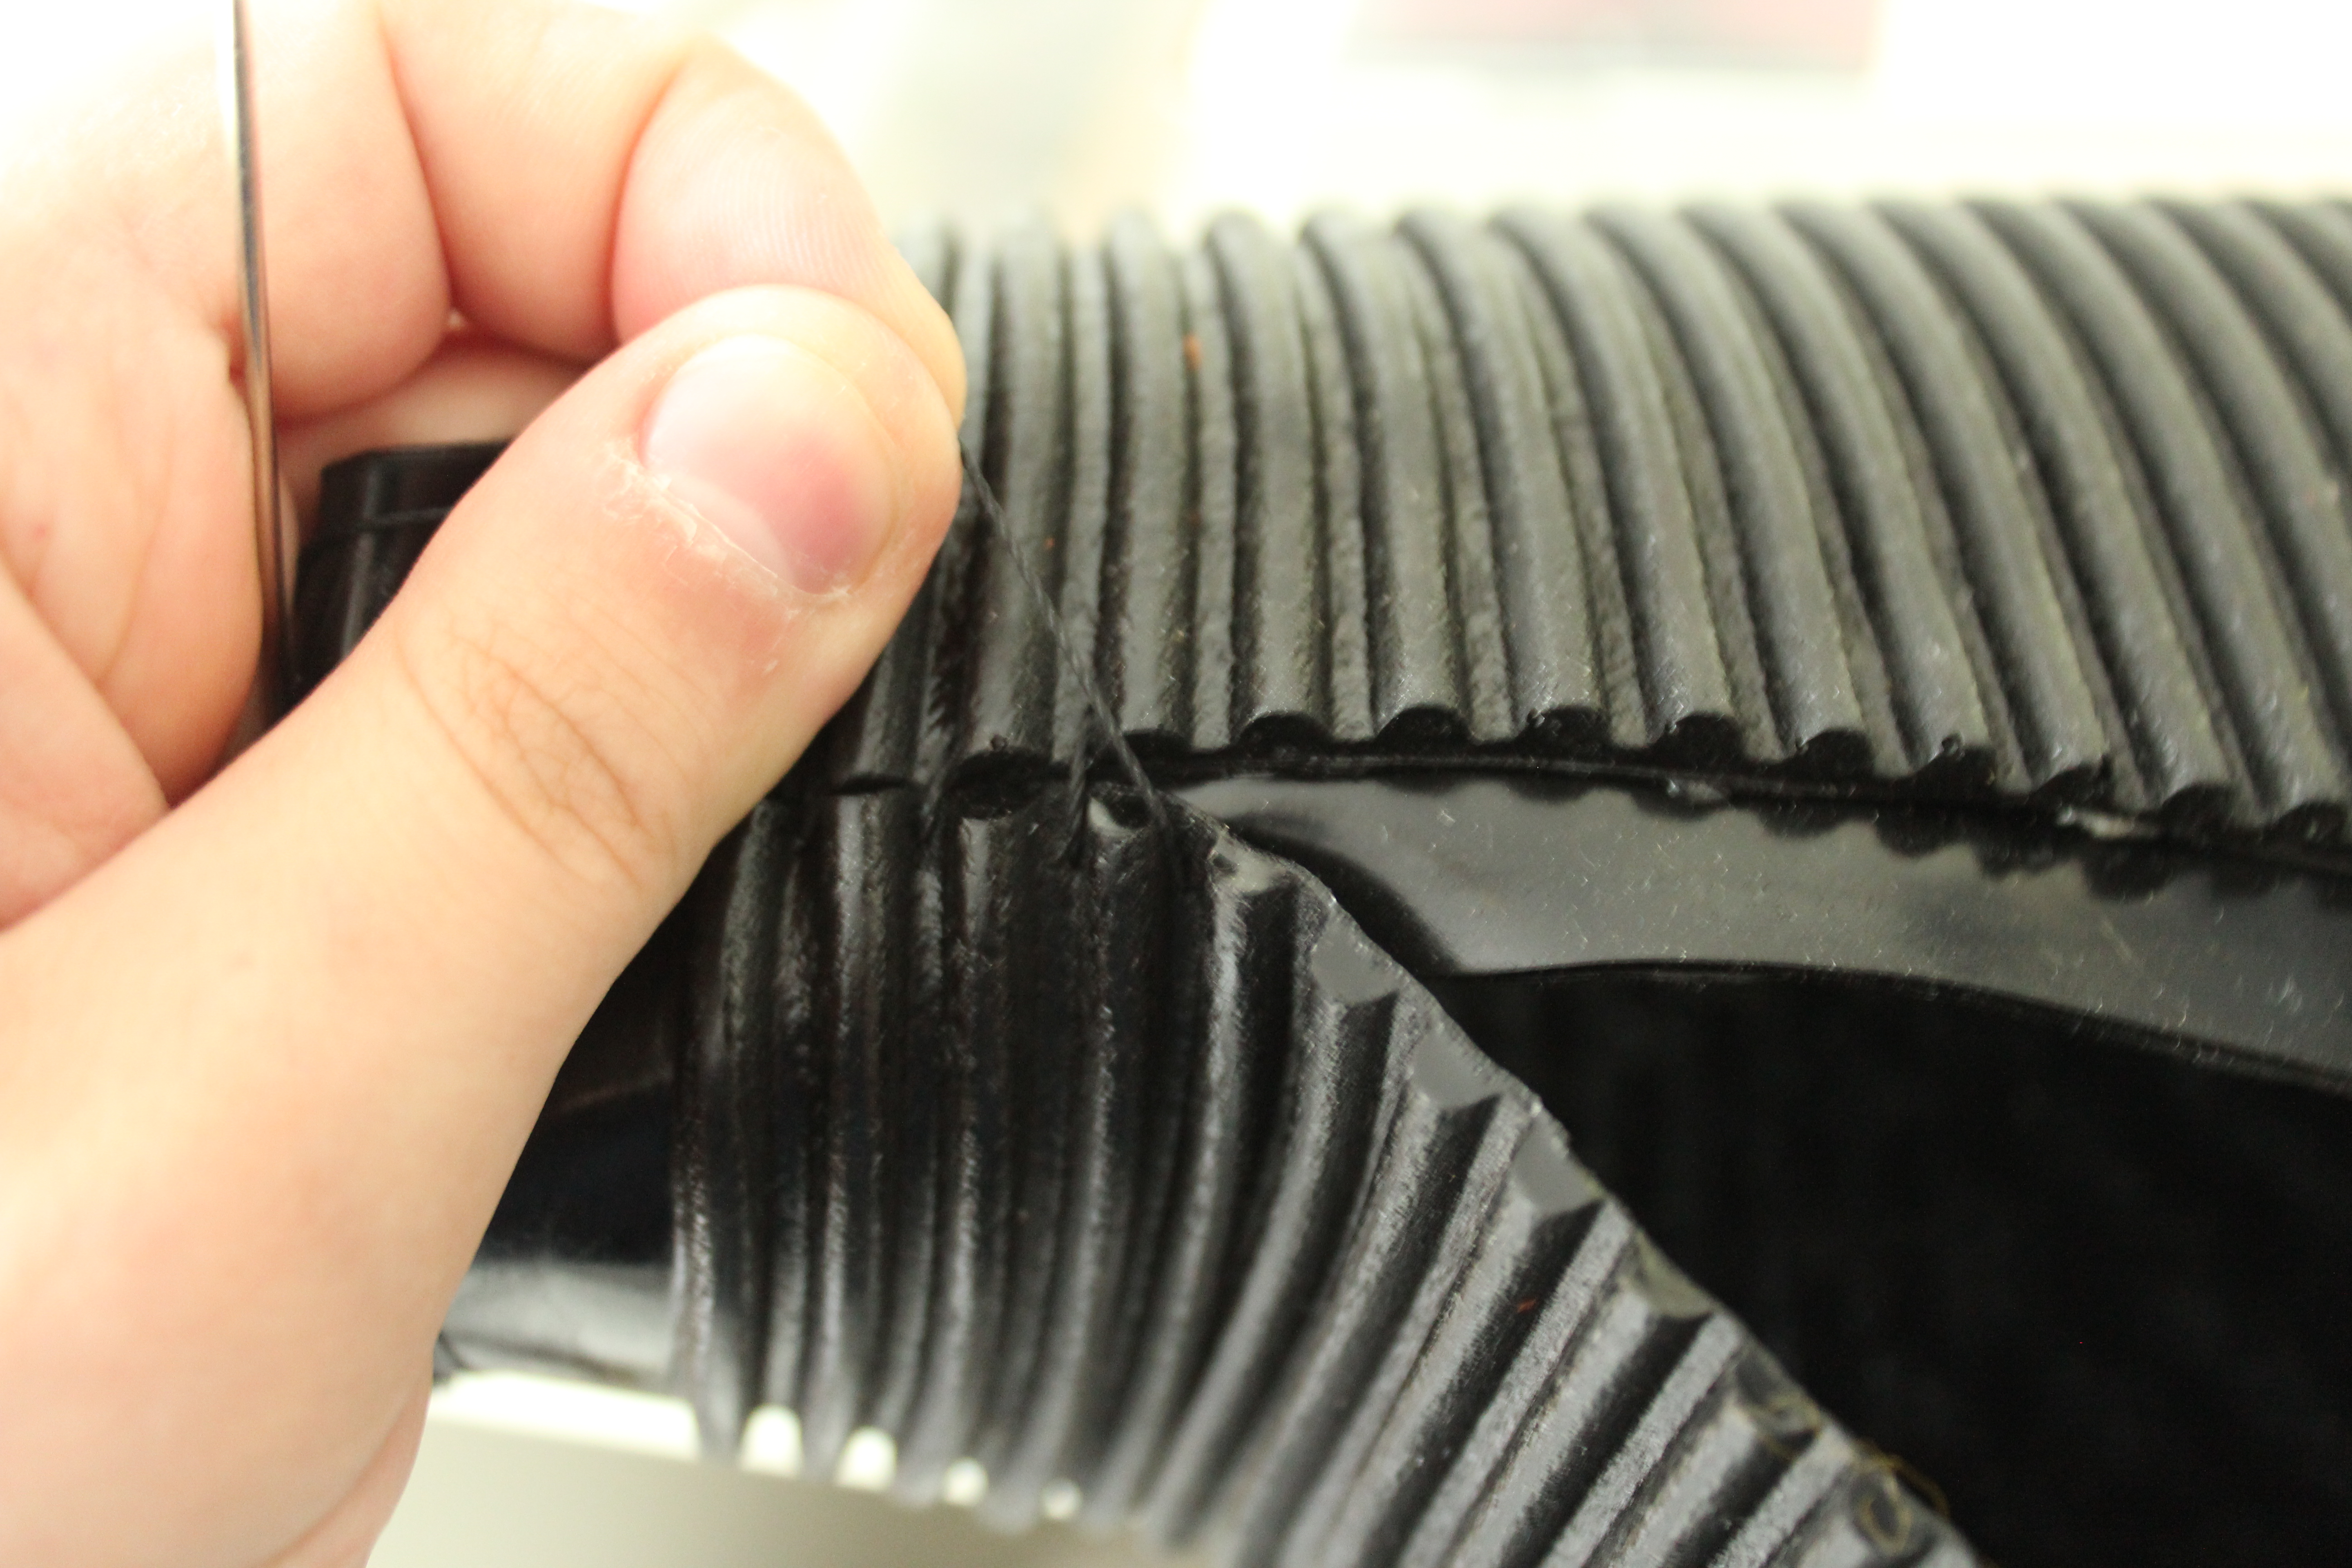
While some parts cured I started sewing the gaskets together. Although the provided glue works well, I like sewing them more. I used some very strong thread, normaly used for leather parts.
A finished arm gasket. I feel like the seam fits quite well, maybe even better than gluing.
More fusing and filling.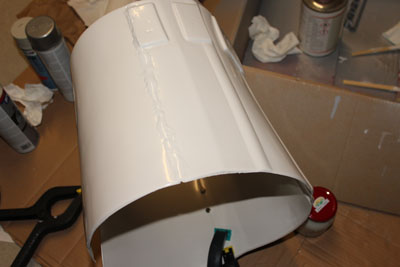
Even more filling.
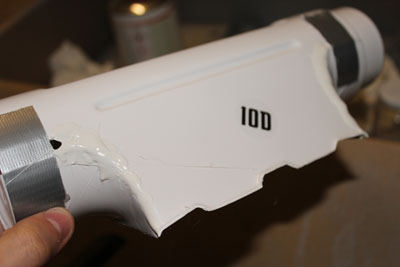
And in closing the first steps on the detonator.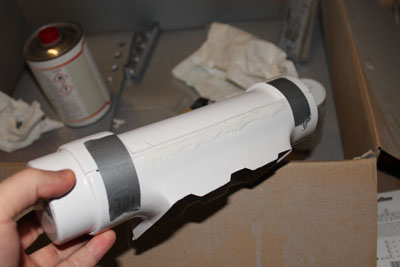
-
What type of thread did you use? Poly? Nylon?
I glued them first and I'm not happy with the result

I did some test with normal polysester thread. It works but I'll go for a heavier thread, just to be sure. I'll share my experiments within the next few days in my build thread.
-
I don't have instructions but the gaskets are partially covered in clints build thread and in my build thread. As you will find there, both of us where/are not happy with the initial take.
I'd recommend that you at first try to sew them instead of gluing. So keep 1cm or 1/2" of the webbing around the gaskets as seam allowance. Then sew them together with this seam allowance overlapping. If you are not happy with that you definitly have not cut away too much and a seam is much more easy to open again than glue.
Regarding what to where to cut, you may take this picture from my build thread as reference.
-
My first though was to build a one piece body suspension from the shoulders down to the waist. From there connecting via nylon webbing to every section that needs support. Picture a back support brace with tentacles.
Any thoughts / feedback on this idea?
I'm using a back support brace as base of my Sandtrooper straping. It works great in some ways but it puts some extra load on the shoulders which is not distributed very well. I won't do that again for my TFA trooper.
-
Day 4 and 5:
I started sanding everything and fusing the parts together. Shoulders, arm and legs are almost done. Befor I fully close the arms I'll let everything cure a few days, the legs will stay open on the inside.
I fused all parts together using acetone. If you put the parts together when both sides are partially dissolved on the surface if forms a very strong bond.
Additionally I continued to work on the gaskets, where I glued on the gluetabs.
Shoulder and shins/calves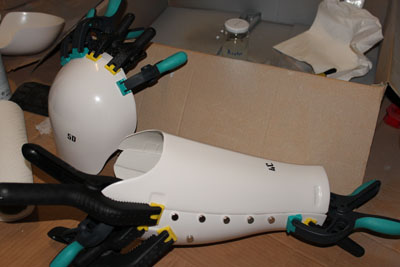
Thighs and gluetab on the biceps
Gluetabs for the forearms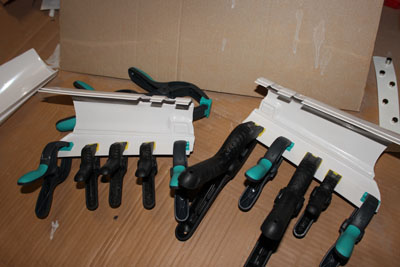
I noted that my shoulder gaskets don't fit very well inside the upper arm armor. I'm almost able to fit the upper arm armor inside the gasket. Do others also have that problem or have I messed up something?
-
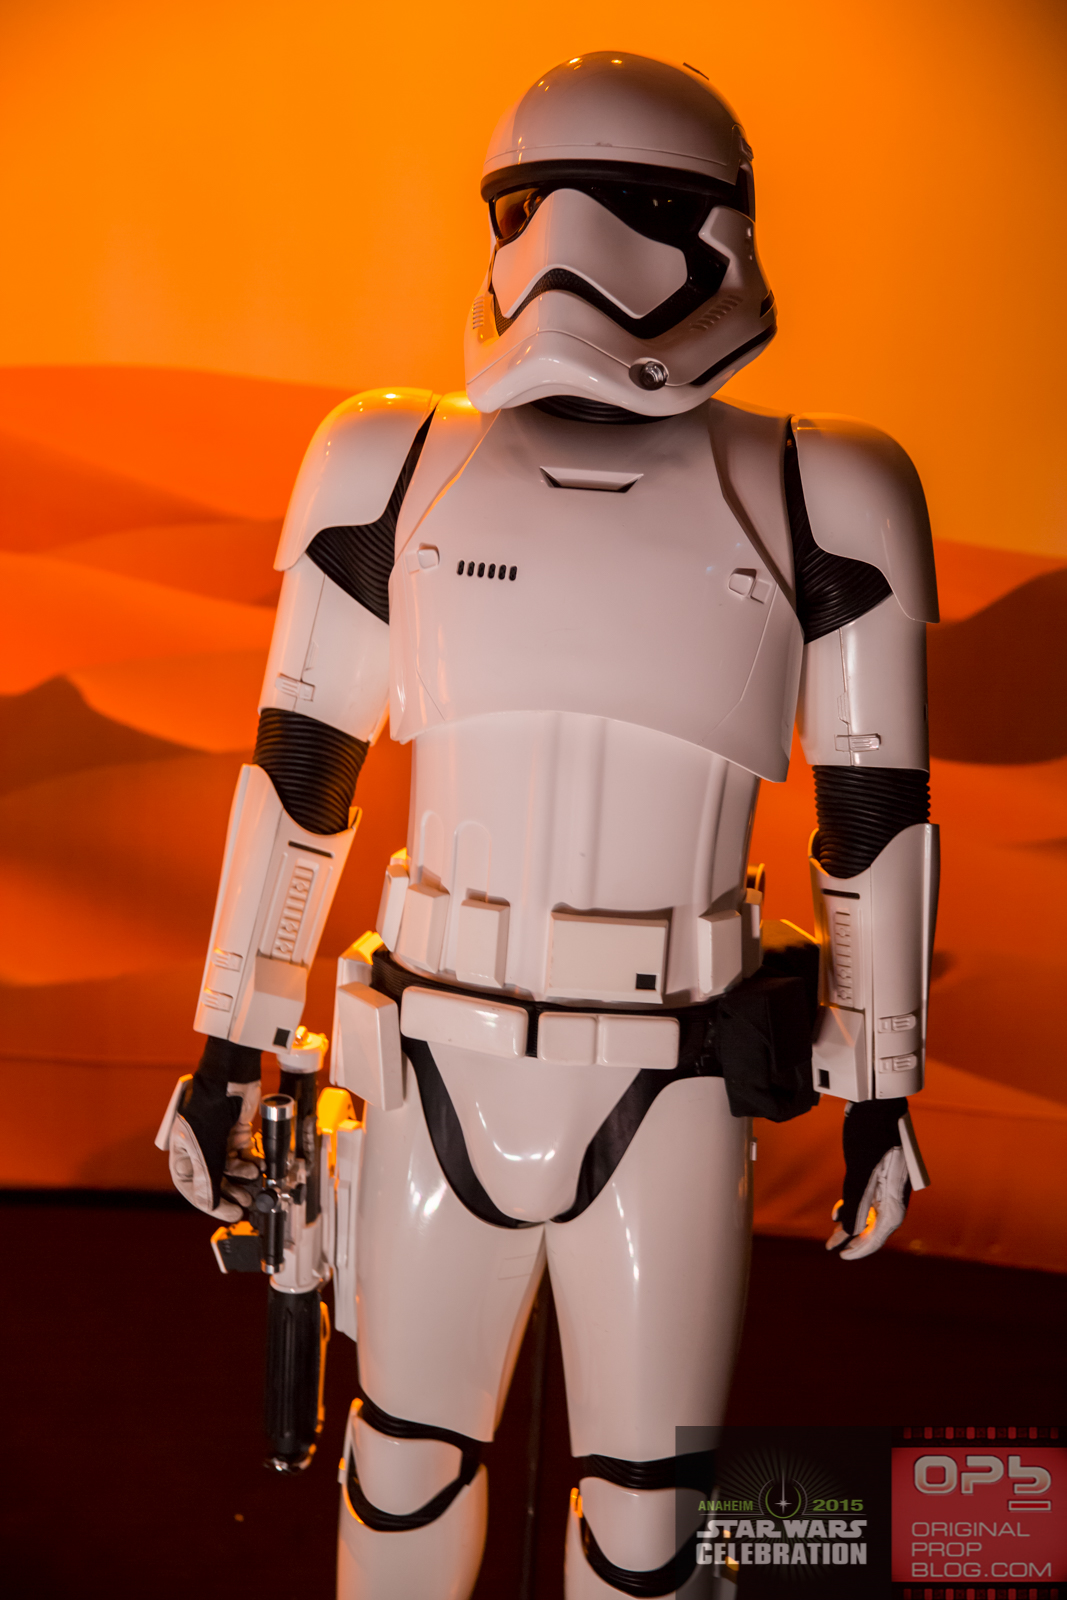
Well... when in doubt look at reference images: On this picture you can see that the one with the cover plate is on the left, behind the smaller one without cover plate. The pouch with the cover plate is also briefly visible in the first trailer in the shot where you can see the legs of the stormtroopers.
-
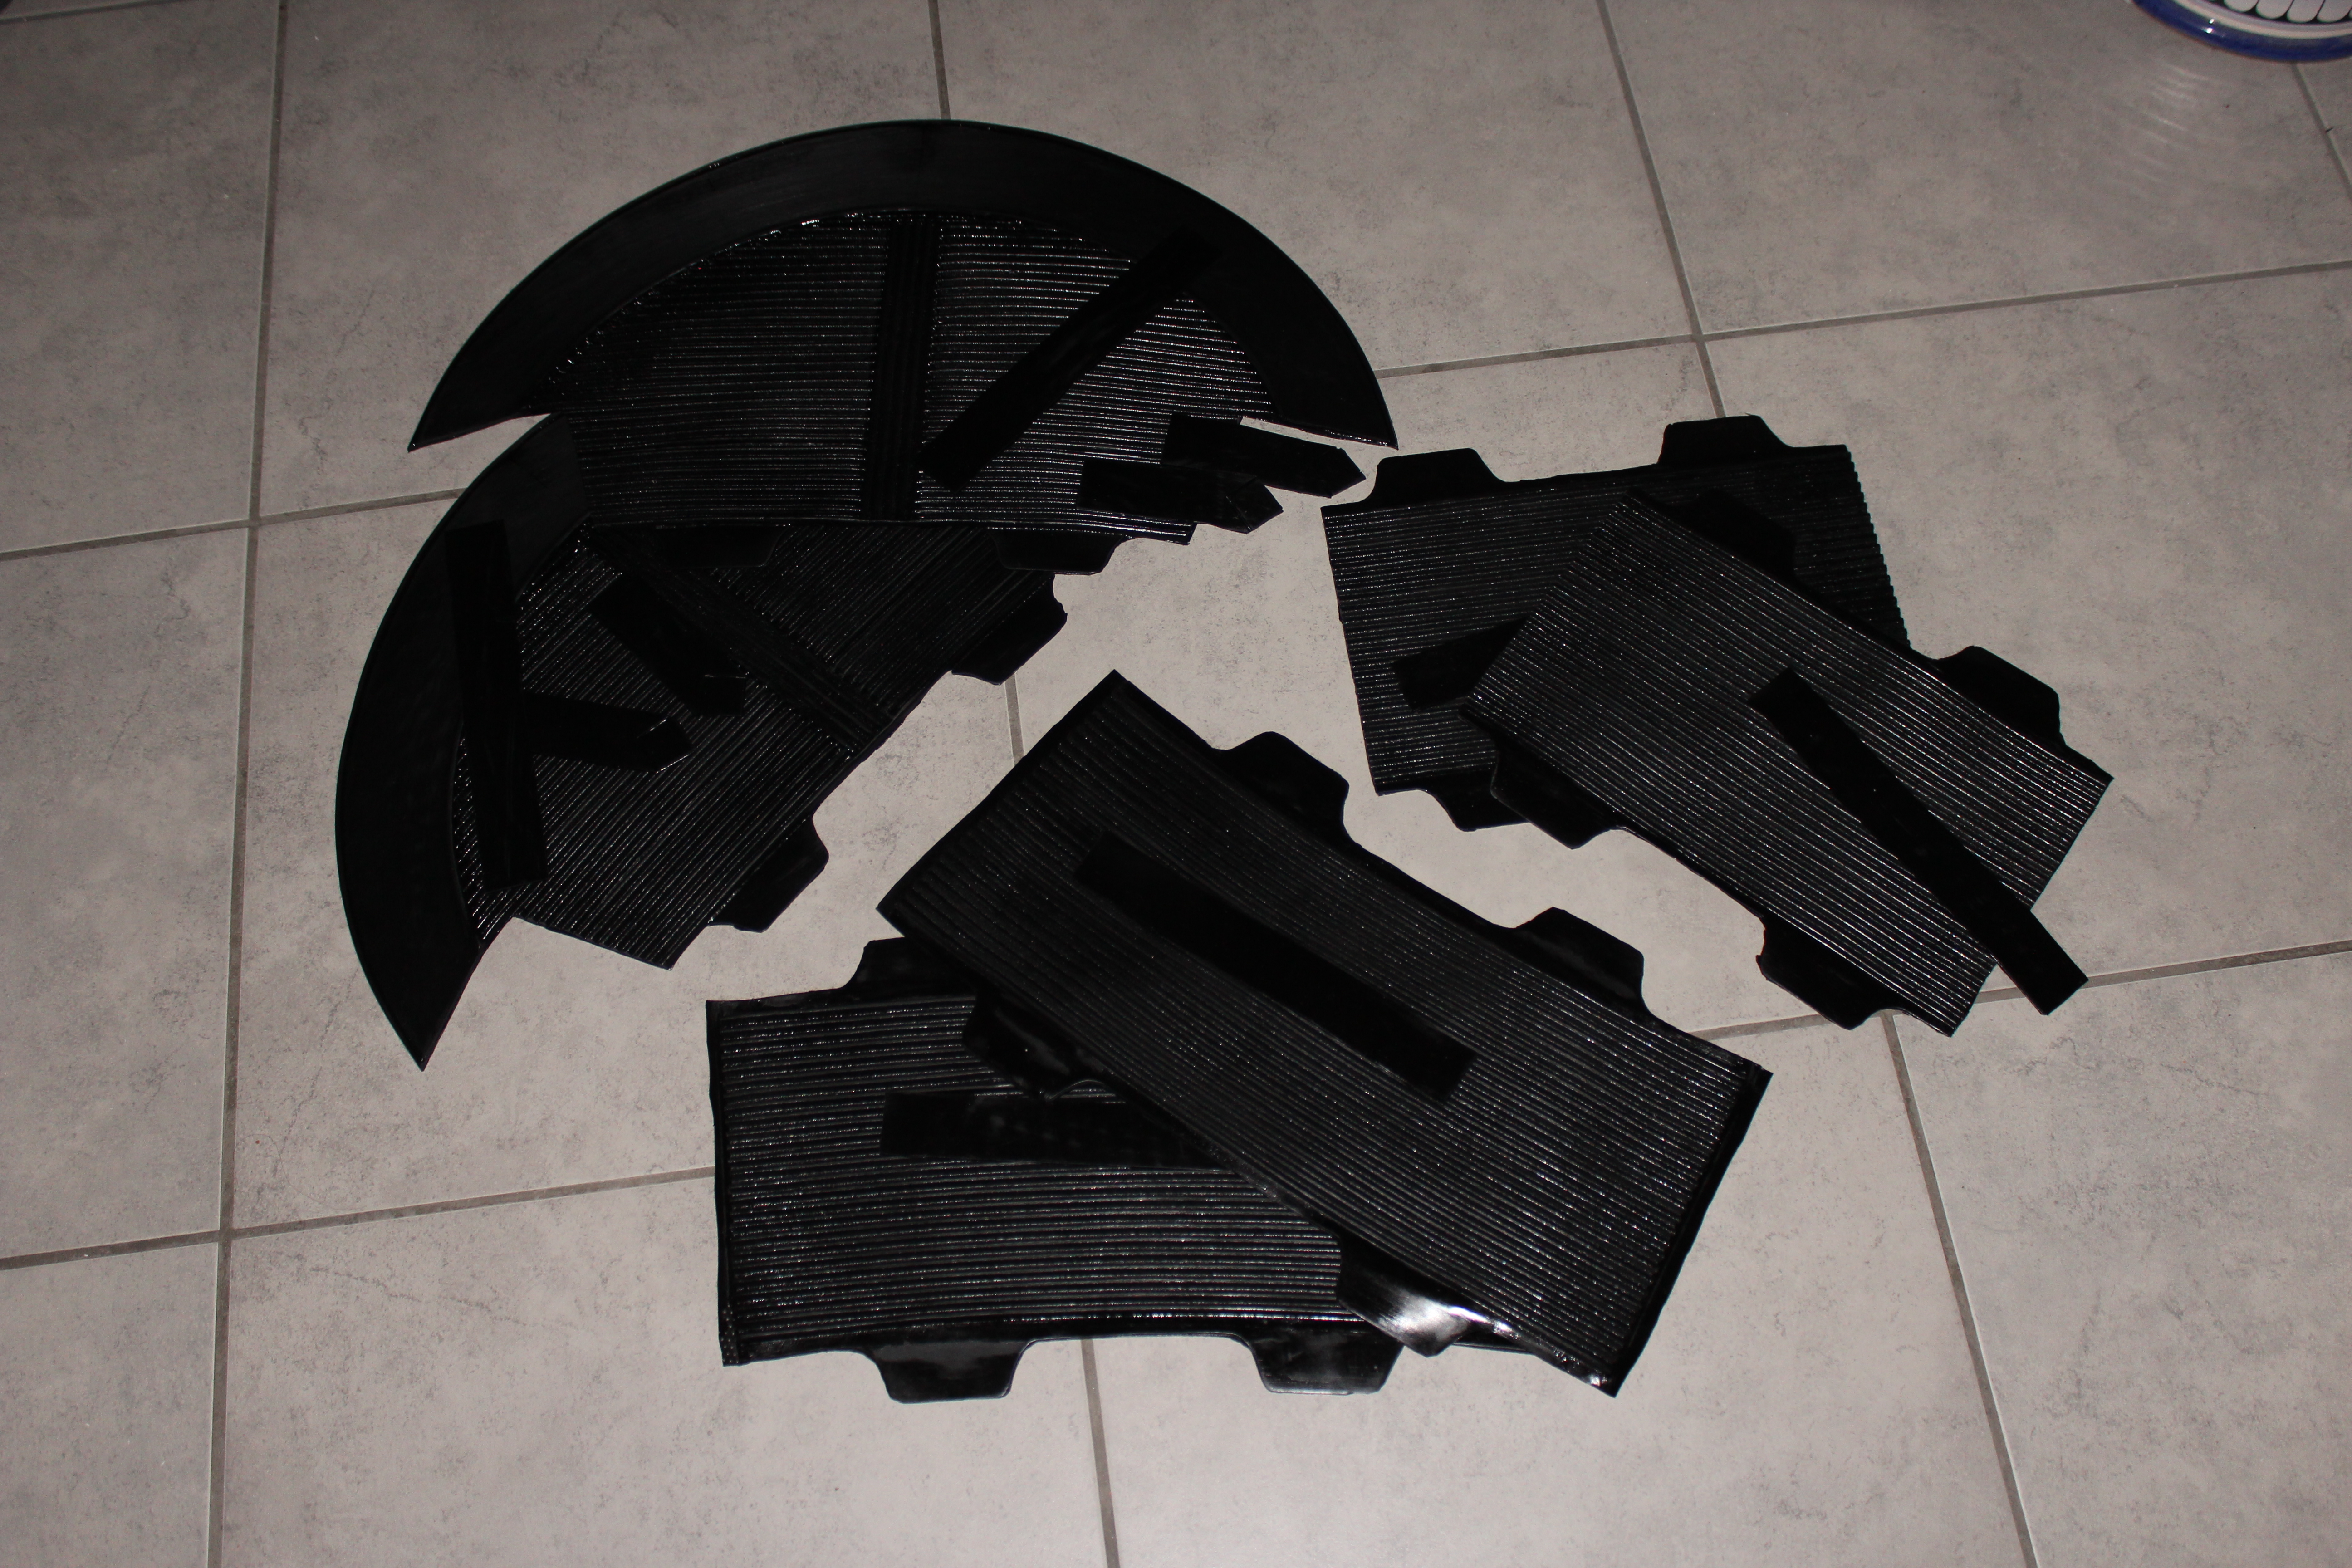
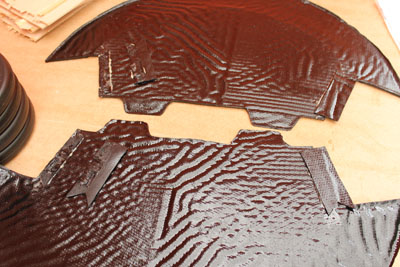
Just as shown here, cut right along the edge between the box and the excess plastic on all the four parts.
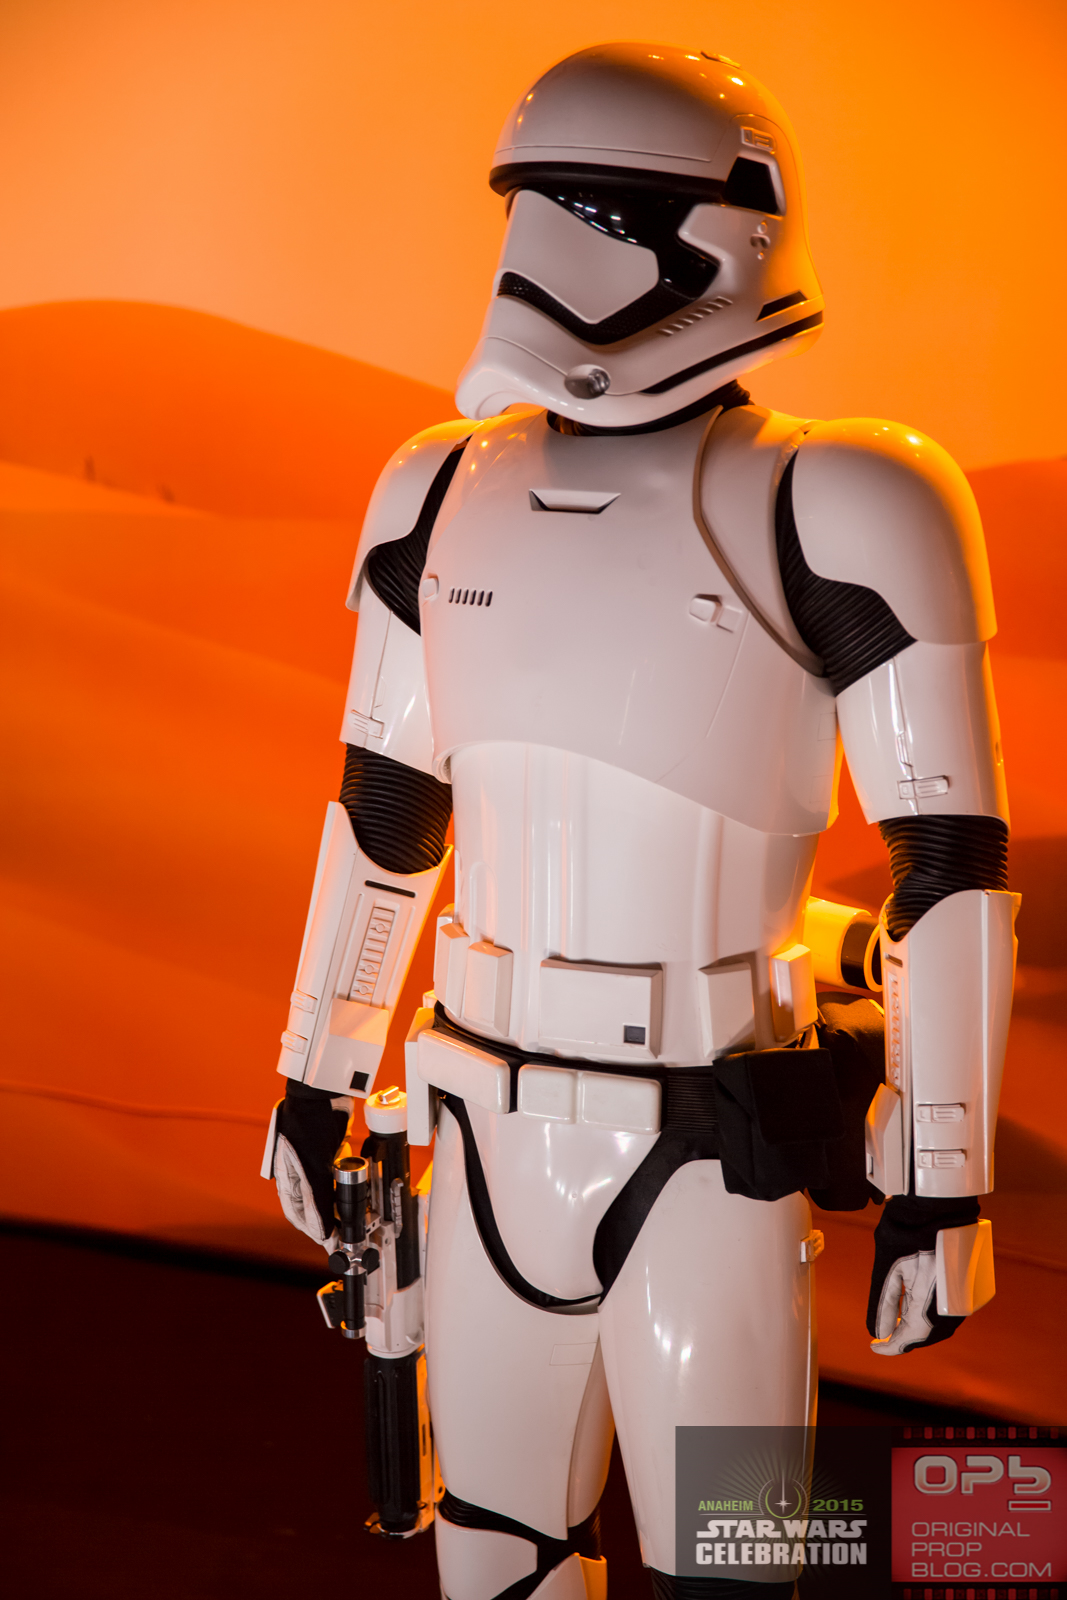
I also found a nice reference photo from celebration (picture link).

-
That picture looks an awful lot like an original stormtrooper, but this thread is in the section about the new TFA trooper...

Eric, could you clarify what exactly you where asking about?
-
As Krista wrote there are bondo replacements specificly for plastic. You would have to go with something that can flex if your joint can flex.
Also, rigid joints have the problem that the flexing right next to them tends to be a little higher. So you have to be careful to sand of all bondo in that area. Finally, if a rigid bond is not perfect it will crack more easily than a flexible bond, I had some problems with that on my sandtrooper.
For my tfa kit I will try to fuse everything with acetone and replace all bondo with abs. If that works it tackles all problems at once.
-
Nice start!
Step 9: Pop the TFA Cherry and trim one piece. THE COD! Holy Fudge that plastic was thick. My Lexan scissors struggled immensely. I went for the score and snap with my trusty cutting' blade.
Had the same Problem. Lexan scissors work good on some parts but not all. I used them mostly for precise trimming after roughly cutting out the pieces.
-
 1
1
-
-
It would have to be a pretty heavy plaster to slide off, let's say a 5/8" diameter (or so) x 1/4" (deep) earth magnets. Heck I use 1/2" x 1/8" for armor assembly and they are incredibly difficult to pull apart and sliding apart is still takes quite a bit of effort.
Yeah, the friction between blaster and holster should hold it in place. I'm just a little paranoid about magnets, velcro and such things.
I'd always experiment. Put the Blaster on the magnets and try to make it slide/fall off (e.g. grab it at the holster and jump up and down). If it takes significantly more to separate the pieces than you expect to happen to it while trooping you are good.
-
Yes, this is the design idea I have been thinking about. I do believe it's possible to incorporate magnets into some of the large circular areas on the clip. All you would need is 2 magnets glued into the inside of the length of the blaster....or mounted on the outside.
I personally would be worried about the resin breaking if I drilled into it. Not from the weight of the gun but from kids or eager adults trying to swipe the blaster. I can imagine the resin could snap if the blaster was ripped out...
Just magnets might have the problem that magnets only fix it from moving in one direction, so it maybe could slide off too easy. I personally think that magnets plus some minimal mechanical interlocking would be the safest option. The magnet to actually hold the Blaster and e.g. a small pin that goes into the slots of the holster to keet it from sliding off the magnets.
-
I have been wondering how that is going to work, because it does not have opening to slide something on it. cutting into the resin piece could be a possibility but not to sure how strong that would be.
Some guys in the rpf have studied how the holster might work: http://www.therpf.com/showthread.php?t=238870
If you do it as they propose you would have to cut the resin which should be strong enough to hold a light blaster. You could also easily construct a holster from ABS Plates, also following the same ideas.
-
1
-
-
Great work on the blaster!
-
Day 3:
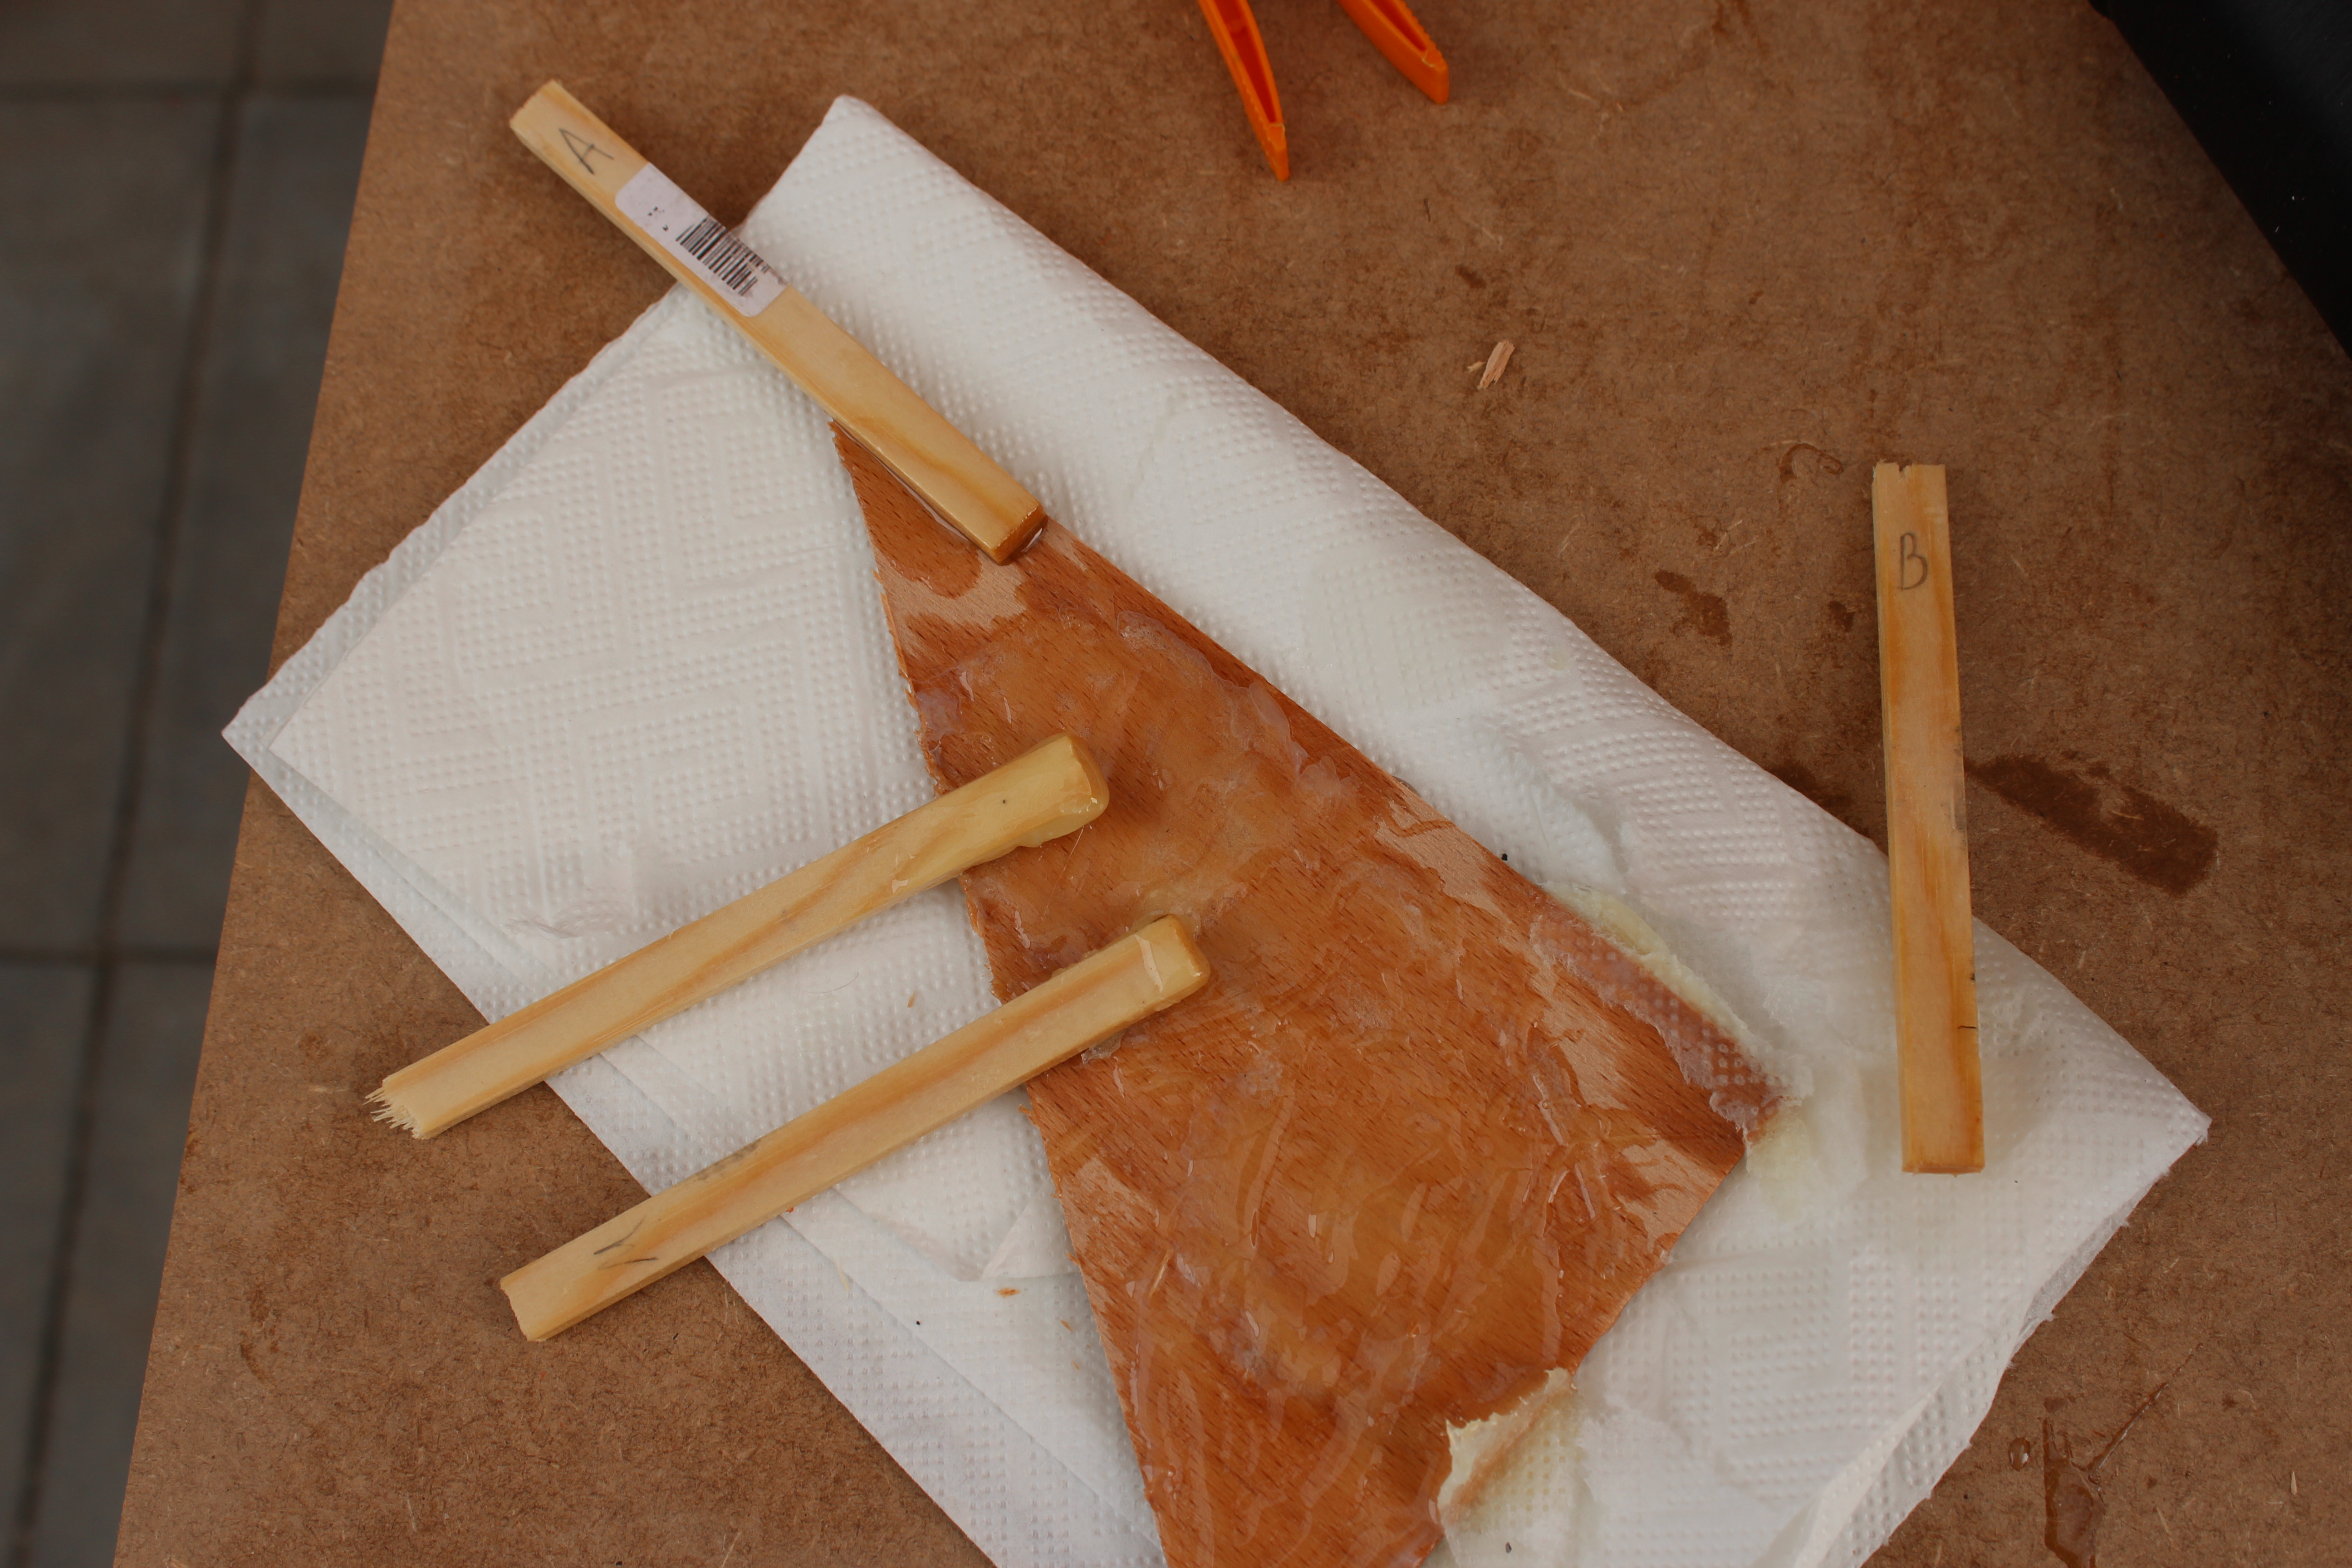
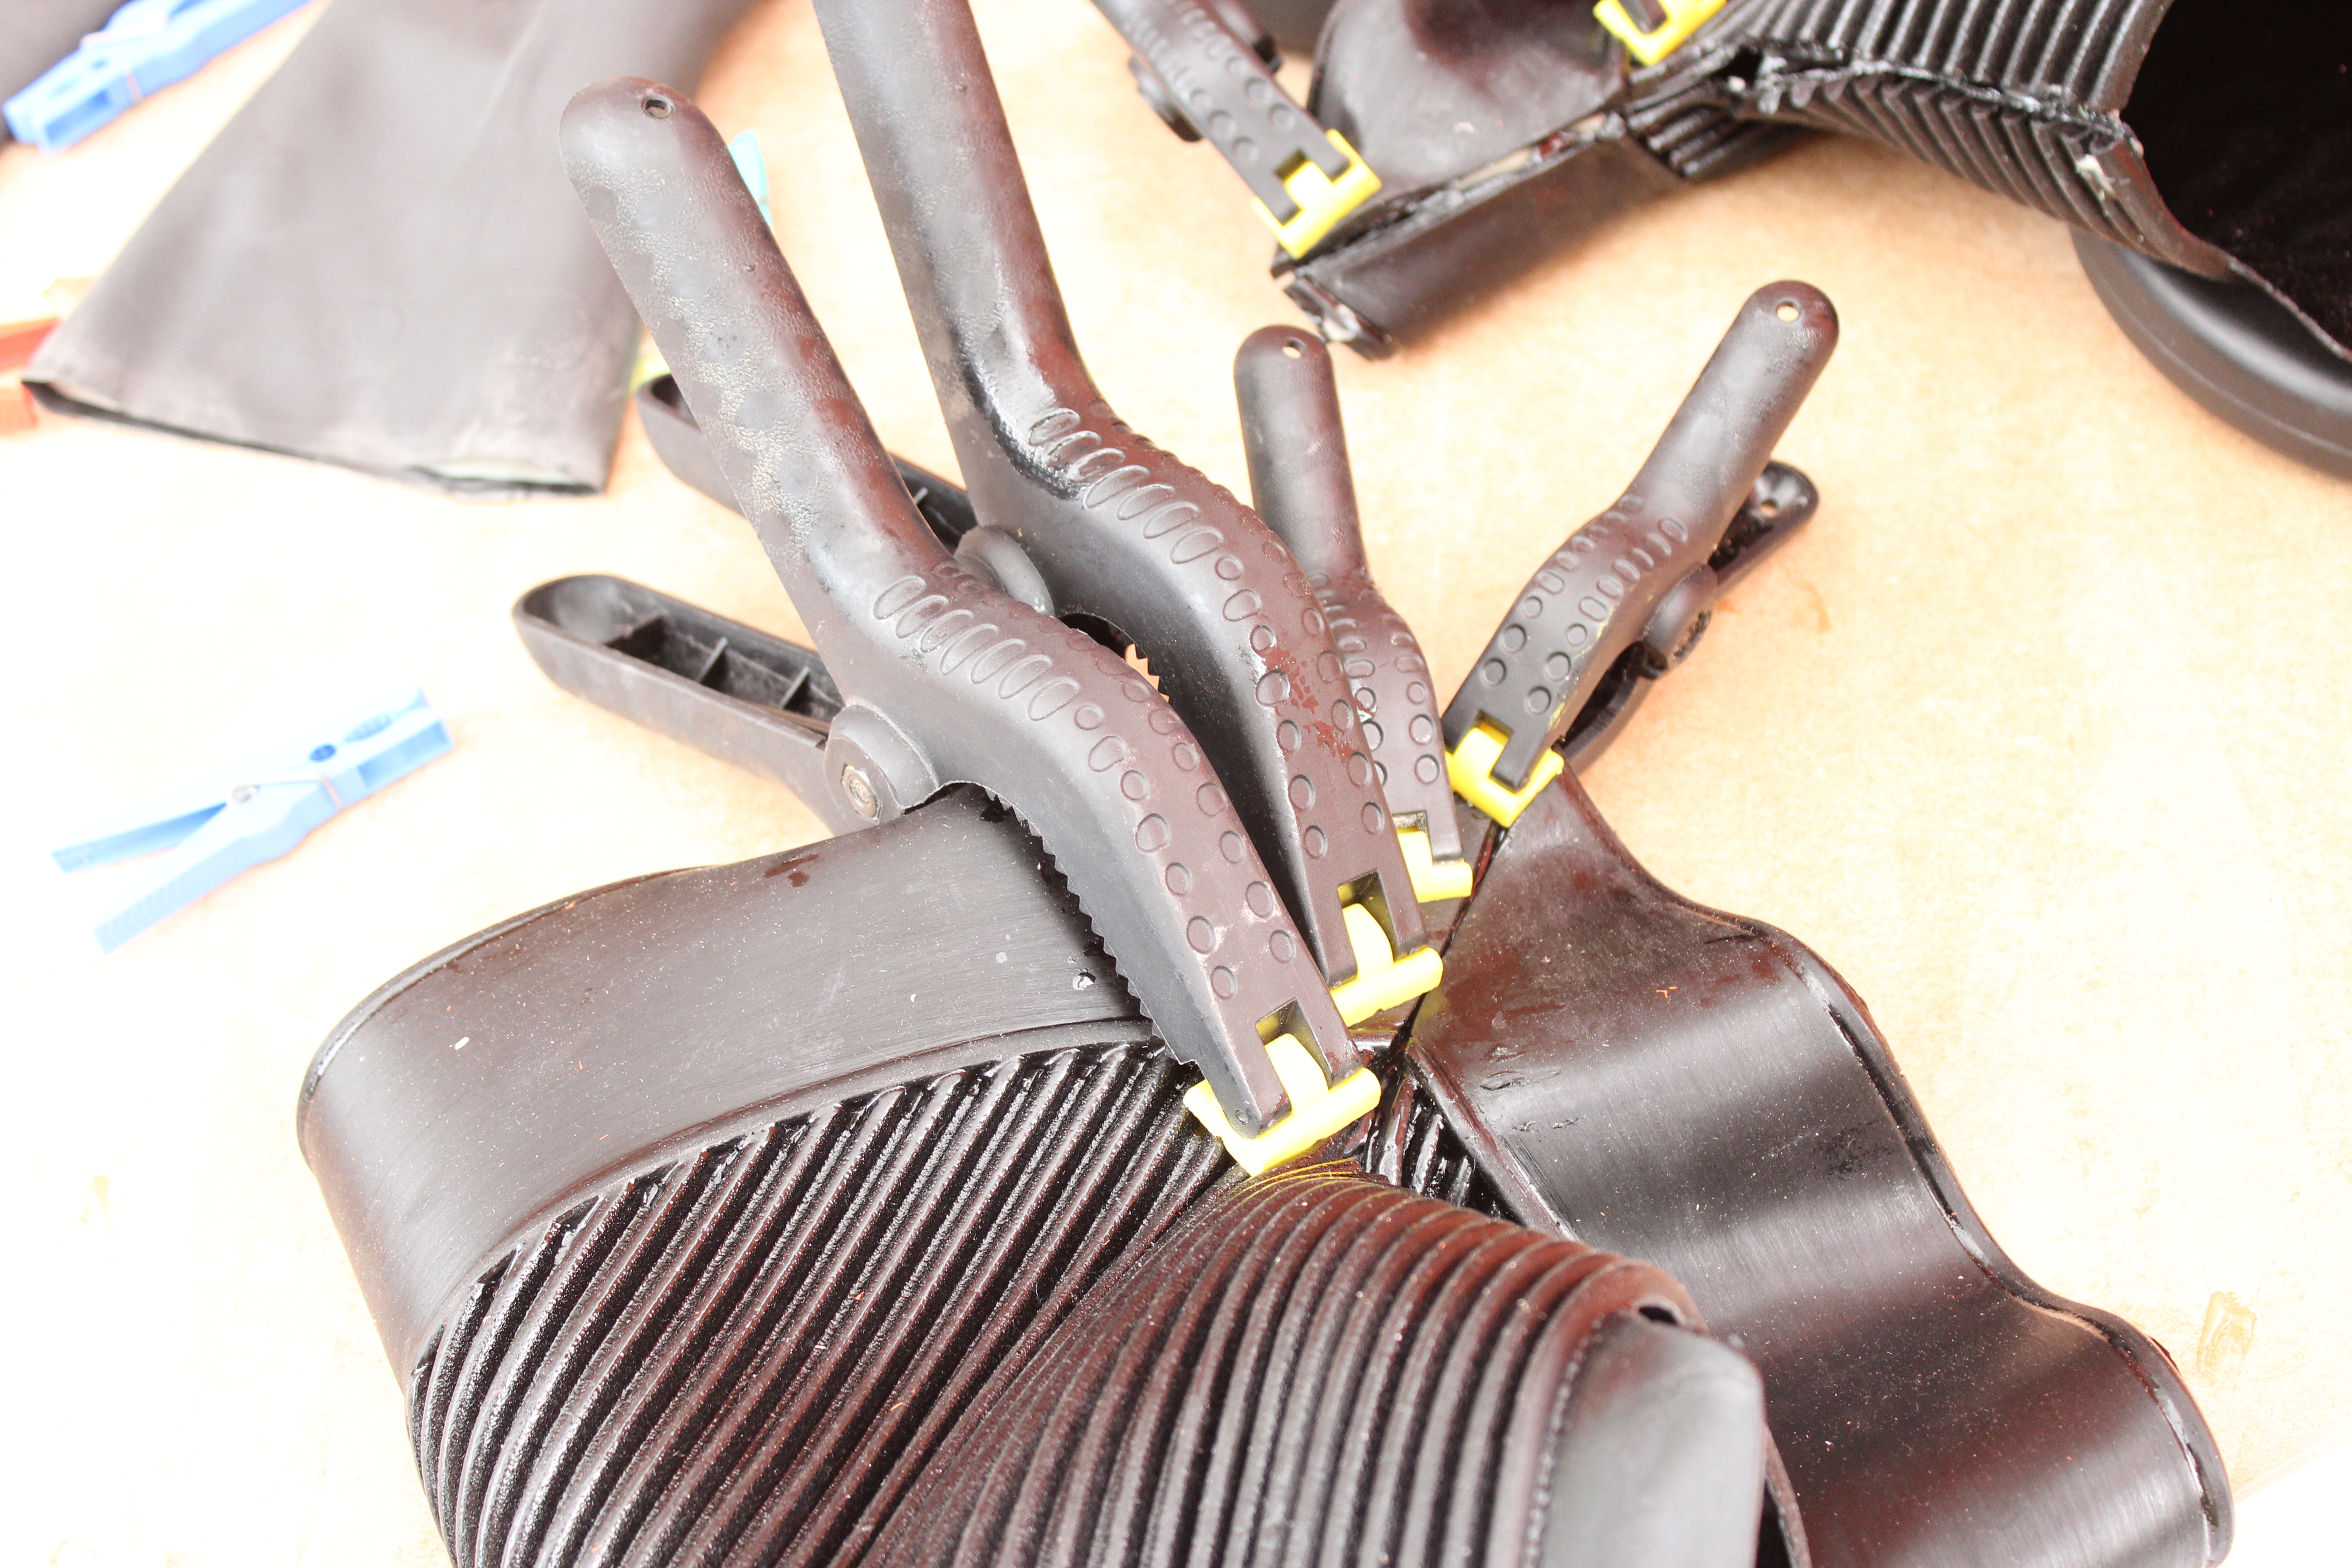
Everything laid out to glue the shoulder gaskets: The gaskets and glue tabs, the provided glue, safety gloves, wood tabs to mix and apply the glue.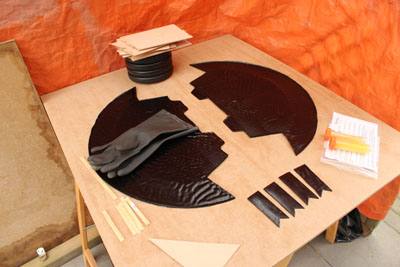
The wooden tabs are labled "A" and "B" to get the respective component out of the canisters and "M" for mixing and applying the mixed glue.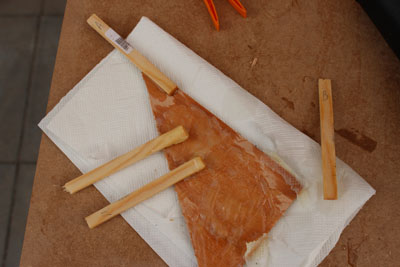
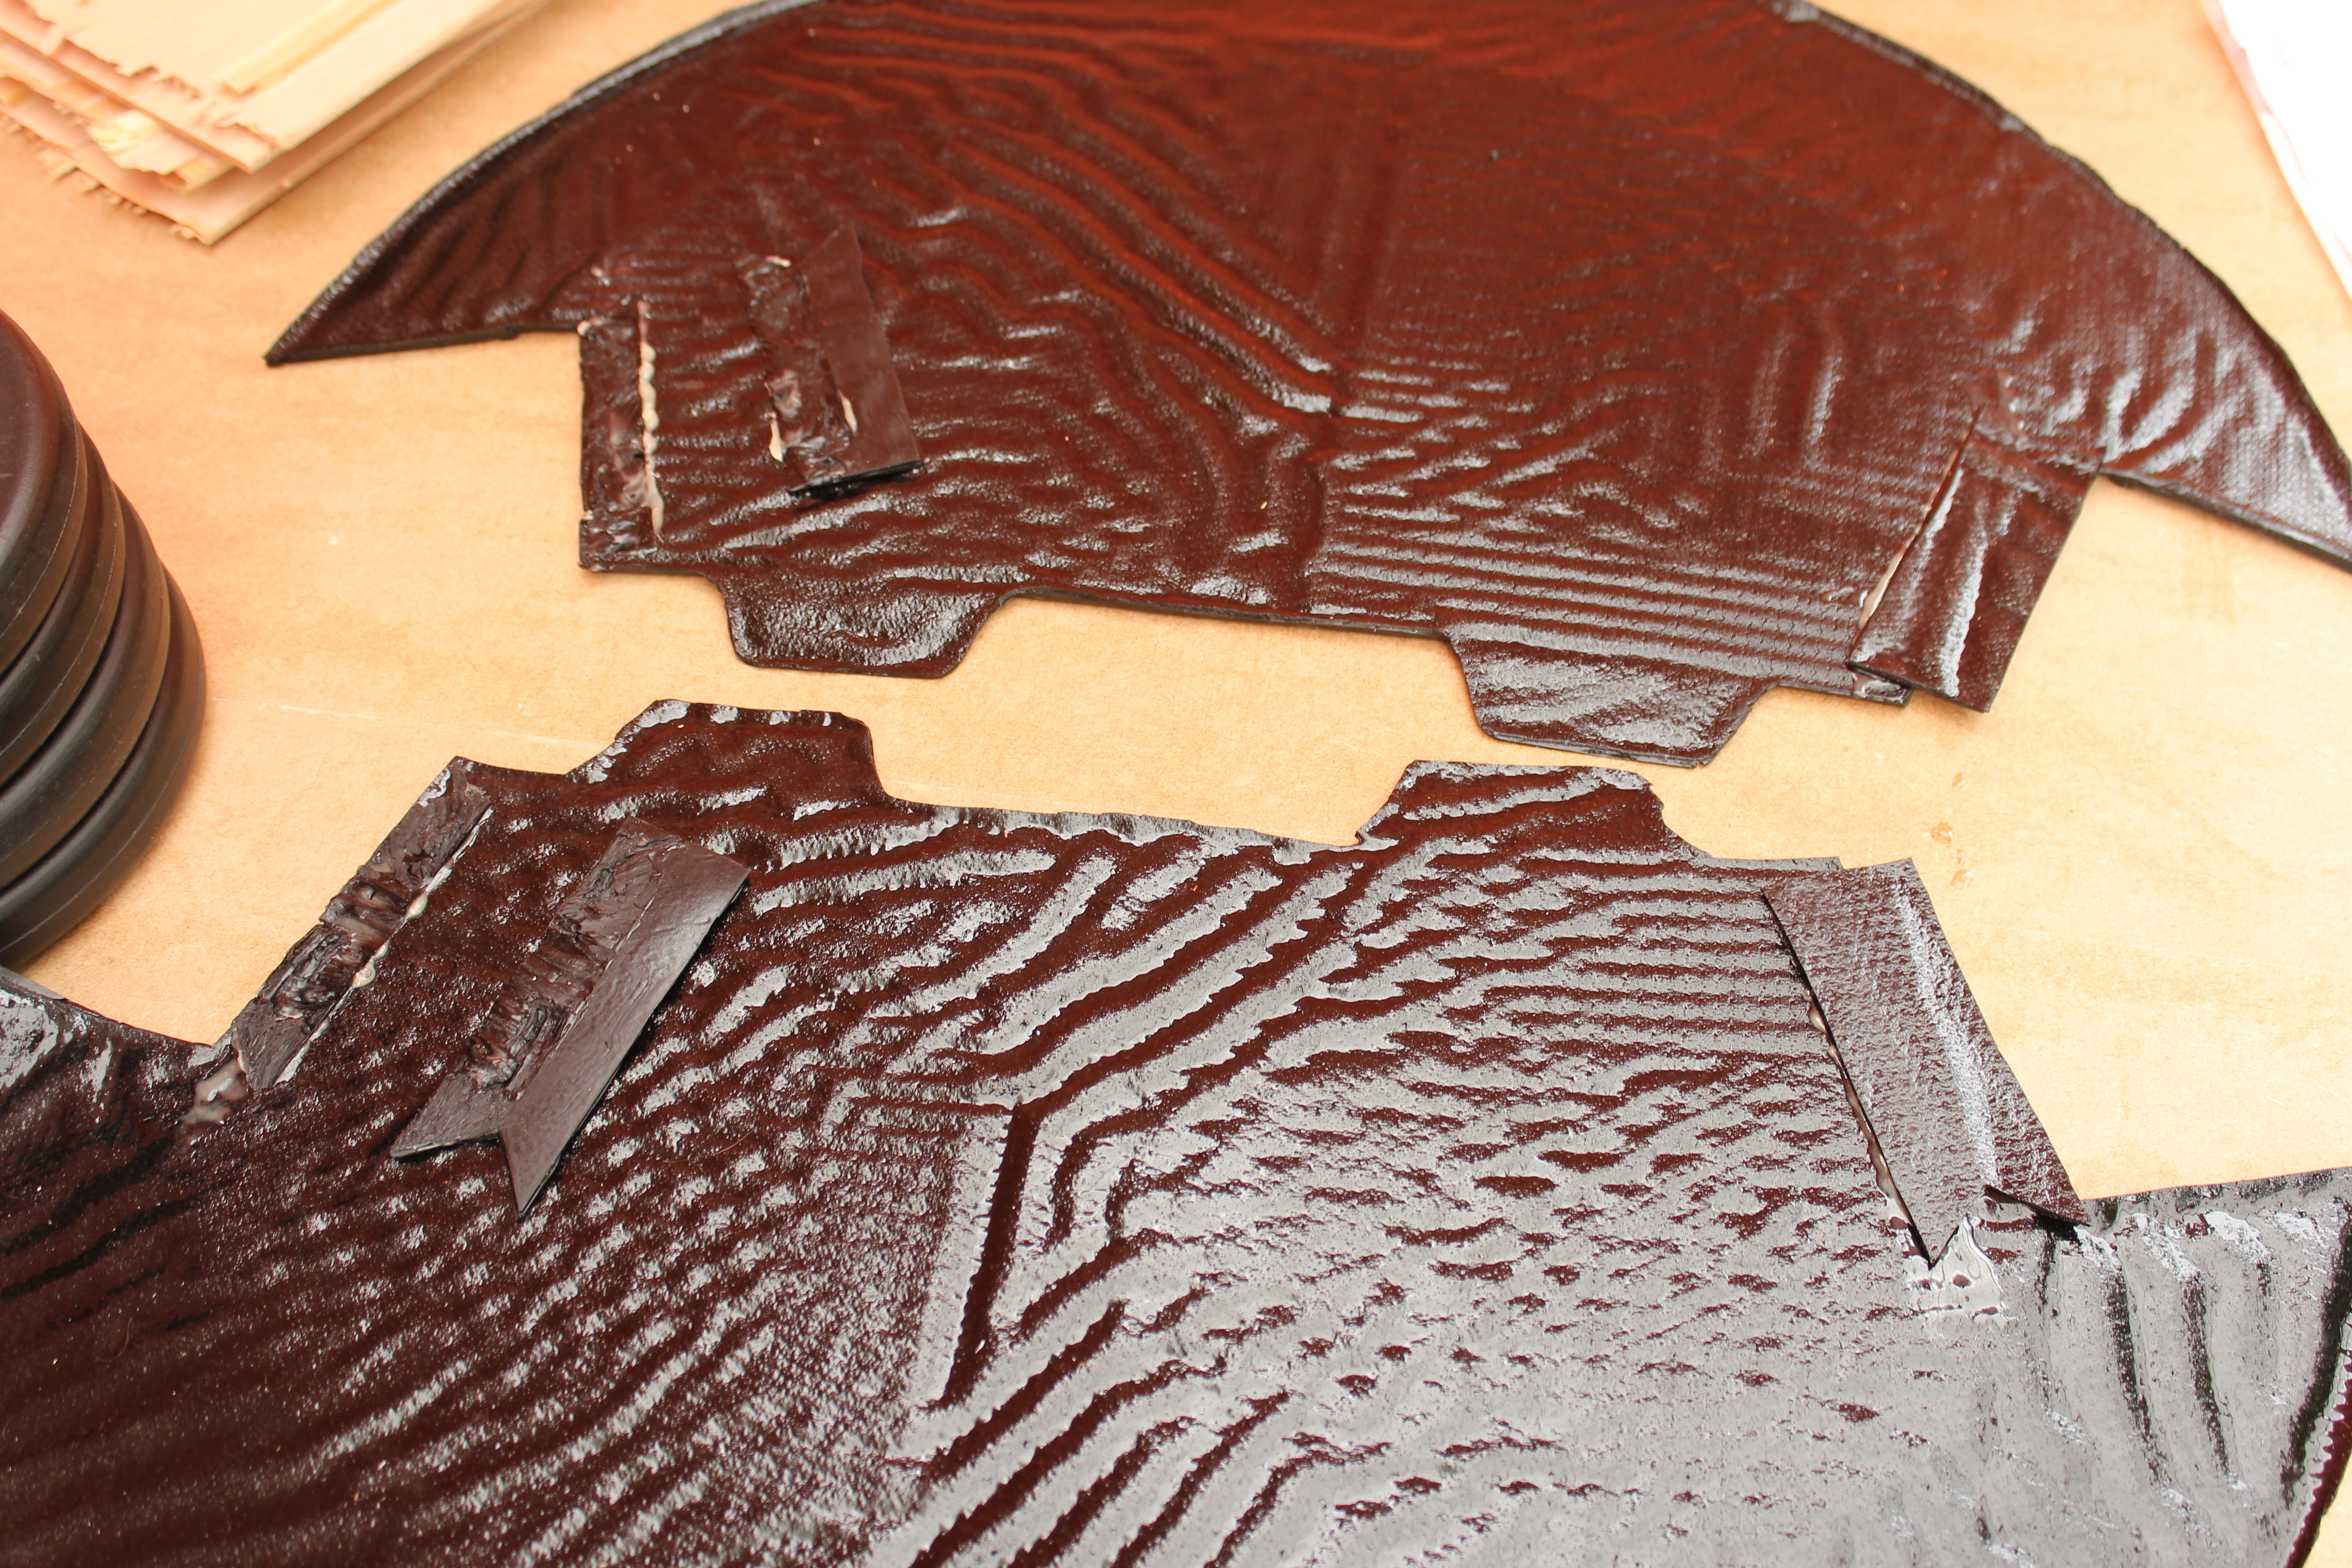
First gluing session...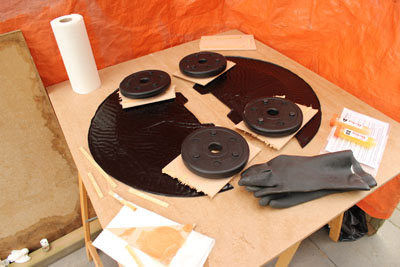
...and I messed up. Two of the glue tabs should go on the other joint.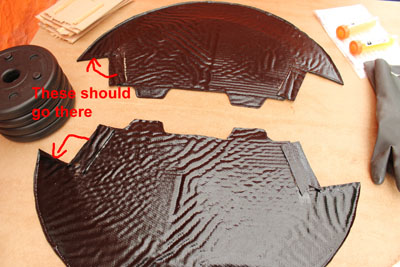
So I had to cut them off again. At least this way I could assure myself that the glue works great.
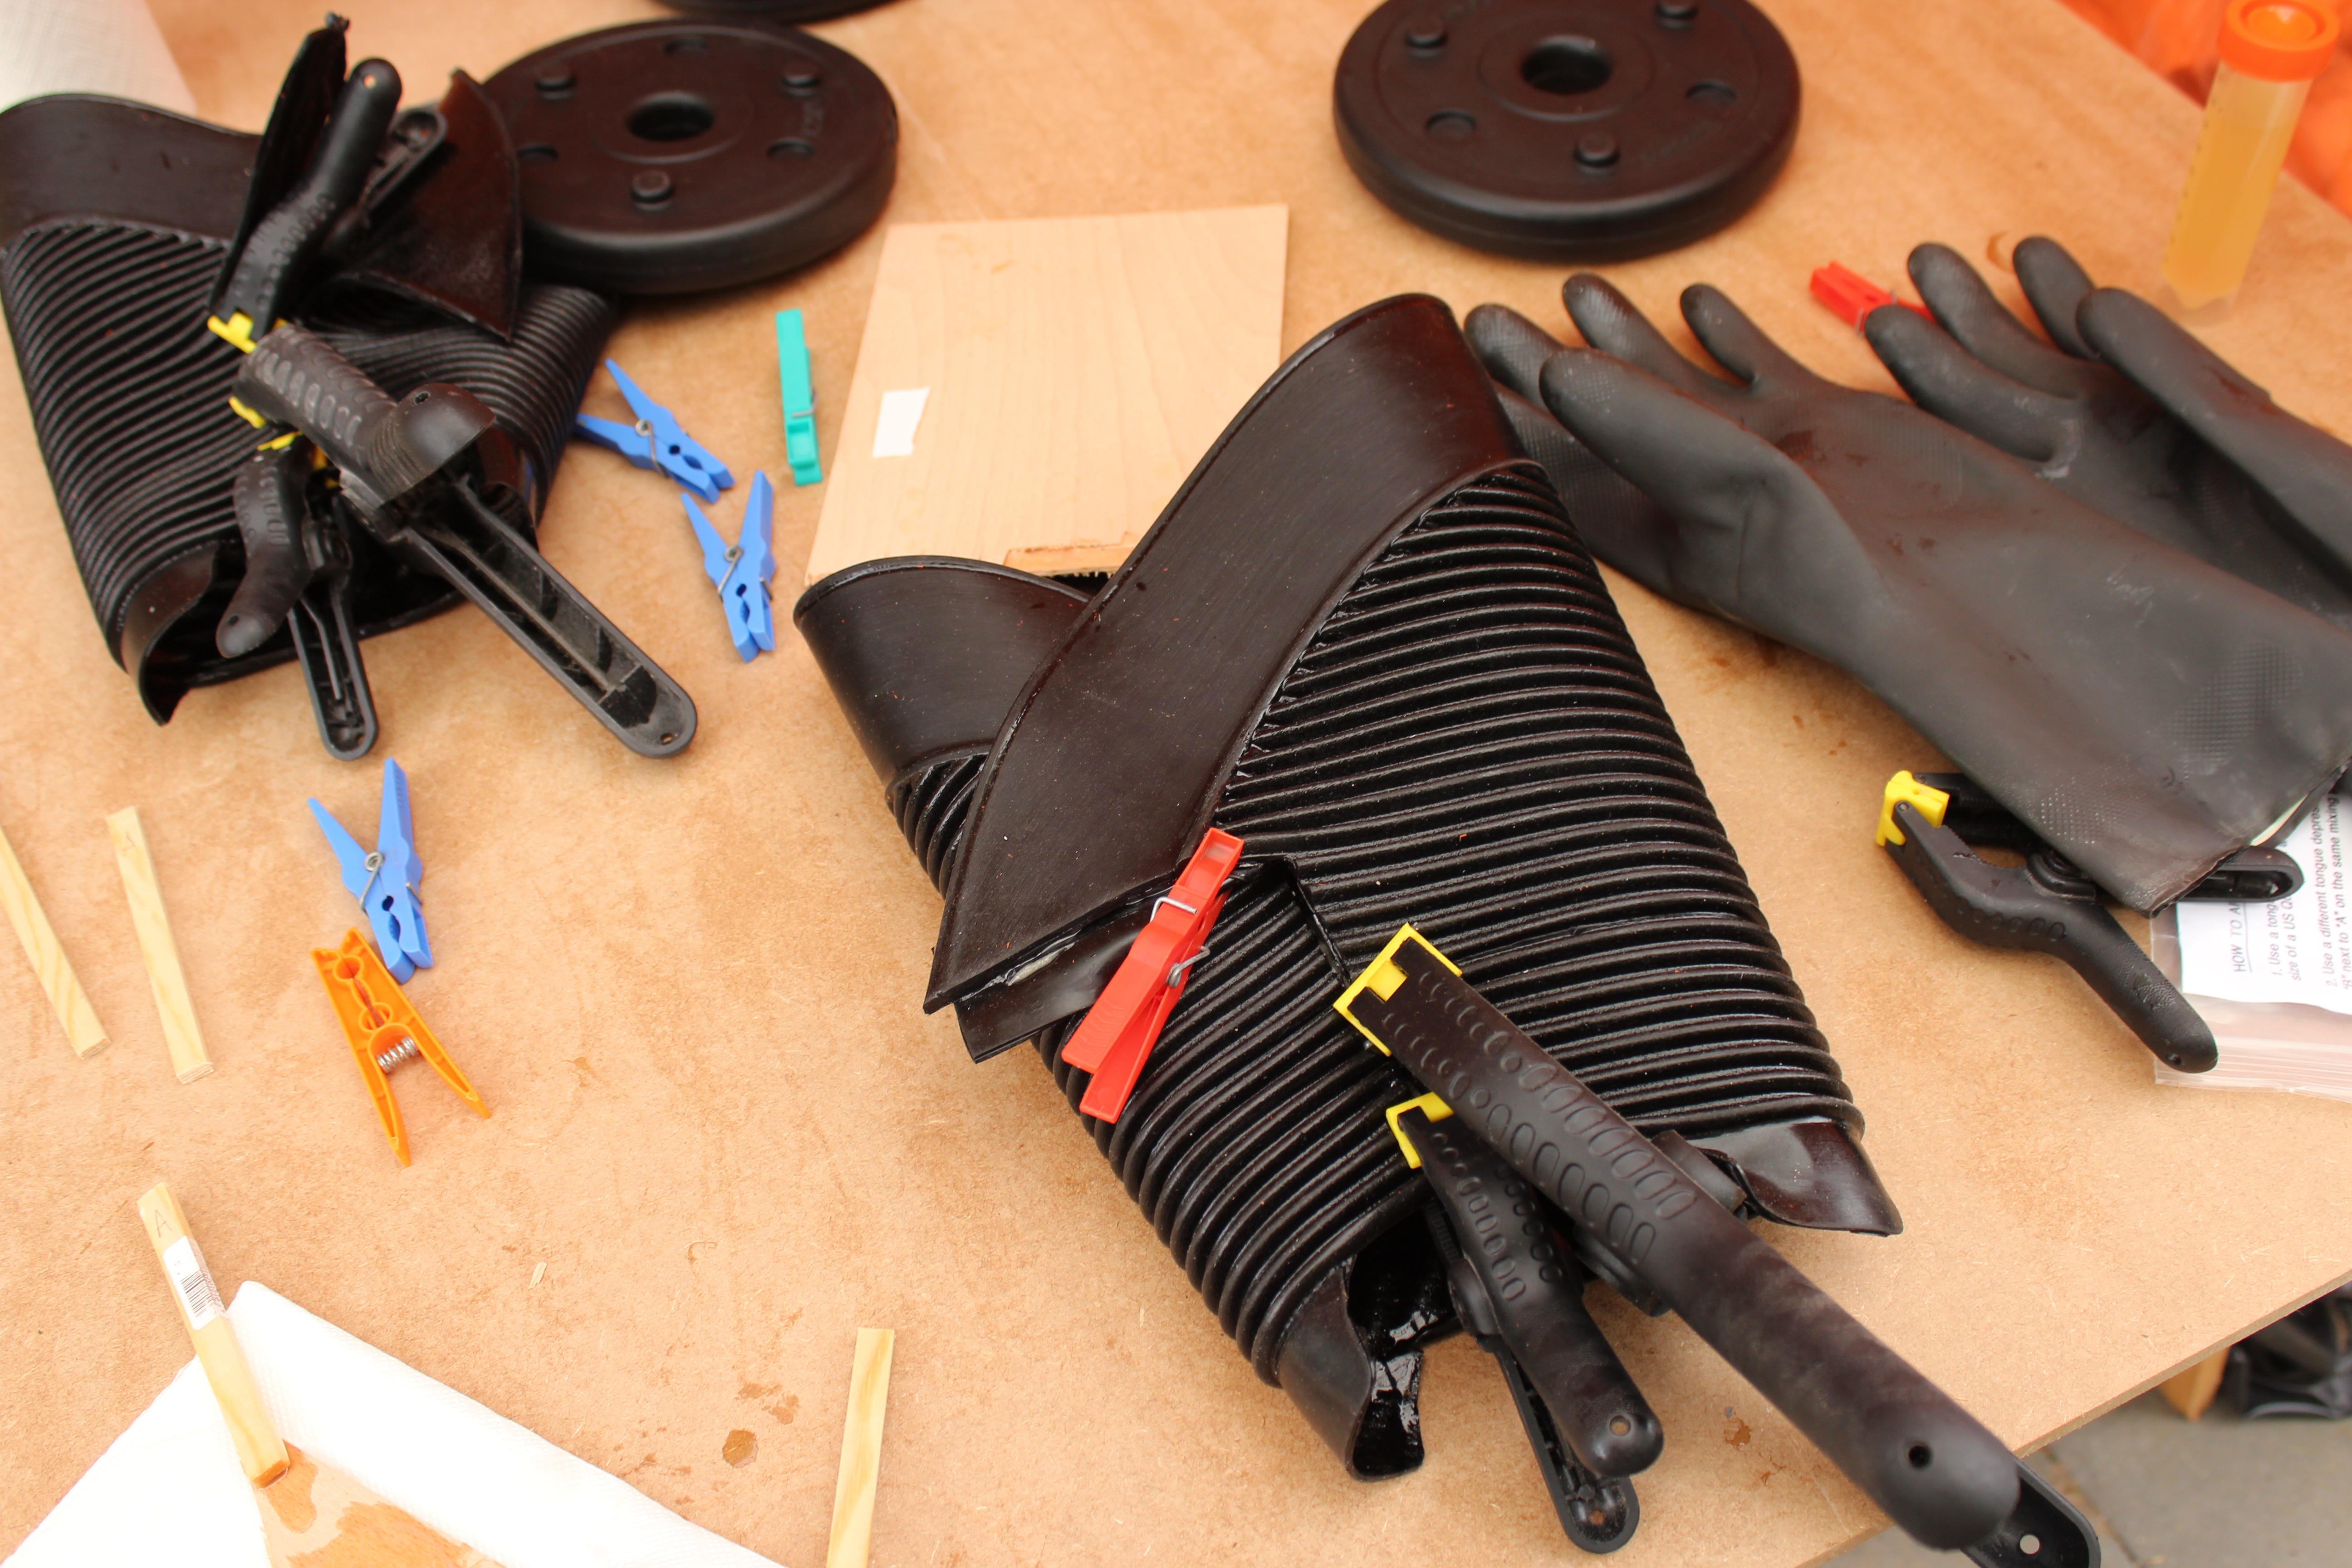
Now that all glue tabs went where they should be I applied the glue, set it sit in shortly...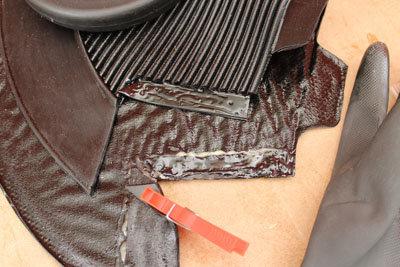
...and aligned and fixed the joint.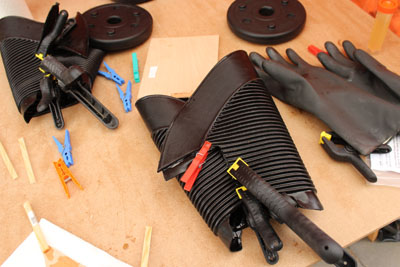
While the various joints cured I trimmed the abdomen boxes.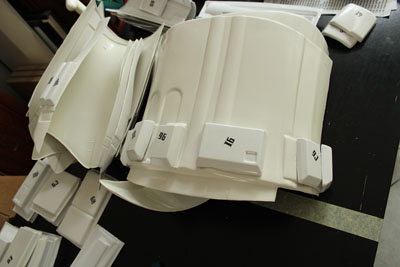
And prepared reinforcement tabs for the yoke. That part looks like a weaker spot of the armor and Clint already reported cracks in his armor. Better safe than sorry, so I'm going to include reinforcements right away.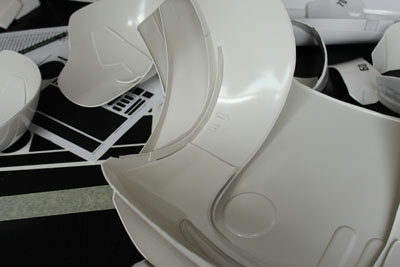
Eventually also the second part of the seam got glued.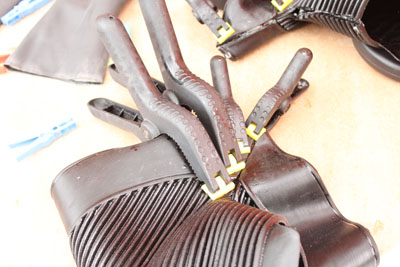
Shoulder gaskets done!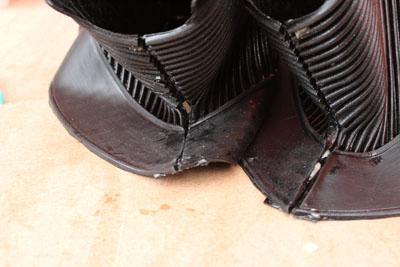
To conclude the day a first try-on.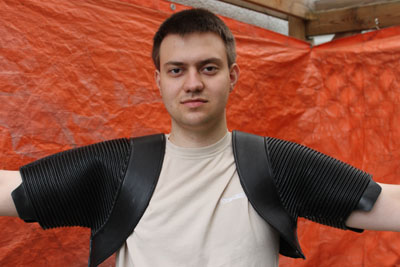
I'll continue to work on the armor next weekend. -
Yesterday I got started on my First Order Stormtrooper, after my Boxes arrived on Thursday.
Day 1:
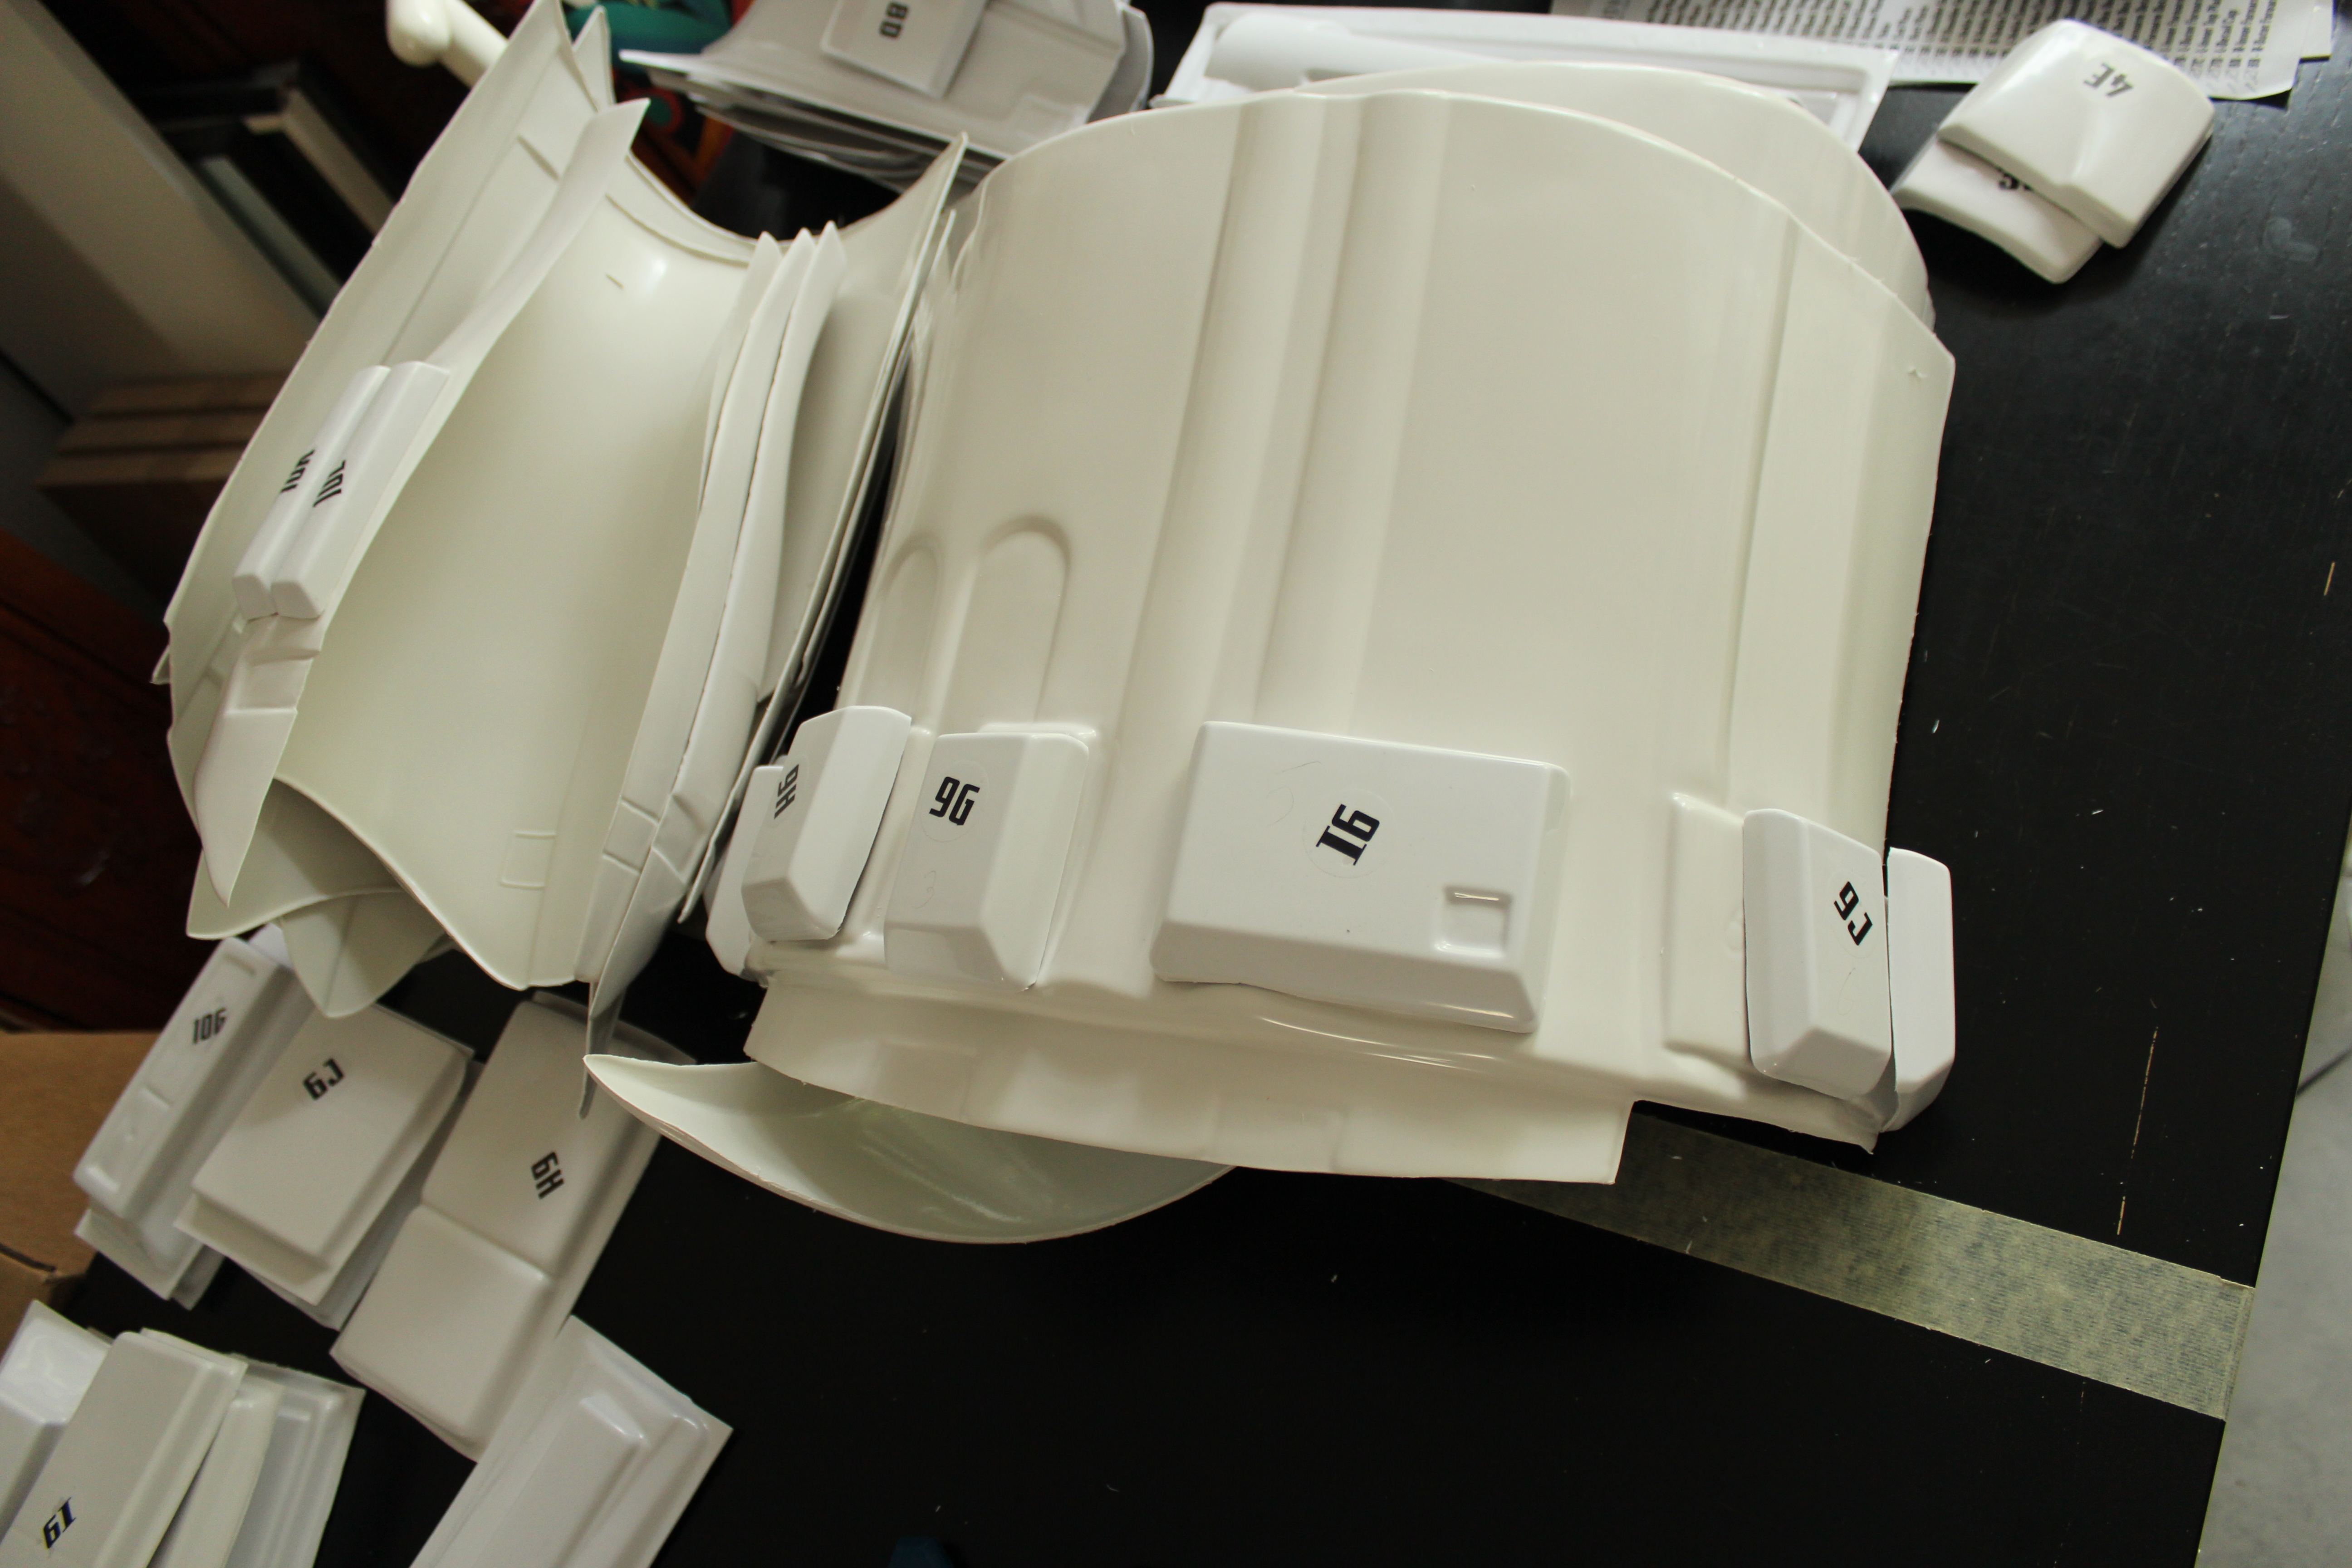
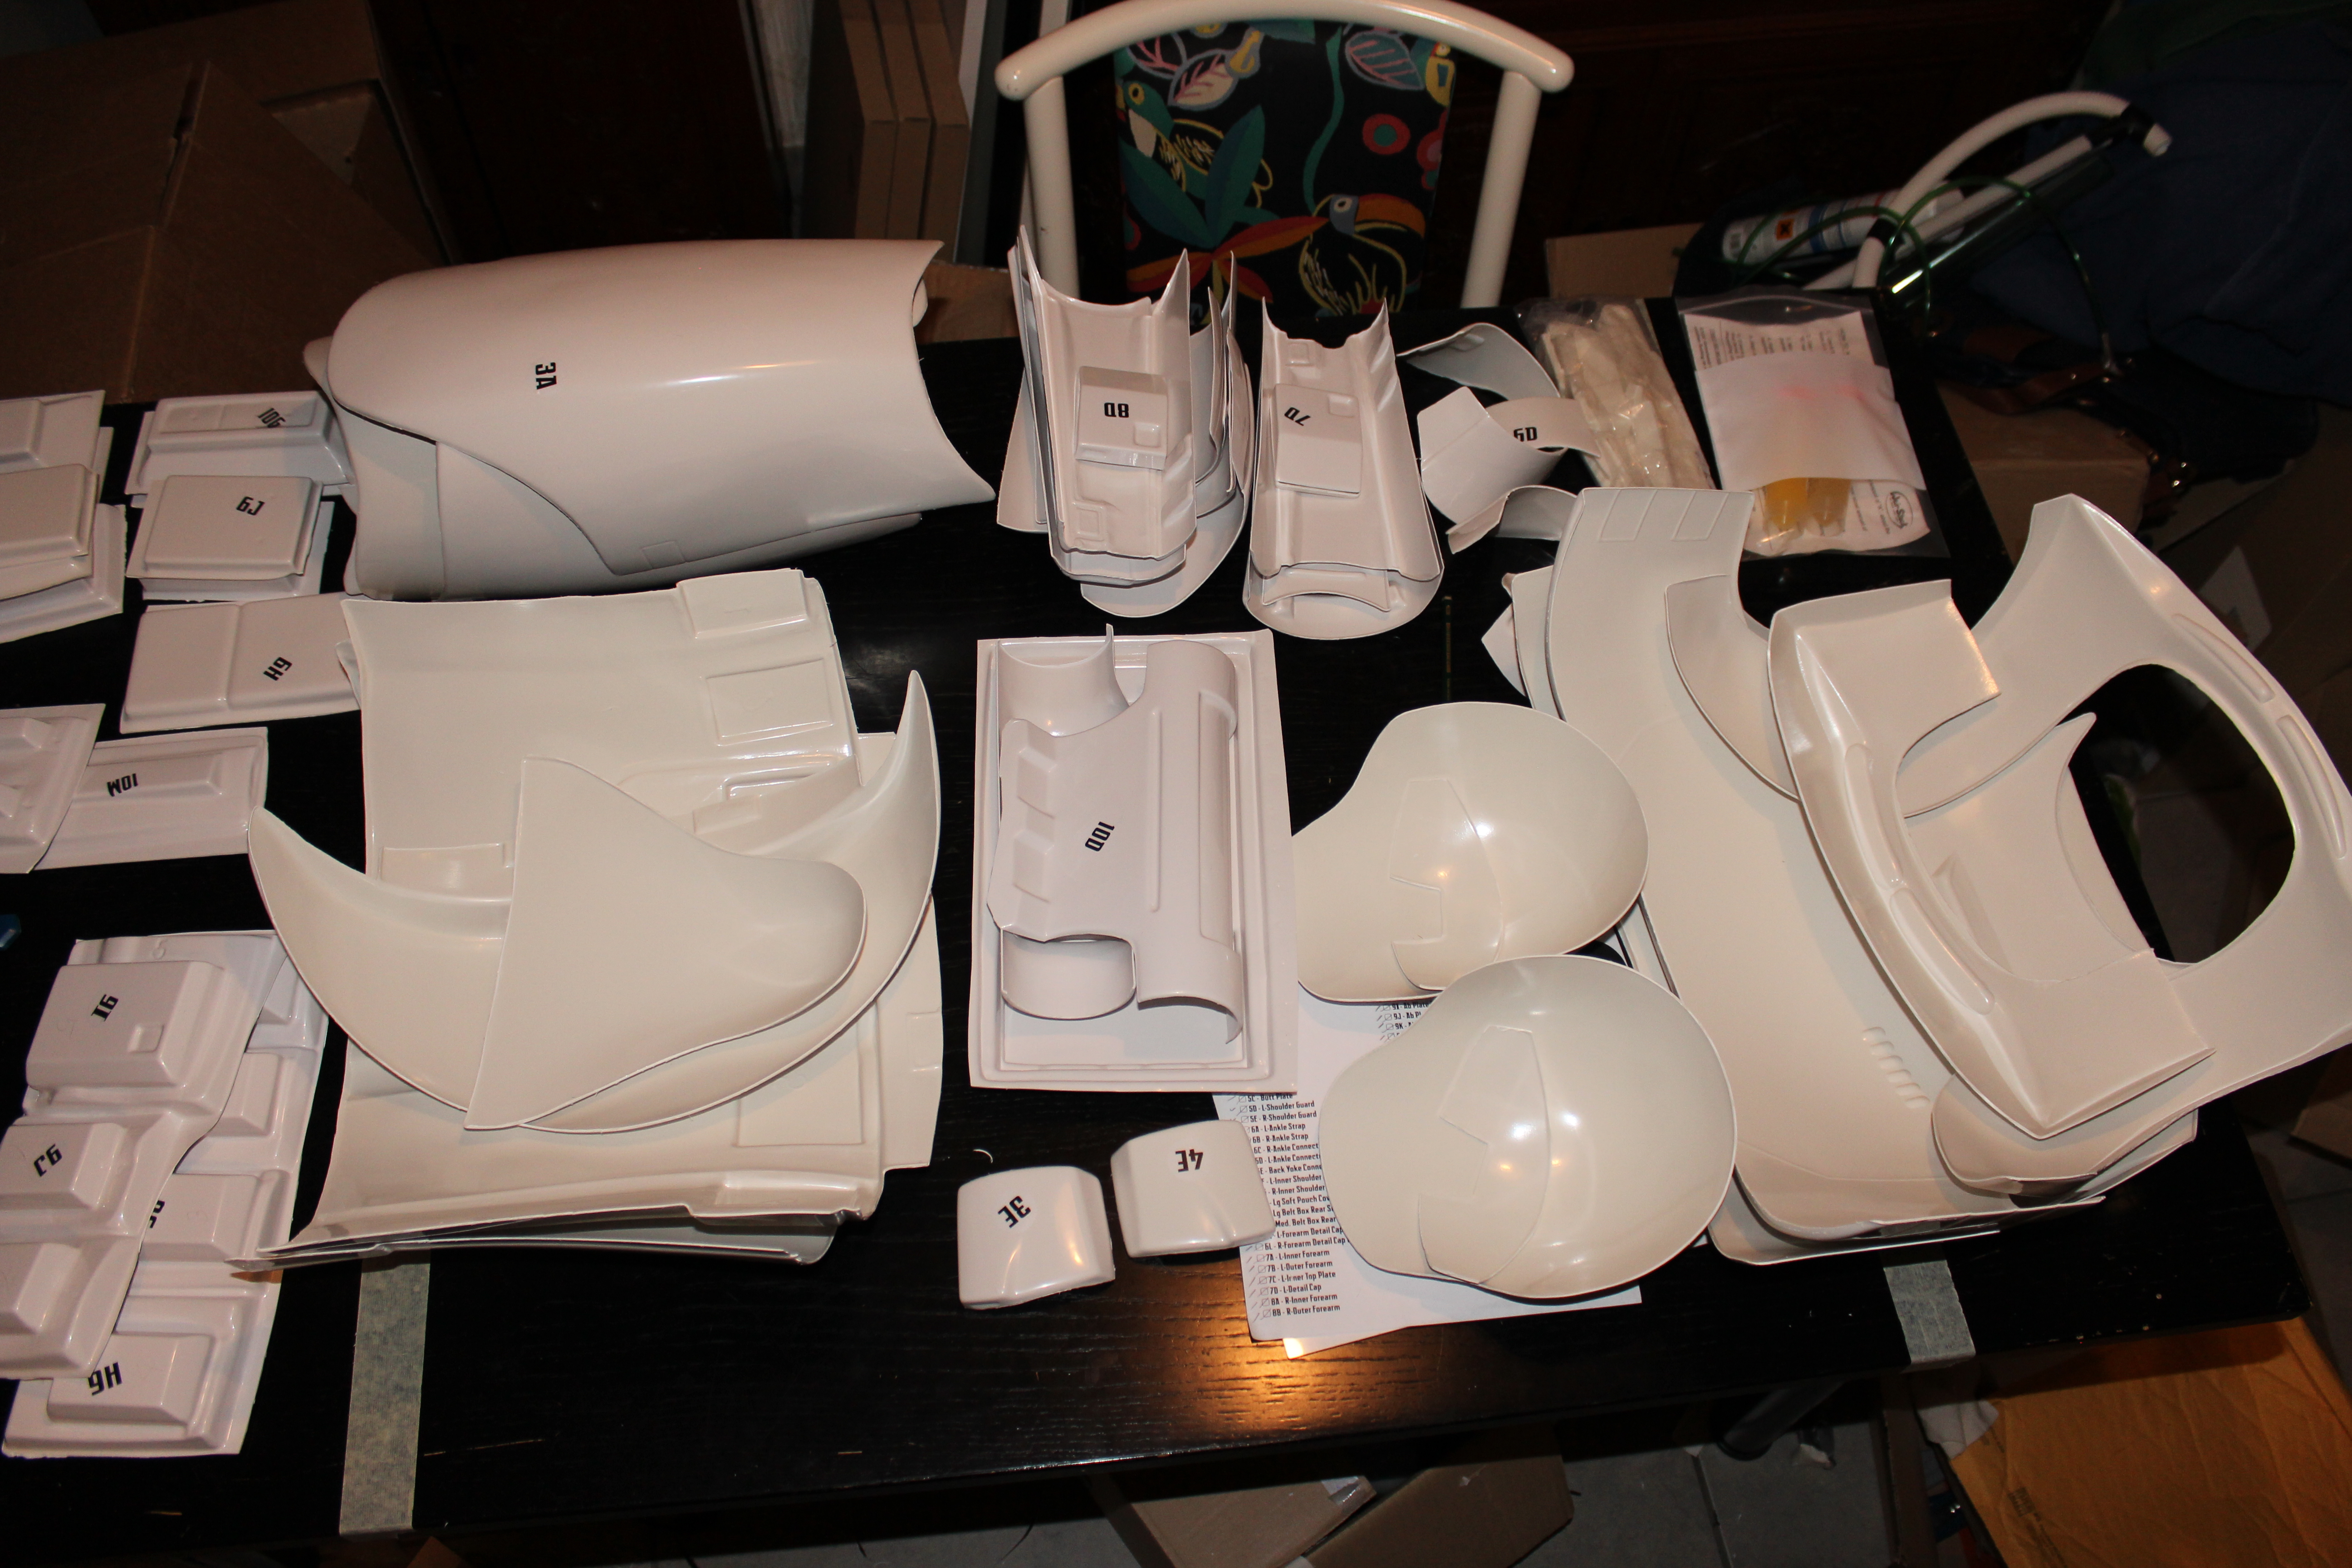
Unpack, count, check and marveling at every piece. There where over a hundred armorparts in the two boxes, although some of them were not separated yet.
Because it was already very late in the evening I sadly forgot to take pictures. But I couldn't help to start trimming the first parts, which happend to be the right leg.
Day 2:Today I spent the whole day cutting out and trimming plastic parts. Now my fingers hurt a litte... cutting through the plastic with my scissors takes a lot of force. In return all of the larger parts are trimmed. The only slips are on the TD, but a little extra bondo should fix everything. Also I cleaned the gaskets and cut them out.
All larger parts trimmed. Sanding the edges and precise fitting still to go.
The tools I used: Tin snips, lexan scissors (straigth and curved) and a knife. Next to the tools are the parts I still have to cut out.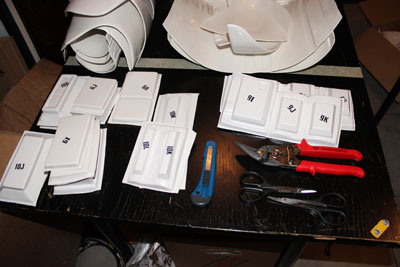
I collected all plastic scraps. Some parts will serve as tabs for butt joints others will be used to make ABS slurry.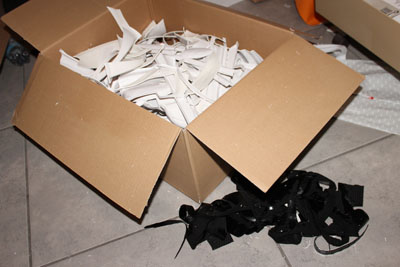
The gaskets and their glue tabs cut out. I'm still trying to figure out why there are three for each shoulder gasket. To glue them together two small or one large each should be enough...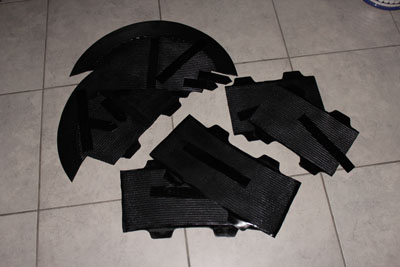
-
That's my first question too. I recieved my first two boxes yesterday. One contained the ABS-Parts, the Stickers and the checklist, the other one the gaskets. Is it true, that the belt, the neckseal and the soft-pouche will come in separatly? That would make four boxes total - if I add the belt-parts, the helmet and the two other ones together. Does one know about that???
Yes, it is four boxes in total. #3 & #4 should contain the helmet and the soft-good parts (gloves, belt, pouches, neckseal)
-
Yes, I noticed that as well. Which is odd because the thighs are very roomy and go on super easy when glued on both sides. (Maybe it was just for display purposes...)
True, might have been just for display. That's why I looked into the trailer again. I managed to dig up a still frame. This image shows the opening or at least a gap suggesting an opening: http://cdn.collider.com/wp-content/uploads/Screen-Shot-2014-11-28-at-8.24.38-AM.png
-
At least the armors shown at celebration had a very visible seam on the inside of the upper and lower leg. See for example this picture: http://www.originalprop.com/blog/wp-content/uploads/2015/04/Star-Wars-Celebration-The-Force-Awakens-Props-Costumes-Exhibit-Characters-Models-042.jpg
It is also visible in the first teaser trailer (look at the legs of the troopers on the right in the shot where the legs of the troopers are visible). In that scene you can look into that seam, there is no velcro visible. So if you use velcro it should be well hidden.
-
Thanks for the sizing chart. One pair L, please.
-
Count me in.
 Do you have a sizing chart for the gloves? But I think it should be L for me.
 -
TI-4172 requesting 501st access.
http://www.501st.com/members/displaymemberdetails.php?userID=11506
Thanks, David


Concerns with forearms and big hands
in TFA Stormtrooper
Posted · Edited by gmrhodes13
photos updated gmrhodes13 2021
On a few reference photos it looks like the cover plate is not glued on at all in the front.
For example here (Celebration Exhibit), look at the left arm of the left trooper, or here (SDCC Reel), look at the one who is drinking.
At least for now I will try to just hold the plate in place with some elastic. Your idea with the velcro also sounds good.