


Artshot
-
Posts
584 -
Joined
-
Last visited
Content Type
Profiles
Forums
Gallery
Articles
Media Demo
Posts posted by Artshot
-
-
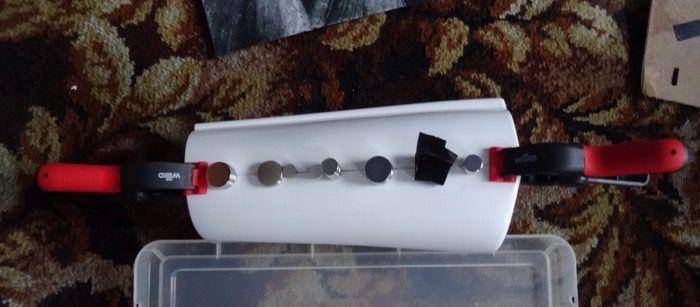
Well, after 24hrs and not having much patience, I removed the magnets and clamps and tested the joint, very strong and hopefully very flexible.
Next I prepped the two areas I was going to glue by roughening them up a bit, wiped away all the flotsam and covered the areas in E6000, waited till they were tacky, then went at them armed with "a couple of clamps and a handful of magnets".....incidentally that should be the title of anybody's "How to put armour together" video.
It took me a while to wrangle the seams together and line them up, the armour really did not want to cooperate, but with fingers covered in glue, hands nipped by magnets and a fair amount of electrical tape that was closest to hand, I wrestled it into submission.
Soon as everything was as stable as I could make it, I gently put it down and stepped away, I am convinced if I listen carefully I can hear it straining, not unlike the cables on a suspension bridge.
Tomorrow when I remove the magnets, clamps and tape, I may take the precaution of wearing safety goggles and a hard hat.
Wish me luck.
-
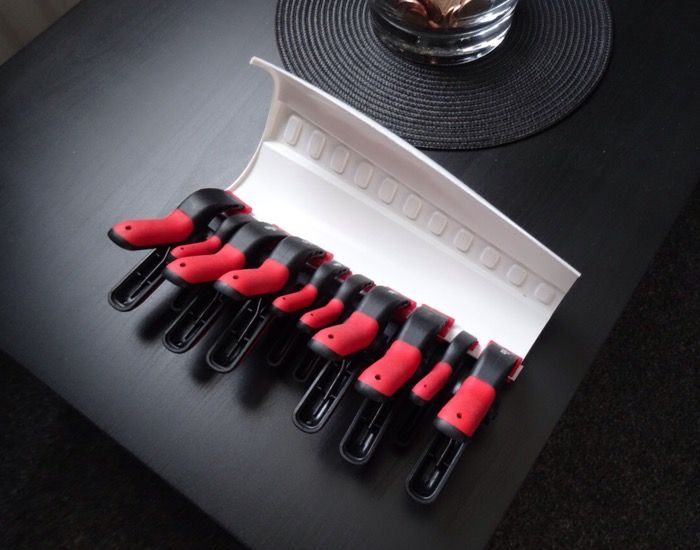
Well, after trimming both my forearms to size and cutting the internal cover strips (15mm), it was time to open the E6000, whoa.....thought I could smell colours, until I opened a few more windows.
So, here's the first internal cover strip glued in place and clamped......I like clamps, cannot have too many.
I waited the longest 24hrs known to man, then removed the clamps and trimmed away the surplus E6000, I pay too much attention to tiny details, so it took a while until I was happy and did the second internal cover strip, no photo of the second as I figured, you see one internal cover strip, you see them all.
After another 24hrs I removed the clamps and trimmed away the excess on the second internal cover strip.
This is the stage the forearm is at now.
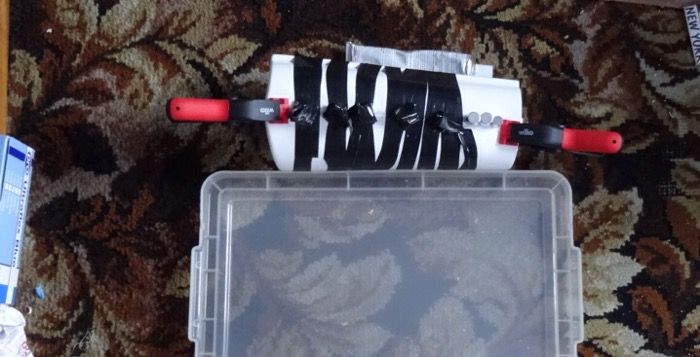
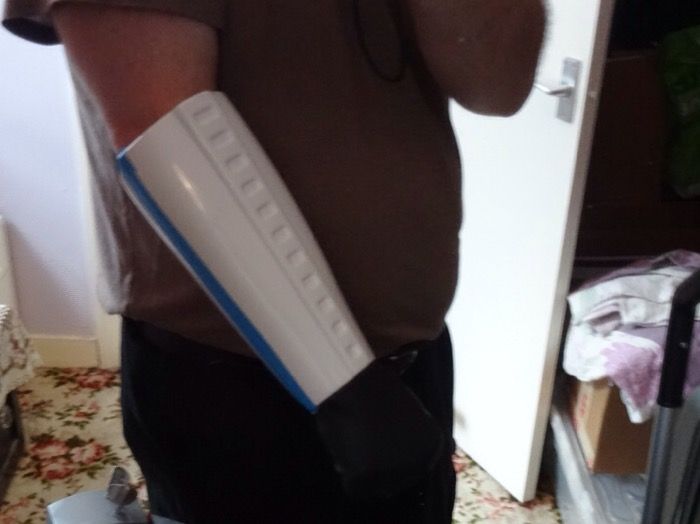
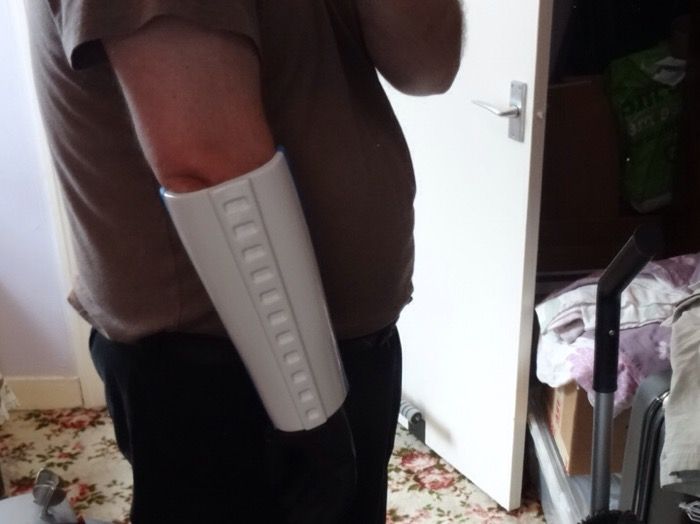
I have glued both halves together now, only one side though as I know there is going to be a lot of stress and tension on these pieces until fully set, once the first is solid, I will do the second.
As I was gluing I had a bit of a struggle to keep the pieces in place, really glad that E6000 is easy to remove as there's a lot of gluey finger prints on the outside that are going to need cleaning off.
I also realised, I could have done with more magnets, or at least a better way of controlling them, midway through trying to wrangle the magnets into position a few jumped around and gave a very nice "magnet nip".
Between the random cuts and nicks and now the nice red nip on my finger, I am beginning to think this armour is trying to kill me.
Not sure if it's common, but I have the feeling I will need to sand the join slightly on the outside to create a flat spot to improve the gluing of the external 15mm cover strip.
Be sure to come back in 48hrs for the next thrilling instalment, going to double the time on this join.
-
Just curious, when you trimmed your biceps, did you trim them to fit or did you trim them to fit with a bit of taper, like the forearms ?
The more I look at mine I am wondering if a slight taper from the top to the elbow to try and match the size of the forearms is the way to go ?
-
I taped my forearm to a position I wanted them to stay in, then sanded them smooth on a whole sheet of sand paper attached to a solid board, that way I could check to see if any daylight was getting in from an uneven edge.
I thought about gluing the cover strips first, but didn't want to sand the edges of them once they were fitted.
-
Hey Jamie
Thanks for the insight, I will if I can get away with it, just reduce the return edge size rather than remove it entirely.
-
Since I am now thinking of the next steps in assembling my armour, I have a couple of questions for those that might be reading this (I really hope somebody is)
1) How high should the biceps be on the arm ?, are the scoops into the armpit ?
2) Is it acceptable to remove the return edge from the bottom of the biceps, in case I need to reduce there height ?
2a) Or is removing the return edge at the top of the biceps preferred ?
3) Should the width of the bottom of the bicep be the same as the top of the forearm, to keep the tapering look ?
As always, any advice is greatly appreciated.
-
This image conjured up a very feudal japan picture to me, banners and troops lined up by units.
-
Every time I hit a moment of panic about what to cut next, I wander over to your build and have a read of the relevant parts and cut with confidence..tonight, the return edges of my forearm get a trim.
-
 2
2
-
-
Yup, it's a bit snug and there's a couple of sharp edges where the two halves join, I will be reducing it down to just a couple of mm and sanding away any sharp edges.
I expect to bleed again before it's finished

-
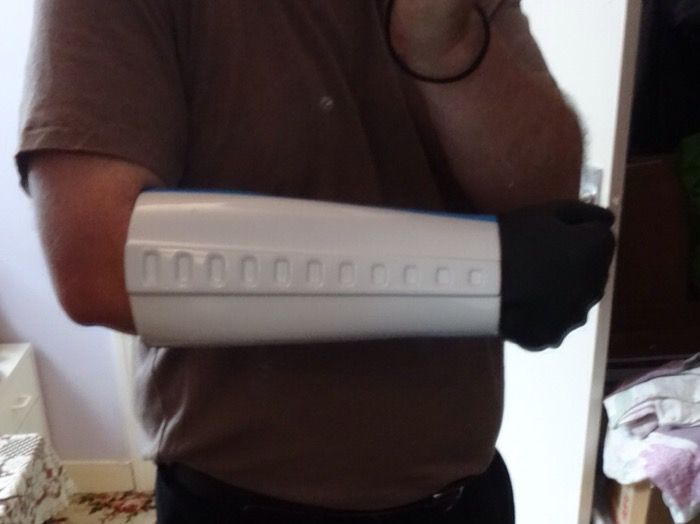
So, after getting carried away with cutting, I decided to do some more today, I made a few adjustments to my left forearm, mainly removing the overlap and improving the fit, I am actually pretty happy with how it's turned out, just need to trim the wrist end and reduce the elbow end return edge, before I apply the inner the outer cover strips.
Anyway, on with some photos......oh, and my armour drew blood today by slicing the end of my finger on the trimmed edge.
Any and all comments are welcome.
-
1
-
-
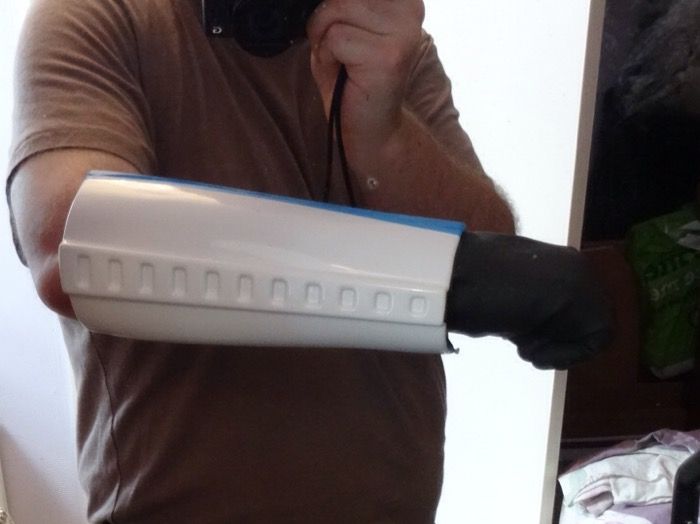
I did it, I went and made my first cuts.....luckily my hand shaking did not matter when cutting.
May I present, my left forearm.
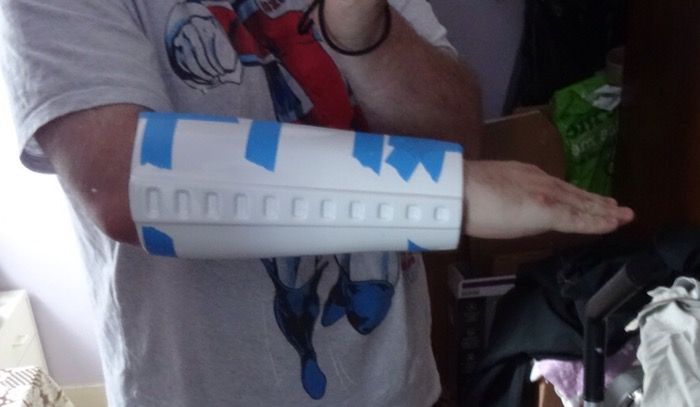
The forearm is snug on my arm, however I will be reducing the elbow return edge slightly, I will also be reducing the wrist edge by a few mm to allow the armour to move forward slightly and increase mobility at my elbow.
Will be removing the overlap when I figure out the cover strip position.
Quick question on the positioning of the cover strips, do they run parallel to the dimple raised area ?
-
After staring at the forearms for a few hours. I decided to contact the maker of my armour, check twice, measure thrice, cut once.
Troopergear confirmed that the more pronounced "scoop" is for the right arm, which when looking at the pieces and doing test fits before trimming, makes senses as the elbow ends fit together better this way, whatever shortening of the arms I need to do, will come off the wrist end.
Day 2 of the official beginning of my build, still not cut anything

-
Hey Bryan
I had to soak the front sight in WD40 overnight, then had to tap it out with a piece of cloth padding and wooden dowel against it, I did not want to mark it as I removed it, it took a lot of persuasion but I figured it had been in there a very long time.
-
Hey Josh
Thanks for that, I kept trying them on either arm, then figured I better ask somebody who has been there and done that
Did you reduce the wrist end of your forearm against the elbow end to create a more shaped fit ?
-
Okay then, here we go!
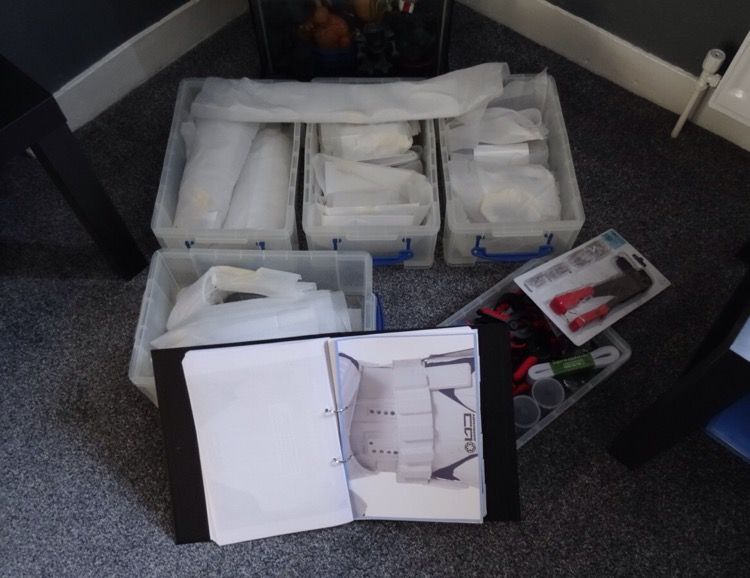
I have sorted the armour into smaller boxes, along with a box full of supplies to put it all together, there's a few bits & pieces currently ordered but not delivered yet to add to the stockpile.
But it's time to start.
First up are the forearms, however here's a quick question, Right has 12 & Left has 11 dimples ?, typically in all my piles of printed pages, I cannot find confirmation.
Oh, and to all the other AM 2 builders out there, how do you tell which other forearm piece is which.
Yup, off to a great start
-
Having hit a wall and lost a little enthusiasm to finish my build, reading through this guide has got me inspired to get the job done.
Congratulations to all who contributed, excellent work.
-
3
-
-
Hey Kevin
I got my boots from Amazon £19.99 Chelsea boots, I have deglazed them so far and given them a very light buffing with sandpaper, just enough to remove any sticky residue, they need a bit more work before I am ready to whiten them.
I have a Doopy blaster in the middle of a build, plus lots of pieces to mod it, T-Jay does a great kit to improve a resin blaster.
I also have a Sterling to mod with real scope and counter.
Everything went on hold until I got my armor and now everything is on hold again, until my vacation is over.
In the meanwhile I have been stockpiling building materials.
-
Since I will be going to this years San Diego Comic Con, alas not as a member of the 501st, hopefully that will be next year.
I was just wondering if there are any approved vendors at the show ?, it sure would be easier picking up all those bits & pieces (neck seal, holster etc) I still need from overseas, while I am overseas, having just had a dance with UK customs over my armor.
I admit I do not get to the area where the 501st is set up and cannot remember.
Thanks
Art
-
I decided in my infinite wisdom to not buy any of the webbing, tape, glue or anything else for my build (have the boots though) before I received my armour.
I figured this would stop me rushing in and getting carried away without thinking things through, I would use this time to assess where I am going to start, read more builds and generally plan ahead.
Lets hope this is my only stupid mistake........Amazon is sooooo slow
-
Many thanks.
Even though I will not be starting my build (AM 2.0) till after San Diego Comic Con, I could not resist trying to size a few pieces, whilst I won't have to shim my kidney/ab (hoorah!)I think my legs and forearms will need a bit of trimming for comfort.
If you see an annoying Brit at Comic Con asking all the TK's questions about there armour and there builds, that will be me
Thanks Again
Art
-
1
-
-
Another AM 2.0 build
Another thread to follow before I can start my build
-
Excellant, another AM 2.0 build
By the time I can start building mine I am hoping all the other AM 2.0 builders have been there and done that first
Art
-
Evening All
As one of those who is about to begin a build, I have my kit but will not be starting till the end of July.
I was looking for a guide to which pieces have return edges ?, I plan on building to Centurion standard.
I know I saw something somewhere on this site, but I cannot find it.
Thanks in advance.
Art
-
As a fellow AM builder, when you did your forearms, did you reduce the width in gradual strips ?
I have been looking at mine and trying to see how much I need to trim from the width, it's nice to have extra, but it sure gets in the way when trying to get a fit.
I can see my build as being very very slow.


Artshot's ANH Stunt Build (AM 2.0)
in Build Threads Requireing Maintenance
Posted · Edited by Artshot
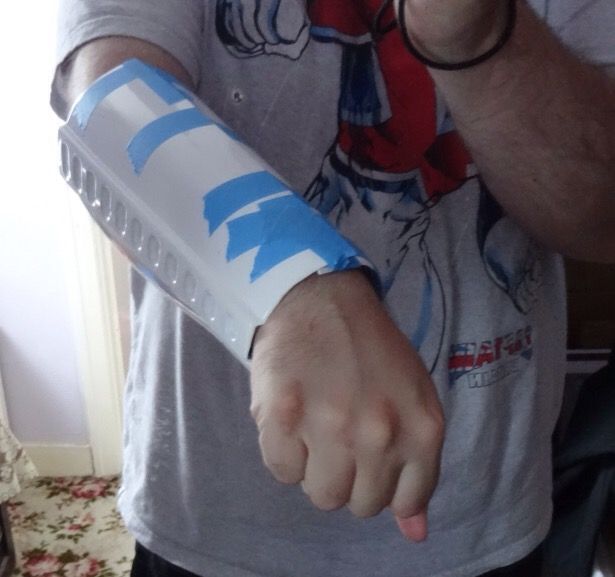
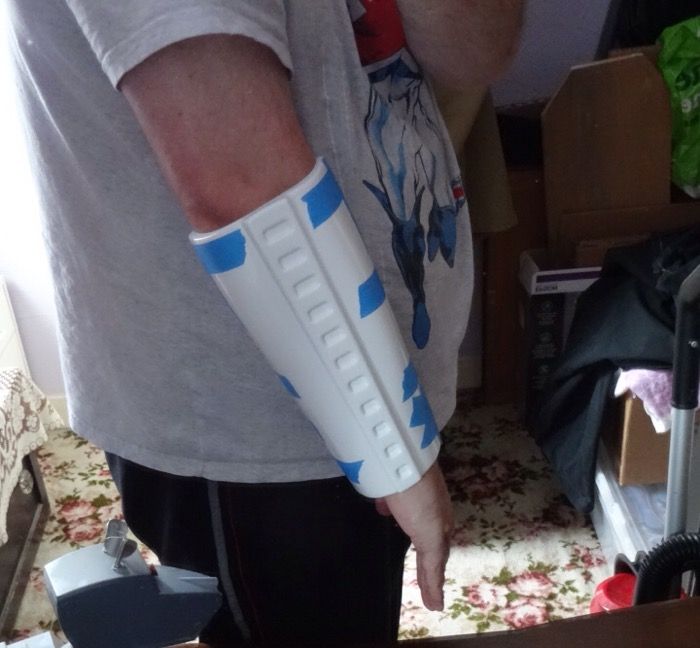
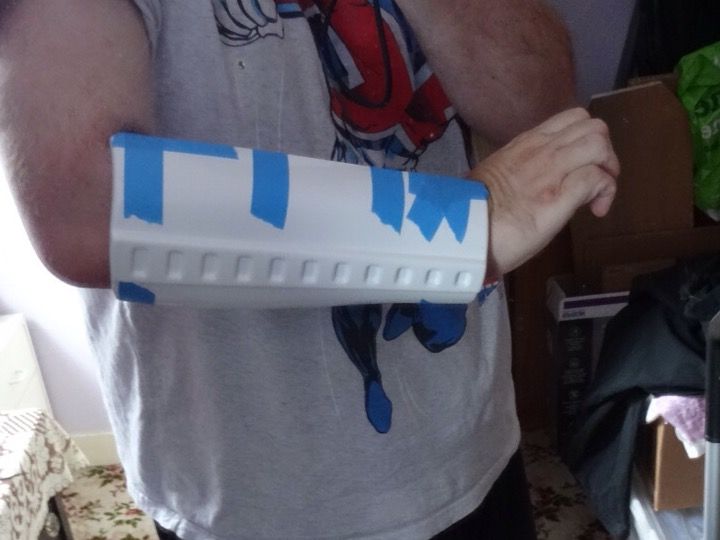
My initial plan was to use the blue tape, but I forgot the cardinal rule of having everything I am going to need within arms reach, luckily the tape I used seams to have worked....I hope.
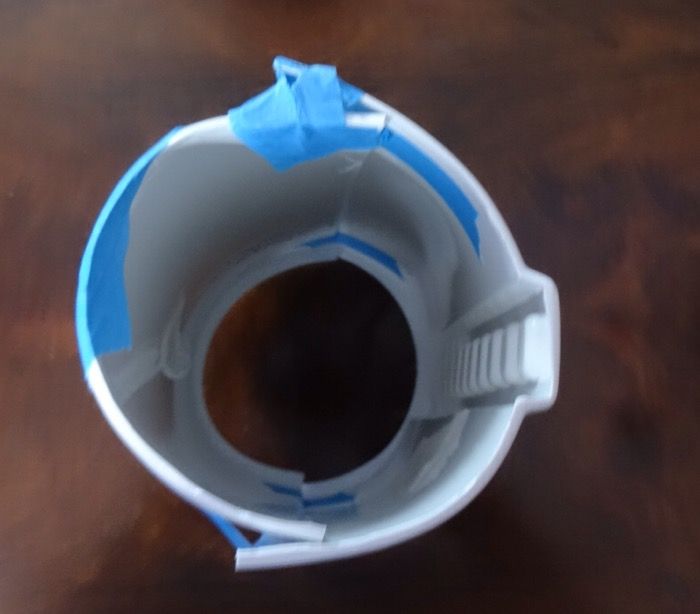
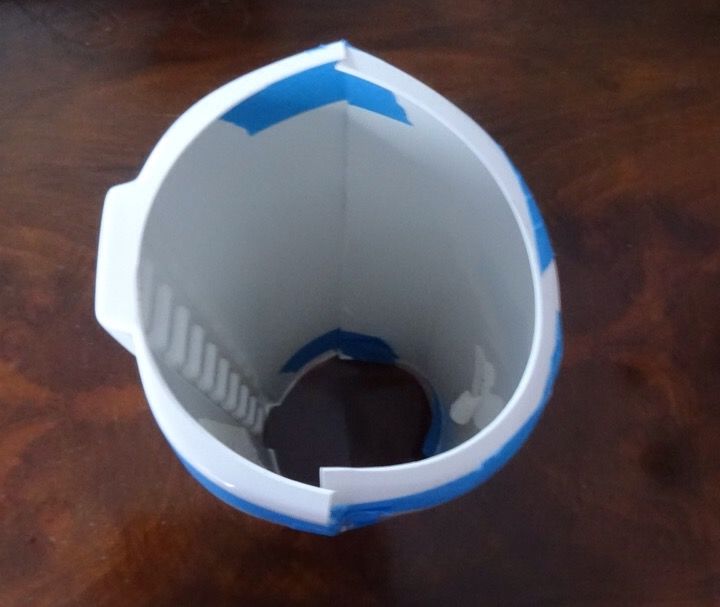
I did notice that the once round wrist opening is now slightly oval, hoping that will flex back into shape once the clamp at that edge is removed, I would like it round, but not sure about soaking it in boiling water.
Definetly going to have to sand a flat spot for when I glue the outer cover strip in place as I want it to settle flat and not up on a slight high join.