


Haribon72
-
Posts
1,336 -
Joined
-
Last visited
-
Days Won
3
Content Type
Profiles
Forums
Gallery
Articles
Media Demo
Posts posted by Haribon72
-
-
Congrats Trooper!!!
-
 1
1
-
-
-
Congratulations on EIB! Come see me when you're ready for the Centurion upgrades.
-
Relax Nam! You can do this!
-
Great start man!
-
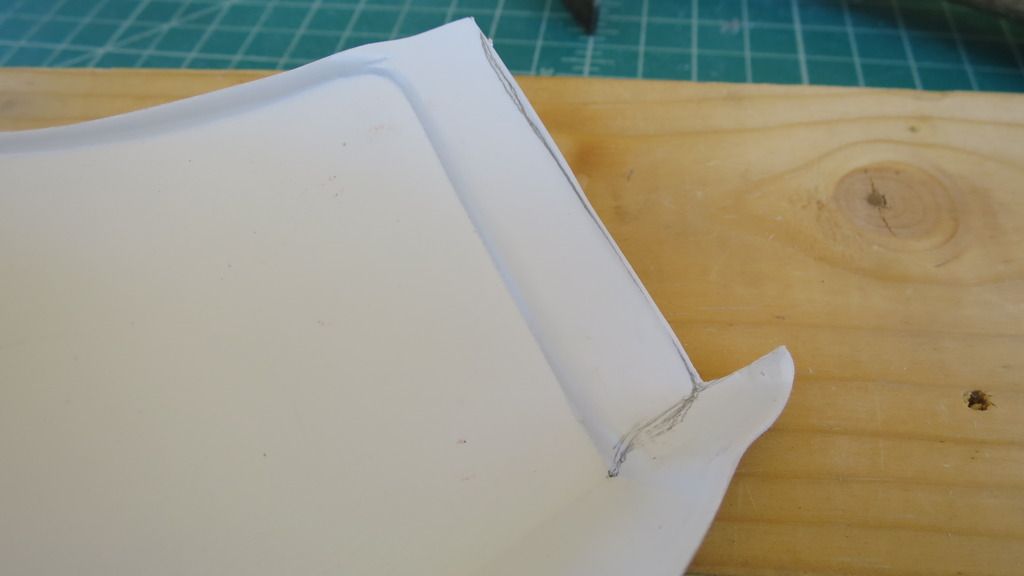
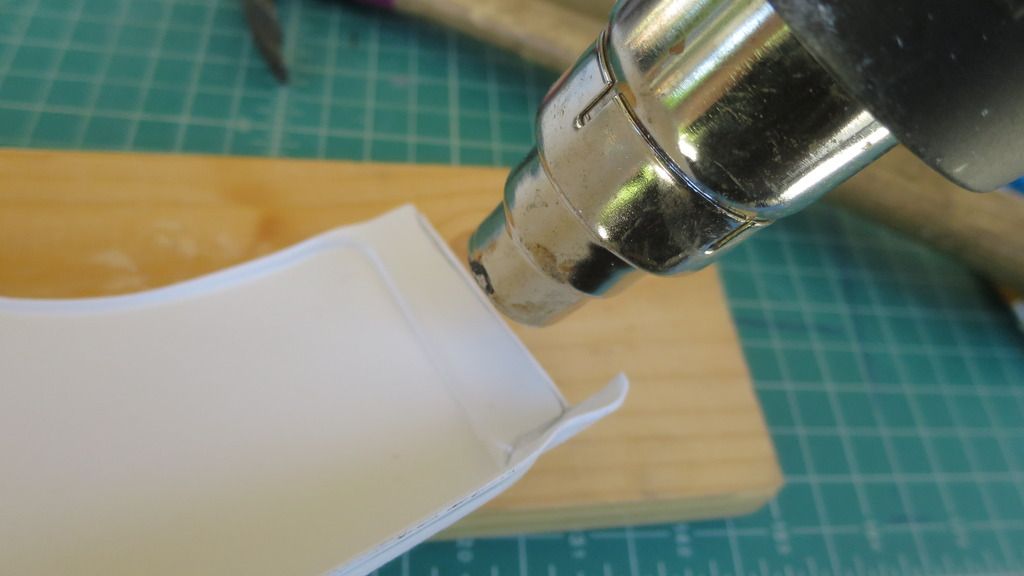
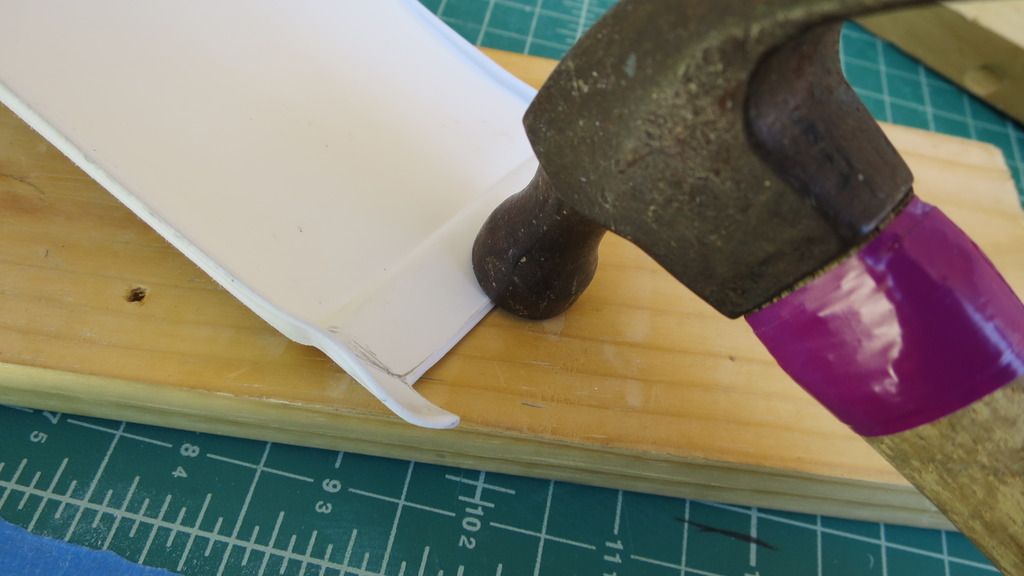
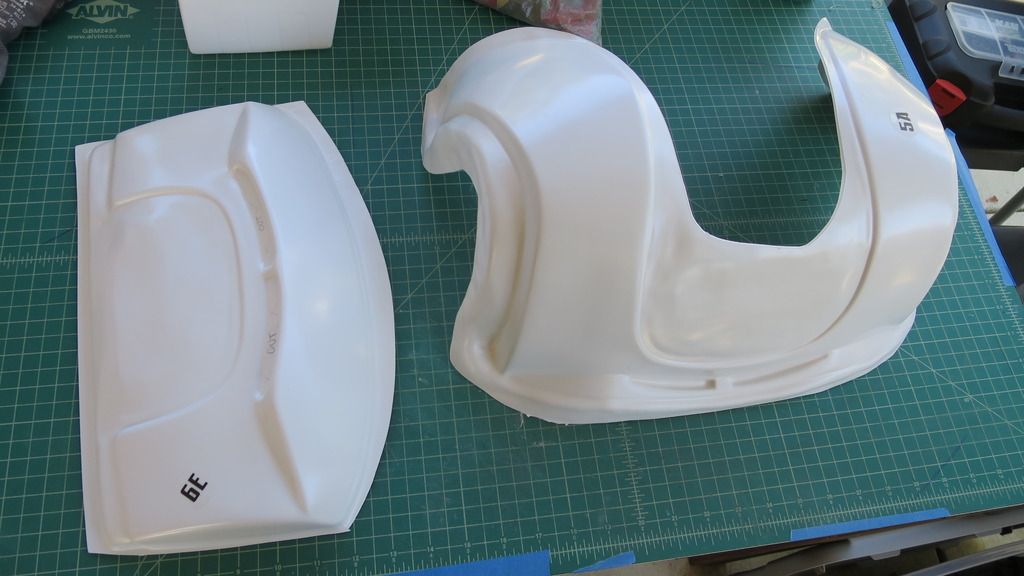
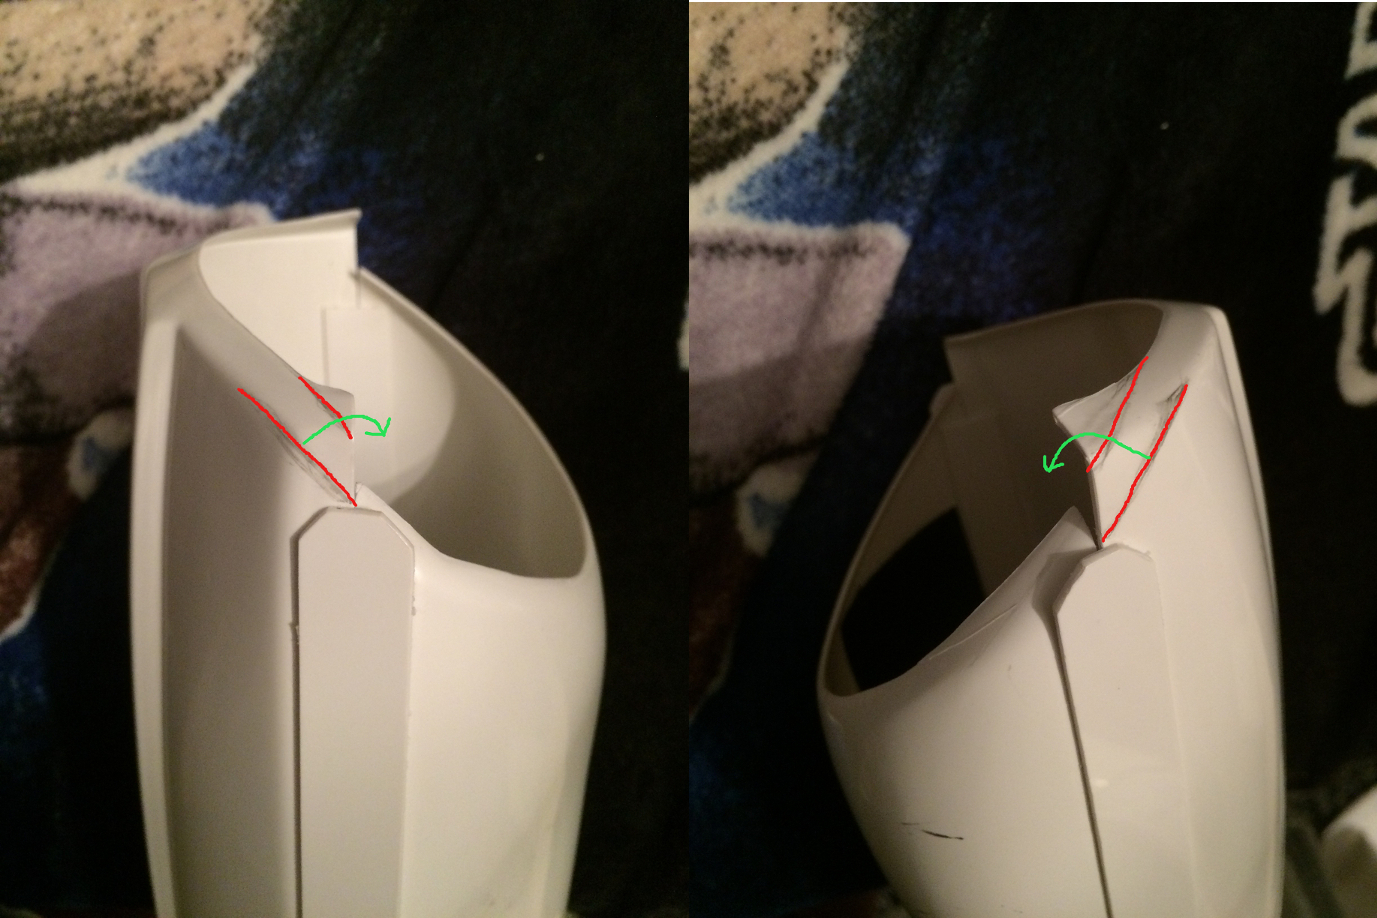
Crazy idea time. I'm going to see if I can use the extra portion of part 6E to help reinforce the yoke. Here i'm going to flat the extra area and integrate it to the yoke. Just a crazy idea to see if it works. I'm using a heat gun and flatting it out.
-
1
-
-
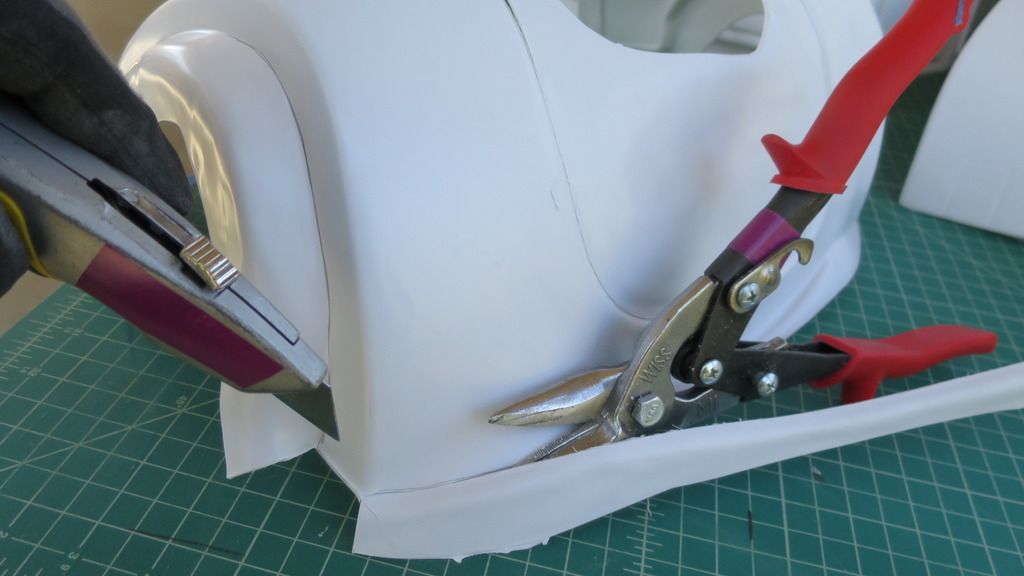
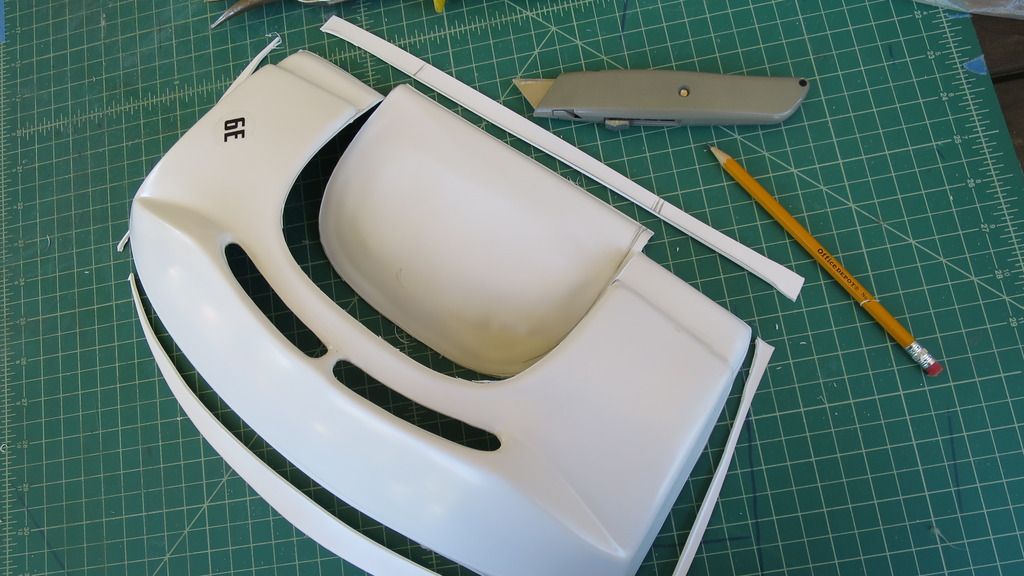
Yesterday, StarFox2010 and I hung out and worked on some armor pieces. Here's the start of my yoke assembly.
Pencil marked my cut areas and used my utility knife and cutter.
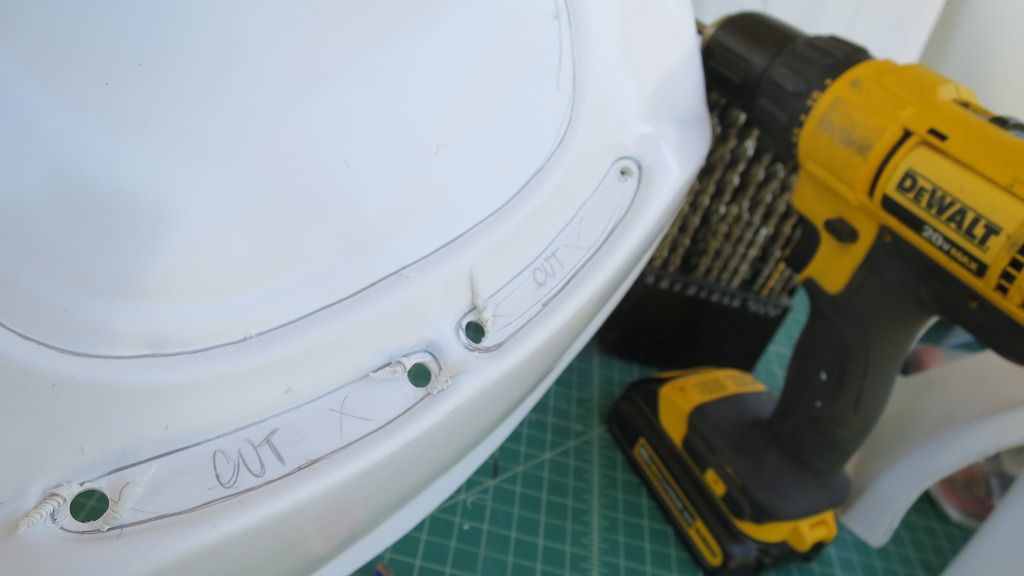
Drill, cut, drill, cut . . .
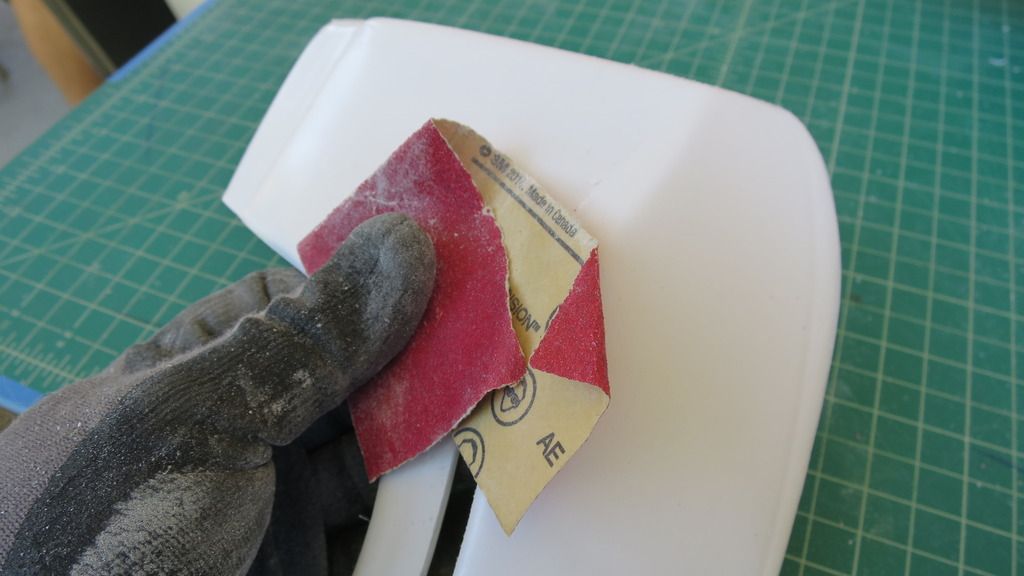
I love my belt sander!

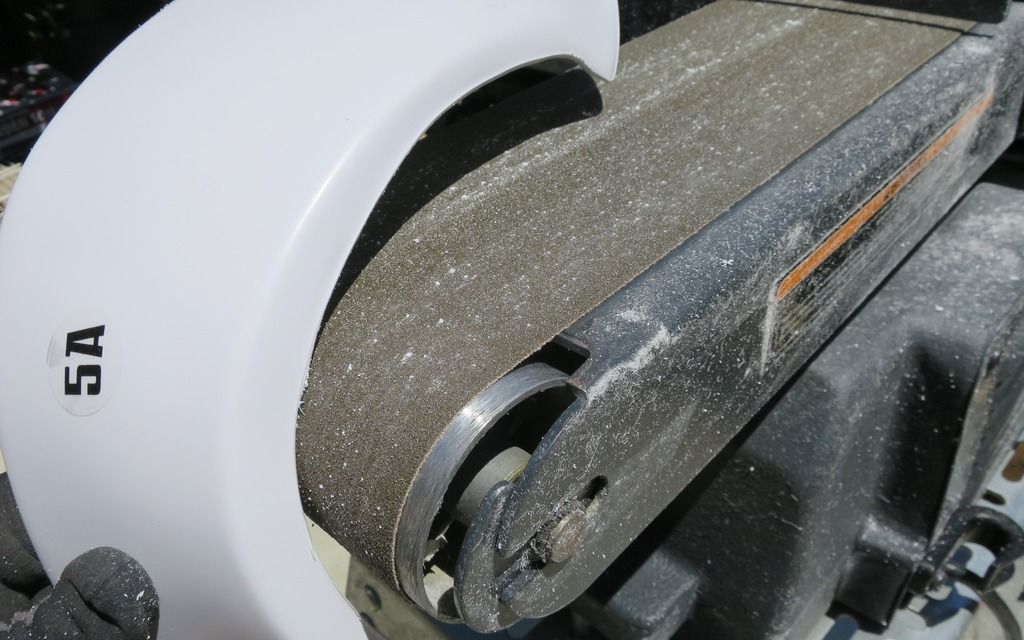
Hand sanding to a clean finished look and then sanding out / prep the whole armor for gluing and paint.
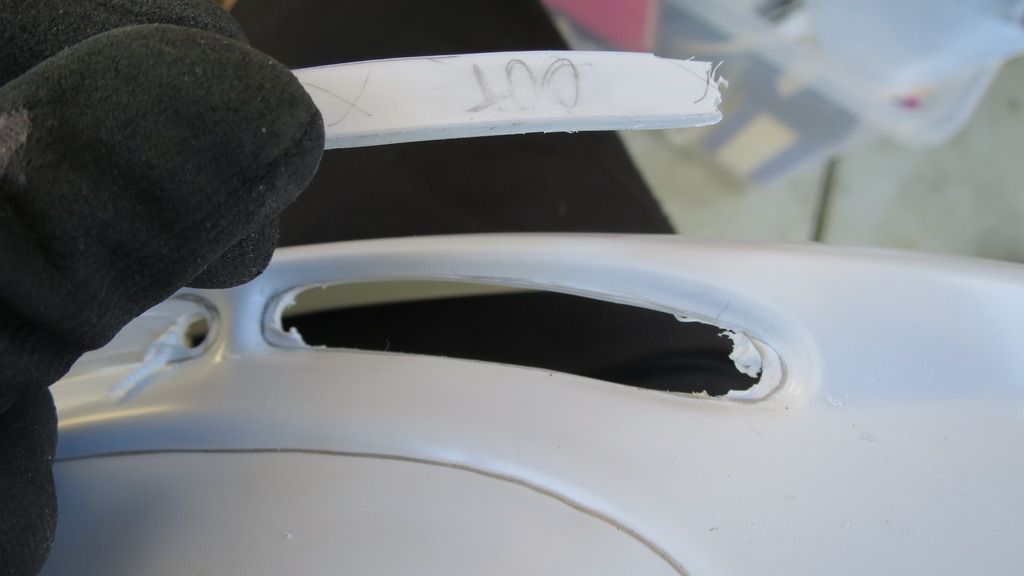
More cut outs.
-
1
-
-
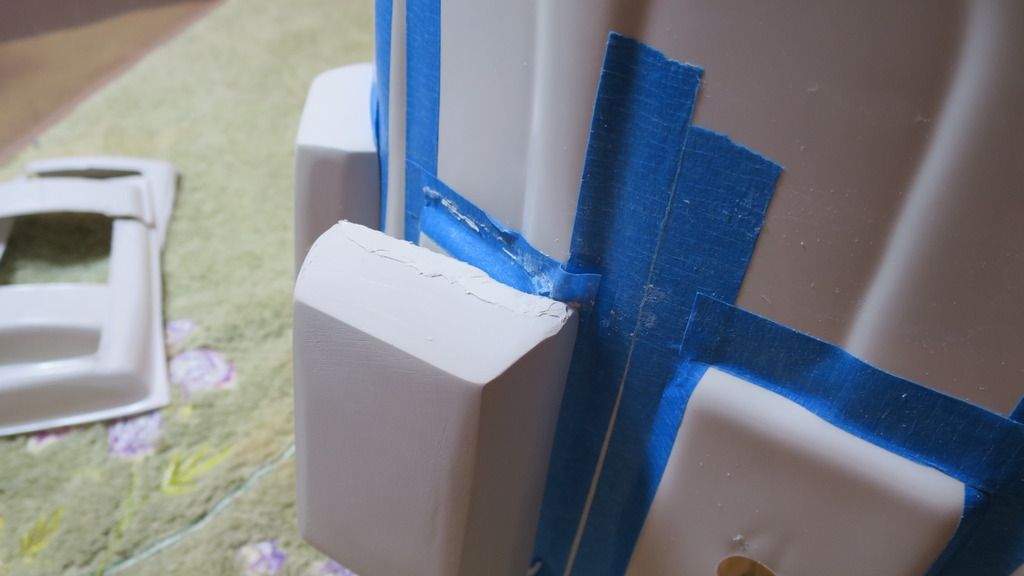
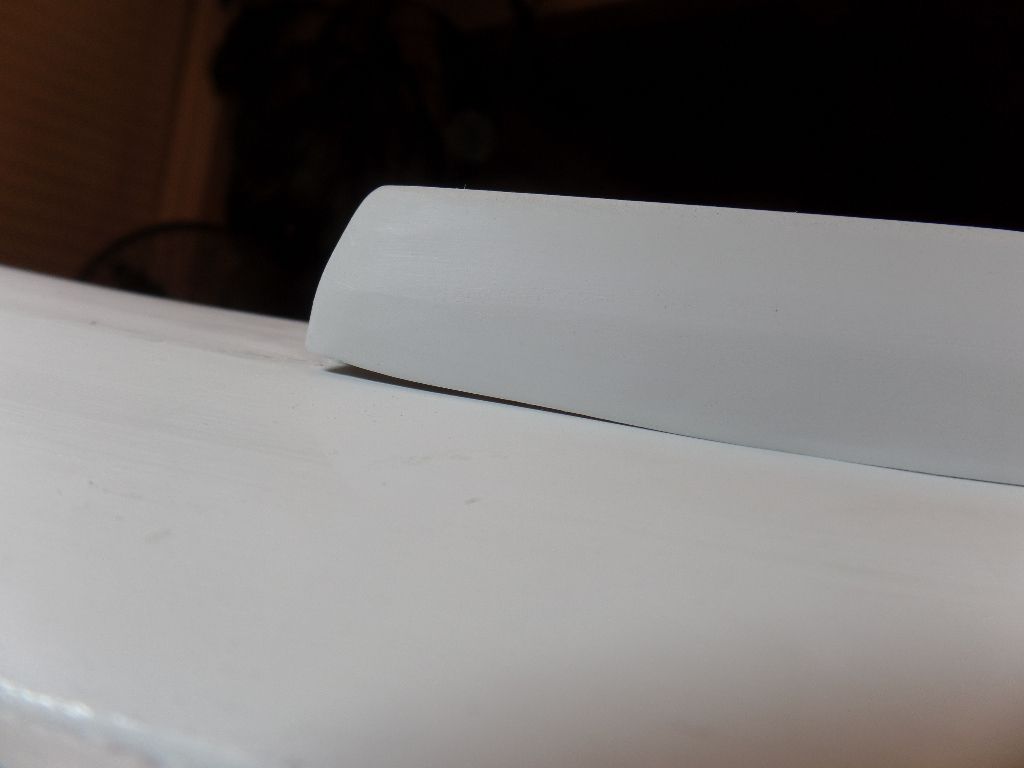
I applied AS into the gap areas of my boxes.
Used an exacto knife to remove it and allowed the box to dry overnight. In this case, I didn't want to let Box # 5 to stick to the armor plate.
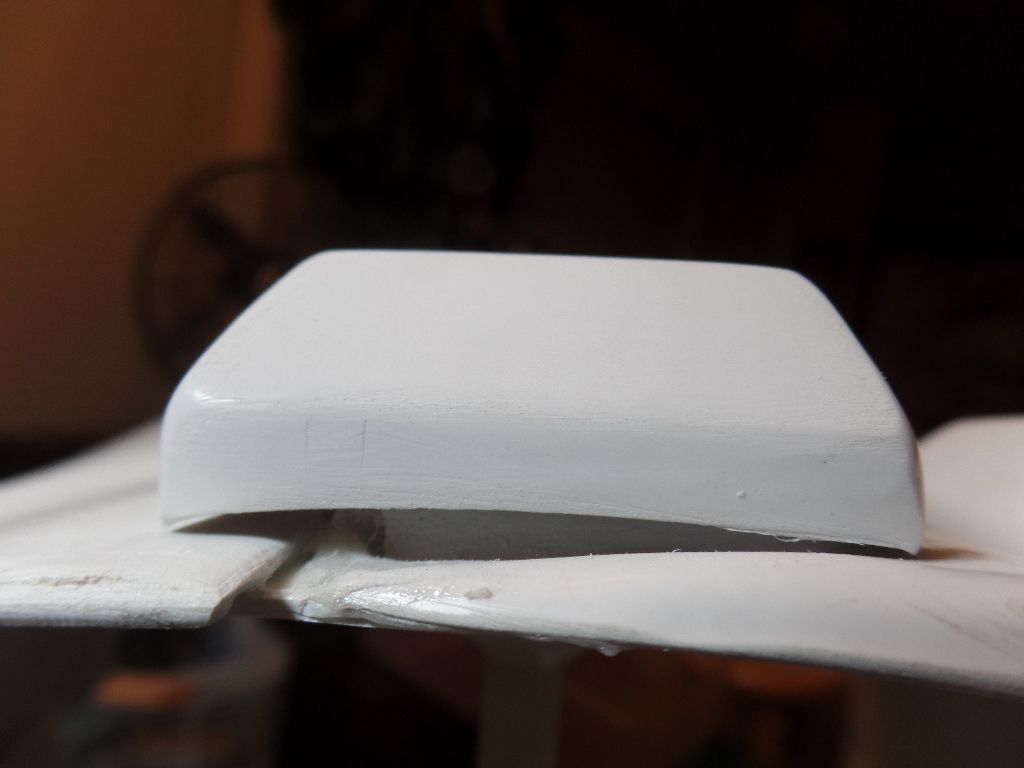
Another example of AS work
Not shown: After 48 hours of dry time, I sanded down the boxes and shims with a palm sander.
-
2
-
-
Apoxie Sculpt Demonstration
Since 2014, I have been using Apoxie Sculpt as my favorite filler. Its safe to use indoors and non-toxic compound to work with. Unlike bondo, you have about two hours to work it before it turns into a rock.
Please be sure to read the manufacturer's directions and practice with it before using on your armor. There are lots of other methods to fill in the shim gaps or any gaps, but this is just a personal preference.

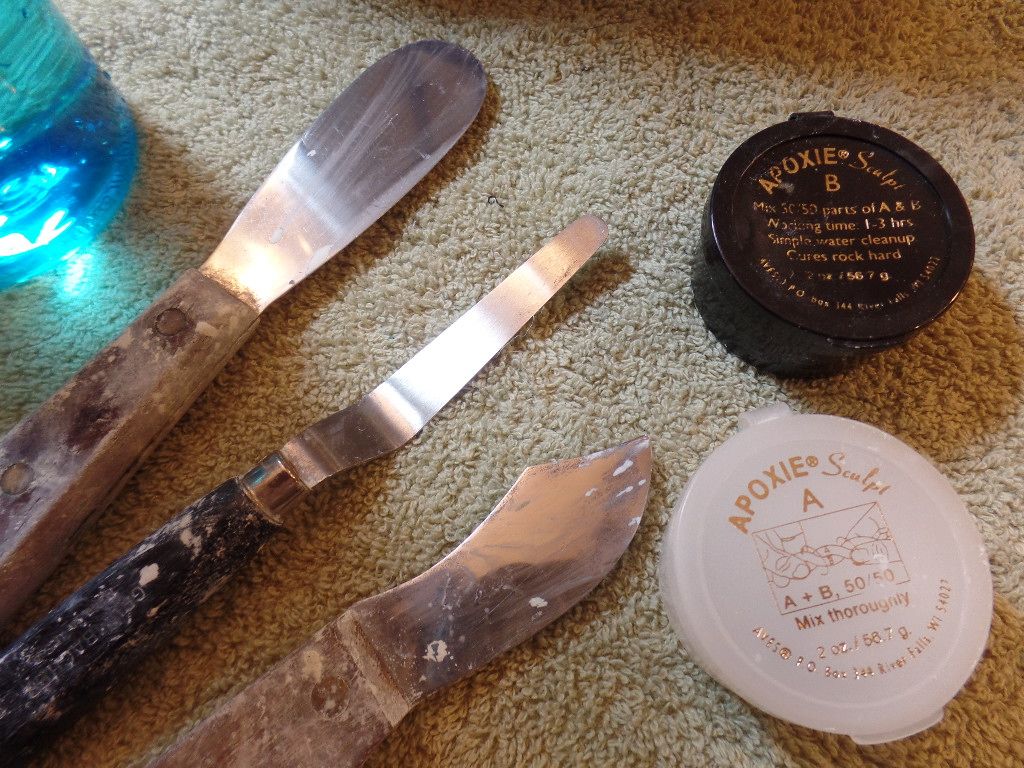
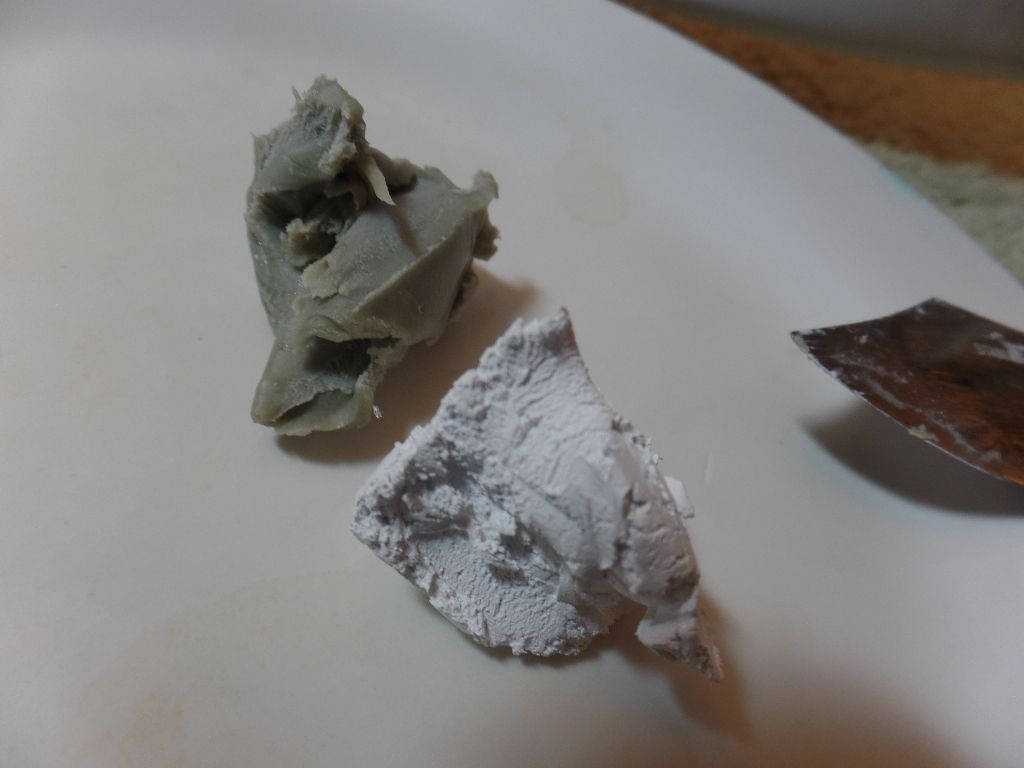
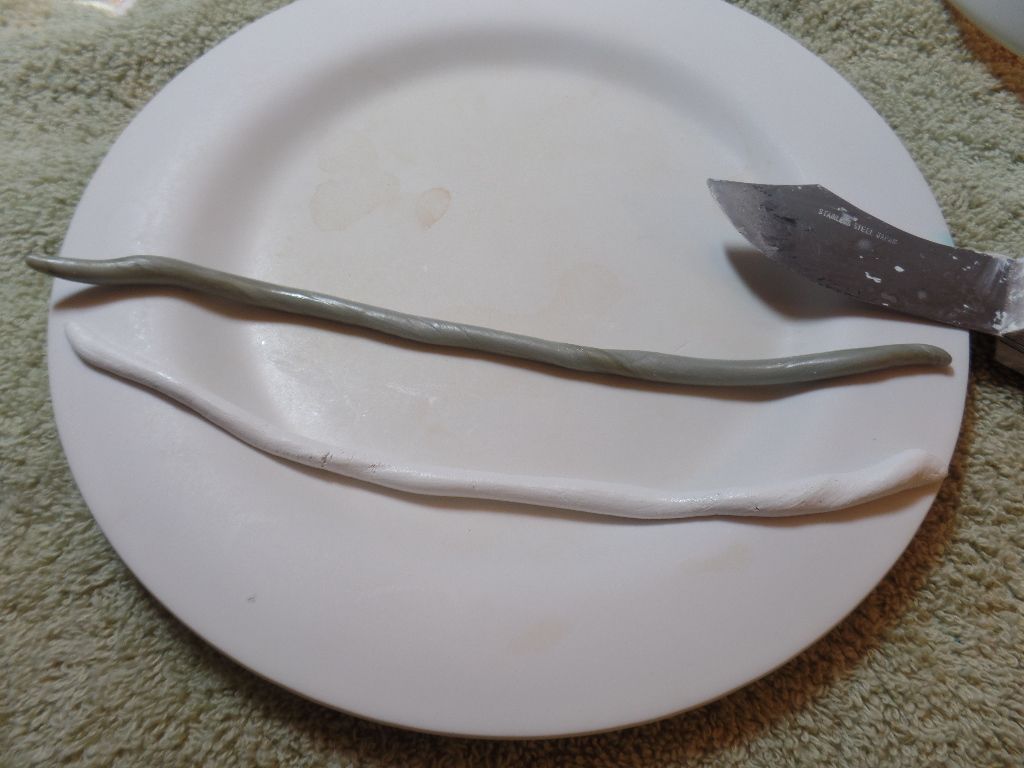
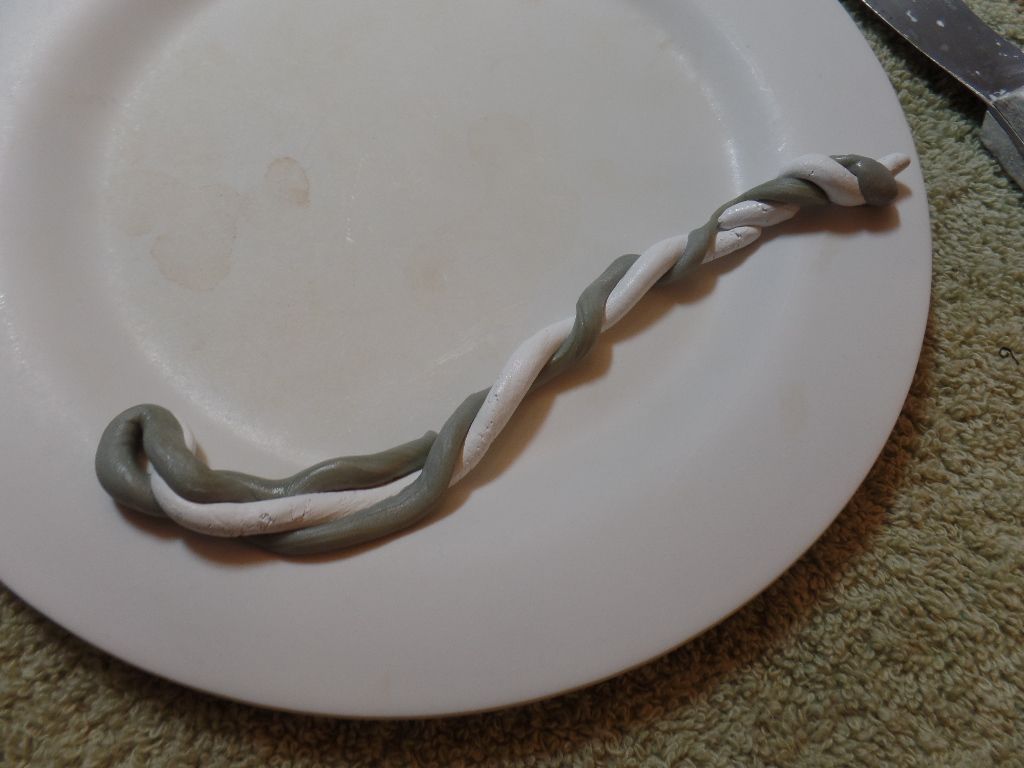
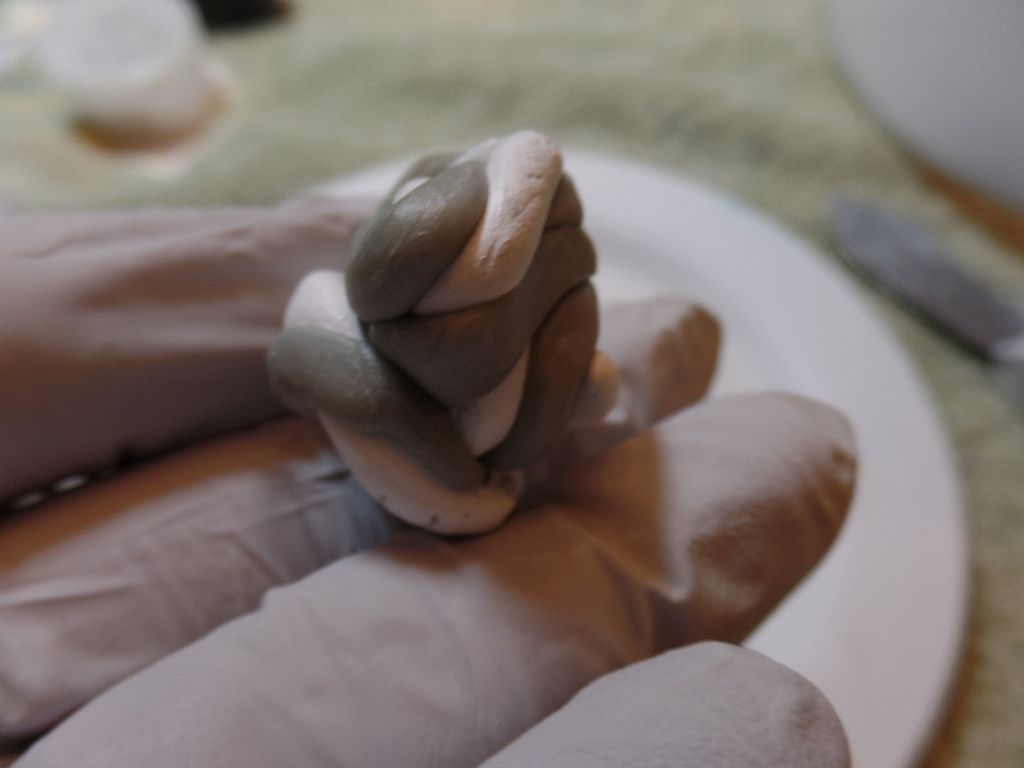
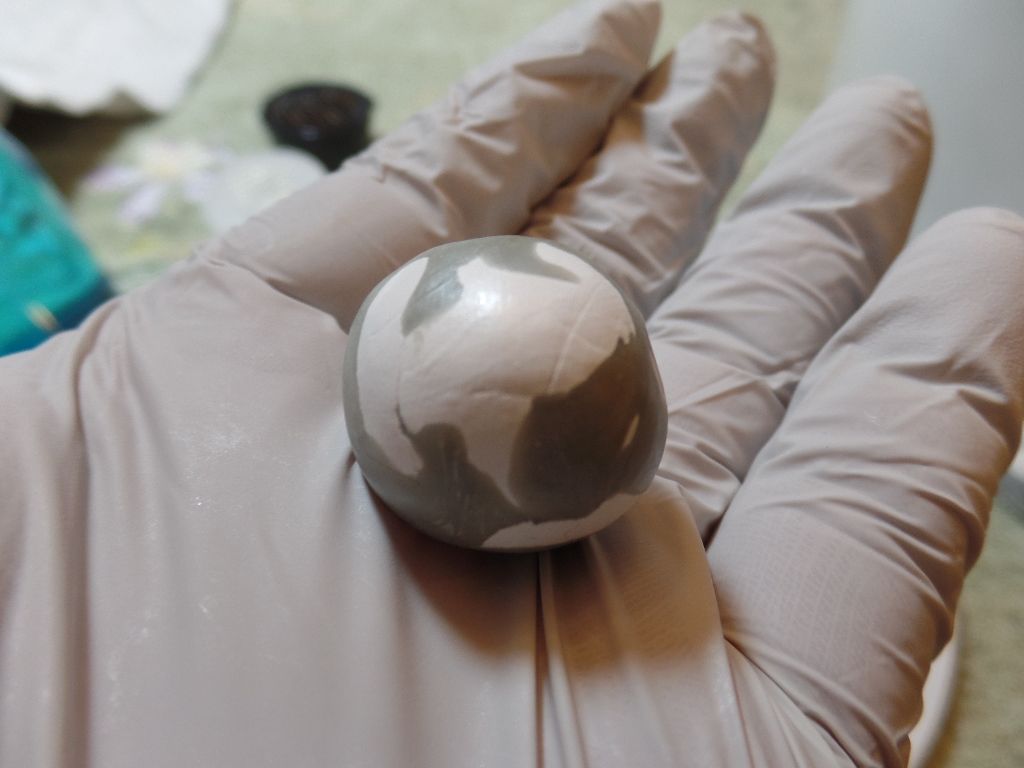
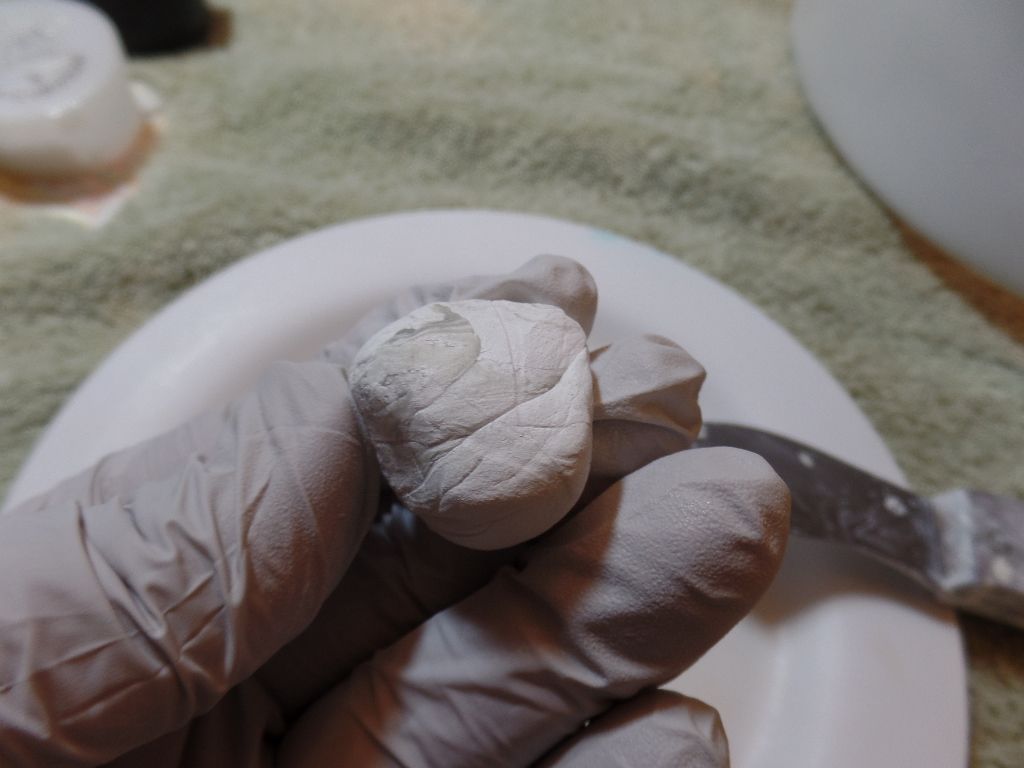
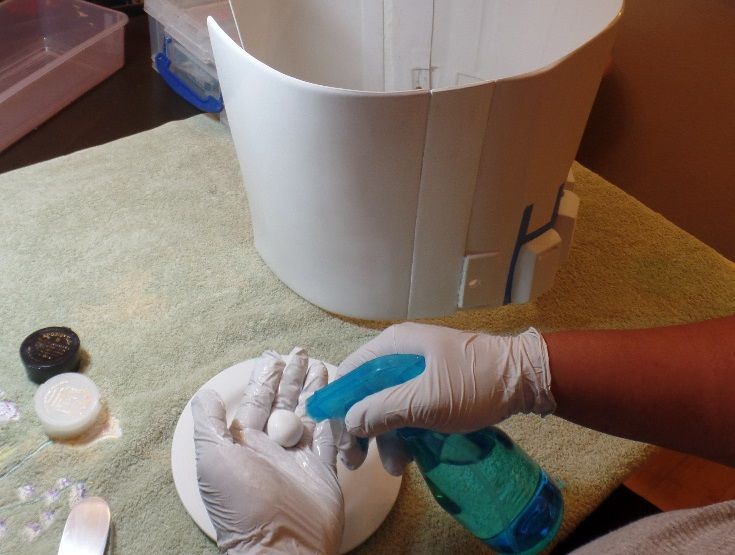
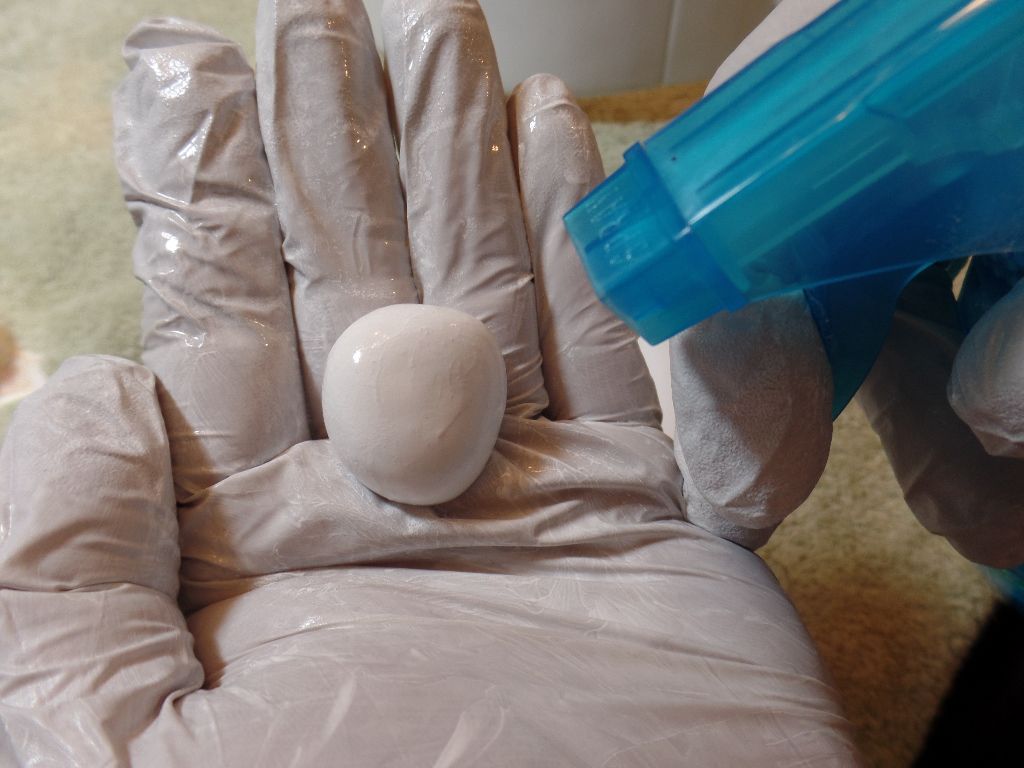
Be sure to work the compound for about 15 minutes before applying to your armor. You're going to ensure the 50/50 putty is properly mixed.
I use a spray bottle of faucet water to moisten it up and give me toothpaste like compound.
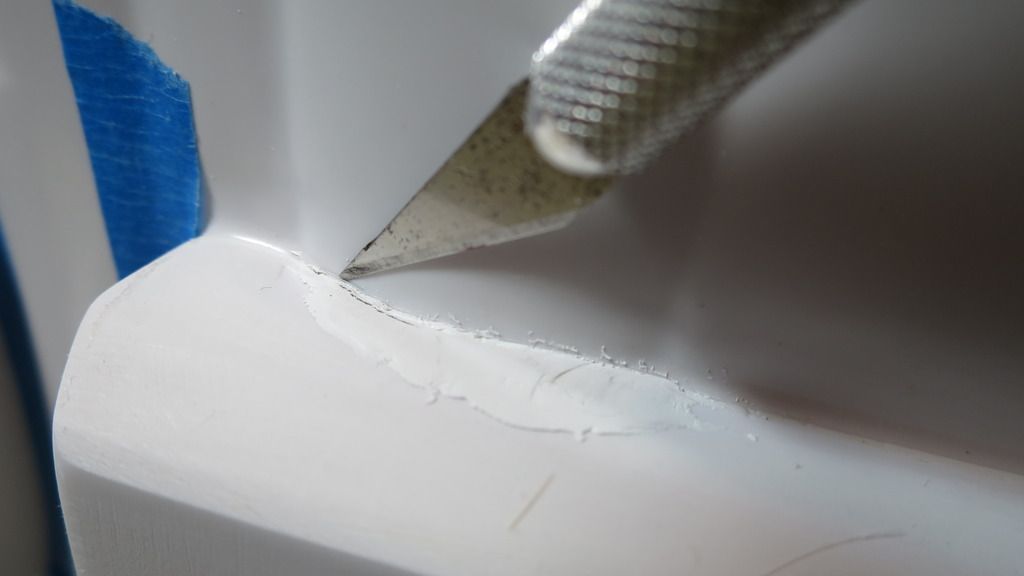
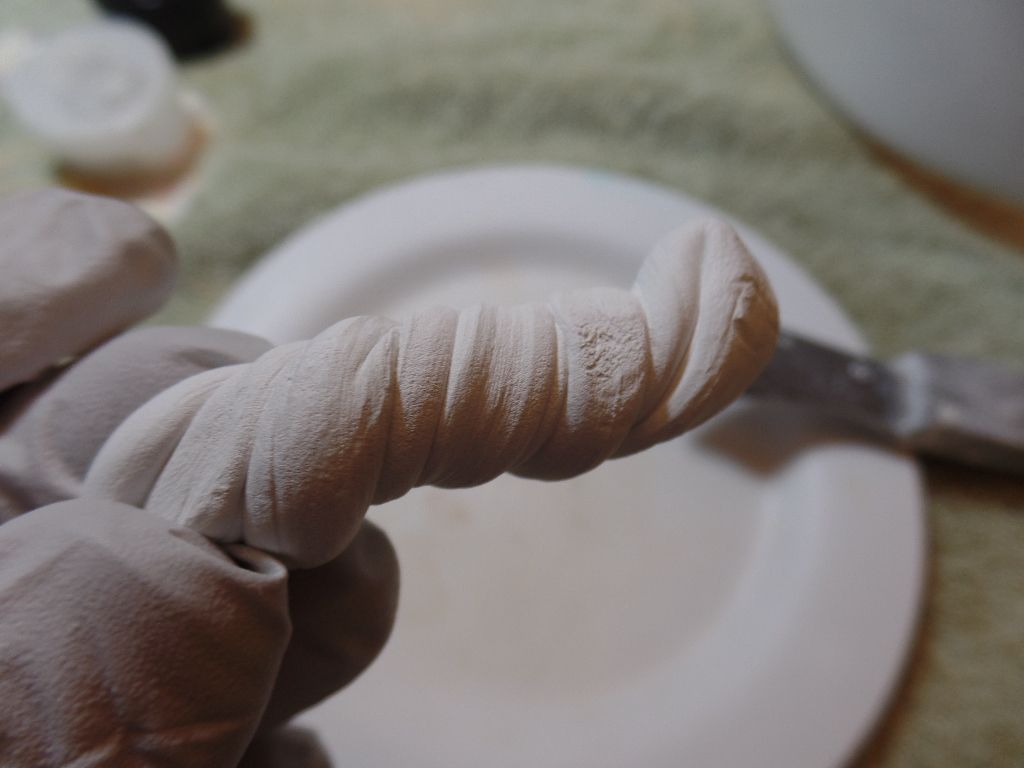
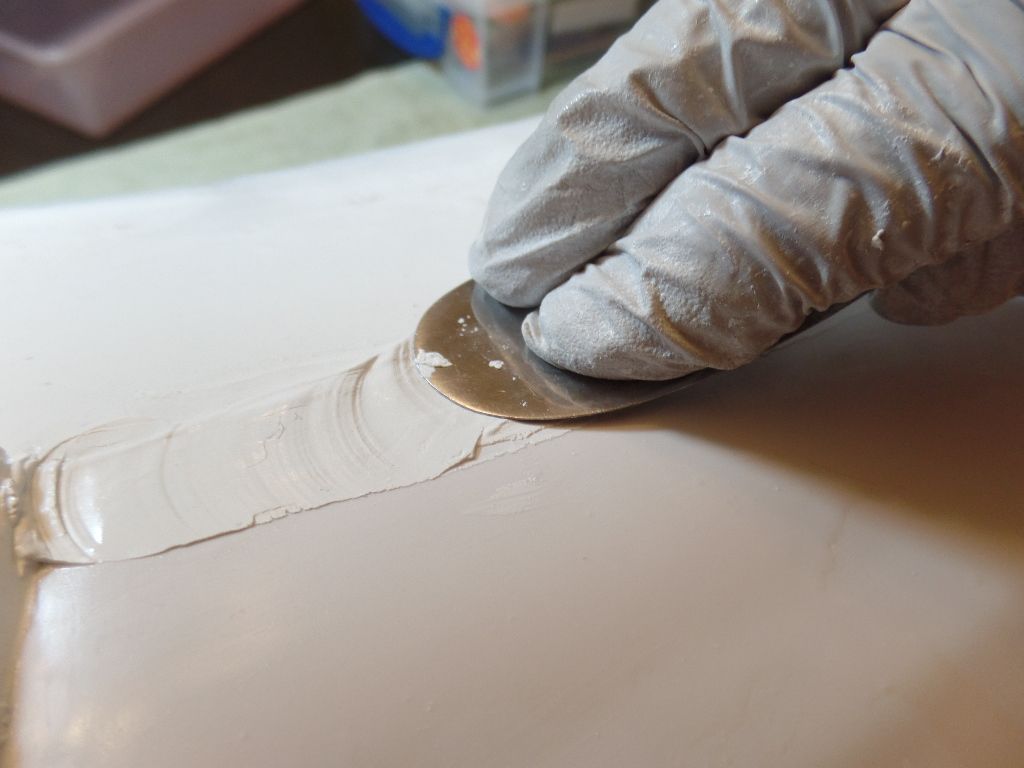
Here's a trick. I'm using an old cheese spreader to apply AS into the shim gaps. Go slow and work it into the gaps. Don't rush. Take your time.
Once you're done, let it hang out overnight. In this case, I left it alone for couple days.
Washing your tools: I just used warm water, dishwashing soap, and an old dish scrubber.
-
1
-
-
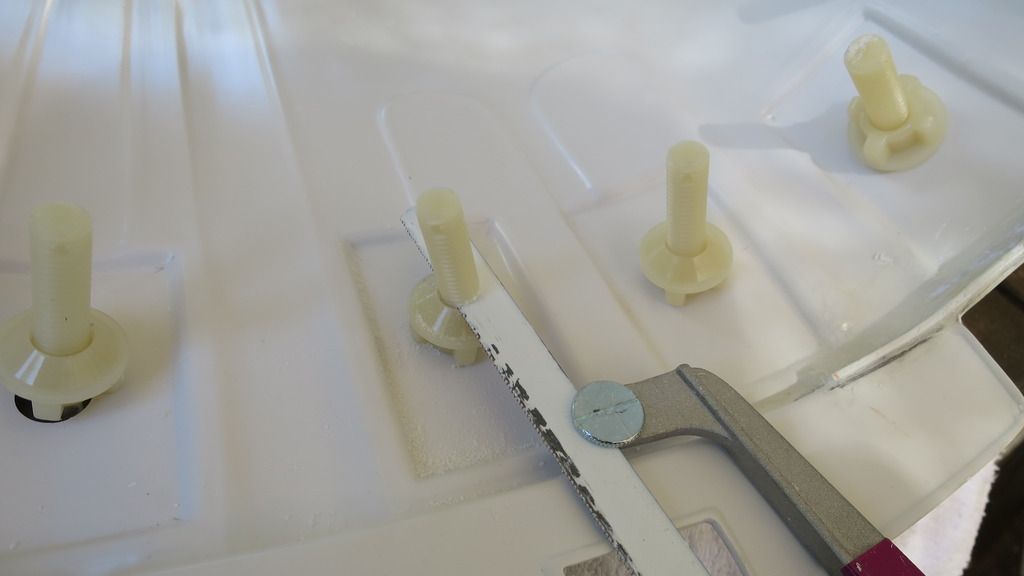
Inside look of the bolt and nut assembly.
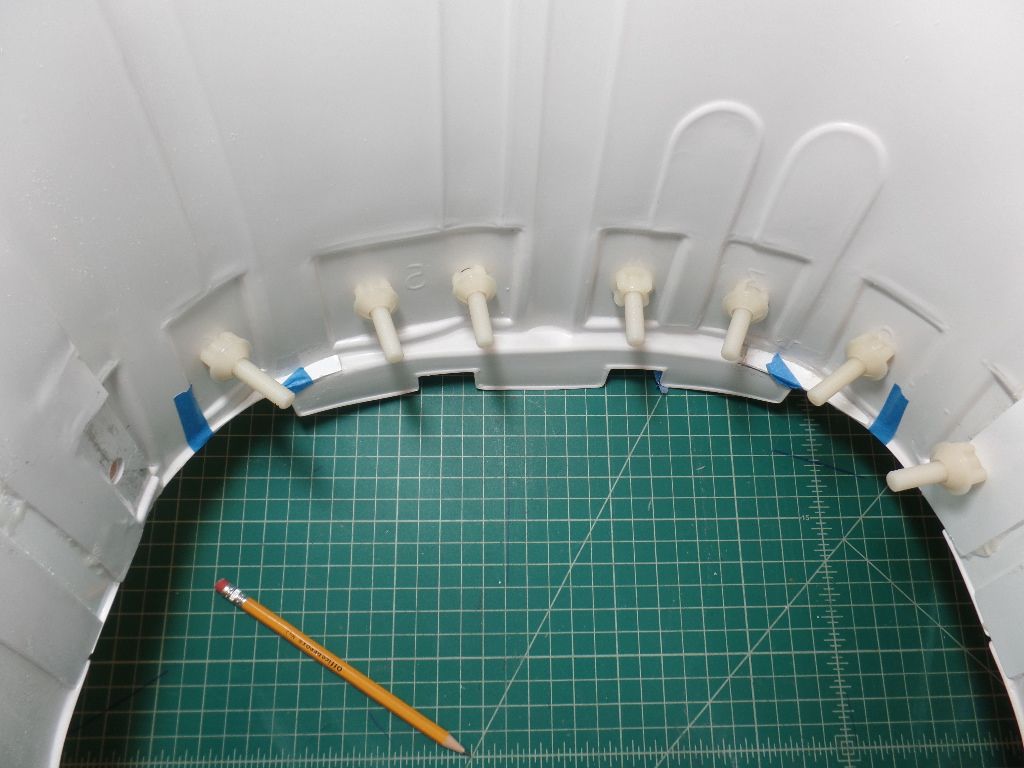
Hacking off the unwanted thread portion of the bolts. I went back and sanded it down with a sander.
-
1
-
-
The month of June has been busy with birthdays, graduations, and family gatherings. Not to mention the new "honey-to-do" list for the summer. I was able to sneak a few days of work this month. Let's continue where we left off.
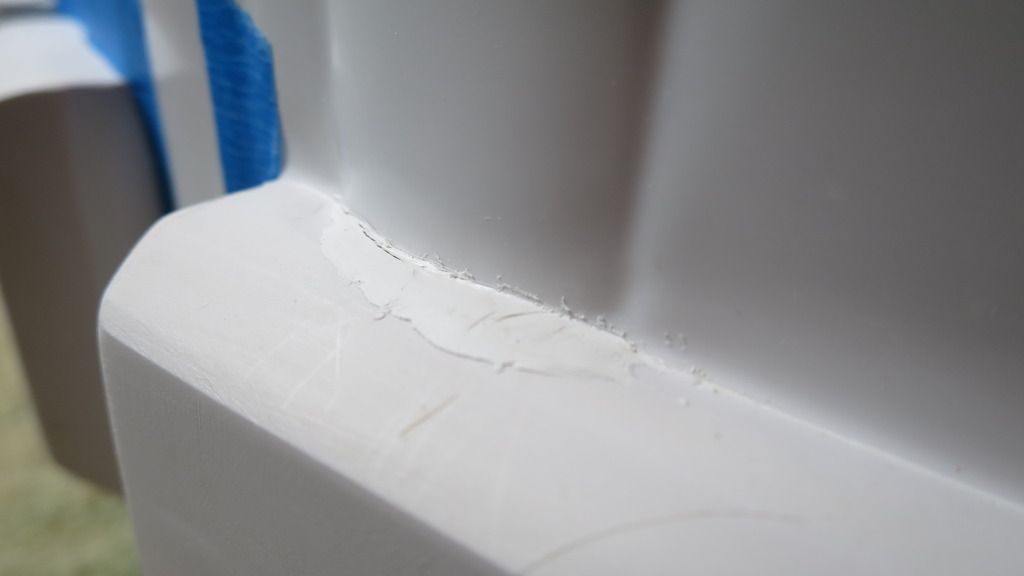
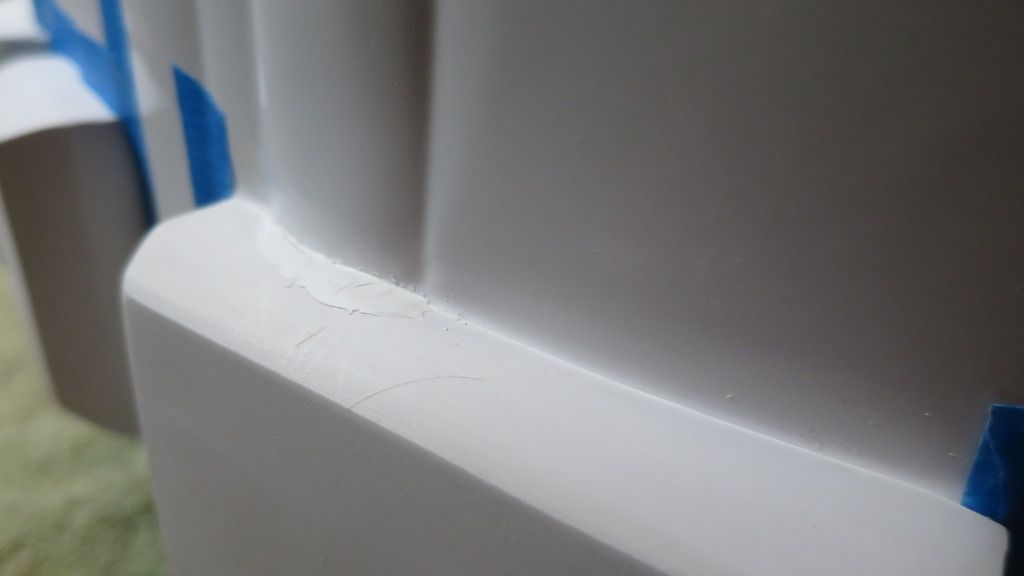
Boxes # 1 and # 7 Update
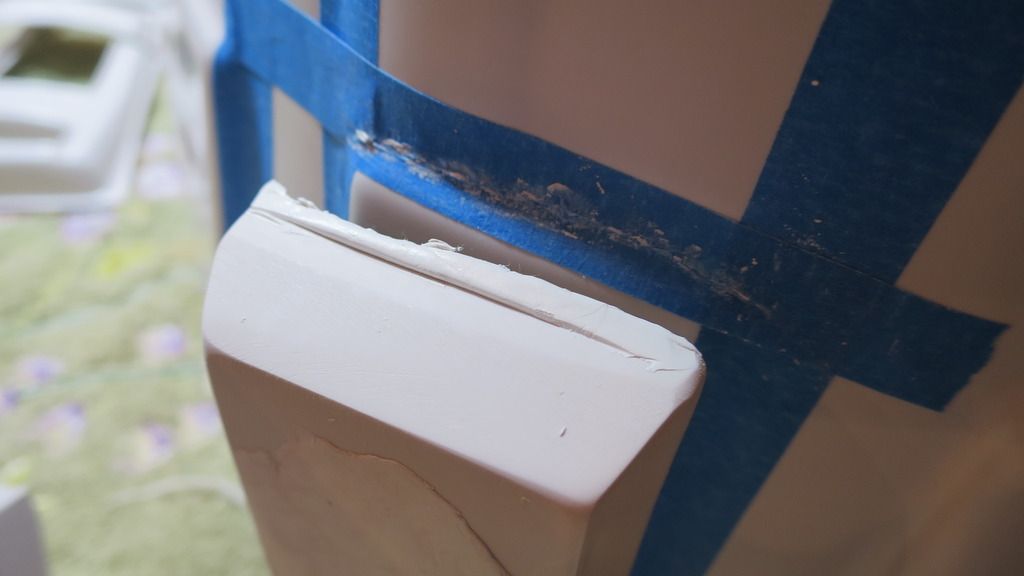
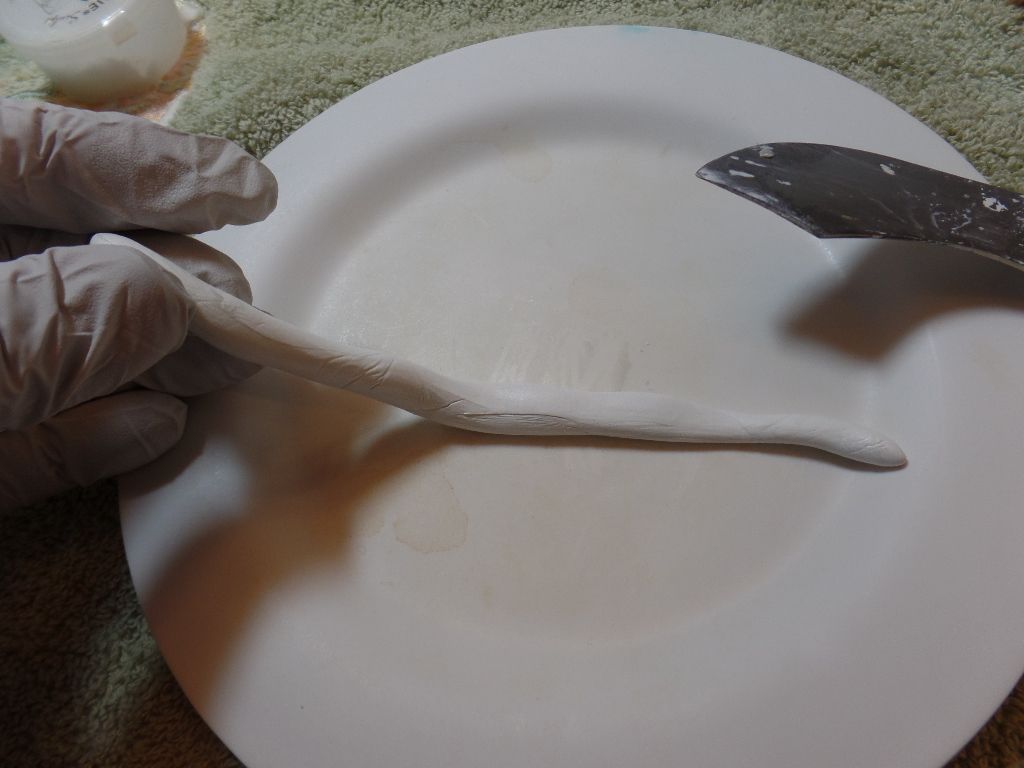
Since i'm adding shims to my armor, I discovered that Boxes # 1 and # 7 will not have the best fit because of the shims. I will be working more apoxie sculpt into Boxes # 1 and # 7 to give it a clean look and they will be permanently attached. Please note I will be creating seam lines using some clay tools that I picked up from Amazon. This step will be shared later in the build.
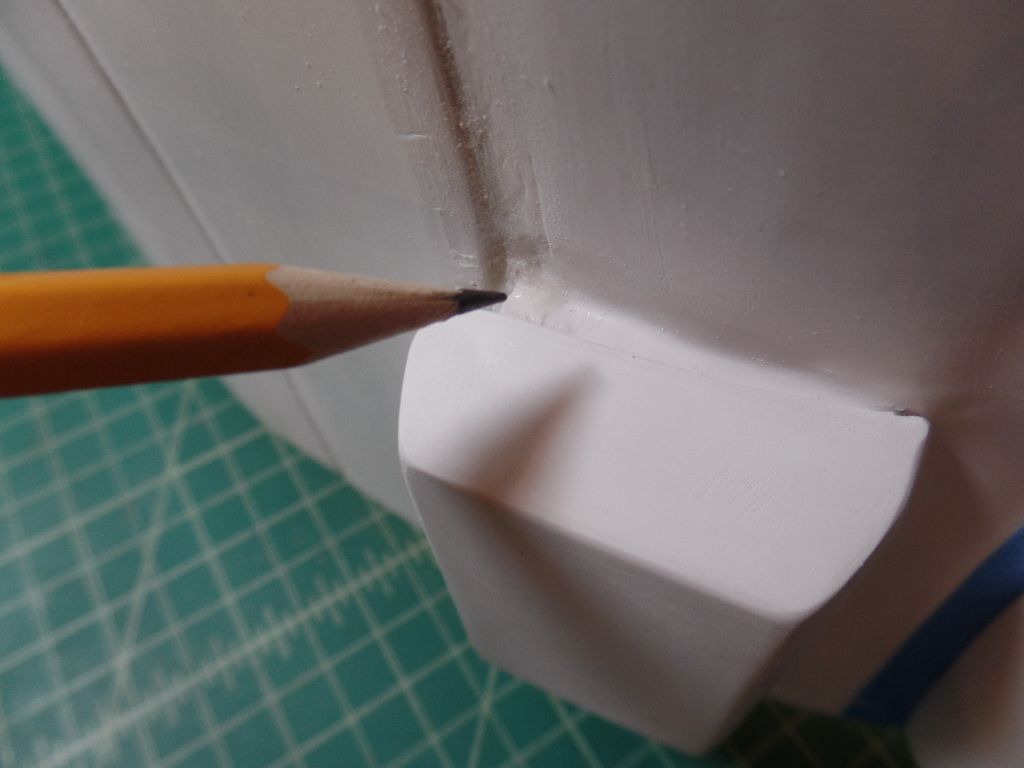
Side angle look of the box at the shim area. This will get apoxy sculpt down to the armor.
-
1
-
-
Just keep up the good work! Concentrate *Yoda voice *
-
2
-
-
Keep up the good work!!!
-
Dude.... just bring your armor to the automotive shop and rock out with a full paint job!

-
Ah..... Superbee has a new recruit

Hello RLH2515, most people will pick up an E11 blaster on the FISD forums. You can either pick up a resin kit to build from scratch or a rubber ANH blaster and convert it to ESB.
My suggestion would be to visit the forums for these kits and check in regularly to see if someone is selling a finished ESB blaster. You can also ask the forum for anyone will to sell their ESB blaster.
Walter
-
Hello Kai,
1. Please go ahead and remove the return edge. You don't need them.
2. Use a dremel (or your cutting tool) to remove the marked areas and blend it into the rest of the forearms. This will give you comfort to swing your arms around.
Hope this helps!
-
Just checking in my friend... Looking good and getting close to the finish line.

-
2
-
-
Excellent build! Congrats!
-
Just checking in Rick!

-
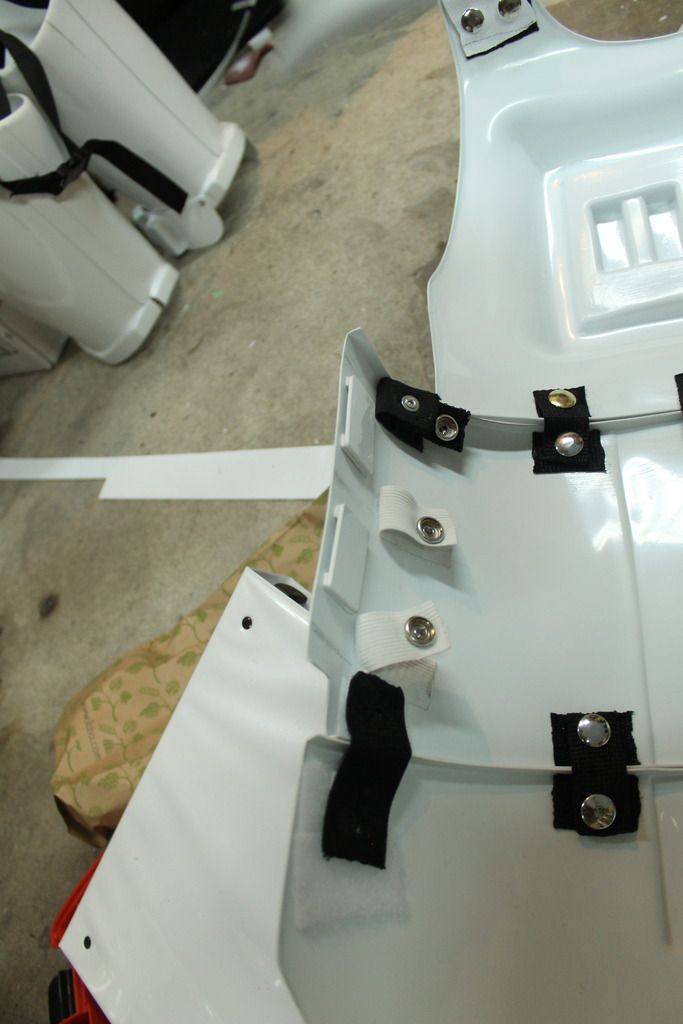
Very nice holders! I like it!
-
3
-
-
Hello John!
-
Dude, those boxes look on point. All that from the comfort of your bathroom lol. I was thinking of using plastic welder on the edges and then sanding them down but don't want to make a mess. Might just add some underneath to reinforce it.
Looks awesome, Walt.
Oh man... the emperor wife was displeased with my bathroom time. HAHAHAHAHAHHAHAAH!!! Thanks Rick! Can't wait to see your boxes bro... and remember do it in the bathroom!
-
Definitely looking good, Walter! I do wish I'd have sanded my boxes down, but they were paper thin to begin with.
 Keep up the amazing and impressive work!!
Thank you Tim! Yes, they were paper thin at many points. Its impossible to get sharp edges perfect. I just hope our deployment officer will "not" be super strict on those sharp edges!
Otherwise, i'm heading over to Home Depot and making some "wooden" boxes!

-
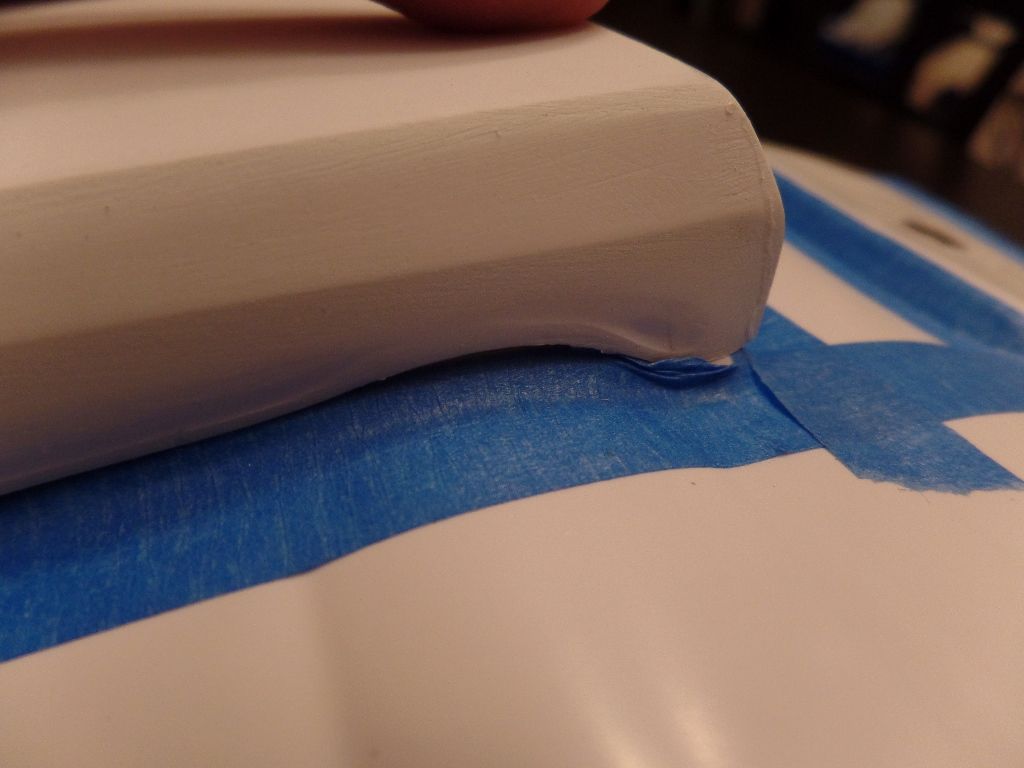
Why the blue tape on the ab plate?
I will be filling in the gaps to my boxes by using Apoxy Sculpt (AS). I will let it cure over night. The next day, I will remove each box and sand it down to a perfect fit.
I didn't want the (AS) to harden into the ab plate. Any suggestions, please let me now. I'm aware we need to have seam lines to each box for accuracy.
TK-91423 requesting ANH Stunt EIB status [Anovos][591]
in Request Expert Infantry Status
Posted
Congrats on this build. I see you're very active in the FB Anovos page and wanted to see your shim work on the abs and kidney. Good job!