

tkrestonva
-
Posts
5,265 -
Joined
-
Last visited
-
Days Won
4
Content Type
Profiles
Forums
Gallery
Articles
Media Demo
Posts posted by tkrestonva
-
-
Finally, a couple of practice poses - my first troop with it will likely be Star Wars Night at the Washington Nationals MLB game on August 13th.
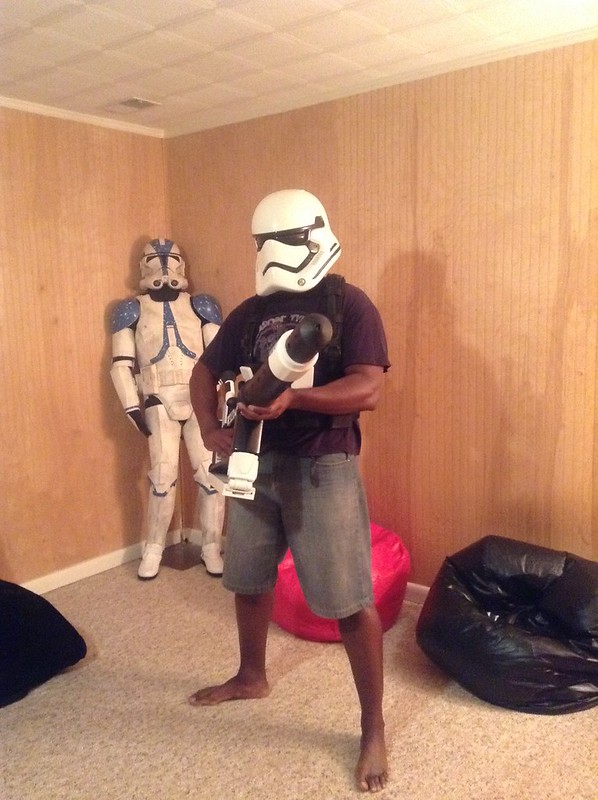
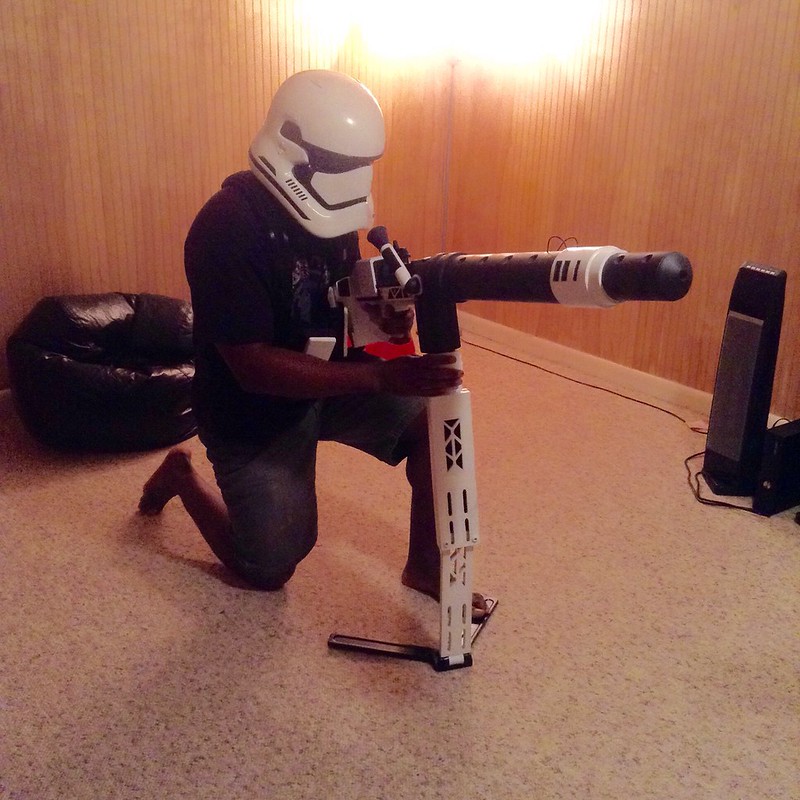
If you're wondering, the thing is about 4 1/2 feet long and weighs 13lbs. So yeah, it's a beast to carry. I'm also considering adding metal greeblies to the monopod as shown in the screen shot, and mounting a red strobe inside the barrel that can be turned on/off with a small hidden switch - the trigger itself is static and non-functional.
The monopod required some mods to make it functional, and isn't as stable as I would like it to be. So I'll have to tinker with it some more. Also, I was chatting with the guys at 850 Armor Works last night - turns out that they never intended for it to be functional so they seemed surprised that I was able to do so. All part of the fun.

-
 3
3
-
-
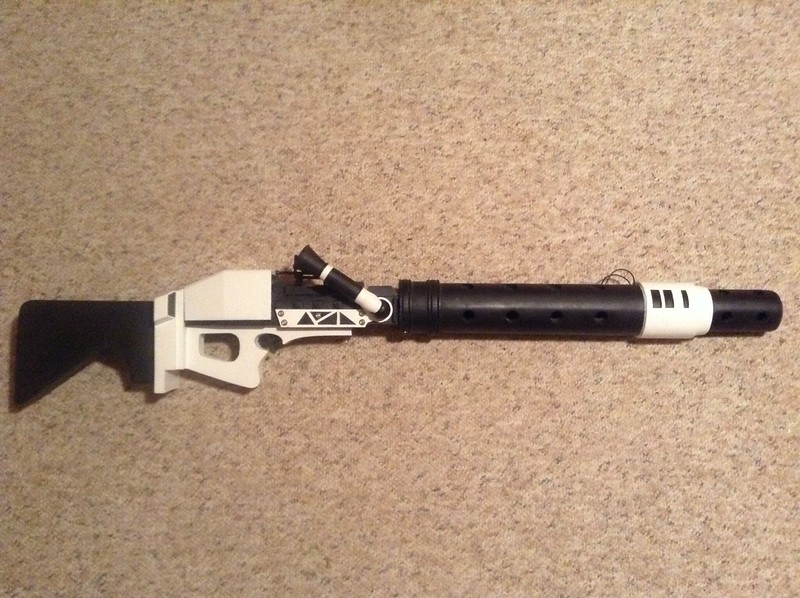
Here is my finished First Order FMWB-10 light repeating blaster (i.e. the Megablaster) kit. Clint Randall (camprandall) purchased it from 850 Armor Works on my behalf and did much of the gun assembly before shipping it to me. I finished out the gun's details and built out the monopod - including making the necessary mods to make it functional.
This is how it looked when it arrived. The gun itself is held together by two long screws underneath the barrel.The monopod easily detaches but is secure when it's in place. Three separate assemblies makes it less of a pain to transport.

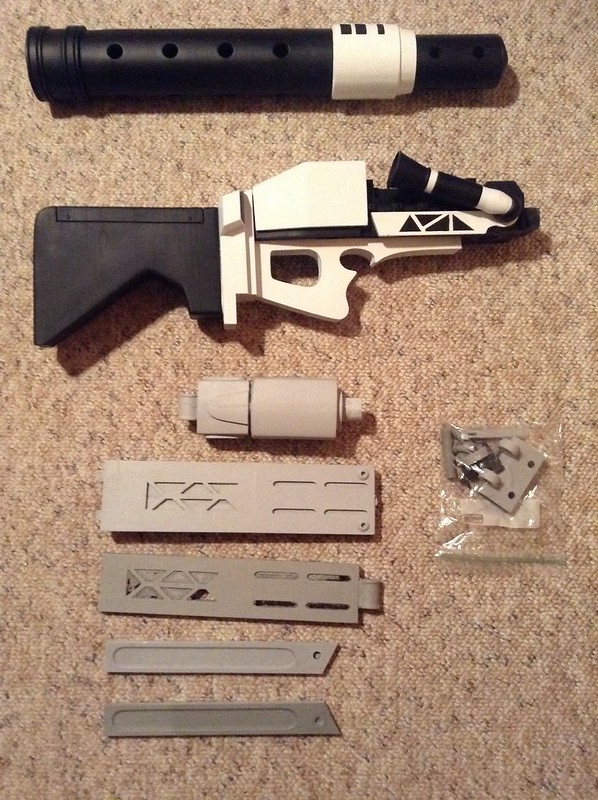
You can find the kit here: https://squareup.com/store/850-armor-works
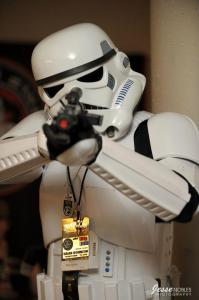
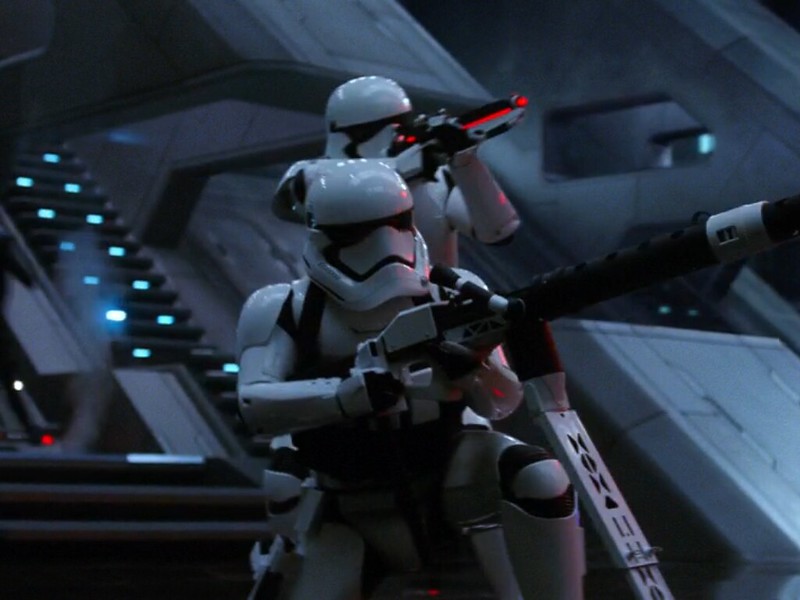
This is of course what I'm going for:
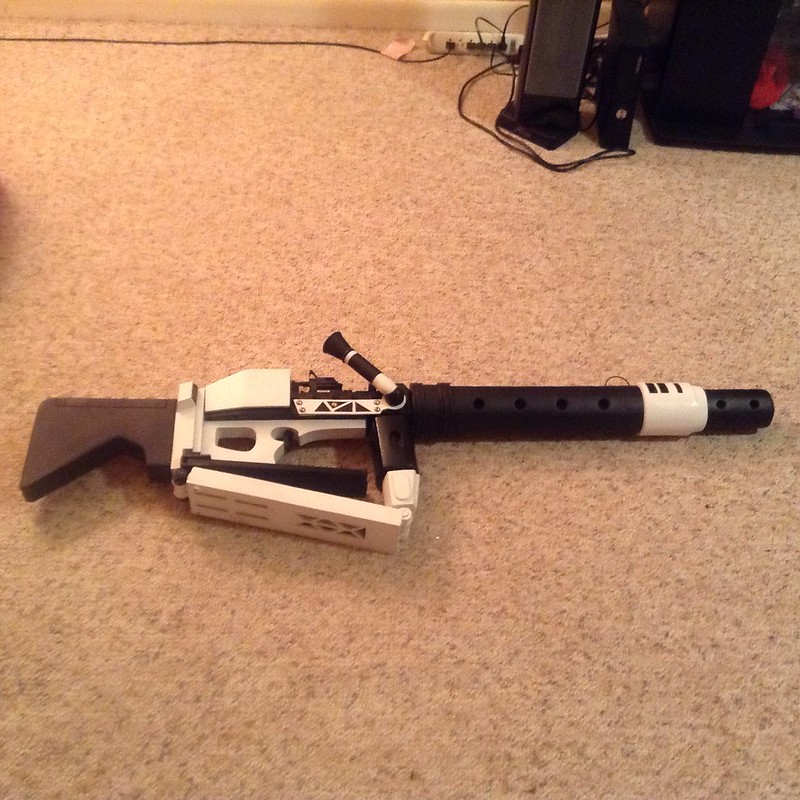
The gun with the added details - front and rear sights, torx screws, and trigger:
The finished blaster with monopod attached:
-
Welcome.
Where are you located?
-
Welcome to both Garrison Tyranus and the FISD, and congratulations on your approval.
Be sure to post a request for full 501st access here:
-
Welcome to FISD, and welcome to Garrison Tyranus.
-
1
-
-
Welcome.
There are quite a few Anovos kit owners in the Norfolk area, so you'll have plenty of people to work with.
-
While you'll see the occasional post about other costumes, by and large this place is all about stormtroopers. Not just the originals, but Expanded Universe (games, comics, etc.) and The Force Awakens as well.
Snowtroopers: http://www.blizzardforce.com
Biker Scouts: http://www.bikerscout.net
-
Welcome, and that's an excellent way to look at this.
Another way to get involved if you're not yet ready to make the financial and/or time commitment is to volunteer as a handler with your local 501st unit. Where are you located?
-
Welcome.
-
Rustoleum 2X Gloss White has been the recommended armor paint, and for exactly that reason. Another option is to take the helmet to a paint shop and have them come up with a custom blend that matches the helmet.
-
1
-
-
Excellent job with the smoothing and sanding. I know I don't have the patience to use glazing putty and a ton of elbow grease, so I'll most likely use XTC as a shortcut. Nonetheless, it's clear that your hard work and determination is paying off.
Also, those are some great build ideas with the triggers. I'll definitely be incorporating those in my build.
Question for you - will you be installing any red lights in the barrel? Some of the behind the scenes footage shows that the blasters actually light up (but have no sound) when the trigger is squeezed, so I'm leaning towards gutting a toy blaster and transferring the electronics to this build.
-
Thanks for doing this! I also have one of Jerry's heavy F-11D kits which I'll soon be starting on. It'll be good to have some expert guidance.
-
1
-
-
-
From one Airman to another - welcome.
-
1
-
-
Well done. Great job with the paint and weathering.

Looks like you can pull your shoulder bells in more.
-
Near-boiling water is a much safer technique to use in gently reshaping plastic than a heat gun. The problem will be to find a pot that's large enough.
-
I used two pairs of pliers. You can twist the open ends in opposite directions to open the ring enough to get one side on, insert it as far as you can get it into the hole you drilled, then "close" the ring by bending it back to where it started, and slide to the middle to center.
This is exactly how I installed my D-ring on my hyperfirm.
-
Any kit will do, you'll just have to cut it down some.
Sent from my iPad using Tapatalk
-
If you are going for ANH Stunt, it is better to hand paint the details. If you must use stickers, just do the best you can - but I would try again with the one in the photo.
That 90 degree turn is called the side twist, and it's completely screen-accurate. Only an oversized helmet (or an undersized head) will give you room enough to put it straight on.
-
1
-
-
Nice that the new AP comes completely pretrimmed. That will save you a lot of work.
-
At some point I would pick up a set of Lexan hobby scissors. They will help speed up the trimming process.
Also, great call on the safety gloves. Some of the accidents I've seen by people who didn't use them are pretty gruesome.
http://www.amazon.com/gp/product/B007KN0RQM/ref=s9_dcacsd_bhz_bw_c_x_1
-
Another option - the one I went with - is to take your entire kit and have it professionally painted by an auto body repair/paint specialist.
I knew going in that my spray painting skills were lacking, and as expensive as the TFA kits are there was no way I was going to risk botching it up with a cheap paint job. A member of my garrison owns an auto body shop - complete with a pro-grade paint booth. I informed him of the recommended paint (Rustoleum 2x Gloss White), and he then bought a can and created a custom blend that was color-matched (via computer) to the Rustoleum paint and sprayed my entire kit (minus the fiberglass helmet) with it.
It wasn't cheap (it cost me $375 US) but IMO it well worth it. That's not just my opinion, either. Several other Anovos TFA TK owners (including at least three in my geographic vicinity) have gone a similar route.
-
1
-
-
-
Yes... Completely
Sent from my iPhone using Tapatalk
A bit of help needed
in Getting Started - Read this First!
Posted
That's an FX kit, or a recast of one. It's very outdated, but still Legion-approvable.