Leaderboard


Popular Content
Showing content with the highest reputation on 04/15/2023 in Posts
-
Last thing on my list to do is the elastic holding the shoulder bridges in place. Going to paint my storage rig. can't wait till it's done. Got my wife in the shot lol. Using this stencil should be cool. Full kit up pictures coming soon.2 points
-
Printed 11b30b4's abdomen details from his file at thingiverse. Thank you Jeff! They are perfect and save me from lots of sanding (the resin details from 850 Armor Works would need lots of sanding if I used them). I'm also pretty satisfied with the white of the print. It's a better match than any paint I've found yet.2 points
-
Love the pics!! Was so great to be there (and finally on the 501st group photo in my TK!) Amazing experience2 points
-
Bought this kit a while back and Im finally getting around to build it. Looks like Anovos is no longer in business and I need the instructions. Does anyone know where I can get them? Thanks a Bunch
 1 point
 -
Got the posterior rigging to the kidney setup today And now working on the back to the kidney rigging. Got the back armor elastic done and connected to the kidneys I then setup the male snaps for the shoulder straps made and clamped to cure. As well as the beginning abdomen male snaps for the rigging of the chest. I marked the location of the opposite snaps on the chest piece to rig the chest to the abdomen and glued in place. Once those set I was able to build the elastic rigging inside. I then set the nylon male snaps to the back plate for the shoulder bridge elastic. I then set the elastic strap for the cod to posterior using 3/4 inch elastic1 point
-
Done for you T.M.1 point
-
Abdomen Button Paint I picked up a nut and bolt sizer at Lowe’s in the nuts and bolts aisle for about $5 Seems the button sizes fit the M10 circle best so I used that for marking the tape to cut I place the tape on a scrap of abs plastic and then marked the m10 holes. After marking I used a precision razor blade to cut on the outside of the mark (inside was too narrow for the button paint) Then I would cut out squares and place them over the buttons to mask off the unpaintable areas From here I used Testors enamel paints I read the instructions beforehand as in my time making and painting costumes I know every paint is different and requires special care to instructions. Being as I was brush painting and not air painting I didn’t need thinner and just needed to apply two base coats for initial coverage. And then a thicker final coat for a solid smooth gloss finish. The recommendation was wait 5 minutes between coats. Coat 1 Coat 2 Coat 3 Finally you don’t want to leave masking tape on too long, but you don’t want to remove it while paint is still wet. I got a few mixed answers of 1 hour to 6 hours of wait until removing. I went with 2 hours and then carefully pulled the tape up and away from the paint to remove it. Lighting isn’t the best for color as I am inside and don’t have natural light right now, but looks like it turned out well. Now to let it sit for 48-72 hours to cure and harden. Sent from my iPhone using Tapatalk1 point
-
So the shins will line up with the natural curve of the shins and calves of the body. The more curvy part on the inside. Sent from my iPad using Tapatalk1 point
-
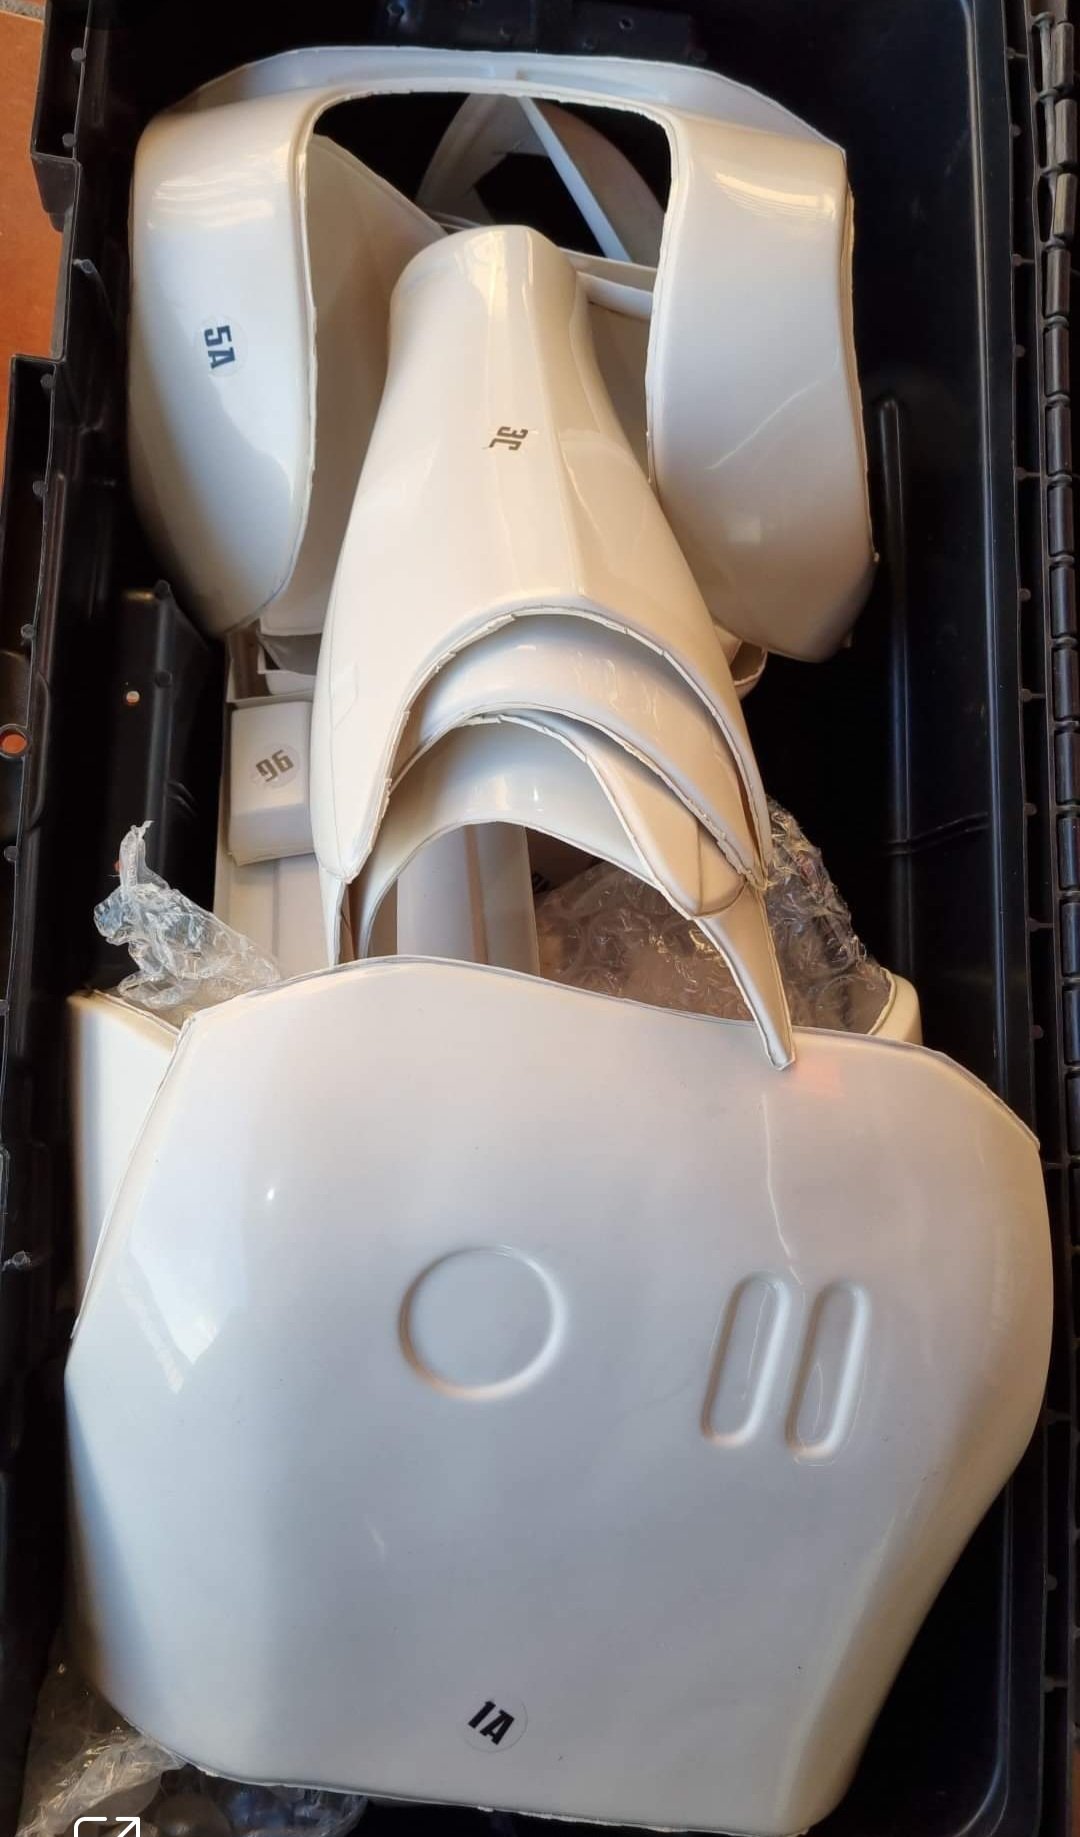
Today’s updates Belt is done. Posterior male snaps are ready to go. Male snaps installed to the back plate. Used a long strip of nylon as more surface are should give stronger adhesion Got my storage container and of course have to rep those who got me here. Getting to painting the ab buttons M10 looks to be the right size. Just exacto cut outside the pencils circle. Sent from my iPhone using Tapatalk1 point