

firebladejedi
-
Posts
3,299 -
Joined
-
Last visited
-
Days Won
5
Content Type
Profiles
Forums
Gallery
Articles
Media Demo
Posts posted by firebladejedi
-
-
There is time for that to happen yet, I will wait until I get the torso completed and then see how I feel :-)
-
 1
1
-
-
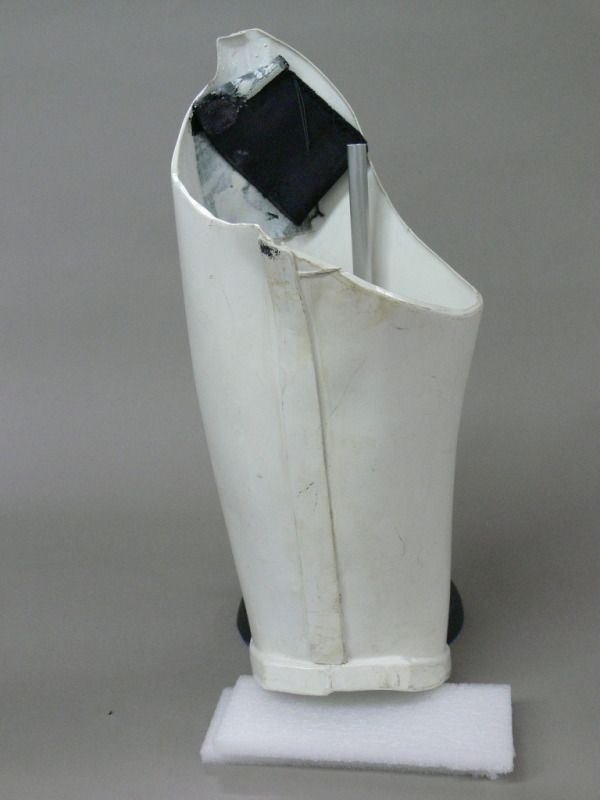
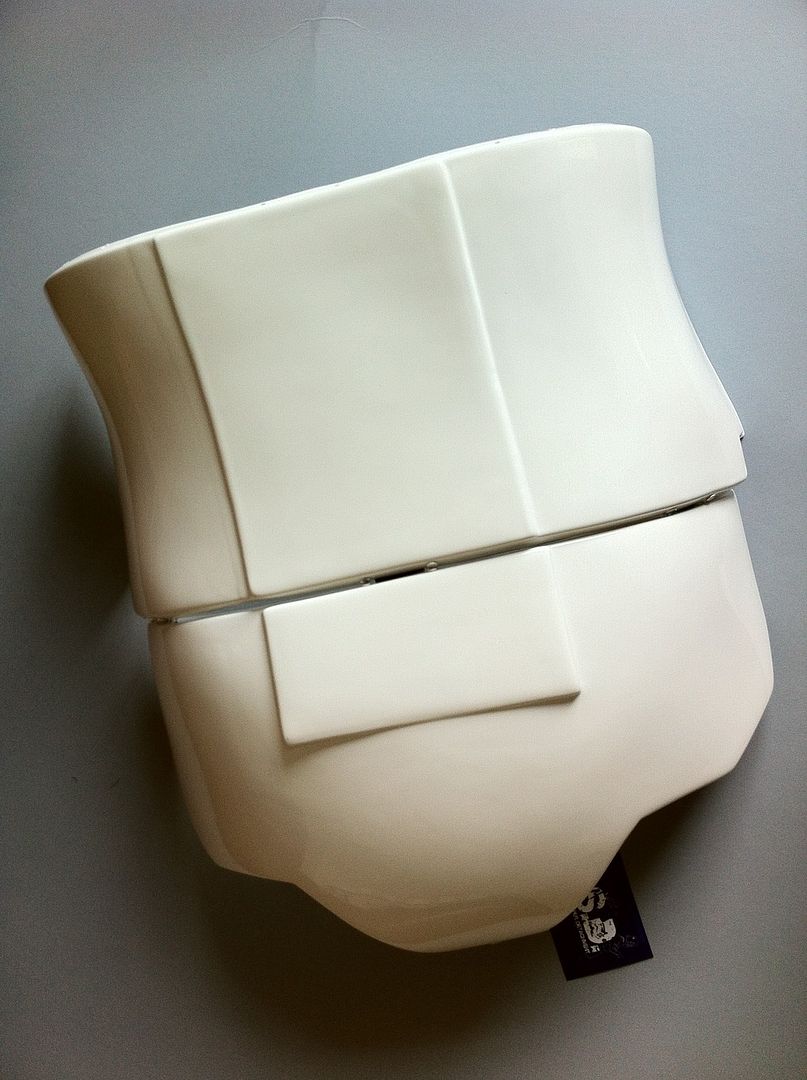
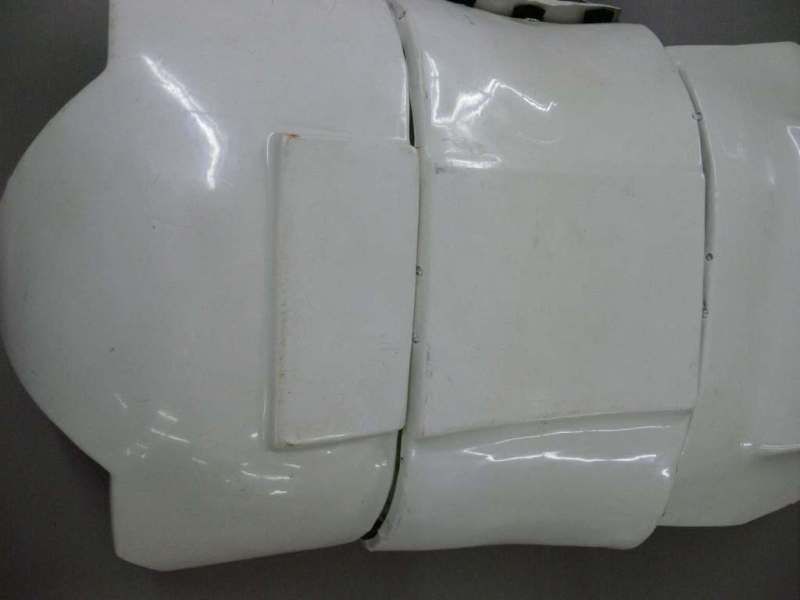
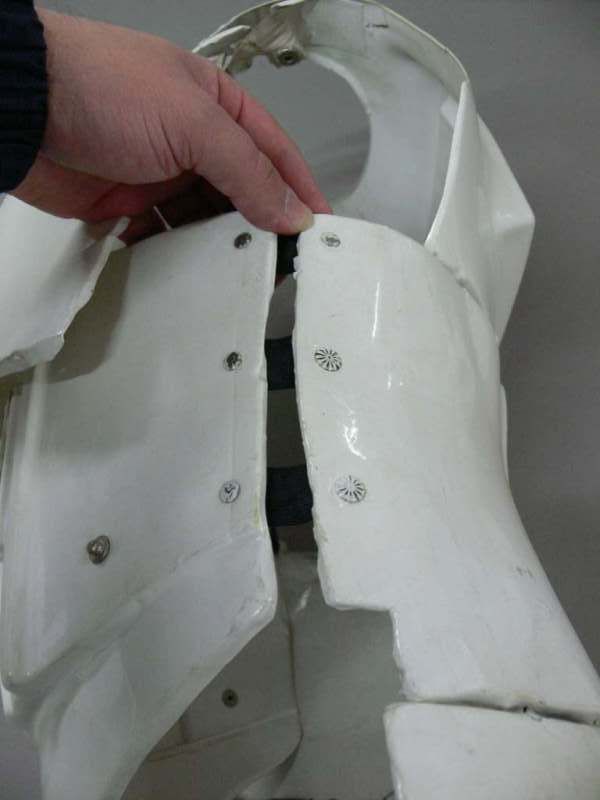
Ok all the fixings on the torso have been fitted. As you will see my armour has taken a bit of a beating, but I am not bothered about a few marks here and there it all adds to the flavour.
While fitting the torso rivets I noticed that the loving paint I added soon came off, so after the first three I gave up using the painted ones and just went with the nickel ones I already had. I may or may not paint these at a later date. I suppose if I want to go centipede in the future I will have to paint them. At this moment I care not.
Notice the extra flashing I have on the torso between the ab plate and kidney plate? That's because I am not going to shim my armour and I am not your regular out of work actor from the 1970's. You know I won't be no stick-figure, silicone Barbie doll, so, if that's what's you're into then go ahead and move along.. Also my diet of Chinese takeaway food and strong continental larger has not had the effect I thought it would. So there will be a little larger gap then some would like. Tough.
That's all I have time for today, back to work starting at 5 pm, all I have to do now is the shoulder straps and finish screwing this bad boy together and then maybe I will suit up for some pics for you fine people. However I am a long way from finished with my build. Until next time, remember; poke, don't smoke..
-
Day Eighteen
As I have not been naming the days this past week we shall now call this Day Eighteen. I am doing little bits and pieces today trying to finish a few things off.
So far I have given my bifurcated rivets another coat of white paint. At the same time I sprayed little white into a plastic takeaway container and used a small brush to paint the heads of my single cap rivets in the thigh ammo strap. All free hand, no masking tape, not much thought just a quick dab to make them white.
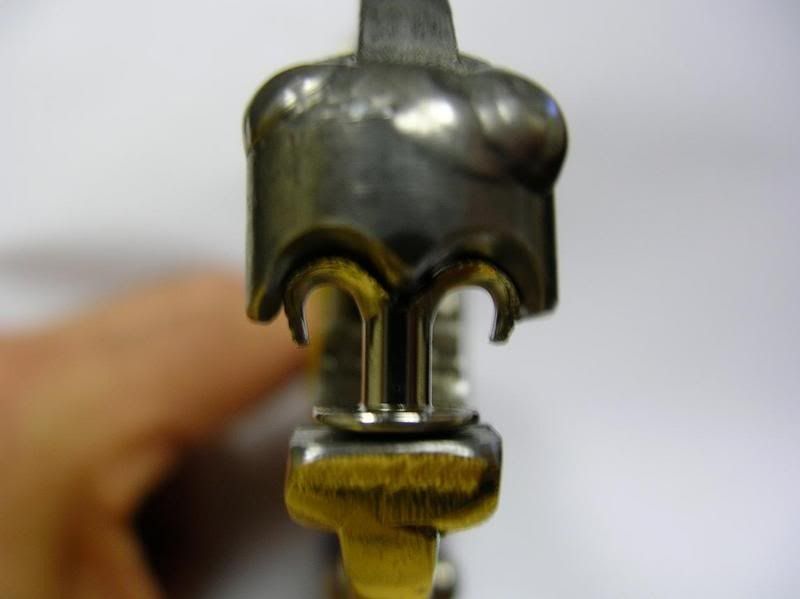
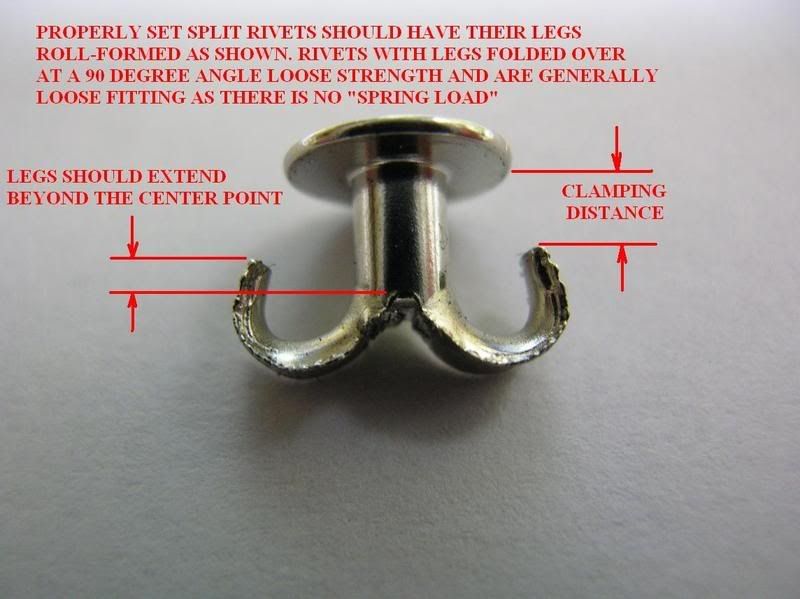
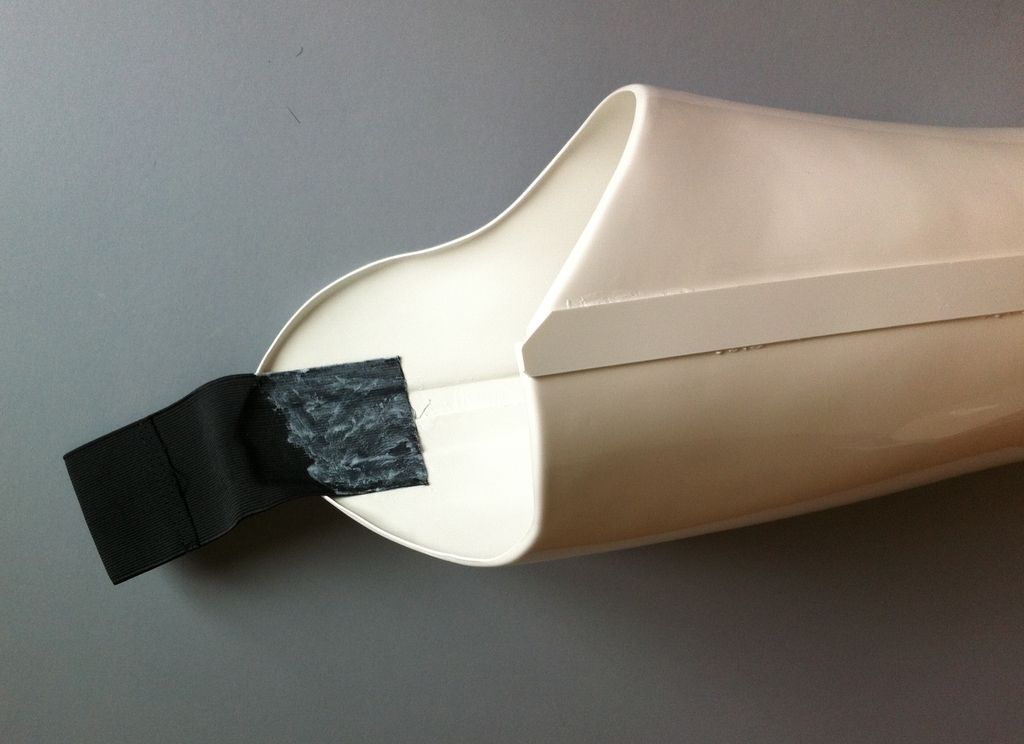
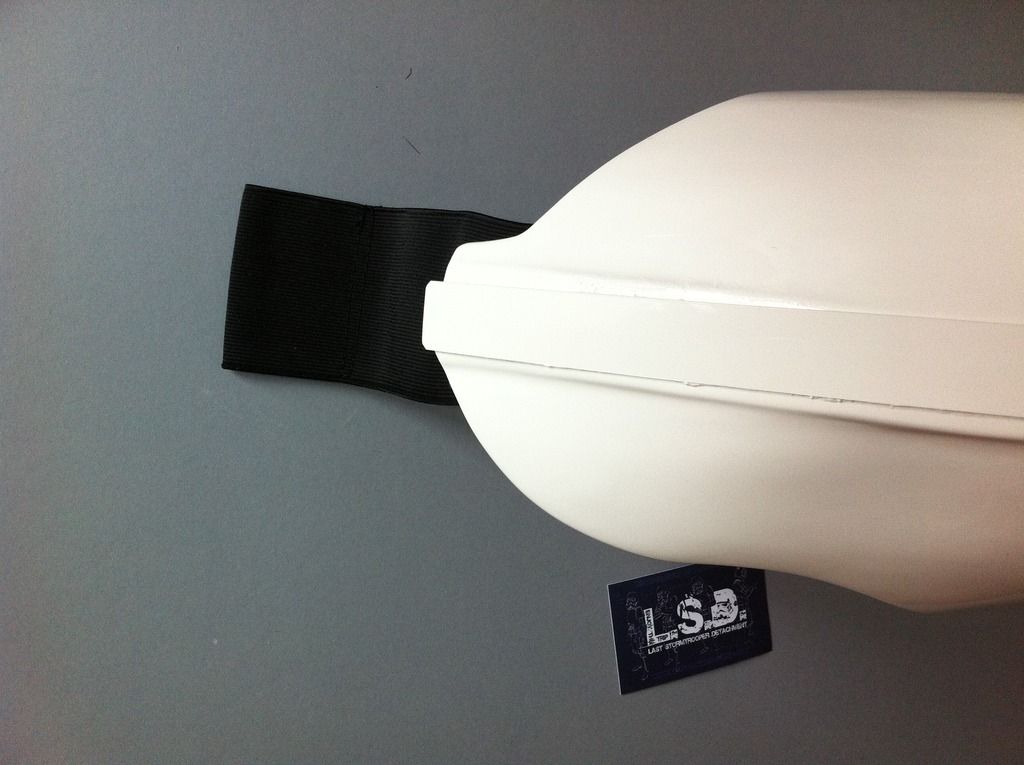
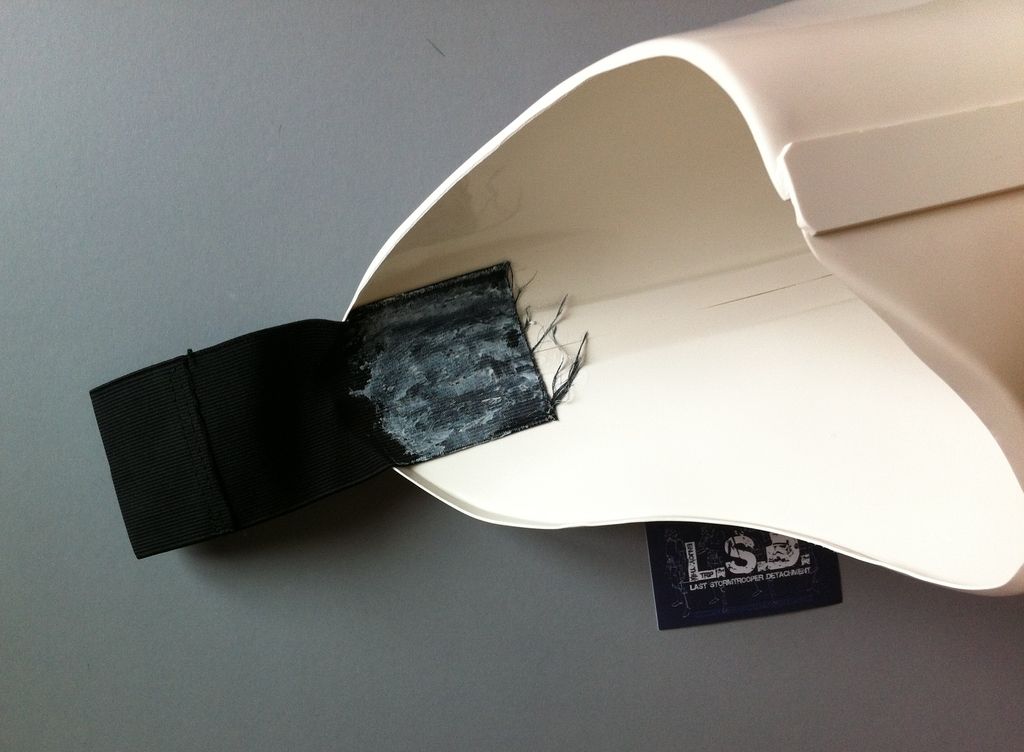
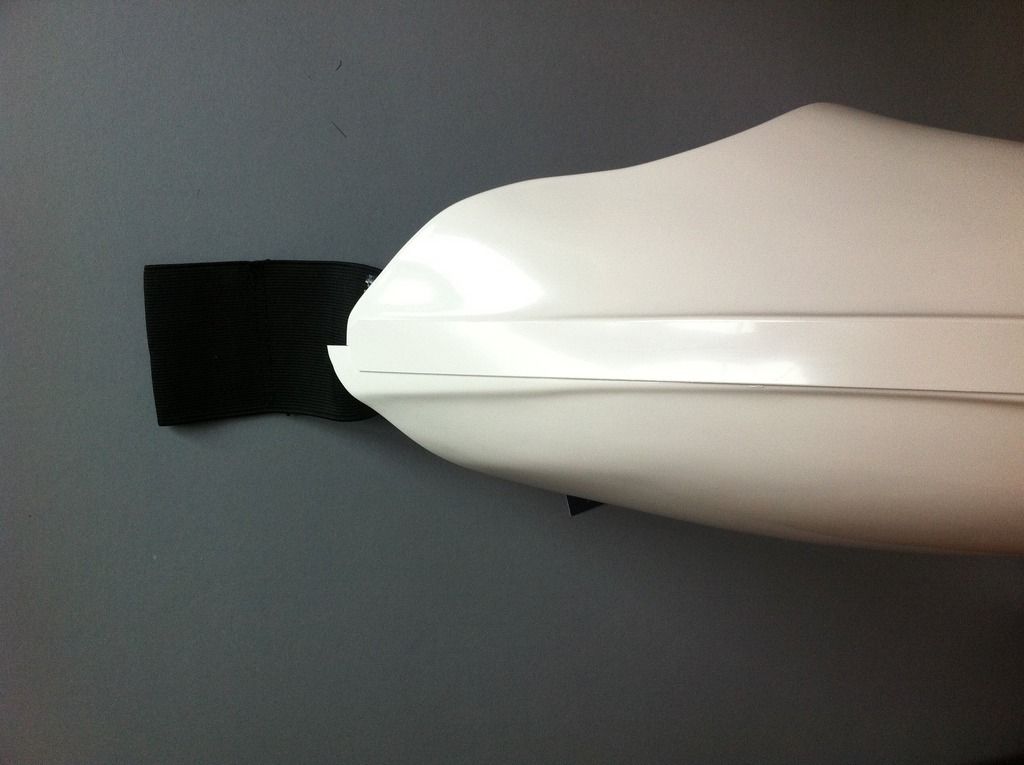
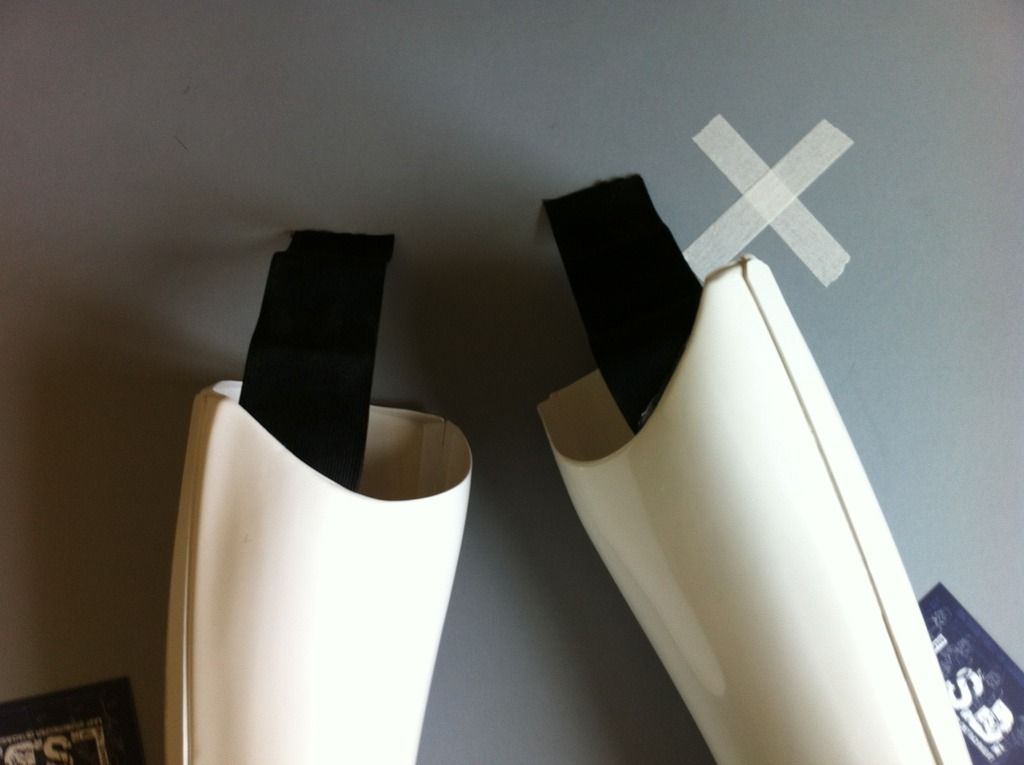
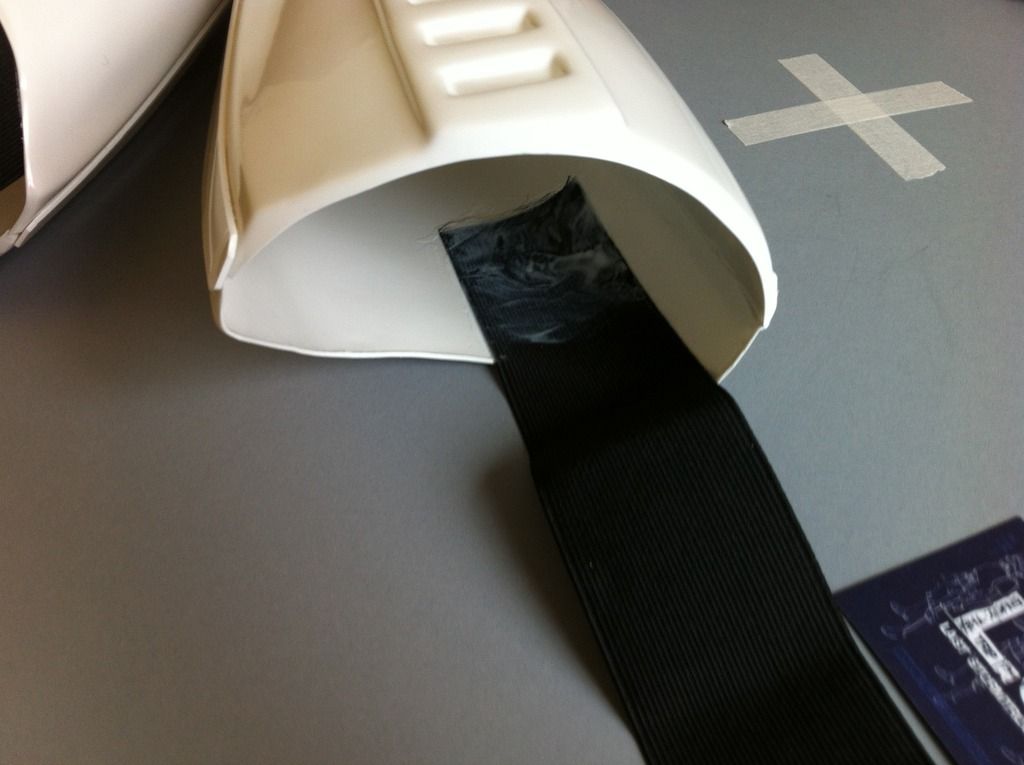
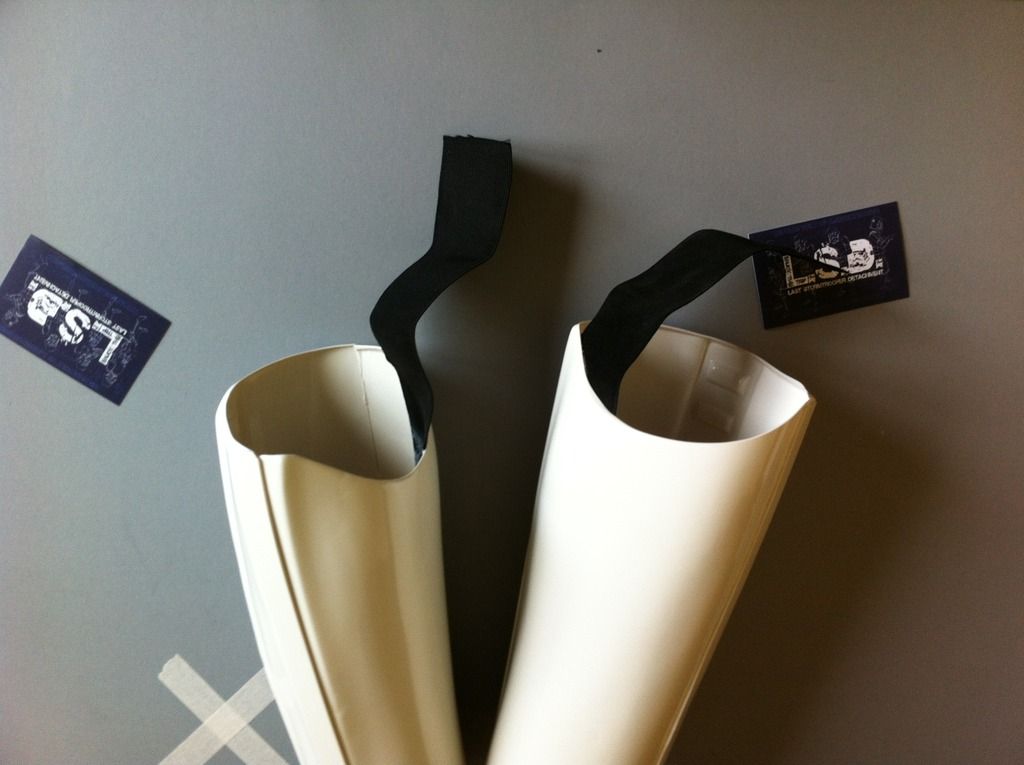
Next I am going to put in some of the split rivets with elastic into my armour. Starting with the crotch and butt strap. I practised first on a spare rivet to get a feel before I go ahead on my armour.
There is a tool for fitting these but I am just going to use a pair of adjustable grips, a screw driver and regular pliers. Us stormtrooper types also fit them into our armour wrong.
Anyway I need to get on if you'll excuse me..
-
1
-
-
You can always make up some goop and fill any extra holes using scrap abs you have from your build.
-
I would suggest keep looking at your ref pics and go with that you like the look of. Them trim more off if required for comfort or practicle reasons.
-
It should wrap the thigh all the way around apart from the rear edge like this
-
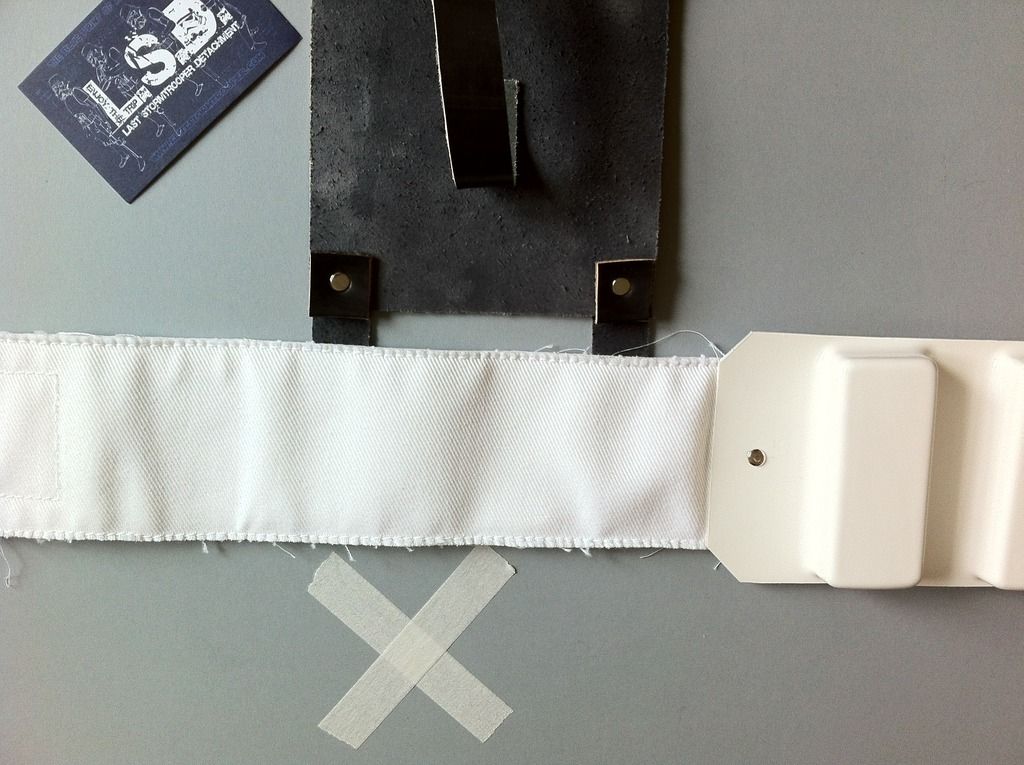
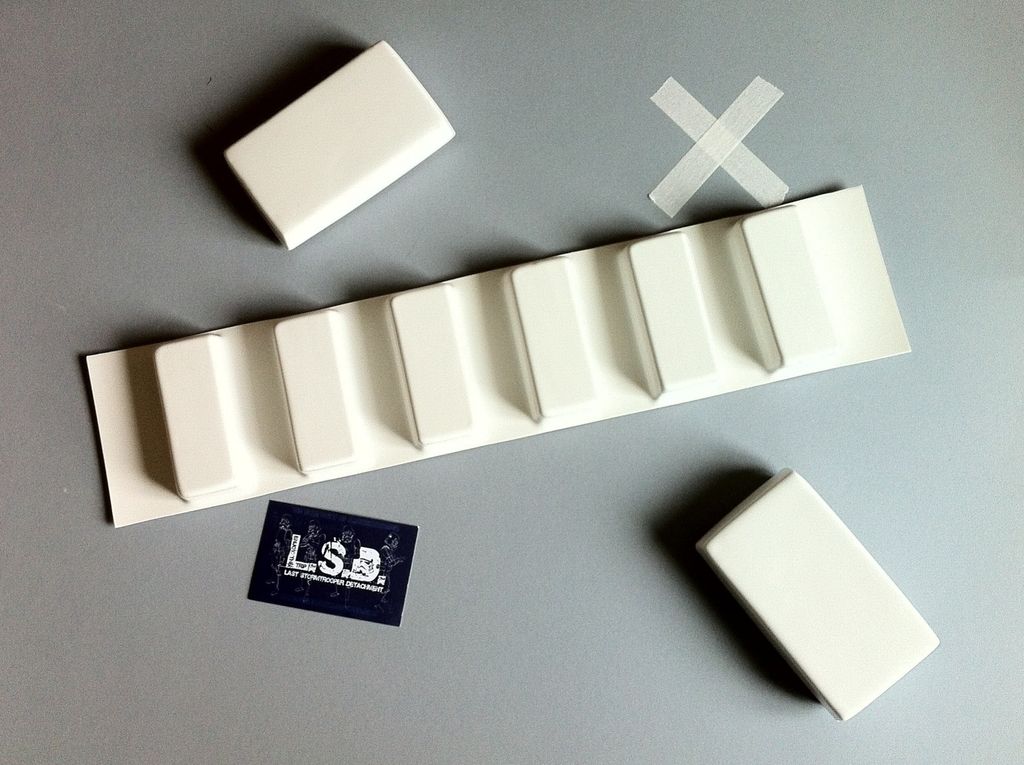
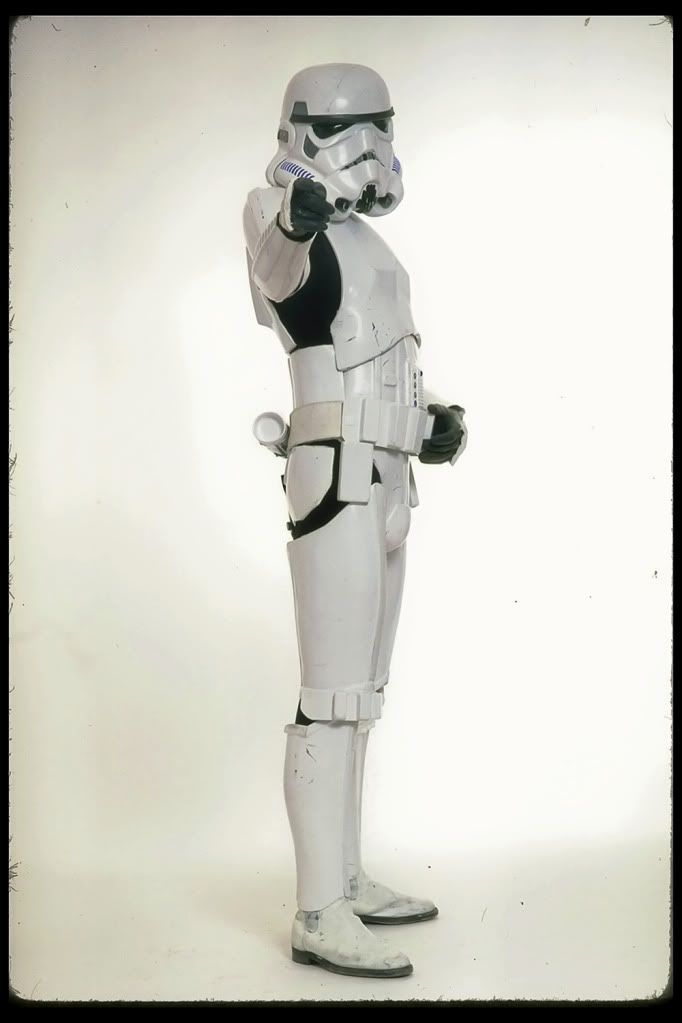
Ok so here are some pics of my armour.
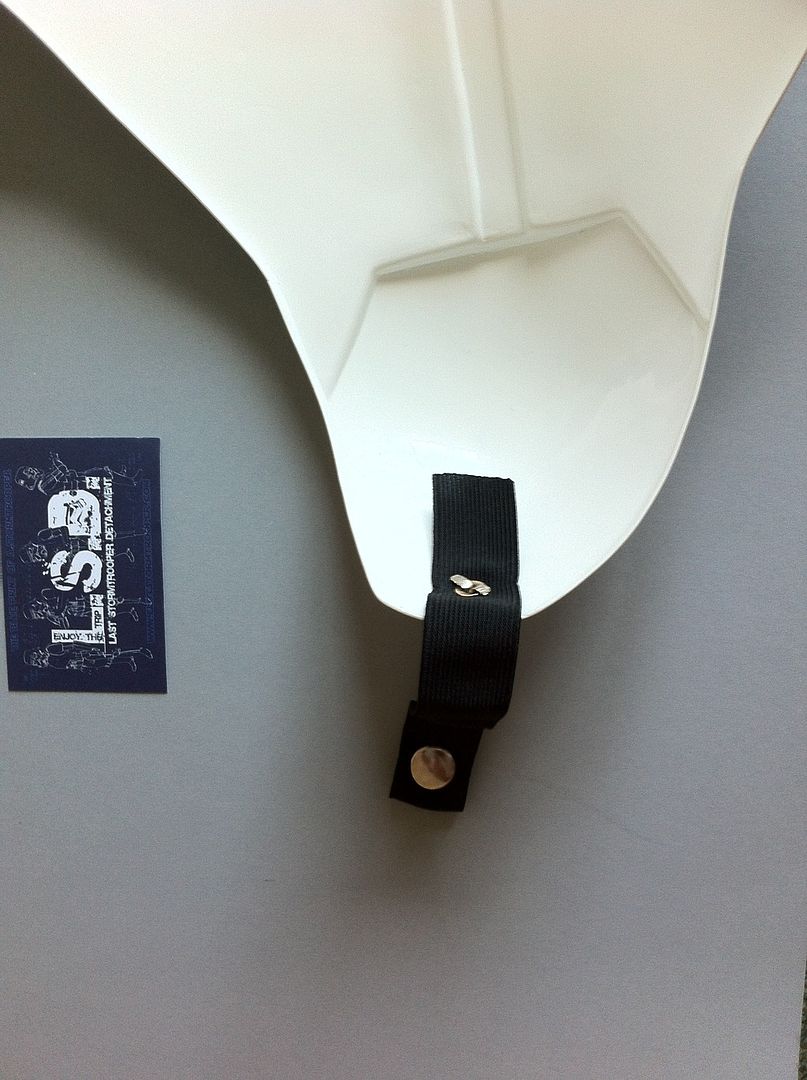
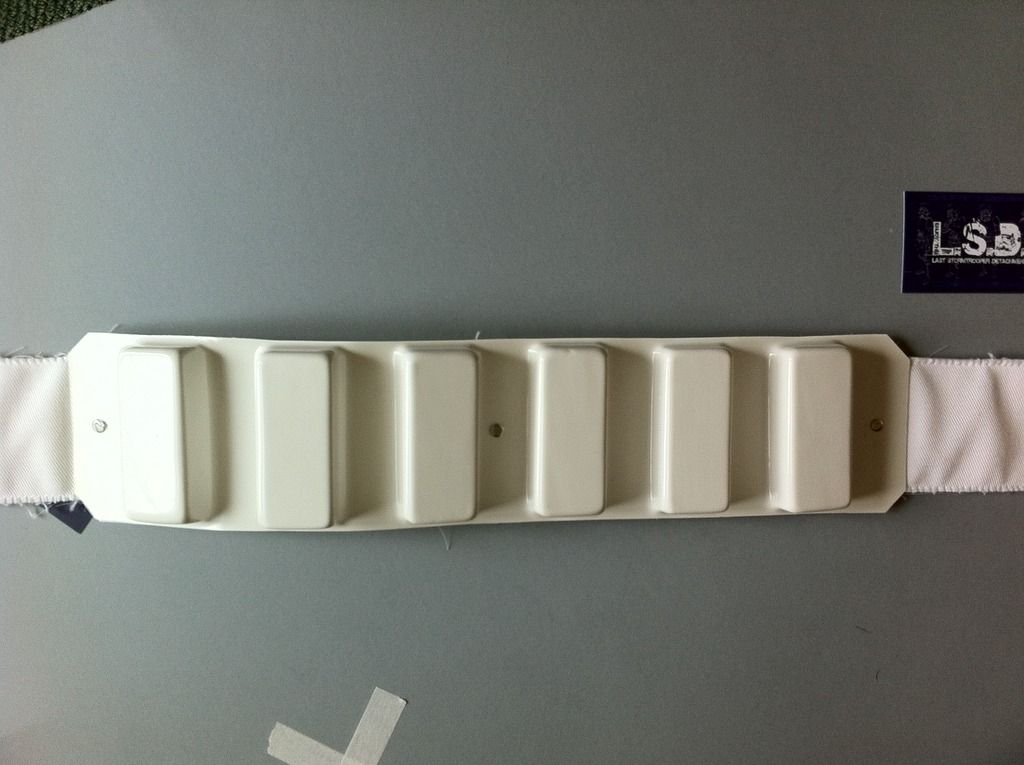
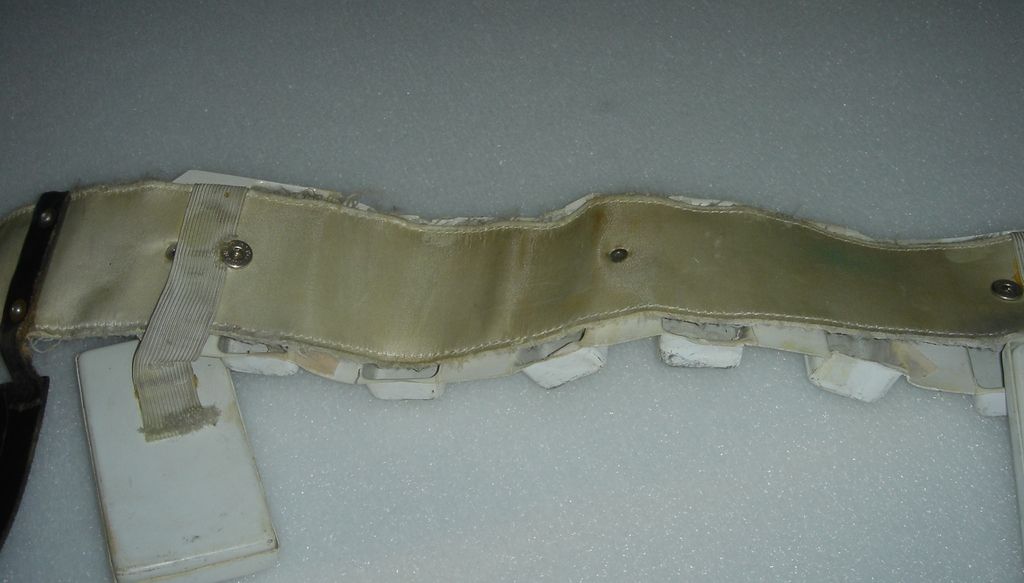
Completed belt sans holster, I still really want my ANH trooper to not have one. Plus mine will be riveted on just like the real thing and then storing it becomes a pain.
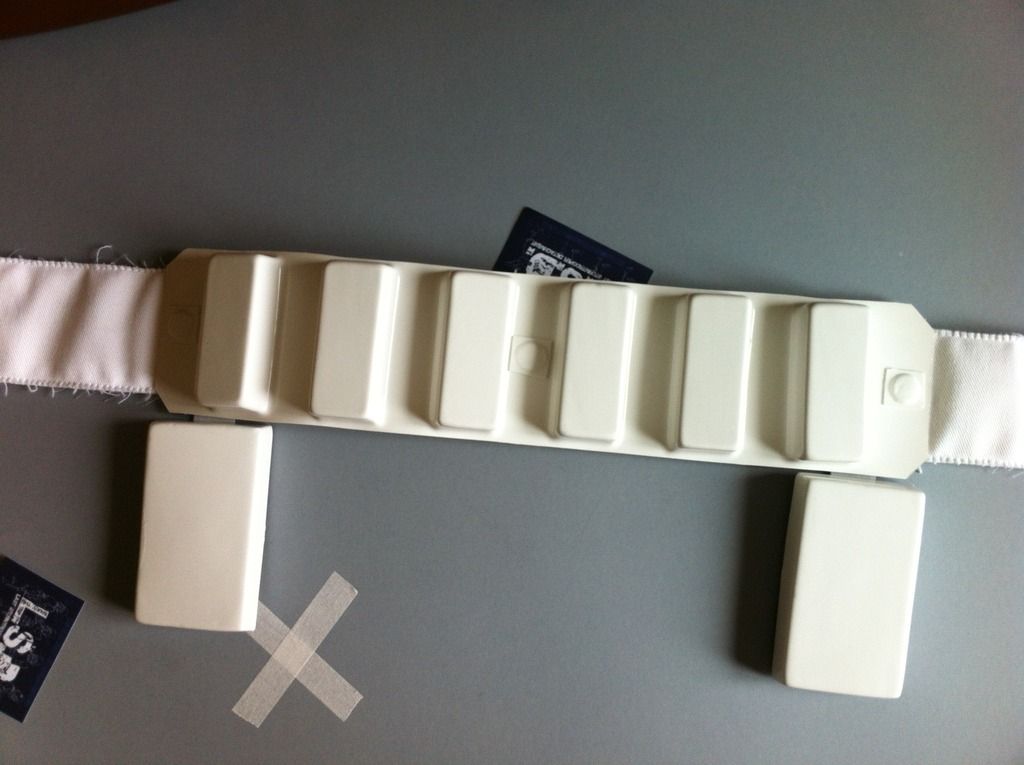
The drop boxes should touch with underside of the plastic belt part, and your elastic may need to be trimmed to allow the snap that attaches the belt to the ab plate to connect properly.
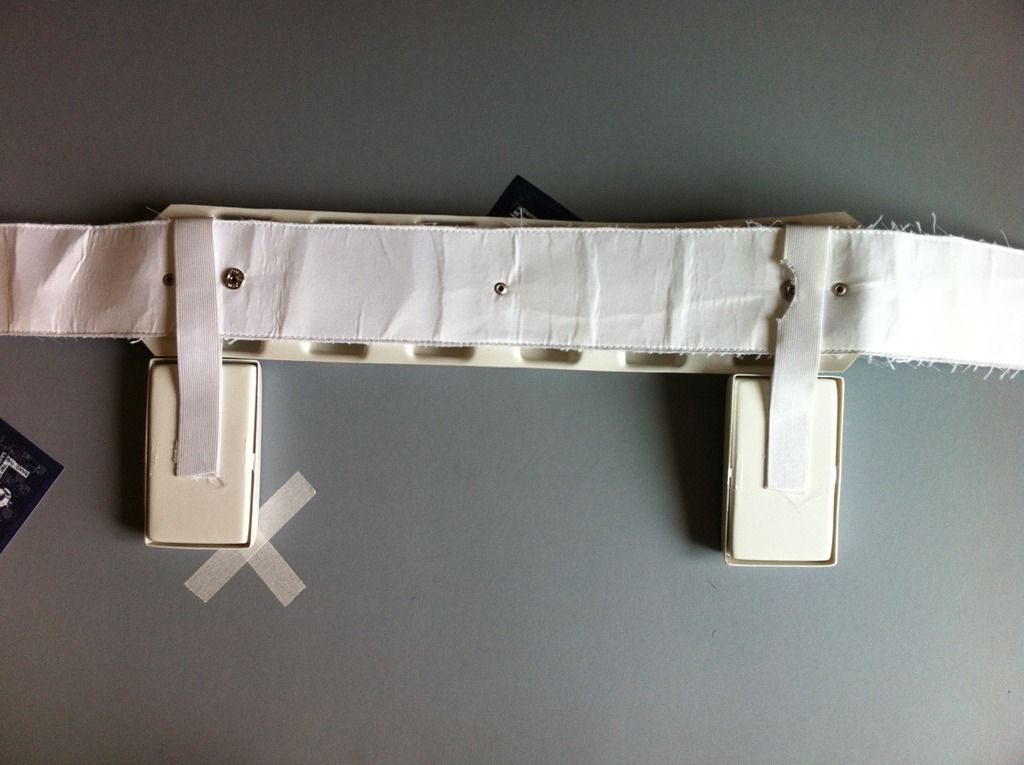
Drop boxes should be as far to the edge of your belt as possible.
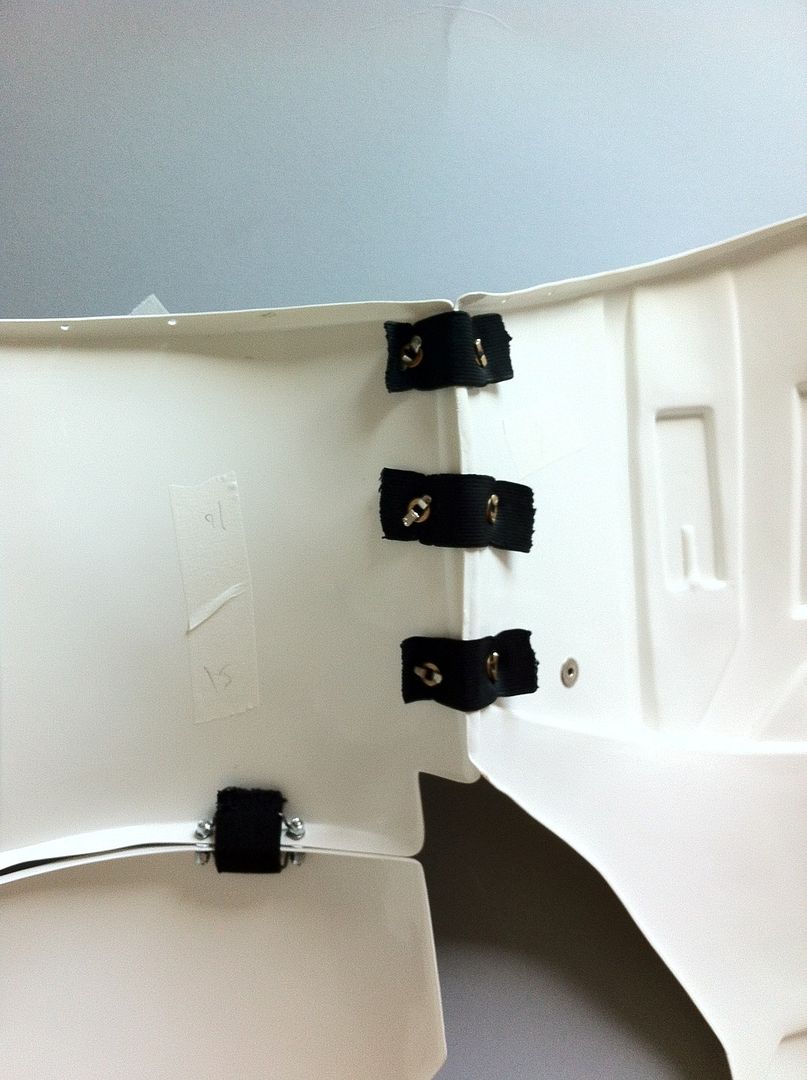
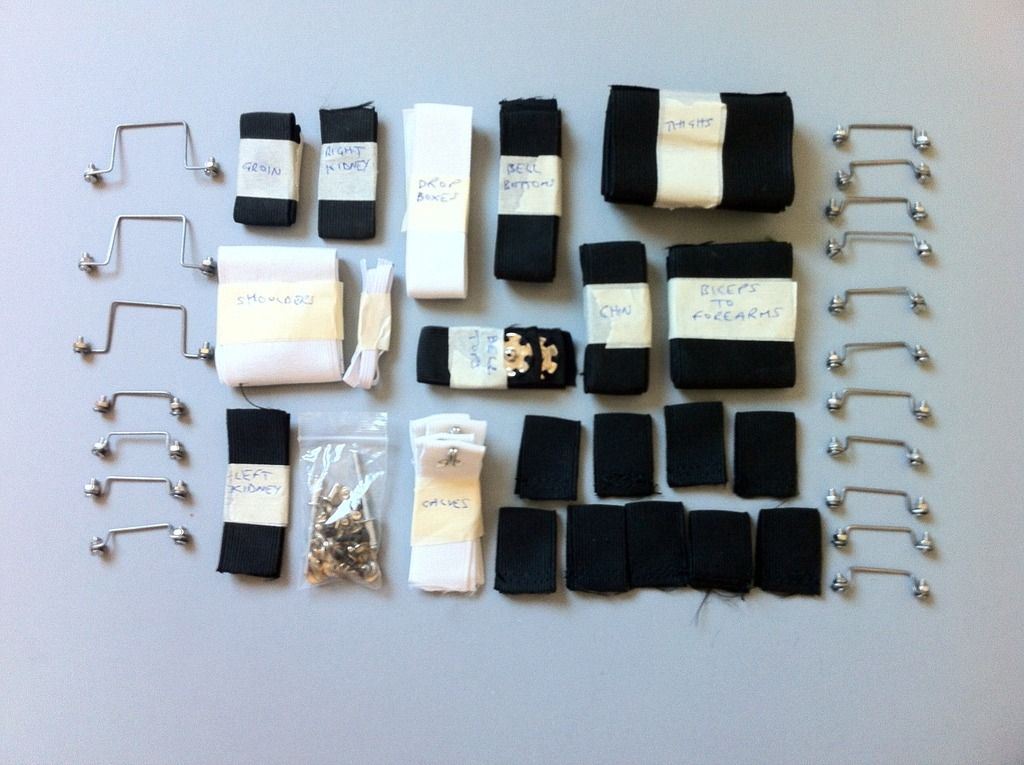
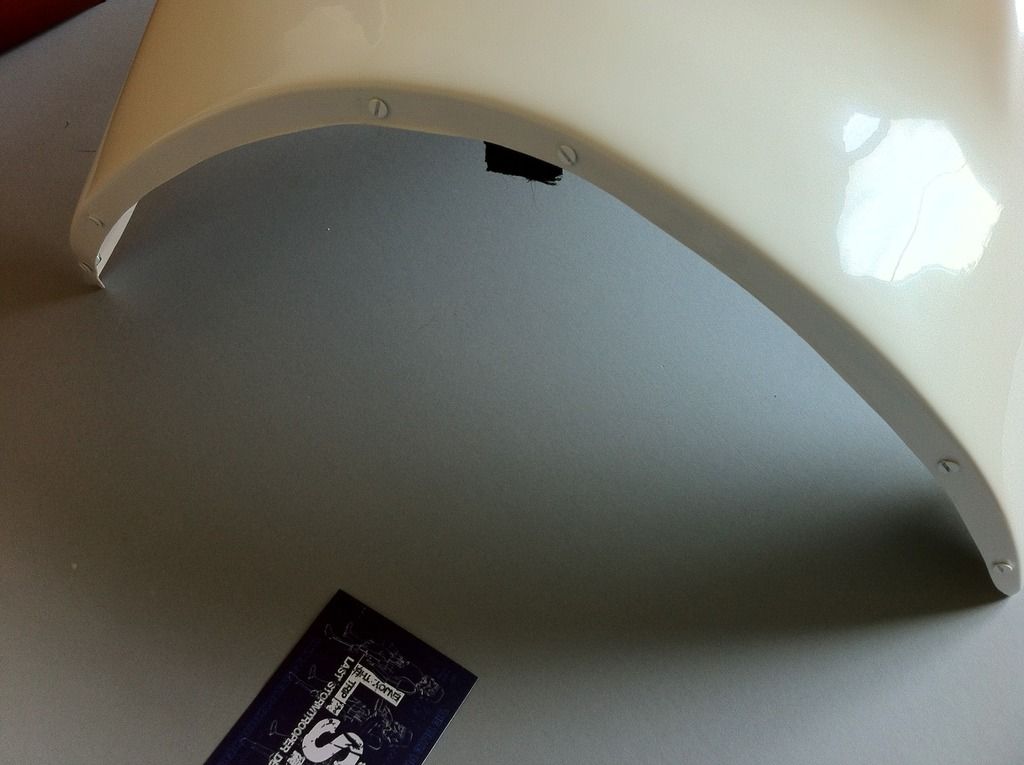
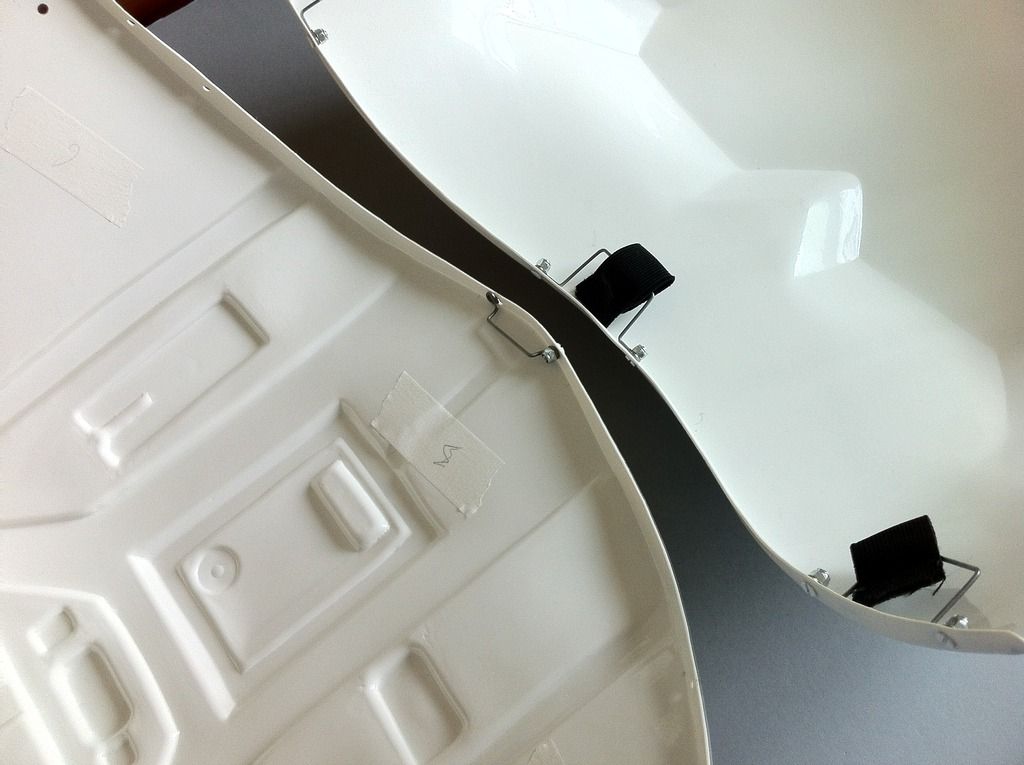
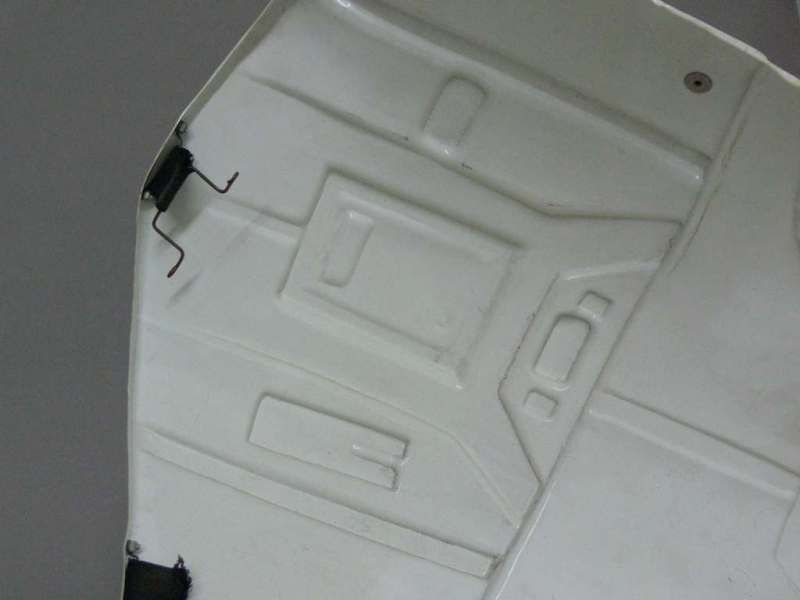
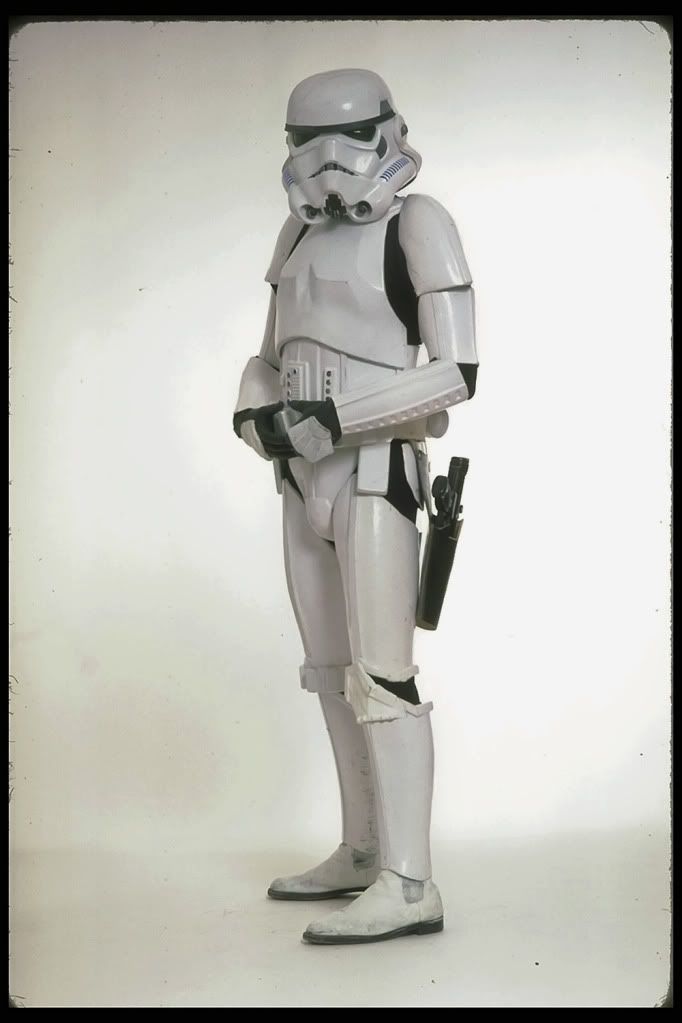
Upper back and shoulder bell attachment
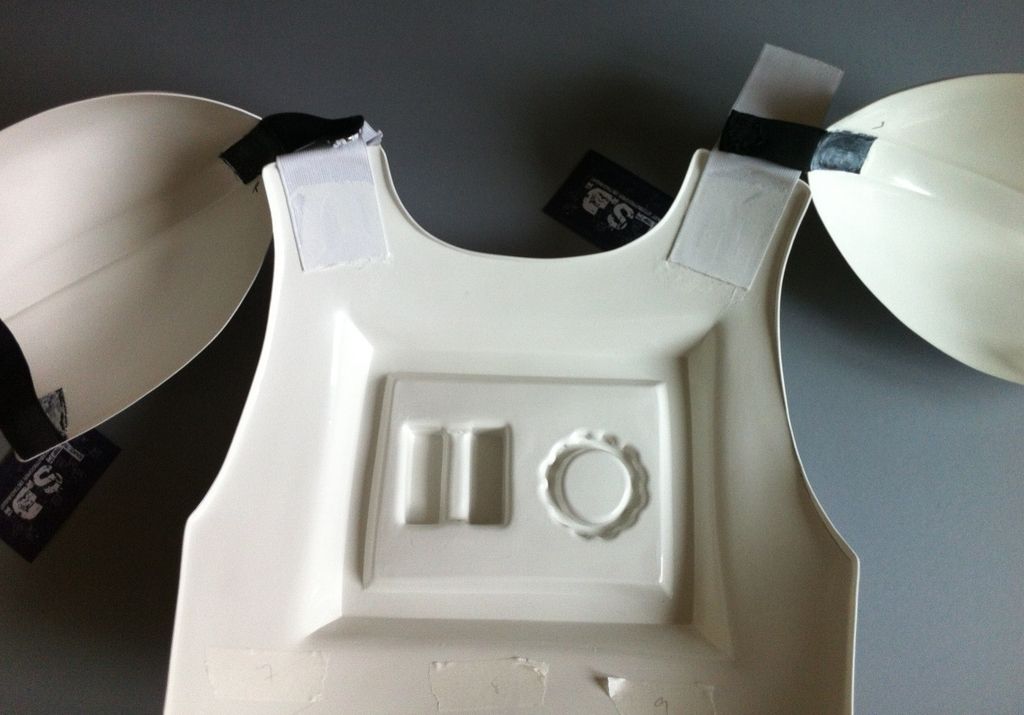
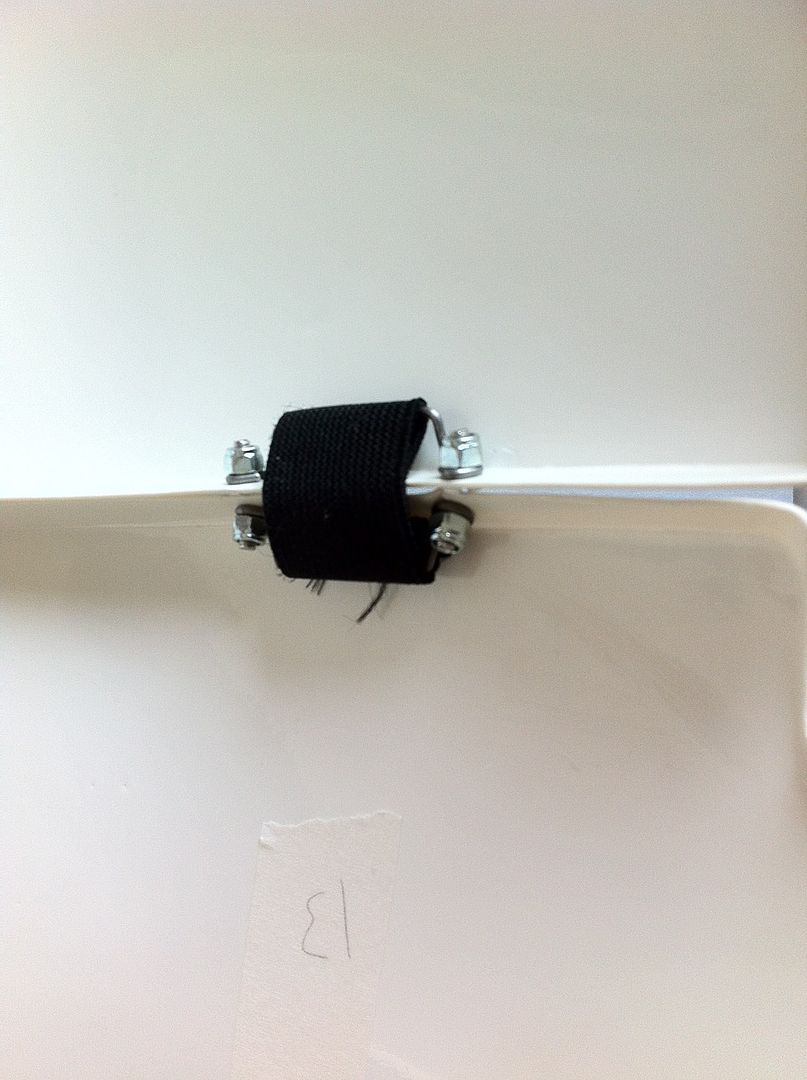
For those inquisitive types the numbers written on masking tape refer to the original strapping brackets that were fitted and then removed to pain the screws. As they are all hand built by trooper master they are all individual and so I labelled them to make sure they all go back in the right place.
Arms, some armours have a left and right, some have doubled up parts and some are thrown together with mix matched parts. If you are unsure ask someone to help. Or do as I do and just hope for the best.. If you are using bicep hooks they are fitted bias towards the rear so that they don't show from the front.
Thighs
-
1
-
-
I don't have any pictures to post so feel free to skip this post.
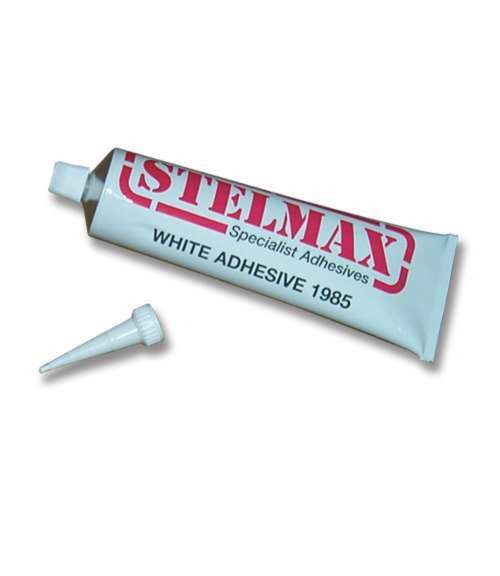
All elastics have now been glued in place including in no particular order... bicep to forearm. upper back to chest, thigh elastics. Remember I am dipping my toes into prop replication and this is not for everyone. My elastics are glued directly in to the armour so it is permanent. I am using Stelmax and that dries fast, so when you put your elastics in make sure they are where you want them first time, no second chances by putting your bits in the freezer.
Newbies have it so easy these days. When I first put together my first tk we did not know how they were held together. Nowadays its a one click stop to the most accurate armour builds.
Don't forget when strapping the arms the biceps should be touching the forearms no large gaps, it will look wrong. Use 2 inch black elastic and it goes on the inner forward part of the elbow joint.
Thigh elastic just goes straight in the middle of the thigh, 3 inch black elastic should do the trick
I will get some pictures of my own armour tomorrow when the lighting is better.
-
2
-
-
-
Two words spring to my mind while viewing this thread..
Clean and shiny!
-
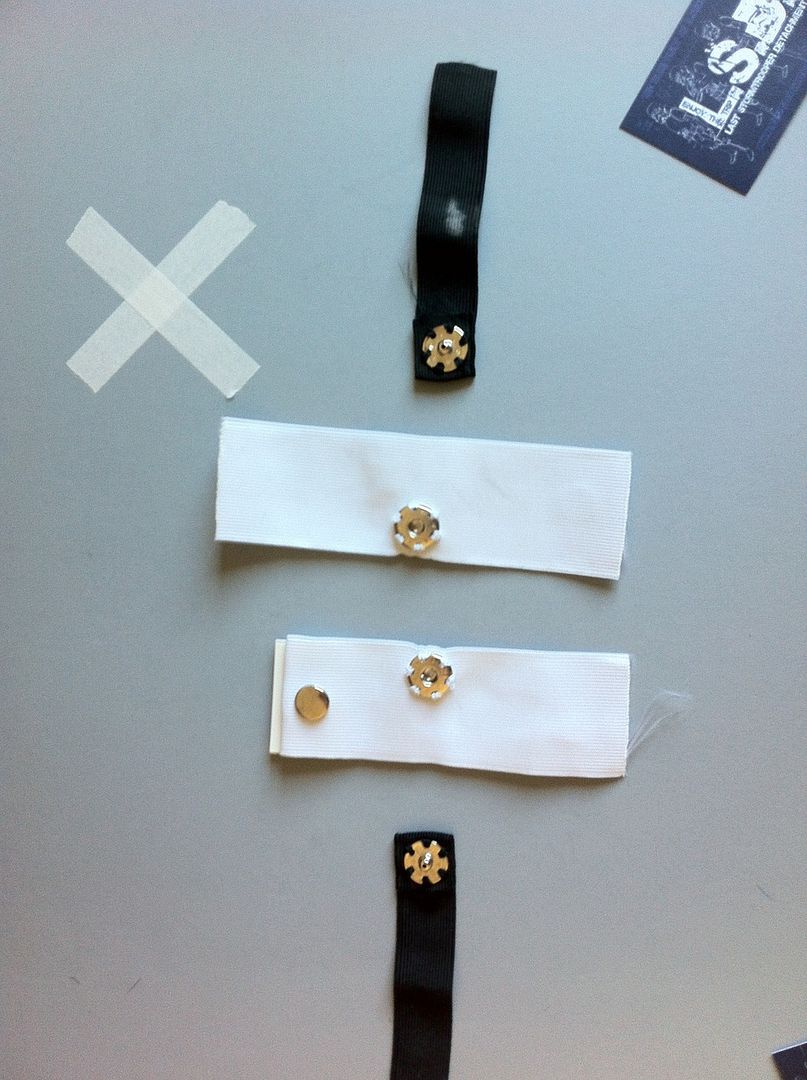
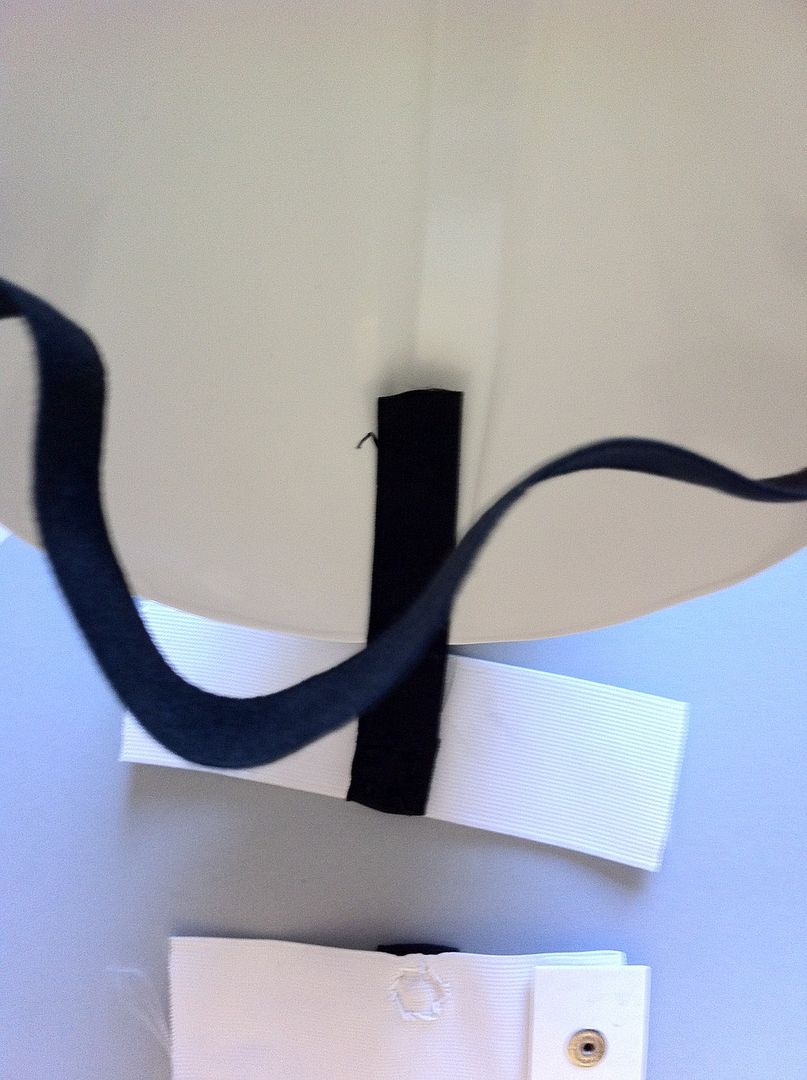
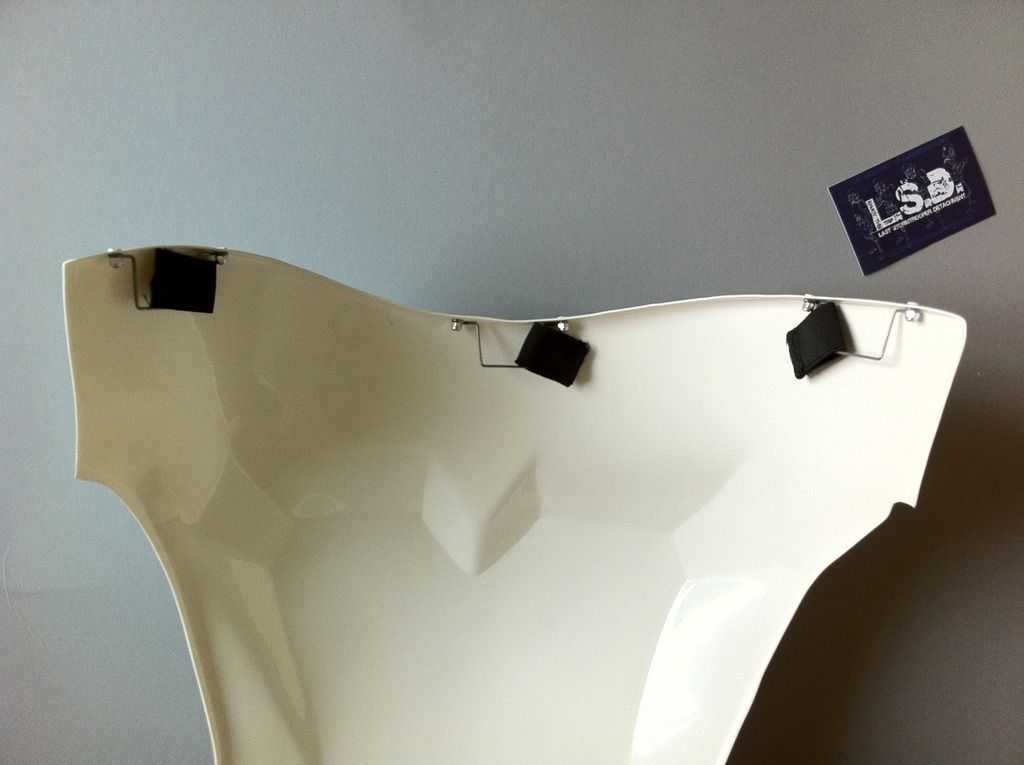
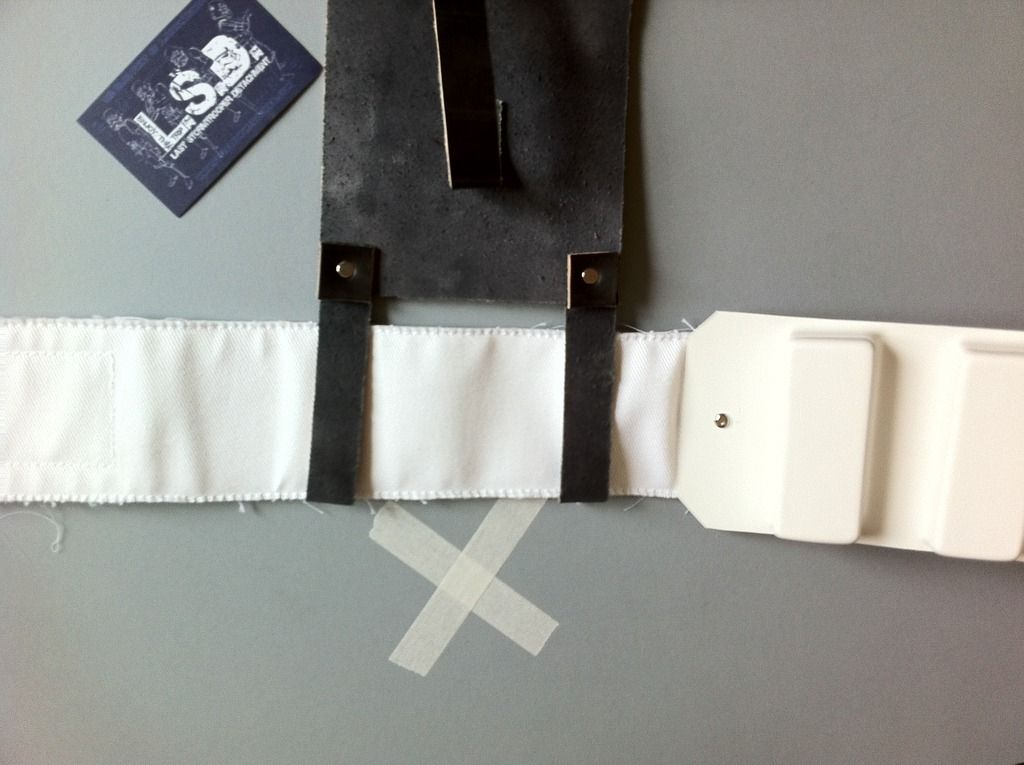
Shoulder bell elastic attachment and placement.
There are many ways to do this and I have tried most of them, but really the original way is the best and simplest. Shoulder bell placement can make or break a costume and it is so easy to get this right on the first attempt.
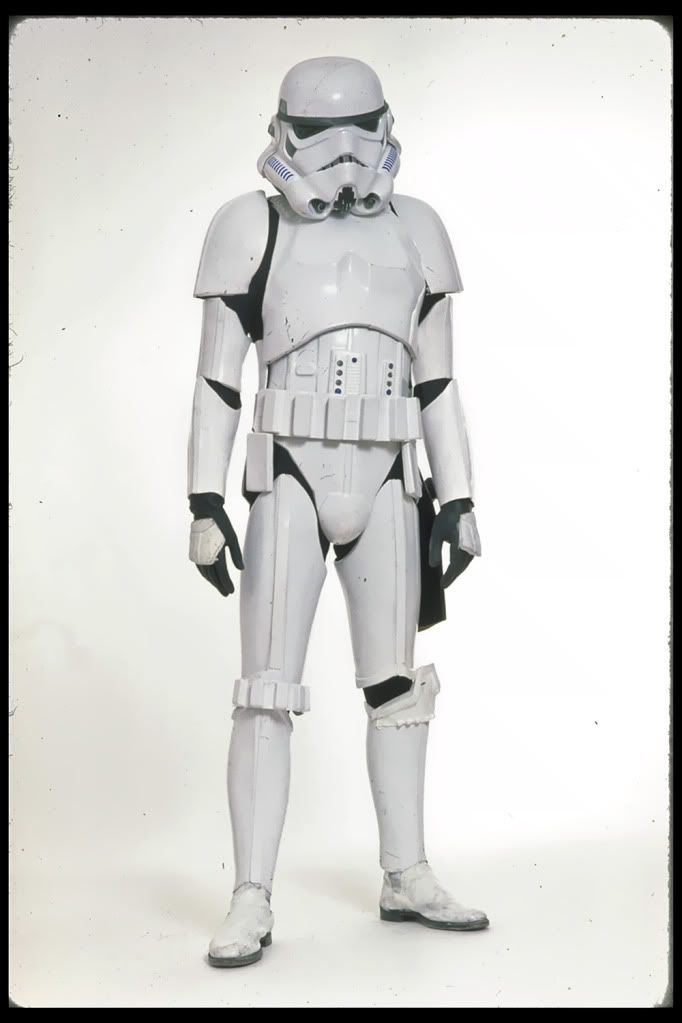
First look at your ref pictures of the real thing. Nearly if not all the original stormtroopers have the shoulder bell touching the top chest to back shoulder bridge. Try to replicate this in your build.
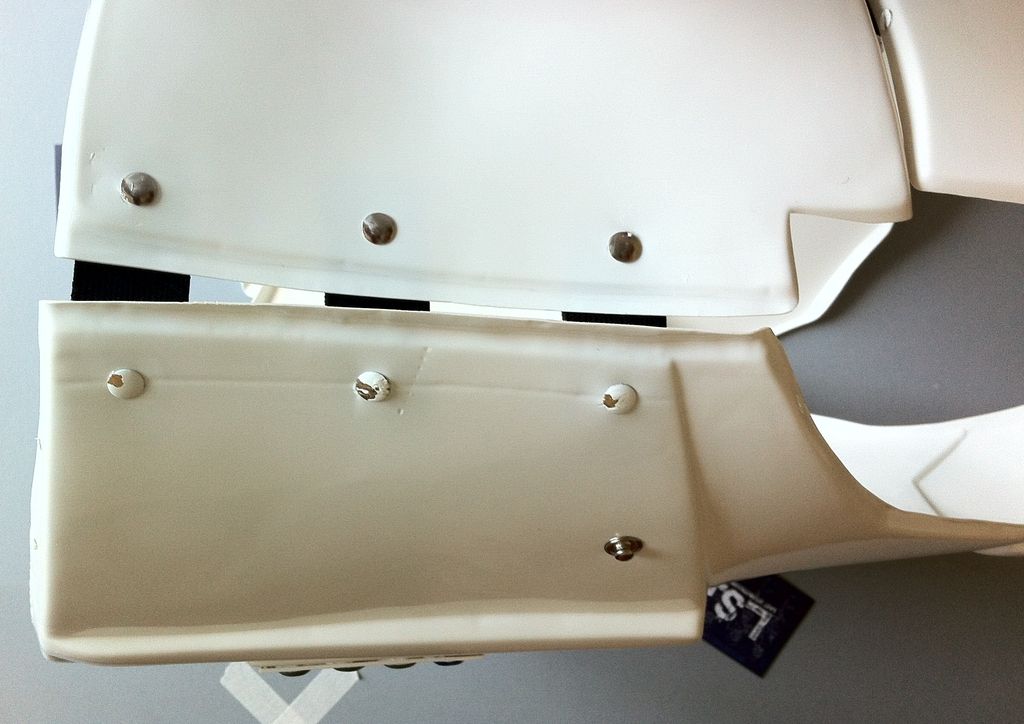
So here we have the white elastic to connect the front and back torso armour. Notice if you are using the large press snaps they should be located on the inside of the strap. The snap will be on the underside of the elastic facing the body. Simply put together and mark where to glue inside the bell.
The white elastic for the torso connection will be placed in the centre so that the shoulder bell will also be centred.


Can anyone remember what they were doing on 11 April 2007? It was a Wednesday if it helps?
-
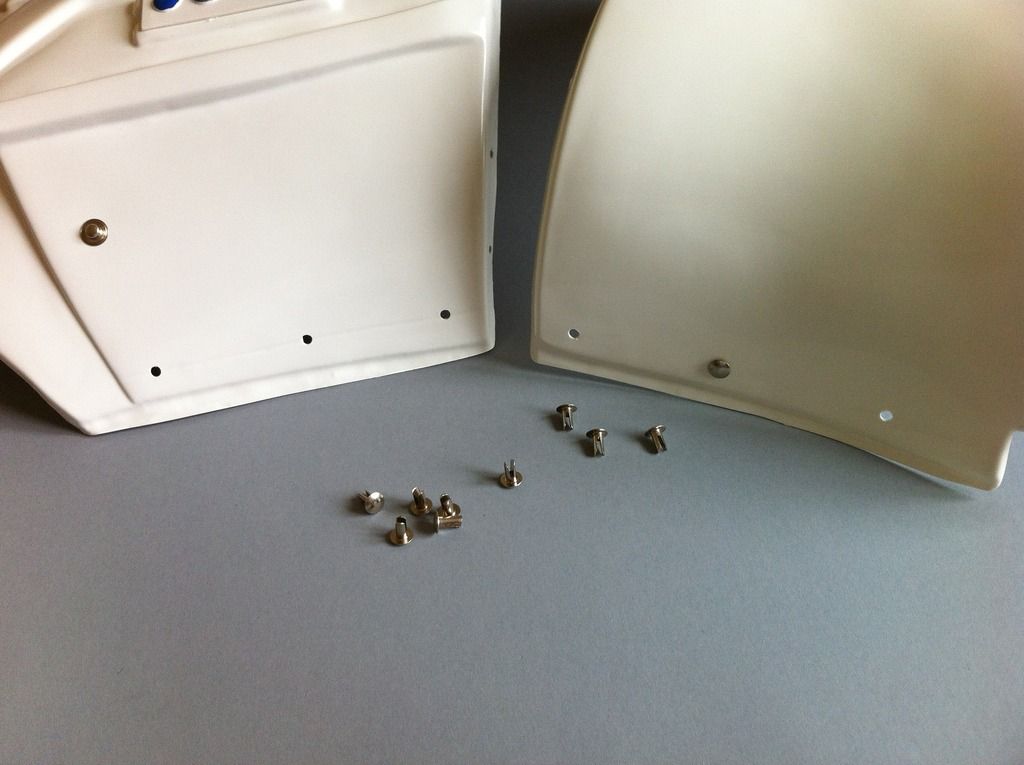
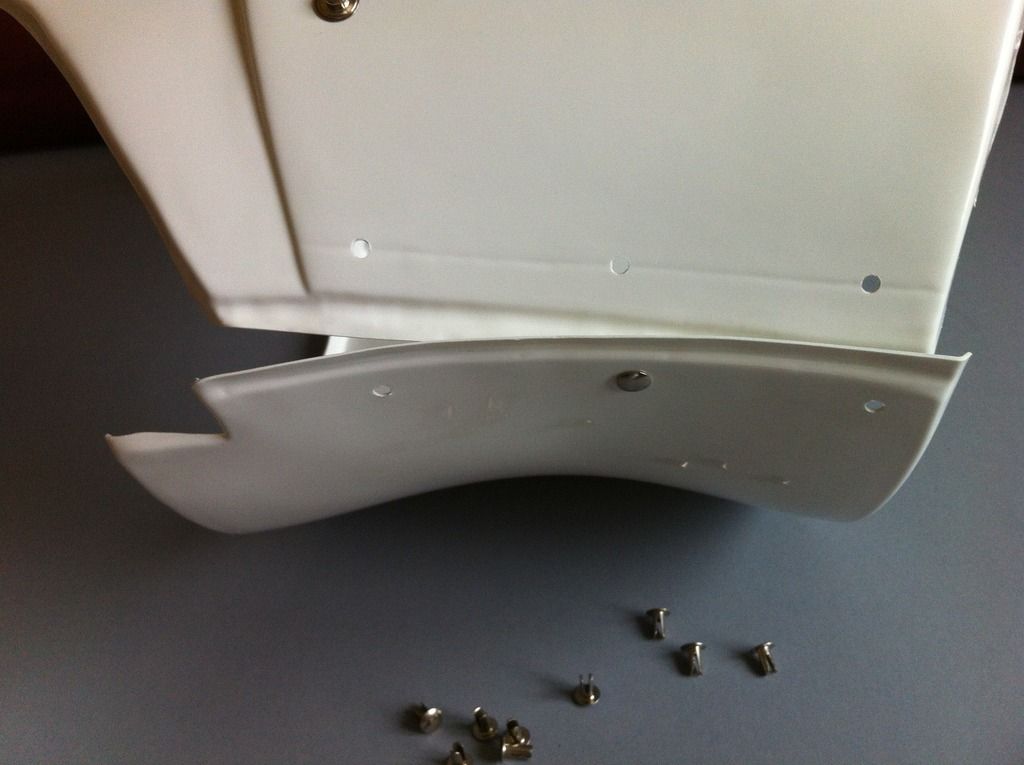
Life in plastic, its fantastic! Righty said Barbie.. ok here are the brackets fitted to the inside of the chest. These brackets are longer than the rest to allow for the overlay of the chest on the ab plate. I painted the screws white with the appliance paint seen earlier.

Original ref pictures for Gary

-
Well spotted, I meant single cap rivets, better go and change that...
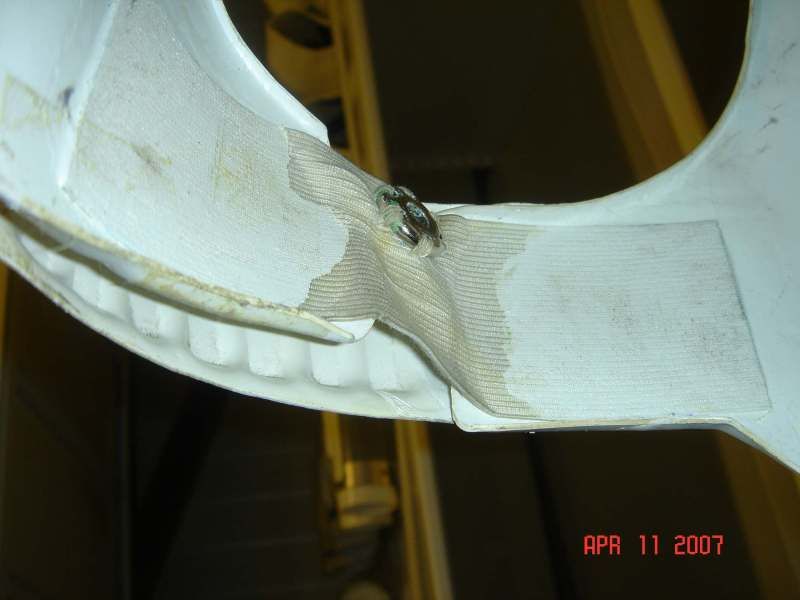
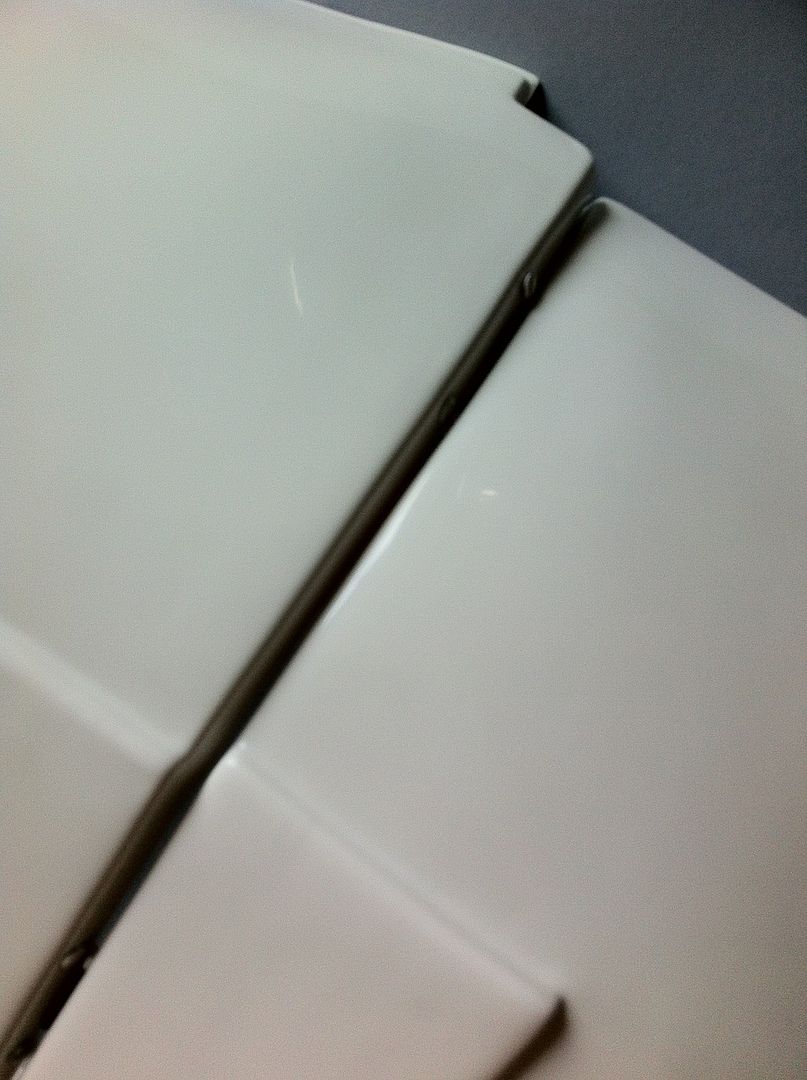
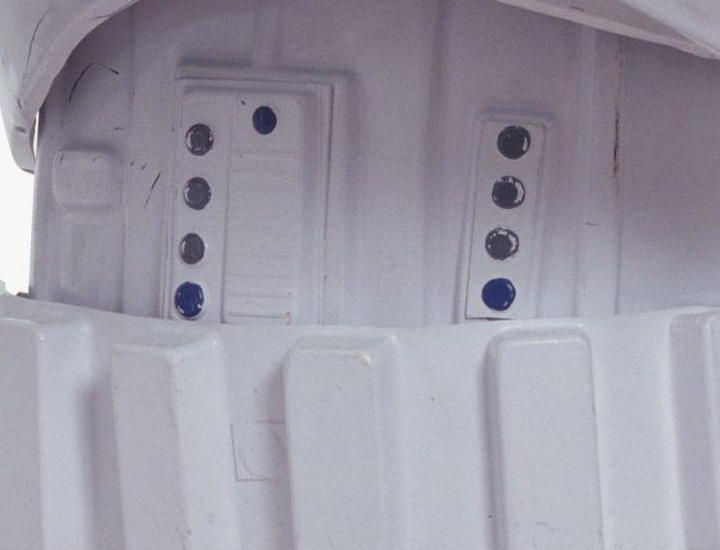
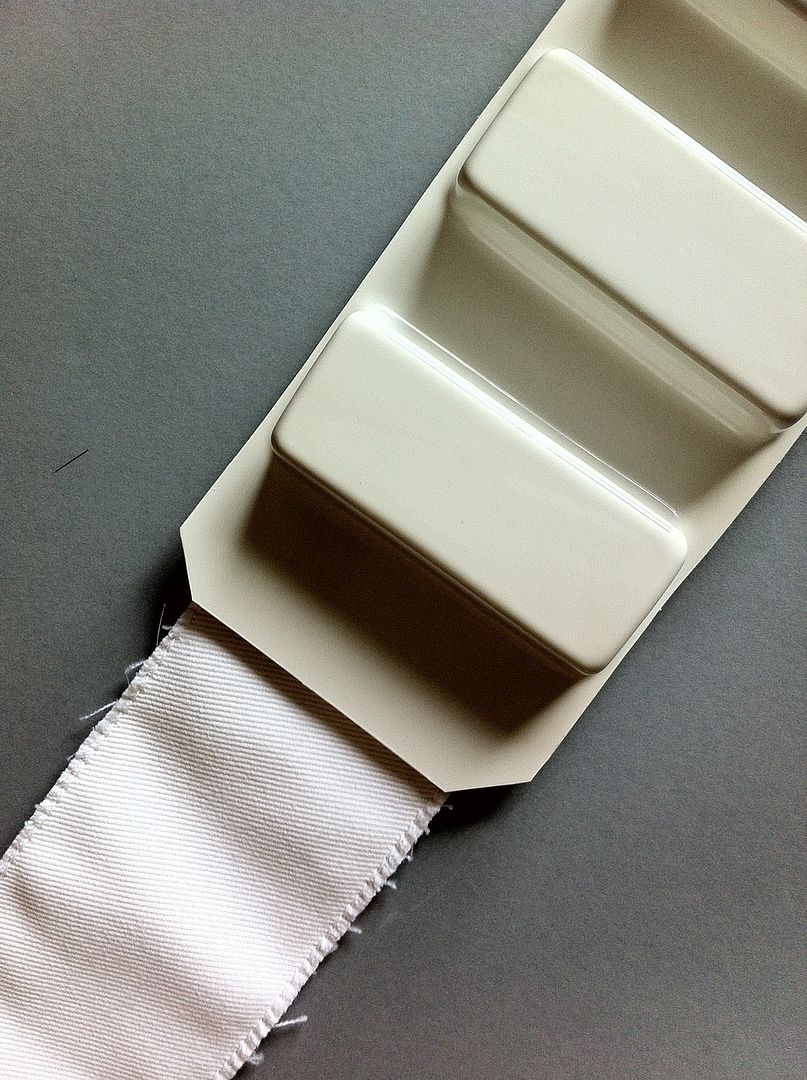
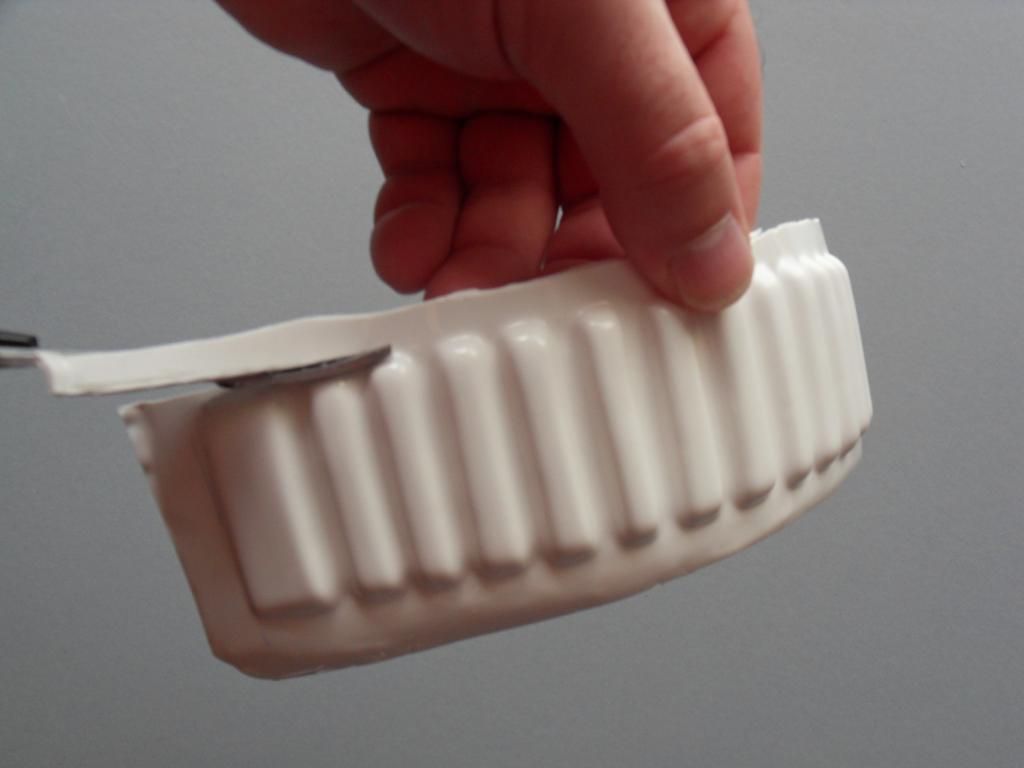
I have drilled the 6 holes for the left side front to back assembly using the split rivets, the posh name is bifurcated rivets if you are searching ebay to buy some for your build.
Using your fabric tailors tape from the outside as you look at the armour not as you wear it, measure 15mm down, then 70mm and then 130mm. on the TM you have a nice line to follow if not about 10mm in from the edge. Use a drill bit just big enough to get your rivets through, I used a 4mm bit for these. Then match up the kidney and mark where to drill. I went about 10mm in from the edge and eyeballed it using my reference picture to be sure.
Original armour picture care of TE
-
I am not really doing much with my armour build today, im not really in the mood. In the Mood must be the greatest jazz swing track ever, it has everything you could ever want from a big band. Always went down well when I played with the Norwich Students Jazz Orchestra, we used to visit the US Veterans who served in WWII to play to them. Good times. Anyway I have just been doing some clean up of pencil marks and making a few slight adjustments.
I am leaving the strapping as late as I can as once this is glued everything will be attached and it makes packing away awkward. I would really like to make my holster practical and removable but that just would not be cricket, and this is going to be as close a build as I can get.
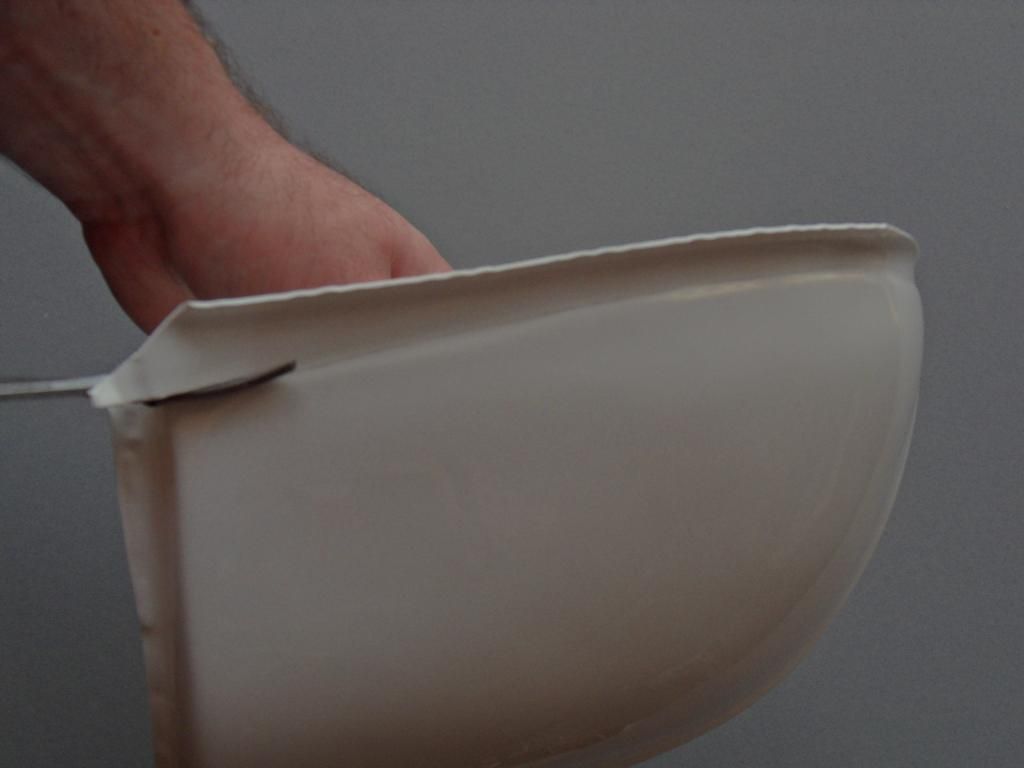
The belt, I used a small hole punch to put a small hole (naturally) in the canvas belt. I drilled the plastic belt part and started in the centre. Then I wrapped the belt around my middle before marking the holes for the sides, one at a time. This way there is less tension on the parts when worn, If you mark all your holes while the part is laying flat it will become tight and stressed when you wear it. Top tip there for you.

The single cap rivets are facing in towards the belt, I did not use a special tool for this I just placed it on the table and hit the other side with a hammer, job done. It does not need to be neat as the rivets will be covered by the rivet covers.
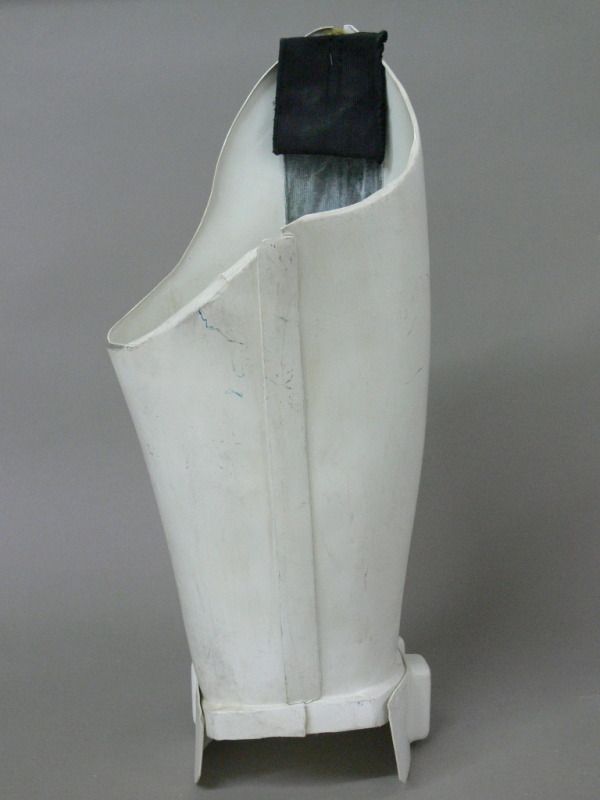
Here is my lovely holster waiting to go on
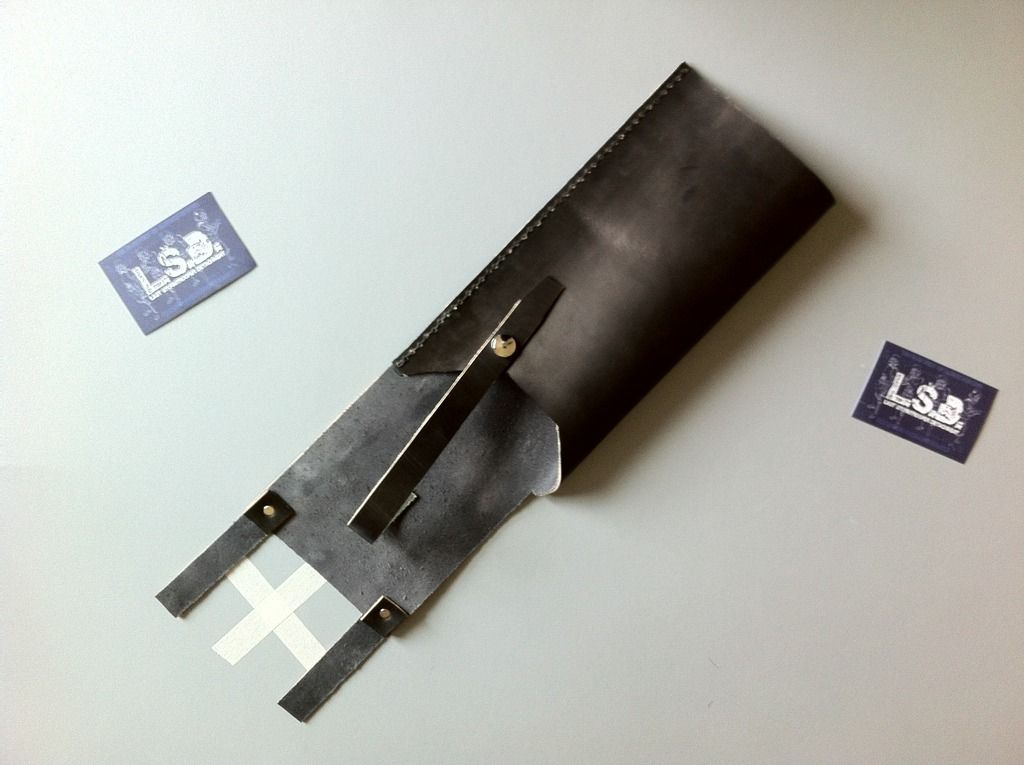
We all know of the placement, 2 rivets for stunt, 4 for hero, blah blah blah
Original photo for reference
-
Missing class has its benefits, you can watch 007 in The Man with the Golden Gun, doesn't Count Dooku look young?
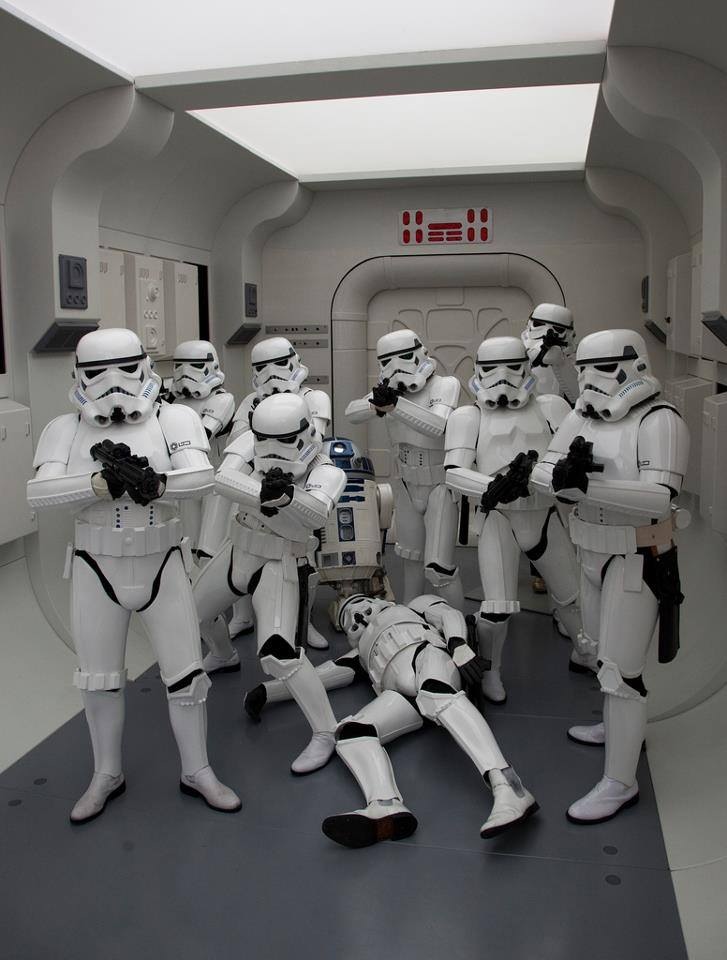
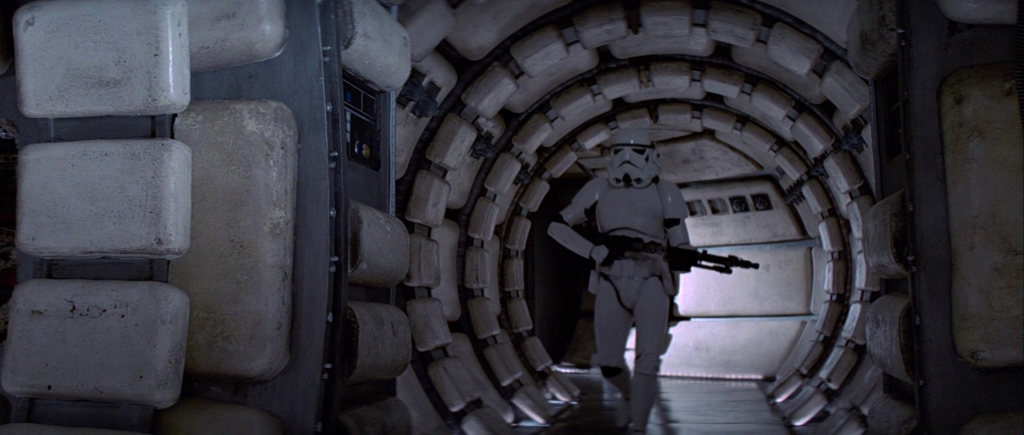
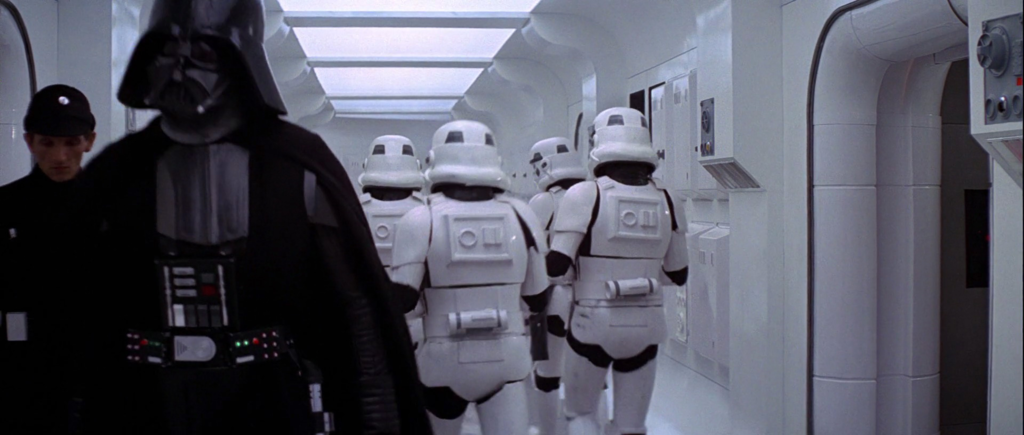
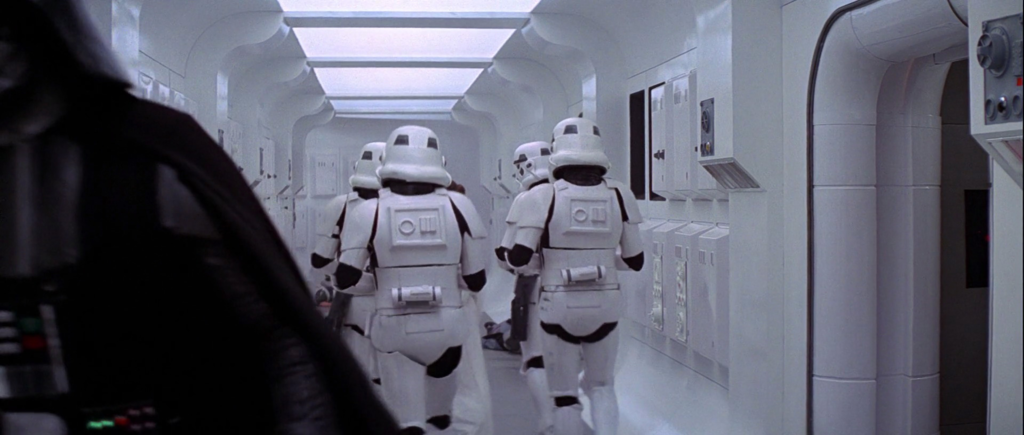
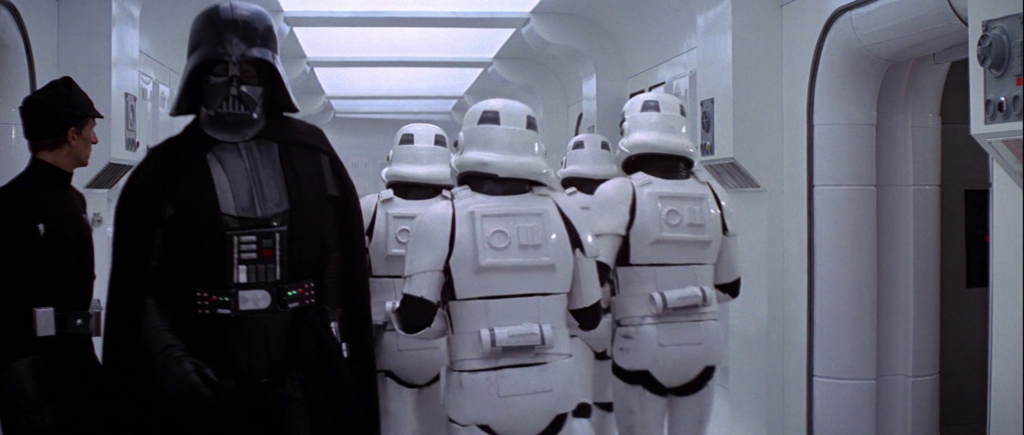
Here are a few more troopers missing their holster,
The guy on the left
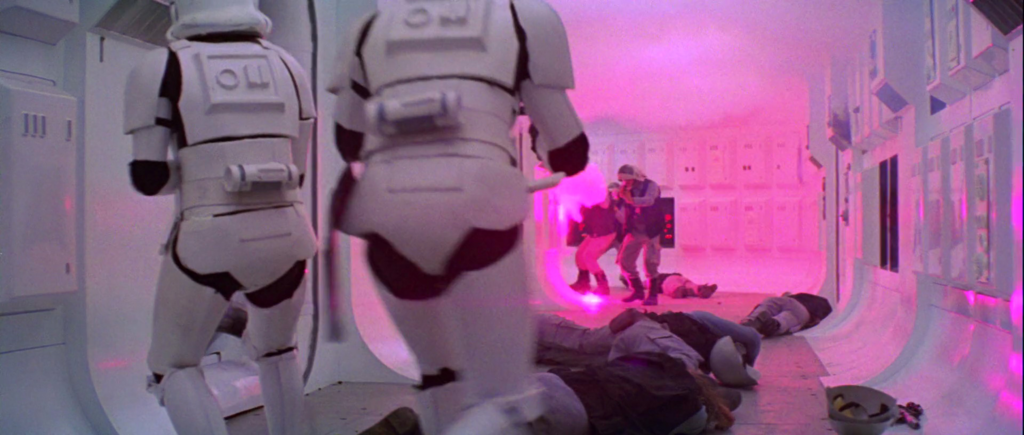
Scanning crew
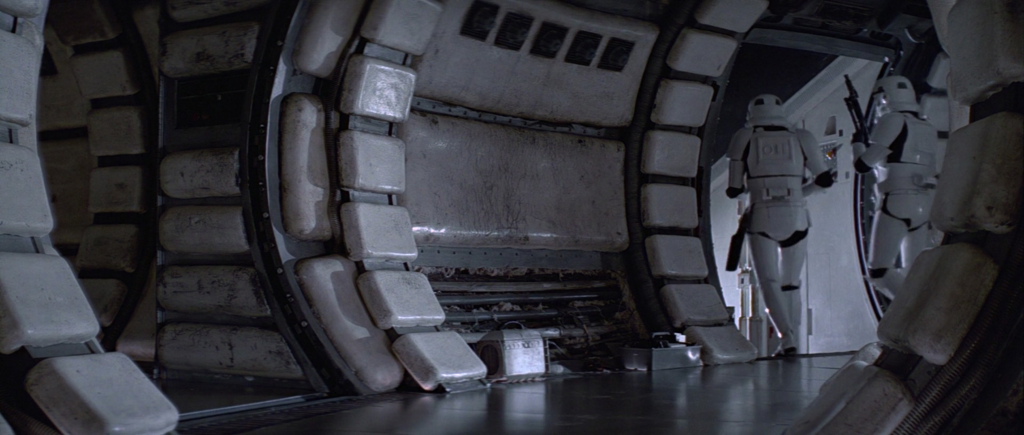
Guy on the left at the back?
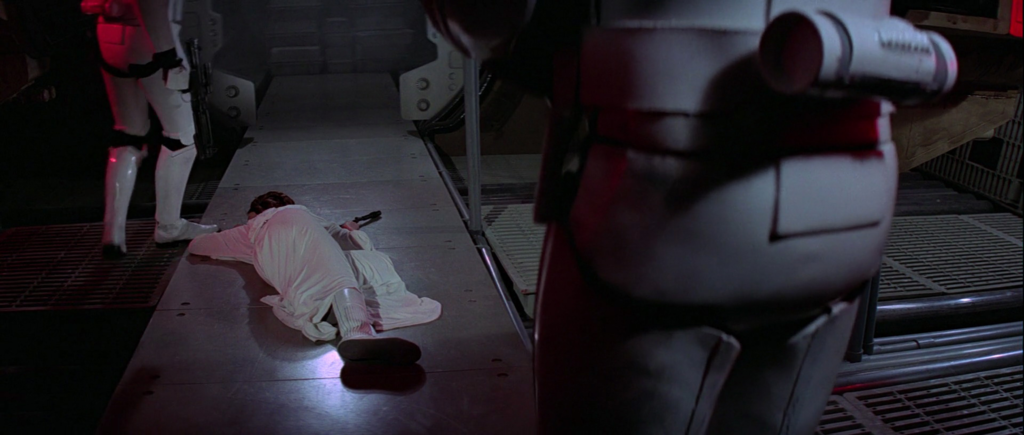
Dude who shot Leah?
Plus the guys in the detention block posted earlier. This should so be an accessory just like the thermal detonator, grappling hook, comlink and tube stripes.
-
Ok I made the school boy error of having a rest before class and while I was inspecting the inside of my eyelids I accidentally dozed off and had a little snoozem, so I didn't make it to class. I was also going to visit a jazz club after and that didn't happen either. Nice.
What did happen was my dewalt came out and so did the hammer. Belt is now assembled pending rivet covers drop boxes and holster.
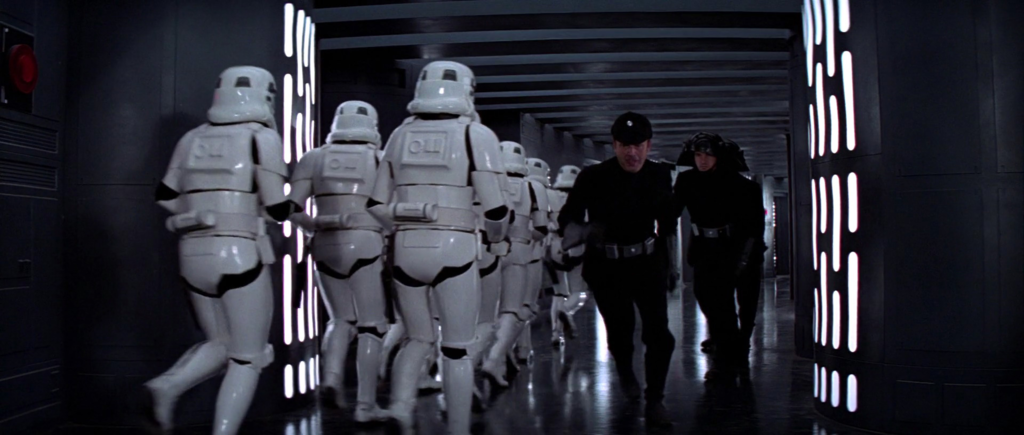
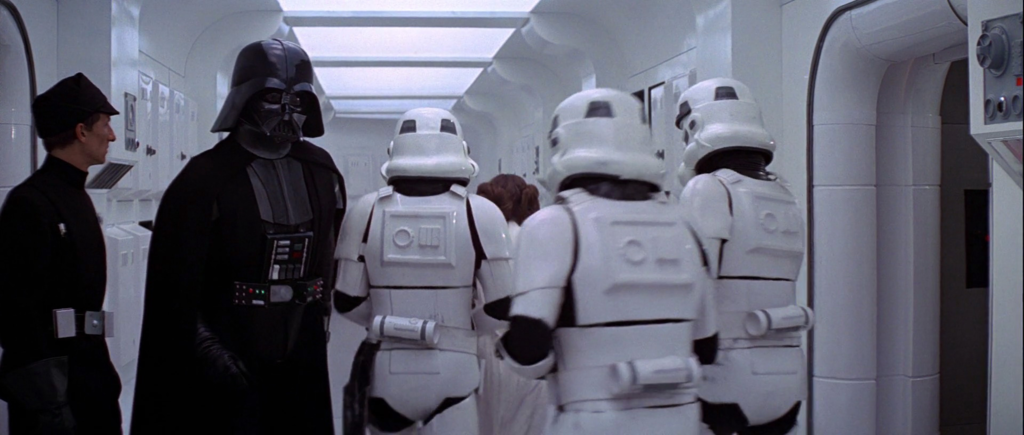
While we are on the subject of holsters and i have a lovingly made one by that great guy named only by two initials T and M, and i think they should be an optional accessory as there are plenty of scene's where stormtroopers don't have one. The scanning TK with the big weapon aboard the Millennium Falcon and these guys here escorting the Princess are missing something. I would do this trooper for ANH and then could use the same belt for my ESB stormtrooper. Let the discussion begin!
-
Chambara movies are like my favorite movies at the moment! Are your really a tameshigiri champion? Must be awesome! You definitely should defend and keep that title.
Absolutely I have a couple of trophies around here somewhere to prove it. I will hopefully be going to the USA next year to take part in a tournament with Genbu-Kai International. And maybe even a European competition next year too. I hope Fumio Demura Sensei is well enough for then, as the upcoming seminar and grading under him for this year in the UK has been cancelled due to ill health. It is kind of cool to say you have been given instruction and also graded by such a great man who was the real Mr Miyagi and the teacher of karate to Steven Seagal...
In the mean time I will continue with my practice until the annual championships later in the year..
-
2
-
-
Ok so if its not photobucket ballsing up when I type out a reply and then wait ages to insert links from that rubbish site, I accidently hit the x on the tab and close what I spent ages tying. Getting pretty worked up so not much will be done today, or not much will be posted I should say.
Keep checking you ref pictures for reference on where to cut trim and whatever..
The corners are cut at 45 deg to match the fabric belt. I cut mine 12mm in from the edges and this is the result. I have given up trying to edit, rotate or anything else with my pictures, nobody cares anyway, least of all me.
As always I trim with scissors, unless it is a straight line such as the corner cut, then its mark, score, snap and repeat. Mark, score, snap and repeat. Mark are you listening, score, snap and repeat.
-
1
-
-
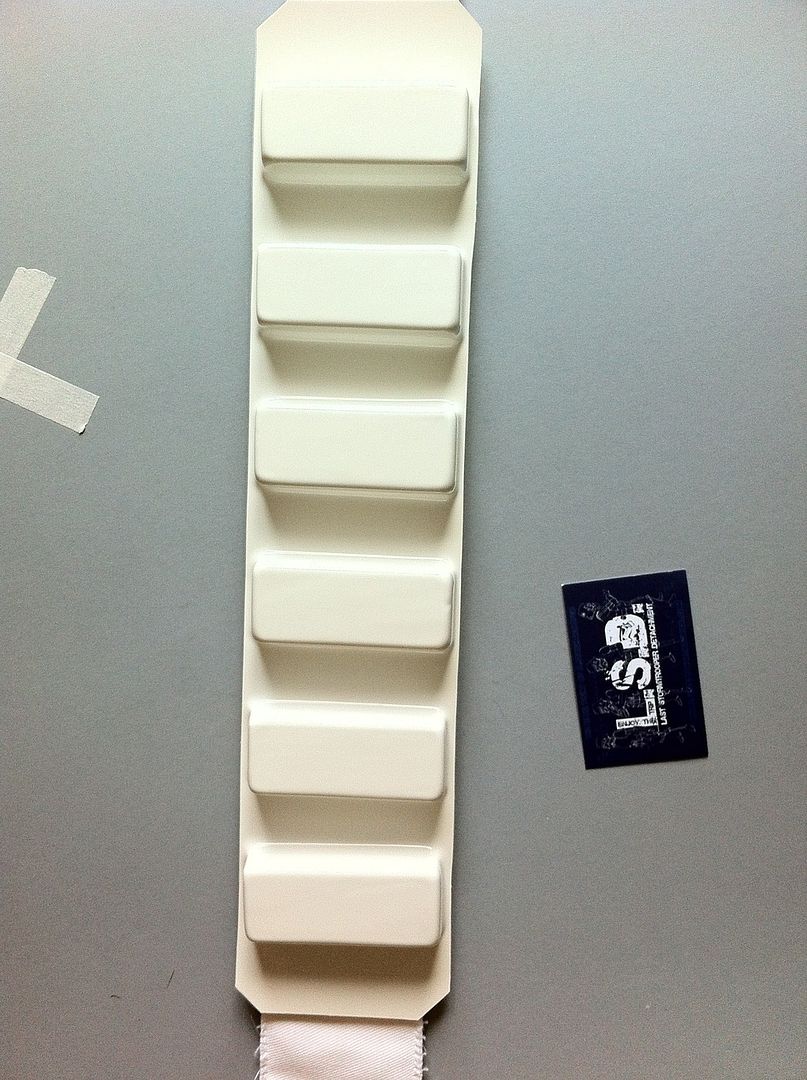
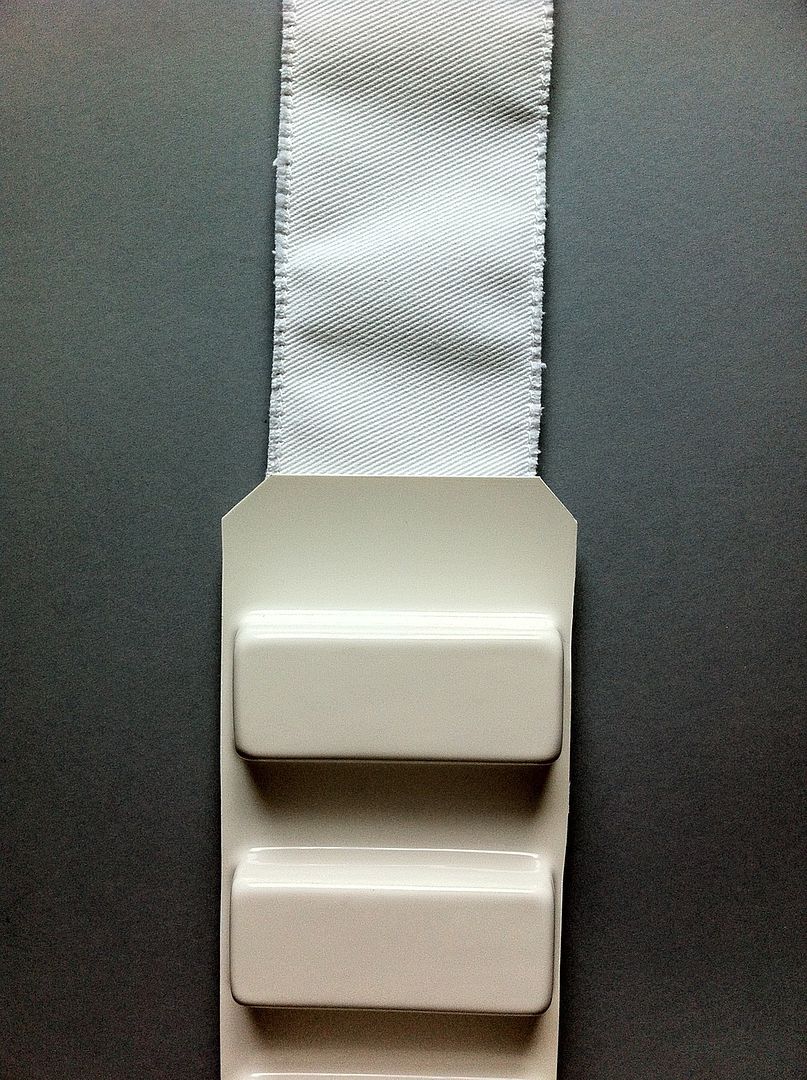
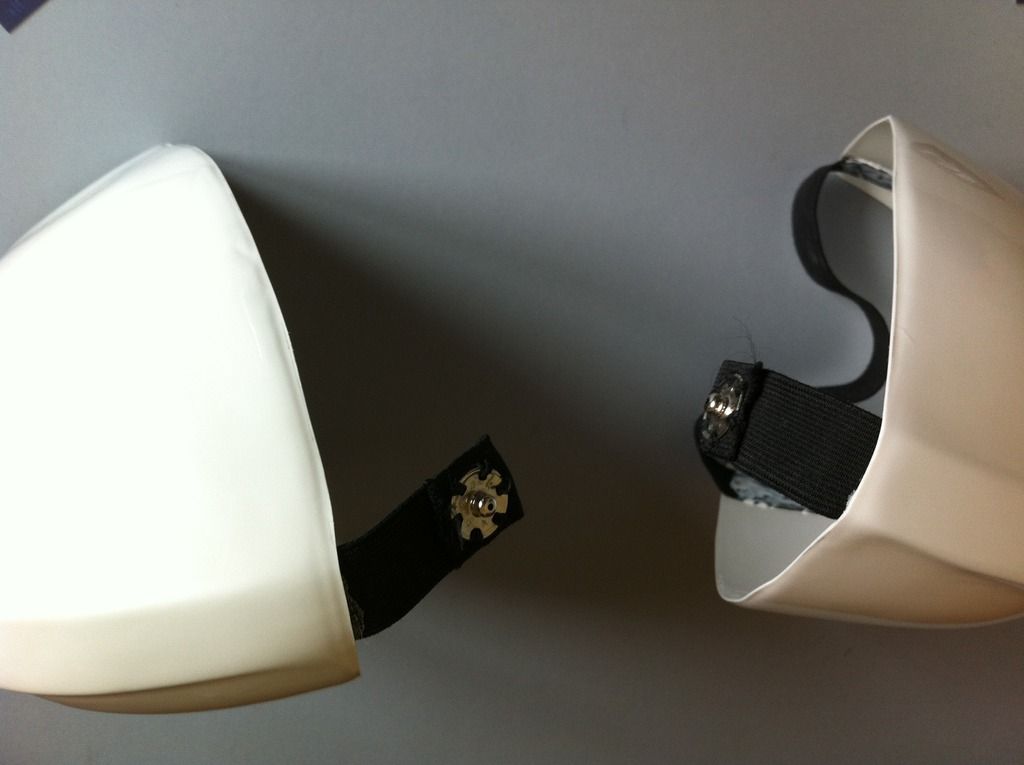
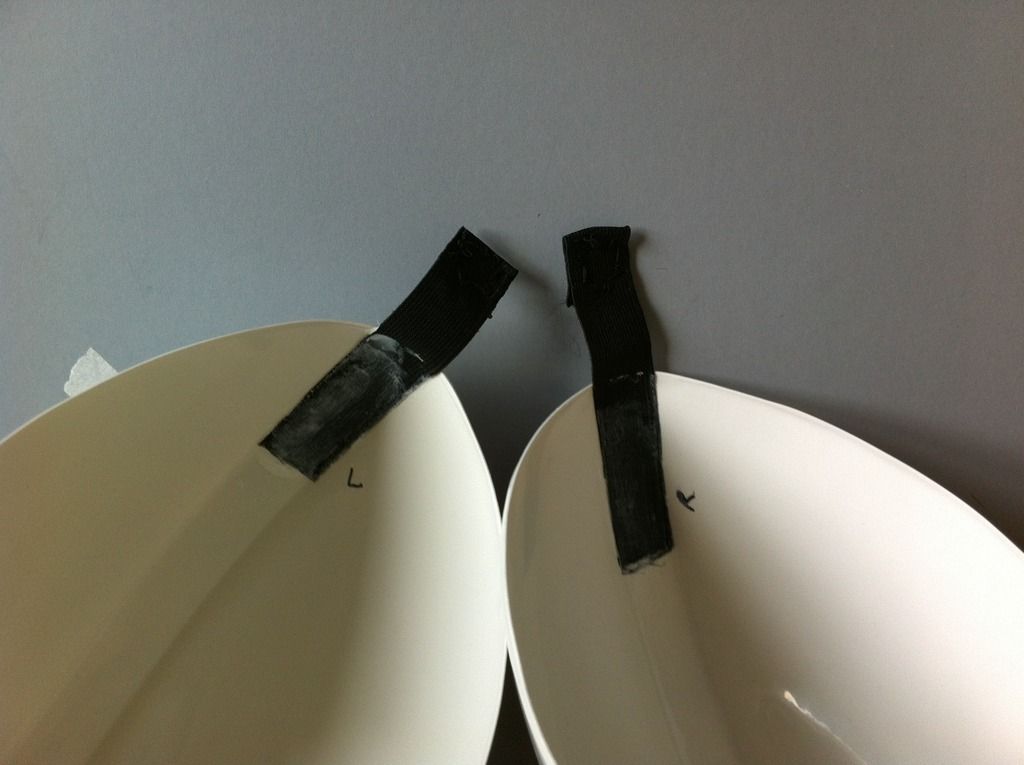
Im not best known for my photography skills but here is a TM 2mm acrylic capped ABS shoulder bell from around 2009-2012 and the new TM 1.5mm gloss ABS bells from 2015, hardly any colour difference..


-
Day Thirteen
This day of my build thread will herby be known as Day Thirteen. Unlucky for some, hey? Now I have just been chipping away at this build a little each day when I have time. I'm not in any rush as long as it is ready for the release of the new Star Wars movie. I have already been out for a haircut and I have a few hours before my ninja class this evening. So while I watch Rachel Riley stack numbers and letters in random patterns and try to work out todays conundrum, lets get to work.
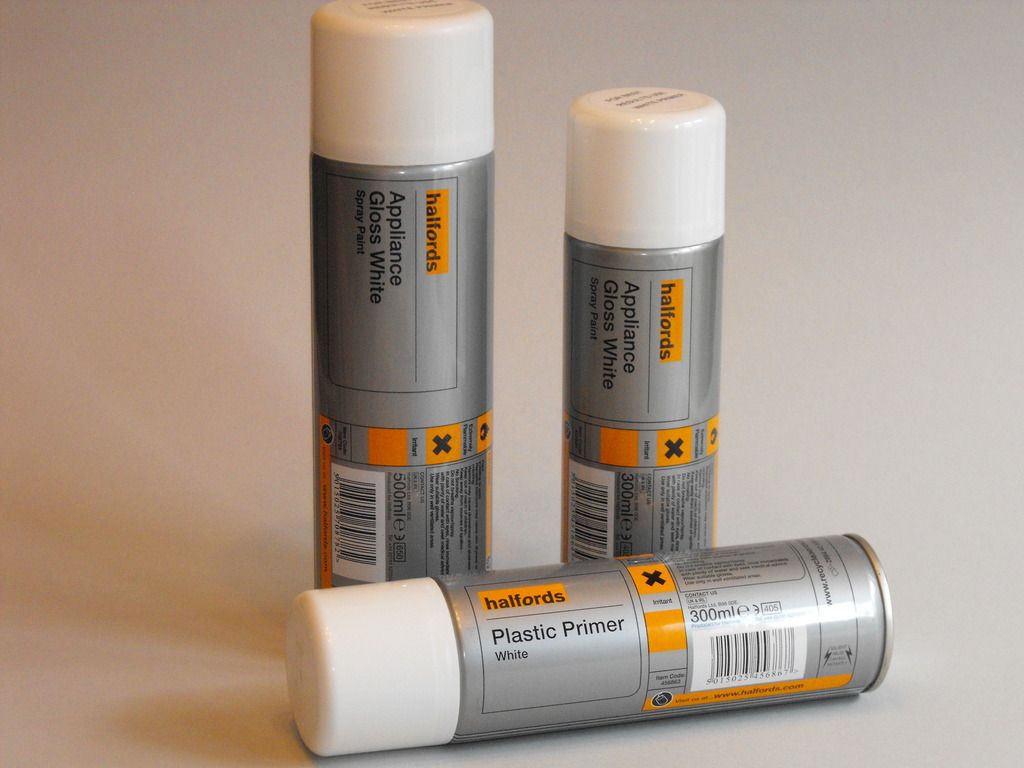
I removed all the screws from the torso and painted them white using a rattle can. I have also sprayed the 6 left side bifurcated rivets. This will be the one and only time they are painted, so if they chip from now on tough.
I am also working on my belt as promised. So far I have trimmed along the top and bottom and am just about to cut off the corners.
Photobucket is a usual a total load of rubbish, pictures to follow when it starts behaving itself.
-
So how has everybody's week been? I have not done a thing to my armour this week, and to be perfectly honest I'm feeling rather annoyed about it. I have been at work all week and did not really get over my night shifts last week, 15 hours sleep from Monday to Friday is not enough, despite what anyone tells you. Today was my first rest day and I spent it at the coast, at my ninja Sensei's house doing some temeshigiri. Check it out on youtube if you are not familiar with it, great fun. I was the 2014 temeshigiri champion with the Fugiyama School of Batto-Do and its a title I wish to keep this year.
Ok so I am going to getting my belt put together over the next few days and in the mean time thought I would leave you these fine pictures to look at while you are waiting.
-
1
-
-
Worrying too much about numbers. Just build it to look correct with what you have. I didn't measure anything on my thermal detonator and it came out at 7.3/4 inches. People worry too much about measuring this and that, just build it.
-
3
-
-
Ok I will get some pictures up and re reading my post I have 2mm ac abs and 1.5 g abs armour..
-
I have a set of m acrylic caped shoulder bells from 2010 maybe and the new 1.5 gloss armour from 2015 both TM and the colour match or difference is minute I will post comparison pictures if it will help.
I think you can mix and match armour and helmets from any maker and it will not really be noticeable.
-
1
-
FBJ's ANH Hero Build [TM]
in Build Threads Requireing Maintenance
Posted
Just speak to anyone I have ever trooped with. They have seen me use my chest as a skate board on a concrete floor to get some fine weathering. 1 of the drill holes at the rear has already popped as I was not very careful doing this up last week..