
Mr V
-
Posts
77 -
Joined
-
Last visited
Content Type
Profiles
Forums
Gallery
Articles
Media Demo
Posts posted by Mr V
-
-
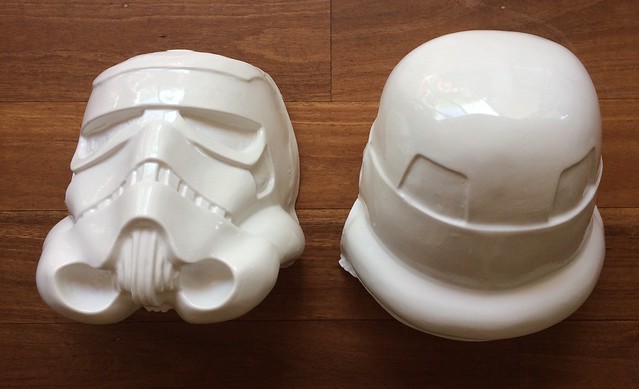
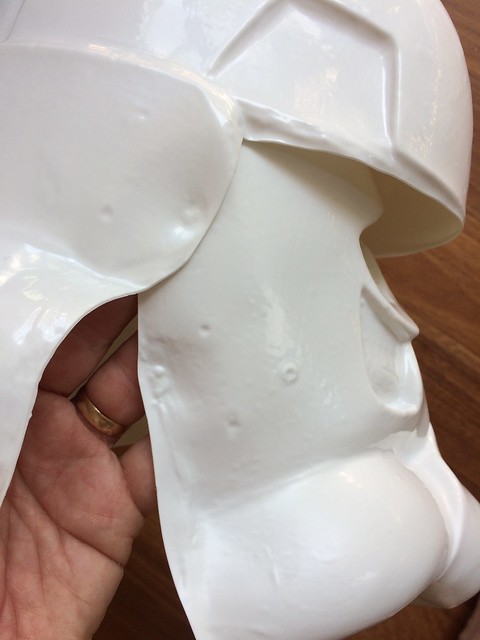
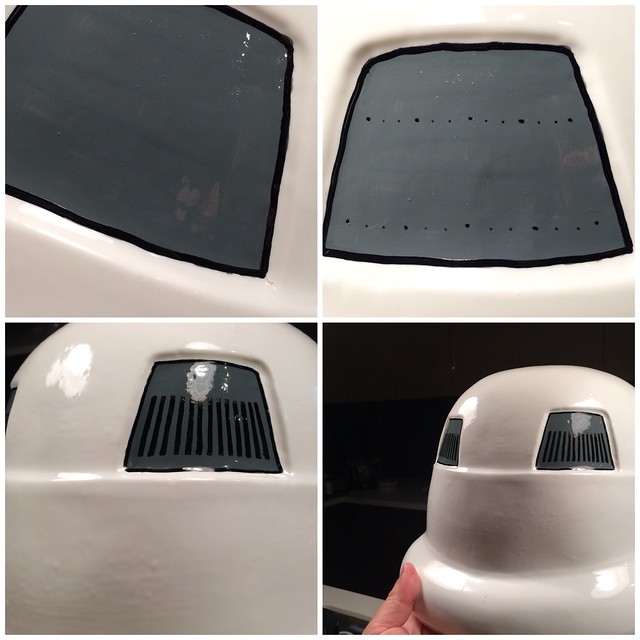
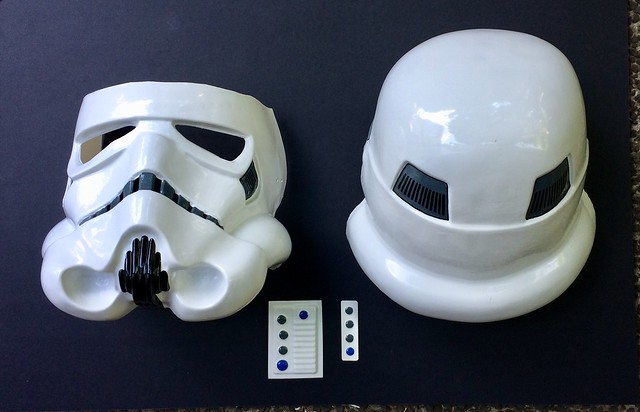
Lid completed. I will upgrade the RS lens material at some stage because i just dont think it will last for trooping. Interesting that this helmet is totally different in shape to my WTF one. I will post some comparison shots soon. I ended up leaving the large dent in the base for two reasons. 1) it is not that noticeable when wearing the helmet and 2) i can ID it to a helmet in a particular scene in ANH. Completion shots this weekend.
-
 1
1
-
-
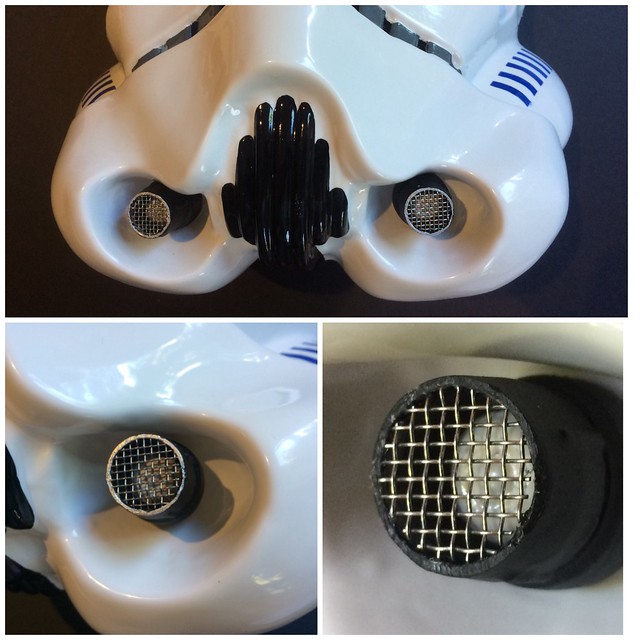
Sith Lord picked up on my black insides but a picture speaks a thousand words, exhibit A.On 11/28/2017 at 10:21 AM, Gwithian said:Nice progress trooper. The painting on your lid is amazing and you did a much better job than me on the hovi tips.
The edges should be painted white not silver and the inside should also be white
These are mine for reference, forgive the mesh ....
Keep up the good work
Sent from my iPhone using TapatalkI know its a hero but.....
-
Awesome build dude.
-
1
-
-
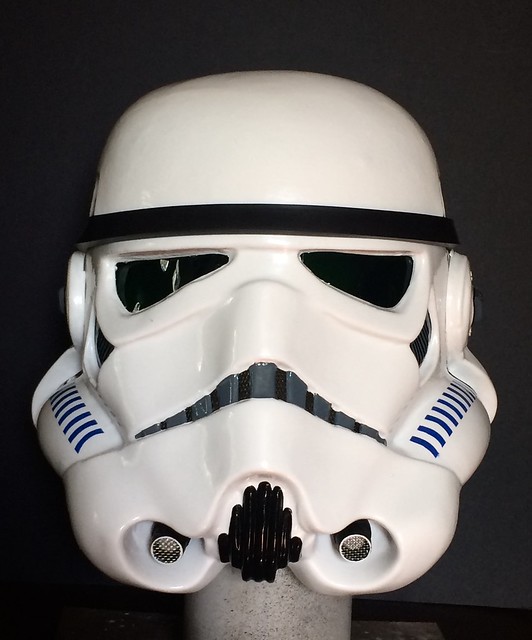
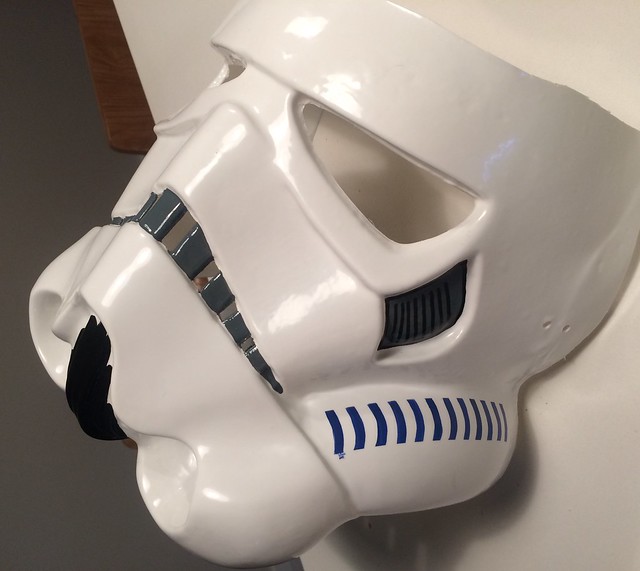
Mic tips completed. i did the edge silver but looking at the screen shots they are possibly white?
-
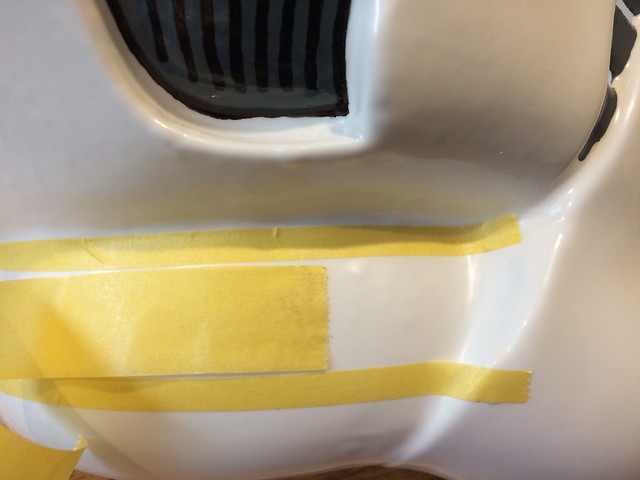
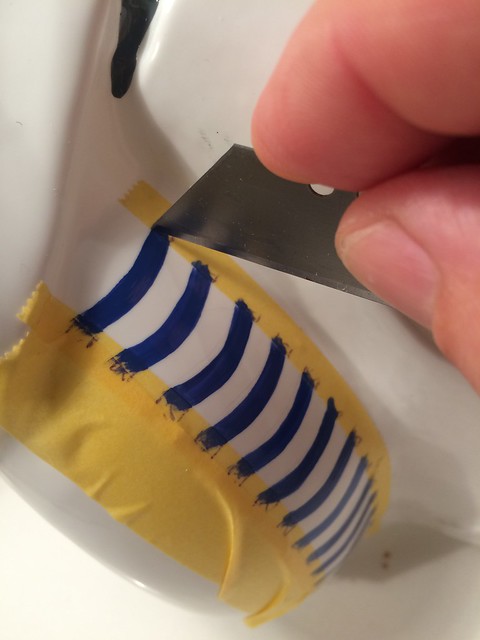
This is for the hand painted look. if you seek perfect lines you best get some decals.Items required:Humbrol Paint.Tamiya mask tape.2b pencil (sharpened to a pin) to mark the ABS.Pen to mark the tape.Steady hands.Mask some parallel lines. Press the tape down firm so bleeding does not occur. (This is when the paint seeps under the tape).Draw the lines in with a 2b lead pencil.
 First coat completed but will even out some of the lines with the second coat.
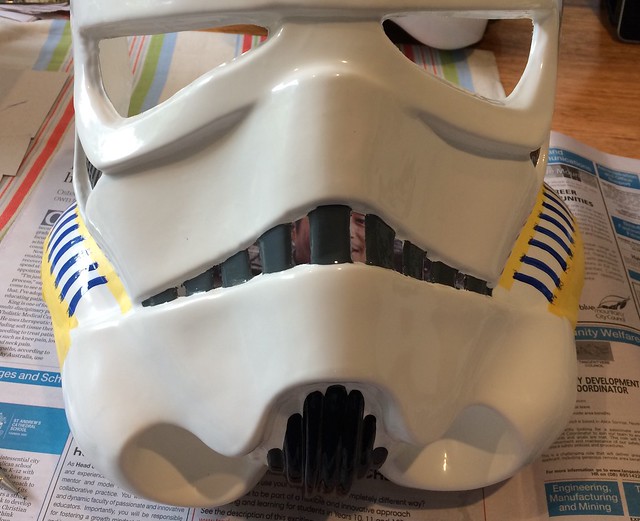 Time to remove the masking tape (Tamiya). I started by lightly cutting the paint line with a blade but soon realized i did not need it.
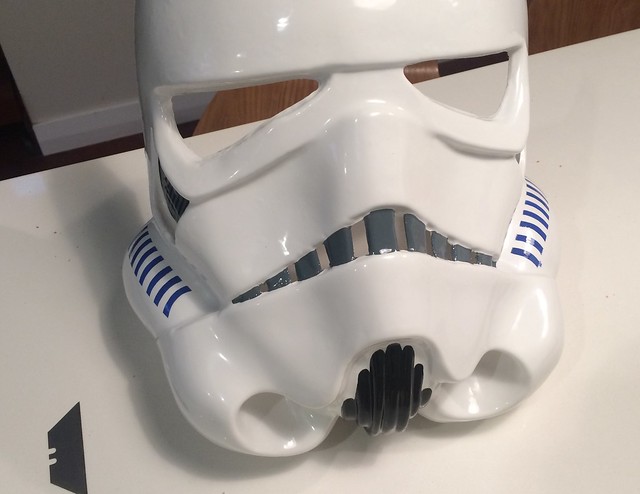
-
2
-
-
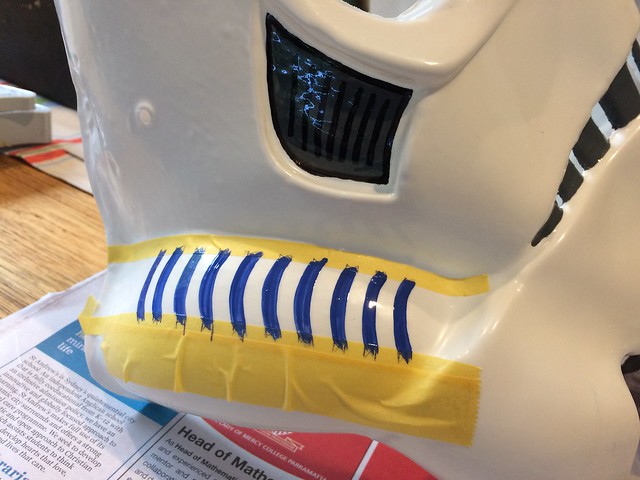
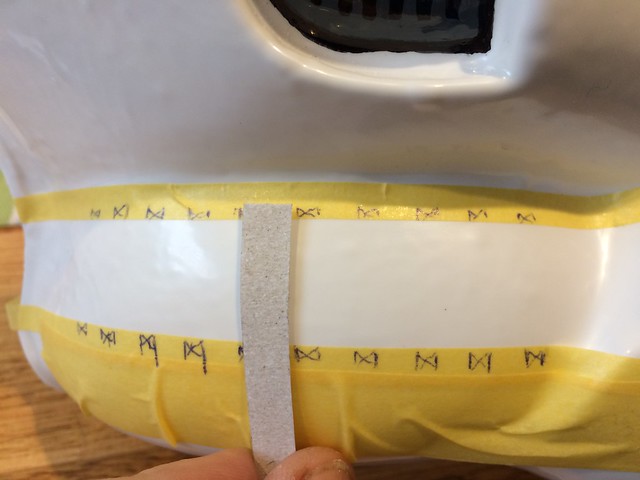
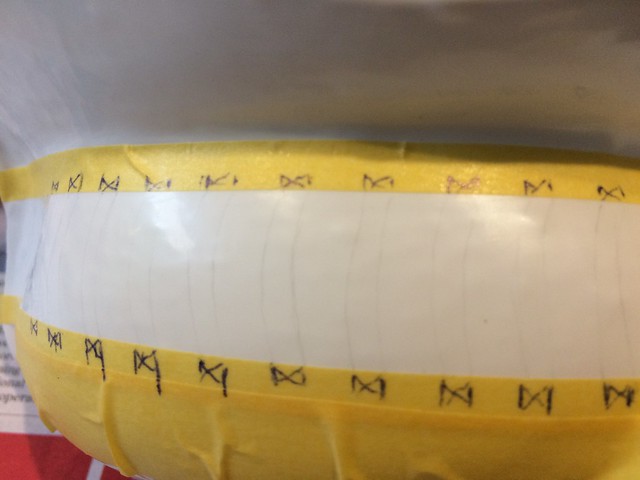
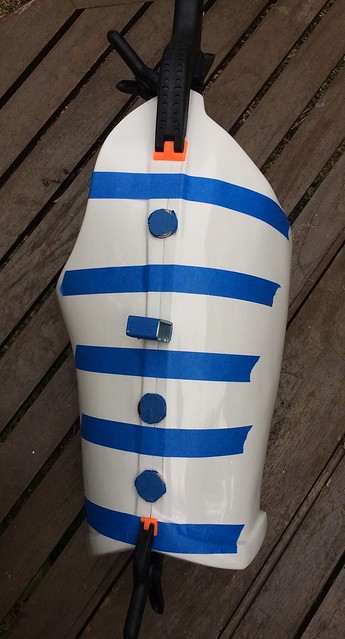
Just fitting in tube stripes before we go away for our anniversary (I know right, priorities).Mask some parallel lines.Draw the lines in with a 2b lead pencil.
First coat completed but will even out some of the lines with the second coat.
Time to remove the masking tape (Tamiya). I started by lightly cutting the paint line with a blade but soon realized i did not need it.
-
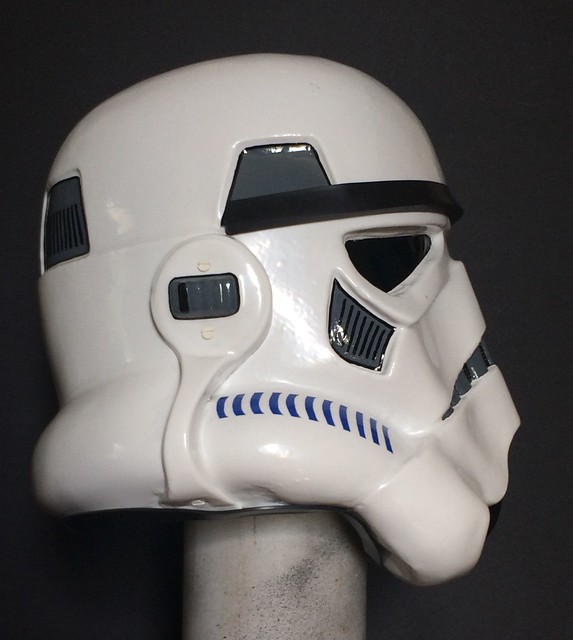
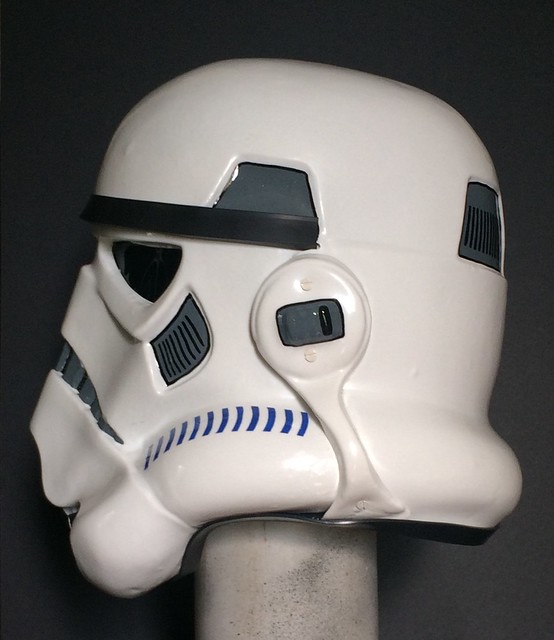
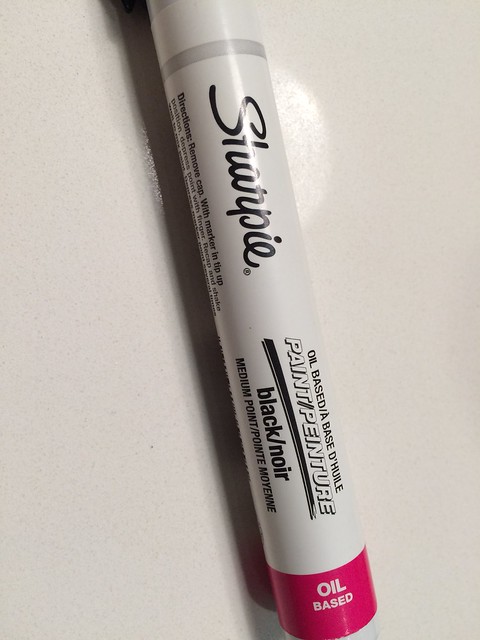
Working my way through the painting at night. I decided to hand paint the helmet details. My secret weapon...the Sharpie (oil based paint pen).
-
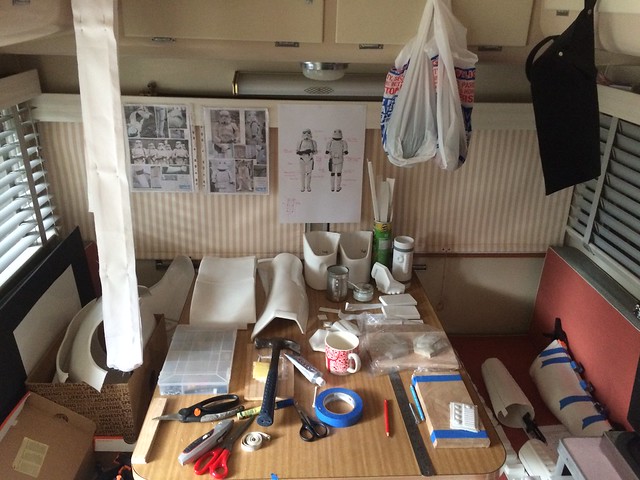
Caravan of courage. My work space, until the next camping trip anyway.
-
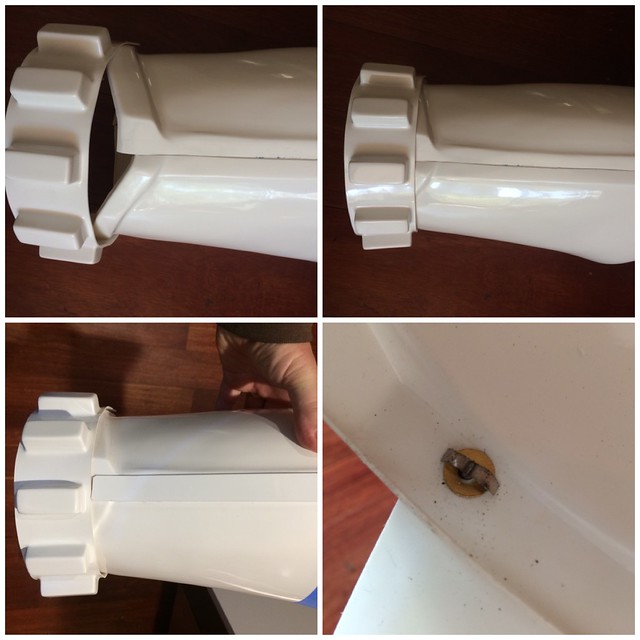
Started cutting the helmet today. Pretty straight forward as you can see the edge lines from the original helmet coming through the mold. Even the screw hole can be clearly seen.
 You can just make out the interior edge of the eye area here.
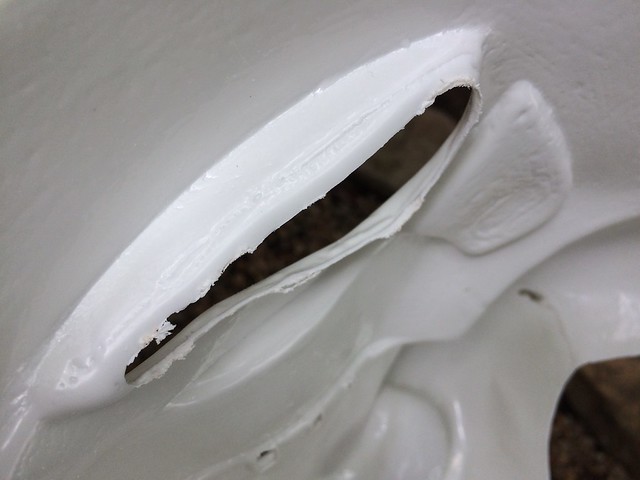
I have cut the grove so the brow trim sits right to the end of the trapzoid. Ready to paint now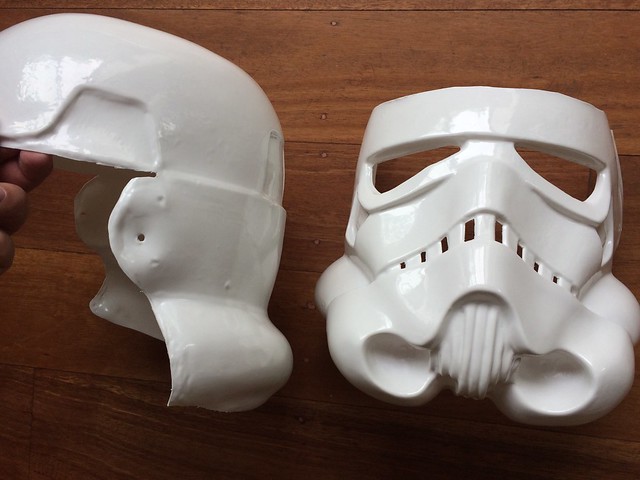
-
Trying to get some sort of alignment at the front..impossible. Lucky the knee ammo pack will hide the join. With long legs i have tried to maximize the white to show less back at the knee.
I Have decide my belt is way too white so have resorted to the oldest forgers trick in the book....
-
1
-
-
Diversion from the build-Troop from the weekend.
-
Great work!
-
Ahhhh...the asymmetrical world that is Star Wars. Got some trimming to do here.
-
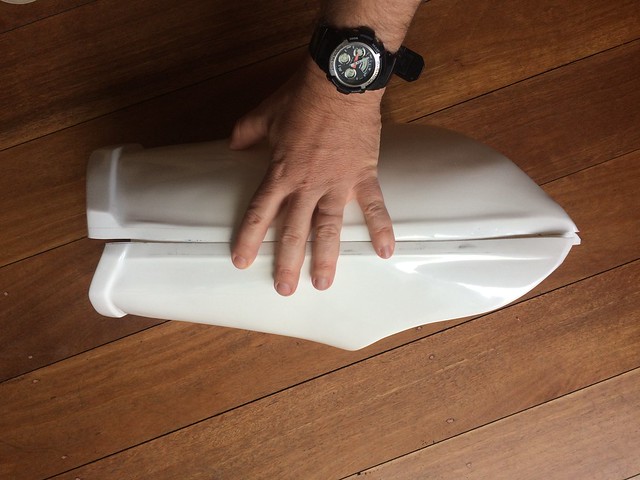
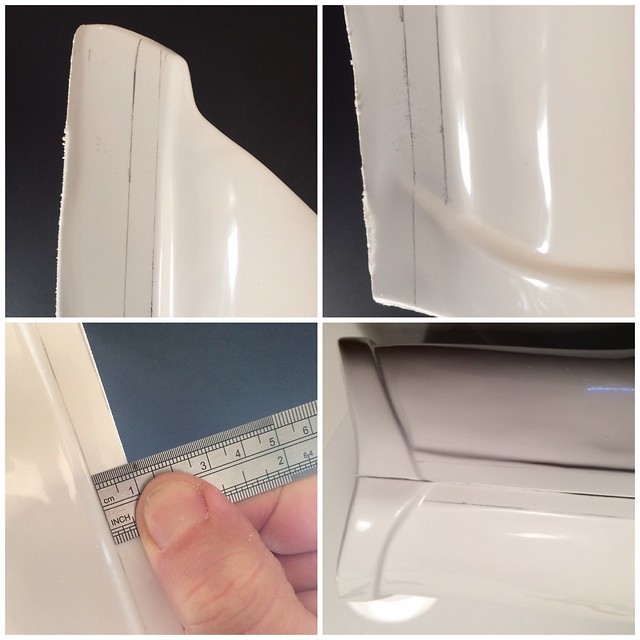
Time to tackle the thighs. Plenty of excess to trim. Using my long ruler i started with a base line on the edge of the raised area. Then measured 10mm from this to give the cut line. (20mm cover strip for the thigh fronts).
On a side note: Ordered my extra magnets from China 1 month ago-still not arrived! and i have almost finished. erhh!!
-
7 hours ago, Addertime said:
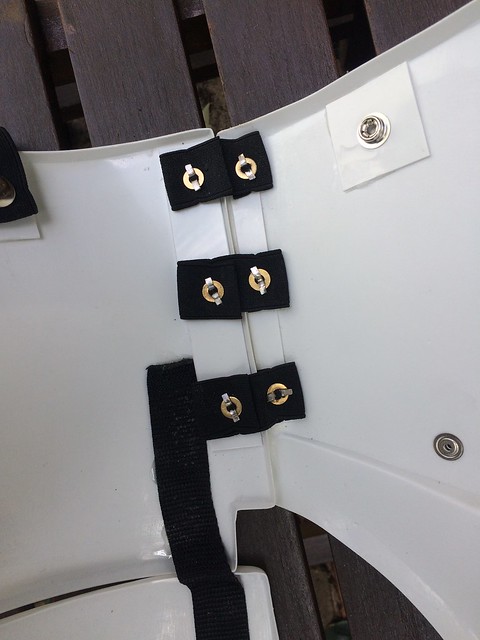
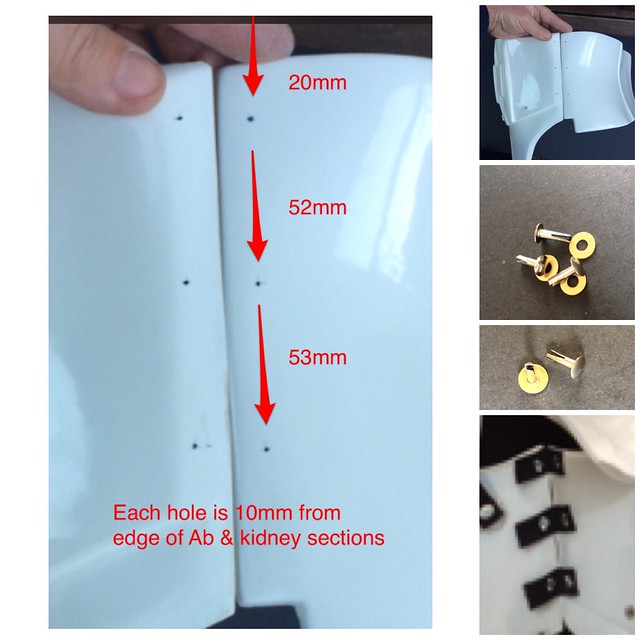
A lot of people build their belt flat like this but there's a better way in my opinion. The belt is best built curved. Set the center rivet and put the belt on your body over the ab and kidney plates. Then mark the location of the outer holes. Remember covering your schoolbooks? If you covered them while flat, they wouldn't close. Building the belt flat is the number one reason people blow out rivets or crack the plastic on the belt packs.
Good idea. I might even try to add a washer to increase the surface area against the ABS.
-
-
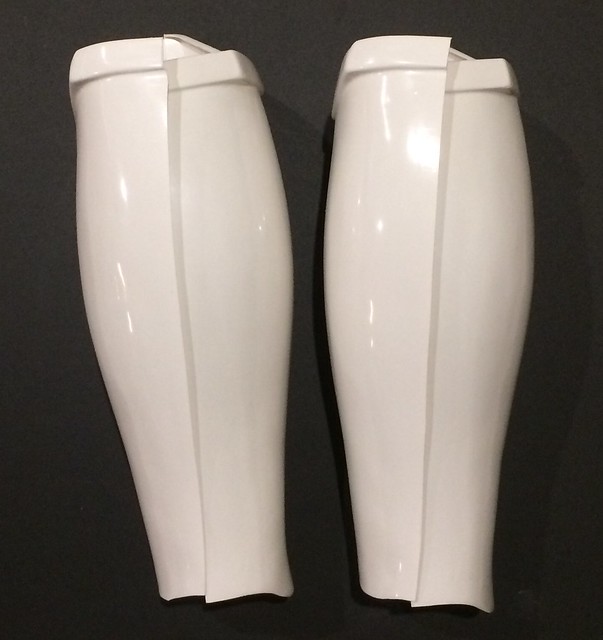
Interesting to see the original bra hook holes at the rear of the calves. All i can say is the TK extras had small calves. I wont be using the same holes.
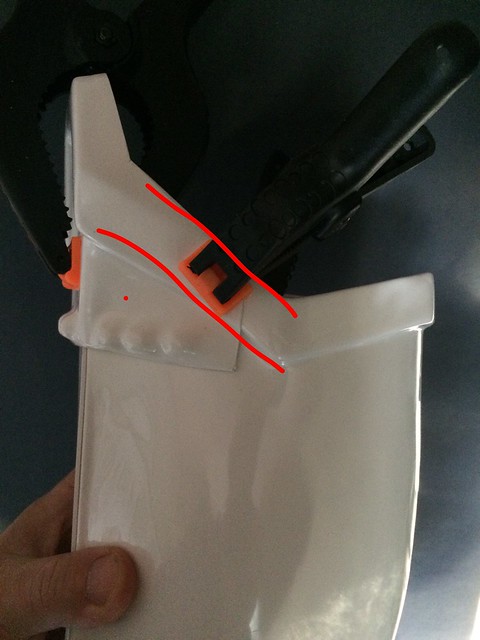
next up was to glue the sniper plate aligning the edge (red line)
-
1
-
-
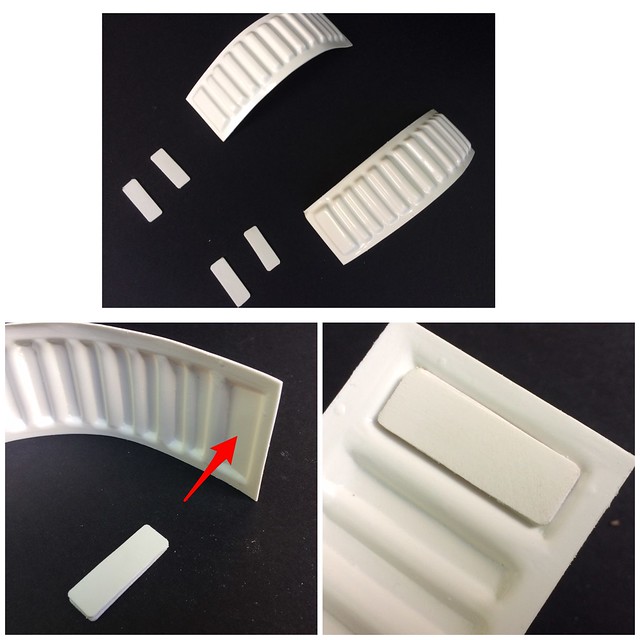
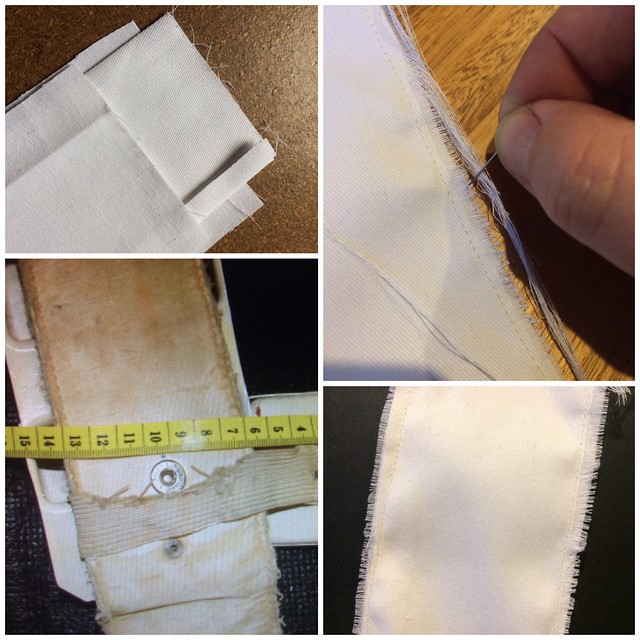
Well, for a test run i am going to do it this way.
1) Fold four layers. This will provide a stable edge that will not fray.
2) sandwich between two separate pieces (Top left image).
3) Sew together.
4) Fray the edge and trim.
-
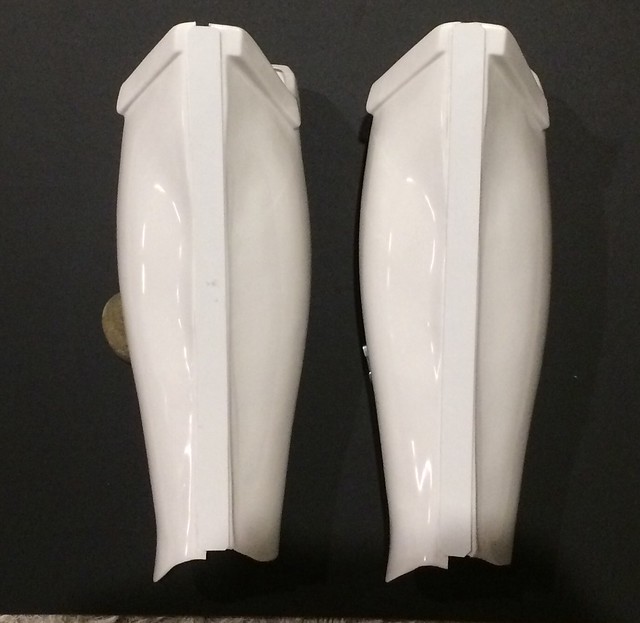
Started the shins. Not even a close match but i can see why. RS has used the same mold for the left and right sections for each calf (I think). The bra hook holes can clearly be seen at the rear. The top fronts were glued to match. everything else can be trimmed to fit the boots. If its like my FX kit hopefully once the bra hooks are attached they will pull together and line up at the top.
I will certainly need to do some trimming at the bottoms once i fit them with boots on.
-
Fair points but unfortunately a trooper lost a couple of hundred dollars recently from what we thought was a secure room. In my books, prevention is better than cure.
-
On 8/26/2017 at 5:40 AM, themaninthesuitcase said:
So long as it's not visible from the outside you are free to add stuff like that on the inside. One of the cooler things I've seen are storage bags in the back plate.
Any links to the back plate storage idea please? I cannot find any...
-
Hi Chad,
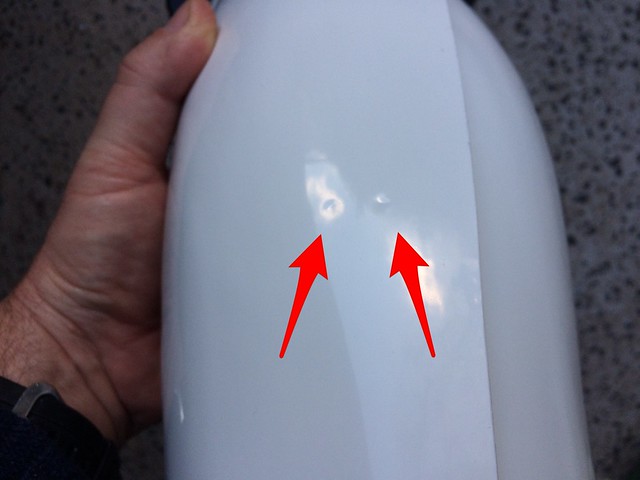
This kit is so wonky but i love it as i know it is based on an original from the film.
I will post another image a bit later with the sections named. I am using this guys build (link Below). Heaps of detail and plenty of images. He has some mods as he is a small size but it is a great build thread. The Centurion applications also have plenty of good close up images of the RS kits also.
-
22 hours ago, gmrhodes13 said:
I have both smooth and rough latex hand guards so really depends what look you want to go for, I do prefer my rough looking ones, more screen accurate.
I also played with some finishes in the past, screen printing paint, brushed onto raw latex gloves, then it is heat sealed in a moderate oven, came out pretty well.
Wow, many experiments there! Divorce for me it i put anything in the oven that wasnt food!!
-
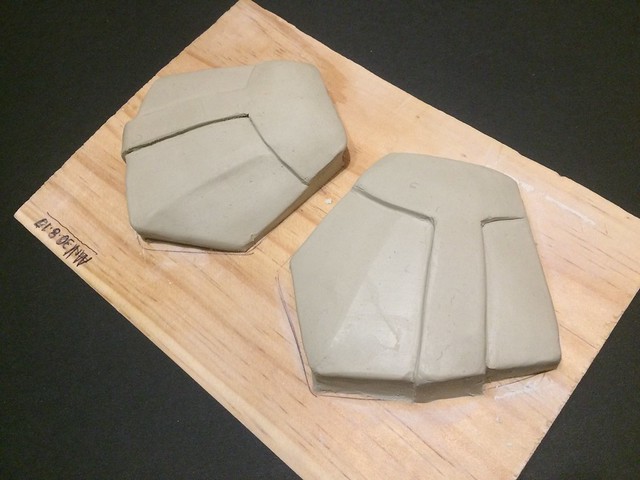
So i thought i would like to try to make my hand guards. I already have most of the materials so might as well try it.
What i would like to know is... the CRL states;
Hand guards shall be latex or latex-like, painted white, affixed to rubber gloves in lieu of plastic hand guards
So... can i do a brush stroke finish on the clay and cast in white latex? This finish will still make it look like it is painted white. Thoughts?
This is a start on the clay masters. I will fine tune them later.


RS Props build by Mr V
in ANH Build Threads
Posted
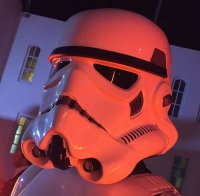
Are they good in low light? I tried some welding lenses but way too dark. Nice lid interior.