ozzytrooper
-
Posts
28 -
Joined
-
Last visited
Content Type
Profiles
Forums
Gallery
Articles
Everything posted by ozzytrooper
-

Mat's ANH stunt TM 2mm ABS
ozzytrooper replied to ozzytrooper's topic in Build Threads Requireing Maintenance
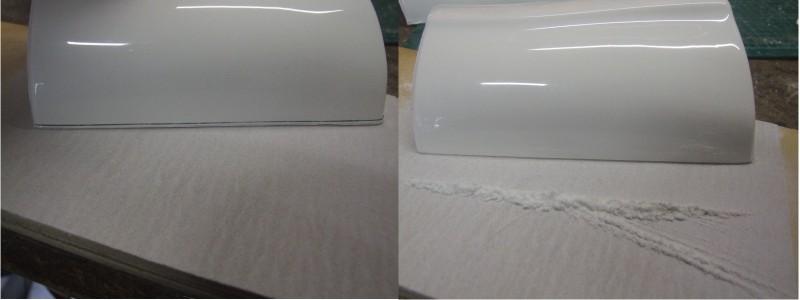
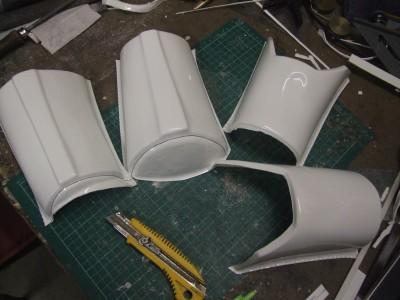
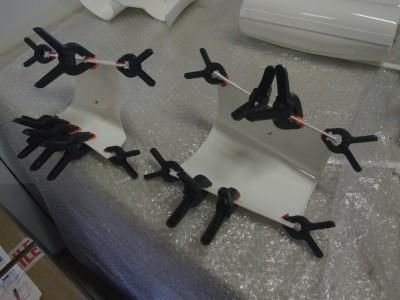
Thanks shanester, defiantly need a few clamps when using E6000. Shins next. To mark up the initial cut line on the top of the shins tried using a compass and pencil, the piece of wood held the compass point while I mark the top with an even gap. Just for the photo taped the wood to the shin, ran out of hands to hold it and the camera at the same time. Shin preliminary line marked out and a few passes with the knife. One shin ends filed to finished dimensions. Shin preliminary cuts on the long sides as per the Biceps to remove the outward facing flashing. After a test fit of the shins decided I needed a bit more room so instead of a 22mm strip cut the strip at 26mm. Clamped the strip on the shin to get a good fit to the curves using the reference photos as a guide. When it looked ok put a pencil mark along the edge as a guide. From that pencil mark measured in 13mm and cut the excess abs off. Shin stripes glued on one side. Almost my complete collection of small clamp to hold the strip to the curve. Both half of shins glued to strip, a few clamps and magnets and some tape was enough to hold it while the glue set. Once set will work on the rear of the shins. -
Mat's ANH stunt TM 2mm ABS
ozzytrooper replied to ozzytrooper's topic in Build Threads Requireing Maintenance
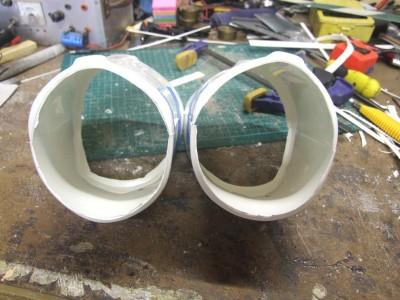
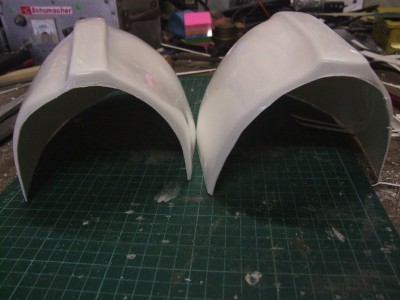
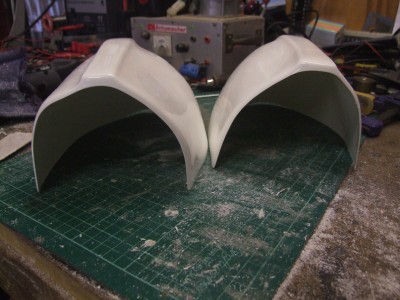
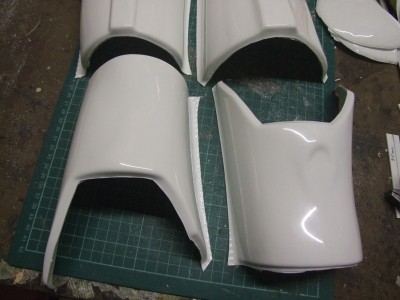
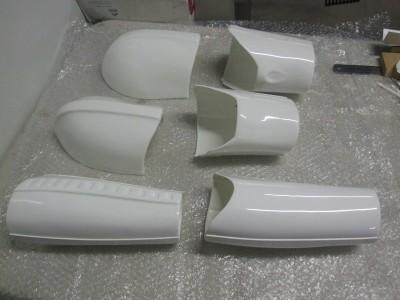
Onto the Shoulders, preliminary cuts with a knife. Shoulders done using the same process as the Biceps. Still have a bit of Return edge at the elbow end which might need to be removed later just depend on the fit with the bicep pieces. Build progress so far. Forearms, Biceps and shoulders.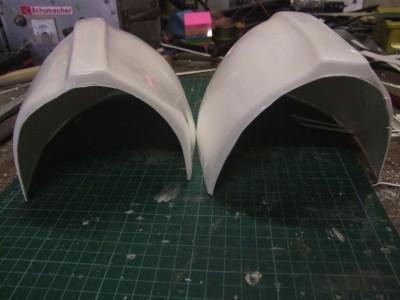

-
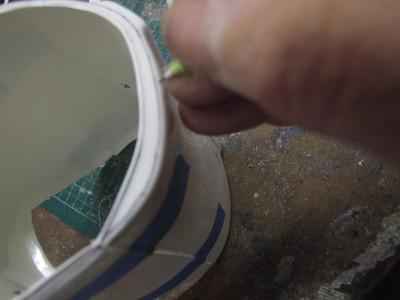
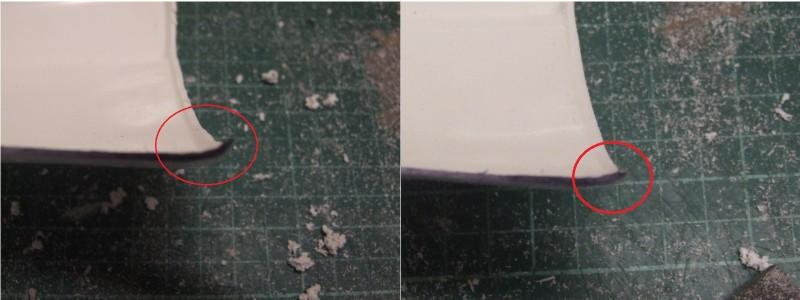
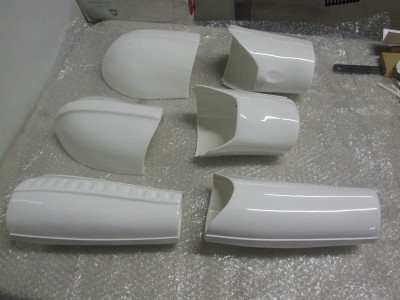
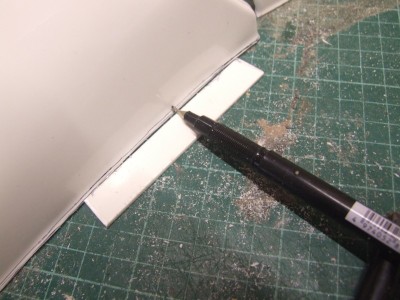
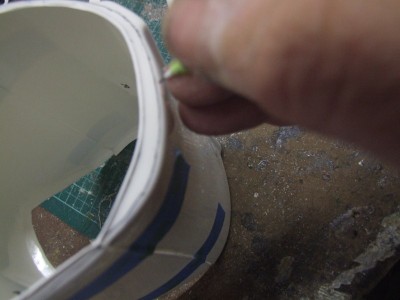
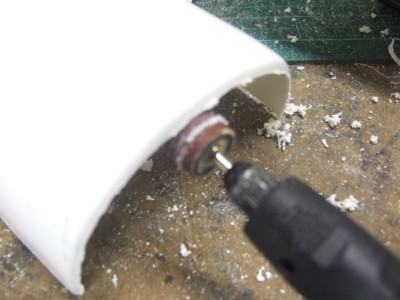
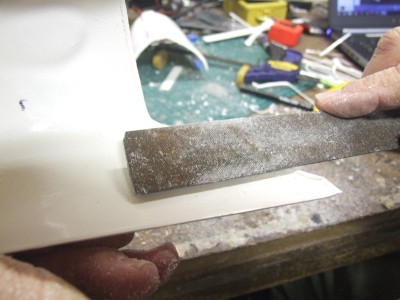
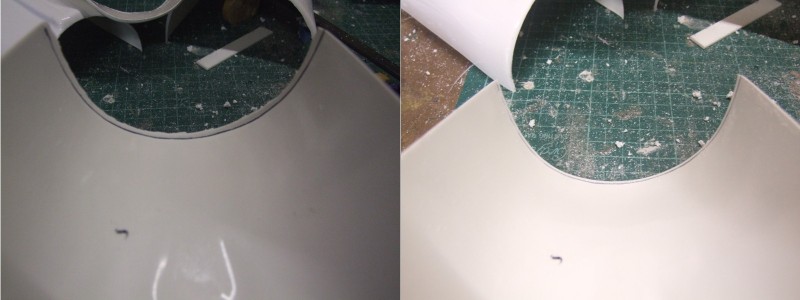
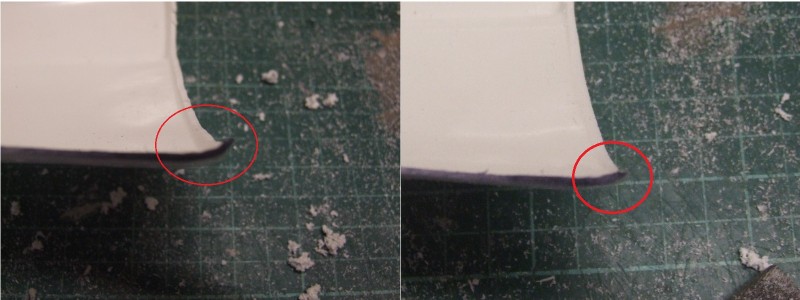
Thanks for looking at my build log of a Trooper Master ANH stunt 2mm capped ABS kit, as this is my first Storm Trooper build or Storm Trooper experience at all please feel free to comment. After reading lots of build logs and reference material I thought it was time to start the build so contacted Trooper Master and placed an order. My biggest concern starting off was the return edges but ukswrath Anovos build log help relieve some of that concern “To be perfectly clear, return edges are NOT required anywhere, but some areas can really benefit from them” The end goal is to have some armor that fits, wearable and has 501st basic approval. For the fit I am taller than the original ANH troopers at 6ft 2 so I ordered the long shins from Trooper Master and thought I would limit the amount of return edge removal during the build to get maximum length from all the pieces. Well that’s the theory only time will tell. My primary build reference is ukswrath Anovos TK build. Started building the forearms experimenting with different technique from build logs until I was comfortable with the process so haven’t documented the forearm build. On with the Bicep's Biceps marked out to be cut with the knife I’ve left myself plenty of return edge to trim off later. Use a 2B pencil to mark up the cut lines but didn’t show up for the photo so just for the photo used a black marker. Biceps with the preliminary cuts done. Now for the Bicep preliminary cuts on the long sides, I ran a pencil line in the valley of the fold and followed it up with the knife. Preliminary waste remove then test fitted the biceps, initial fitting suggested need to remove 2mm from each edge so used a piece of scrap edge strip as a guide. With the final mark up done used a piece of 180 sandpaper to get the final finish Long edge removed and two half’s taped together test fit the Bicep's Now time to mark out the return edge on the ends of the Bicep. Used a Dremel tool to remove most of the return edge. To finish of the return edge used a 2nd cut half round file filing from the inside edge to get a small return edge. Photo looking at the return edge from the inside, first after Demel then after filing. To highlight the valley for the photo I’ve marked it with a black marker. Side view of the return edge before and after filing, the aim is to retain the maximum length of each piece. Edge has been highlighted with a black marker to show up better for the photo Now to glue the cover strips in place with E6000 the strips are glued to one half at a time, when the glue sets will glue the other half.