Inkedfritos686
-
Posts
67 -
Joined
-
Last visited
Content Type
Profiles
Forums
Gallery
Articles
Everything posted by Inkedfritos686
-
So today was a little nerve racking. I went ahead and worked on the black coating for the front interior of helmet. Reading through threads I decided to use plasti dip. It gives a nice rubber like coating to the interior. So first I went ahead and taped the eyes and mouth like so From there I took half a plastic Walmart bag I had lying around on the table. This was where it got tricky because the masking tape was refusing to stick to the plastic. This is what it looked like after taping back to front. Had to tape more on the interior due to masking tape issues. You can never have enough of it I guess. From there I went ahead and spread very carefully. About 6" away like the can instructions imply. I had an issue and some of it leaked to the front top mask. I was able to get rid of it with water, paper towels, and a lot of elbow grease. This is what it looks like after the spray. I'm going to paint the sections I wasn't able to spray due to the risk of leakage. Probably will use the recommended humbrol black paint for the extra white spots inside. Words of advice if using plasti dip, the stuff starts drying quickly so if you make a mistake, make sure you fix it ASAP. It comes off pretty easy if it's still drying. Will be spraying the back helmet tonight or tomorrow morning. Hopefully will be better then my first attempt. Sent from my iPhone using Tapatalk
-
Thanks Pledford! Just read through Navajo Bro's thread and it's going to make building this armor so much easier. Sent from my iPhone using Tapatalk
-
So I'm not screwing the helmet together until both sections are fully ready. I did a test fit of the front with the back pieces and they don't really match up. I heard somewhere that this can be common in the AM helmet. Is this true? Will I need to trim the tubes on the front a little bit to get the pieces to fit together? Lastly when looking at both sections, the front and the back pieces i noticed that they aren't even. One side seems to be longer then the other. Can any of my other imperial friends or AM builders help me out with this dilemma? Thanks! Sent from my iPhone using Tapatalk
-
So today I took off the magnets and clamps on the helmet. I don't know if this looks right :/ I matched up the sides of the helmet and it looked pretty normal. The only thing that's stumping me is that the back bump of the top has a tiny cap. The gap is just between the back of the top and back of the bottom. It's not super noticeable to the naked eye in my mind but I want everything to be at its best. Is this right or does anyone have suggestions on what to do? This is what the helmet looks like from the back. Any help or reassurance that I'm on the right track is greatly appreciated. Sent from my iPhone using Tapatalk
-
I just realized that I put this build thread in the wrong section of this forum. Oh boy..hopefully not to much damage to the way this forum is run. Helps to read I guess
-
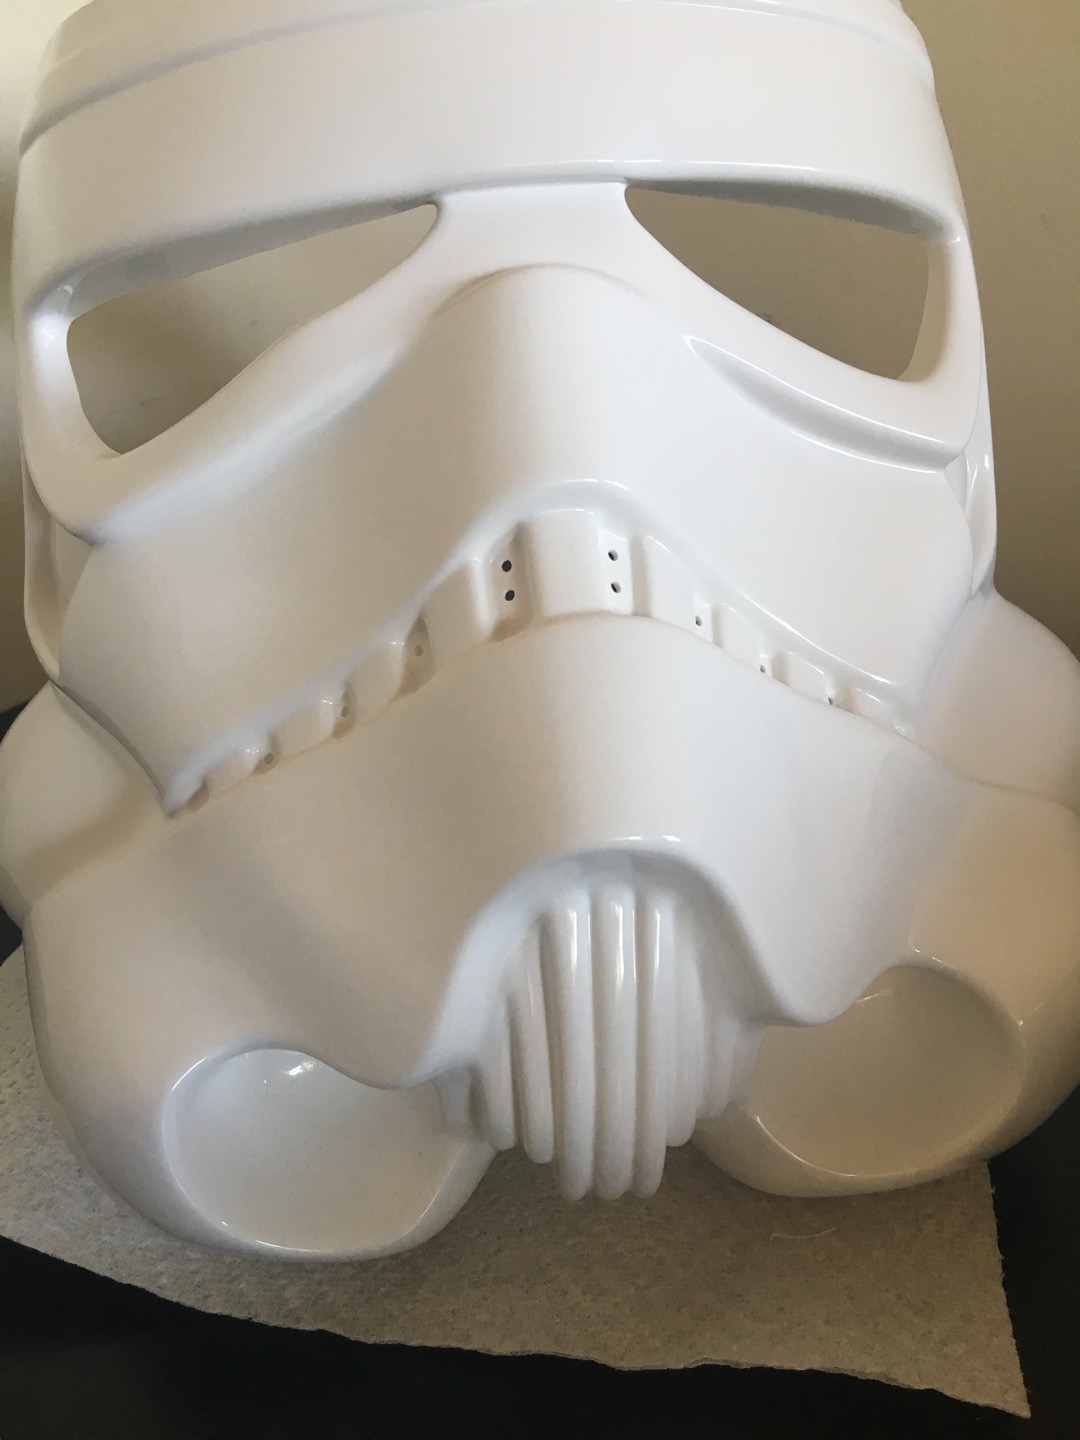
So I filed down the teeth a bit more. My goal is to achieve a more square look instead of rounded. Here is a picture of what the front looks like now. The hardest part so far has been the outer teeth since the hole is so small. I then decided to go ahead and glue the top and back of the helmet together. I used E6000, magnets, and clamps. The glue provided in the kit isn't the best from what I read so that's why I decided to just stick with E6000 from the start. I wrapped the magnets in masking tape because they were ceremic magnets and can leave a black half circle. By doing this, I was able to use the magnets I already had instead of having to order magnets from Amazon and waiting a bit for delivery. They still get a really good pull on them through the tape. I also put masking tape around the clamps so that it would be easier on the plastic. Now I'm just playing the waiting game for glue to dry. Such a painful process but worth it in the end. Im probably going to look at the rest of the armor and come up with a plan of attack for the rest. Sent from my iPhone using Tapatalk
-
Thanks for the advice! My only question would be where is the "add picture" icon?
-
Thank you. lm going to go back and try to do it with your method and see the difference in results. By the way, does anyone know how to keep posting pictures in a post. The uploader says I can only upload 9kb left.
-
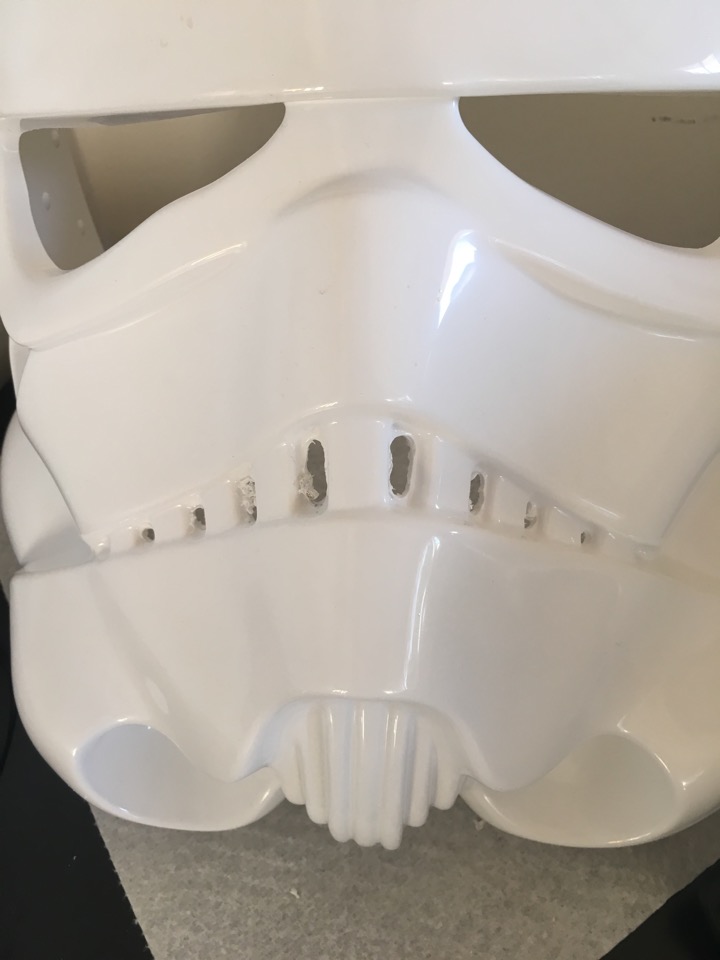
Today was a good day in my mind. Any day that has some progress is still something.<br> So today I worked on the teeth more. Using my dremel, I used a carving piece to get rid of the excess plastic.<br> <br> As you can see it doesn't look to pretty yet but it will become more awesome as more progress is made. After cutting out the teeth, I used a sanding piece for my dremel to get a smoother edge. I was sweating during this part because I didn't want it to slip and give my bucket a face lift

-
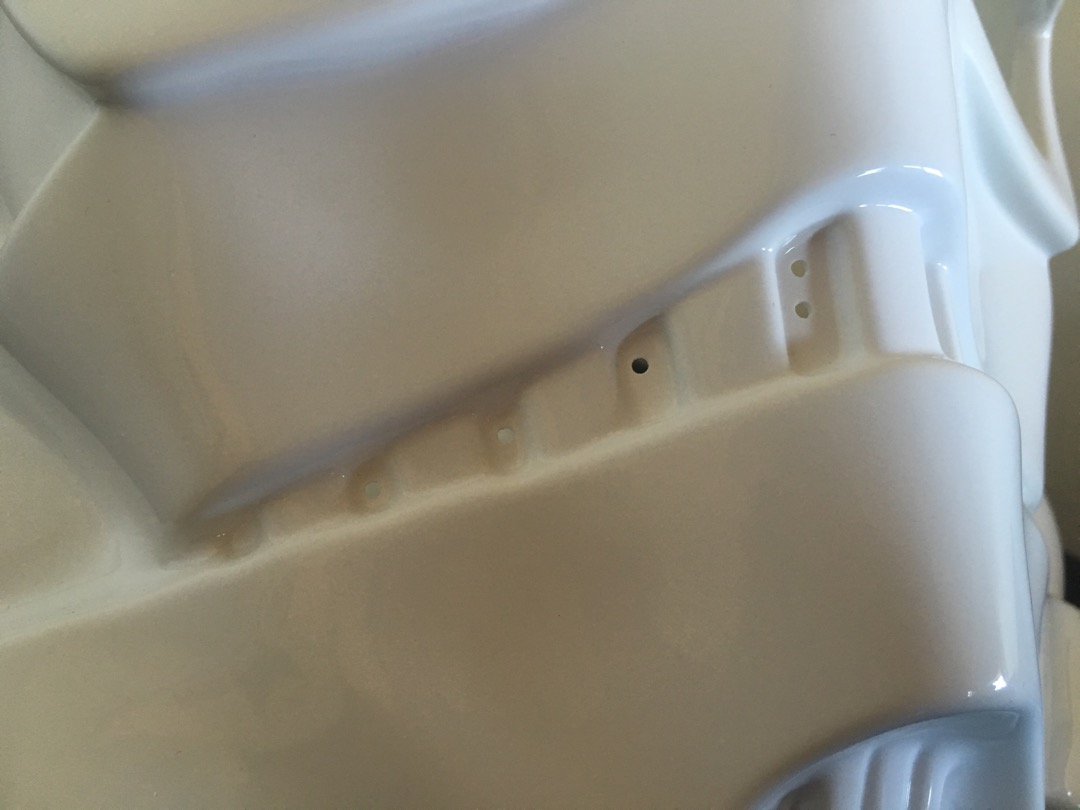
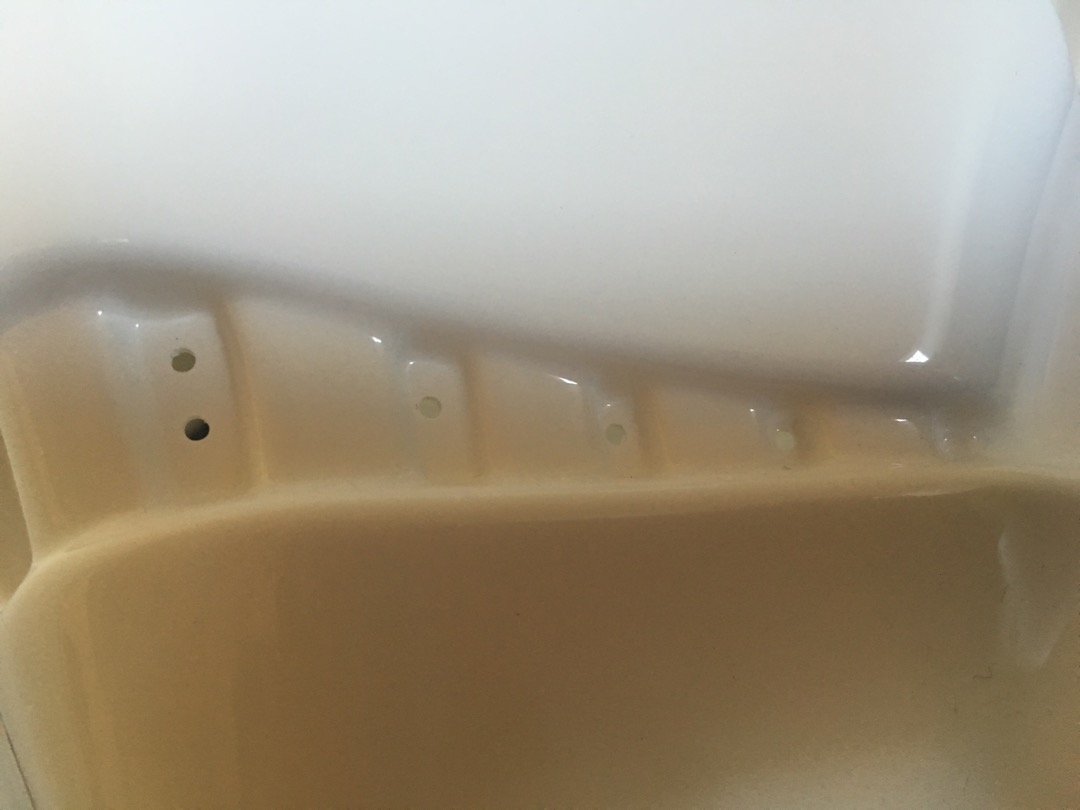
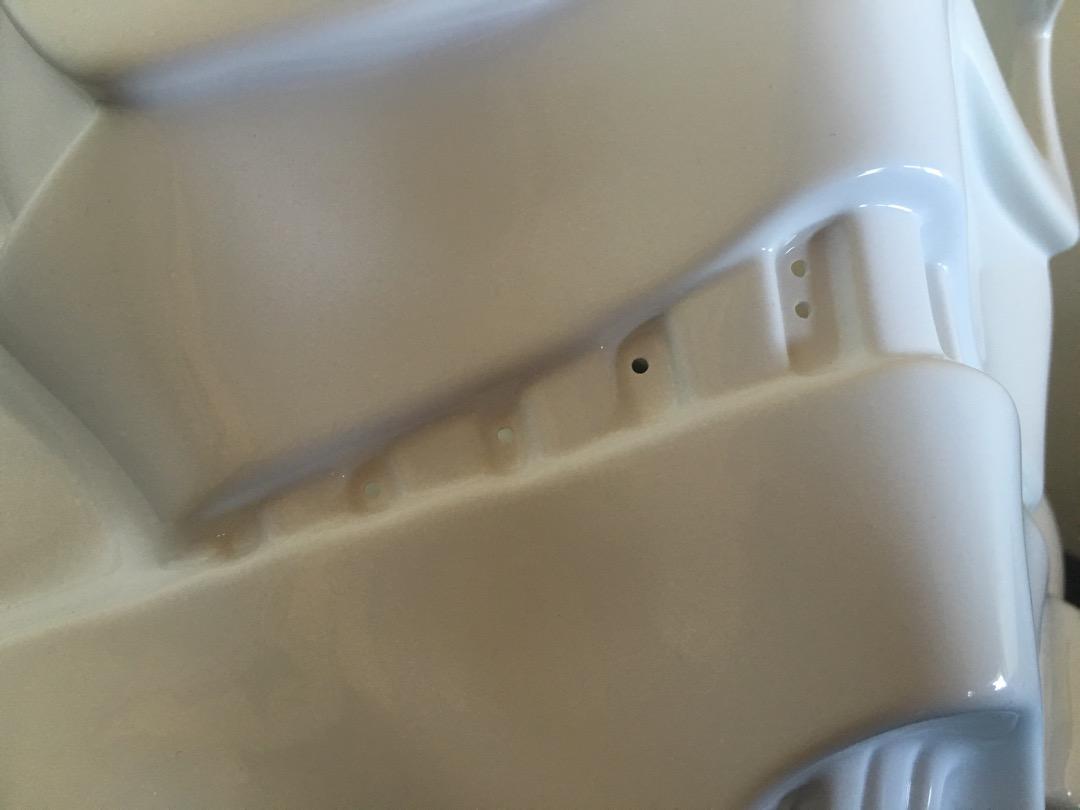
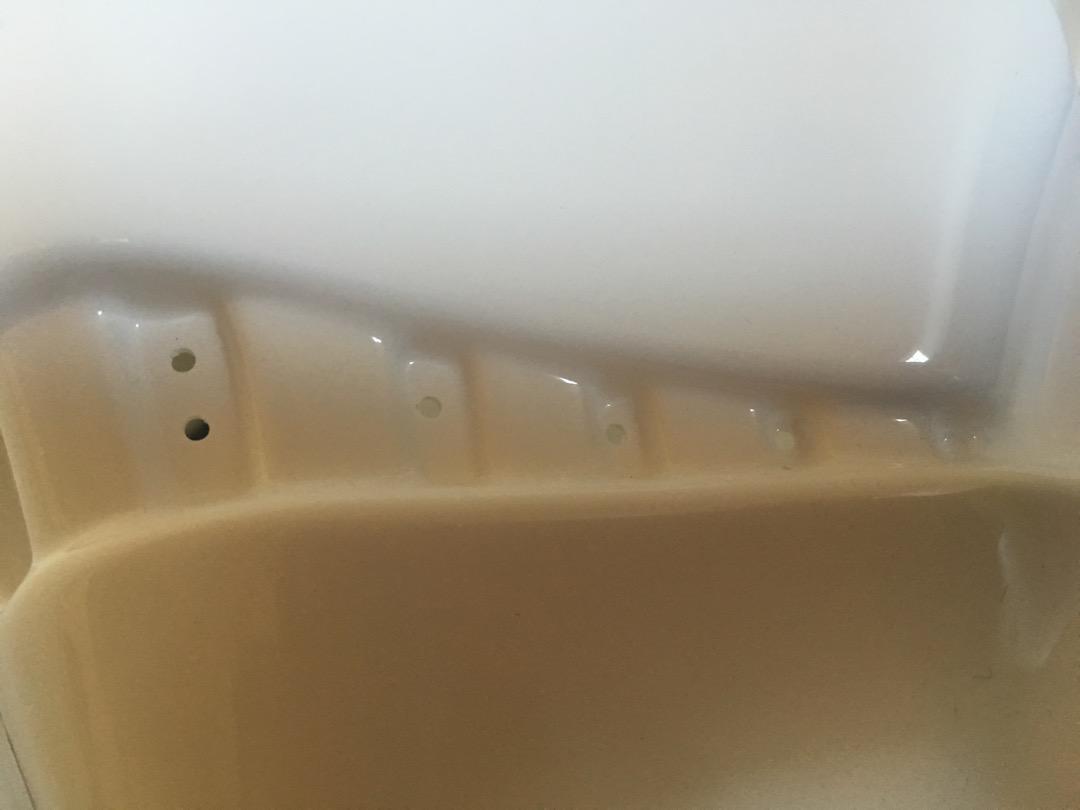
Well I got my guide holes for the teeth drilled in so far. Since I'm going for stunt the goal is 8 successful cut outs. <br> <br><br> I used a 5/64 drill bit for the teeth. Decent size holes without risking damage to any parts that I didn't want touched by drill. I drilled two holes in each of the middle teeth closest to the peak of frown. From there I put one hole in each of the remaining teeth. <br><br> Here's a picture of what the front looks like with all the guide holes drilled in. <br> <br><br> Now it's time to start cutting the teeth out using the holes I made. <br> Questions:<br> 1) what particular blade should I use for the knife? Particularly pertaining to the teeth.<br> 2) will sandpaper be ok to use to sand down the remaining plastic left after cutting?<br><br> Any comments or advice is more than welcome.

-
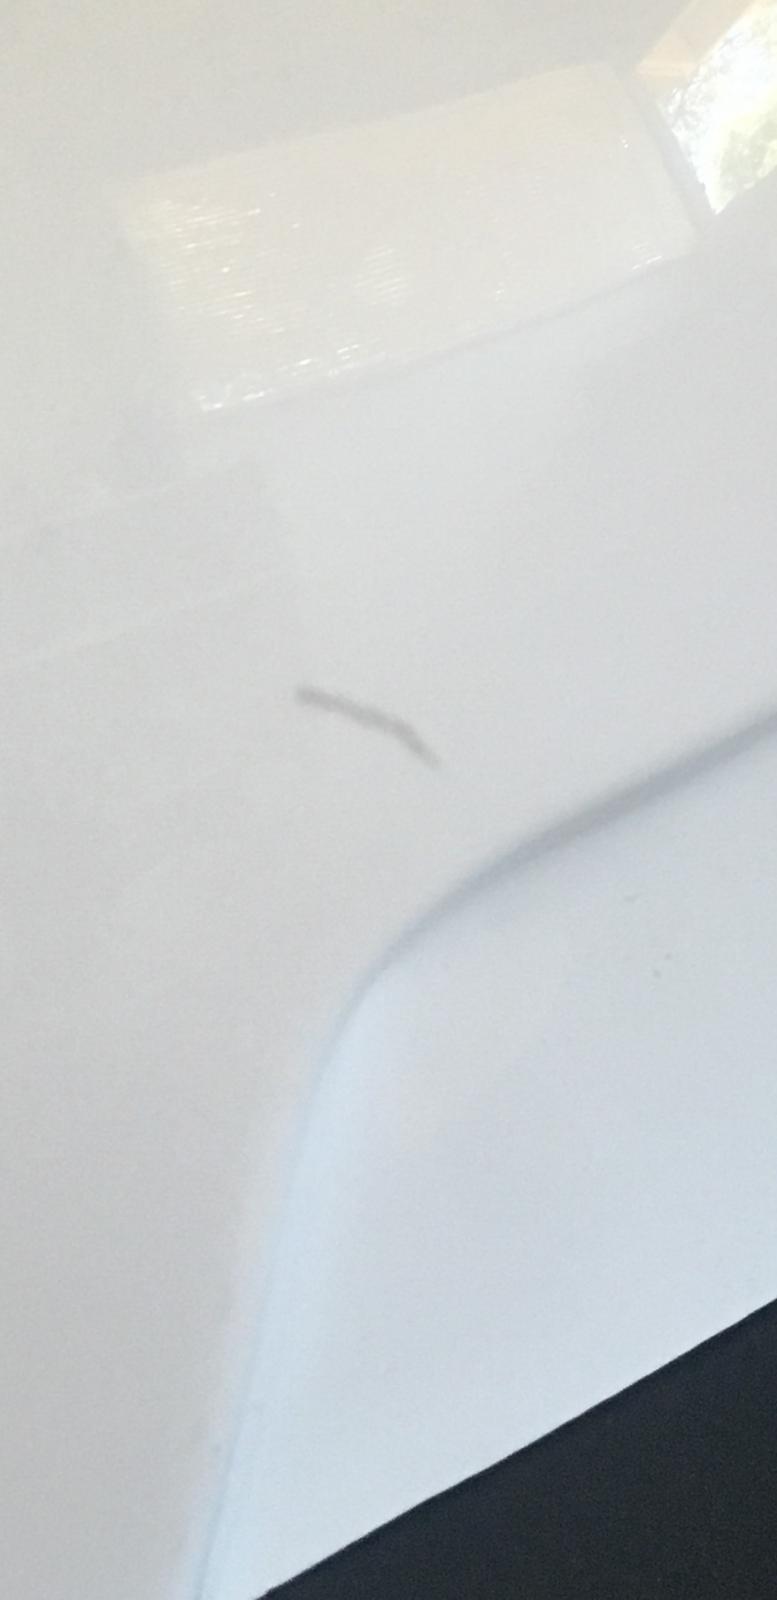
I just found out pulling the top of my helmet out, that there is a small scratch above where the right decal will go.<br> <br><br> Does anyone have advice on how to fix this?
-
Thanks Artshot. Glad to be here. So I messed up everyone and got my types mixed up. I'm actually doing an ANH stunt with the flat lenses.<br><br> I've decided to start with the helmet today. It's basically the only thing out of the box at this moment and unwrapped. I've been looking at the top and back for a few days and decided to just go for it. I'm going to match the top and back and glue.
-
Hey everyone and welcome to my build thread. Here comes another AM armor build. This is my first build and I'm really excited to finally start. I got my armor box back in April but responsibilities took priority. I've been reading a lot of build threads and now that I have the extra time...I'm ready to start. I think I'm going to lean towards a ANH hero more than stunt. Anyways, I'm looking forward to this and any advice along the way will be greatly appreciated. Let the journey begin!