
TheBlooperTrooper
-
Posts
232 -
Joined
-
Last visited
-
Days Won
1
Content Type
Profiles
Forums
Gallery
Articles
Everything posted by TheBlooperTrooper
-

Blooper's AM 2.0 ANH Build
TheBlooperTrooper replied to TheBlooperTrooper's topic in ANH Build Threads
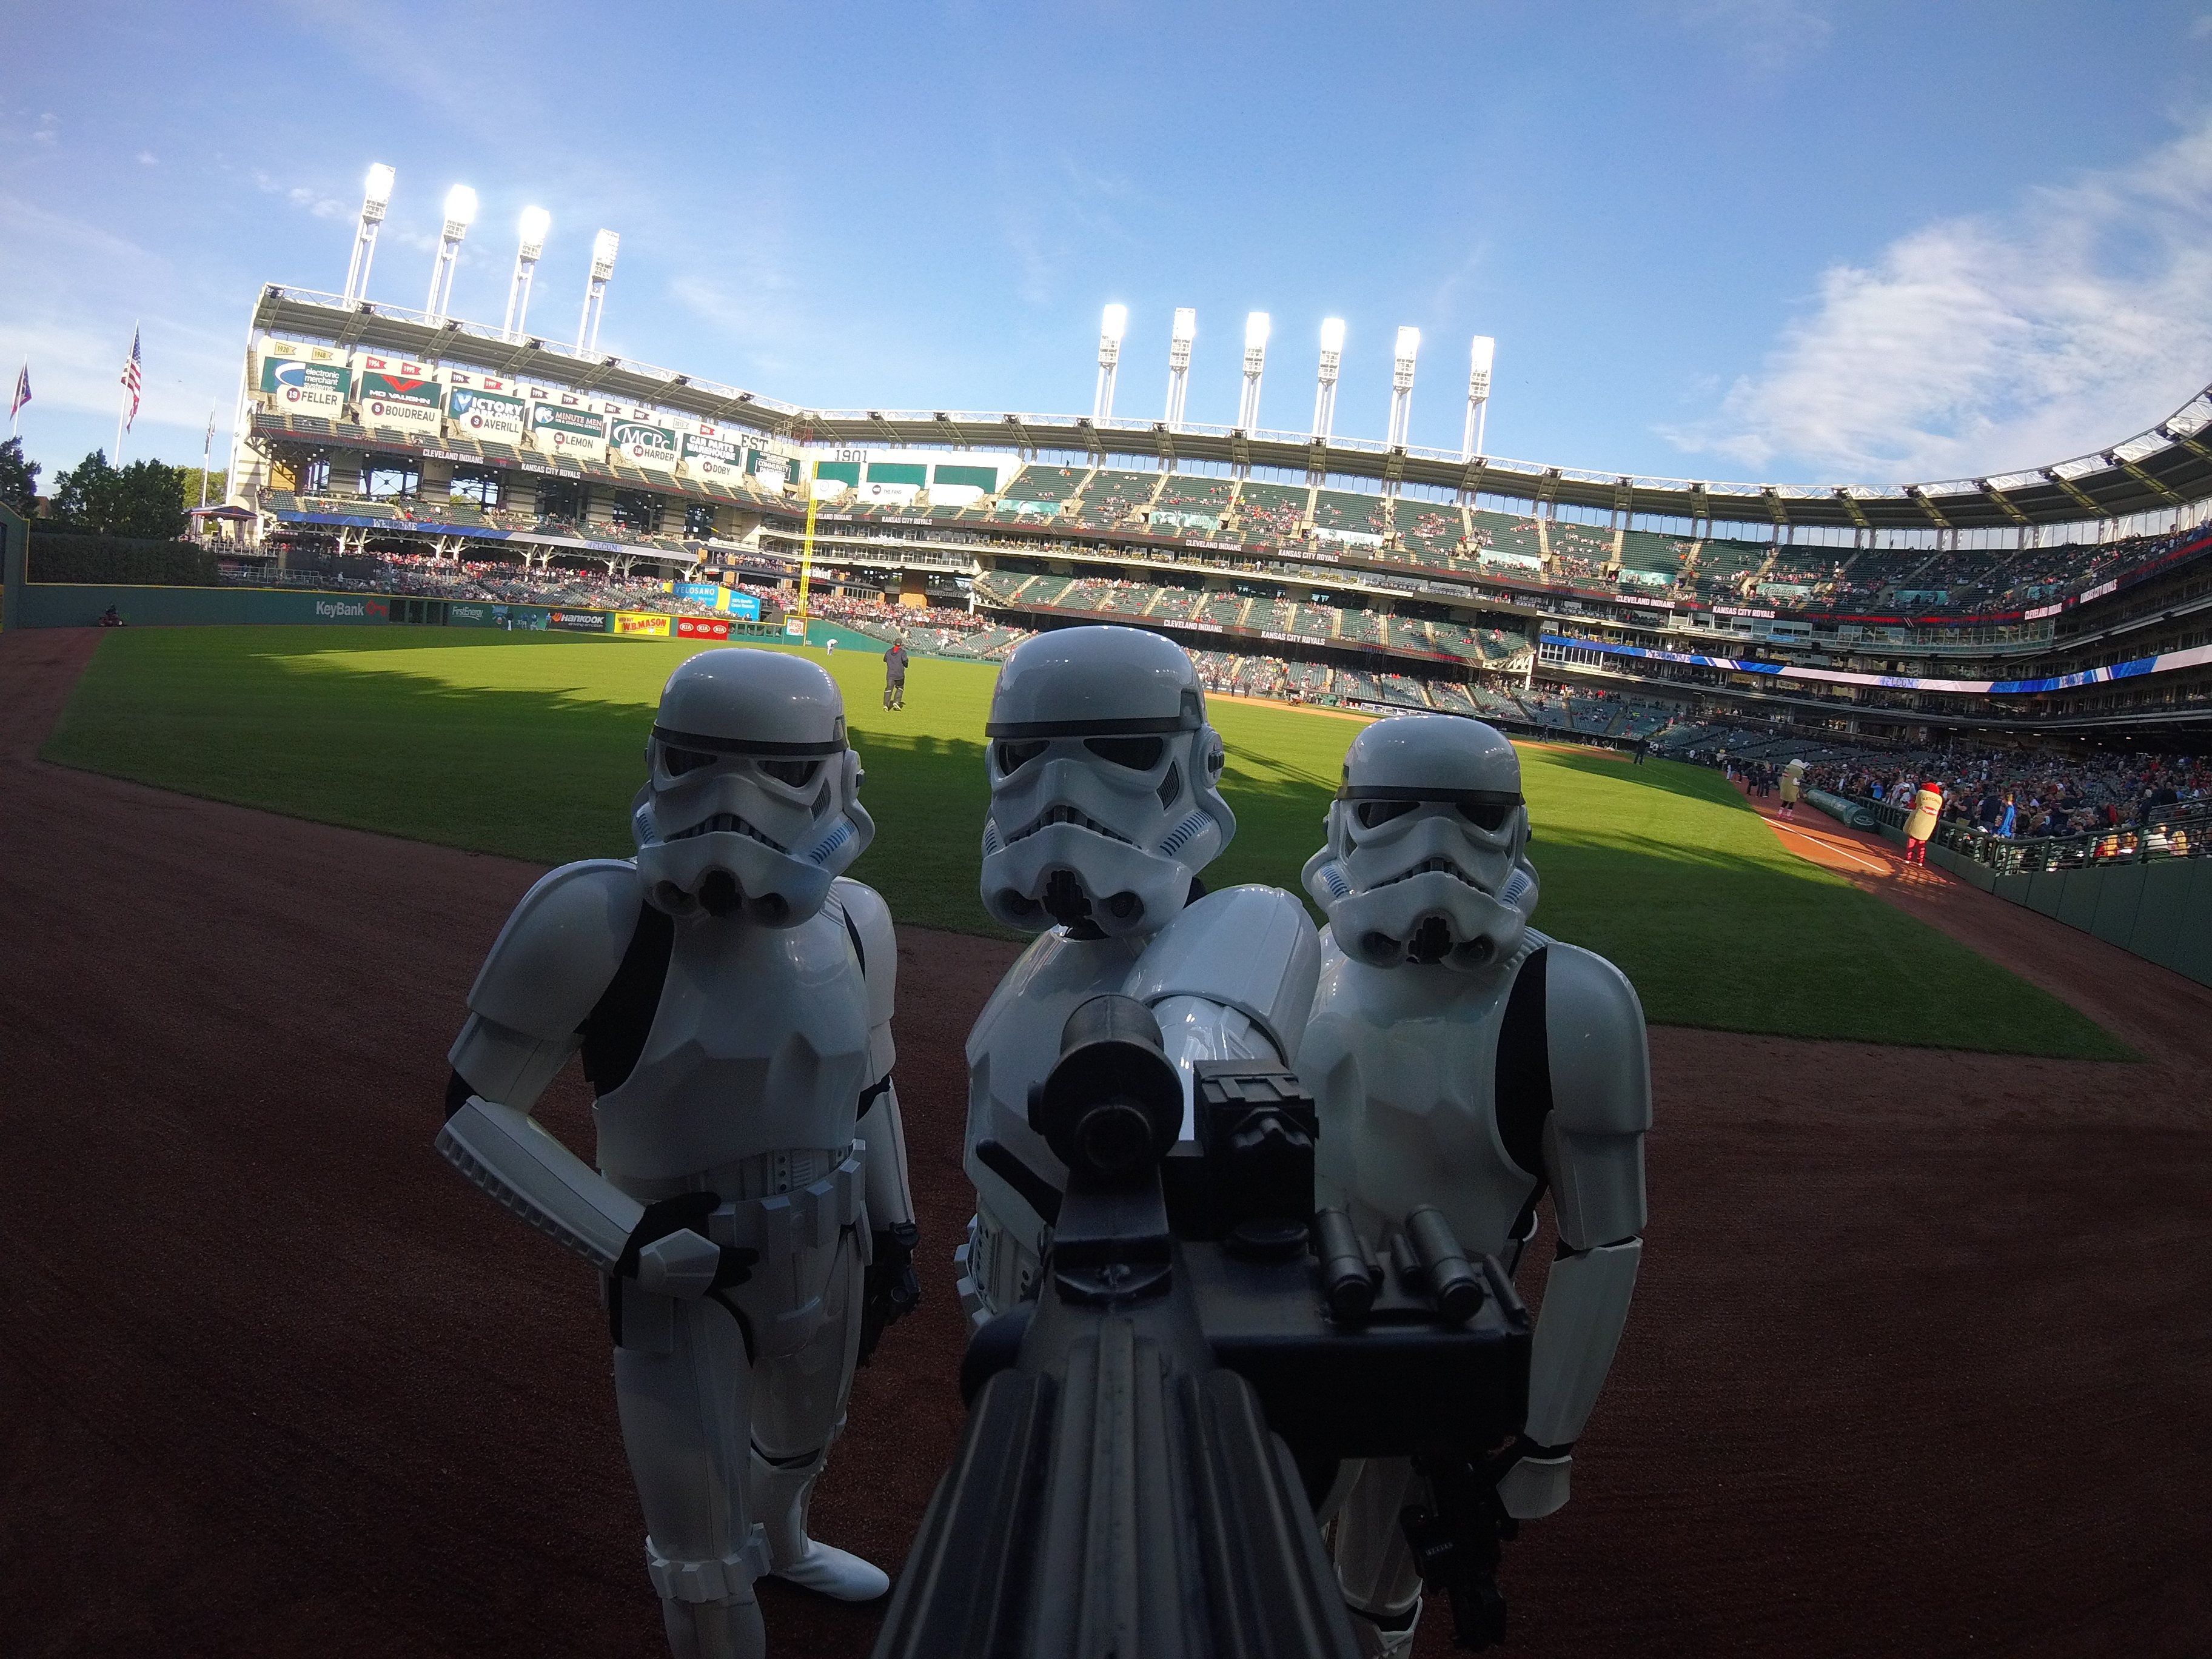
The helmet arrived! Woohoo! Fits nicely well with zero adjustment! It came prepadded! I'll have to adjust this some for height. With zero padding in, it fits my head height-wise almost perfectly! Autographed by the man himself! Eric is the best! -
Let me see some helmet builds (looking at inside ideas)
TheBlooperTrooper replied to Gizamoe's topic in ANH (Stunt and Hero)
Mine arrived today! The padding is nice, but I had to remove it to adjust for my tall head. It was only attached with velcro thankfully. I plan on adding some sort of thing layer over the dome of the helmet, and a U-shape on the sides and the back of foam to prevent it from twisting. -
Blooper's AM 2.0 ANH Build
TheBlooperTrooper replied to TheBlooperTrooper's topic in ANH Build Threads
Update on progress January 24: Had some issues today, but managed a test fit with the kidney piece as well. Need to adjust the ab piece slightly lower to allow for breathing room, but otherwise it fit okay. Kidney piece was trimmed and fits well on its on, with two snaps that we added yesterday connecting it to the top back plate. We also added snap pieces to the shoulder bells to connect to the biceps. Connections to come in the next few days, as well as from the biceps to the forearms. Lastly, we added one snap to the butt piece in the middle of it in preparation for adding snaps later. The outer snaps will come once the kidney and ab pieces are secured together better. Do the kidney and ab pieces have to line up at their tops? If so, I might need some slight gap in the back of my torso piece to allow for the kidney to match the drop. Side note: My helmet arrives tomorrow! The build was used as a video tutorial on how to build an AM 4.0 Stunt Helmet by the extraordinary Eric of Stormtrooper Ranch! Imgur album link changed! Photos are still visible, but the new album collection will be at http://imgur.com/a/vnNxf Pics updated at http://imgur.com/a/vnNxfwith highlights below: Using fish tank rocks to weigh down the shoulder bell snaps. My dad is a MAJOR fish guy, so we had these in abundance. Front view. Adjusted the inner snaps a bit to hopefully make a better fit. Needs to be lowered about an inch or so to fit decently enough. Rear view. Proud of the small gap, but it might need to be extended to accommodate the lower ab piece. Right side view. It lines up, but we didn't add snaps just yet out of hesitation for further adjustments. -
Let me see some helmet builds (looking at inside ideas)
TheBlooperTrooper replied to Gizamoe's topic in ANH (Stunt and Hero)
Actually, I just ordered a AM 4.0 Helmet, as the seam on my current one, coupled with my horrible painting skills, led me to a new one. When I asked for experts on the subject, I was referred to the guy in the video. His last few videos, on the ANH Stunt AM 4.0 Helmet, are actually of my helmet being built! It arrives tomorrow, will definitely let you know how it goes! -
Blooper's AM 2.0 ANH Build
TheBlooperTrooper replied to TheBlooperTrooper's topic in ANH Build Threads
Update on progress January 23: Today, my dad and I added snaps to the biceps, sealed the right forearm (for the final time!), added snaps to the kidney plate (connections to the back plate to come soon!), and added two elastic snap connections to the front of the torso for a rough fit. Pics updated at http://imgur.com/a/Ibs5Fwith highlights below: Snap connections from the biceps to the shoulder bells. The shoulder bell connections should come in the next few days, and then the forearm pieces. Right forearm sealed up completely! It's slightly large on my arm, but will work overall. Front torso test fit. Needs some work, but it appears to work well enough to start! -
Let me see some helmet builds (looking at inside ideas)
TheBlooperTrooper replied to Gizamoe's topic in ANH (Stunt and Hero)
I recommend for the build itself watching the videos from a guy over at Stormtrooper Ranch: His builds are top quality, and he provides a lot of tips in the videos to make the process itself easy. For the inside of the helmet, I was planning on adding either a star shaped piece of foam or helmet padding from a military surplus store. -
Blooper's AM 2.0 ANH Build
TheBlooperTrooper replied to TheBlooperTrooper's topic in ANH Build Threads
100th post in the thread, woo! Update on progress January 22: Today we worked on tapering the top torso pieces, trimming and gluing the right forearm, adding the second strap to the shoulder bells, adding snaps to the front ab piece, removing the stencils on the ab buttons, and touching up the ab buttons as needed. The torso pieces might need more tapering, but it's a start! Pics updated at http://imgur.com/a/Ibs5Fwith highlights below: Left view of the upper torso. Right view of the upper torso. Painted ab buttons! I know the right one needs a little work, but the stencil proved to be a bit of an issue, and I did what I could without it. -
Blooper's AM 2.0 ANH Build
TheBlooperTrooper replied to TheBlooperTrooper's topic in ANH Build Threads
Update on progress January 18: Today my dad and I shortened the connecting straps for the shoulder bells, glued up the right forearm's inner piece with inner support strips, added bicep hooks for the straps on the shoulder bells, and started work on those straps. While the shoulders now appear much better fitting, the white webbing under my torso pieces is being dragged out of place by it. Looking into some sort of remedy for this. Pics updated at http://imgur.com/a/Ibs5Fwith highlights below: Not the clearest of photos, but it's visible enough. The shoulder bell is dragging the white webbing in such a way that it appears off. Showing off the bicep hook on the right forearm. Might need to adjust it slightly for height, but it appears otherwise okay. -
Blooper's AM 2.0 ANH Build
TheBlooperTrooper replied to TheBlooperTrooper's topic in ANH Build Threads
Shortening them shouldn't be an issue. Going to hold off on removing the return edges for the time being, as I'm not quite sure about that yet. If need be it can always be fixed later. -
Blooper's AM 2.0 ANH Build
TheBlooperTrooper replied to TheBlooperTrooper's topic in ANH Build Threads
For some reason Imgur isn't working at the moment, will edit this post if it starts working again. Update on progress January 17: Today I tested the shoulder bell snap connections to the main torso. My dad and I placed two male snaps on the underside of the connection strip of the top torso pieces, and then connected a piece of elastic from that to the shoulder bell. We put snaps on all four edges of the shoulder bells in preparation for the cover shoulder strap. We also added two snap connections to the back plate and are in the process of applying velcro to the biceps as a sort of test. EDIT: Photos inbound! Pics updated at http://imgur.com/a/Ibs5Fwith highlights below: I know I need to work on my smile and pose, but whatever.... (Super weird arms IK.... The shoulder bell connections work moderately well with the top pieces while they are connected. Showing the curve of the shoulder connection. Considering both heat forming and elastic bands to remedy this. Prepped the shoulders for the inner support strap to be added in the coming days. -
Blooper's AM 2.0 ANH Build
TheBlooperTrooper replied to TheBlooperTrooper's topic in ANH Build Threads
Update on progress January 16: Today my dad and I made the connections for the top two torso pieces, which turned out fantastic! Some minor armor bites are present, but they're nothing that can't be easy sanded away. We added two snaps to the lower part of the upper front chest plate to begin prep work for the ab piece. We also repainted the ab buttons with another coat to be safe. Lastly, we added snaps to the tops of the shoulder bells. At the moment we're weighing options on using normal snaps or sew on snaps for the elastic connection to the shoulder connection on the two torso pieces, as we're not sure of the benefits of either, but have both on hand. In the coming days, we plan on adding more snaps to the back torso piece and then moving on to the lower parts of the body. Pics updated at http://imgur.com/a/Ibs5Fwith highlights below: Showing off the front snap pieces. Would've done more on the torso, but our clamps don't quite reach far enough in on the armor to be of major help. Showing off the snap connection on the shoulder bells. Even though the white E6000 is there, it's only being used on inside parts that will never see the light of day, sticking with E6000 for those parts. -
Blooper's AM 2.0 ANH Build
TheBlooperTrooper replied to TheBlooperTrooper's topic in ANH Build Threads
Perfect sense, thanks! Good idea! Seriously considering this now, thanks! -
Blooper's AM 2.0 ANH Build
TheBlooperTrooper replied to TheBlooperTrooper's topic in ANH Build Threads
What do you mean with those measurements? And by cutting in? Are you talking about how wide the drop down straps should be or how wide the belt should be? -
Blooper's AM 2.0 ANH Build
TheBlooperTrooper replied to TheBlooperTrooper's topic in ANH Build Threads
Was debating using the 1" webbing I have excess of with a small amount of elastic or buying the garter here on FISD. I plan on finishing the torso before working on the thighs again. -
Blooper's AM 2.0 ANH Build
TheBlooperTrooper replied to TheBlooperTrooper's topic in ANH Build Threads
That was the going plan, just wanted to be sure! Impressive. From what I've seen, local TKs have kept their helmet separate, but the rest all in the bin. -
Blooper's AM 2.0 ANH Build
TheBlooperTrooper replied to TheBlooperTrooper's topic in ANH Build Threads
Update on progress January 15: Today I painted the ab buttons using stencils from Trooperbay to ease the process. My dad and I added snaps for the ridged-shoulder pieces on the torso, on the front and back. We also trimmed some white webbing for use as the connection between the two. Lastly, we started to explore possibilities into adding a D-Ring to the Hyperfirm blaster I got a few weeks ago. Pics updated at http://imgur.com/a/Ibs5Fwith highlights below: The front torso piece snaps. Female snaps set on the ends of the trimmed webbing Looking into ways to attach the D-Ring to the Hyperfirm blaster. I have stickers / decals to apply to both ends of the scope and on the ammo counter, but am unsure if I just drill this end and somehow mold the D-Ring into it. Any thoughts? -
Blooper's AM 2.0 ANH Build
TheBlooperTrooper replied to TheBlooperTrooper's topic in ANH Build Threads
I'm looking into using a parachute buckle on a piece of 1" wide webbing around my waist with some sort of drop fabric to accommodate for the connection. I'm hoping to finish up the torso in the next week or so to make the rest of the process more clear-cut. -
Blooper's AM 2.0 ANH Build
TheBlooperTrooper replied to TheBlooperTrooper's topic in ANH Build Threads
I'm looking into using a bowling ball bag for the helmet, as it seems to be about the same size. I plan on putting the armor (minus the helmet) and gun into the bin. From what I've seen at the two troops I've helped at it seems quite doable. The bin itself is a perfect fit for my trunk, barring a spare tire that makes me keep it at a slight angle. Aimingto fix that / move the tire so it isn't a major issue down the road. -
Blooper's AM 2.0 ANH Build
TheBlooperTrooper replied to TheBlooperTrooper's topic in ANH Build Threads
Update on progress January 13: Today I went out to Home Depot and picked up a 50 gallon Husky storage bin. It certainly fufills its purpose, but it barely fits in my trunk as is, so I have to be extra careful. Didn't have much time to do other things today due to work, but my dad and I finished gluing the left forearm, right bicep, and started on the left bicep. Pics updated at http://imgur.com/a/Ibs5Fwith a small highlight below: This thing is BIG -
Blooper's AM 2.0 ANH Build
TheBlooperTrooper replied to TheBlooperTrooper's topic in ANH Build Threads
Update on progress January 12: Today my dad and I started working on the vague fitting of the thighs and lower torso piece. We trimmed an each off of each thigh from the top and tried to find where to situate the ab torso piece to allow for better motion. I'm not quite sure if we need to trim more off of the thighs or just accept the range of motion, as they tend to collide with my knees a lot whenever I try and move more than a foot at a time. Also, completely redoing the exterior cover strips for the arms due to how nice the band saw cuts them compared to our rough cuts. Did half of one forearm and one bicep tonight. Aiming to finish off those two piece, work on the other bicep, and eventually the other forearm once I receive the replacement part I need. Pics updated at http://imgur.com/a/Ibs5Fwith a small highlight below: This is after taking 1 inch off of the right thigh. Both thighs touch each other a small bit when put on simultaneously. Unsure if this is normal or if I need to trim another half inch or so off. Also, when trying to walk around, the thigh pieces keep kicking the back of my legs, and I'm unsure how they should ride on the knee when upright. Lastly, I'm exploring options to hold up the thighs - debating between a belt under the armor but over the undersuit that would allow some sort of elastic loop or just a simple snap connection between the front of the ab armor and thigh pieces. -
Blooper's AM 2.0 ANH Build
TheBlooperTrooper replied to TheBlooperTrooper's topic in ANH Build Threads
Yup! Confirmed it today, and spoke with TK Armor a few hours back. He helped me sort all my issues out. I know have a new thigh ammo pack and right outer forearm on the way! I also spoke to them about looking into a pre-built helmet, as the condition of my current one is less than than previously shown. They were very nice about referring me to the Stormtrooper Ranch group, who VERY graciously offered to assemble and paint a newer helmet AM kit and send it to me. I went from being worried as I could possibly be to feeling like I'm on top of the world! Absoutely stellar service by TK Armor and Troopergear! Looking forward to resuming my build ASAP! -
RynoHawk's AM 2.0 ANH Stunt Build.
TheBlooperTrooper replied to RynoHawk's topic in ANH Build Threads
Congrats on the BBB and MBB day! AM 2.0 is an interesting kit to get into. I'm taking it slowly, but surely. In regards to the helmet, I emailed Troopergear a few days ago about possibly buying a pre-assembled one, as I'm a bit of a clutz. Also, make sure that every part is there! I just found out yesterday that I'm missing my thigh ammo pack and accidentally got two belt pieces. I'll email him about that once he replies to the helmet thing, but just a warning! Good luck! -
Blooper's AM 2.0 ANH Build
TheBlooperTrooper replied to TheBlooperTrooper's topic in ANH Build Threads
Yeah, I think I got two un-notched versions. If I hear back from Troopergear about the helmet, I will definitely ask him about this as well. Fingers crossed! Thankfully it isn't a necessary part, but I hope to resolve that issue soon! -
Blooper's AM 2.0 ANH Build
TheBlooperTrooper replied to TheBlooperTrooper's topic in ANH Build Threads
Update on progress January 10: Today we applied the final cover strip, secured it with bungee cord, magnets, clamps, and a sanding brick to push down on it to be extra safe. Will probably look into ABS paste if this option doesn't work out. Sadly, no email from Troopergear about the helmet, but I'm still optimistic! We also took the magnets and clamps off of the biceps, trimmed the excess and rounded the edges with a dremel tool. My dad and I also trimmed the other button plate for the ab armor, and started working on snaps. Midway through working on the snaps, the power went out! We kept working, and managed to get all the snaps for the arms done (12 in total) and 4 for the torso (2 on the top part and two on the ab piece). The aim is to get more E6000, some white webbing, and a new lighter to be able to fully make all the snaps necessary. If anyone has a solid snap guide aside from Navajo bro's build, send it! Otherwise, I'm using his build as a direct reference, with an exclusion being that I'm using snaps for the arms instead of velcro like shown in his. Pics updated at http://imgur.com/a/Ibs5F with highlights below: Working through the power outage. Total result of all the snaps we made today. I made sure that they were fully secured and ready to go. -
Blooper's AM 2.0 ANH Build
TheBlooperTrooper replied to TheBlooperTrooper's topic in ANH Build Threads
Update on progress January 9: Today we trimmed the left shin a lot, and added its inner cover strip. We also glued up the three remaining bicep cover strips and fully trimmed the ab plate button. Tomorrow, my dad and I plan to trim out the other torso button piece, and start work on painting them, as well as adding the last cover strip to the forearms. Also, I emailed Troopergear about possibly looking into a pre0made helmet, hopefully I'll get a positive response back! I had some ideas for a silly helmet to work in a cloth cover or something to be able to move aside to play an instrument through, as I'm huge into my school's band programs. Pics updated at http://imgur.com/a/Ibs5F with a small highlight below: I placed the ab buttons on the torso just to test the size, and added a stencil from Trooperbay on the top left button. I know it might sound silly, but do you remove the stencil when your done?
