ididshave
-
Posts
10 -
Joined
-
Last visited
About ididshave

-
I went about using the spray method and while I did have some leaks (namely because I'm such a rookie at doing this), it was nothing that a bit of elbow grease and Goo Gone could not take care of.
-
ANOVOS TFA standard kit pre-orders open!
ididshave replied to MoSc0ut's topic in Hard Armor (General Discussion)
This is a very tempting offer. Could someone lay it down what the difference is between the standard kit is compared to the other version? -
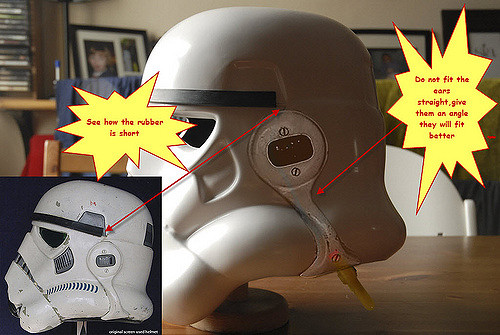
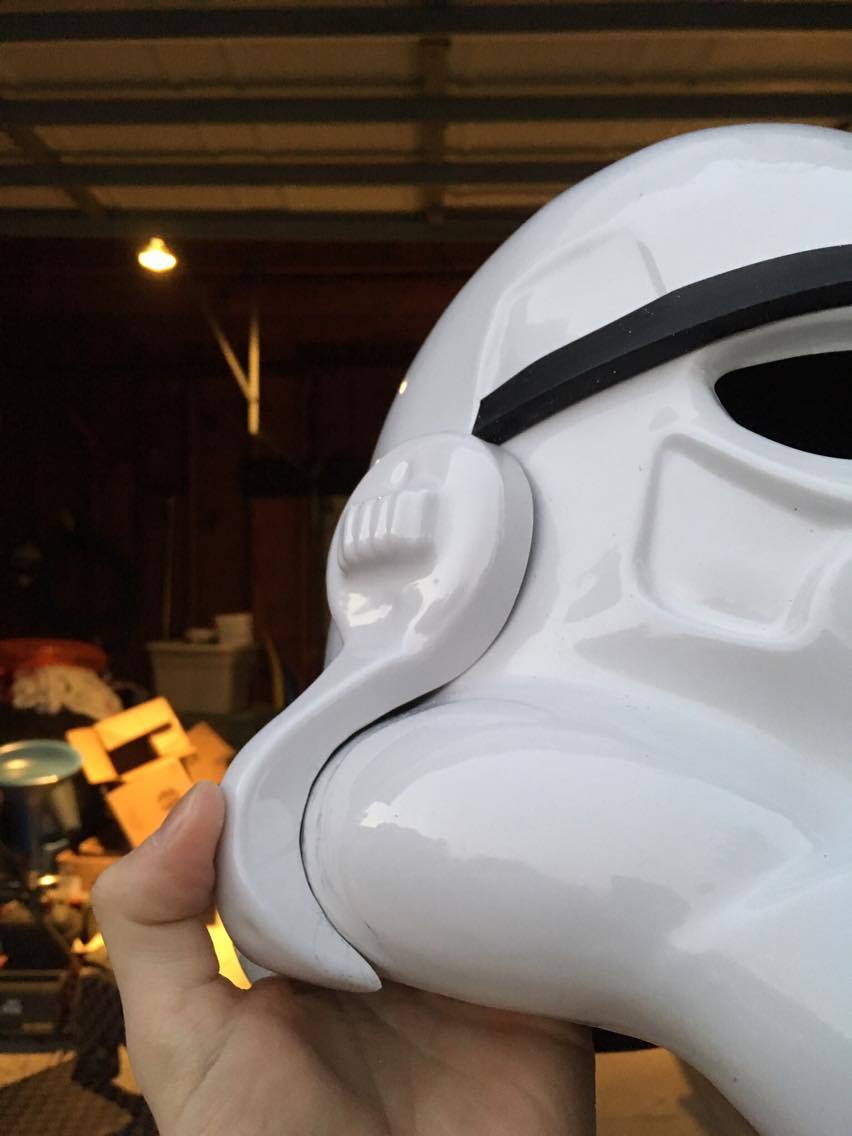
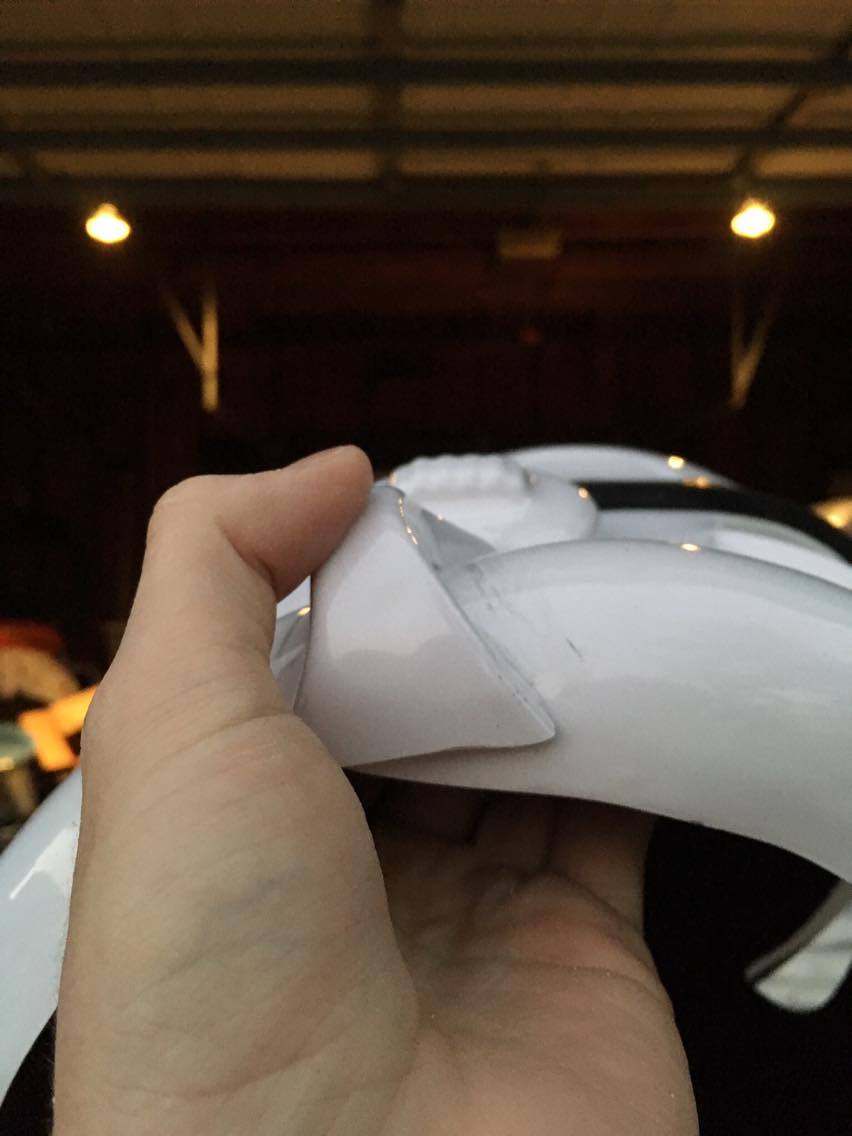
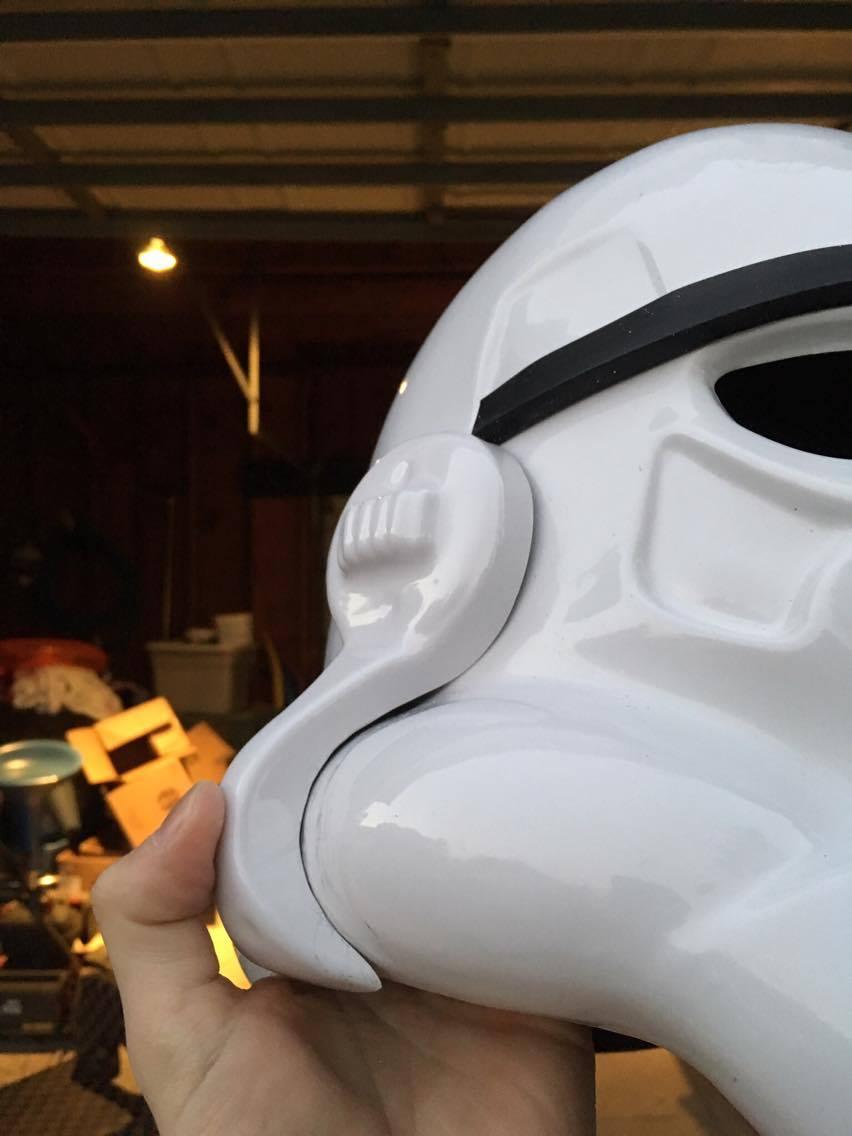
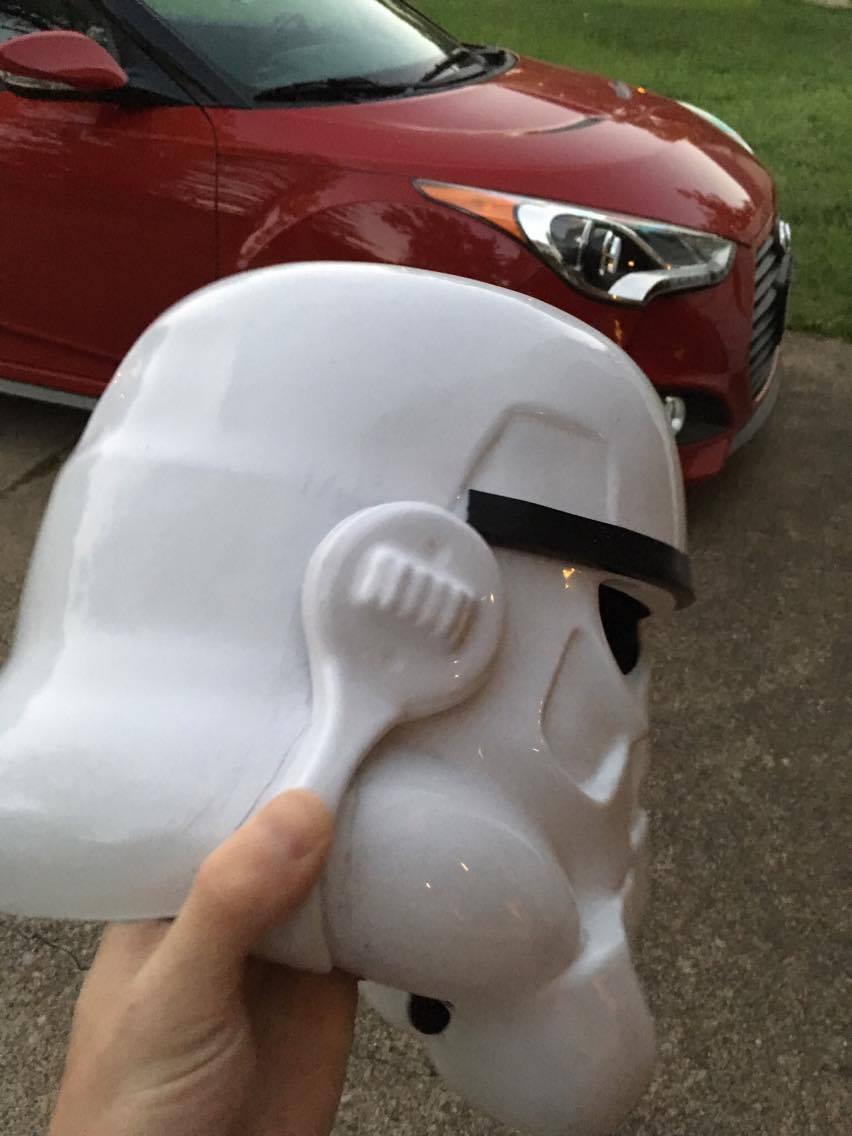
Well, I attached the one ear I have been working on to see how much more work I really have ahead of myself, which is obviously a lot more. I question my placement choice of the ear from looking at this reference photo below. I fear I may not have angled the ear as much as I should have and have place it too close to the trap/brow. Any thoughts?

-
Thanks for the words of advice and encouragement! I will keep this thread updated! Also, Joe, what do you recommend with the teeth? They drive me crazy but I finally decided to look away and focus on something else--the ears... which also drive me crazy. I was going for pandatrooper's rounded "Twinkie" look, as opposed to the flat.
-
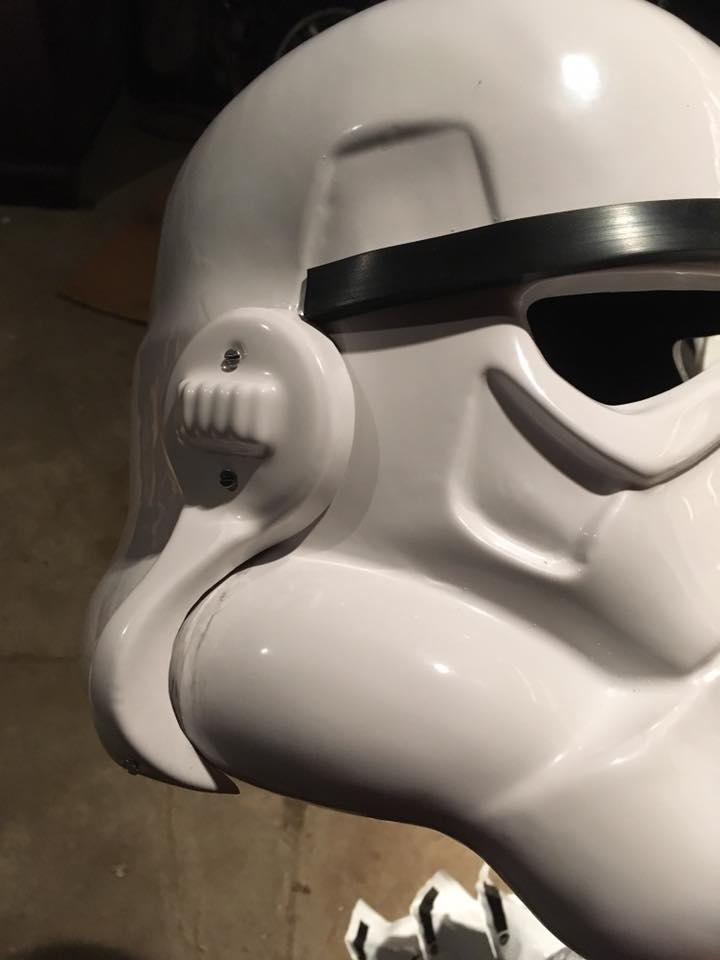
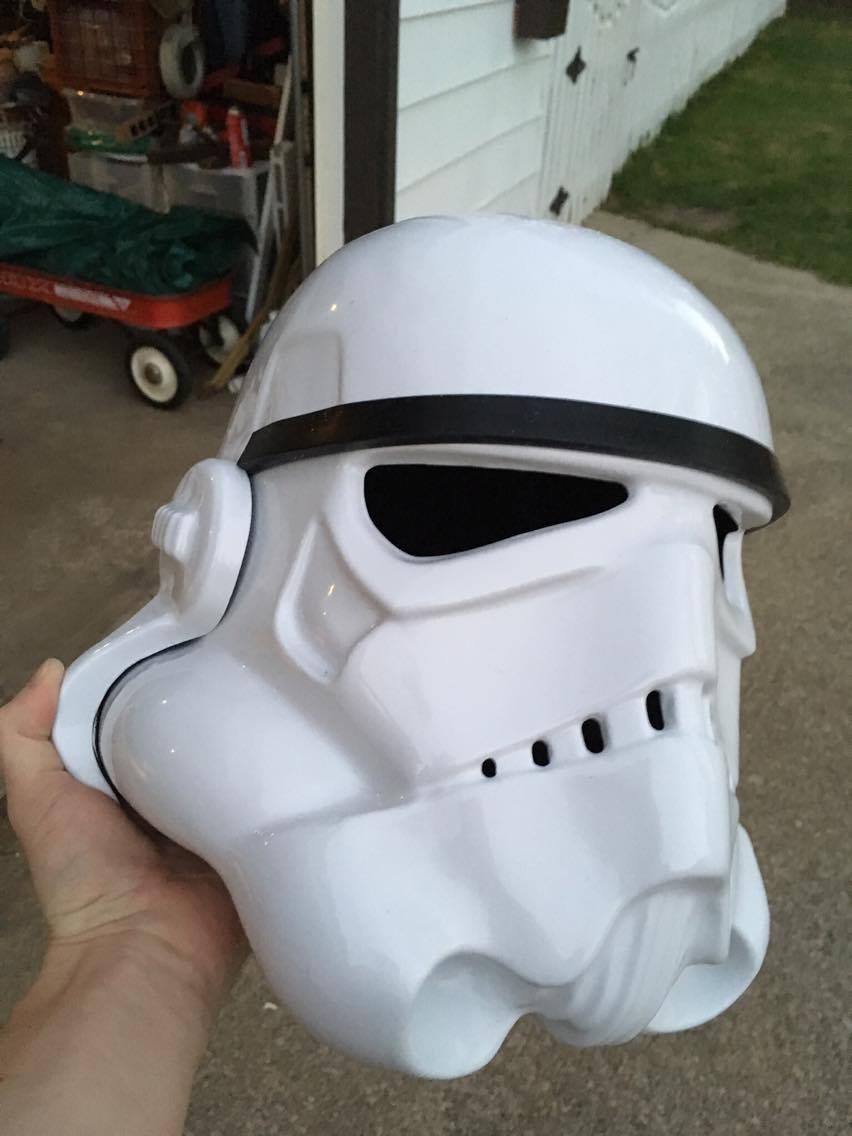
I thought I knew what I was getting into when I had heard of the strife caused by the dreaded ears and yet still, I vastly underestimated their difficulty. I have looked at numerous reference pictures and I still can't see to get my head around the proper proportions for the ears. So, I have come seeking guidance! How far down are the ears supposed to extend? Similarly, how far out are they supposed to extend? How far back are they supposed to be behind the brow/trap? Pictures of my ANH Stunt so far for reference: Bonus question: Have I screwed this ear up?


-
Alright! Micromesh to fix my mistake? Do you apply it dry or wet? Similarly, would you reccomend to use this to smooth out any rough spots on the paint application within the helmet?
-
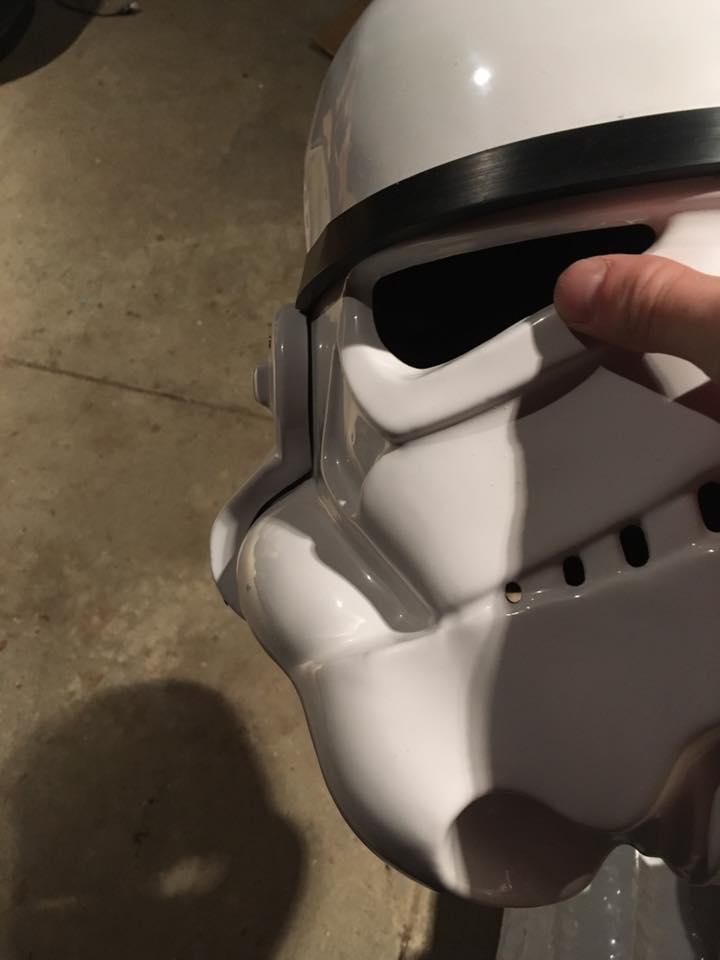
So, I decided to go for a sleek flat black look on the inside of MTK bucket, right? No prob, Bob! Just tape her on up and get to work, right?! Well, everything was going smoothly and it looks slick. UNTIL I realized some paint managed to sneak past the tape somehow and landed right on the face. Being that this is my first build, I'm trying my damnedest to be super careful, but of course when accidents arise I have a tendency to panic. So this guy over here panics, quickly recalls that nail polish is good remover for paints and other various stains, runs inside like a maniac, and proceeds to rub the infected area quickly and promptly. Crisis averted, right? RIGHT?! Well, if I had looked up on here prior to discover that acetone and ABS don't quite chemically bond well with each other, I wouldn't be posting now would I? The area once splattered with paint has been cleaned effectively with nail polish remover but now the plastic feels worn and as though it was sanded. I'm afraid the gloss is likely to have been stripped as well. I suspect it won't be all that noticeable at the end of the day but I would certainly like to fix it, if possible. I was planning on using NOVUS polish to beautify my bucket once it was all assembled and I'm wondering if there is any chance that it will gloss up the now-acetone-worn spot? If not, is there anything that can be done? Everyone has a story like this from their first build, amirite?