

Nacho
-
Posts
98 -
Joined
-
Last visited
Content Type
Profiles
Forums
Gallery
Articles
Media Demo
Posts posted by Nacho
-
-
THat is outstanding news. i'll be jumping on this wave for the gloves.
Skygunbro does some great work. He'll end up doing his run just like he did the FO TIE, on his boards. Price has very reasonable for the quality. Can't wait to see his finished product
-
This is looking great jim!
-
These are some great pics! Seeing more details than I've seen in other pics.
Sent from my SAMSUNG-SM-G900A using Tapatalk
-


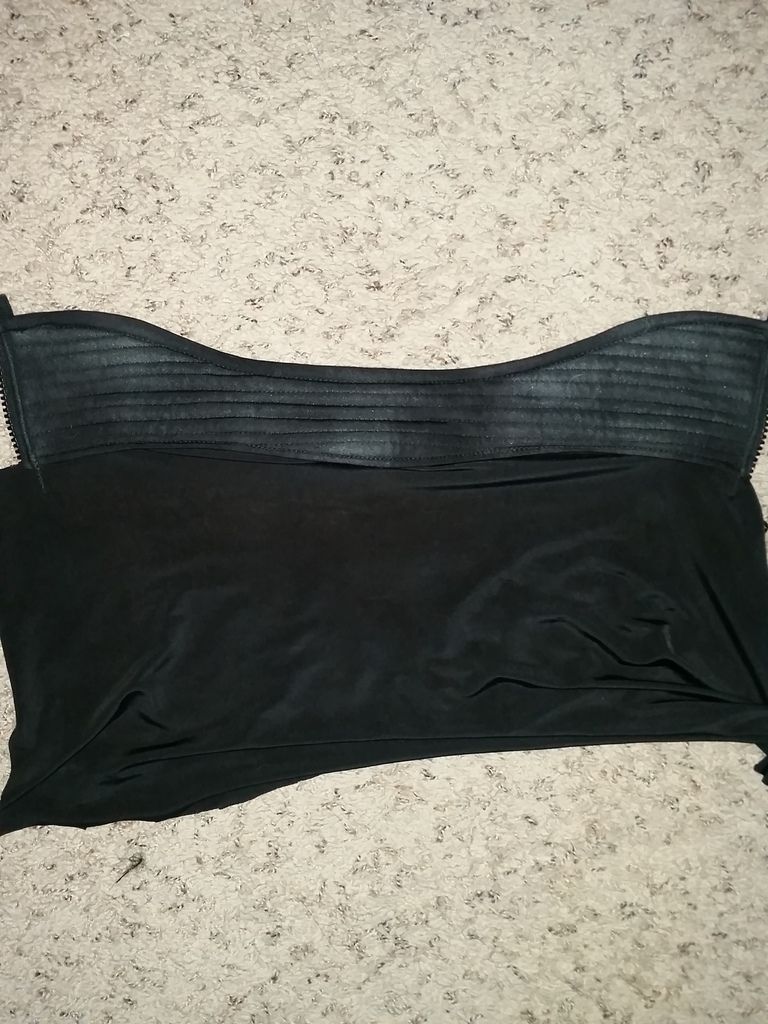
Here you can see the fabric change. Under the armpit. Good ventilation.
Sent from my SAMSUNG-SM-G900A using Tapatalk
-
You're dead on. Those are the ones I ordered. From a different site tho. And you'll need the mag pouch with the oiler pouch too. The oiler pouch is on the back of the belt.https://www.ardmoor.co.uk/orca-bay-brecon-chelsea-boots-ob-brecon
I chose the 'Elk' color as the 'Havana' have a texture that I don't think matches the reference pics. Either way, with weathering, I don't think it'll matter which you get.
And the pouch is a Yugoslavian M56 ammo pouch.
As for gaskets, like it was stated. The arms and chest are that material. I thought corduroy too. Also, on some pics, you can see the material change when it gets to the rib area. Like a sport mesh type material.
Sent from my SAMSUNG-SM-G900A using Tapatalk
-
A whole lot of changes on the kit. And in my eyes, they were made for mobility. Like it was said, this is a war movie. These guys are going to be running around, kneeling, and getting blown up. You see the cuts that were made in order to allow this mobility. Bottom of the thigh pieces are curved and the actual thigh pieces open on back. And the 3 inch elastic connecting the chest and back pieces.
We also see the raised notches on the top of the back piece used to house the shoulder bridges. ANH were free floating and used the elastic to hold them down. They would be flopping around if they did half the things they were doing in this trailer.
-
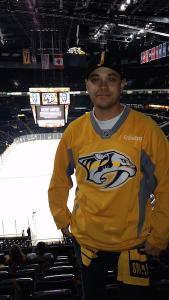
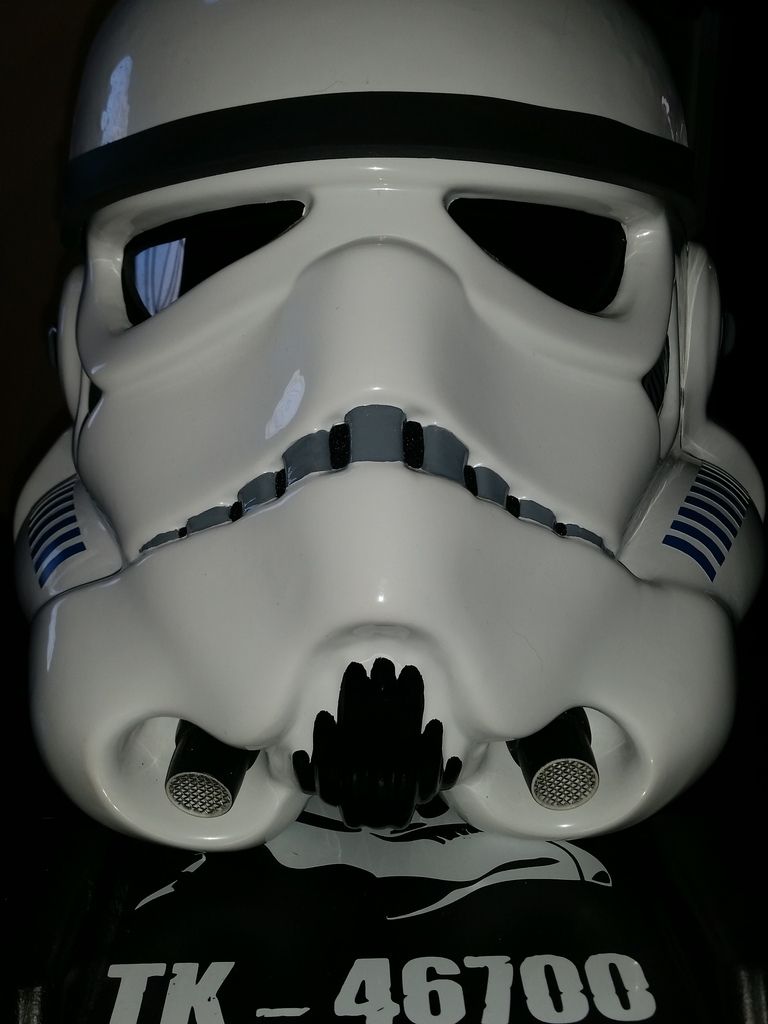
Mine was a nod to my Military Working Dog that I worked with and I adopted after he was retired. His tattoo number is J467. Closest number 46700.
-
 3
3
-
-
Thank you guys so much! Thanks for the push Marcus!
Sent from my SAMSUNG-SM-G900A using Tapatalk
-
1
-
-
Here are the fixes
1. Shoulder bell gap. Brought in to the top of the shoulder.
2. Forearms are now even.
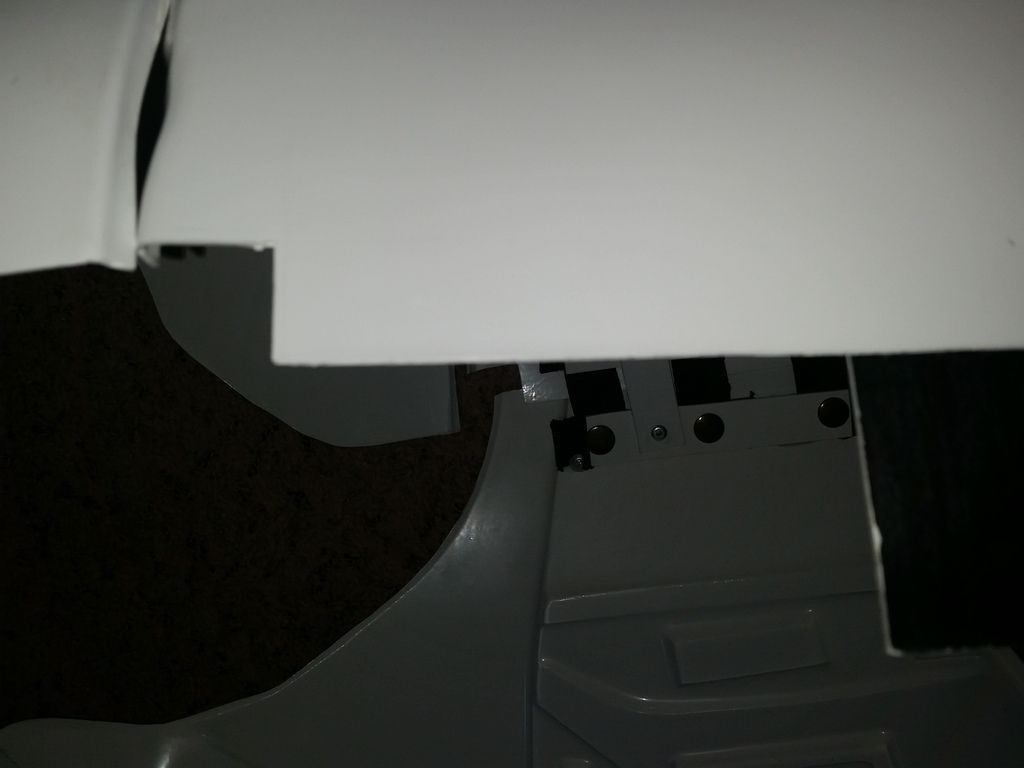
3. Thighs were brought up as high as they can go. I opened up the back, opened the gap a bit, and recovered it by butt joints. When I cut the ATA kit, this is the tallest that the kit was molded in when I cut it on the mold lines. Without keeping the front cover ridge close to the canon dimensions, It would have to be opened up and widened with a bigger cover strip than what it calls for.
4. Back and Kidney gap was closed
5. Posterior overlap removed.
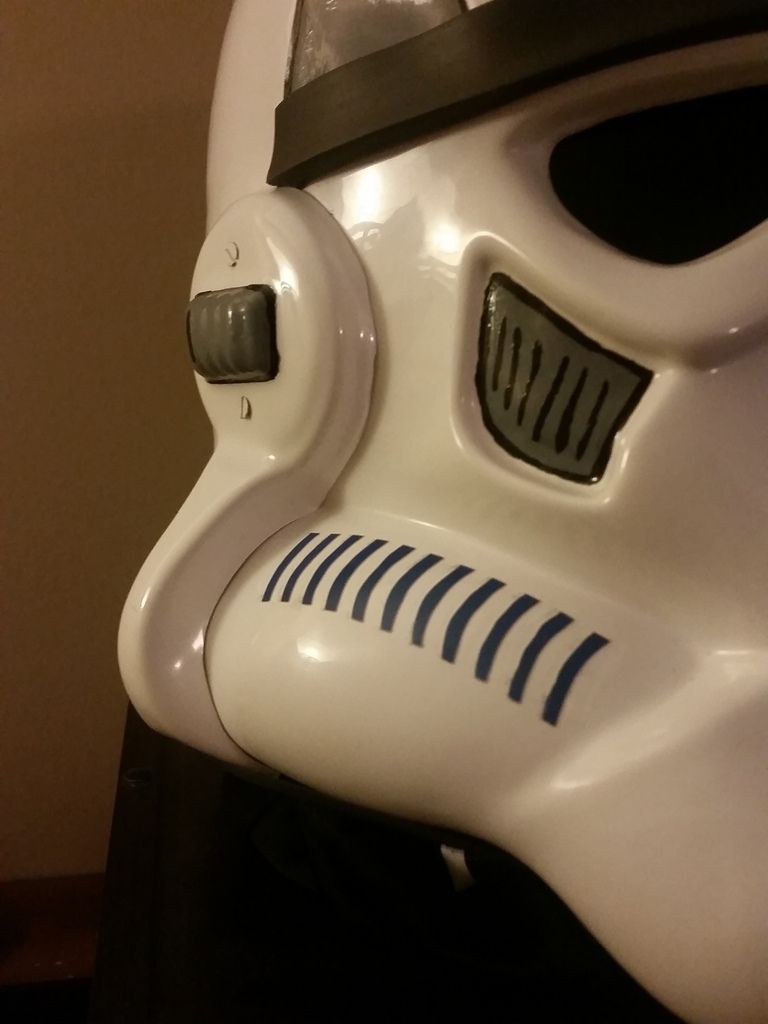
6. Tube Stripes thinned out
7. Rear Traps Fixed. Removed over run from paint.
8. Forearm return edge cut down and sanded
9. Chest brought down lower so not to cause it to raise over ab. (posterior kicked out due to shift in the armor, but returns to place)
Thank you and as always...For the Empire!
-
No problem
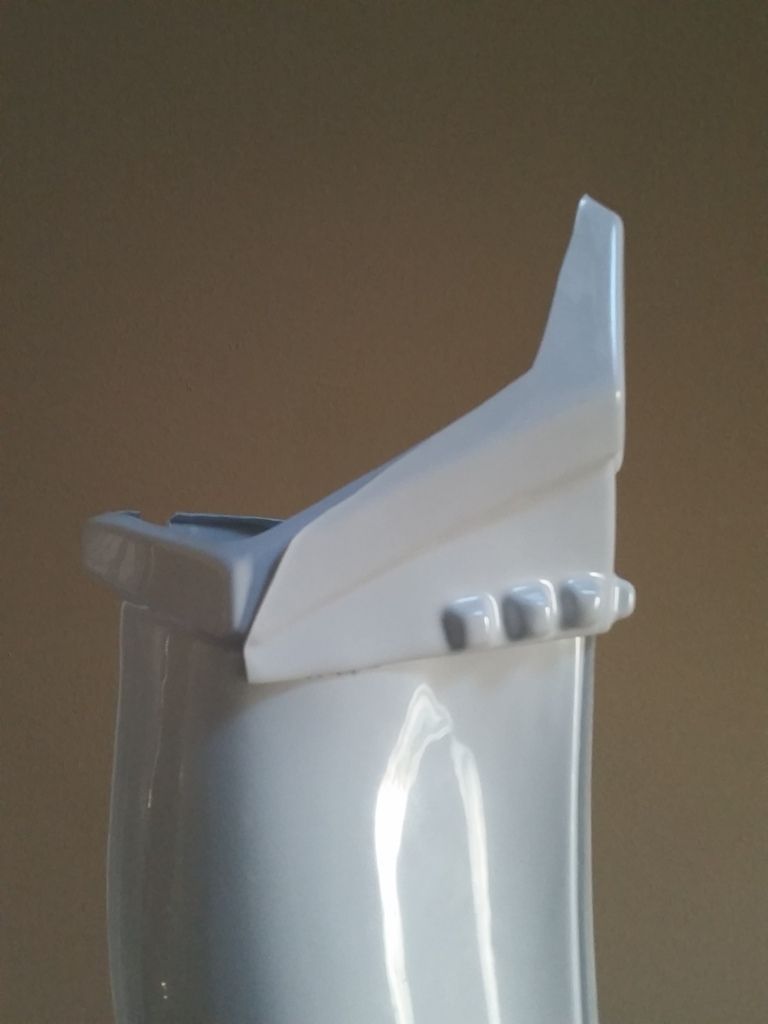
KNEE PLATE
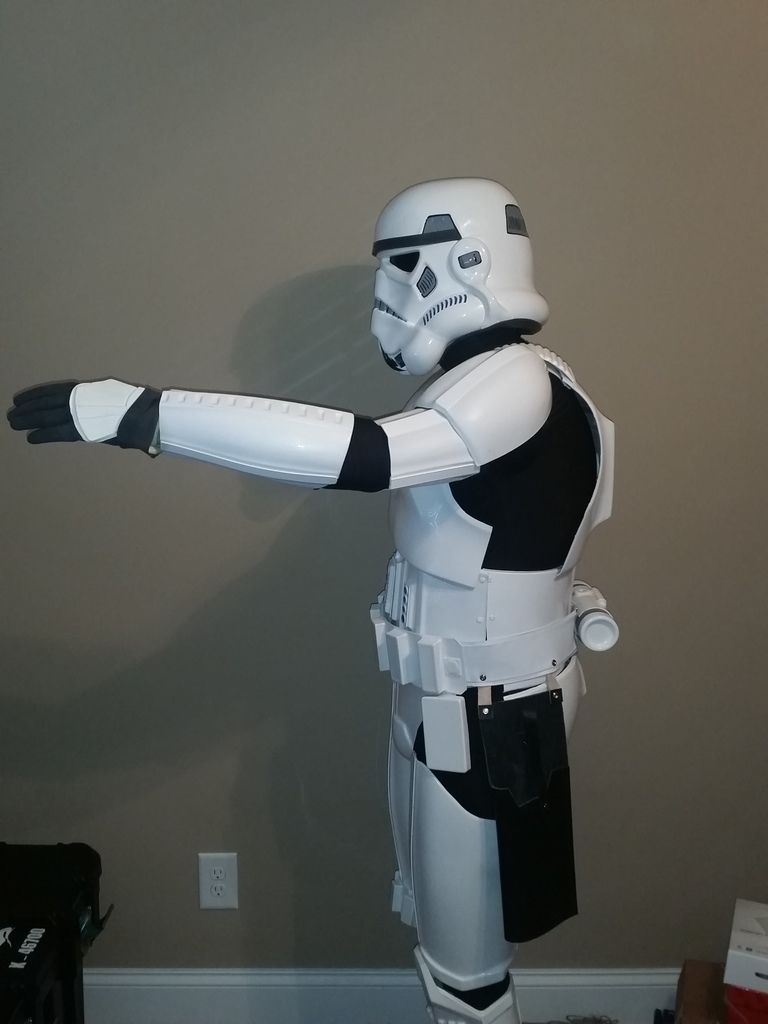
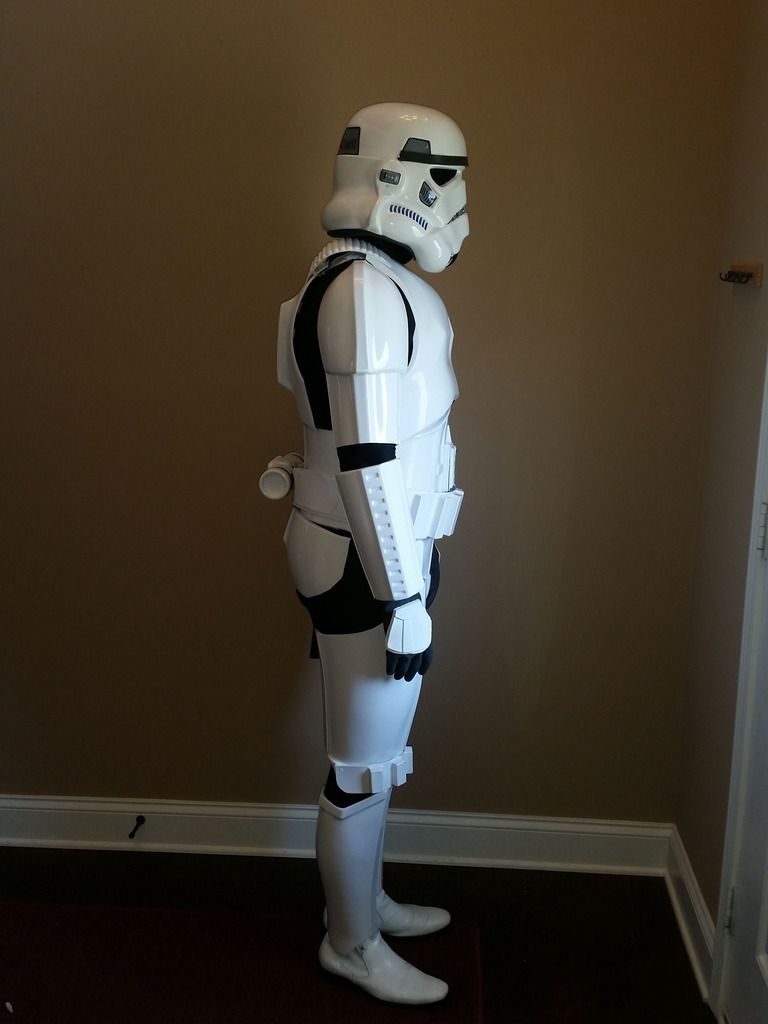
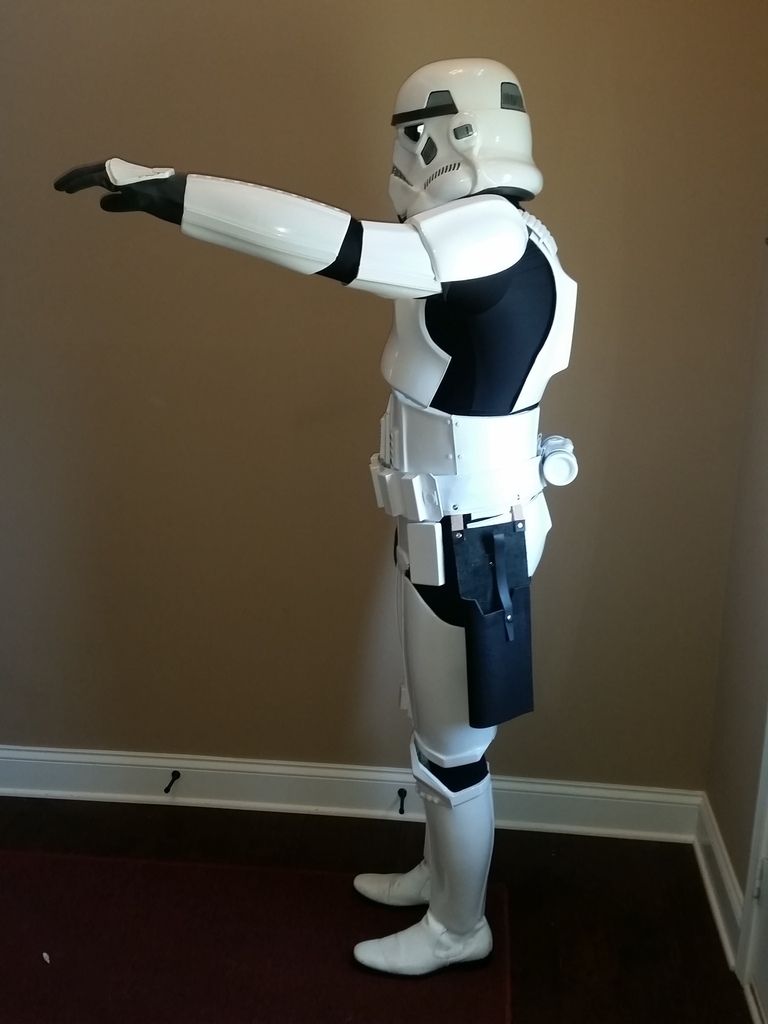
LEFT SIDE ARMS DOWN
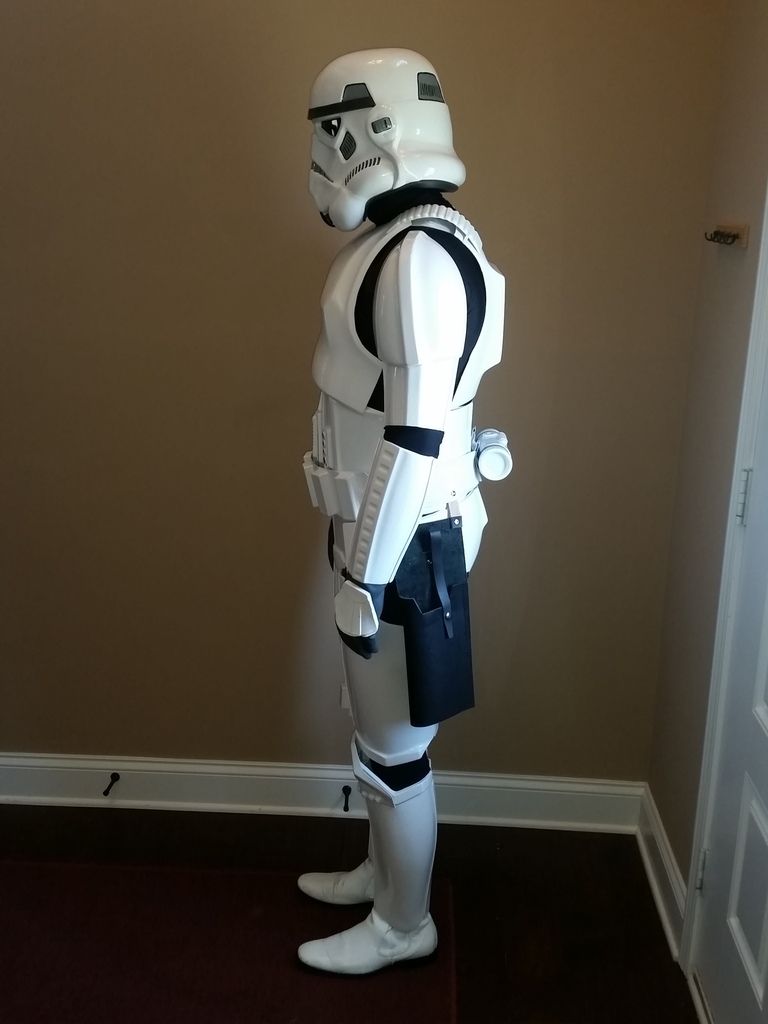
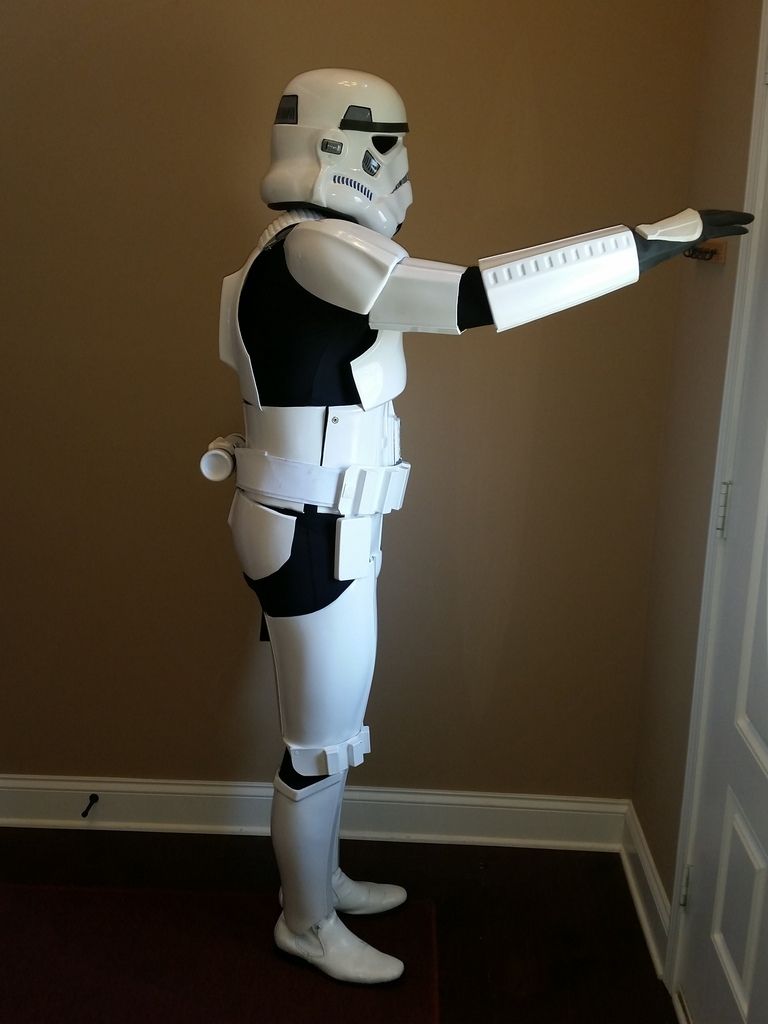
RIGHT SIDE ARMS DOWN
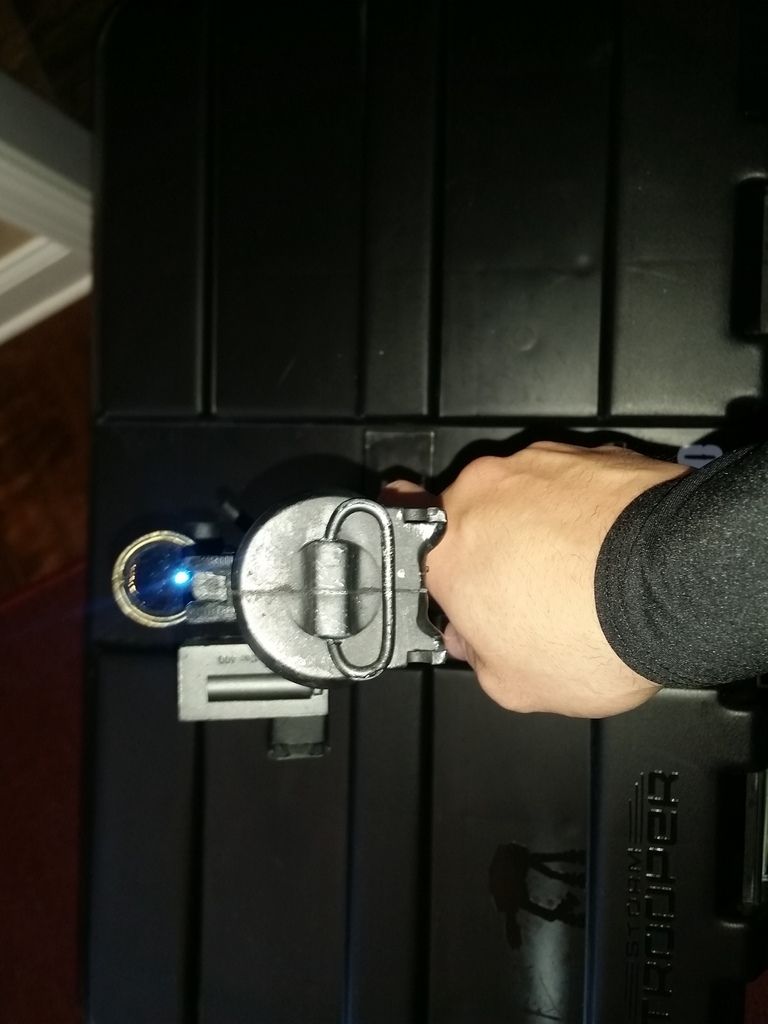
D-RING
-
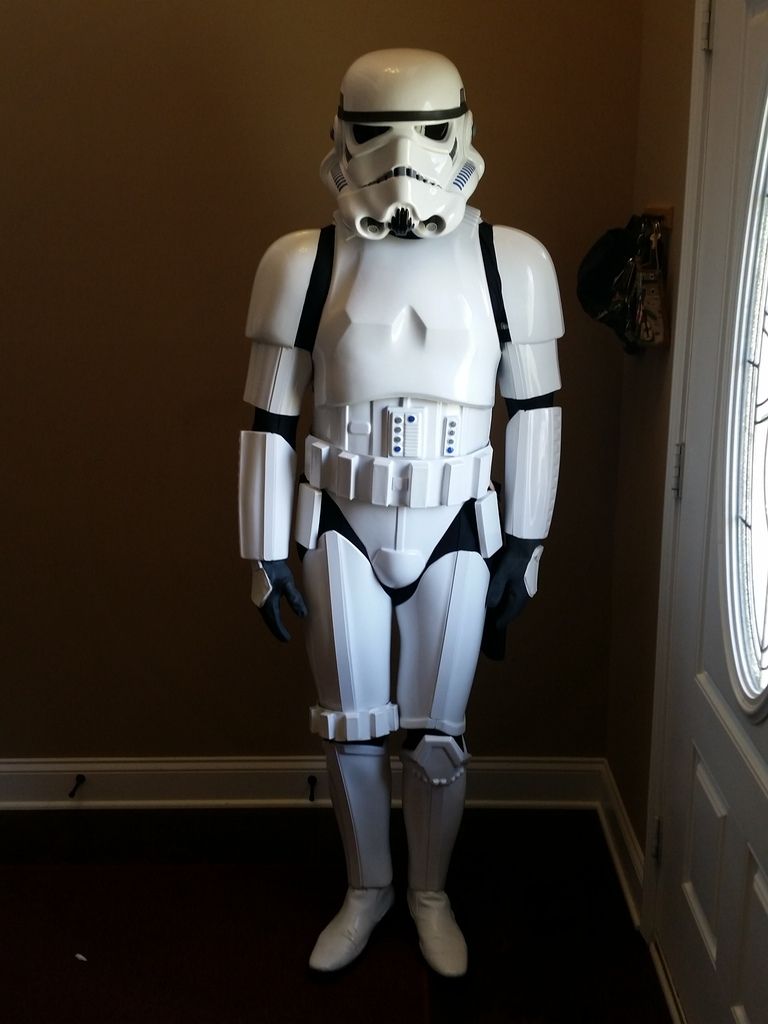
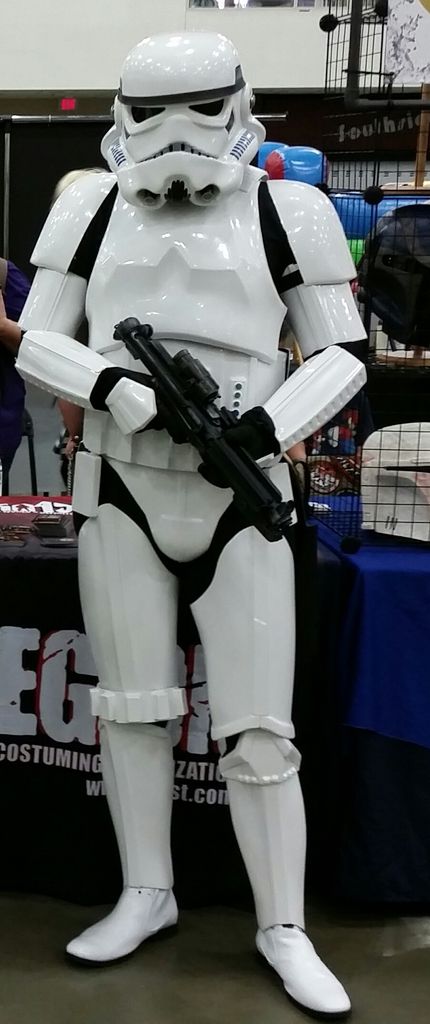
ANH STUNT
Name: DAVID CAMACHO
Legion ID: 46700
Forum ID: NACHO
Garrison: MIDSOUTH GARRISON
MANDATORY INFO
Armor Maker: ATA
Helmet Maker: ATA
Blaster Type: HYPERFIRM
OPTIONAL INFO
Height: 5' 11"
Weight: 190lbs
Boots Maker: Bass Amsterdam Dyed
Canvas Belt: TKittell
Hand Plate Type: Sonnenschein
Electronics: iComm, Echo FANs, AKER AMP
Neck Seal: Darman
Holster Maker: Darman
Mic Tips: ATA
Inner Drop Boxes: ATA
S-Trim: ATAEIB THREAD: http://www.whitearmor.net/forum/topic/32507-tk-46700-requesting-anh-stunt-eib-status-ata492/#entry420833
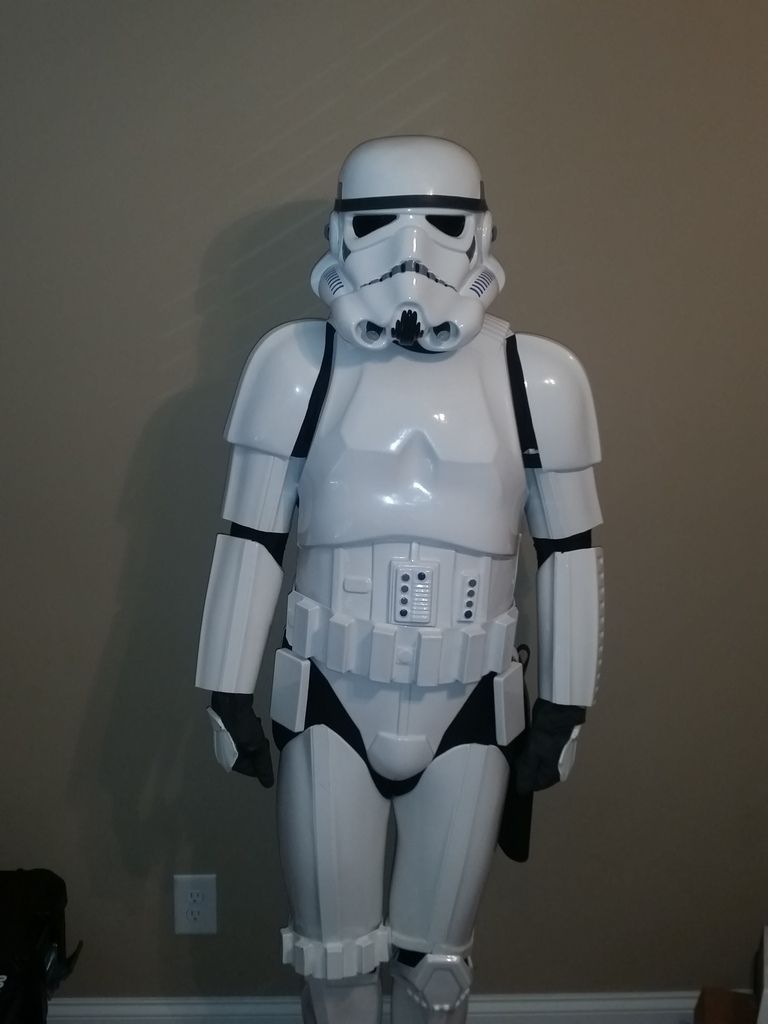
FRONT
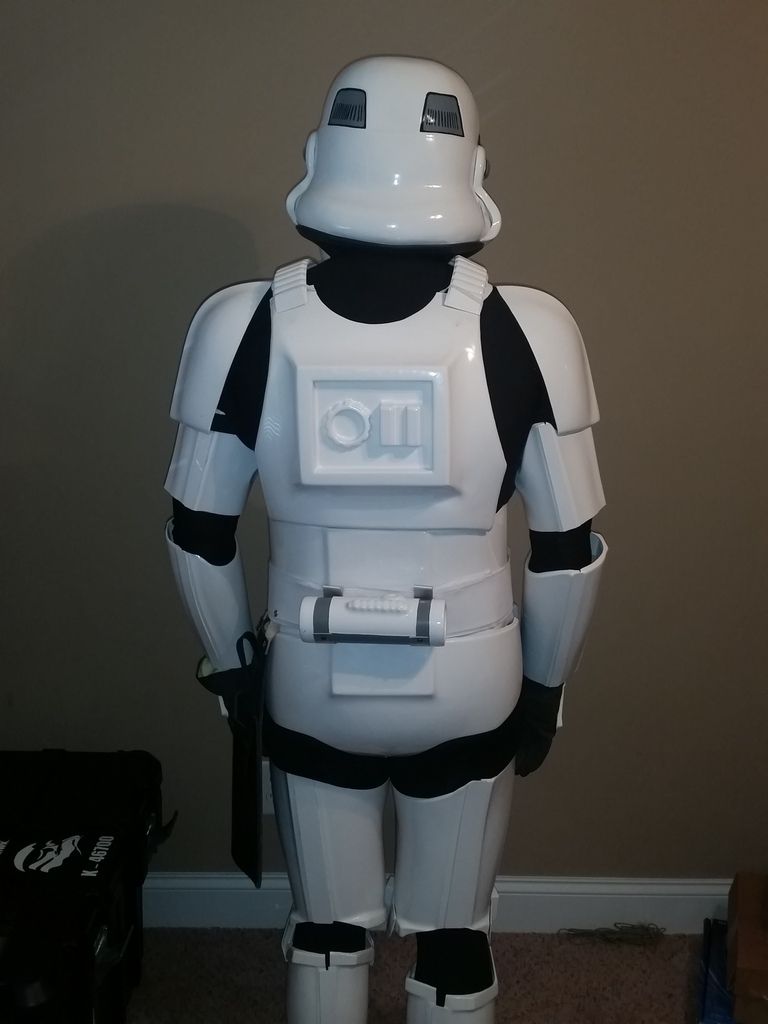
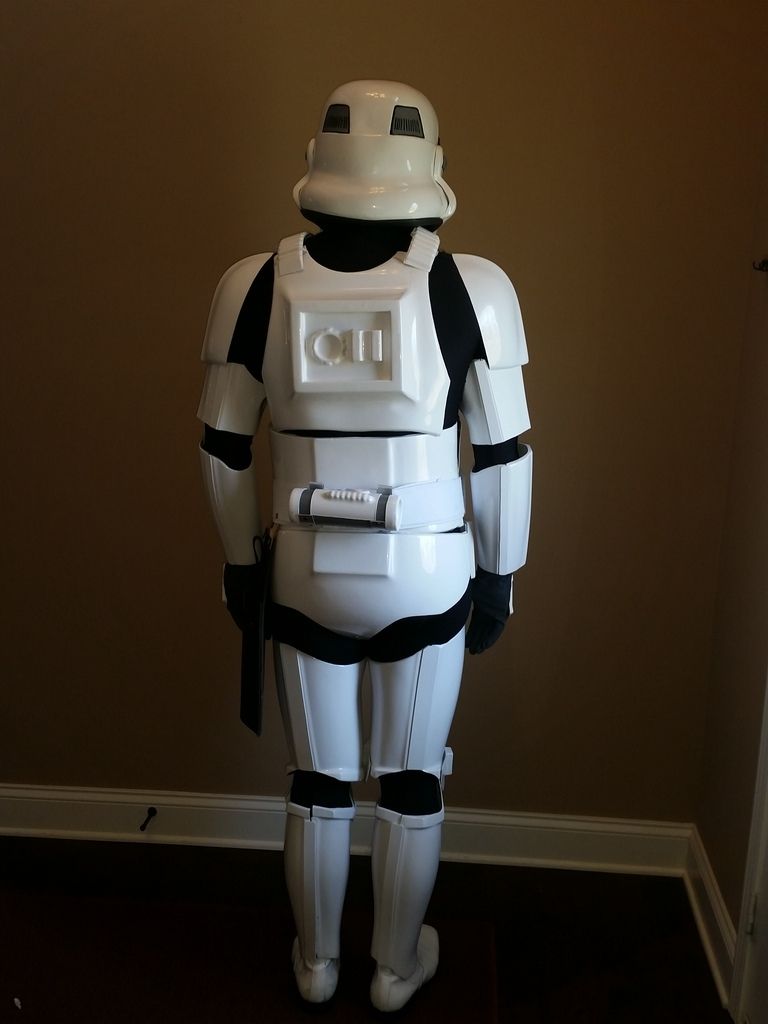
BACK
LEFT ARM RAISED
RIGHT ARM RAISED
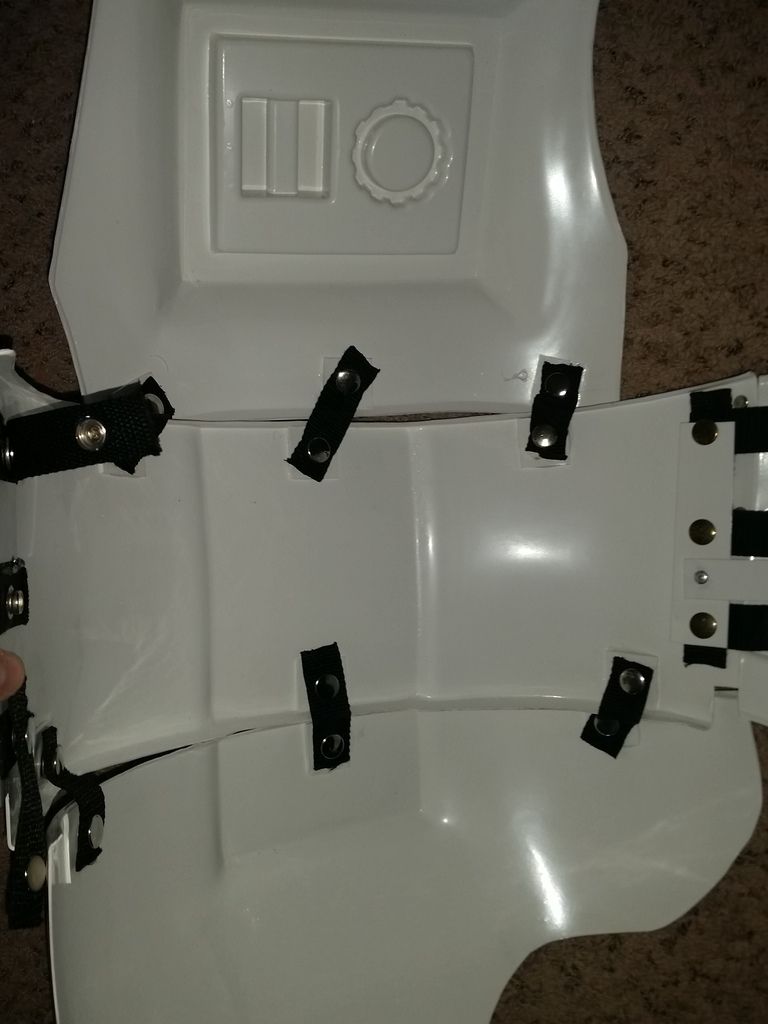
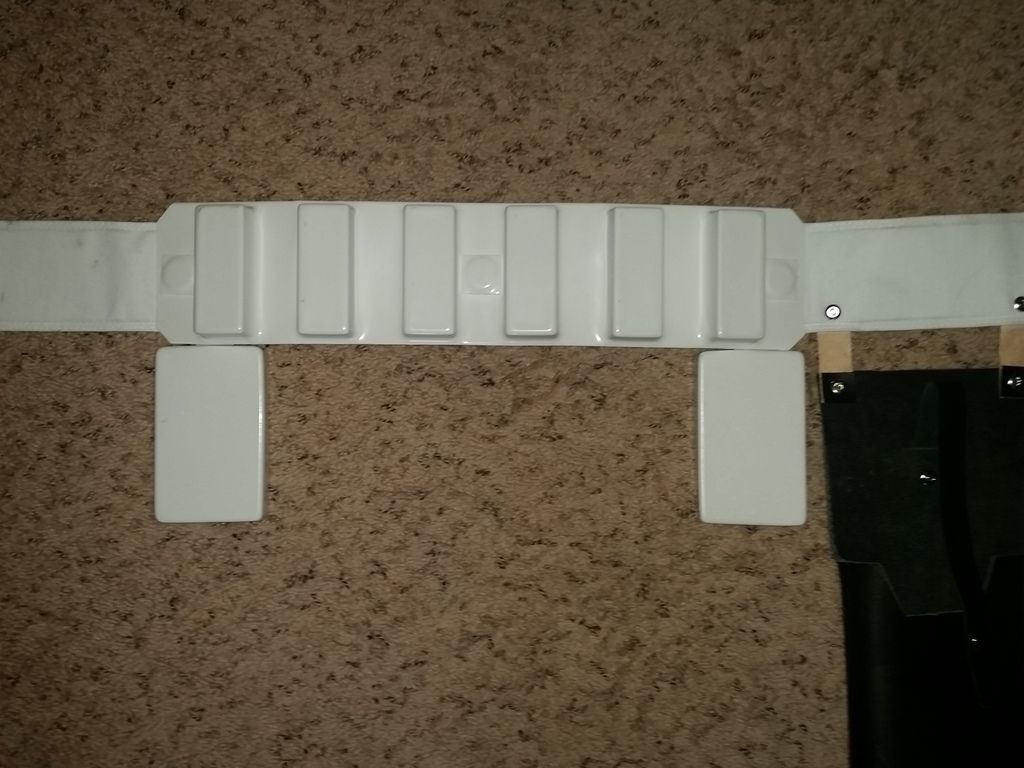
AB KIDNEY ATTACHMENT
HAND PLATES
SHOULDER BRIDGE FRONT
SHOULDER BRIDGE BACK
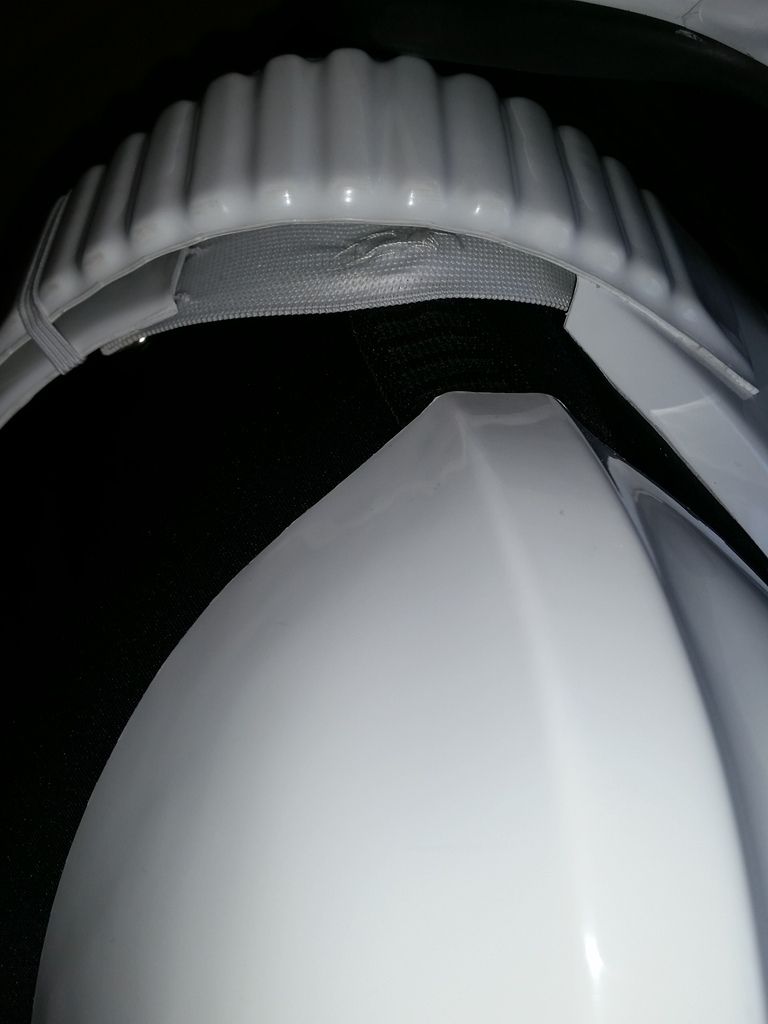
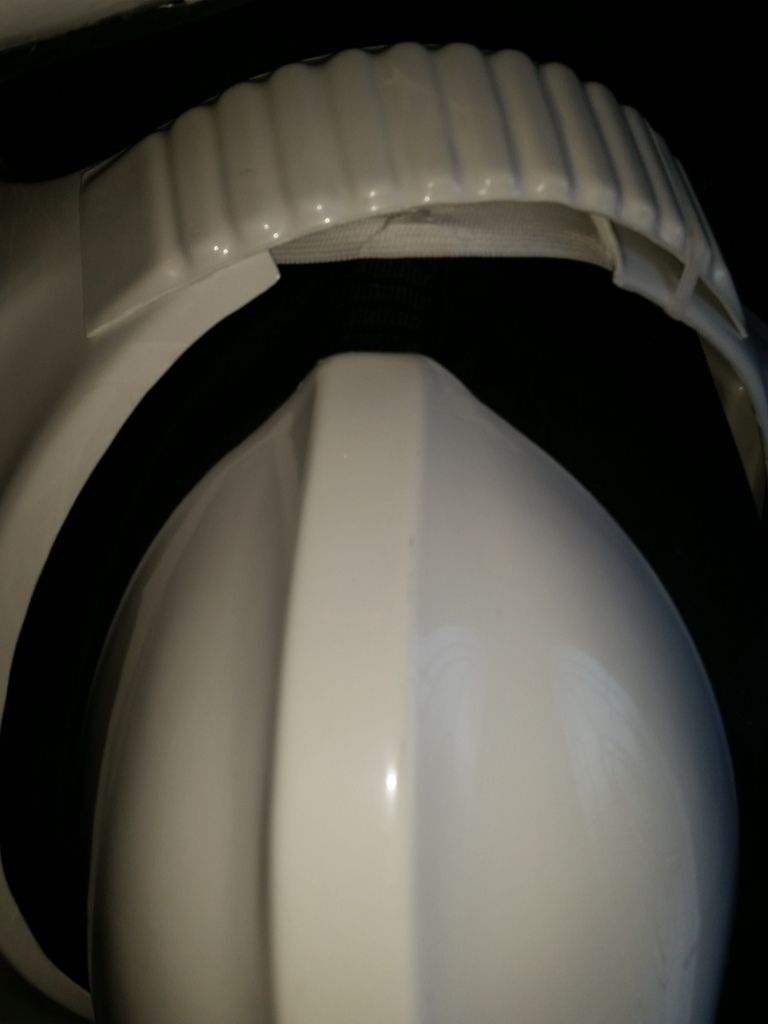
CHEST / BACK CONNECTION
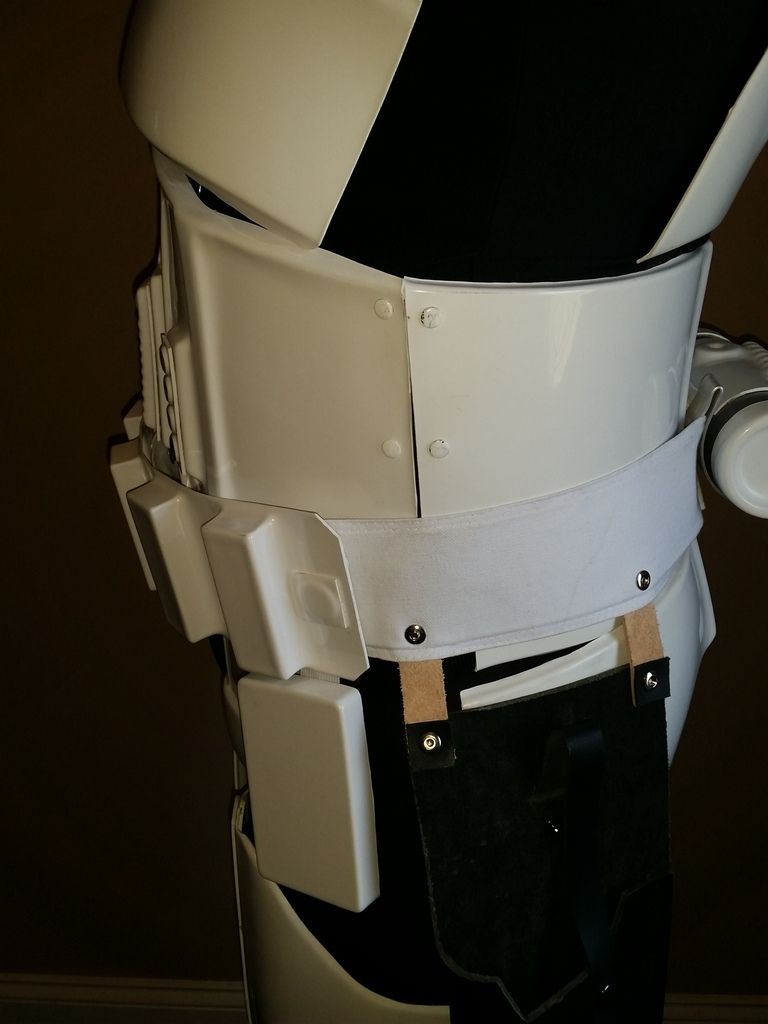
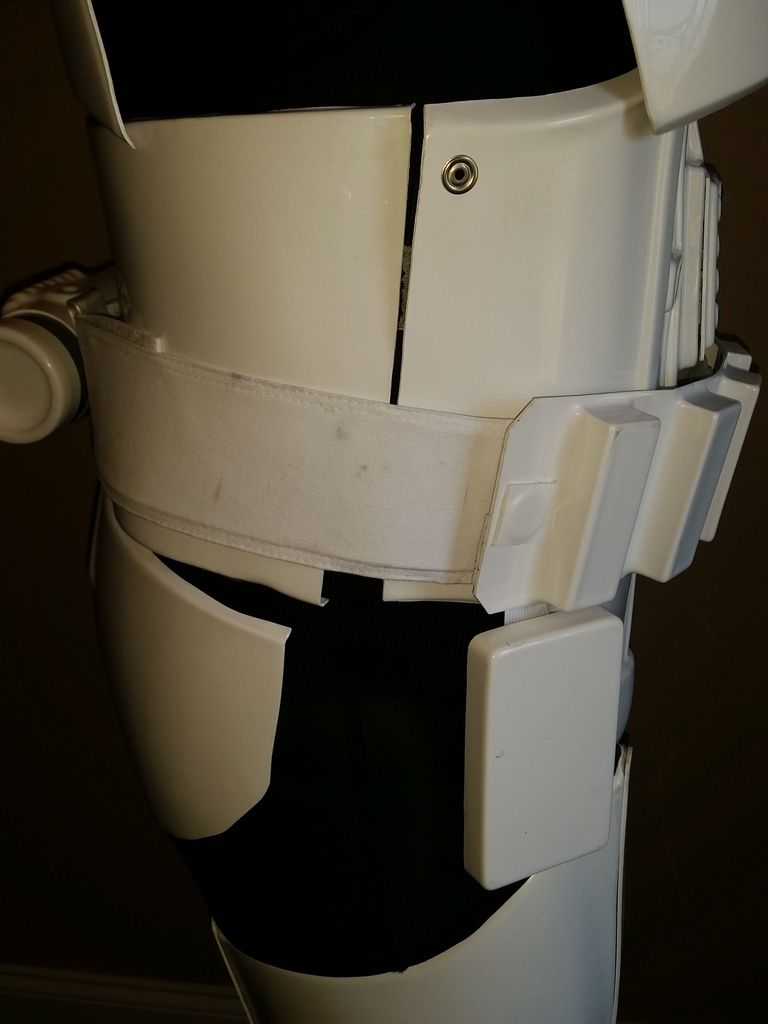
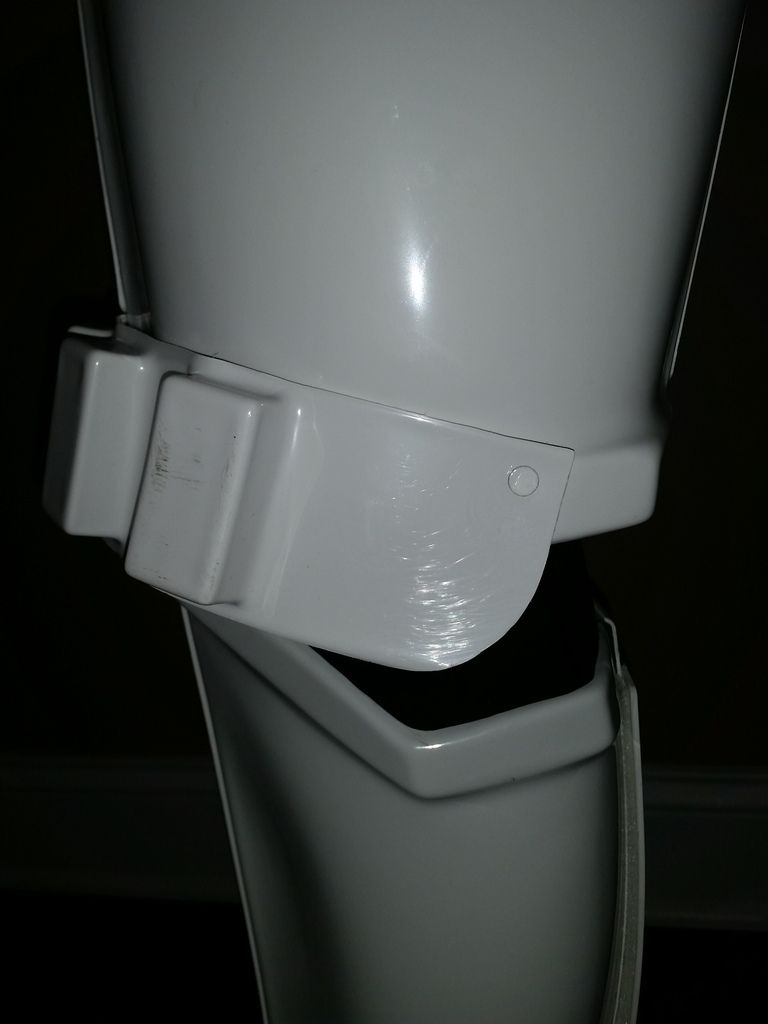
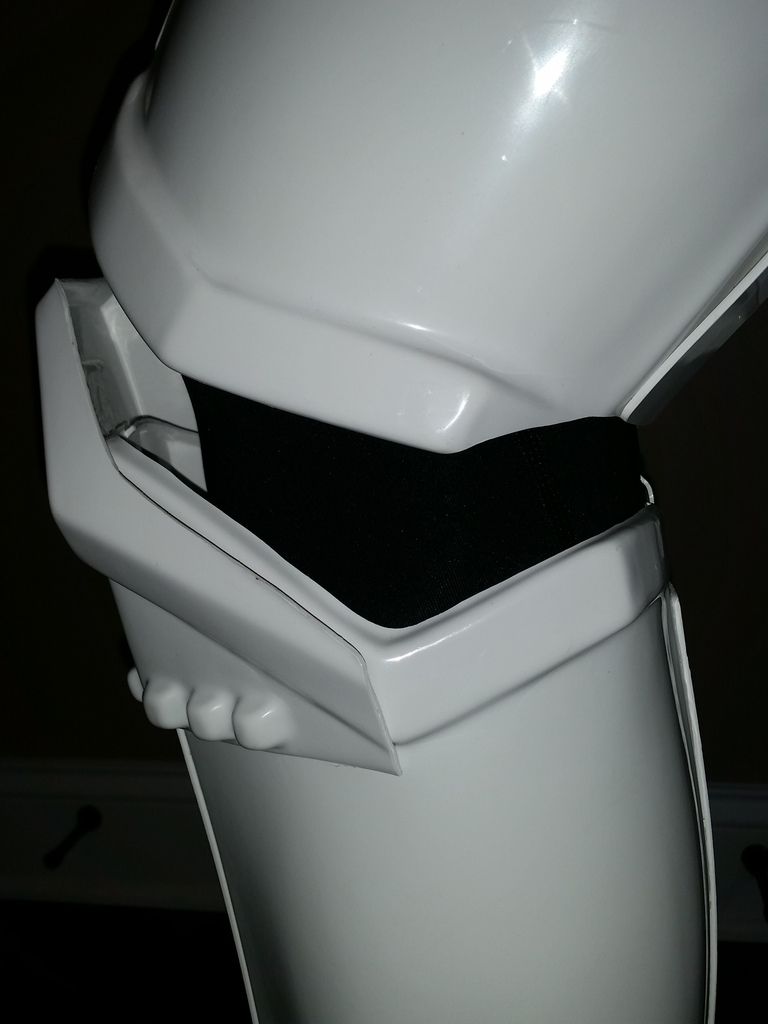
THIGH PACK ATTACHMENT
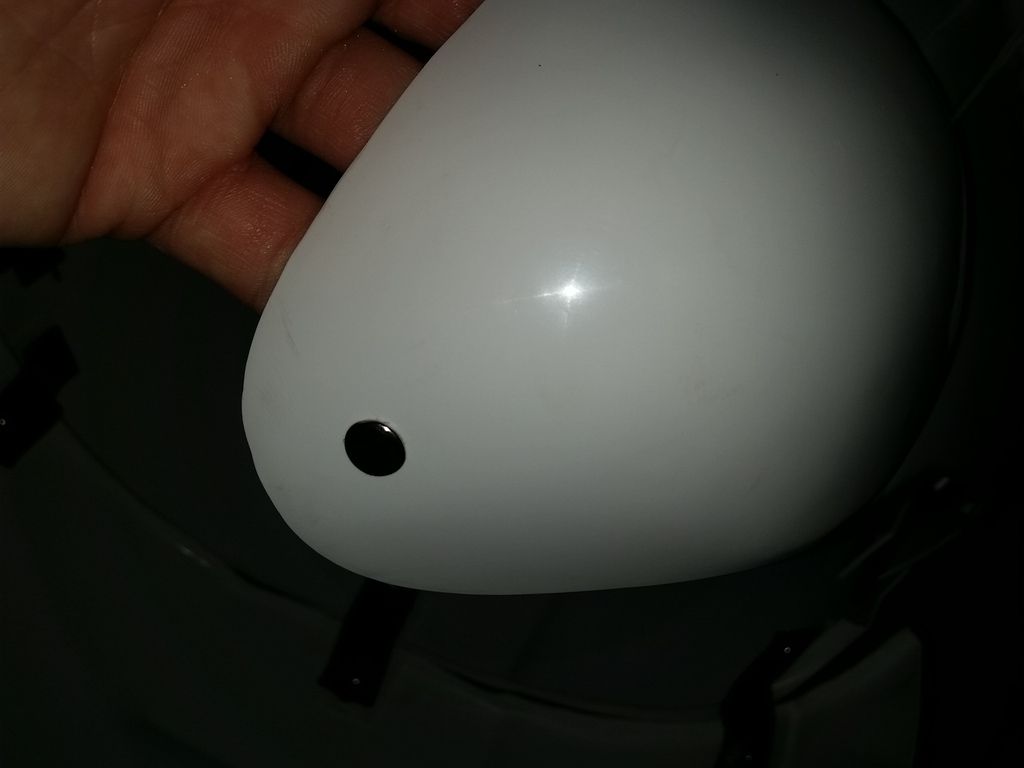
KNEE PLATE
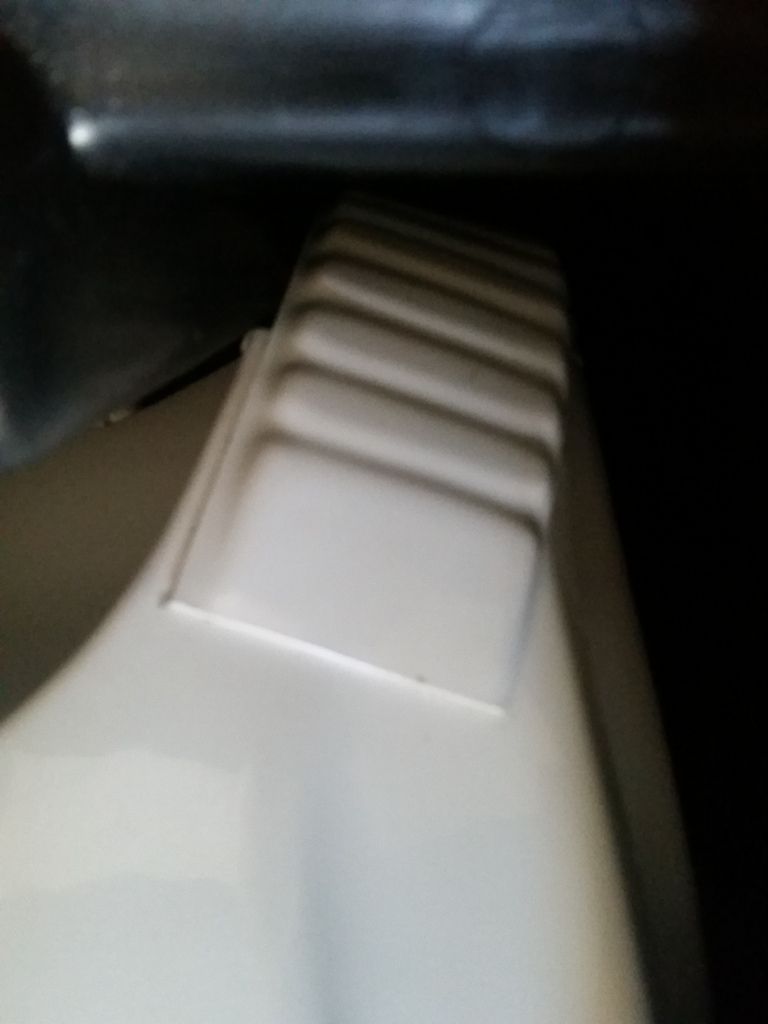
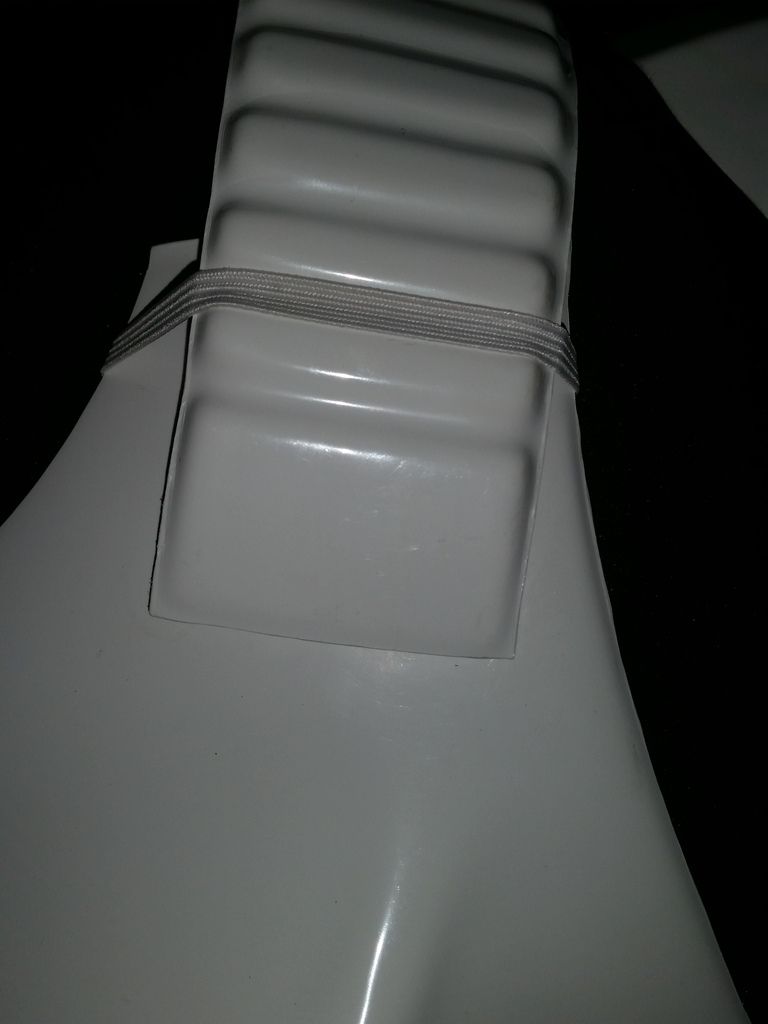
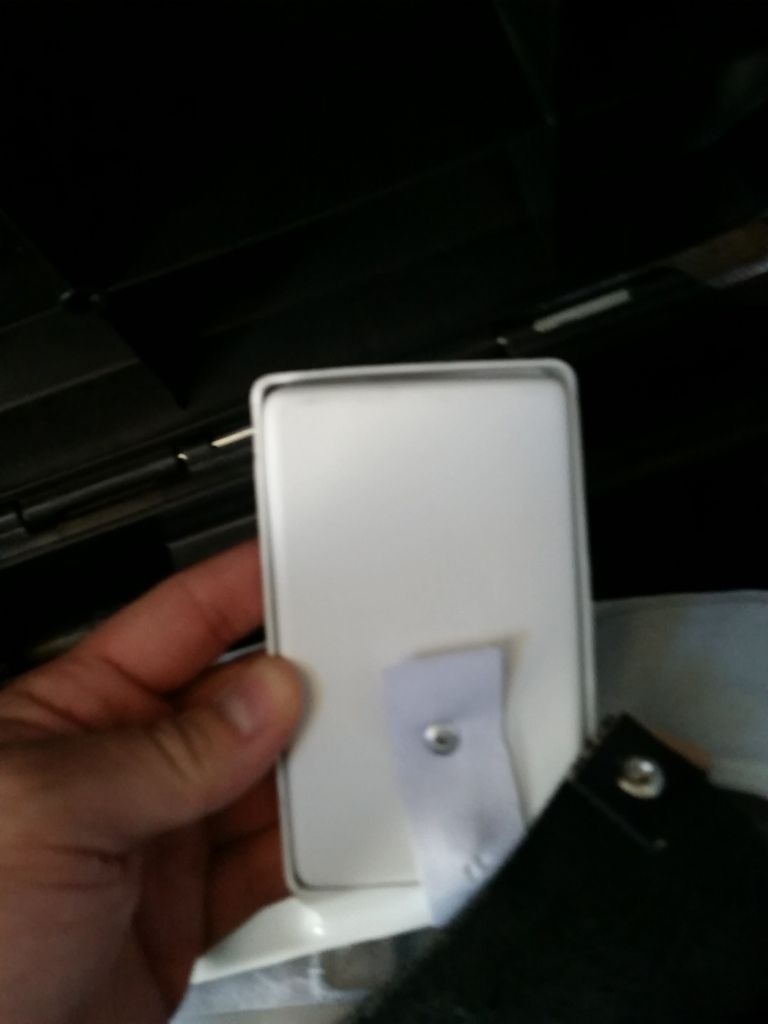
DROP BOX BACK
COD / BUTT PLATE ATTACHMENT

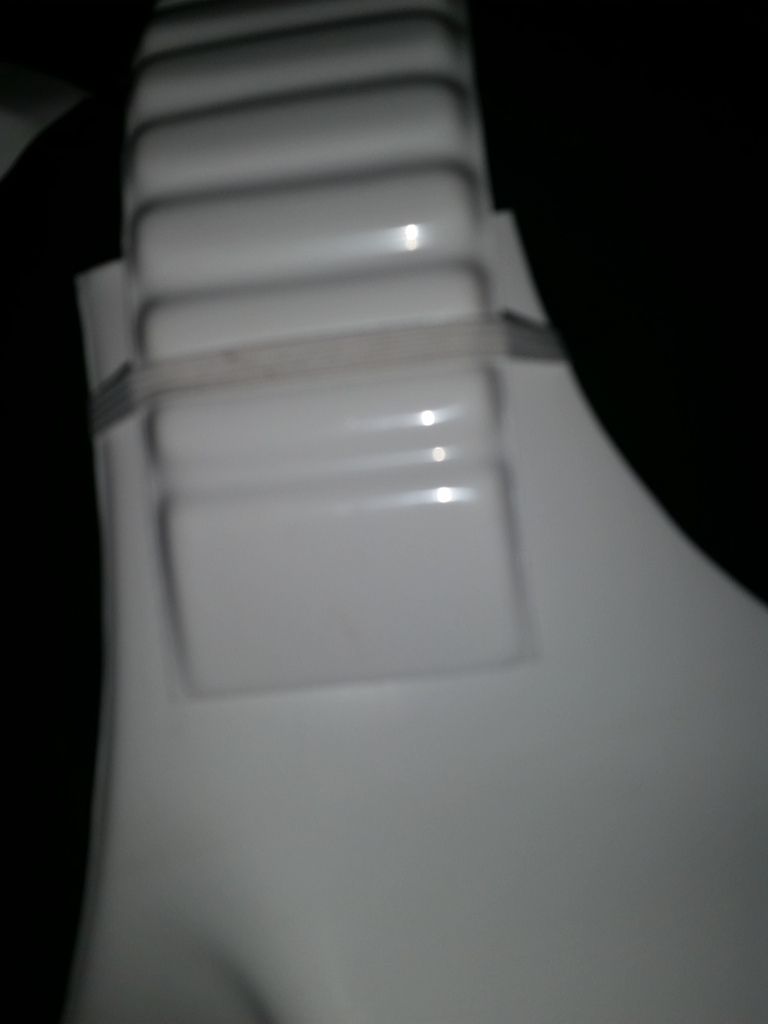
INTERIOR STRAPPING
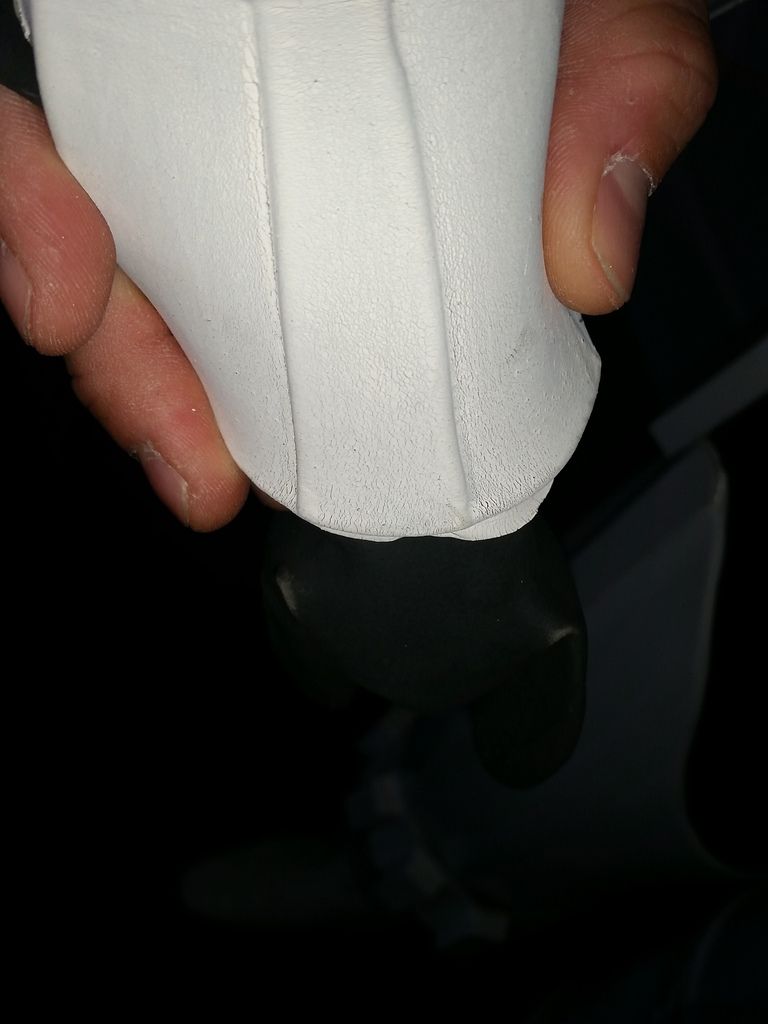
KIDNEY PLATE NOTCH
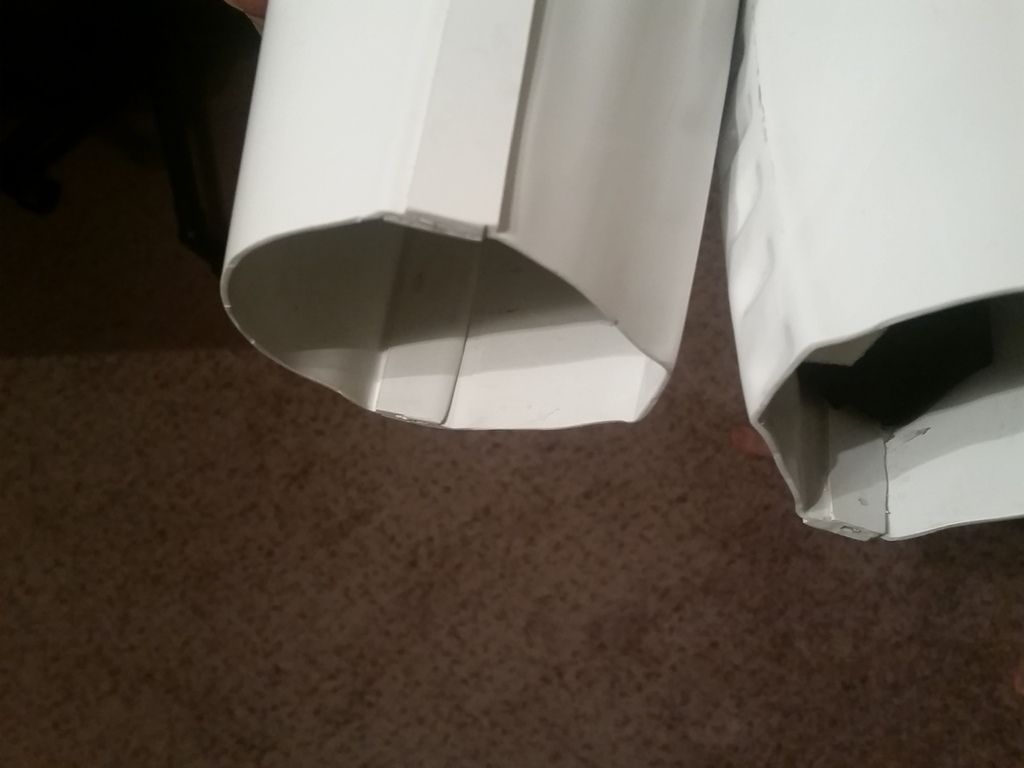
WRIST SIDE OF FOREARMS
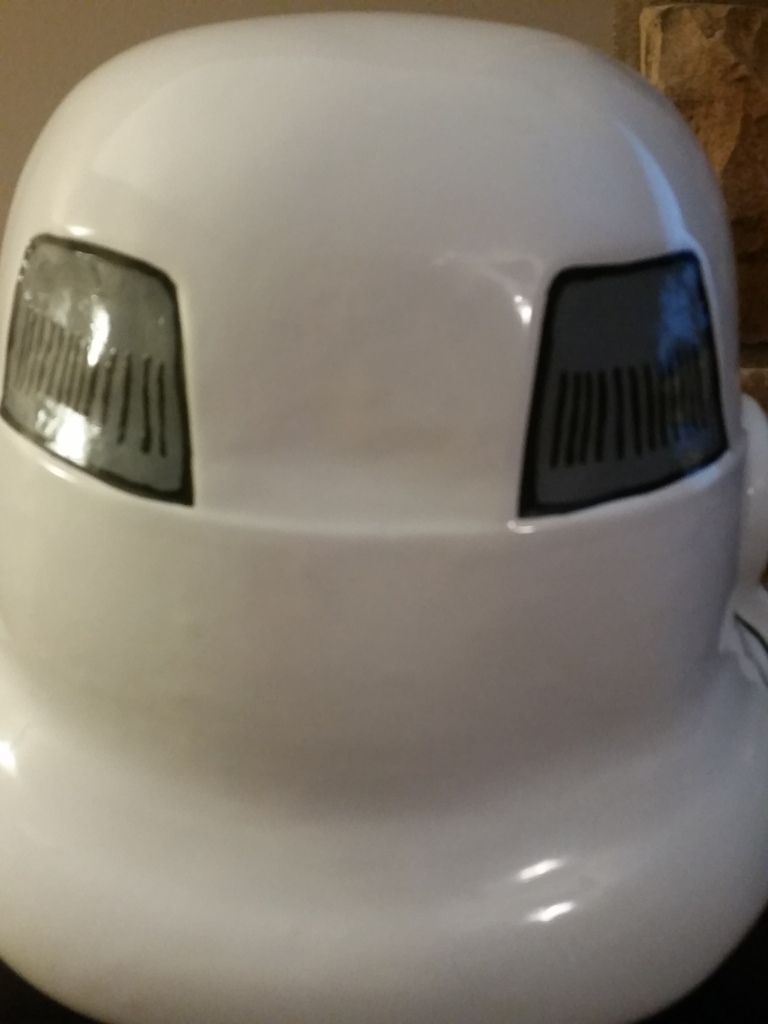
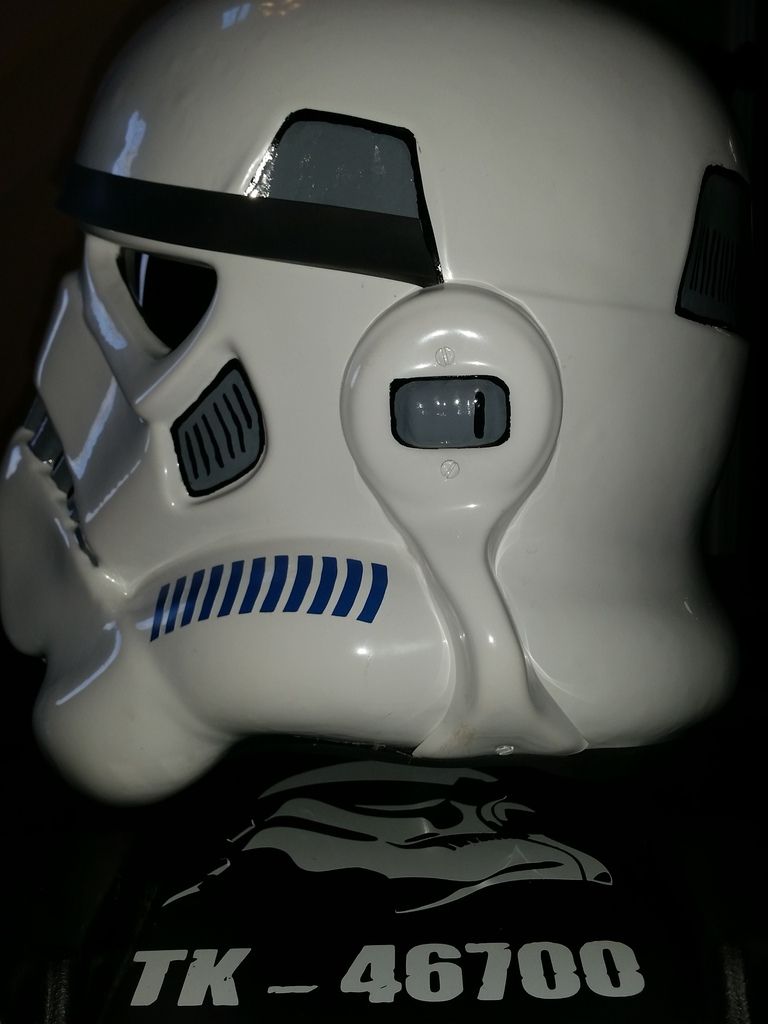
HELMET FRONT
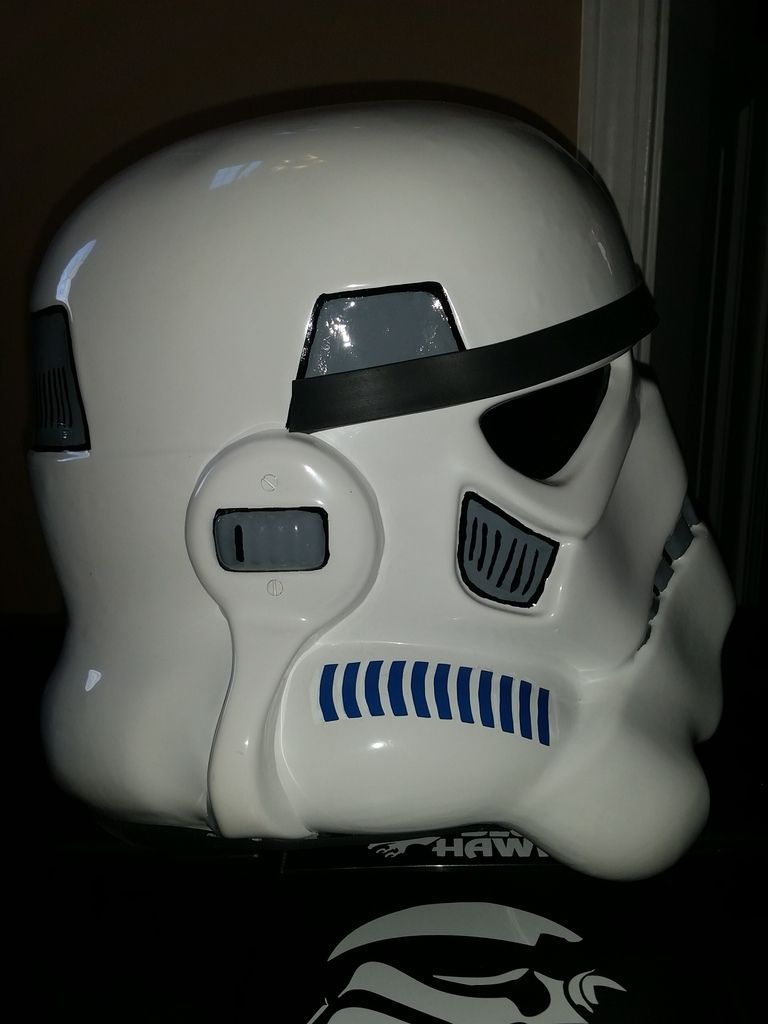
HELMET RIGHT SIDE
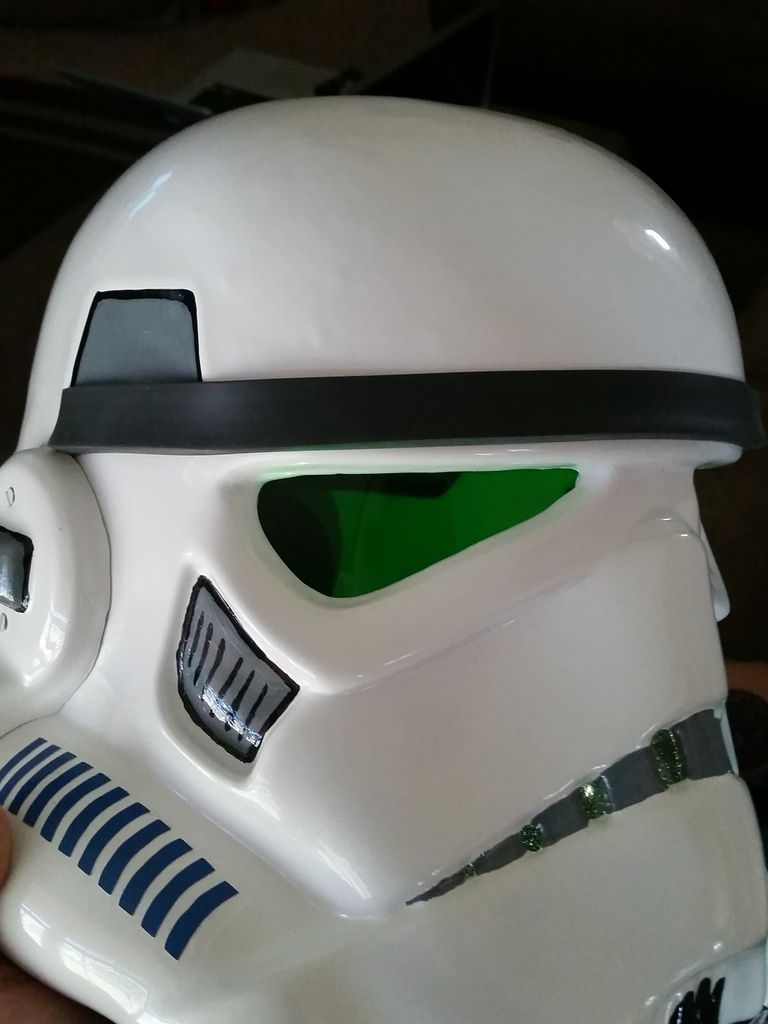
HELMET LEFT
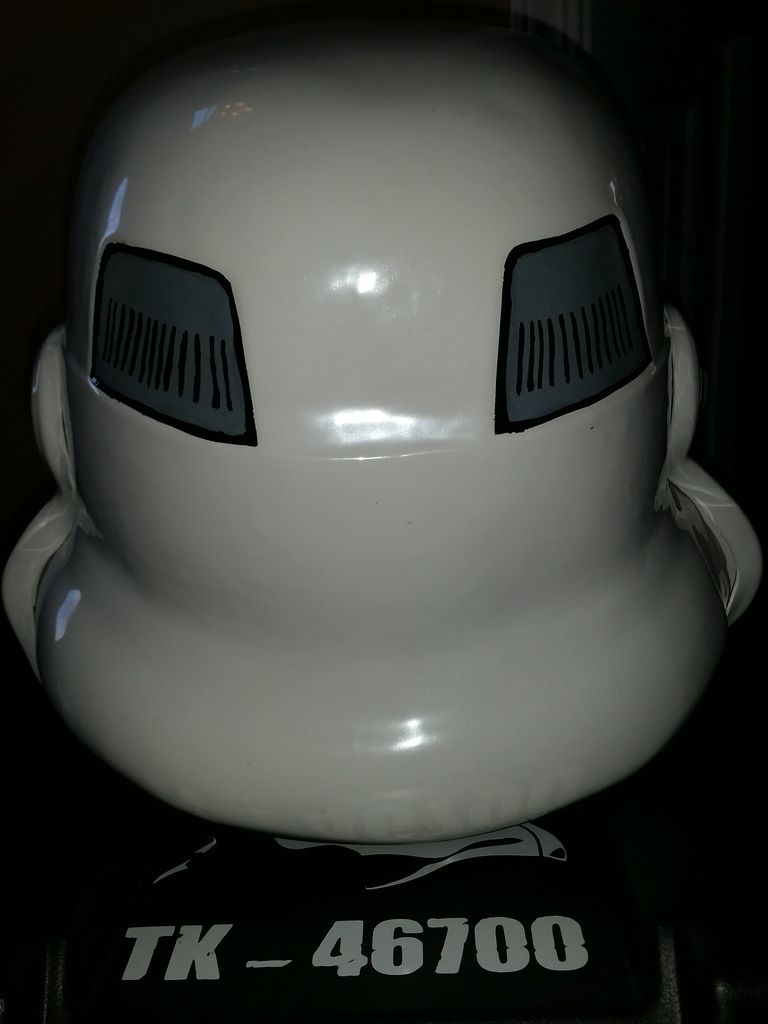
HELMET BACK
LENS COLOR
S-TRIM
BLASTER RIGHT
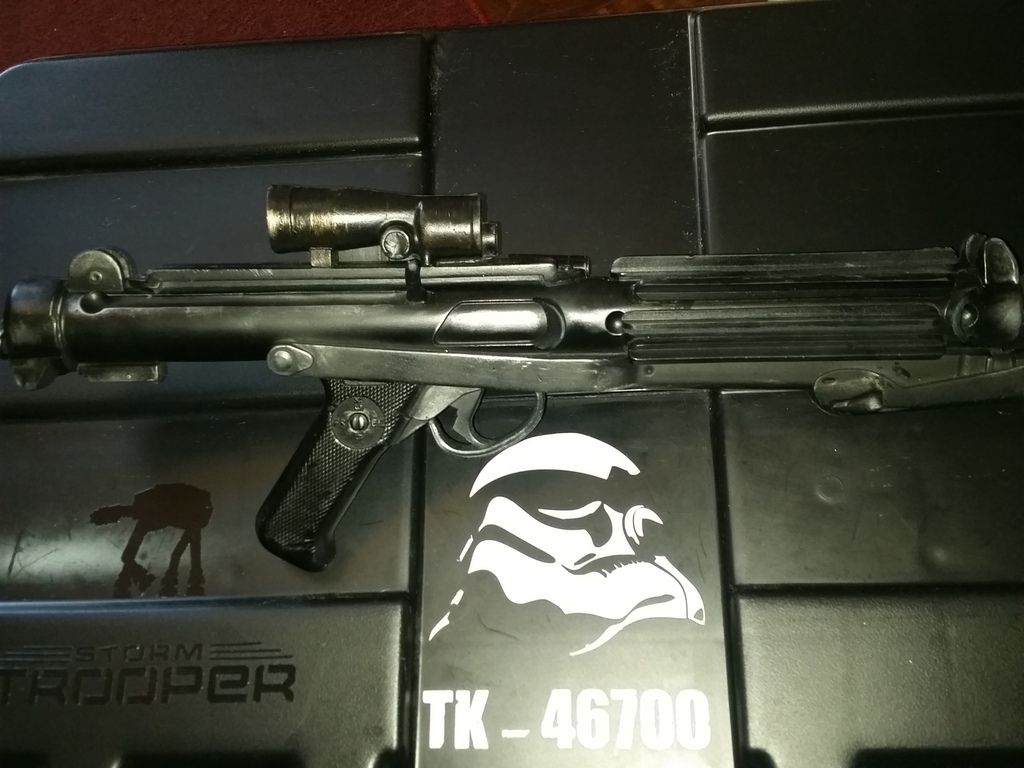
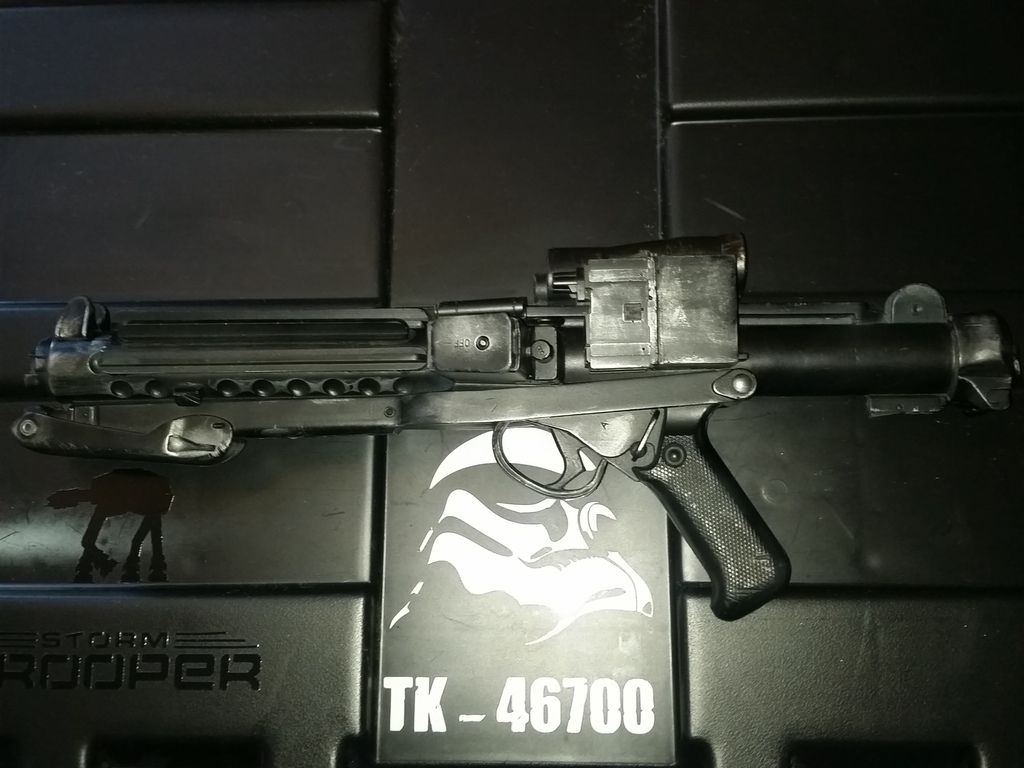
BLASTER LEFT
NECK SEAL
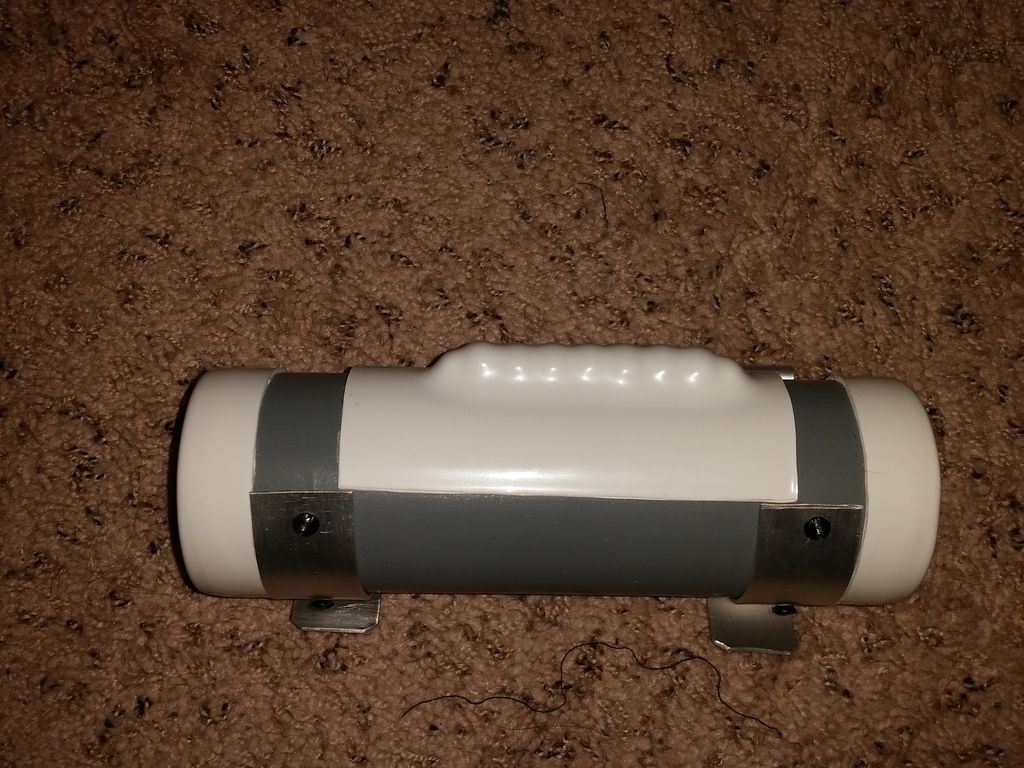
THERMAL DET
HOLSTER ATTACHMENT
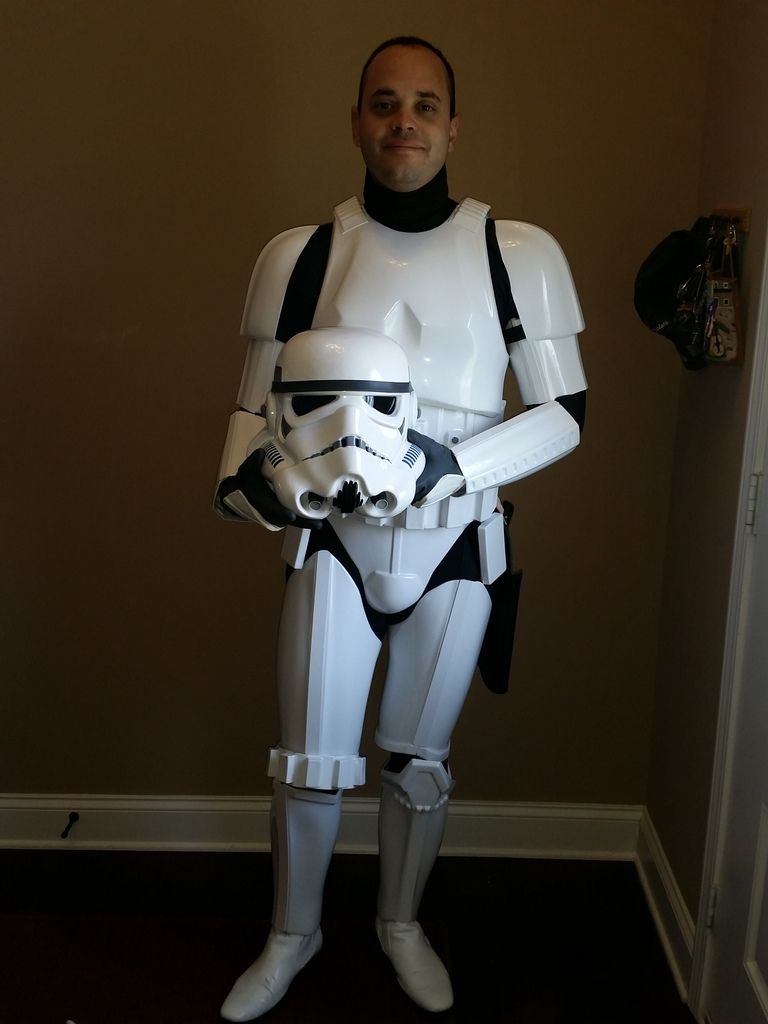
BUCKET OFF
THANK YOU FOR YOUR CONSIDERATION.
...FOR THE EMPIRE!
-
Welcome. Hit us on on the midsouth boards. We have a bunch of guys and gals who are knowledgeable and can help you out.
Sent from my SAMSUNG-SM-G900A using Tapatalk
-
AWESOME!!! Thank you so much! I have already eliminated the gap on the right side and I think the angle that the belt was sitting didn't show, but the drop boxes are at the furthest edge. I will flatten it out for the next submission.
Those thighs are already larger in the back, but I will definitely work on the fit in order to bring them up.
Some easy fixes for what I'm sure and hope is a shoe in to Centurion.
-
Arms. Then legs. Then torso. I did my helmet last. I honed in my cutting and trimming skills on the body pieces. Learned how the abs reacted and how to cut better. That way you can do the helmet more precisely.
Best of luck to you
Sent from my SAMSUNG-SM-G900A using Tapatalk
-
Good deal. I stand corrected hahaMine was bronze and never had a problem.
Sent from my SAMSUNG-SM-G900A using Tapatalk
-
GREAT photos and great build.
only thing I may see is the Cap rivet you used on the cod piece is gold/bronze. Correct me if i'm wrong, is it supposed to be silver? CRL doesn't say anything about the color.
Great work nonetheless. you got this
-
Great work. Buena suerte. The DTL 19 looks great!
-
1
-
-
Saw your post on the SW FB group. Outstanding build. You got his!
-
1
-
-
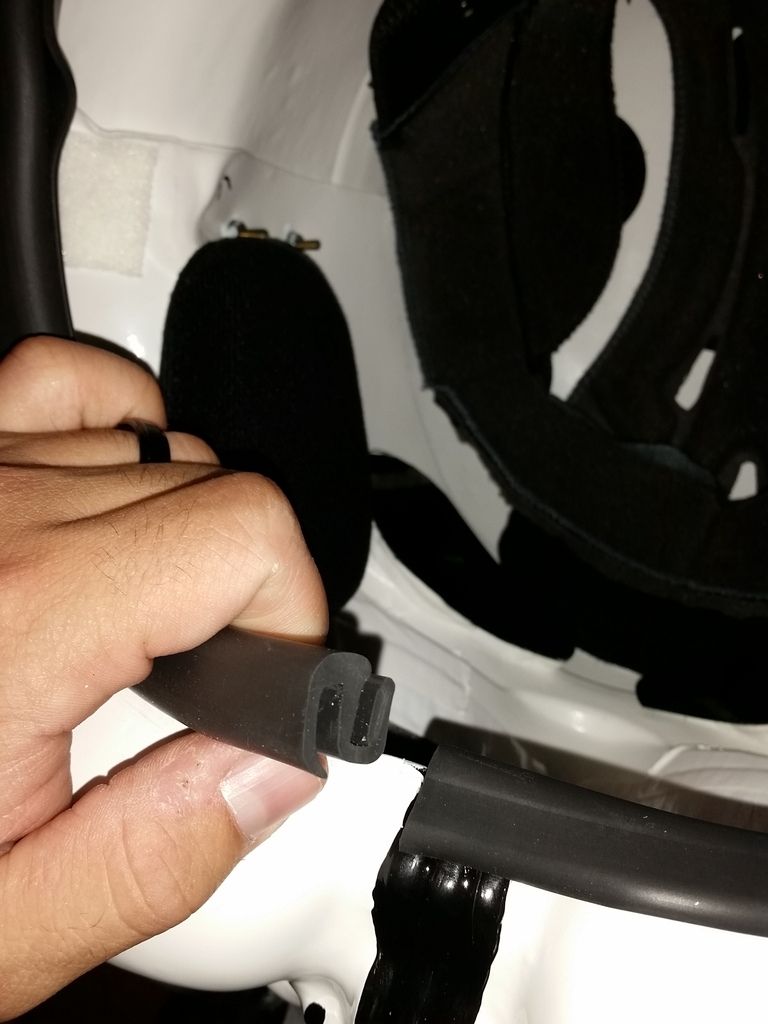
Thanks. For the scope lens, I printed off a reticle on photo paper and cut it to size (You can hardly see it with the blue lens). Then I cut up a cheap dollar general pair of sunglasses. Used the snips and dremil to get it to shape and wedged it in the scope opening. I can remove it if need be. But it's firmly in place so it won't fall out during troops. PM me if you want a quick how to.That looks great. I have an ANH hyperfirm as well can you tell me where you got the scope lens? I'm modifying my E11 and I've been hunting down something I could use for a lens. Thanks!
Sent from my SAMSUNG-SM-G900A using Tapatalk
-
1
-
-
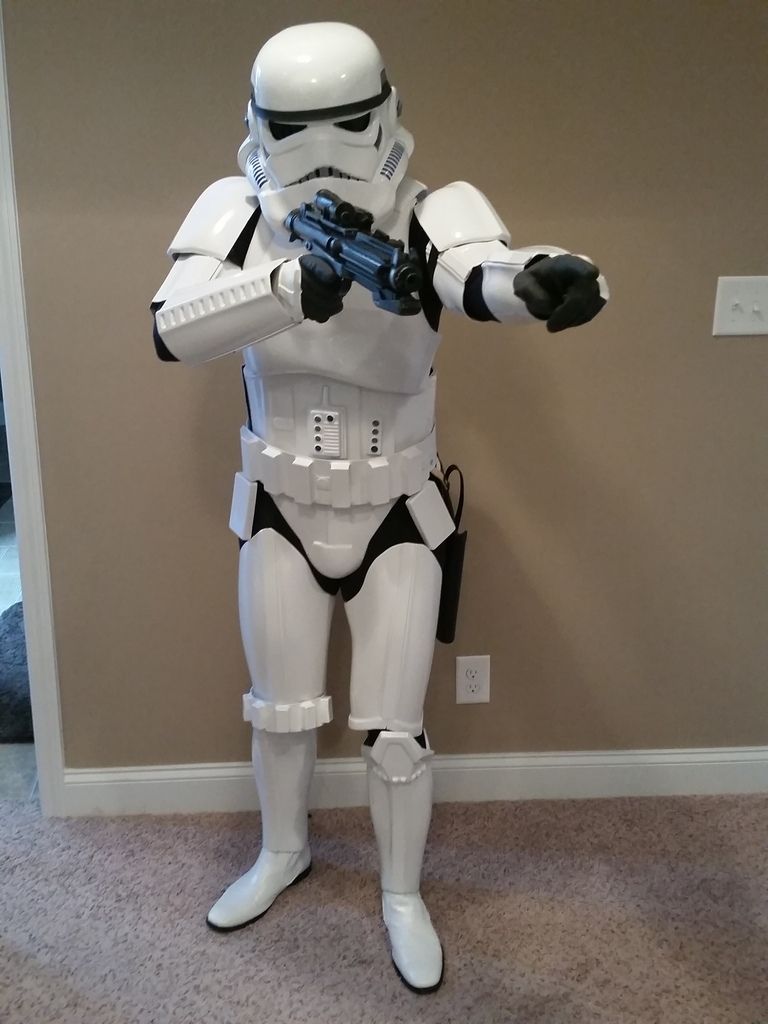
Here is a clean action shot with the E11
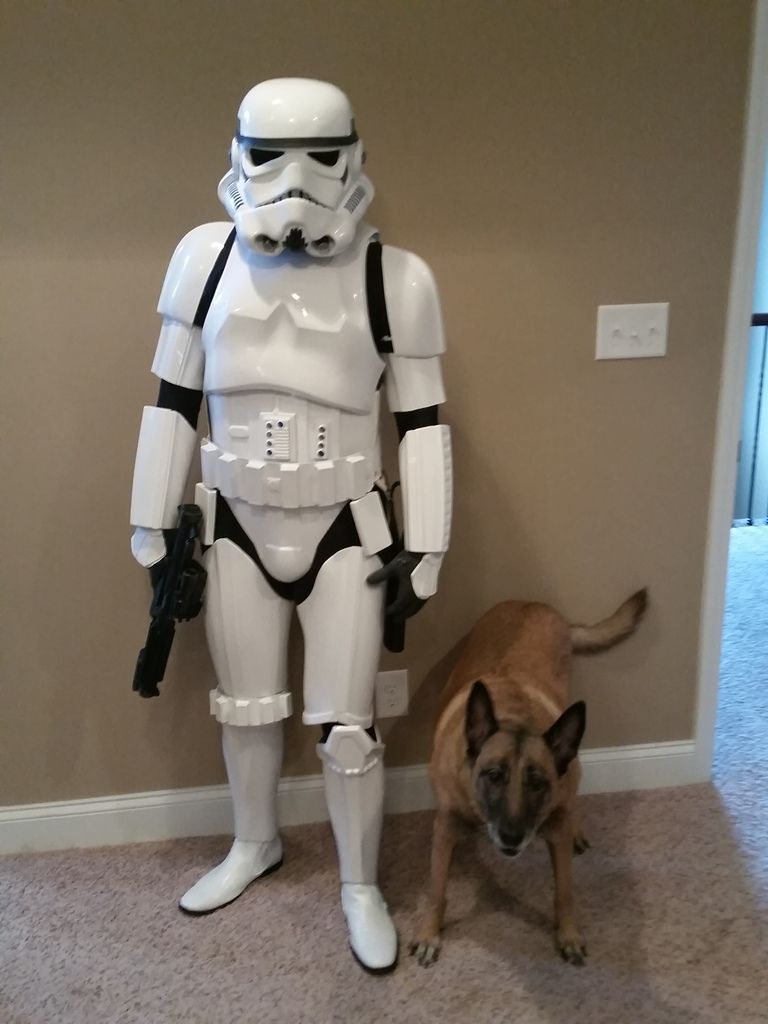
And just for fun...Imperial K9 Detachment?
-
1
-
-
My apologies.
Here is the full pic. Not a clean background. If a new one is needed I can take it tonight.
I know I know...the knee plate.
-
1
-
-
Looks great. Best of luck
Sent from my SAMSUNG-SM-G900A using Tapatalk
-
Hey David! Your armor looks great and it appears to be put together well. Good Job.
As far a suggestions go, which I don't believe will effect your approval but would make your armor look even better is:
First your tubestripes. They appear to be painted which I know would make this a pain but they look very thick. I also don't know if there is an actual count on how many marks there should be but I feel like there should be more. I thought I read one time that there should be like 13-14 of them. But again this is purely what I feel may bring up the overall look.
Next are your thighs. Did you use any belt or elastic to hold your thighs up? I feel like there is a large gap between your cod and your thighs and they could be pulled up a little. That would also help with the thigh riding over your sniper plate.
Again these are only suggestions and I do not think it would effect getting EIB. Overall great job!
For the thighs. That is as high as they go. I have a garter system I made and I also let out the back of the thighs to make a bit more room while keeping the relative size of the cover strip. The tube stripes are decals measured out to specifications and the amount will range depending on the area, usually 9 to 14 I believe.
I appreciate the feed back. I finally trooped it. Quote comfortable all around
Sent from my SAMSUNG-SM-G900A using Tapatalk
-
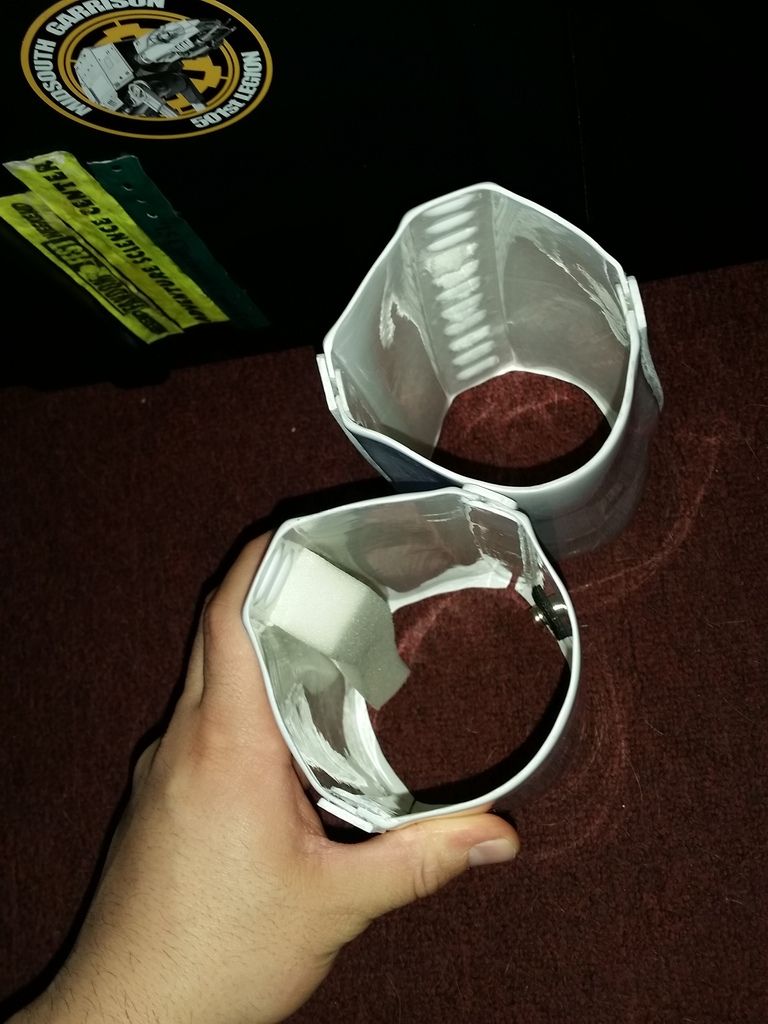
Those look good and good thinking with the epoxy. Definitely use a small screw driver tho. I used Sugru to place my lenses in.
Request your Centurion Certificate here:
in Request Centurion Status
Posted
David Camacho
46700
Letter
Tony
http://www.whitearmor.net/eib/certificates/46700-centurion.png