

Squimspickle
-
Posts
172 -
Joined
-
Last visited
Content Type
Profiles
Forums
Gallery
Articles
Media Demo
Posts posted by Squimspickle
-
-
photos! we love photos.
I know me too
 I'll post a pic when I get it sorted out. I also started researching Hook & Eye closures as another possibility.
 -
If you have an RS suit and you're bending down, I'd closely examine the bracket system, too much stress on that can cause other problems.
You can quickly fix this 2 ways.
- Add a section of canvas with velcro on each side to the center of the join. Imagine a rectangle with fuzz on one side and hook on the other. When added in place it can help to extend the belt from the inside.
- Add the sew in snaps by sewing to a square of fabric, and then loop sew that to the inside of the belt.
Thanks for the suggestions Vern! I'll try your first fix and then if that doesn't seem to solve it, I'll do the sew in snaps route.
It's actually an ATA suit. I'm not even bending or squatting much. If I just push my gut out a little bit I hear the velcro separating. The Holiday weight gain probably isn't helping either.
-
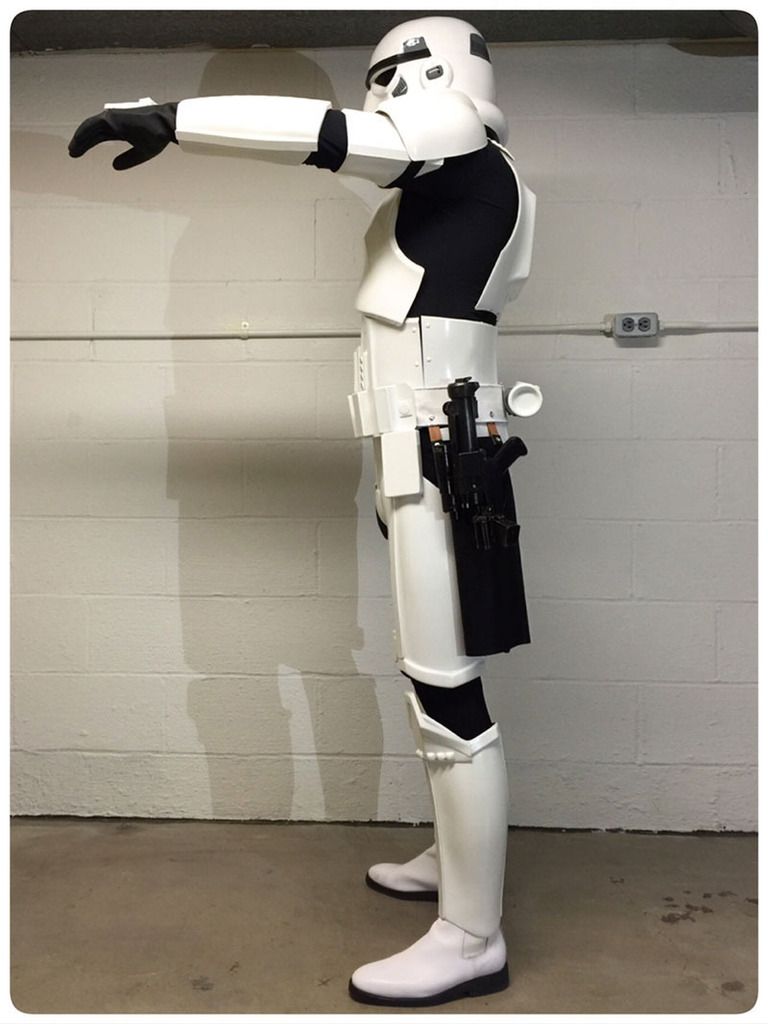
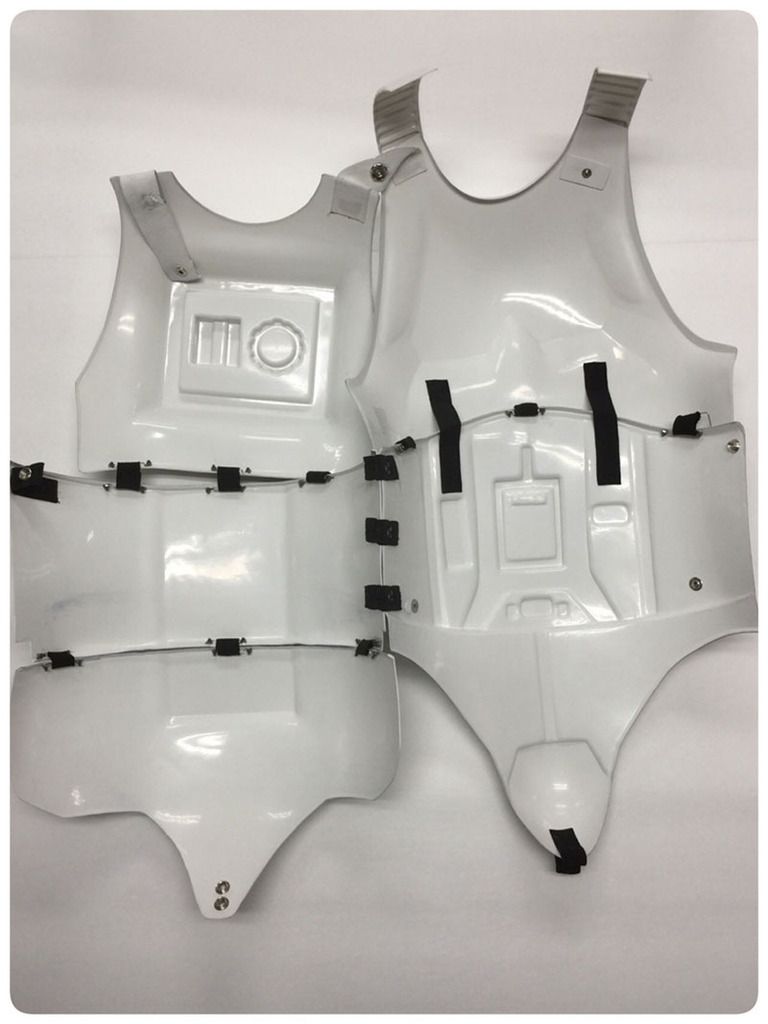
I have an RS Prop Masters canvas belt. It just fits, maybe an inch too short. I have snaps in the front ab armor holding it up and it is velcroed in the back under the thermal detonator. When ever I'm suited up, start moving around, bend a little and squat I slowly hear the Velcro separating. A couple times it came undone, and my TD hit the floor. I don't want to replace my belt because I have the plastic ammo front riveted to it.
Has anybody added anything like sew in snaps or hooks to secure the belt in the back? I would love to hear suggestions!
-
Thanks, Joseph!Congrats on a job well done, Aaron!
-
Congrats...Welcome!!!!
Thank you, Dave! Very happy to be here!
-
Aaron D. Brudvig 19513 EIB Letter
-
Thank you Andrew and Tony for taking the time on reviewing mine and all applicants armor. I greatly appreciate your commitment to this process and maintaining these higher level of standards. I am very excited and happy with this news you have given me! I have only been part of the legion for a very short time and really value the feedback you have given me. I will definitely be making the adjustments suggested for Centerion and pain avoidance sake
 !
! -
Amazing work!

Thank you, Davide
-
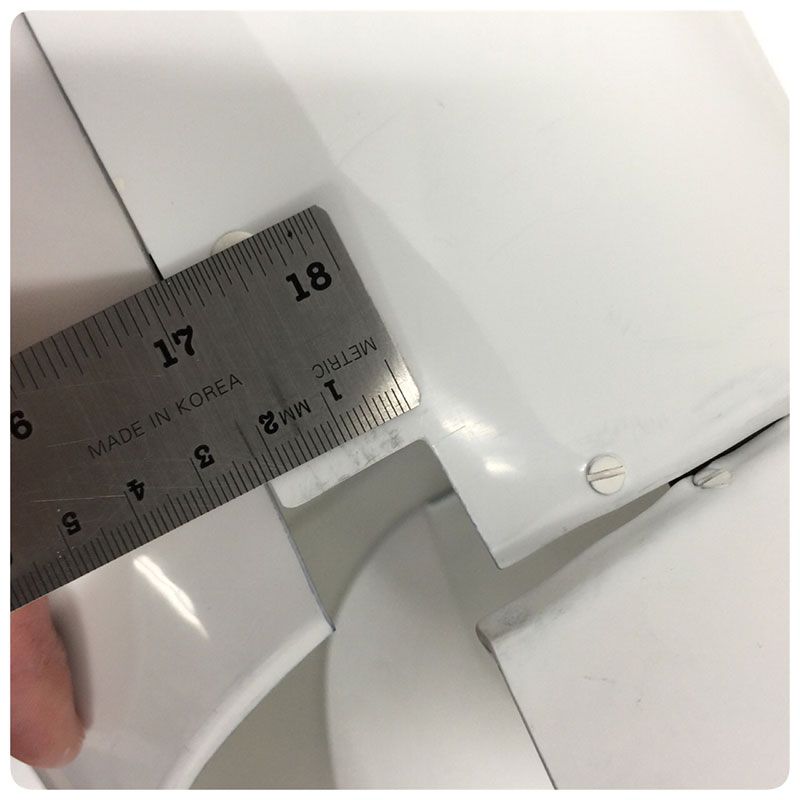
Hey Aaron, Sly or myself will be with your shortly.
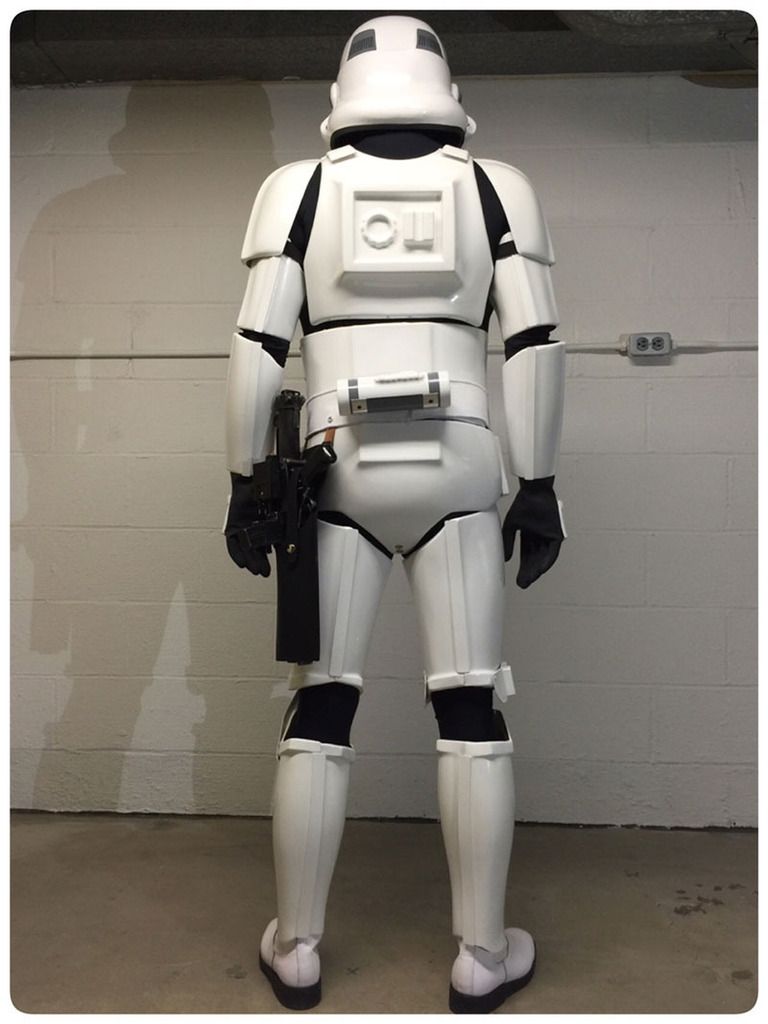
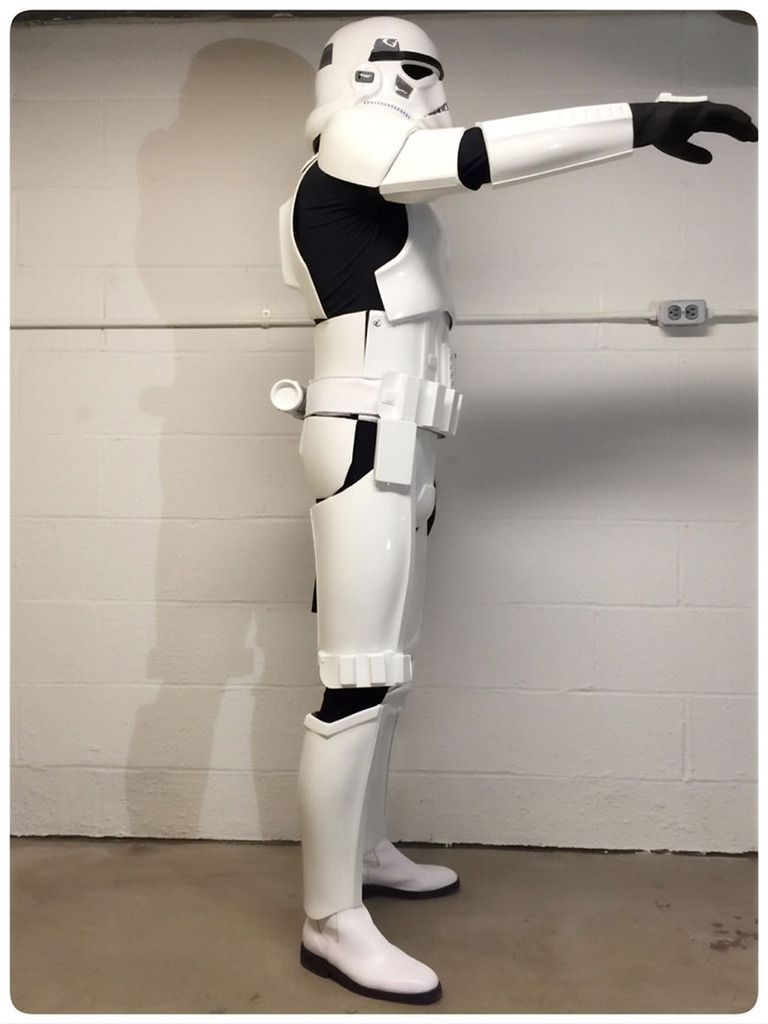
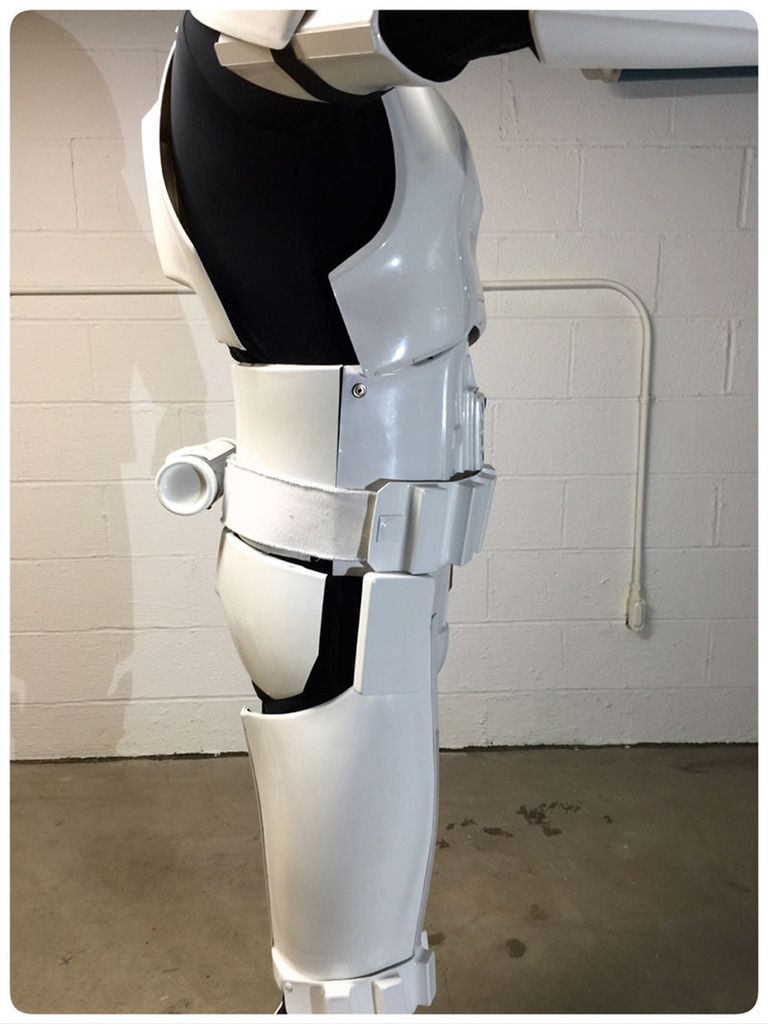
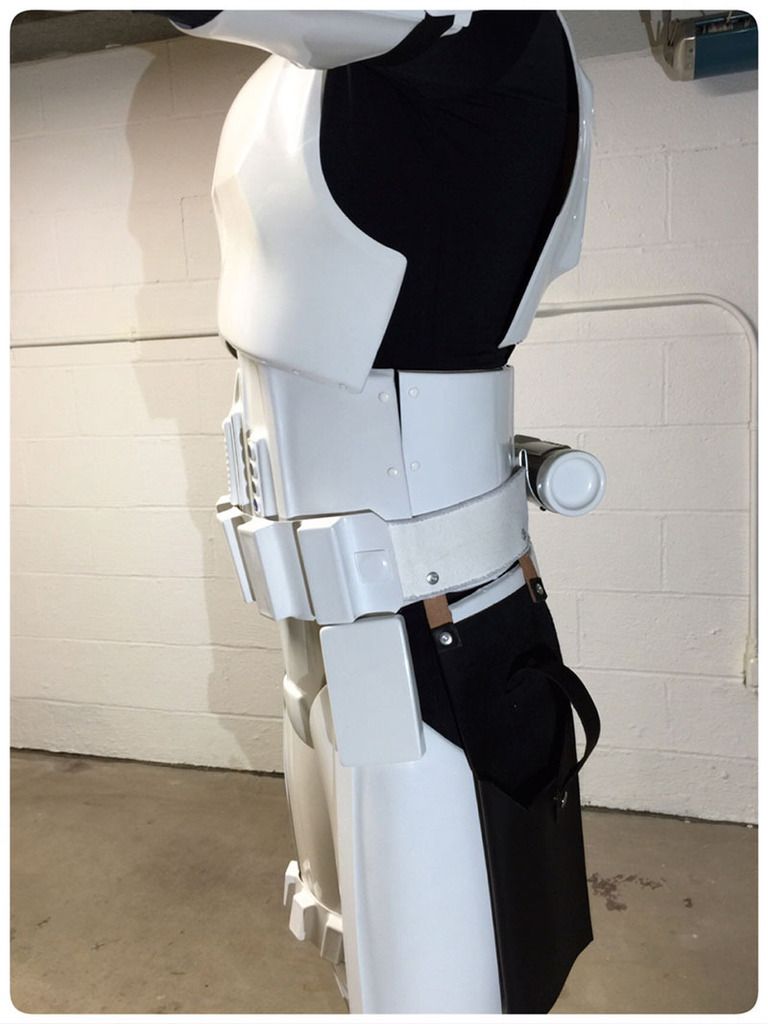
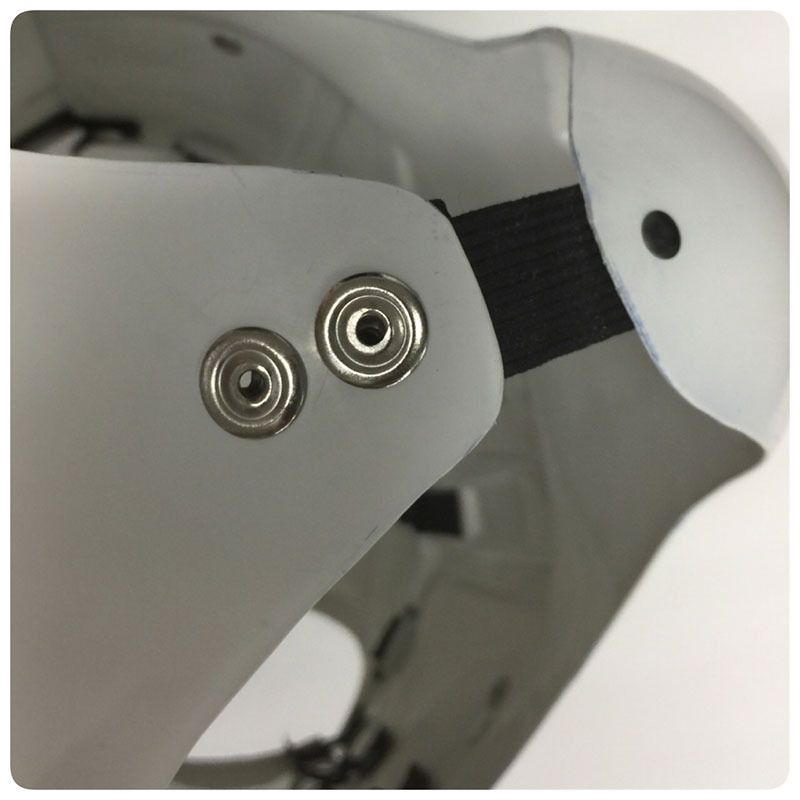
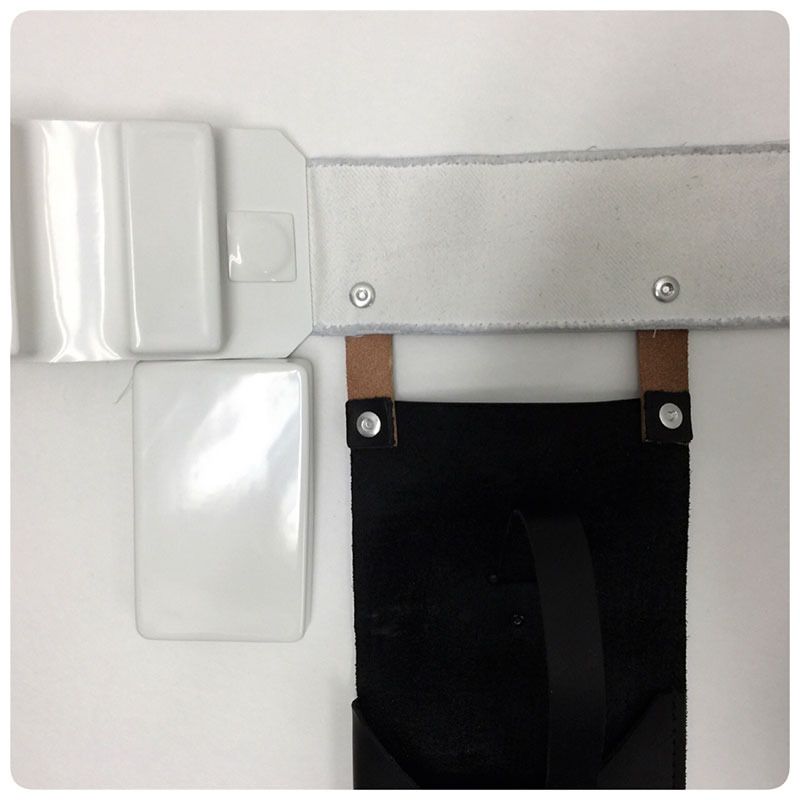
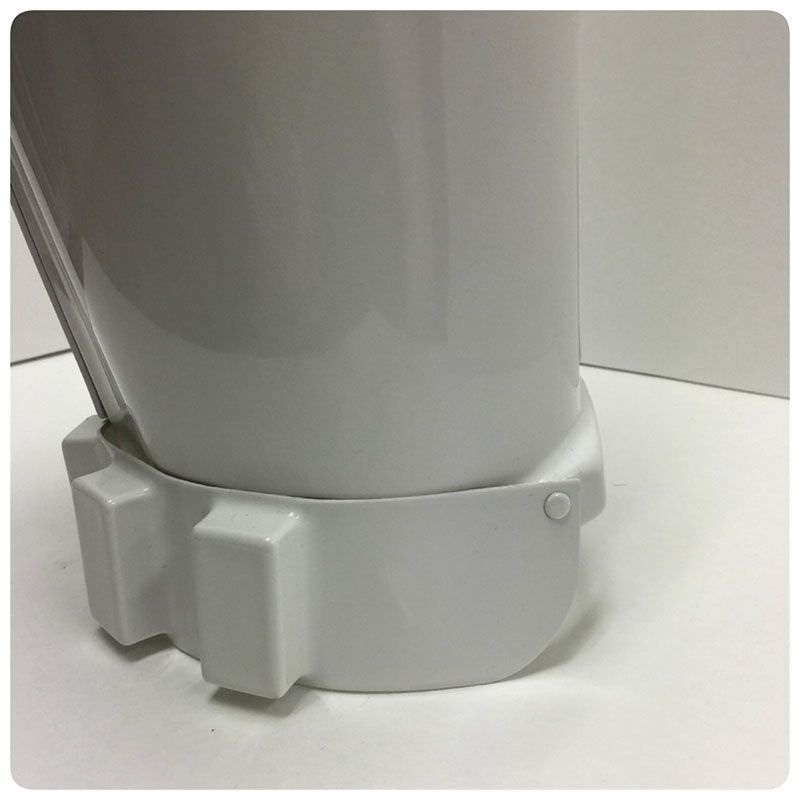
Could you do us a huge favor and post an image of your inner thigh ammo belt connection and the 22mm notches.
Thanks
Not a problem. I added those images you requested.
-
Fantastic looking build! That blaster is pretty tight too !
Thank you, Andrew. Too kind
-
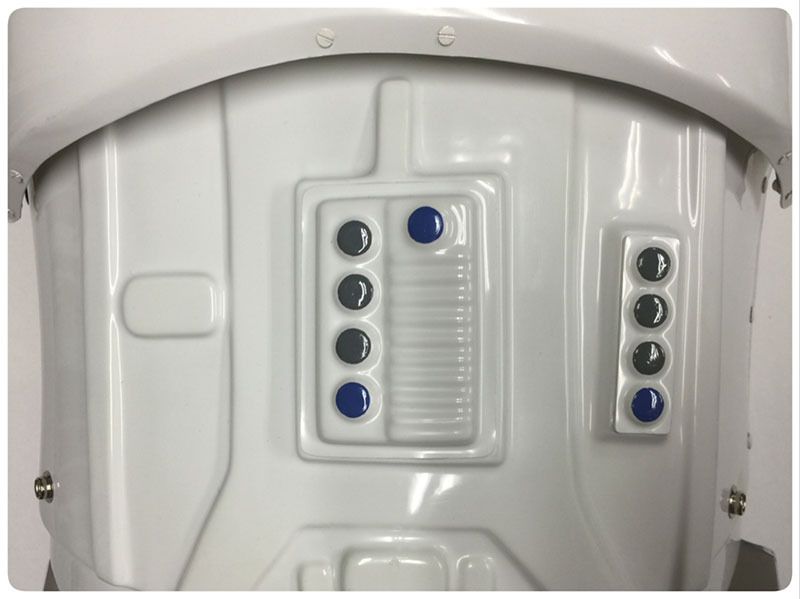
Those are some of the nicest ab buttons i've ever seen. Your kit & blaster look awesome! Good Job!
Thank you, Brad! Much appreciated.
-
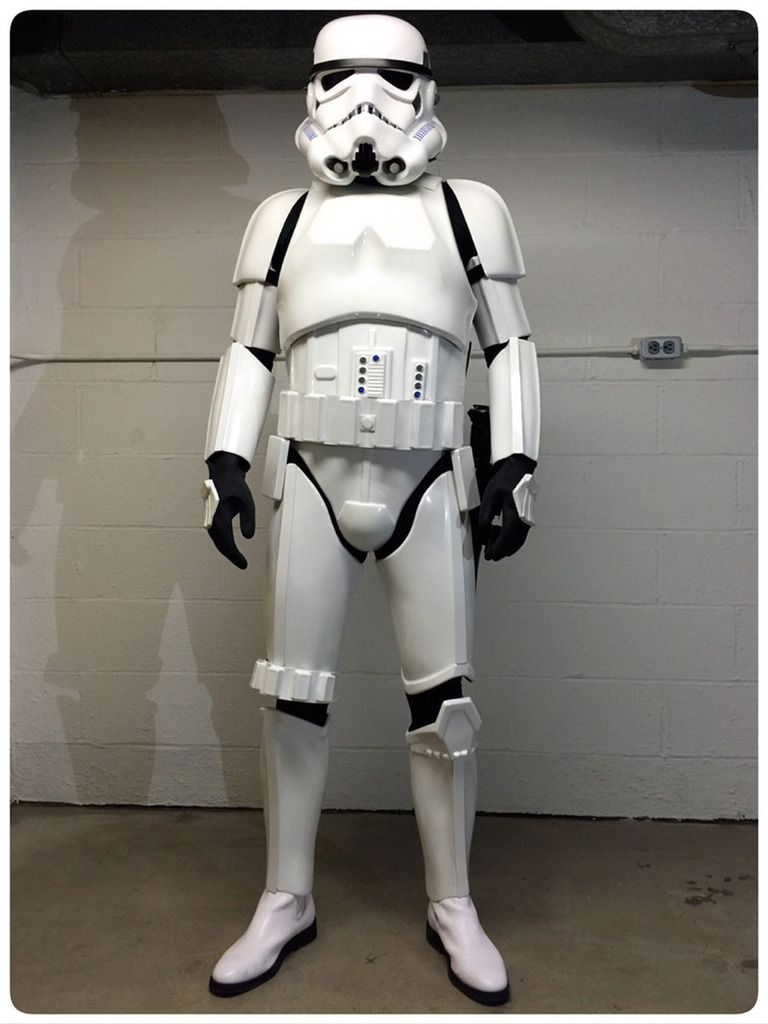
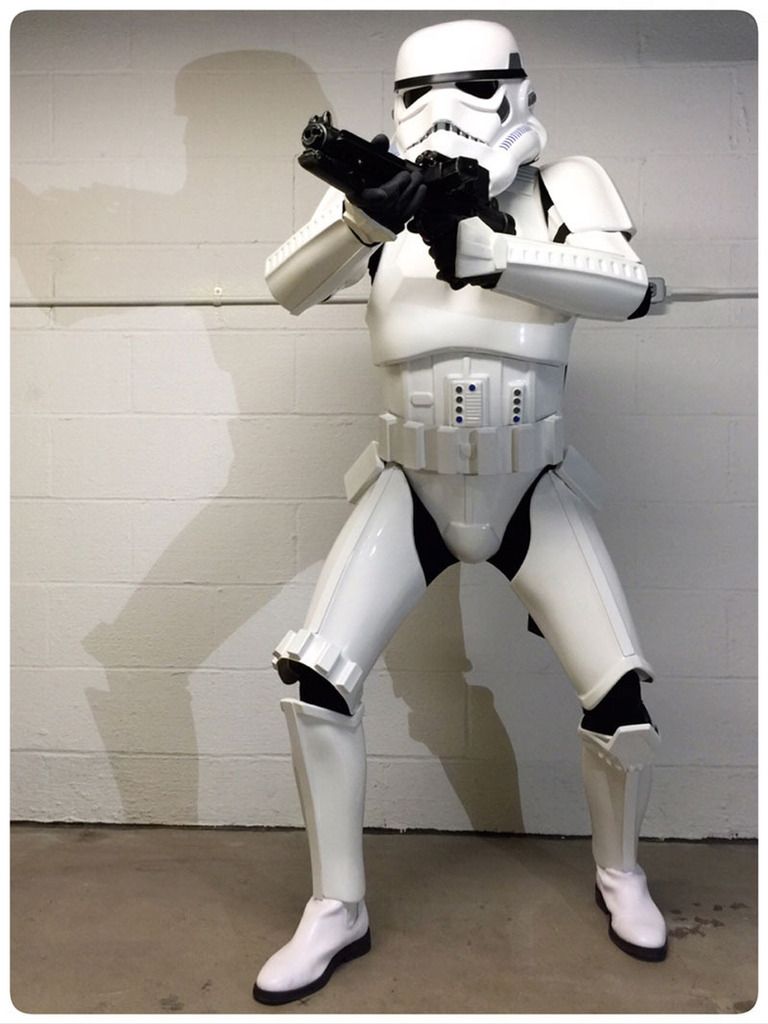
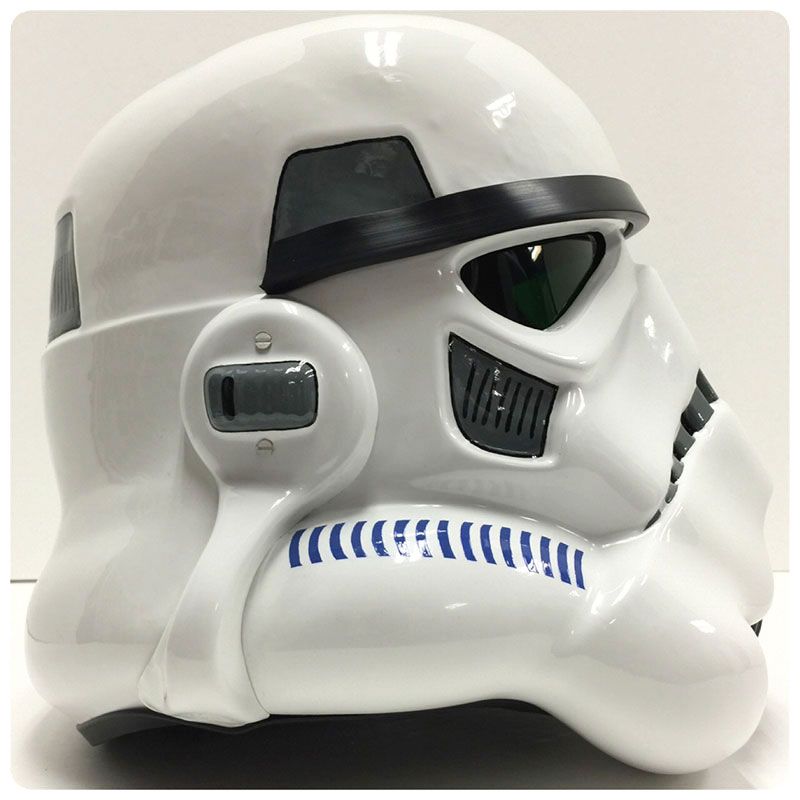
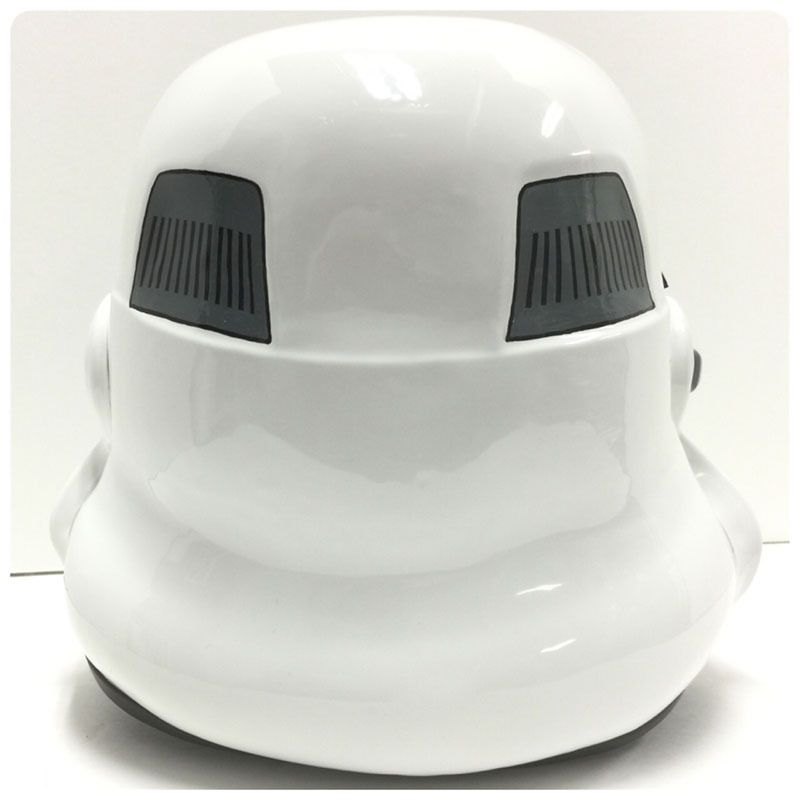
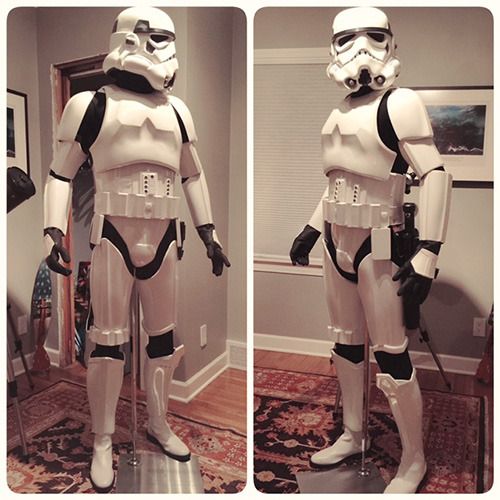
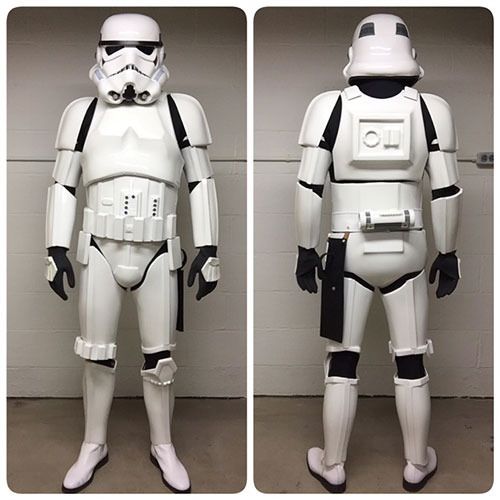
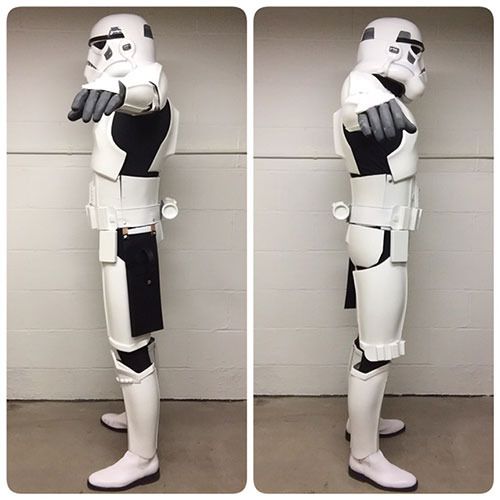
Name: Aaron Brudvig
TK ID: 19513
Forum Name: Squimspickle
501st Unit: Ohio Garrison
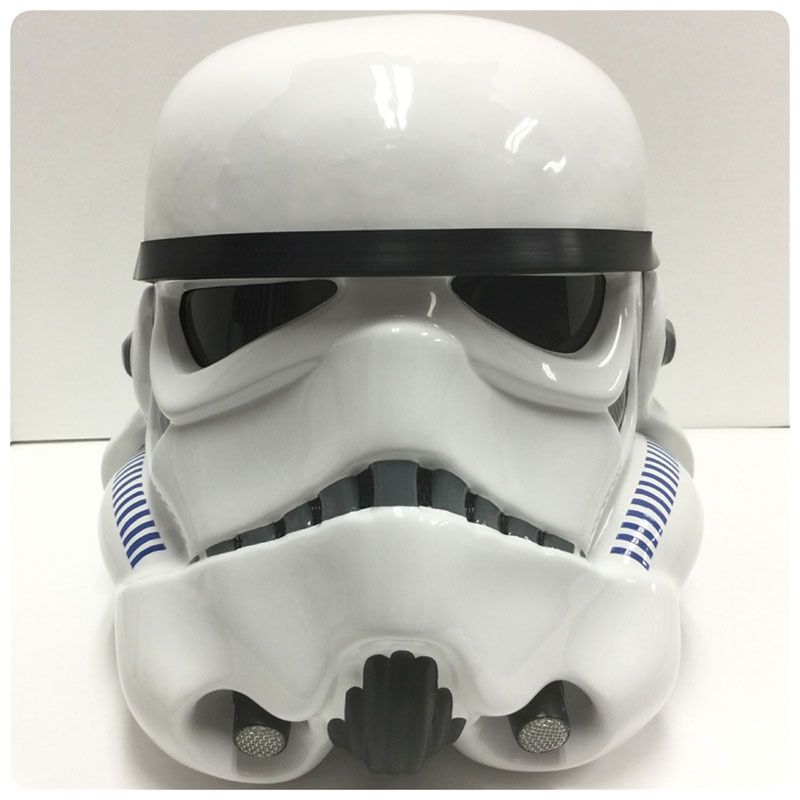
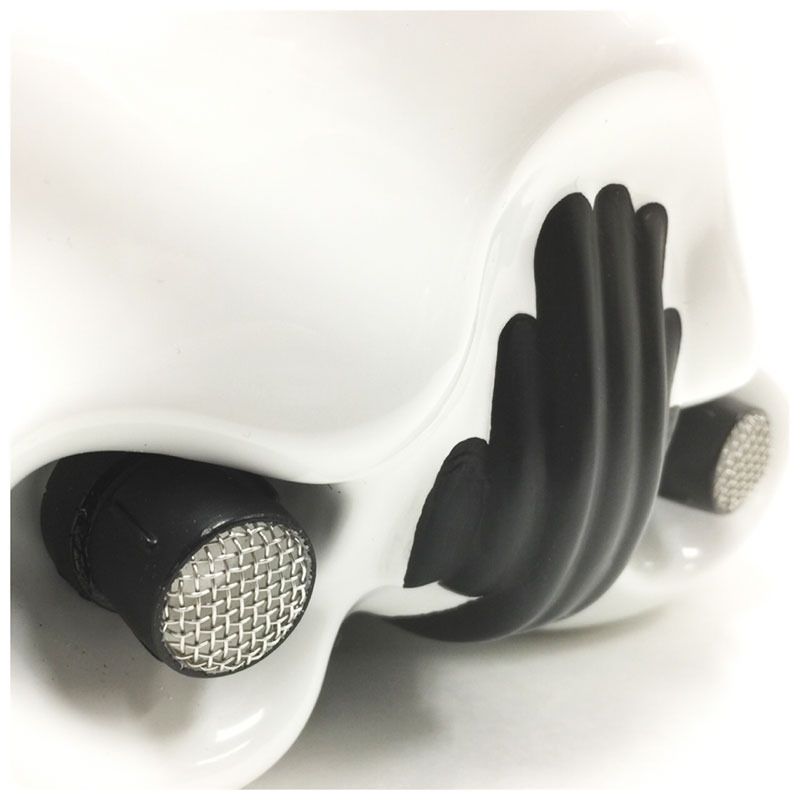
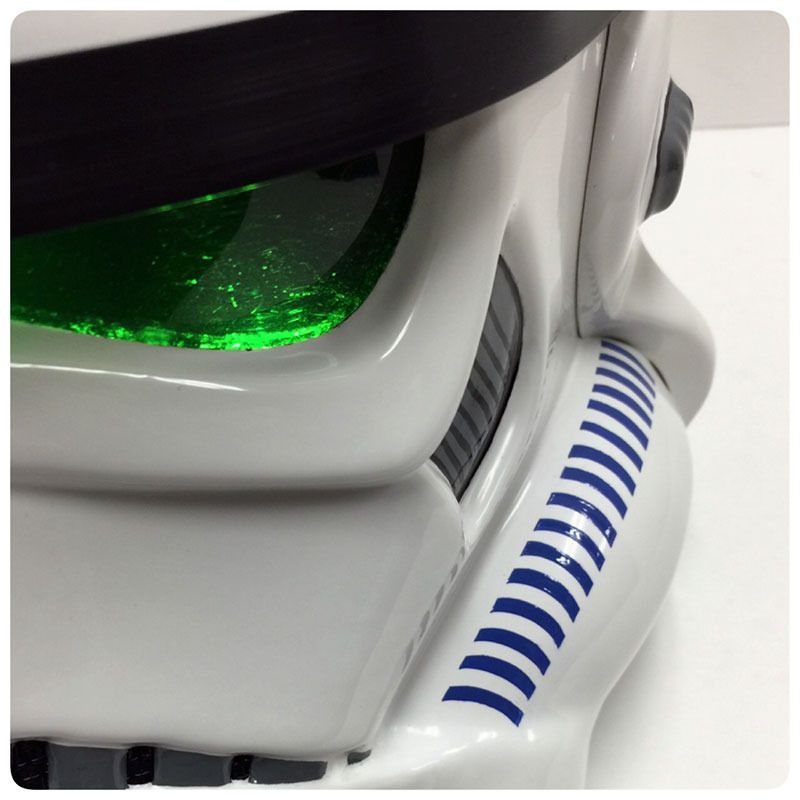
Armor Maker: ATA Works
Helmet Maker: ATA Works
Blaster Type: E-11 DoopyDoo's
Height: 5'10"
Weight: 162 lbs.
Boots Maker: TK Boots
Canvas Belt: RS Prop Masters
Hand Plates Type: RS Prop Masters
Neck Seal Type: Trooperbay
Holster Maker: Trooperbay

-
Looks like it's coming together! The build definitely demands a lot of attention. Keep it up
-
 1
1
-
-
I bought a TK Mannequin and set it up this week. It's a few inches taller then me so my armor fits a little different on it. All in all I'm impressed with how it looks. It's the first time I've been able to view my armor fully assembled without me being inside of it! I'm not sure how long my wife will let me keep it up though, lol. You get this weird feeling like it's going to move because it feels like somebody is in it! I could sit and stare at this all day!
-
1
-
-
Thanks for your words, Aaron and for sharing your way to weather the build. I expected something like this and had just recently saw a video on how to use these Tamiya kits. Awesome stuff.
As I understood it, this "powder" does not last long unless being covered with a clear protective coat, that blows away some of the powder when sprayed on, correct?
If so, did you ever try to add the powder right into the black color, while this is still drying?
Yes, some of the powder can wipe off. I noticed if I over did it on my first coat of sealant that some of the powder also disappears or fades. So if/when that happened I would go back in and do it in layers again. I have added the rust to the sealant when it is still a little tacky and it has adhered itself nicely. It also looks more realistic because the rust wouldn't have a satin finish. The rust powder settles into cracks and grooves the areas that you will never end up touching or wiping away. On other parts of my blaster I did some drybrusing with Testors silver. These were larger areas where I didn't want to work with the powders. I used truck bed liner on the main body of the blaster so I could get a little texture. I was pleased with the results of that.
-
2
-
-
Hey Aaron. Could you clarify that technique just one more time? LOL
I know right!? I hit the "post" button a few times because everything was lagging and then it posted every hit! lol!
-
1
-
-
On 1/12/2016 at 5:08 PM, T-Jay said:
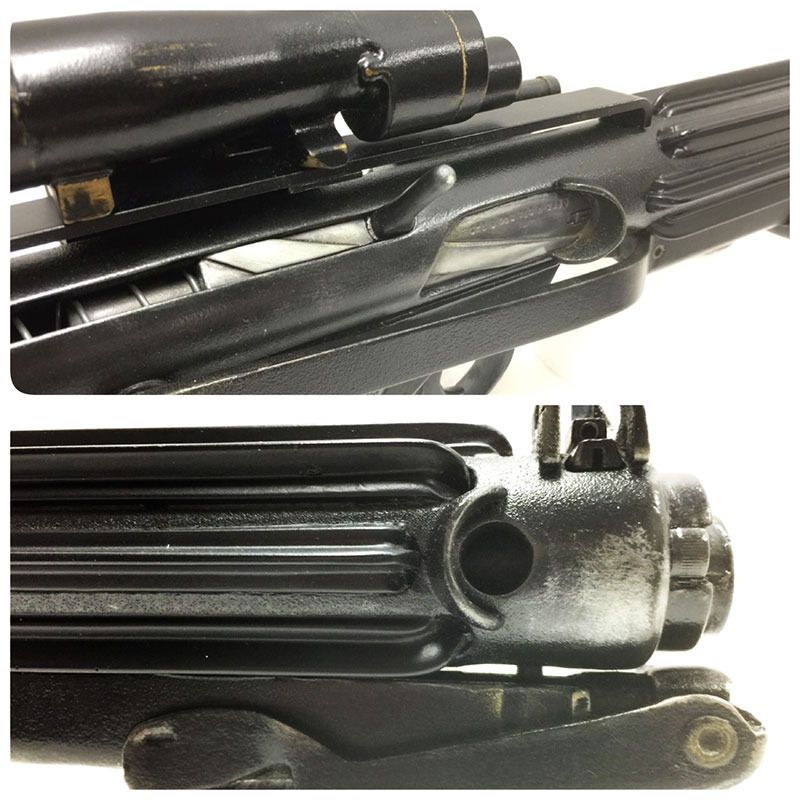
Aaron, your power cylinders are on that same high level as your scope modification was. Absolutely outstanding!
I really like the way you painted and weathered in those last two pictures. Makes everything looking so real. Would you mind to let us know, what paint and technique you used?
Thanks Tino, I referenced your build a lot. I spray paint with a satin finish black. Then I use a combination of Tamiya's Weathering Master Kit C and Sharpie Metallic Silver pen. After that I spray (lightly) the whole thing with a Clear Satin Urethane finish. Sometimes after I seal it with the Urethane, you will lose a little detail from the Weathering kit. So after it dries a will go back in and do another round of weathering and then another light Urethane spray.

-
1
-
-
Looks great Aaron. Cylinders came up a treat. Only constructive criticism I could offer, is that the clearing strips on your bolt don't line up (between the fixed doopy section and your custom rear section) and stood out to me a bit.
Love the weathering though. Fantastic work.
Thanks for the feedback Ian. I'll see if I can do anything about that. Much appreciated.
-
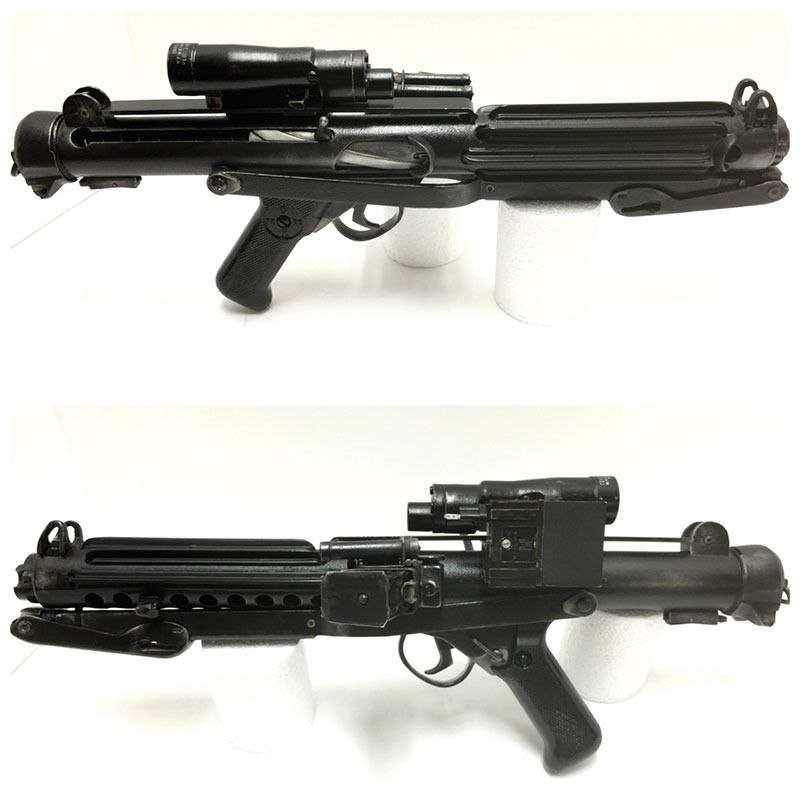
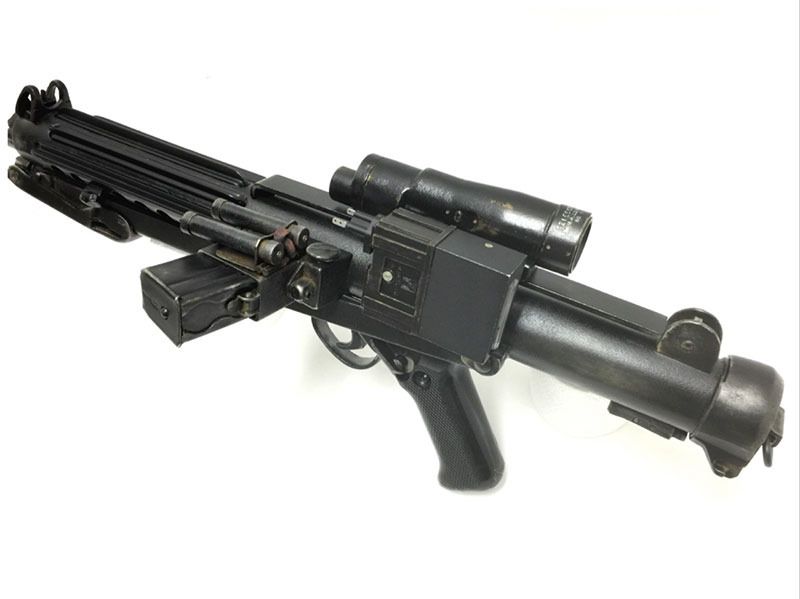
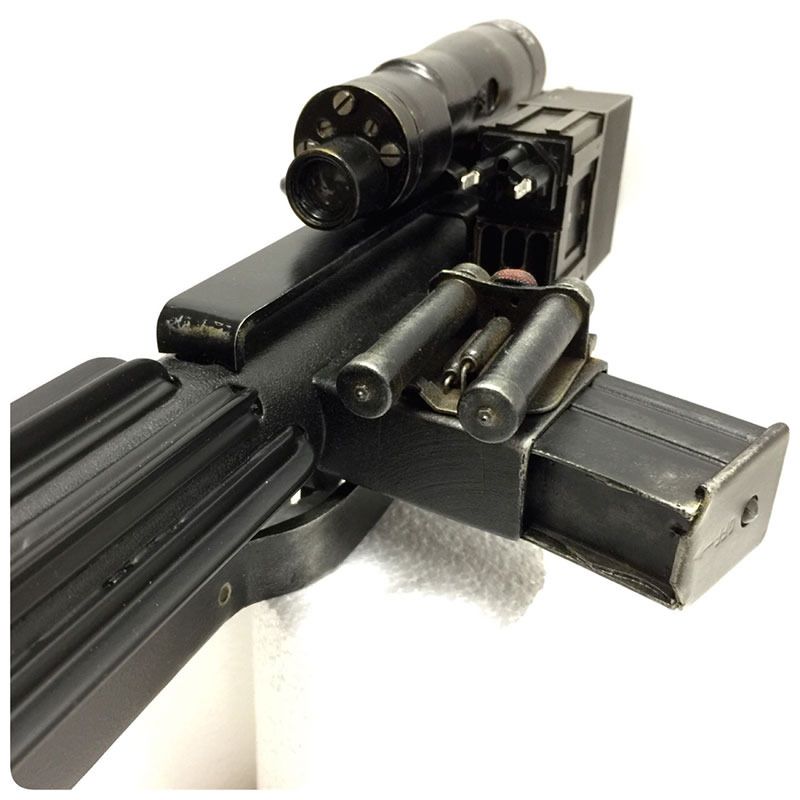
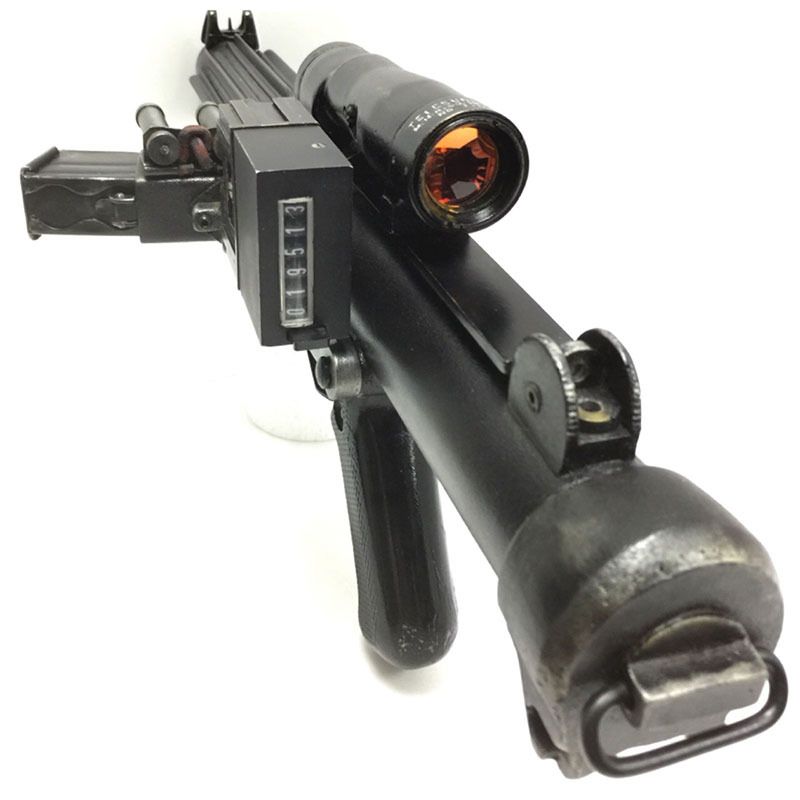
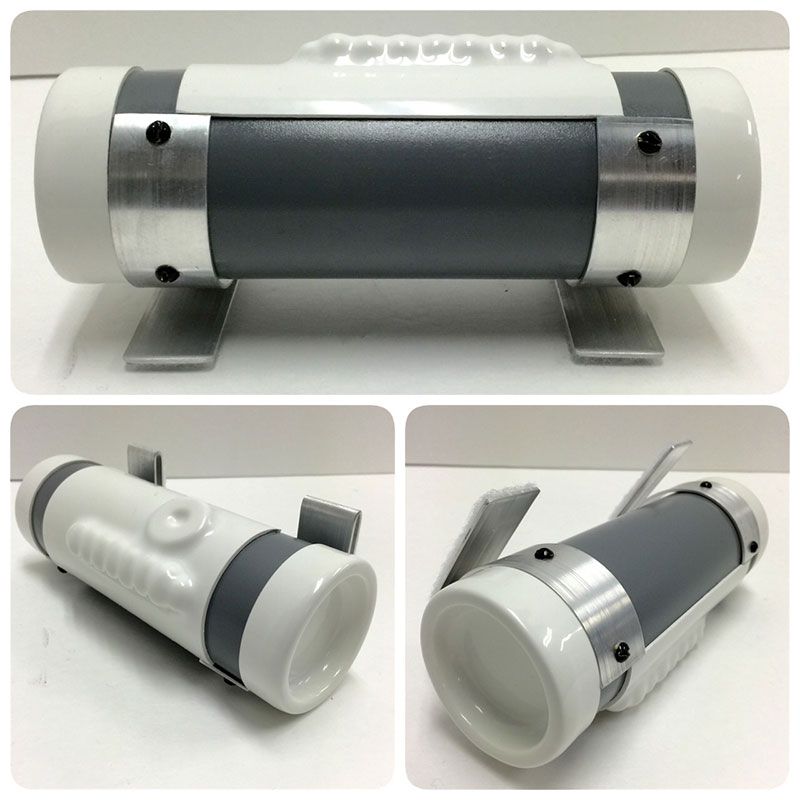
Finally added some Power Cylinders! I ordered some 3D printed ones from here:
Shapeways 3D printed Power Cylinders
You can't beat the $15 price. I know they aren't completely accurate because the 3 transistors don't go through the back of the bracket. However, measurement and detail wise they are very accurate. I added some parachute cord, little plastic pieces and wire to the back of the cylinder bracket like T-Jay did here:
T-Jay's more accurate Power Cylinders How To
I painted, weathered it and added a little rust looking effect. I'm really happy with how it turned out.
Ok so now I can apply for EIB!


-
2
-
-
Thank you! Yeah I did not expect it to happen all within hours of my submission! I would have been sleepless as well.Congratulations! Well deserved, and wow, that approval was fast. I was sleepless for a few days waiting for the 501st to stop watching the movie and hit accept.
-
I would like to request 501st access for TK 19513 Ohio Garrison.
http://www.501st.com/members/displaymemberdetails.php?userID=20387
-
My pleasure!Congrats on a well deserved achievement, Aaron, and welcome to the ranks! In case you weren't notified by the 501st, you are now required to do the "Stormtrooper shuffle"...

-
I am TK-19513! Just got the email a couple hours ago! Great way to start out the year!
-
2
-
-
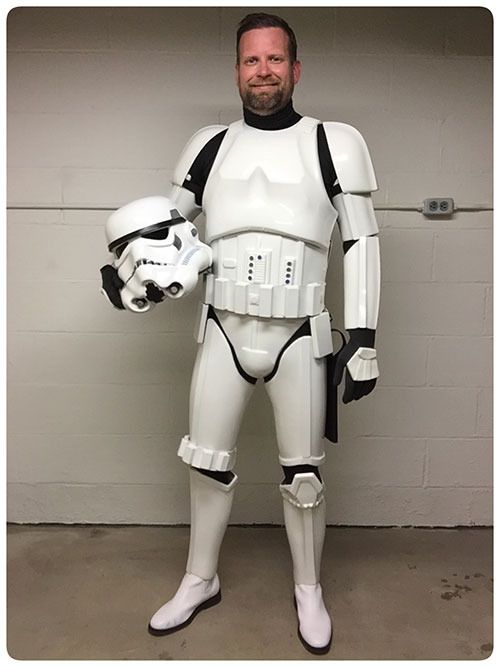
Finished up my build on New Years Eve! Did some tweaks over the last couple of days after walking around in it for awhile. Today I filled out my 501st app and sent my pics off to my local Garrison. Looking forward to joining the ranks that you all deservedly serve in! Happy New Year!!! (yes, my TD/O2 canister is off centered)
-
1
-


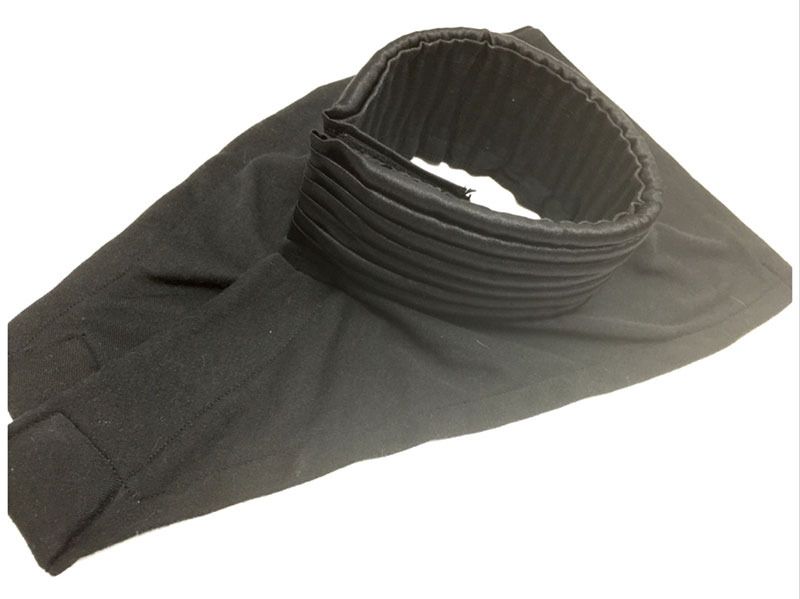
Velcro fails on my ANH utility belt
in Boots, Soft Parts, and other Accessories
Posted · Edited by gmrhodes13
link not working removed
Thanks for all of the responses. Here is a pic of what I'm dealing with. I don't have a measurement of the length of the entire belt. I love the look of the belt though. It looks very authentic. So I'm probably getting about 1.5 inches of velcro coverage. I'm 5'10" 162 lbs so I don't have a big waist.
-------
I was thinking of sewing these on and they would be hidden behind the top flap. They wouldn't be noticeable at all and then I can keep the belt, but have the added security if/when the velcro separates. Does this seem like a good idea? I would hate to have to dismantle the belt. I used Zap A Gap on the 3 button covers on the front of the belt that cover my rivets (i know, I know ). I also like Vern's suggestion of adding an extender piece.
---------