Capi'tanc'runch
-
Posts
27 -
Joined
-
Last visited
About Capi'tanc'runch

-
Have not been building to Centurion standards. And that totally explains why I haven't been able to post, so I should be be to put more pics up later
-
Fuumantroop's AM armor build
Capi'tanc'runch replied to fuumantroop's topic in Build Threads Requireing Maintenance
I've been having the issue with the ears. Made me want to jump into traffic. -
Ha, at least you know I was listening
-
Except for the forth one rat kinda sits out to the side. The ears don't line up on one side because the bottom base is a little too fat.
-
How I feel I'm doing is different from how I'm actually doing. I've made a couple of really dumb mistakes, but nothing unfixable. I've completed trimming and sanding on the forearms, thighs, shins, ab plate, and butt plate. Fore arms are curing now. The helmet has been put glued and riveted in place, the black brow piece has been set, and teeth are cutout. I'm working on attaching the ears now, which has led me to discover new ways of using the f-bomb. I spend half my time frustrated, and the other half amazed I'm doing this at all. Still having a lot of fun working on it, and that's what's important in the end.
-
I can hear my 501st friend speaking to you now....."cut less than you think you need to. It's easier to trim more than grow more plastic."
-
Did the same thing?
-
Sounds likenangood idea
-
Yeah, someone else pointed that out to me as well. *shakes fist at the 501st trooper that helped me* No worries though. I have plenty of scraps, so with a little acetone I can make a slurry and fill those gaps in.
-
For whatever reason, it's not letting me post any more pics right now.... not sure if there is a limit with a certain amount of time or if my Tapatalk app is being stupid. I will update more later.
-
Taped up the helmet, drilled the holes, riveted the back to the faceplate, and glued the dome to the top.
-
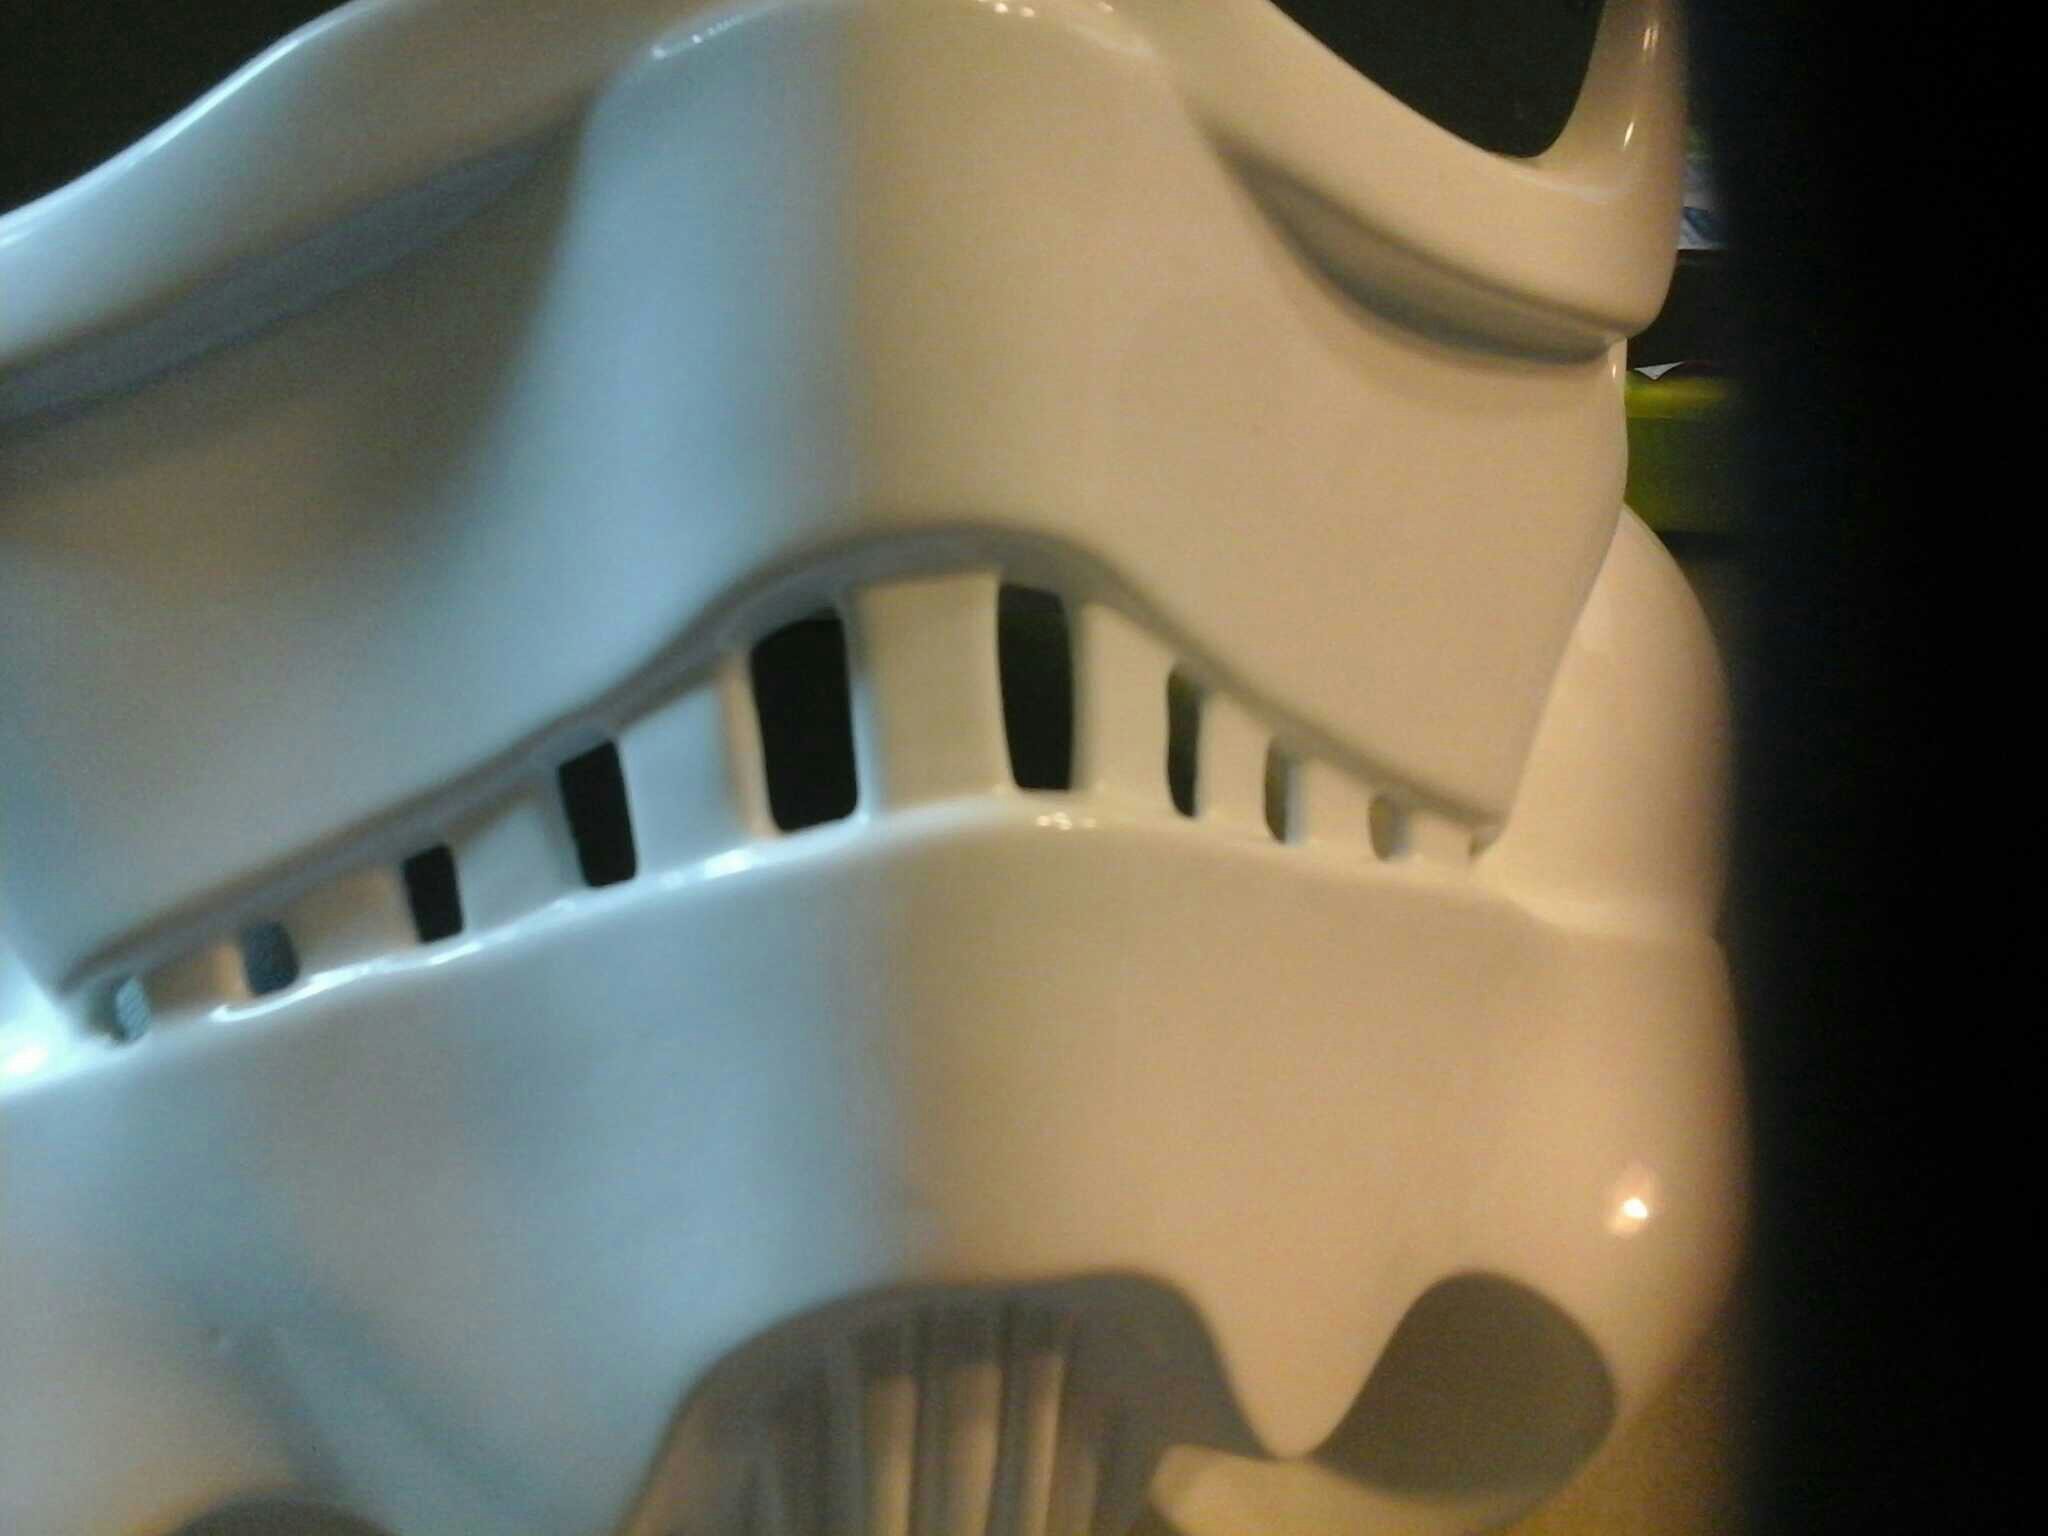
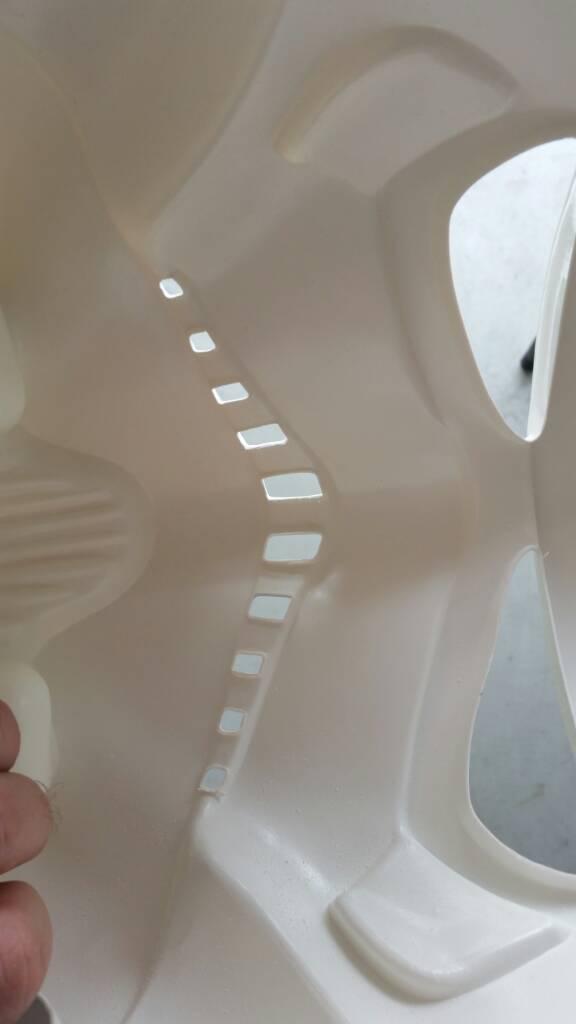
sanded out the teeth from the inside of the helmet. Just held the sand drum over the bumps in the inside of the frown until the plastic just dropped out. Then filed down a little until I was happy with the look.
-
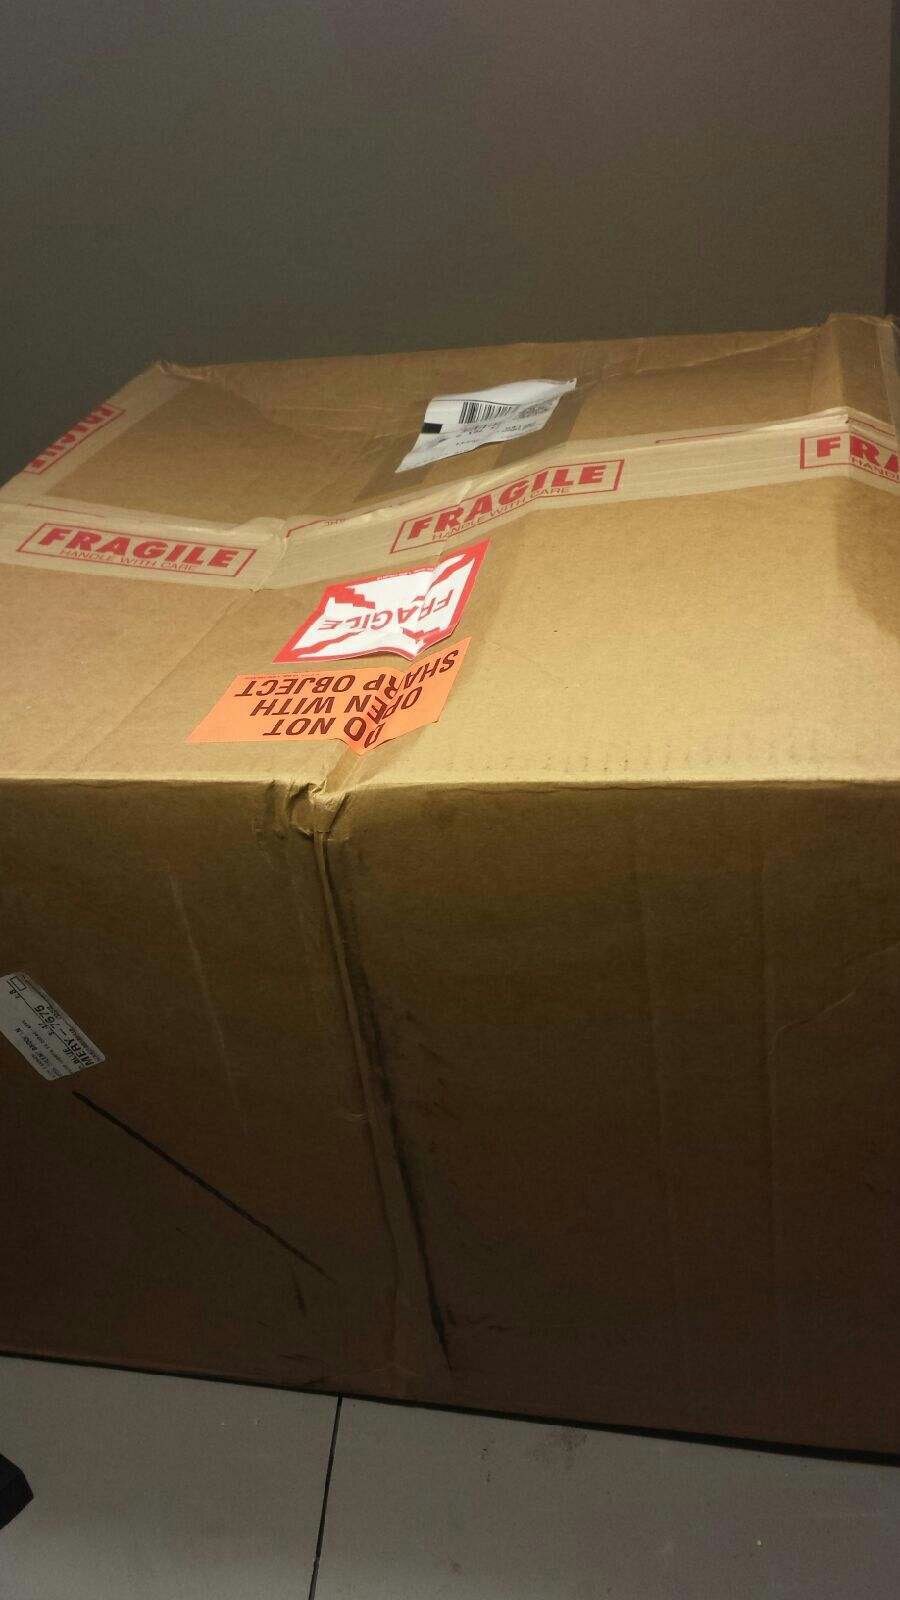
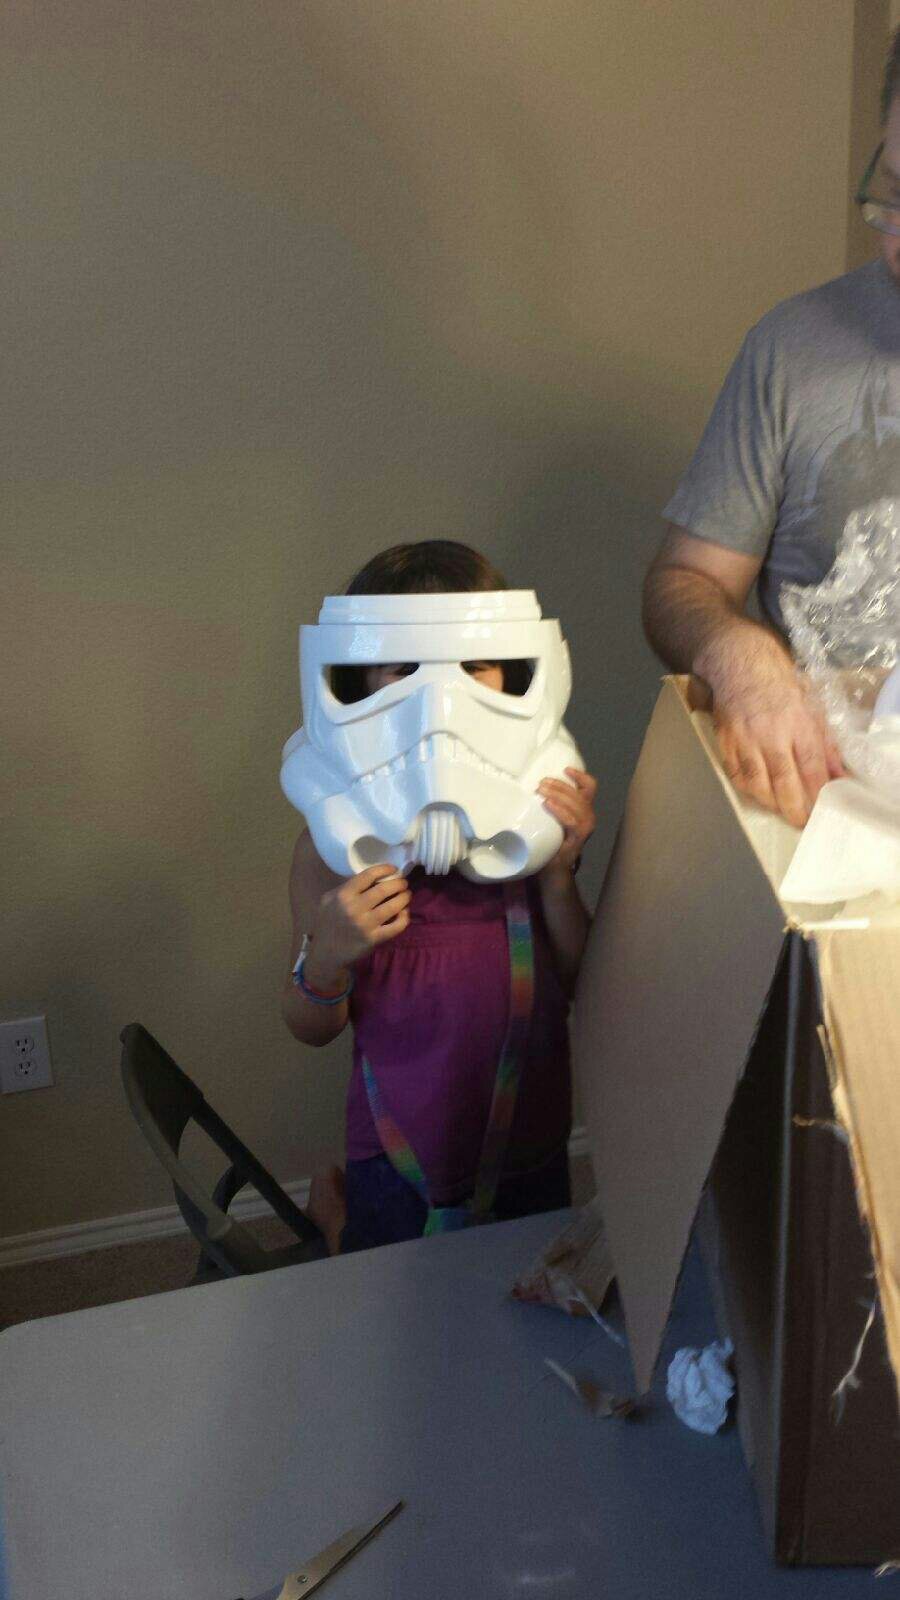
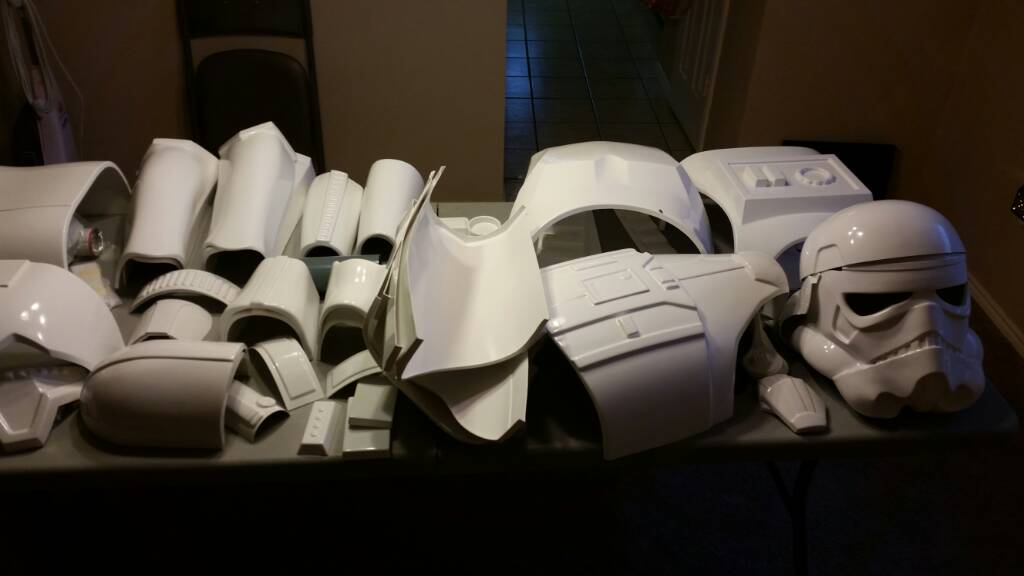
I've been meaning to make a thread documenting what I've been doing, but ya know.... caught up in what I was doing. So.... here we go! The box arrives. My daughter steals my helmet for the first time. Everything laid out


-
PGHtoolman AM armor build
Capi'tanc'runch replied to PGHtoolman's topic in Build Threads Requireing Maintenance
Hmm.... yeah I think it is supposed to be 4 on each side..... I was at an armor party following their instructions. If I need to, I can use the scraps and acetone to make a slurry and fill in that last hole. It was crazy easy though. -
PGHtoolman AM armor build
Capi'tanc'runch replied to PGHtoolman's topic in Build Threads Requireing Maintenance
I was given a super easy way to do the teeth that requires very little additional sanding. Use your sanding drum on the raised blocks of the frown from the inside. The plastic simply falls out and you have a tiny bit of filing tomdo. Maybe 5 min worth. Then your teeth look like so: