


Shrapnel
-
Posts
60 -
Joined
-
Last visited
Content Type
Profiles
Forums
Gallery
Articles
Media Demo
Posts posted by Shrapnel
-
-
I was given a dozen or so of the SL20 by a Nifco sales rep. They're too small. At least 1/3 size smaller then what's used on the vest. For the moment, unless I send them to be 3D scanned and printed I'm not sure what to do. Thanks for the help.
Ok, thanks for the heads-up Tony!
So I started work on my vest yesterday. I re-watched TFA and grabbed a few screenshots.
See how the upper part of the vest (which we add using the inner part of the Flyye vest) appears narrower than the main body of the Flyye vest?
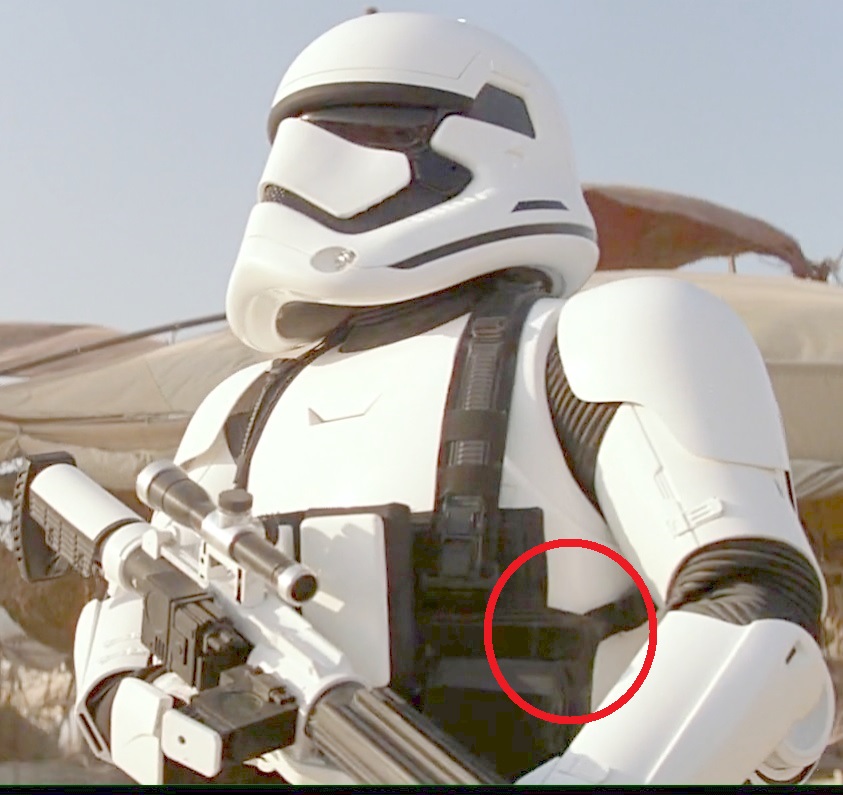
Also visible here to a lesser extent, where the lower part appears wider than the upper:
-
Hi guys,
first off, Tony, this build thread is amazing! Many thanks for compiling this info.
Second, for anyone who is planning this build, I found a source for the Nifco slider buckles/slider straps in Japan.They cost $3.77 a set. The straps are 120mm - too short - but I figure 2 straps together will be long enough.
I just ordered some, hopefully will get them in the next few weeks.
Link to online store: http://specialmaterial.jugemcart.com/?pid=1493760

-
 2
2
-
-
Taken down now - and I missed it!

-
Hey Richard!
Simon here from the DG. Just read your build - looks great!
Maybe I'm a bit late - but if you're still having problems with a loose trigger guard, you can fix this with Milliput (2 component modelling clay).
Pack it in the holes where the trigger guard joins the body, let it dry then sand it smooth. I did this to my E-11 and the trigger guard feels really strong now.
Milliput is a good adhesive, dries really hard but also easy to sand. It's a bit like bondo but doesn't stink as much.
-
1
-
-
Search eBay for 'd rubber seal' or 'd weather strip'.
I bought a 5 metre strip of D-shaped rubber seal from a seller in China - cost about $3 including shipping. -
Congratulations Pascal! Good to see another one added to the ranks :-)
-
1
-
-
Good luck Pascal!
-
1
-
-
Congratulations Artie! Good to see you got it in the same week as me!
Especially considering it was you who gave me the push at Lego World, telling me to go for EIB :-)
-
Thanks guys

And thanks Steve and Germain for all the useful tips (and for tripling my 'To do' list
 )
) -
Simon Marquis 77177 EIB A4
Thank you :-)
-
Hi Steve,
First - many thanks for all the detailed information in your post. It's very much appreciated to get feedback like this from you experienced guys. Also thanks for the E-11 compliment - I had a lot of fun building it, but couldn't have done it without all the great builds listed on whitearmor.
Second - any errors in the construction are mine and shouldn't reflect on others in my garrison, who have been very helpful over the last year. Both before and after my TK approval, I've pulled much of the armor apart to play with positioning so any errors in the build are my fault.
Ok, moving on!
I re-did the right calf closure - this now closes with the outside over the inside. Thanks for the heads-up on this! Photo attached below.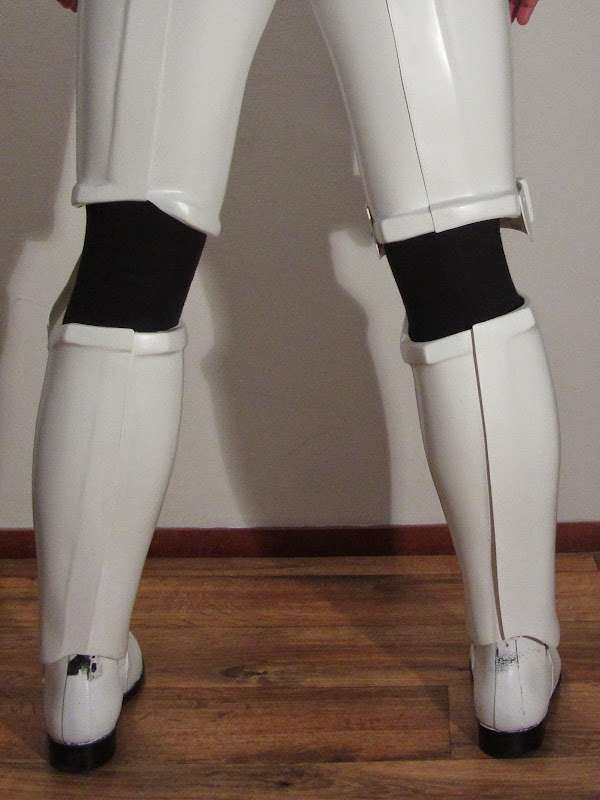
Yes, the strapping does need swapping out - I plan to do that over winter. Watch this space!
I already have a garter system for my thighs - I made this after talking with some of the other TKs in my garrison at my first troop. A great tip. Photo below...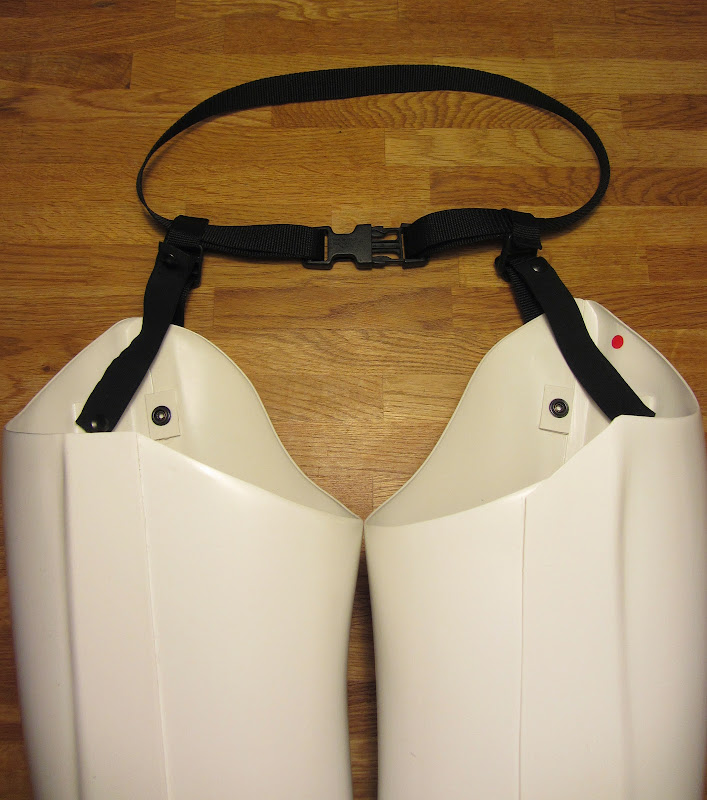
Also, thanks for your cutting tips on the chest and back plate. You know, I had noticed a difference in shape but was still scratching my head about how to change this so your photo edits are going to be a great help.
Germain was also right about my biceps - I pulled them out yesterday to check and the elastic is sitting too high. See photo below.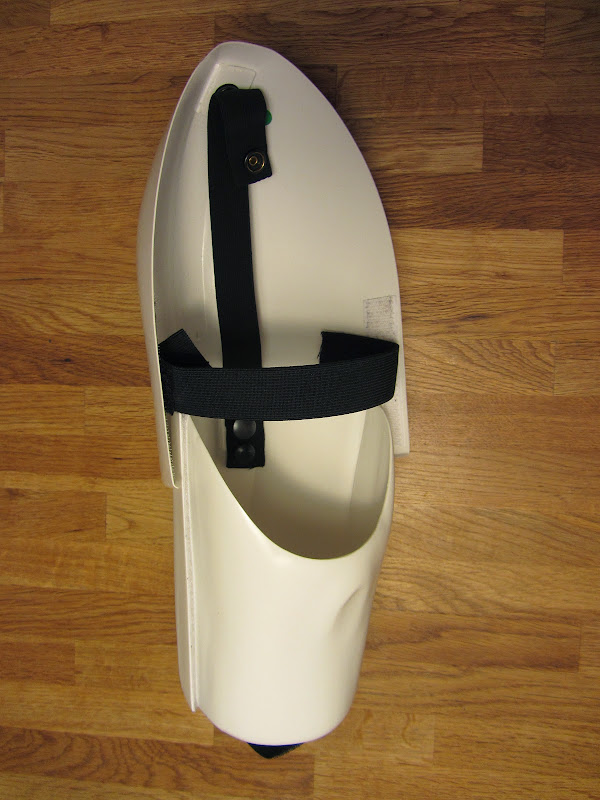
For the rest, I hope to work on the Centurion upgrades over winter. Like you mentioned, it could be that the cover strip challenge might be a task too great, but it's something I'll have to analyse and plan for over the coming weeks. Even if I can't fix the cover strips, there's still a lot of other minor Centurion upgrades you listed which will improve the look of my armour, such as the snaps, split rivets, hand guards, TD belt clips, etc. Good stuff. Thanks again for your help. -
Germain,
good stuff, thanks for the information on the butt joints. I'll add that to my to do list for further research.
Also thanks for pointing out the wrong closing on the right shin. I'll get that fixed.
I'll also double check the biceps.
Yes, I can confirm that my shoulder bells do indeed have black elastic straps at the bottom.
I've got stupid long arms so I had to play around a bit with the bicep position - maybe I placed them a bit too low (to cover my arms better), meaning you can't see the elastic. But it is there.
Thanks,
Simon
-
TK-77177 requesting ANH Stunt EIB Status
Name: Simon Marquis
501st ID: TK-77177
FISD forum name: sim
Dutch Garrison
Mandatory Information
Armor = SDS
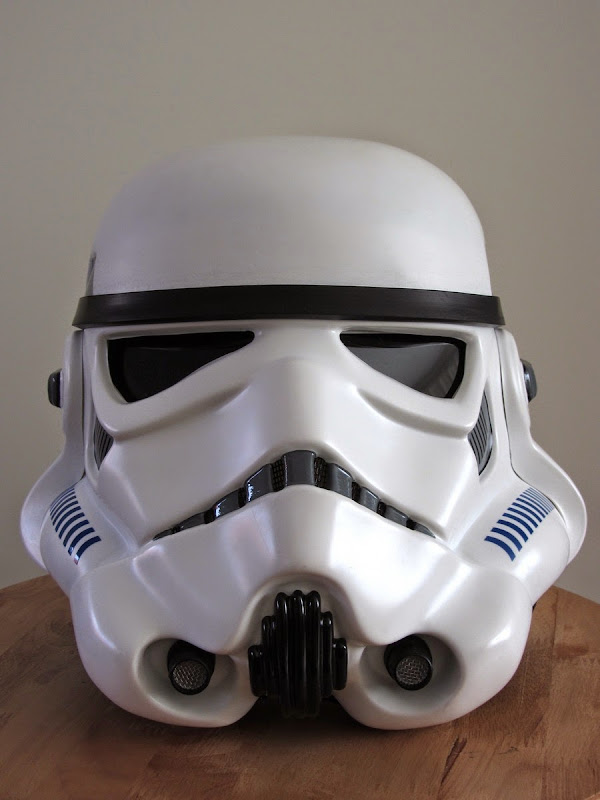
Helmet = SDS
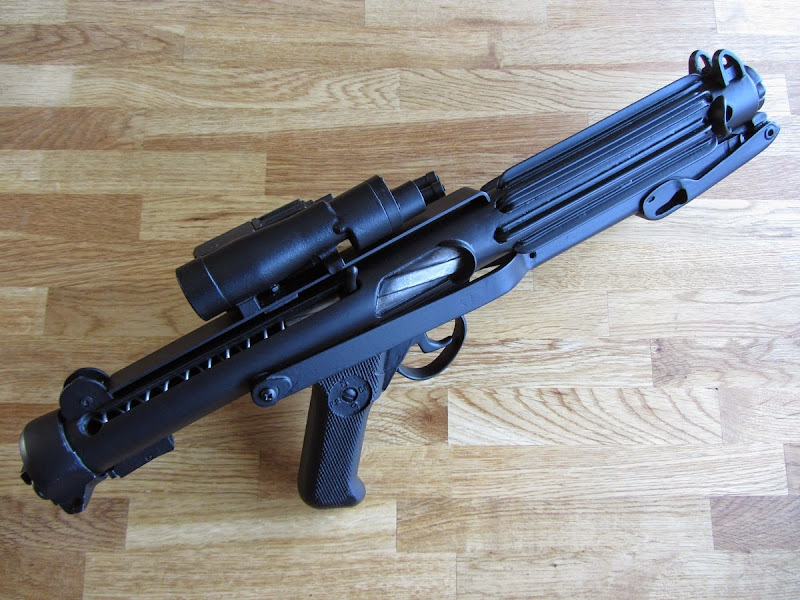
Blaster = Doopydoos kit build
Optional
Height = 182cm / 6 ft
Weight = 70 kg / 154 lb
Boots = painted Chelsea boots
Canvas belt = Home-made
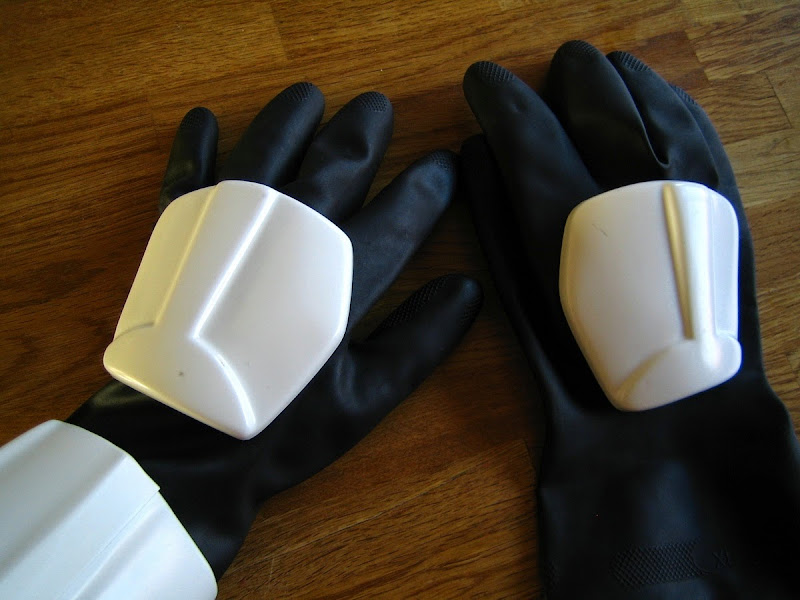
Hand Plates = SDS (hard plastic)
Electronics = Aker amp
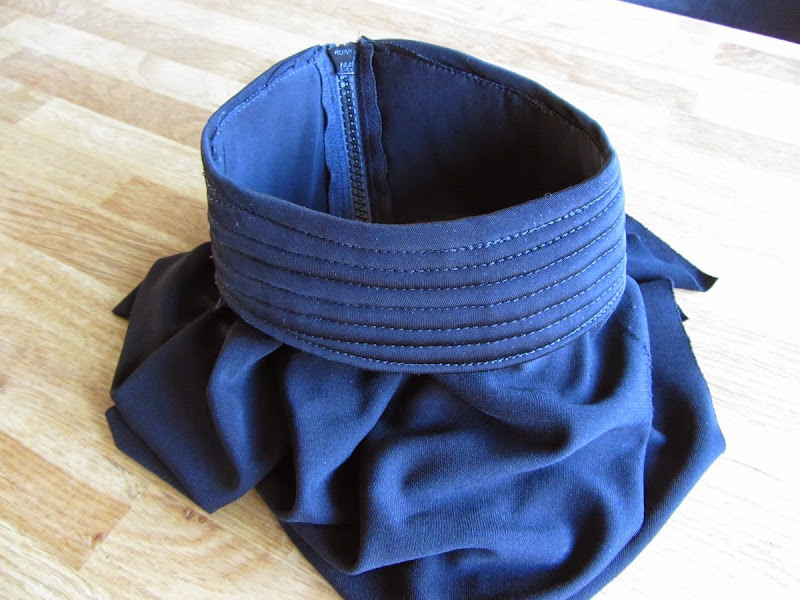
Neck Seal = Darman
Holster = DarmanYep it's an SDS - young & dumb and didn't read the boards first.
Here goes...
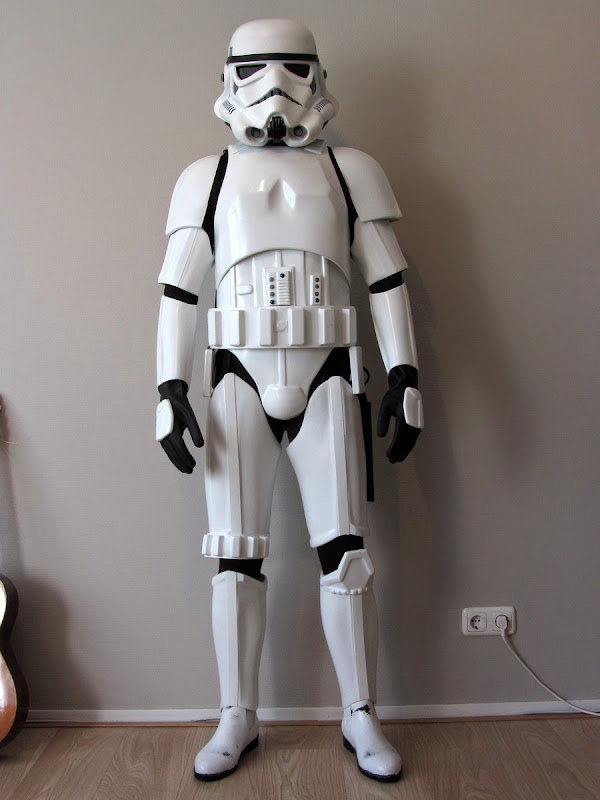
Front - arms at side
Back - arms at side

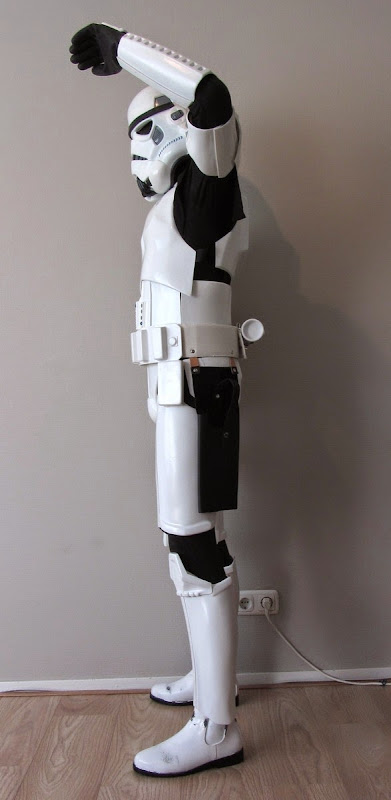
Left - arm raised
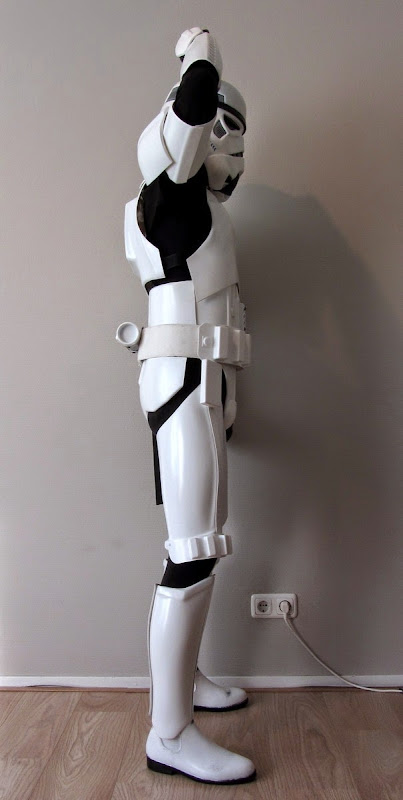
Right - arm raised
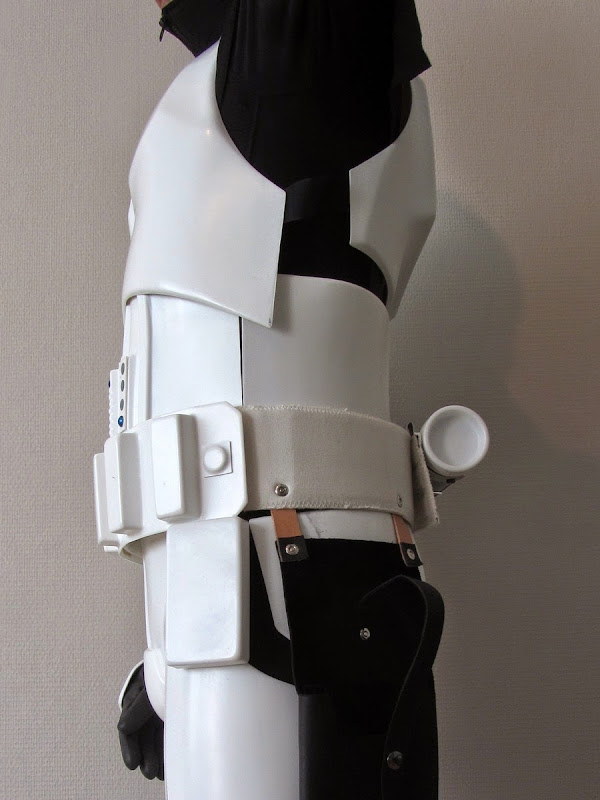
Right side detail - Arm raised

Left side detail - Arm raised
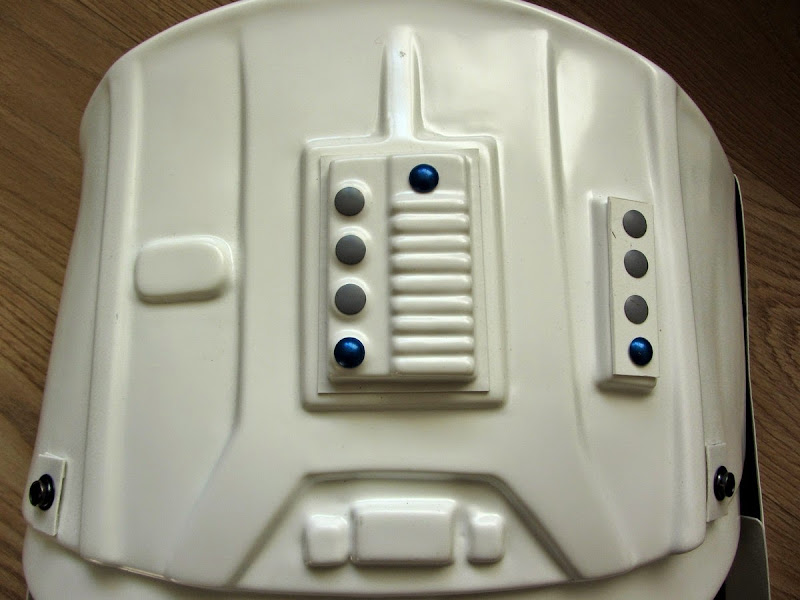
Armor Details
Abdomen details
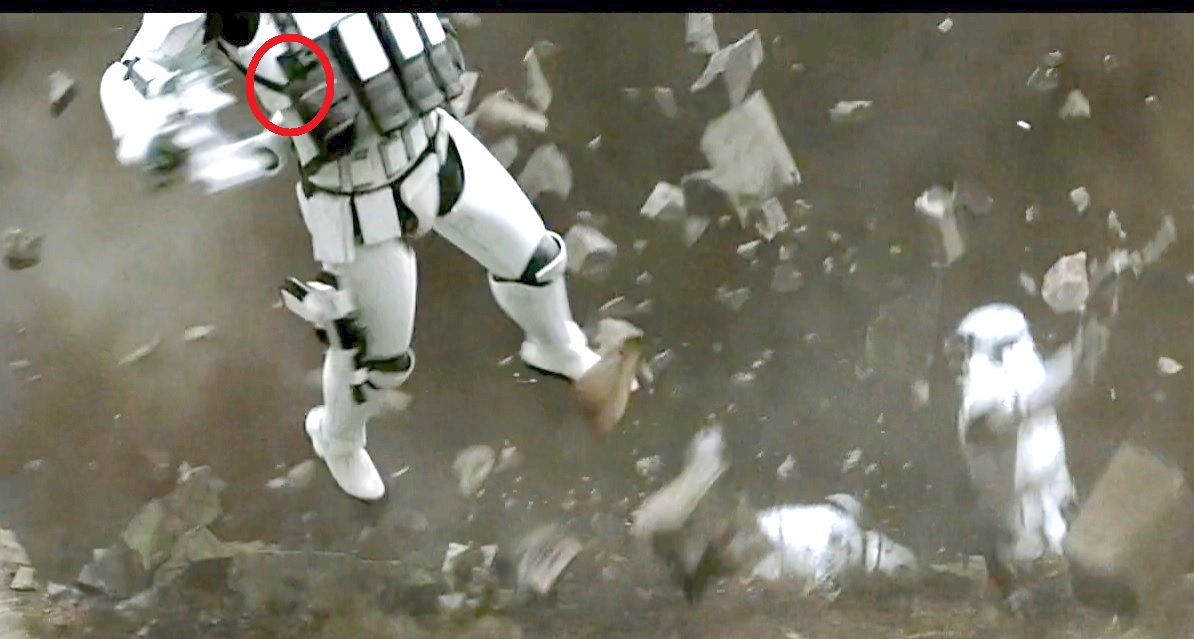
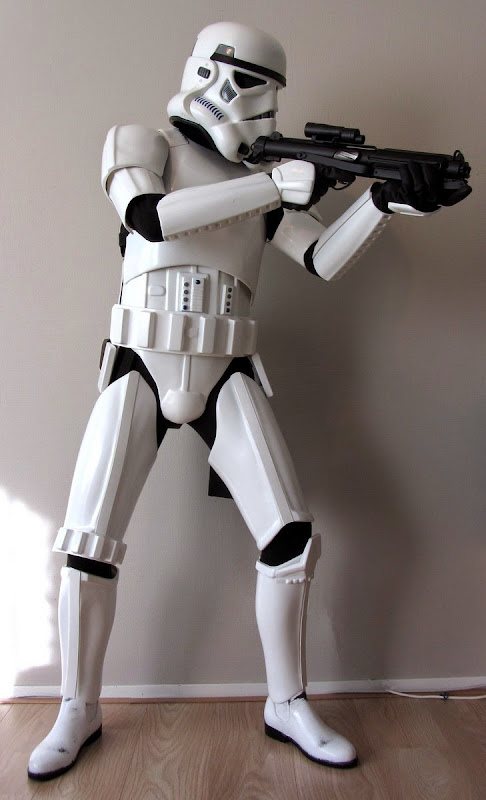
Action shot
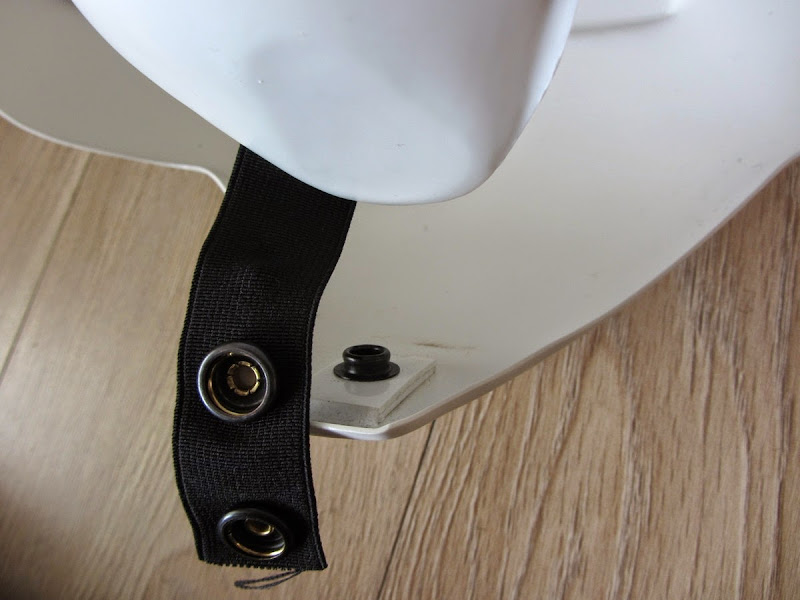
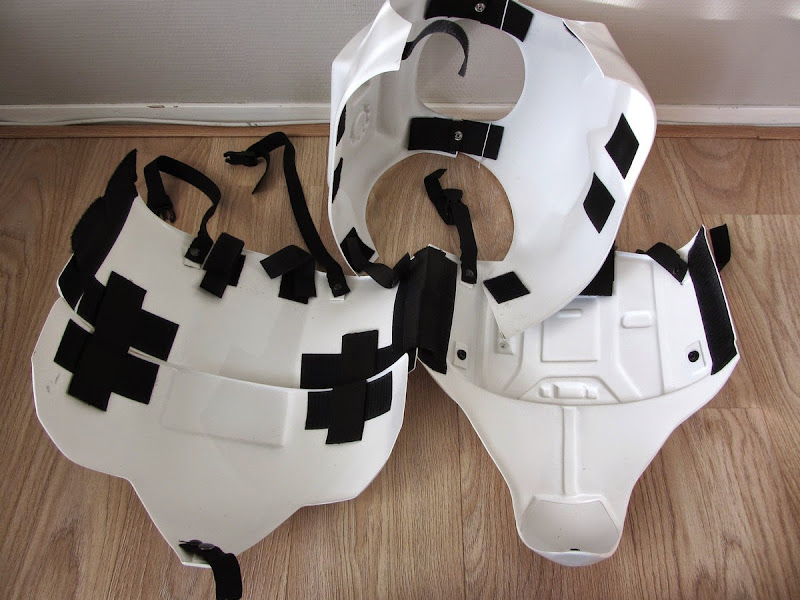
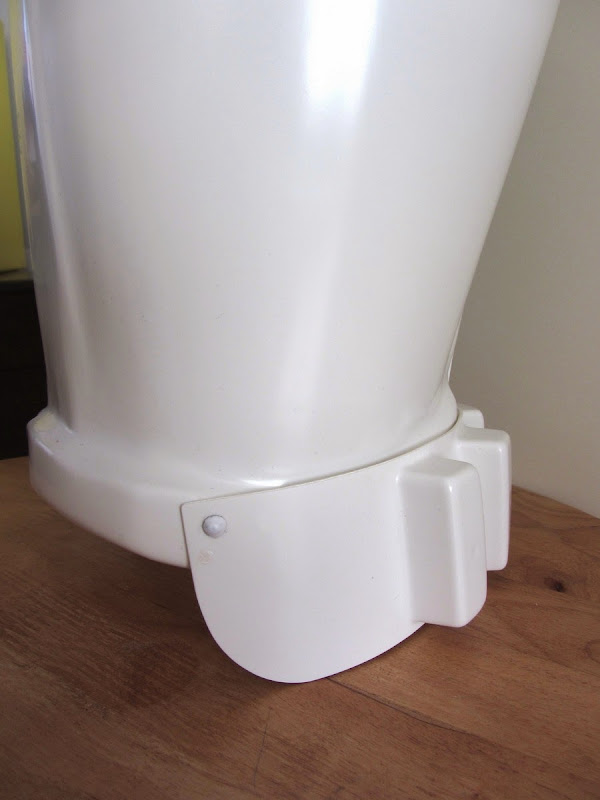
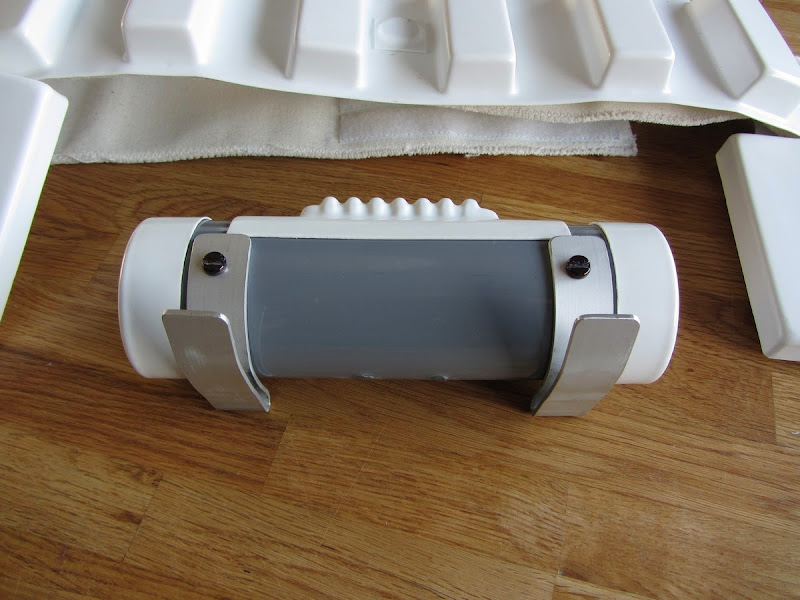
Cod & butt plate attachment

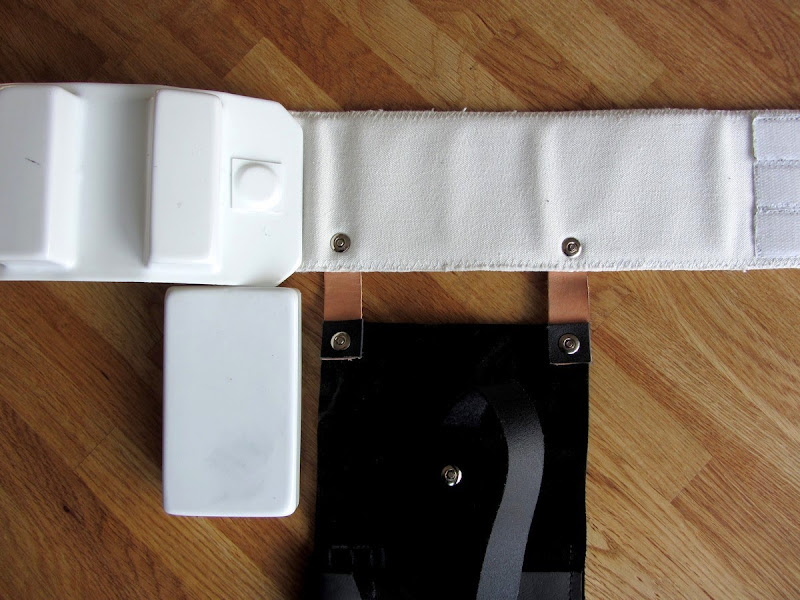
Interior strapping
Other armour details:
Elastic on shoulders
(I forgot to take a photo of this so I used an older photo)
Right thigh ammo belt
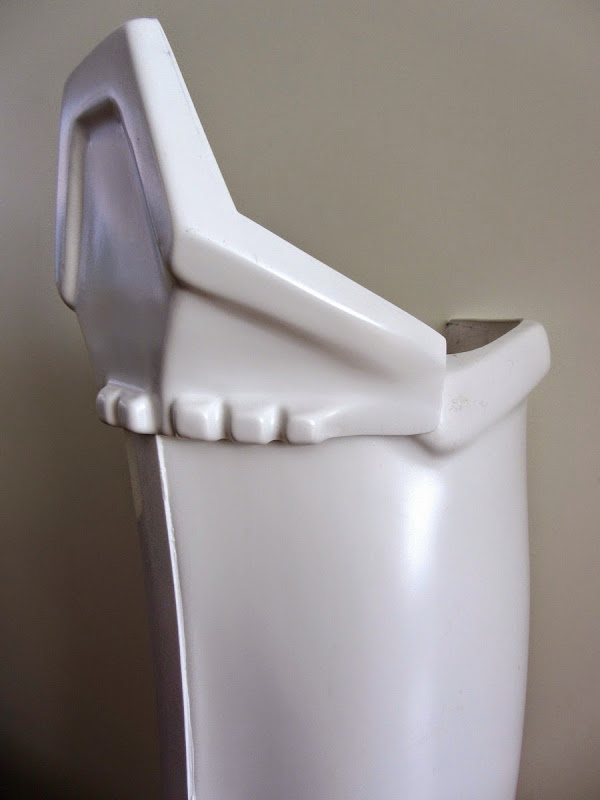
Sniper plate
Gloves and hand plates
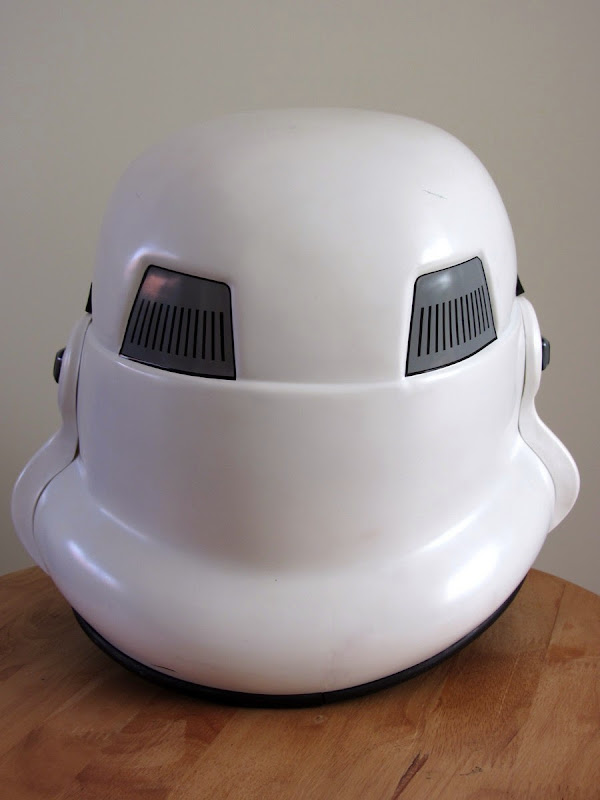
Helmet Details
Front
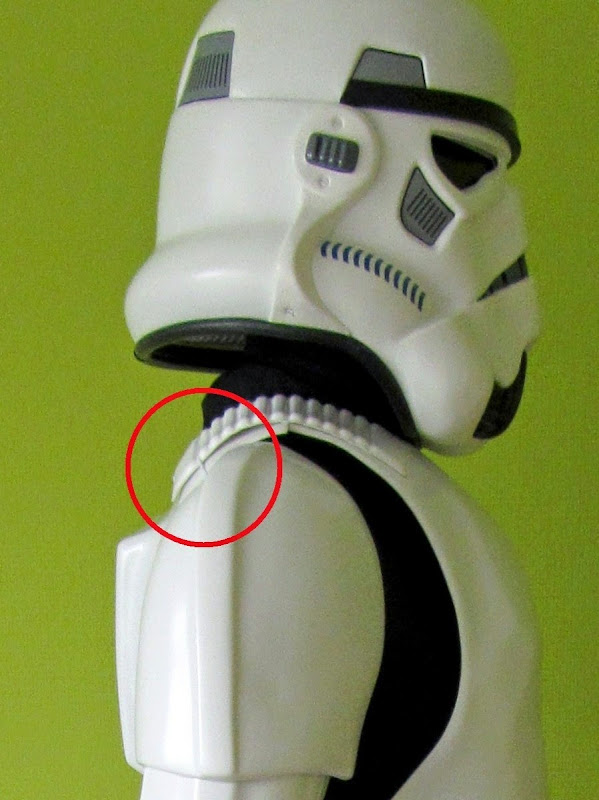
Side
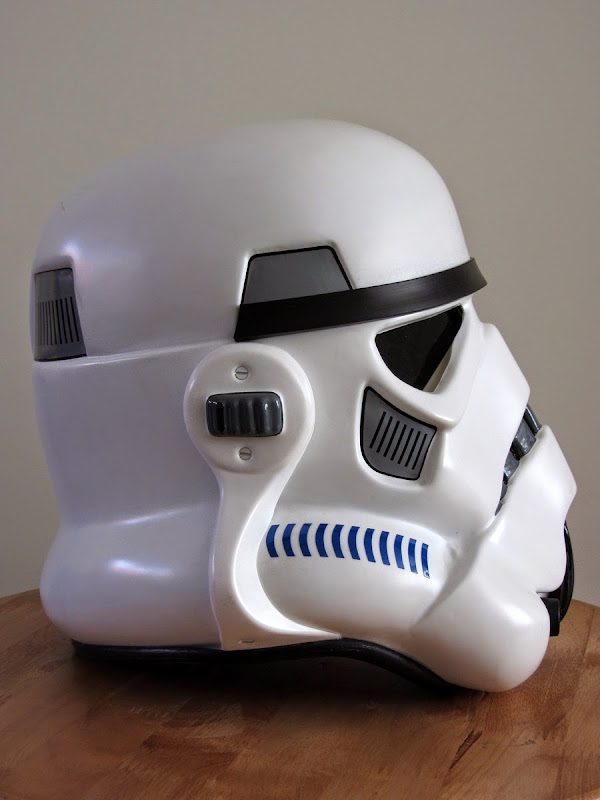
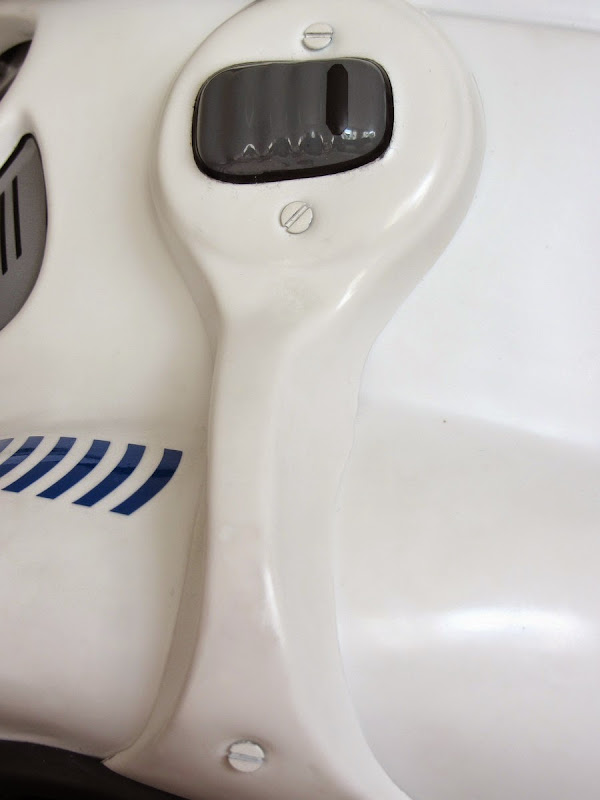
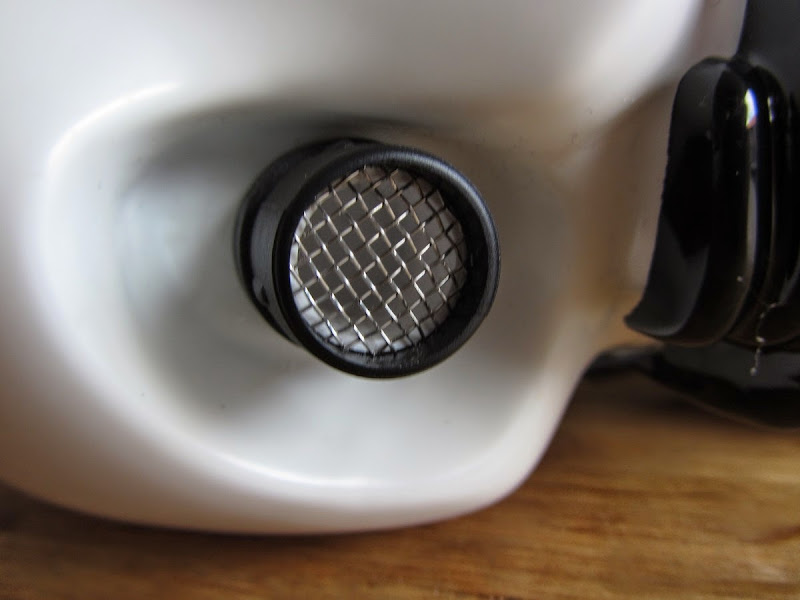
Side detail
Back
Hovi tip detail
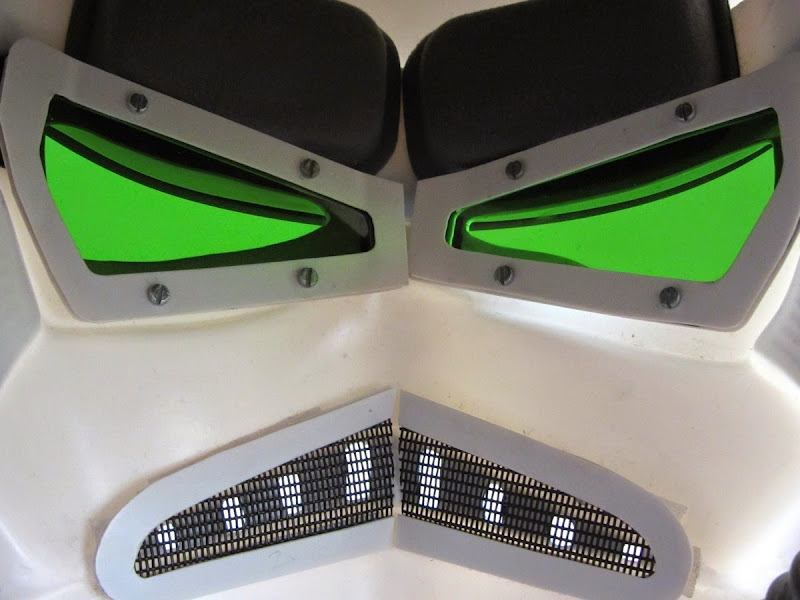
Lens colour
Blaster details
Blaster left
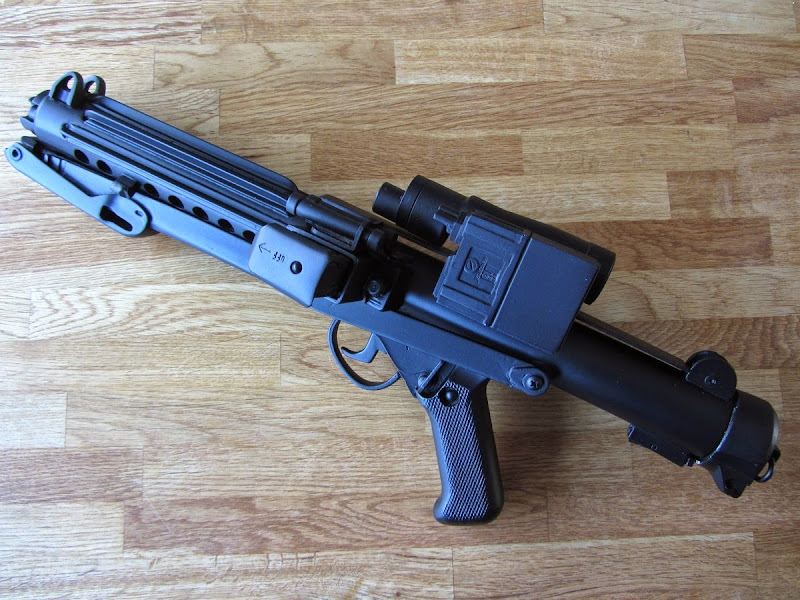
Blaster right
Accessory Details
Neck seal
Thermal detonator - back
Holster attachment
I know there's some work to be done to make this look better.
I'm compiling a list of Centurion upgrades & plan to upgrade the strapping system over winter.
Any tips and advice gratefully received.
Thanks in advance for your time :-)
Simon
-
2
-
-
Hi,
TK 77177 requesting access.
http://www.501st.com/members/displaymemberdetails.php?userID=16868
Many thanks!
HOWTO: ukswrath's First Order Heavy Gunner (Flyye) Vest Modification
in TFA Stormtrooper
Posted
Looking at the back, it looks as though the 50mm webbing is shorter. The 50mm webbing appears to stop at the point where the 2 over-the-shoulder straps cross on the back. See here:
And here:
It also looks as if there is some support at the X. I wonder if there is extra material here, or if the X is stitched together to give more support??