edwinfabian
-
Posts
40 -
Joined
-
Last visited
Content Type
Profiles
Forums
Gallery
Articles
Everything posted by edwinfabian
-
Thanks Clint!
-
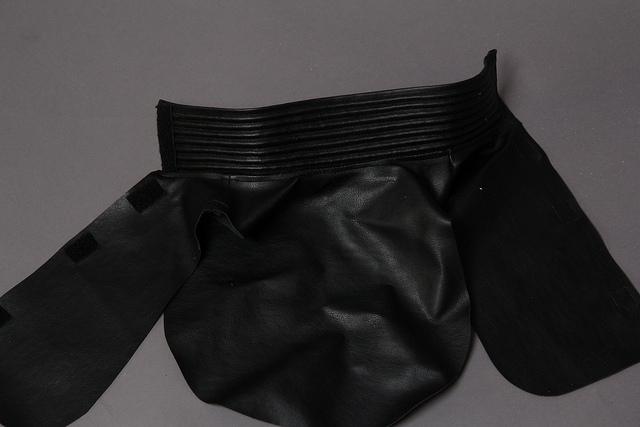
Hi Clint, Your thread is awesome, very helpful, thank you for documenting your build so well. I have a question for you, early on, when you had the Anovos gaskets, you mentioned that you took off the glue tabs and sewed together the shoulder pieces. Did the thread rip through the gaskets at all? And did you use a special thread to sew them together?
-
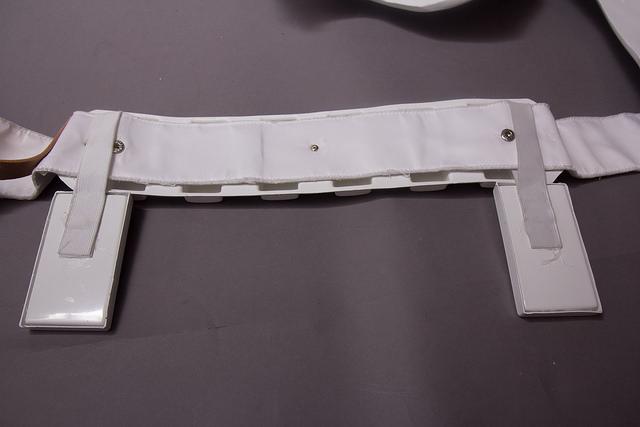
 Great idea on the brackets for the chest piece!
 -
Thanks everyone! So happy I was able to accomplish this. Everyone on this board is so helpful! I'll still continue to try and improve my armor for better accuracy and fit. Thanks again!
-
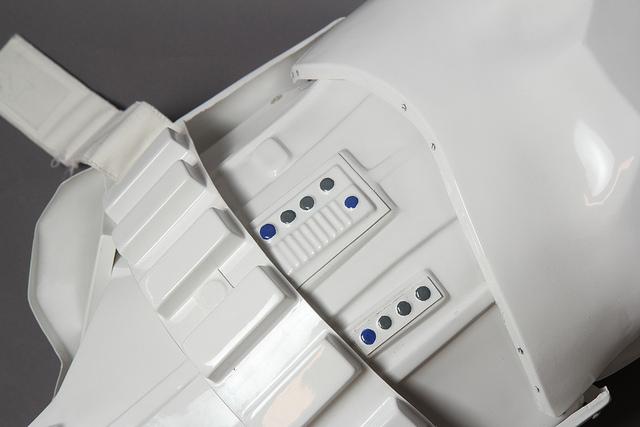
Got all the feedback thank you so much! I tried evening out the rank bar area on the left side. I'm not the best painter so hopefully this is closer to what it's supposed to be (please let me know if the black border is too thick. Below are before and after pics. BEFORE AFTER
-
Thanks for the feedback everyone, I think I might have uploaded the wrong pic for the right side raised. This should be the correct one. Also great feedback on the rough edges, I'm going to start working on smoothing things out.
-
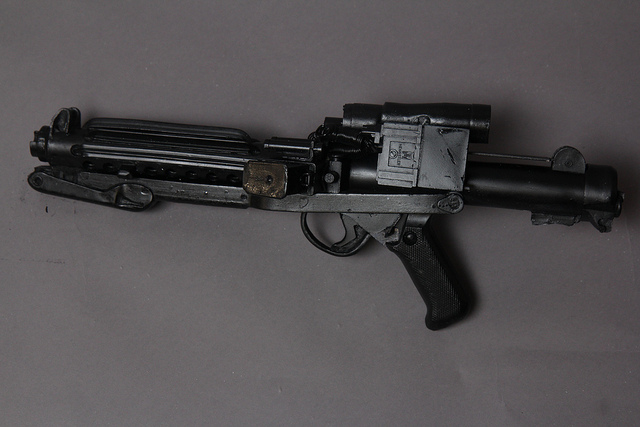
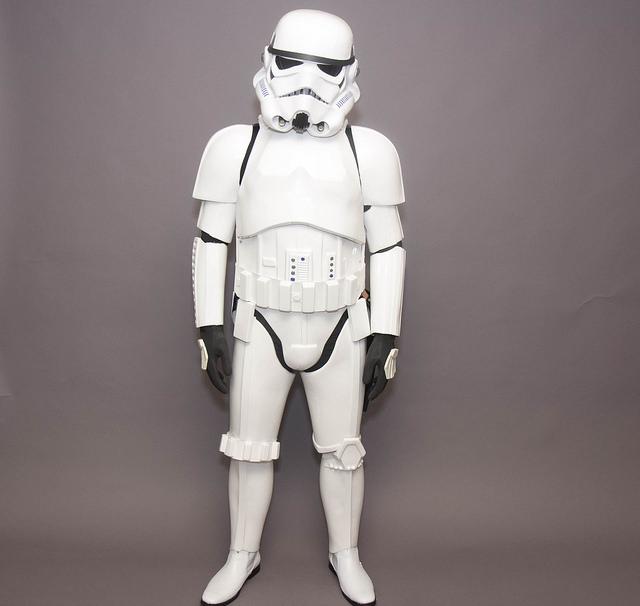
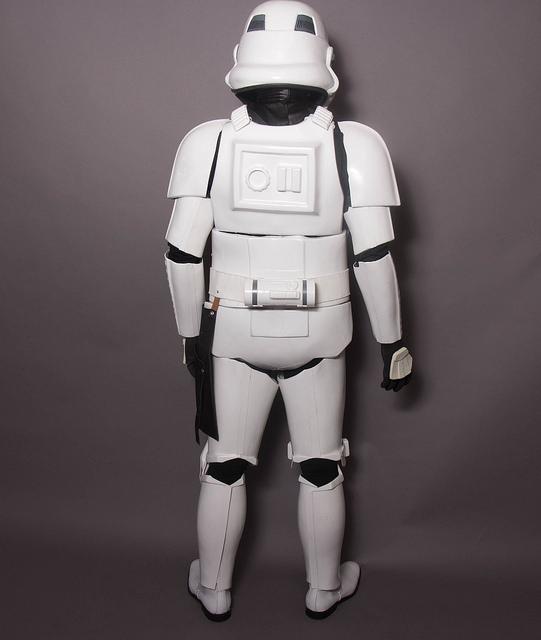
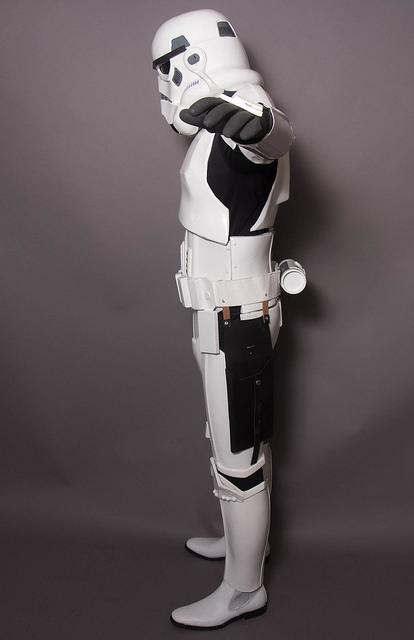
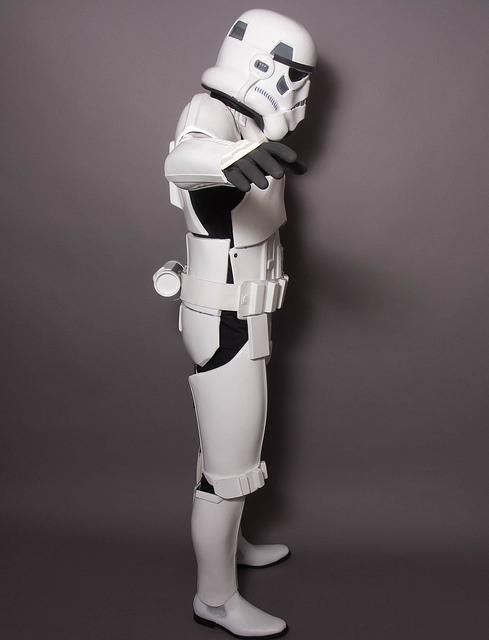
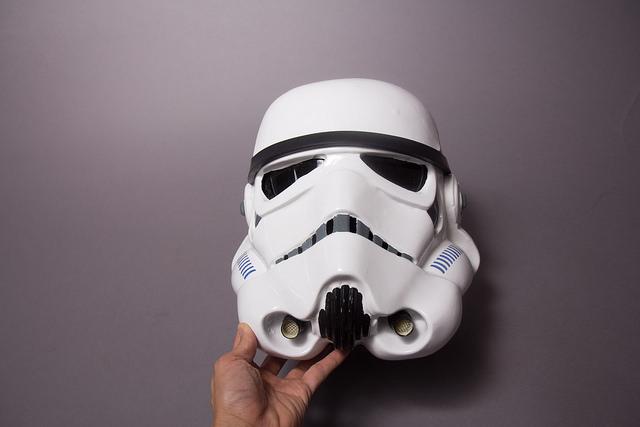
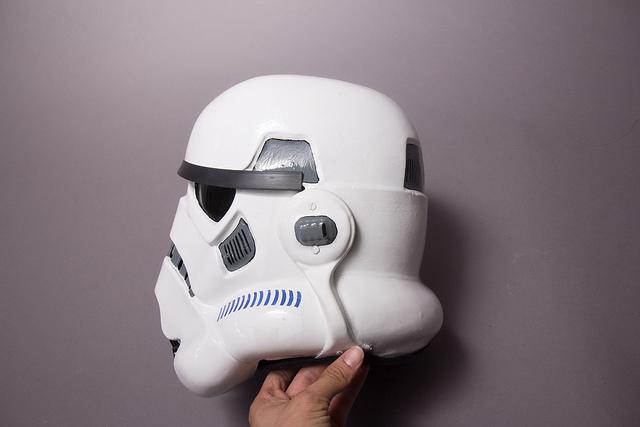
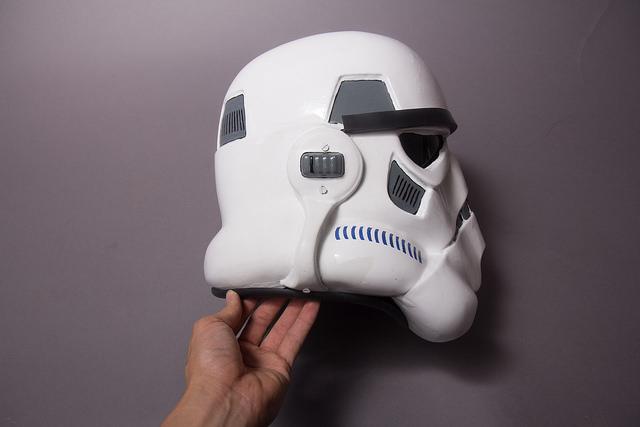
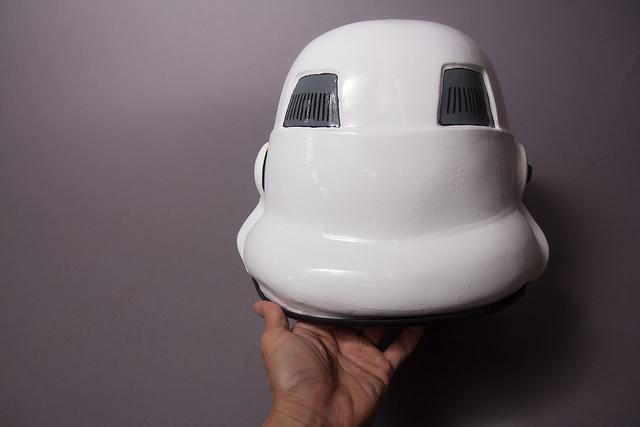
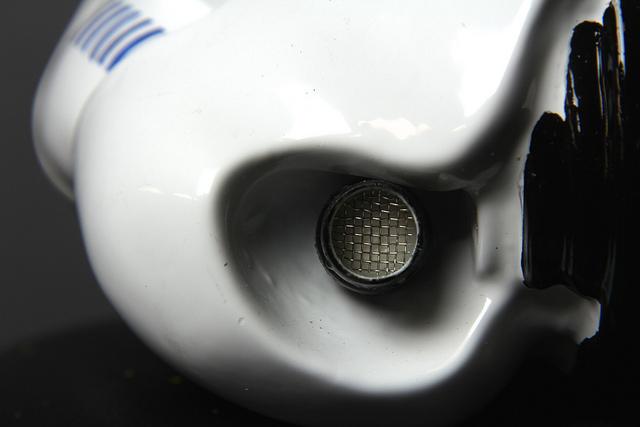
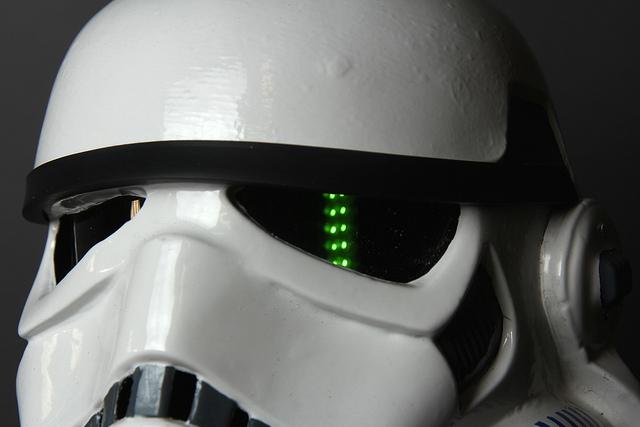
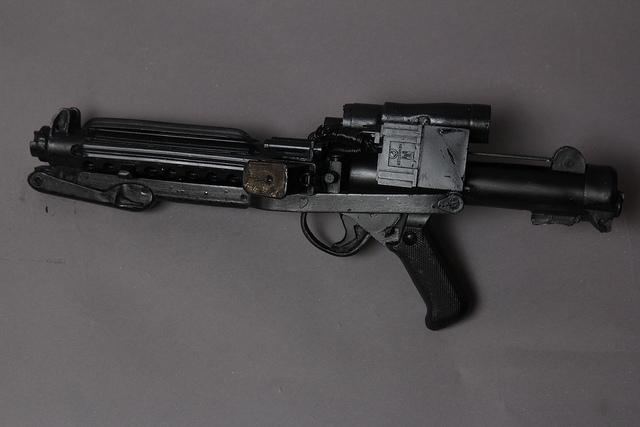
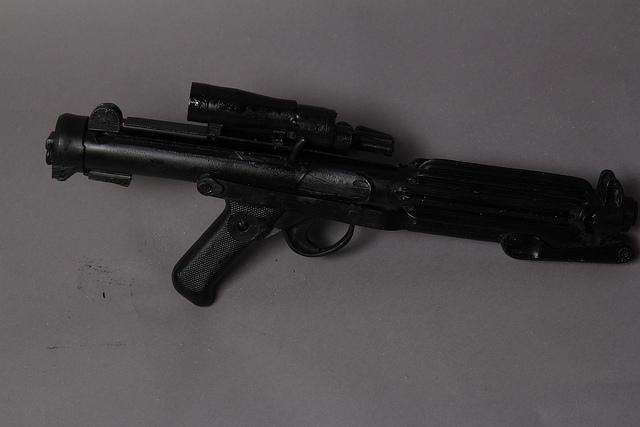
Name: Edwin Fabian TK ID: TK-30000 Forum Name: edwinfabian Garrison: Golden Gate Garrison Armor: RS Prop Masters Helmet: RS Prop Masters E-11: RS Prop Masters Canvas belt: RS Prop Masters Hand Plates: RS Prop Masters Neck Seal: RS Prop Masters Holster: RS Prop Masters EIB Application Thread: http://www.whitearmor.net/forum/topic/30683-tk-30000-requesting-anh-stunt-eib-status-rs-454/ Front Back Left Arm Raised Right Arm Raised Ab Kidney Button Orientation Butt/Kidney - Fixed Yes/No Handplates (1) Handplates (2) Shoulder Bridge Front Shoulder Bridge Back Back/Chest Connection Thighpack Attachement Kneeplate Dropbox Back Cod Butt Attachement Interior Strapping Kidney Plate Notch Wrist Side Forearms Helmet Front Helmet Left Helmet Right Helmet Back Hovi Mic Tip Lens Color S Trim Blaster Left Blaster Right Neckseal Thermal Detonator Holster Attachment Back Holster Attachment Front


-
Thanks for all the love everyone! I'm very excited to be EIB!
-
Hi Eric, Thank you so much! I'll definitely make all the adjustments noted to go for betterer armor and to go for Centurion. Thanks again! -Edwin
-
Thank you all for the feedback, I'll wait till I get word from Gazmosis just in case there are more changes to be made.
-
Name: Edwin Fabian TK ID: TK-30000 Forum Name: edwinfabian Garrison: Golden Gate Garrison Armor: RS Prop Masters Helmet: RS Prop Masters E-11: RS Prop Masters Canvas belt: RS Prop Masters Hand Plates: RS Prop Masters Neck Seal: RS Prop Masters Holster: RS Prop Masters Front Back Left Right Right Detail Left Detail Ab Detail Action Cod/Butt 1 Cod/Butt 2 Interior Helm Front Helm Side 1 Helm Side 2 Helm Back Hovi Lens Color Blaster Left Blaster Right Neck Seal TD Holster
-
TK30000 Requesting 501st Stormtrooper Access http://www.501st.com/members/displaymember.php?userID=16596&costumeID=124
-
Unable to start topic on Request EIB thread
edwinfabian replied to edwinfabian's topic in Forum Help & Support
Thanks Locitus! -
Hello, I'm unable to start a thread to request EIB status, there's a link on there that says I need to be an approved TK, but the link is broken. Can someone point me in the right direction on how to request access? Thanks!
-
Just got basic approval today from my GML. Hooray! Now going to do some cleanup to make the fit a little bit better. And my next step is going to be applying for EIB.
-
Thanks Sly11, that pic didn't have the butt strap done up. Next time I take pics I'll make sure that it's buttoned and I think that should curve it.
-
It's been a while since I updated. Before I send for approval, I'd like to get some feedback. Is there anything that I'd need to improve upon? Thanks everyone!
-
Thanks everyone for the replies! It all makes much more sense now.
-
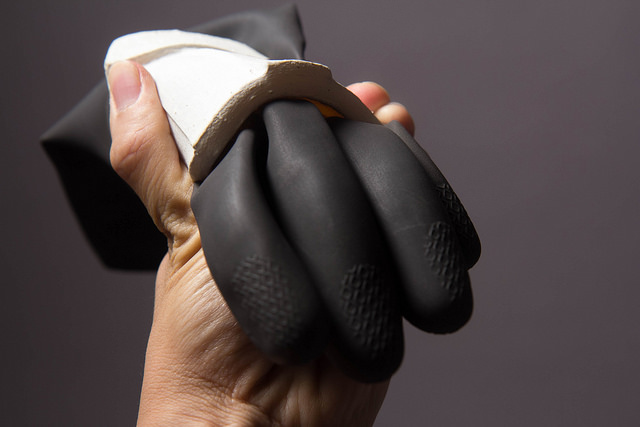
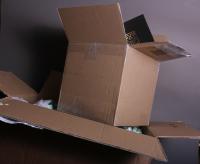
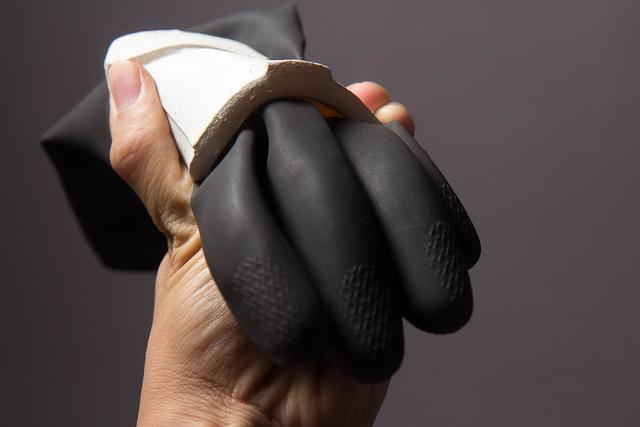
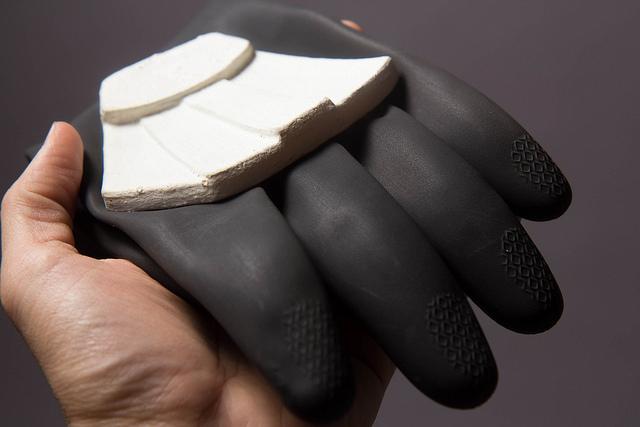
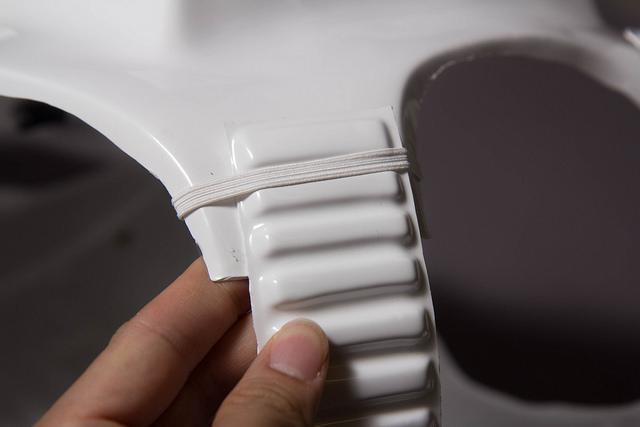
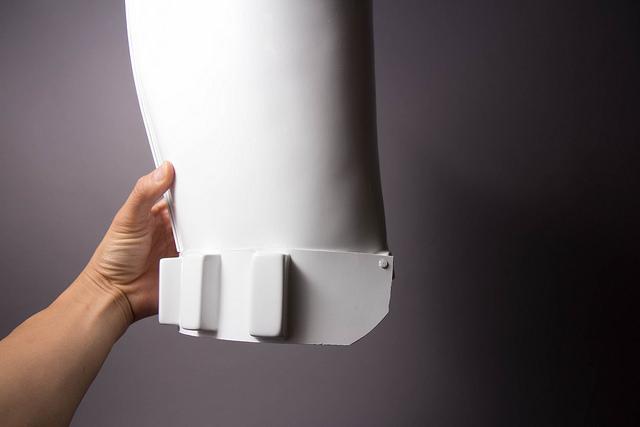
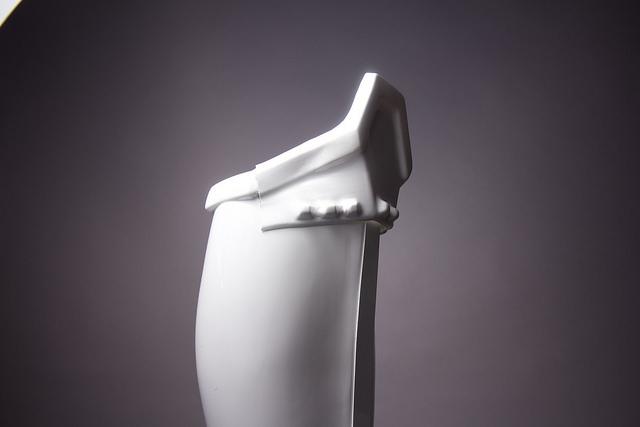
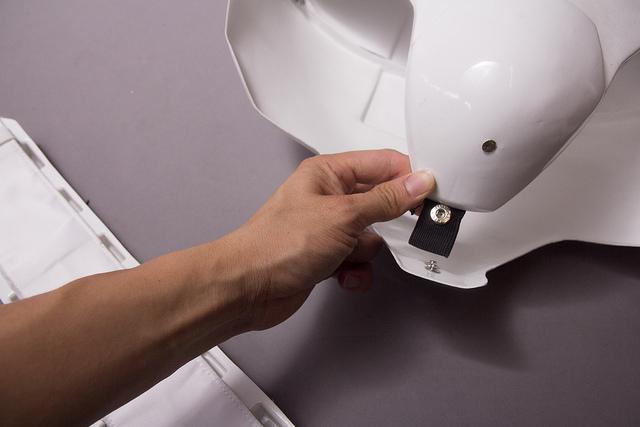
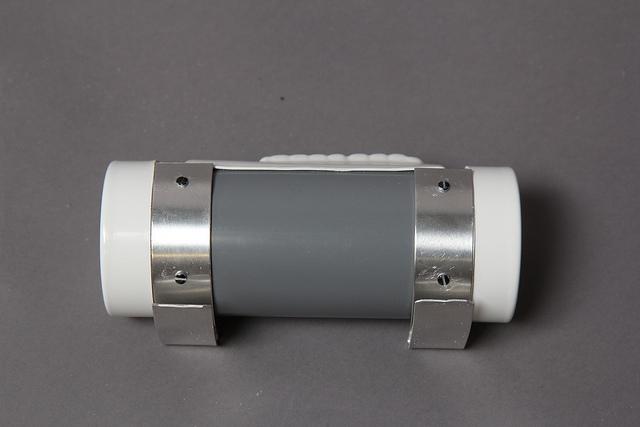
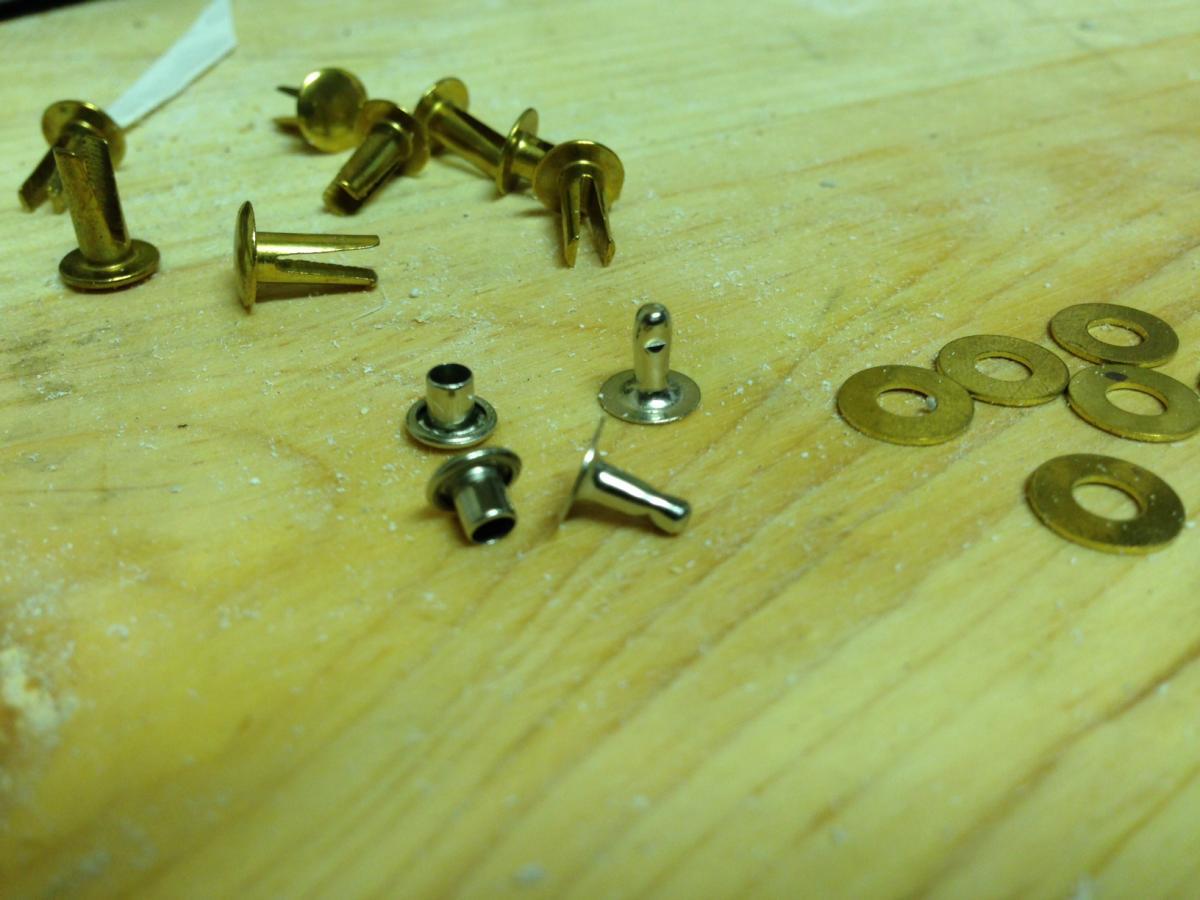
Hi everyone, I'm putting together an RS kit and got their strapping pack. I was able to identify pretty much everything in it except these little guys. Can someone tell me what those are for? It came with 10 pairs of them (Not the split rivets in the background)
-
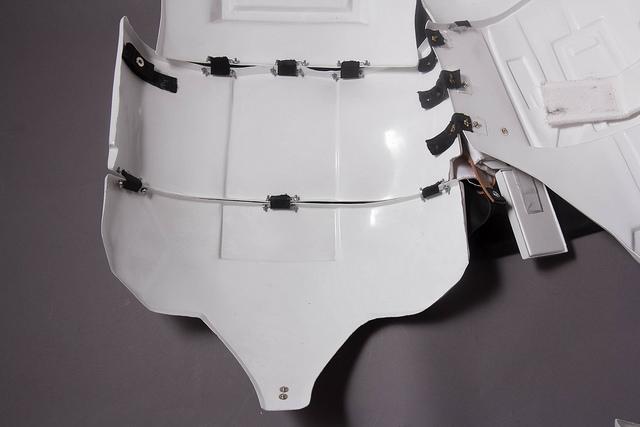
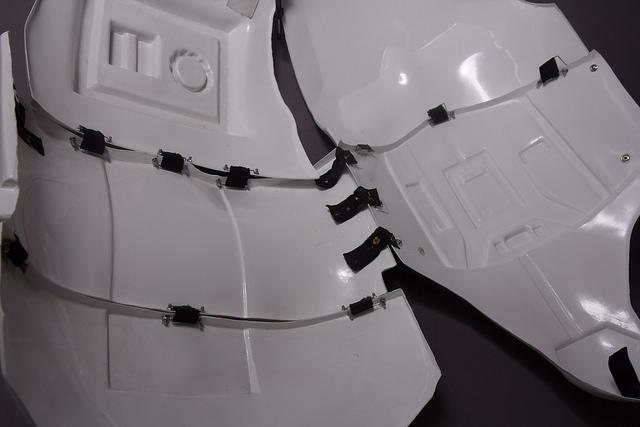
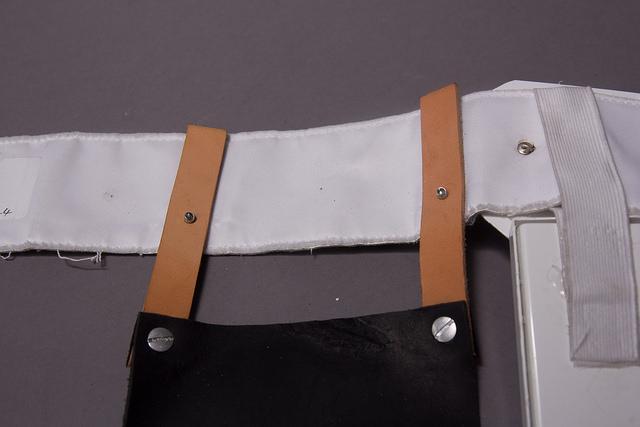
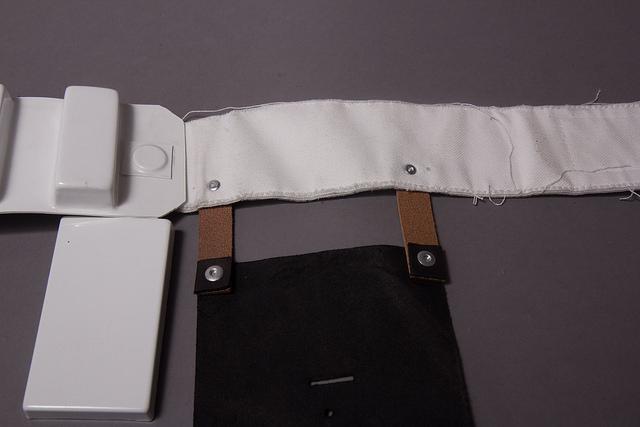
Marked up the chest and ab plate with where the brackets should be going Making sure the brackets line up with the markings
-
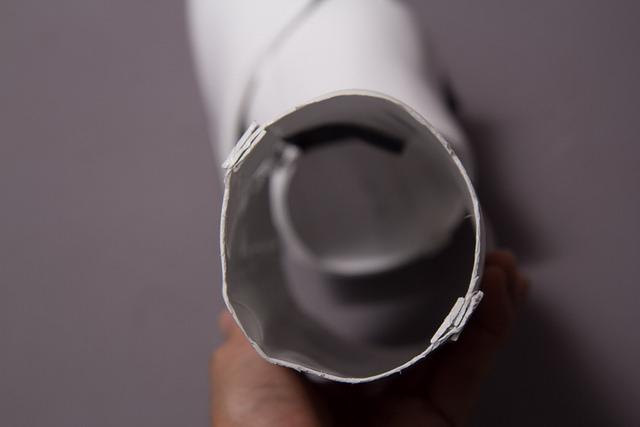
Gluing the cover strip to the right bicep piece (that I didn't mess up on) and also trimmed up the shoulder bells and taped the straps. Will be gluing straps after a second test fit. Gluing cover strip to one of the forearm pieces.
-
Thanks for the advice Evan! I'll trim the return on the back plate soon. I just made a careless mistake by cutting off way too much from the back left bicep piece. I'll need to fix before going further. I got some scrap pieces and am gluing back the strip I accidentally cut off. Gluing it back worked fine there's just a big crack that I need to cover. Luckily I have experience with hiding seams since I built clone armor last year. I made some ABS sludge and put on a coat where the cracks are. Applied the sludge and it's dry now, just have to sand it down and put a thin layer of paint.
-
First test fitting. All of this was held together by tape and no one was home so it was hard to get everything to look straight. Now here's where I need some real help. The kidney and butt seem to be super wide. Is there a way to fix this? Should I cut it more or should I be doing something else? Or will it tighten up after I put on the belt? Are there any other areas that I should work on as well?
-
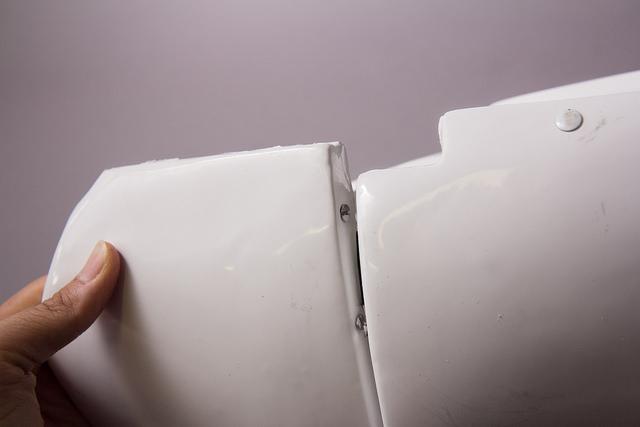
Did more cutting and started to mark where the split rivets need to go on the left ab and left kidney. Measured 10mm from the center of where the markings were on the ab (also had to change where the center one is going to go because the original center marking wasn't equidistant from the top and bottom markings). Then lined it up with the kidney and measured 10mm from the edge to mark where the rivets will go on that piece. Also cut the right side to make sure it was 10mm from the male snap. Please chime in if I'm doing something wrong. Heck, feel free to chime in anyways. Left side with markings About 10mm from edge and the new center mark Right side snap
-
Thanks for the idea, will remember that for my next build. Thanks for the reference pic. I sanded down the caps a bit and though still just a little off, I'm happy with it. Glue is curing now. Yes! Need to stop overthinking some things. Thanks! Thanks for the advice!!