


Tesla Kinetic
-
Posts
202 -
Joined
-
Last visited
Content Type
Profiles
Forums
Gallery
Articles
Media Demo
Posts posted by Tesla Kinetic
-
-
Outstanding! Outstanding! Wonderful! Inspiring work!
-
there is more than one way to achieve it.
For me to understand what you are stating, please clarify...rivets = snaps, covers = buttons...?
-
So, do I need to drill holes for three female snaps on my belt *before* I glue the buttons on the front?
-
Hello from Texas!
-
UPDATE: Touched up AB button plate, heat shaped the belt, sanded and started gluing biceps, started assembling helmet...

A few gaps...so I masked and touched up using a toothpick
The final result...decent
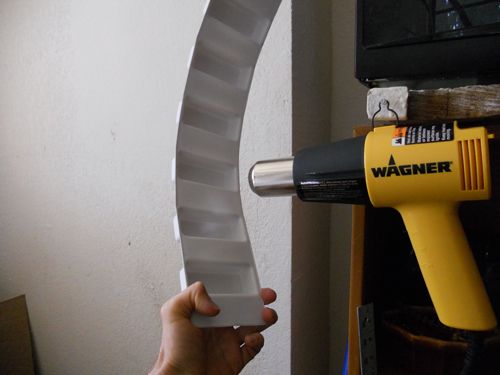
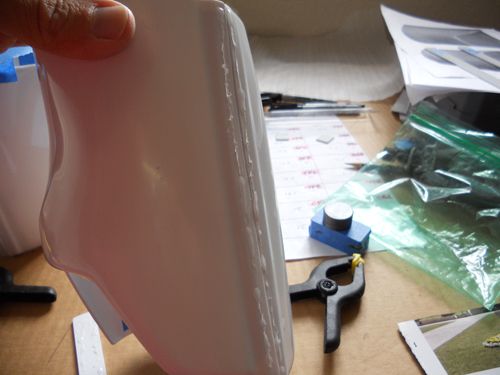
Heat shaping the belt (thanks to Pandatrooper for the tip!)
Result!
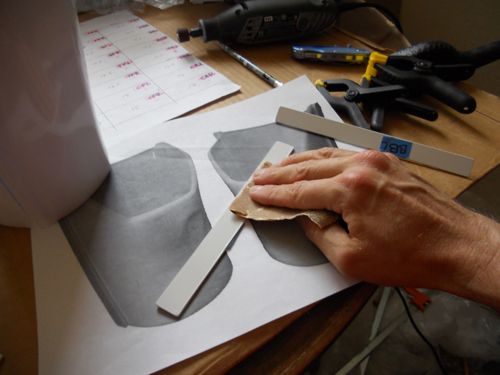
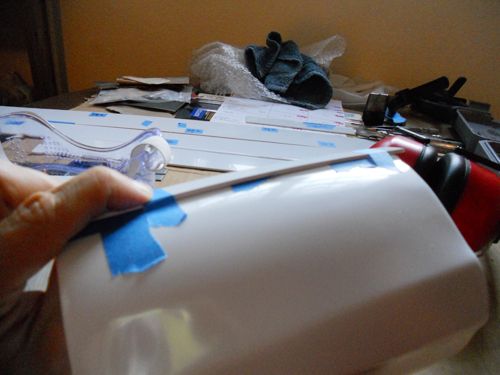
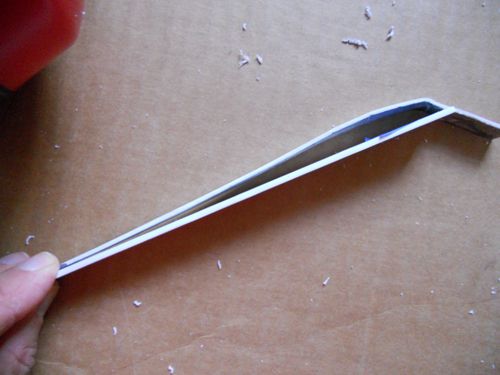
Sanded biceps non matching top portions to an angle and did the same for the strips
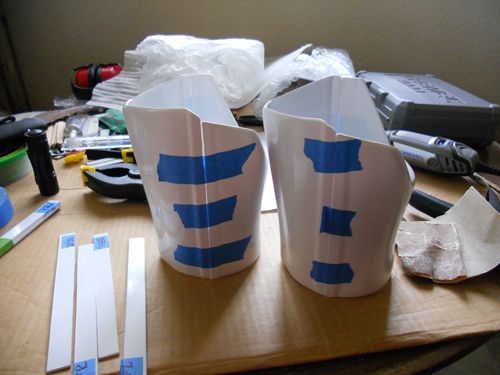
Prepped for gluing by roughing up the glue area with sandpaper...
...inside and out...
...and the glue portion of the strip...
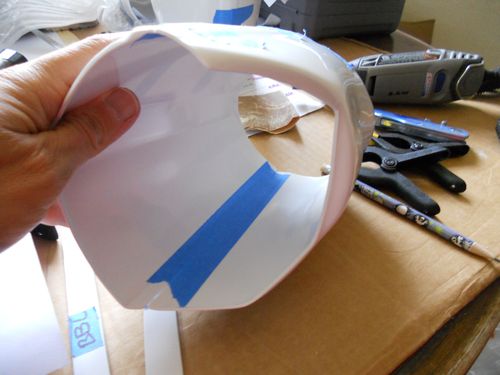
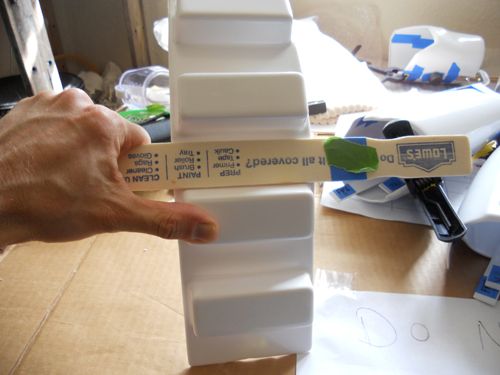
...taped the inside to help hold it in place...
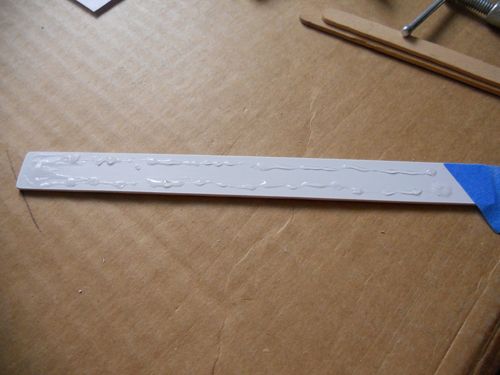
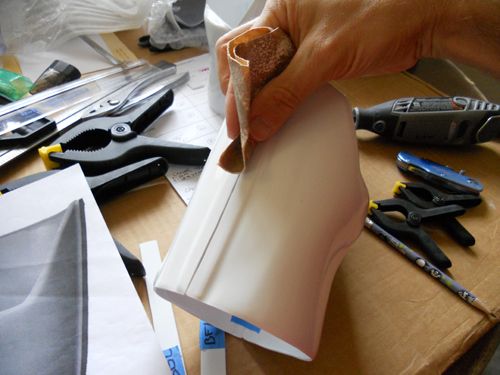
...glued the strip...
...and the bicep...(waited a couple of minutes before assembling)
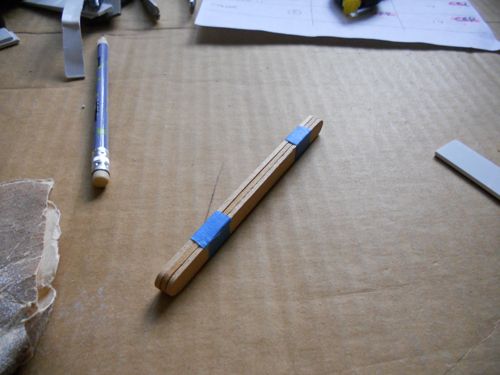
...I found I needed a device to hold down the inside as the clamp "foot" is too big...tada!...
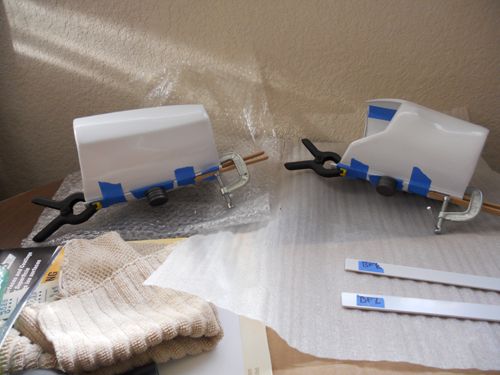
...and the waiting of 48 hours begins!
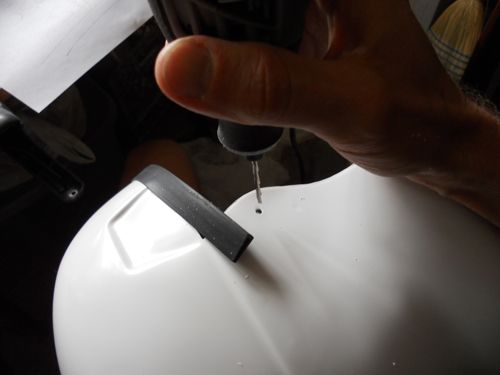
Drilled the center helmet holes
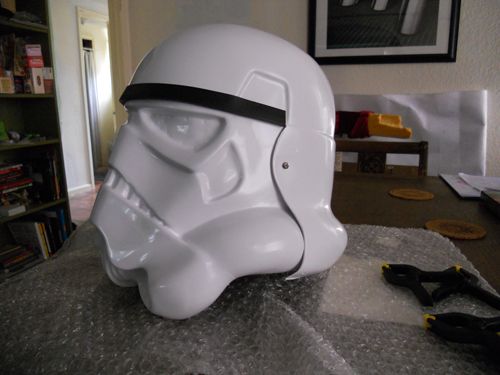
And assembled!
Whew! Forearms and Thighs next I should think!
-
Looks A-MAZ-ING! I cannot wait to complete my TK and travel to events like this!
-
You are doing great! Much farther along than I am! I am stuck on how to size the thighs and calves!
-
Hello! I too am in DFW. Currently building my TK and learning much. Check out my build post, it may help you your research. And start your own build post once you get your kit ! 8^)
-
Welcome !
-
Thanks, Tim. Do you think the thickness of my strips make the bicep look weird?
-
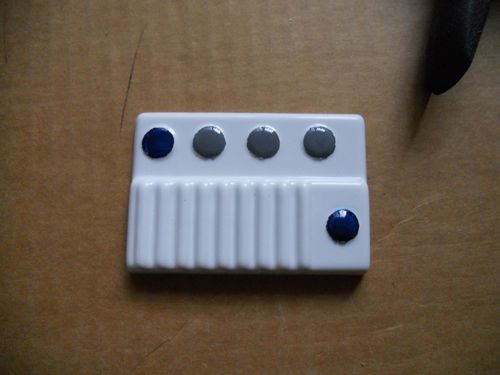
So here is what i have been working on. Feel free to answer any of the questions under the last few images:
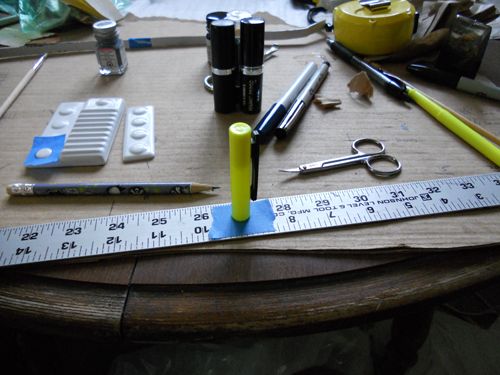
After trying many lids, I decided on using a highlighter pen cap for button mask size
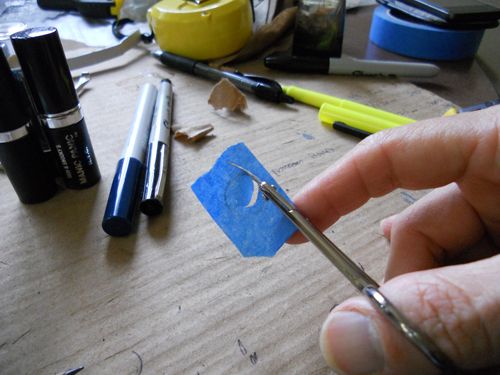
Used manicure scissors to cut out circle
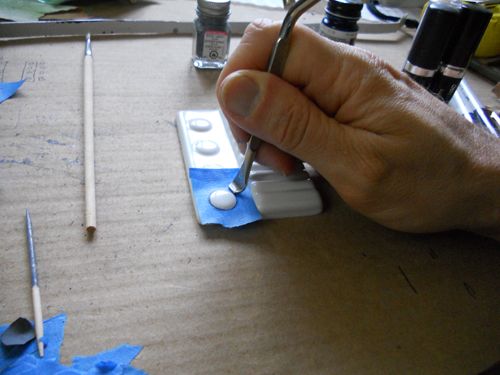
Secured down with paint can opener
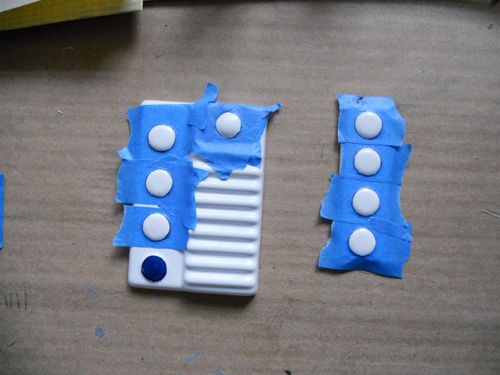
Looks good so I did the rest

Not perfect but not bad, a little touch up later will be needed
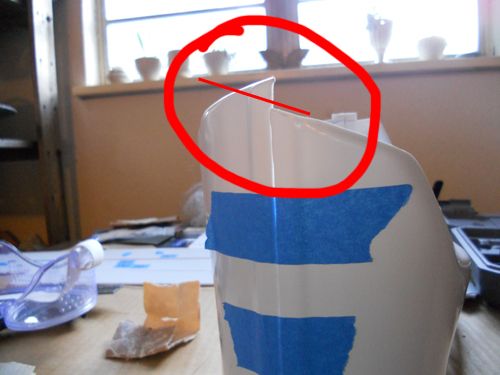
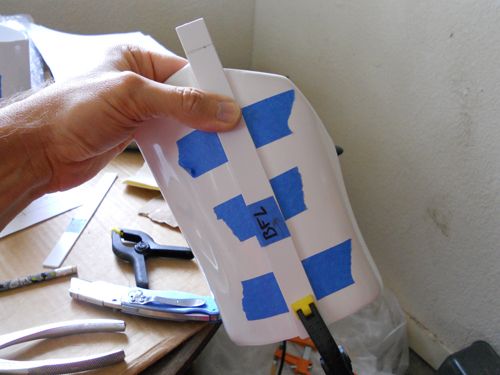
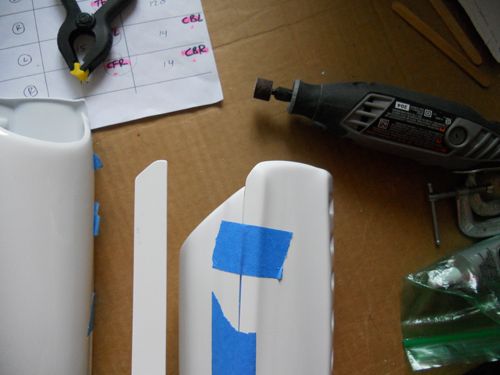
LEFT BICEP: What do I do about this? Cut along the red line? Then should the cover strip follow that same cut?
And I noticed that the extra strips of ABS I have are slightly thicker than the actual armor. Is this a problem because it looks a little strange?
TOP ABS: thickness of armor
BOTTOM ABS: thickness of extra ABS for strips
-
Great info, guys! I will soon need to take care of my holster needs as well!
-
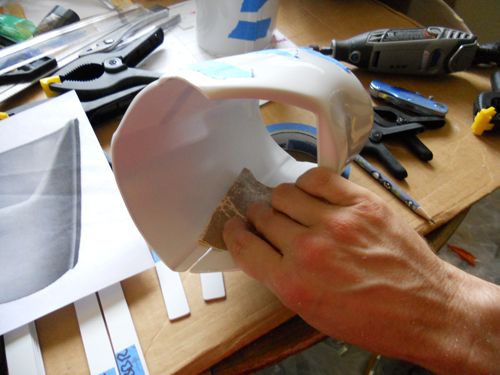
Helmets are actually the most forgiving in regards to the trimming, except the ears. look on the inside of the helmet are there lines where the forming buck stopped? if so that could be helpful when it comes to the ears just go SLOWLY and trim it a little bit at a time and check the fit keep going until you get to the desired look, ears are always the hardest part in my opinion. some gaps between the ear and helmet are ok so don't stress over that. as for the bucket itself you can get some of those split brads for paper and use those to temporarily hold the helmet together so you can see the overall look of the helmet and go from there, I have also heard of people using hot glue to hold things down while they trim. Good Luck.
Sound advice, but as far as "check the fit" goes I have to assume a lot. The helmet will not fit my head as there is no padding yet. So do you mean I should just eyeball how it looks? If so, that would be a problem for me. Is not there an approximate or average measurement for the AP helmet cut lines?
Thanks!
-
That bar up there that says search is your friend. Try using it first before asking questions. Look up build threads for the AP. Type in AP build or AP helmet build or something like that
Here's three after about 5 seconds of research.
http://www.whitearmor.net/forum/topic/24260-first-time-build-ap/?hl=%2Bap+%2Bhelmet#entry305297
Trevor,
I *did* use my friend, the search engine.
The first link you posted does not address my question of *where* to cut the helmet.
The second link has several great images but does not state *how* the cut lines were determined.
The third link, same result as the second link.
You see, there are so many posts stating “…and then I decided to fit and cut my helmet…†without actually describing *how* that was achieved.
-
I have read everything I can find on trimming an AP stunt helmet. I really need to see how you guys determined *where* to cut. I admit it, I just do not understand and this is rather critical.
This is my first build so I have no reference of experience.
Thanks. Post pictures please!
-
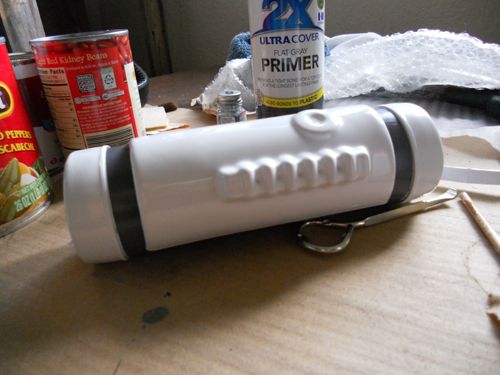
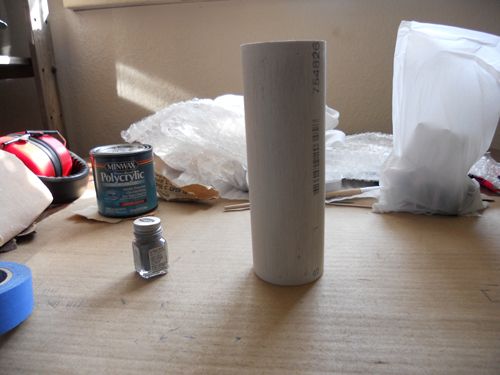
Third times-a-charm...I hope!

Color matching test strip for spray paint
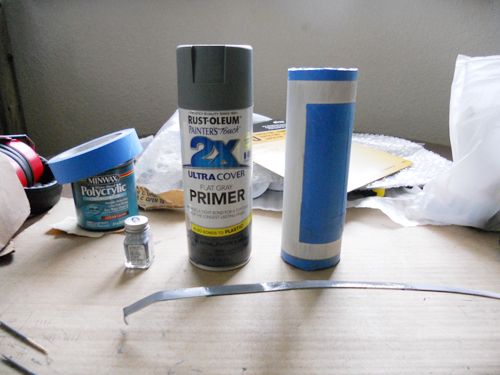
Spray paint choice and TD re-sanded and re-masked
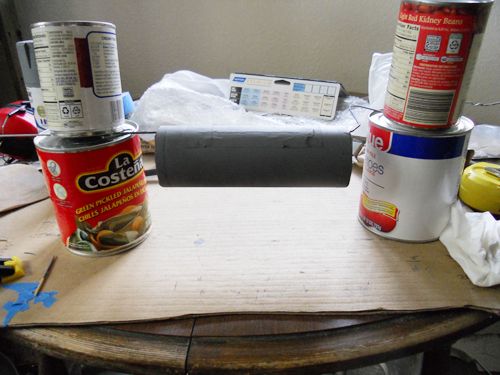
Drying rig

Close up
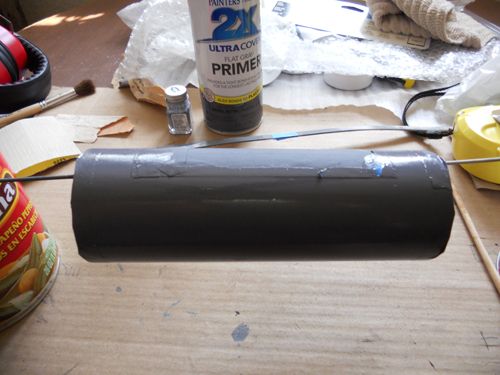
After 2nd paint coat / 1st Clear coat
2nd Clear coat
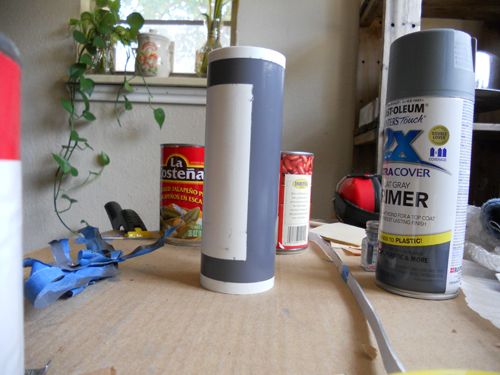
Dry fit test!
Whadda think?
-
Amazing that you caught yourself! Soooooo glad you are okay and your armor survived! I shall be more mindful in the future.
-
Welcome! I am working on my build and would be happy to share what knowledge I have picked up so far from the excellent troopers on this forum. Good luck and post pics when you start building!
-
Would love to see the pics!
-
Update on the TD coming soon.
I feel like I am wasting my time trying to size the armor. Without a reference on front of me to go by, I am lost. Too many questions. It also seems to me that their should be an established order to size your suit. That is to say, doesn't the placement of the chest and ab piece help to determine the placement of the thighs? Same for the thighs to the calves? Which means - I. am. stuck.
I guess I will go back and try to size the arm pieces again.
-
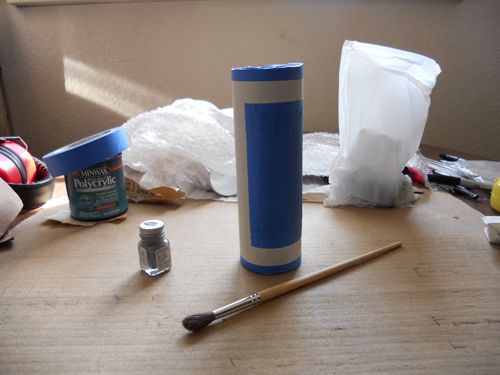
Ugh. So I sanded off the gray that was too light...
Remasked the areas that will be used for e6000...
...and then I ended up with such a mess that it required i wipe it all off with mineral spirits...
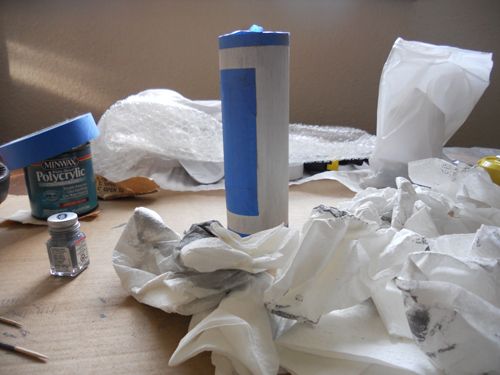
I can see why people just buy these damn things. Problems I had and need solutions for:
1. The brush hairs came off and stuck onto the freshly painted area. I used medium grade quality brush.
2. Air bubbles visible on fresh coat. I used a toothpick to stir the paint (did not shake).
3. Paint was very sticky and dried extremely fast. I used to make models using Testors in my youth and do not remember the paint becoming tacky in 15 seconds. This made painting almost impossible.
The best solution I came up with is finding this exact paint in spray form but I do not think Testors offers it. Also, I will still have these problems when attempting to paint the helmet.
Looking forward to constructive, insightful assistant...thanks!
-
Hello from Texas! I am building my AP ANH Stunt myself! Start a build post if you haven't already so we can watch your build!
8^)
-
This looks great! I read it in its entirety later! thank you, lady in white!
-
Okay, so how do you know when the armor fits so you can finish that piece? I understand the concept of "sizing" a garment until it feels comfortable, but this is plastic! I doubt it ever feels comfortable.
So my dilemma is that I am stumped, and can not move forward. Does anyone have constructive advice? Or a thorough tutorial they can offer? I have of course been all over the board looking.
Telsa's ANH Stunt AP Build
in Build Threads Requireing Maintenance
Posted
So here is some of what I have been doing...
Finished the biceps
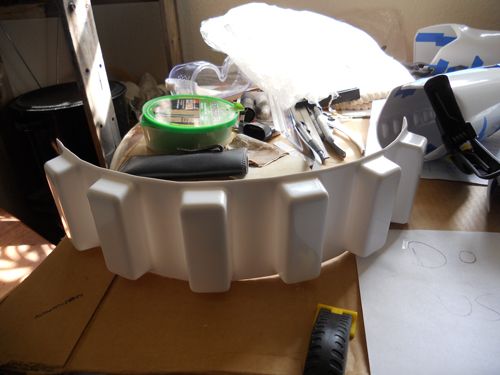
Assembled more of the belt
...and moving further along on the helmet ears!