


thechosenhitman
-
Posts
744 -
Joined
-
Last visited
Content Type
Profiles
Forums
Gallery
Articles
Media Demo
Posts posted by thechosenhitman
-
-
Over the last week a ton of stuff was done, with more to go this week for the reveal this weekend. When I get the chance tomorrow I will take some pics and post them.
I can say I did have to add shims to the kidney/abs plate and the chest to back connection as I am a rather big/large guy but I am not letting that be an issue to hold me back.
-
I will keep my eye out lou. Thankfully he has not shown his head on the SLD.
-
wow wtf is he thinking
-
I see the lies haven't stopped. Darth Vorhees has been spreading lies to other detachments in an attempt to get my accounts banned when in reality it is him who would be banned. He even went as far as to try and hack into my accounts. This is what you are supporting by protecting this man and his recasting attempts!
Bourdon of proof is on you NOT him. The person who needs to stop lying is you. We already know you are not who you say you are, so either provide proof to all your claims or just leave him and the 501st community alone.
-
This hobby attracts some of the nicest people, But then I flip side we get some of the strangest people.
you got that right
-
damn...would love to see that thread but i have to wait till my account gets validated.
-
You stole my friends as well as several other people's designs. You are scum and it is clear that everyone here supports thievery and recasting which is disgusting.
Prove it sir! To this date you have not provided any proof to your accusations. Until you provide any proof you will not be welcome here or on any other detachment.
-
Lou
I wouldn't worry about him. We here know you are a great guy.
As of right now he hasn't made a post on BSN. I will keep my eyes out on the SLD and alert my other fellow staff members there about what is going on.
-
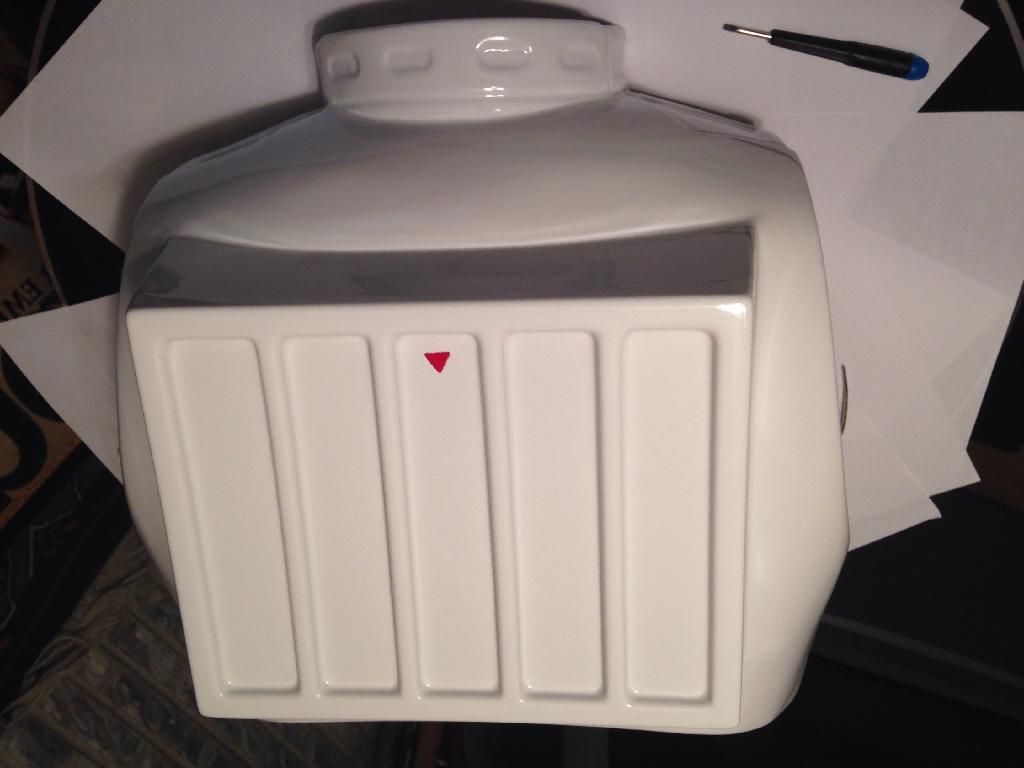
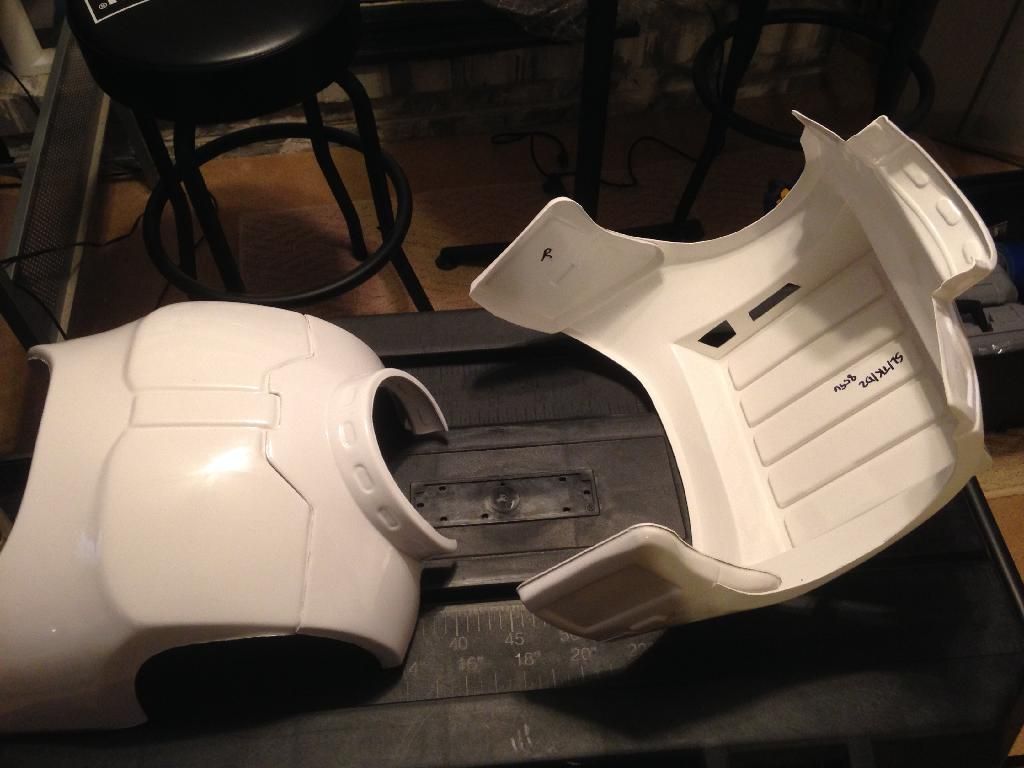
Got some more work done over the last few days.
I have all but the chest/neck, abs, & kidney armor painted. The back I finally have the cutouts in and the red triangle painted:
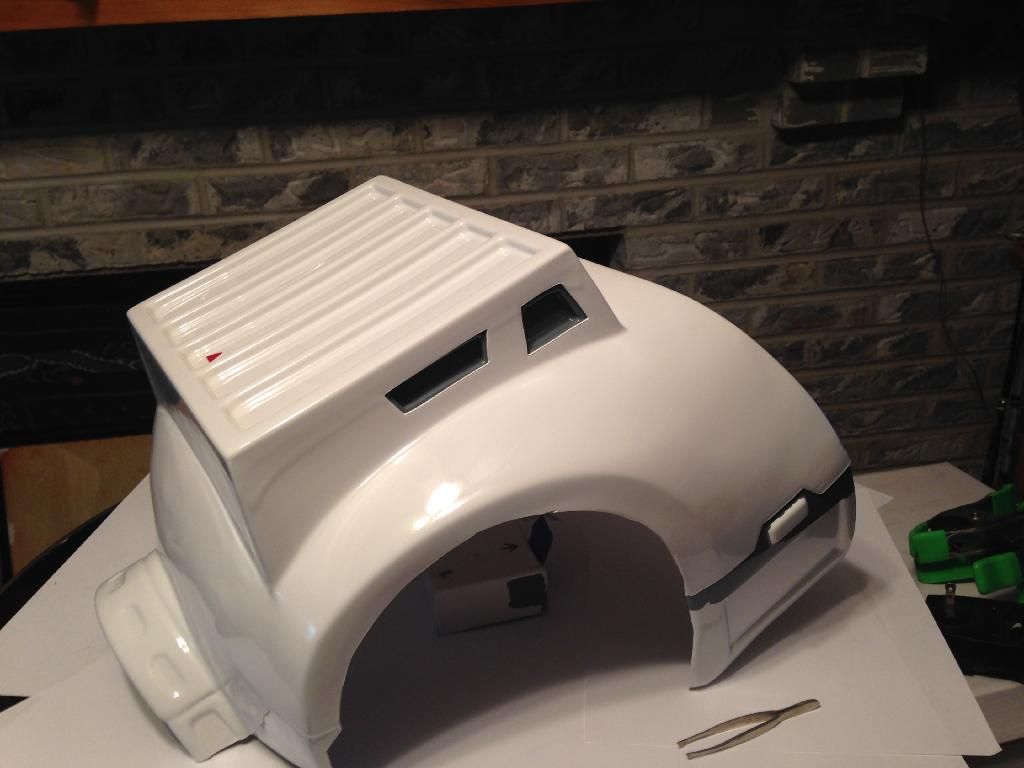
I also built the thermo detonator:
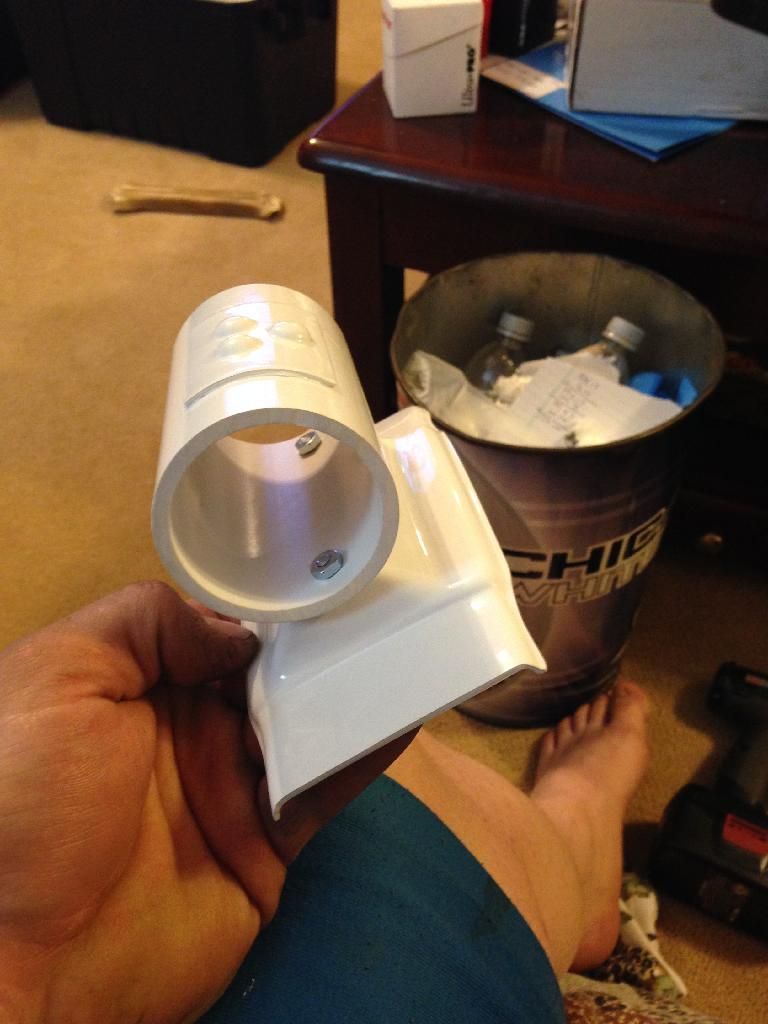
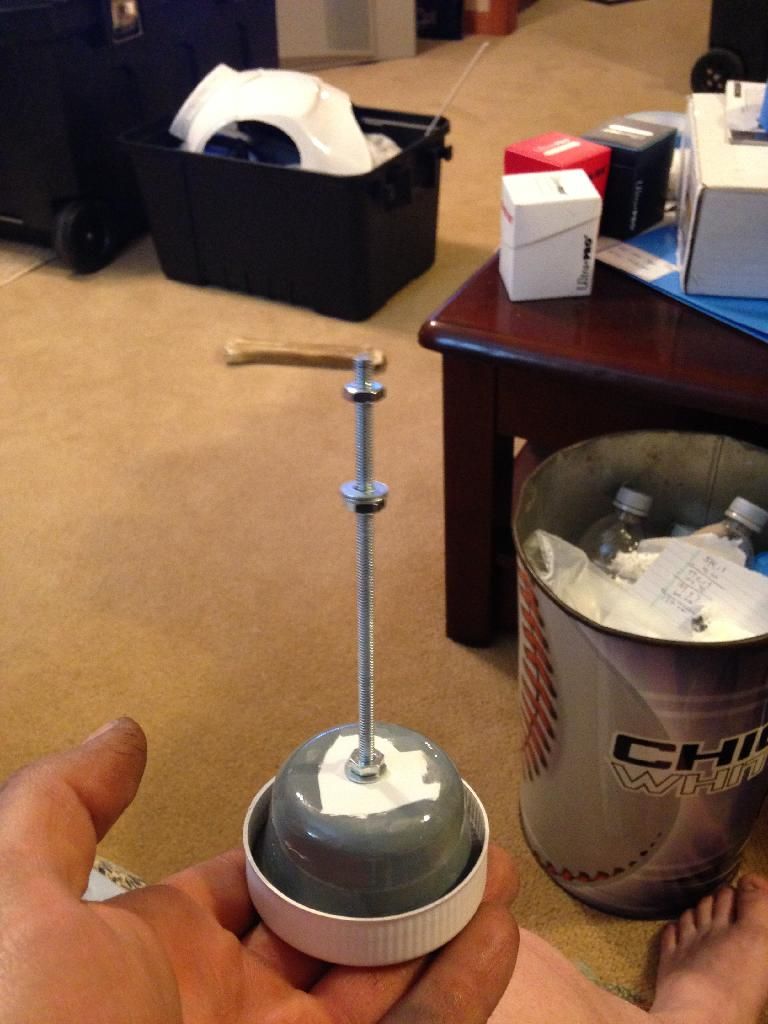
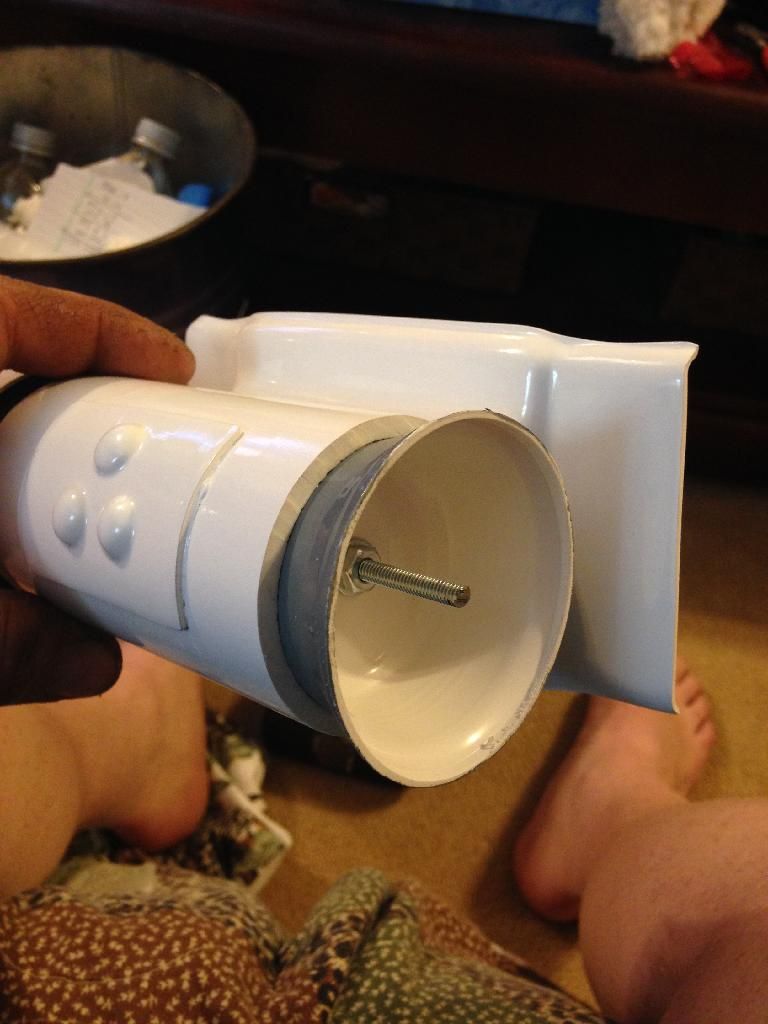
For the thermo instead of using eyelets and elastic, I got a threaded rod cut to length and bolted to each end.
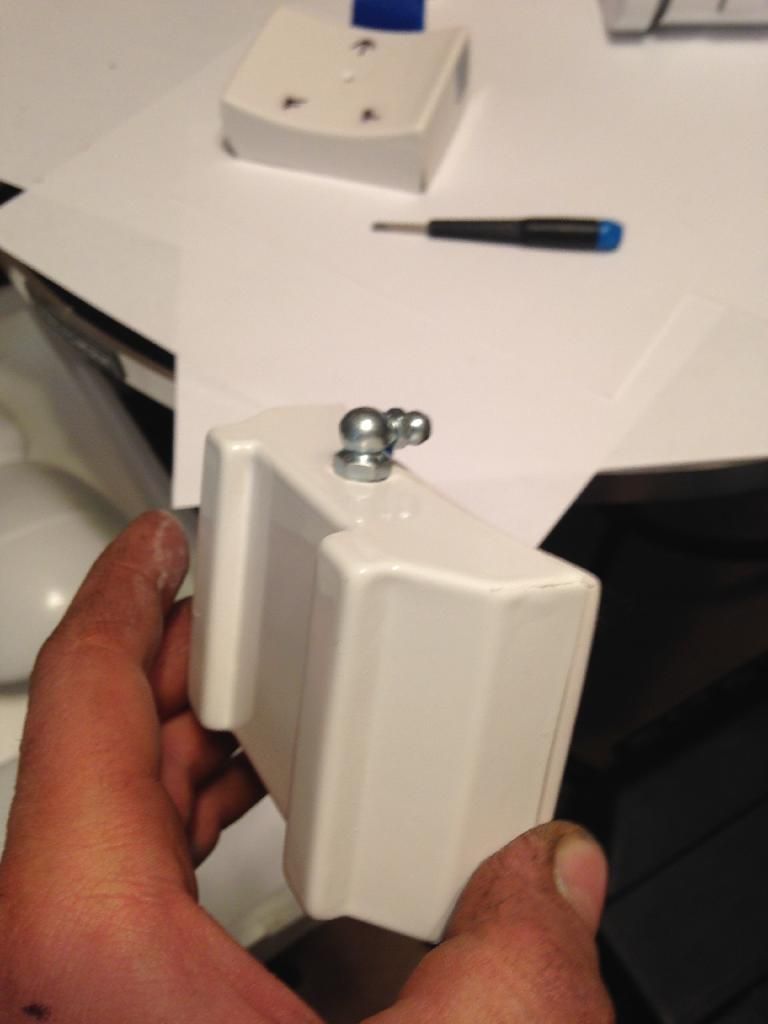
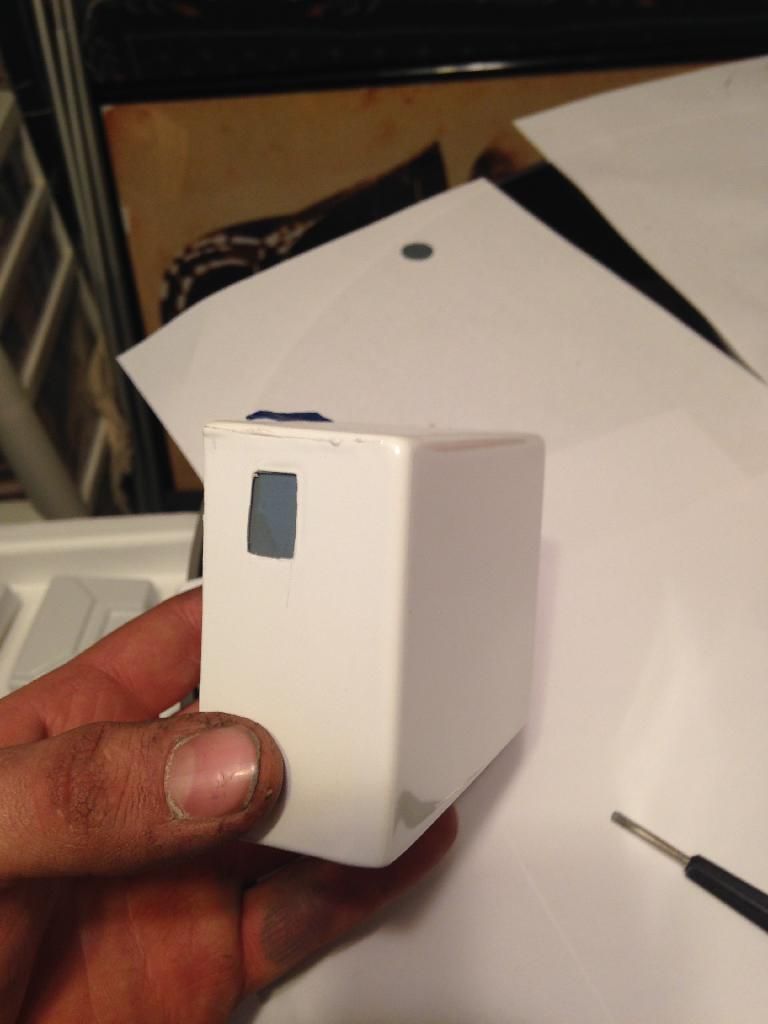
I also have the 2 belt boxes that had additional stuff on them done.
The side right box with the zerk (grease fitting) for the laser sword:
and the front right box with the gray cutouts painted:
-
Thanks Kevin. I will be doing that next week once I get shims added (due to me being fat) to my chest. I know I may end up trimming the opening for my arms a bit more once the shims are in place.
-
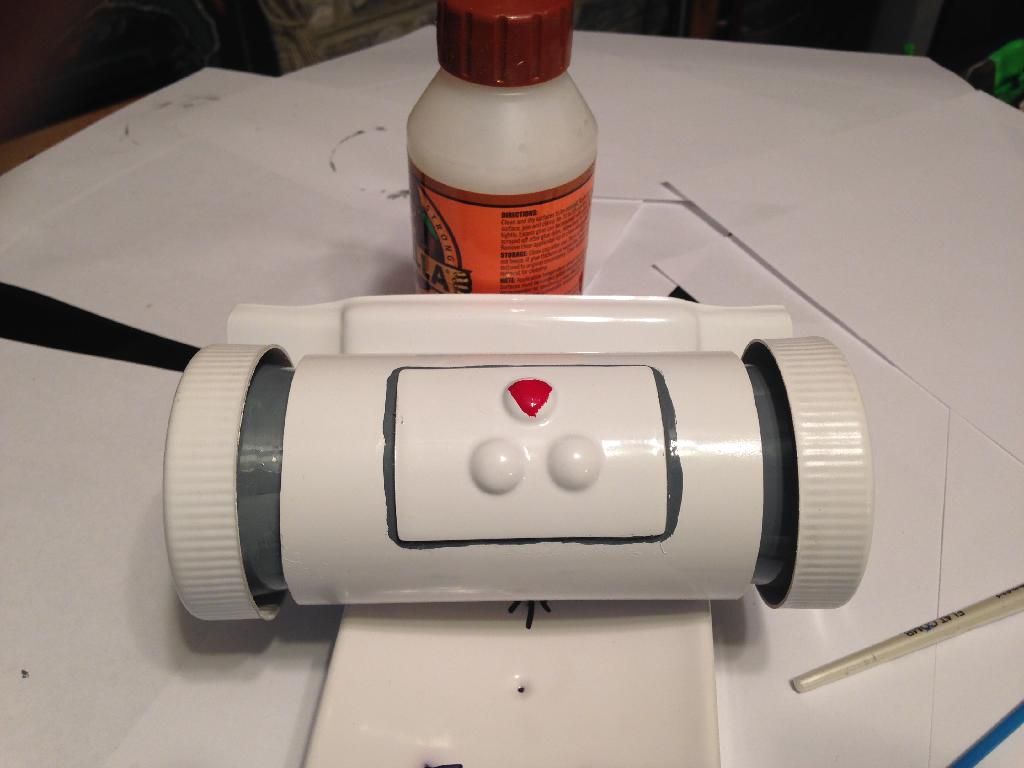
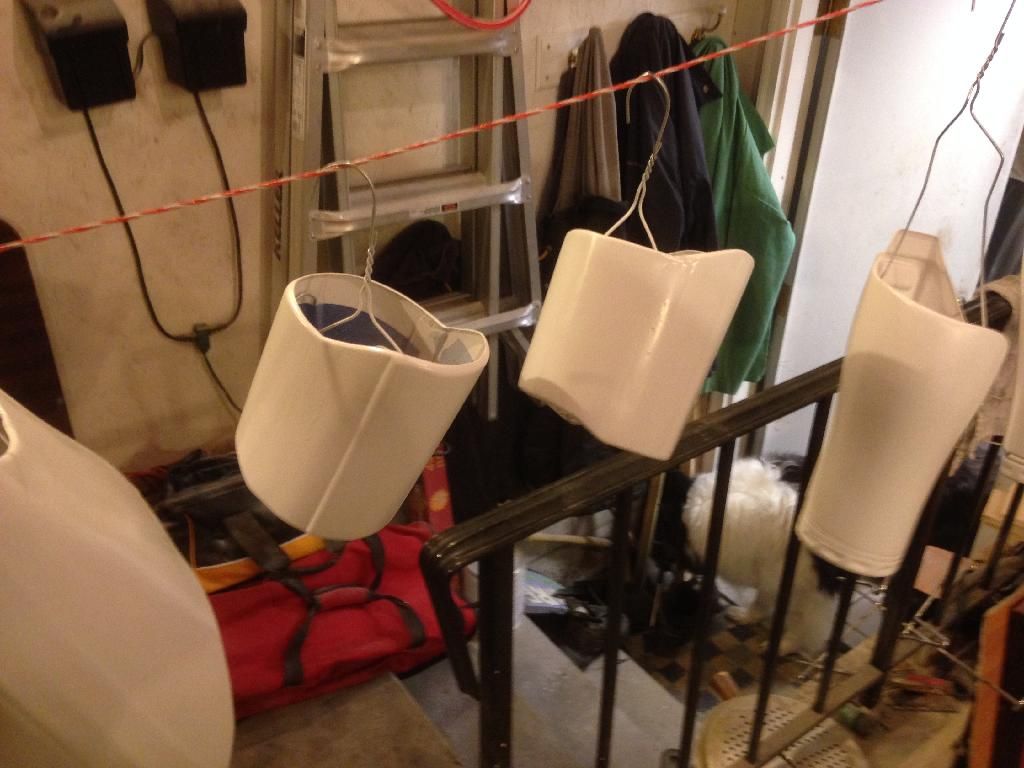
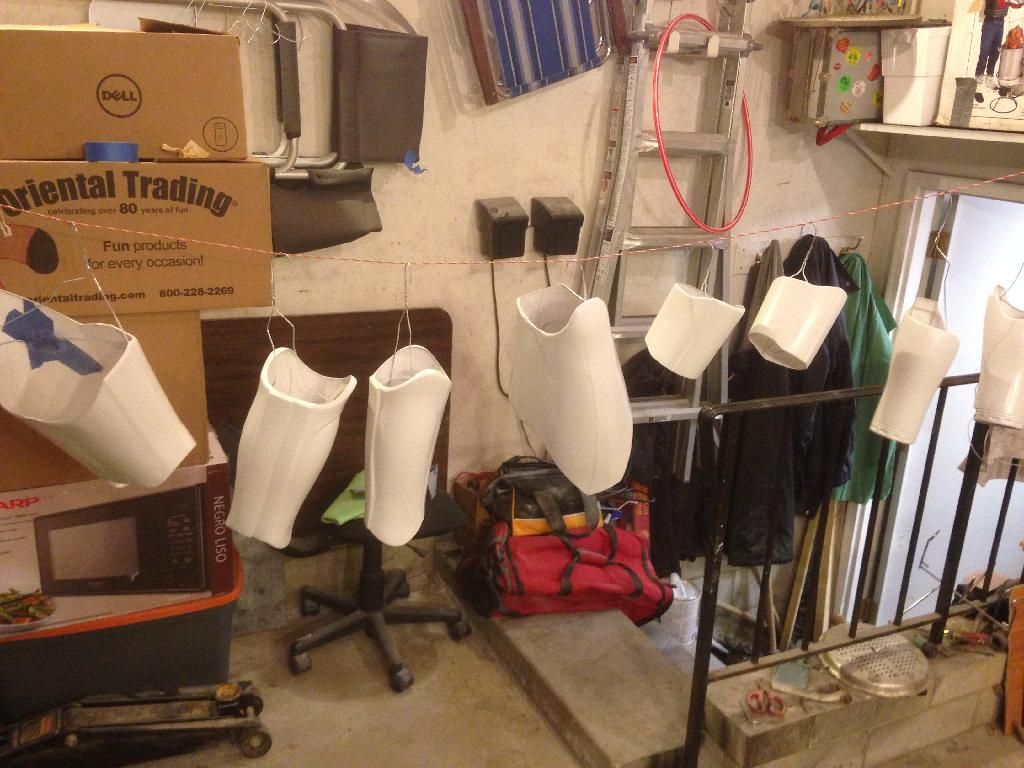
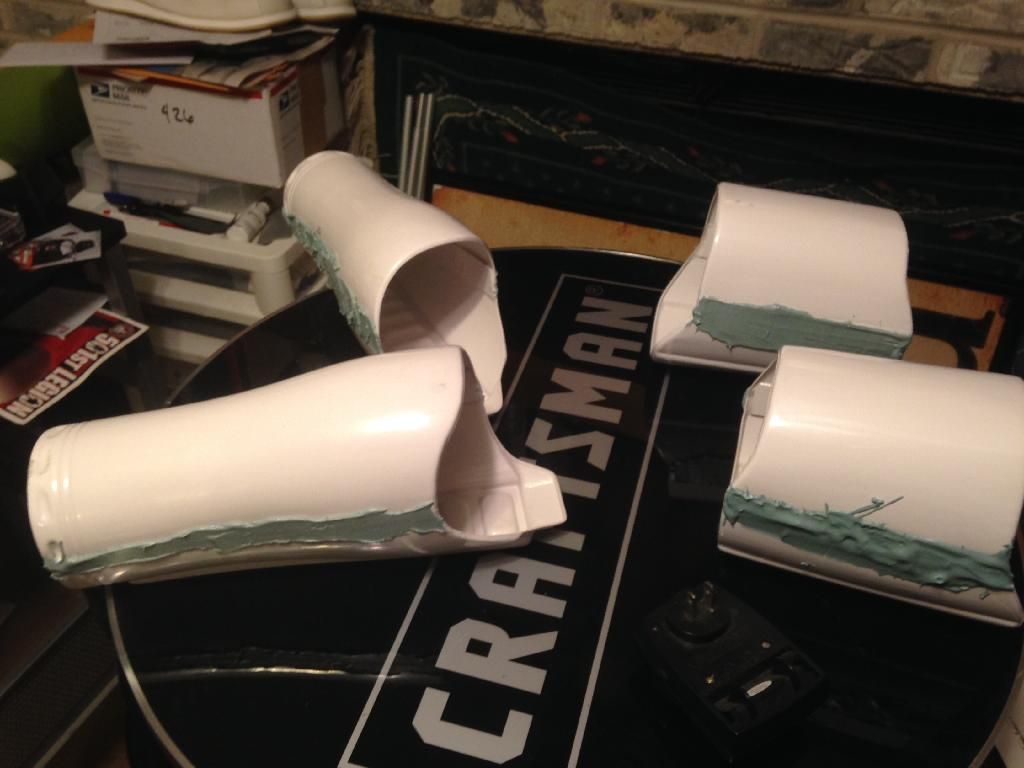
Got more parts painted today! The shoulders, outer belt boxes, and the thermo cylinder with cover.
I also got the inner thermo caps painted and the back cutouts painted gray:
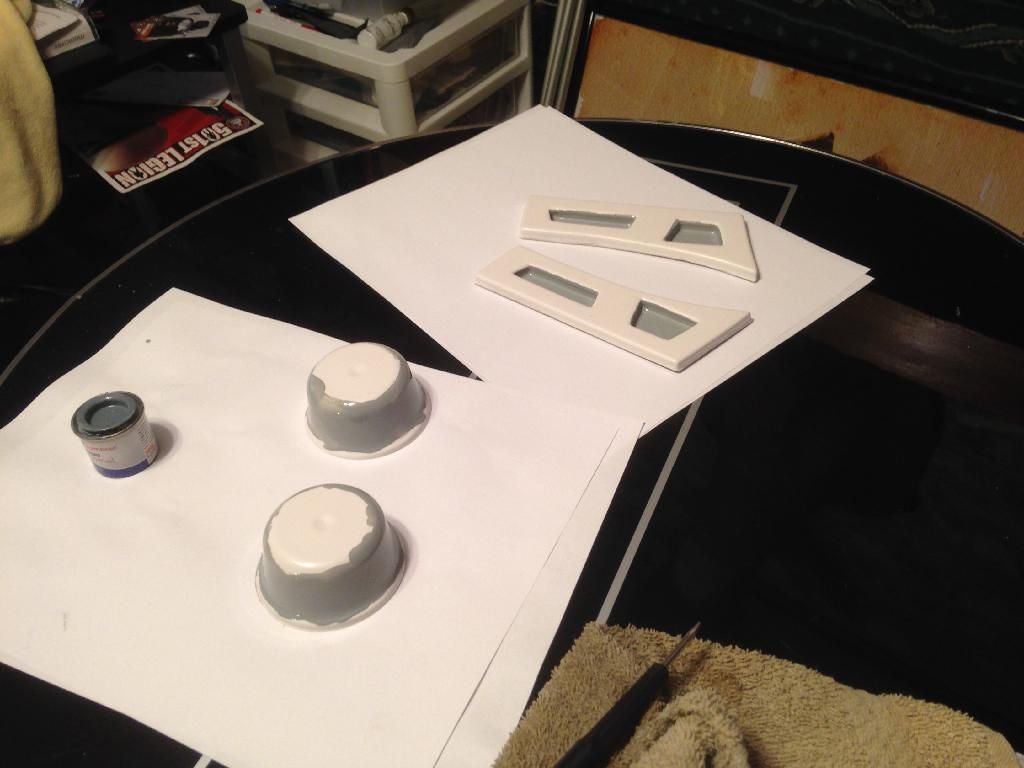
The other parts that I worked on was gluing the neck ring to the chest and the connector plates glued to the back:
-
The paint I used was the rust-oleum ultra touch 2x semi-gloss. I accidentally grabbed the semi-gloss by mistake, but looking at it it still had a bit of that shine but at the same time it looks like it has been in the elements a bit.
-
Over the last 2 days I managed to get the arms and legs painted!!
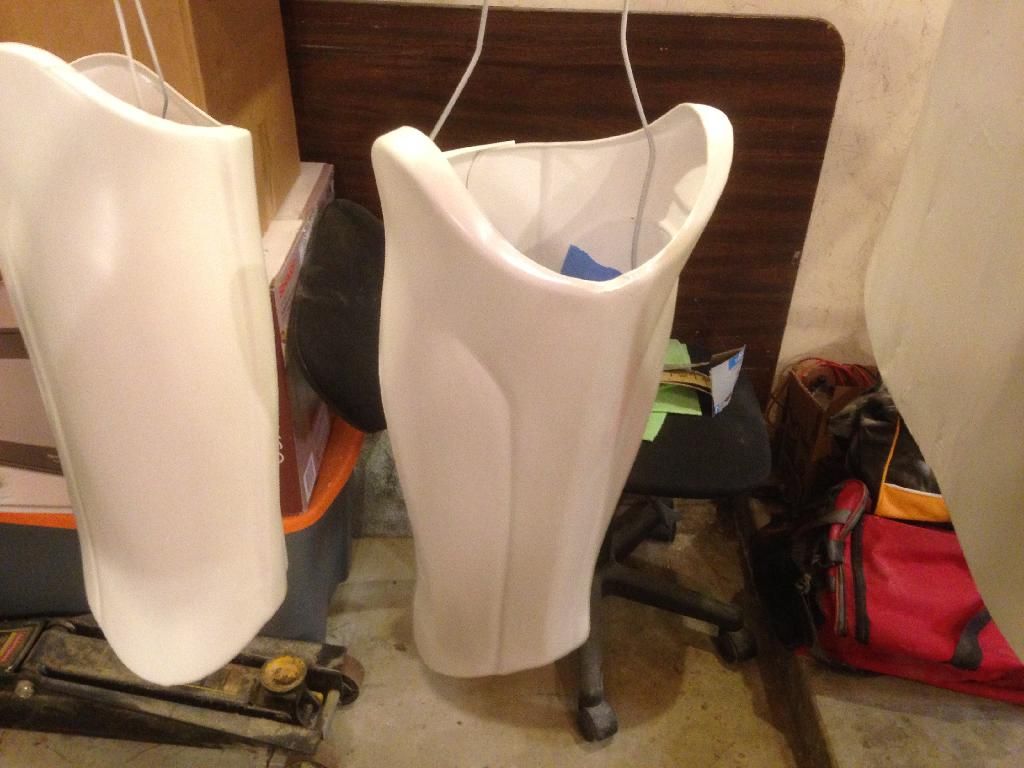
In the next few days I plan on painting the cod and shoulder bells along with painting the back, side pieces & belt boxes. Due to my size I have to wait on painting the chest, abs & kidney pieces till I get it fitted with shims and bondoed.
-
I also thought the MQ was a for sure thing.
Arturo,
Maybe with a few of us in the garrison we can twist the arm of the LMO to make it MQ
-
No it's TK. I really wish it was MQ.
-
I cannot wait till it is done. I do plan on sanding the other pieces to take off any sharp edges sometime next week (monday or tuesday). The only thing that really worries me is if we will have the helmets molded and built in time,.
-
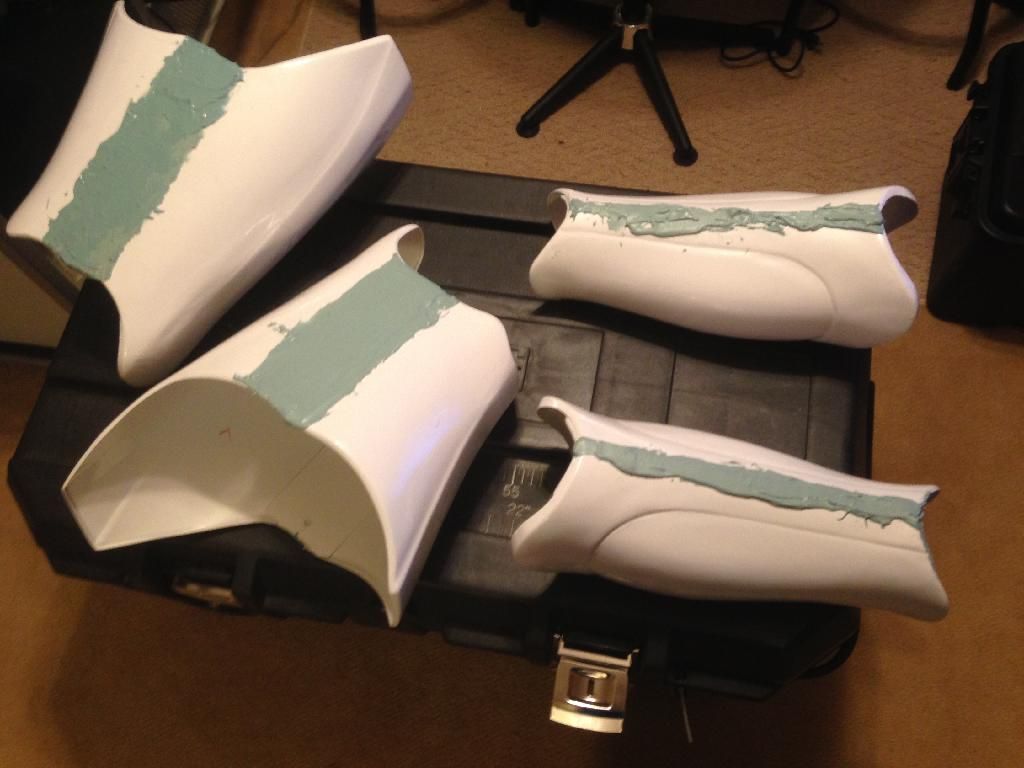
I managed to finish up sanding everything (both coarse and fine sanding with 800 grit)
All i have left to do is sand the other parts to make sure there is no sharp edges.
-
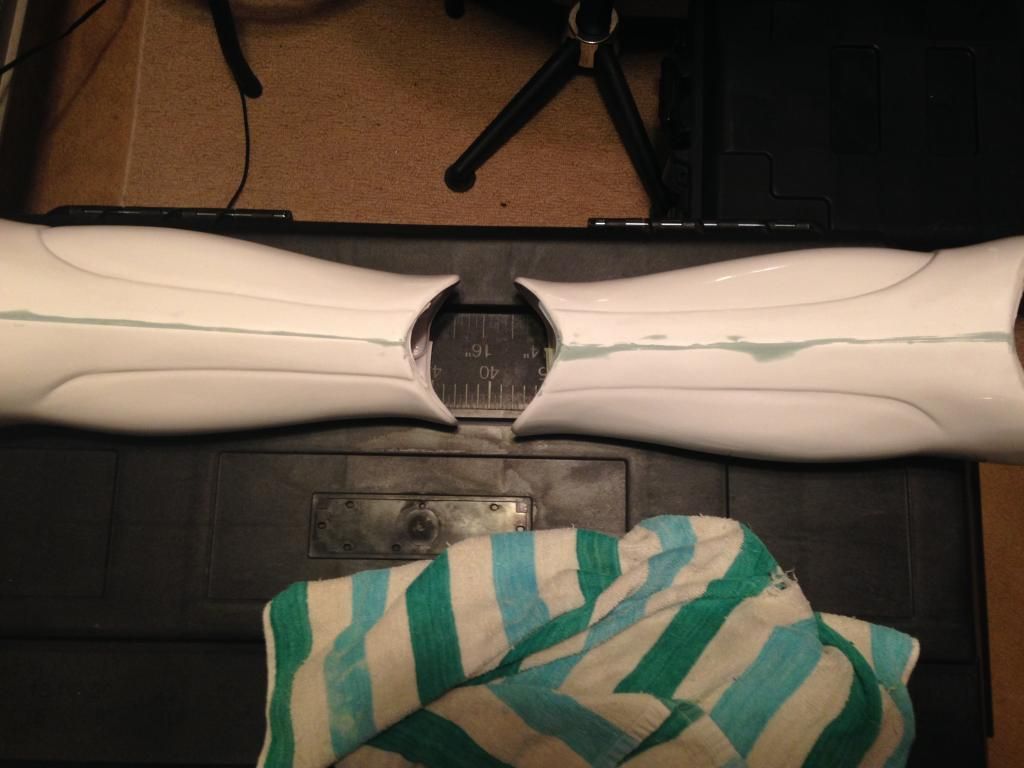
Work from the last hour -
Got the Microlight (bondo) sanded down on one forearm (right):
calf sanded (bottom):
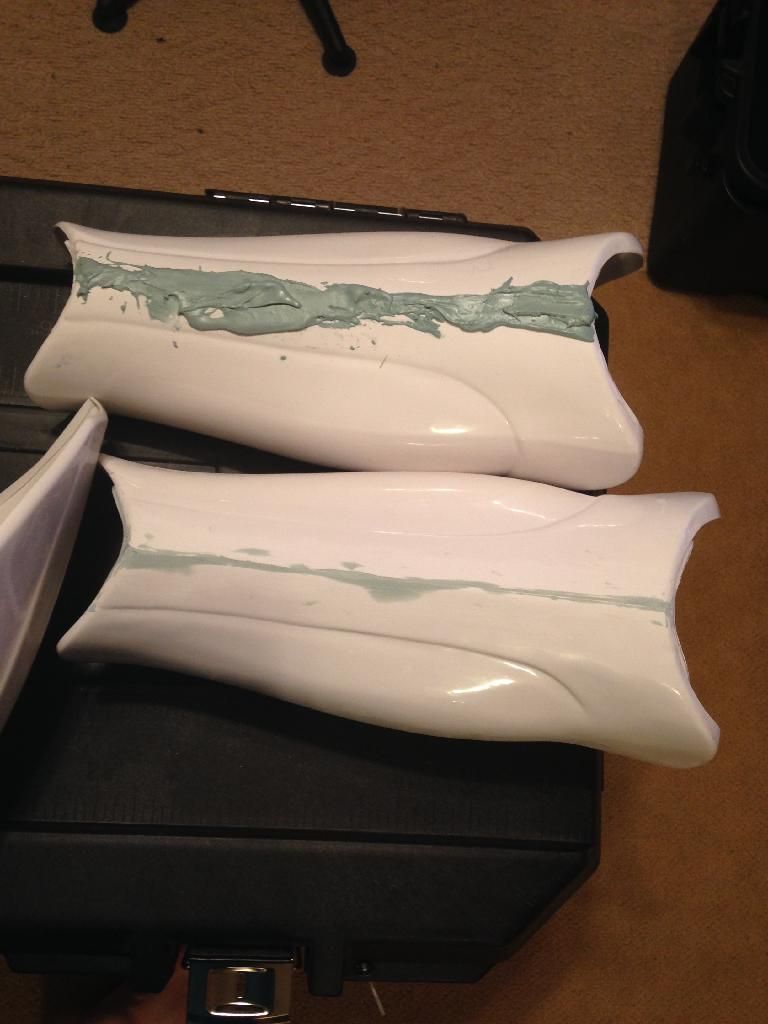
And one thigh (bottom, both sides):
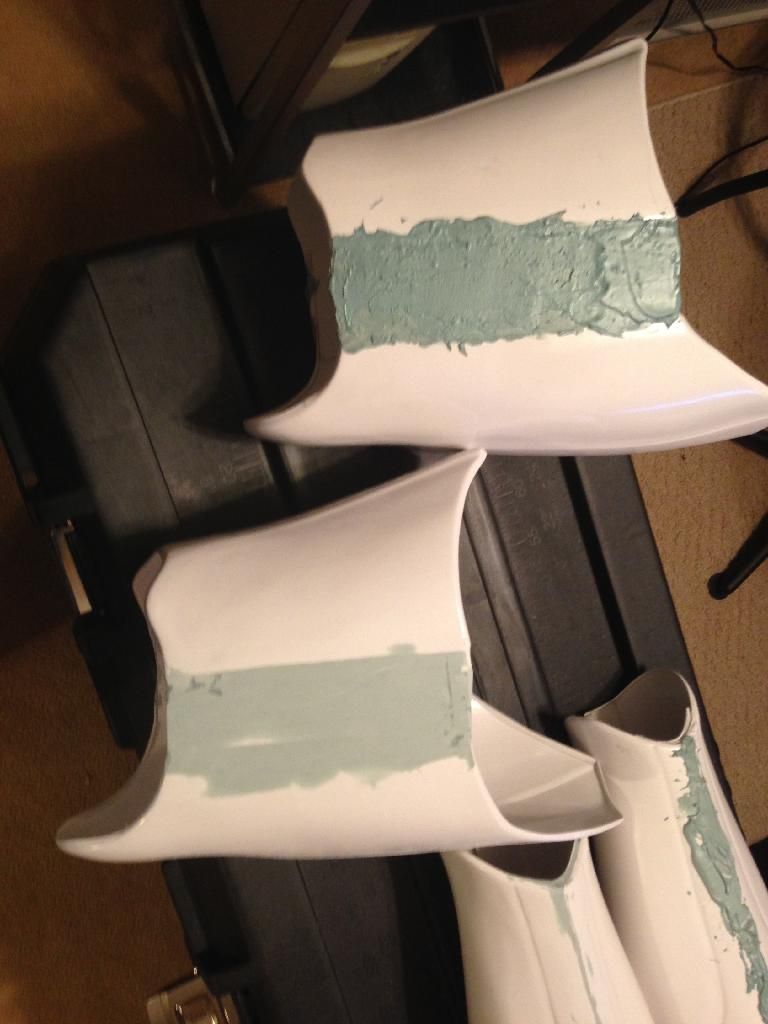
Once I get the bulk of the microlight sanded down on the bicepts & other calf/thigh/forarm pieces I will fine sand it to prep for paint
-
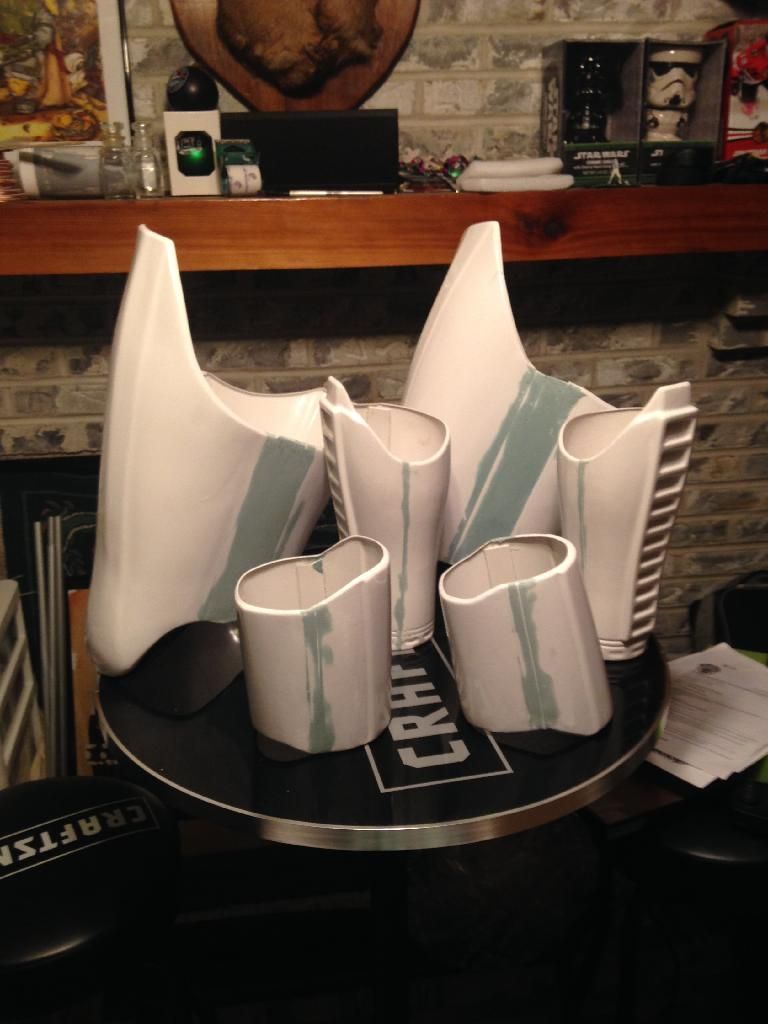
Here is the progress for this evening with bondo:
Yes there is a bit more on there than normal.
-
Do it Matt , whatcha waitin for?
created the thread
-
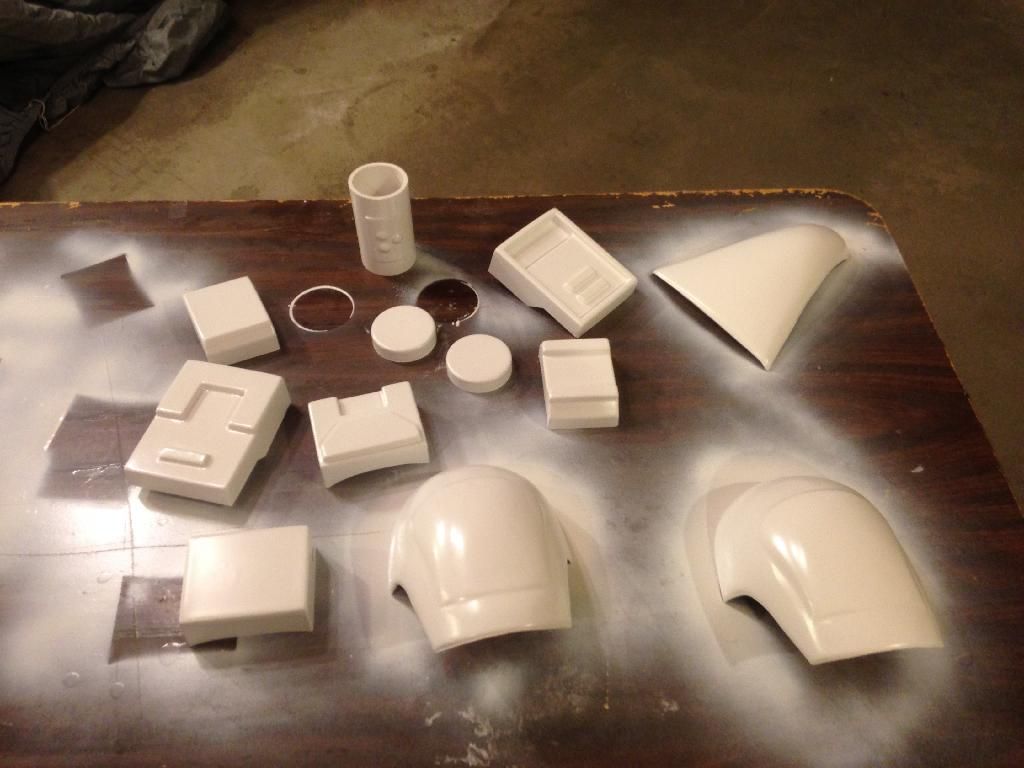
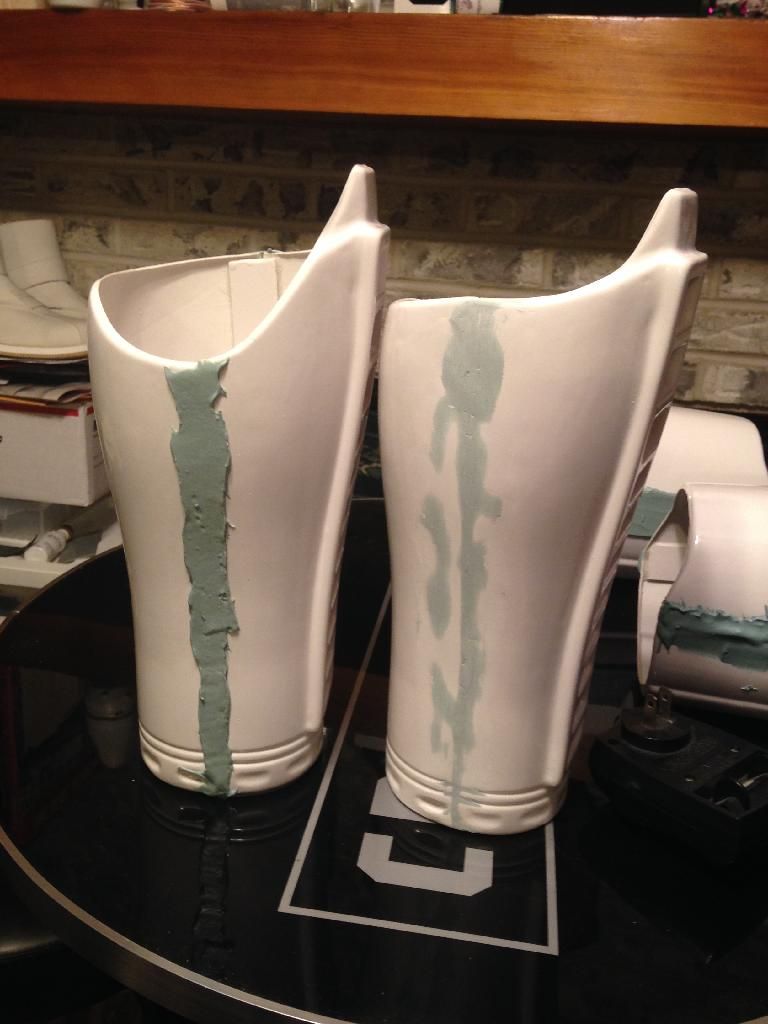
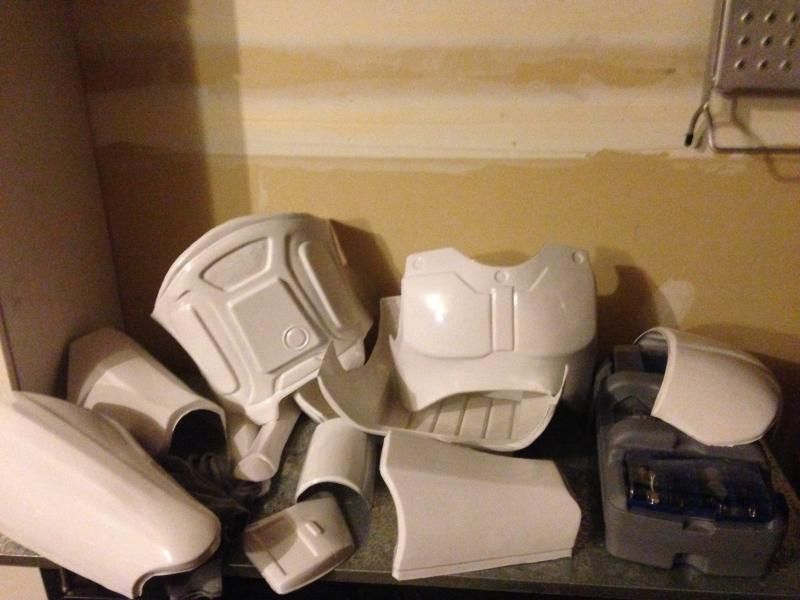
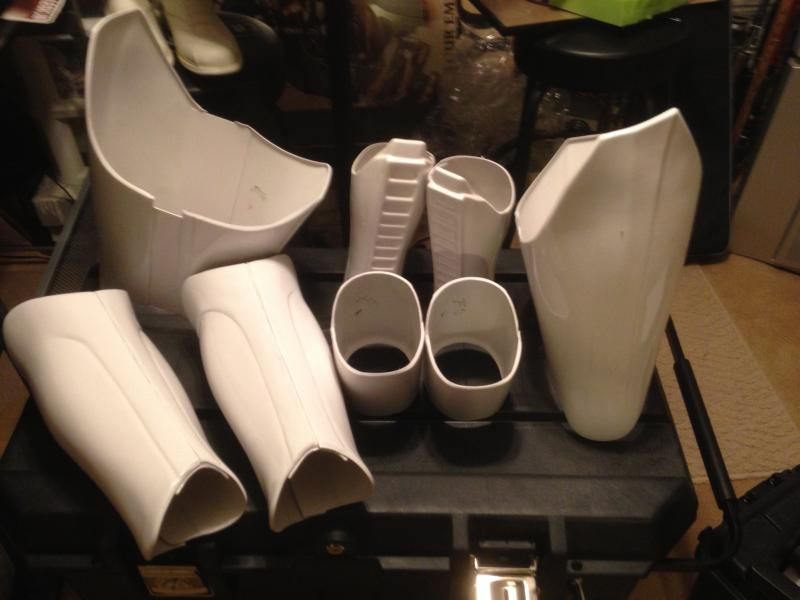
So far for the last 2 months all I was able to do was trim out all the parts:
Now this past Sunday (3/16) I finally got to the spot of fitting and gluing all the parts together. Some of the parts we were able to fit with just butt joints as I am a bigger guy. My thighs on the other hand I had to add almost 2 inches to fit properly.
My thighs:
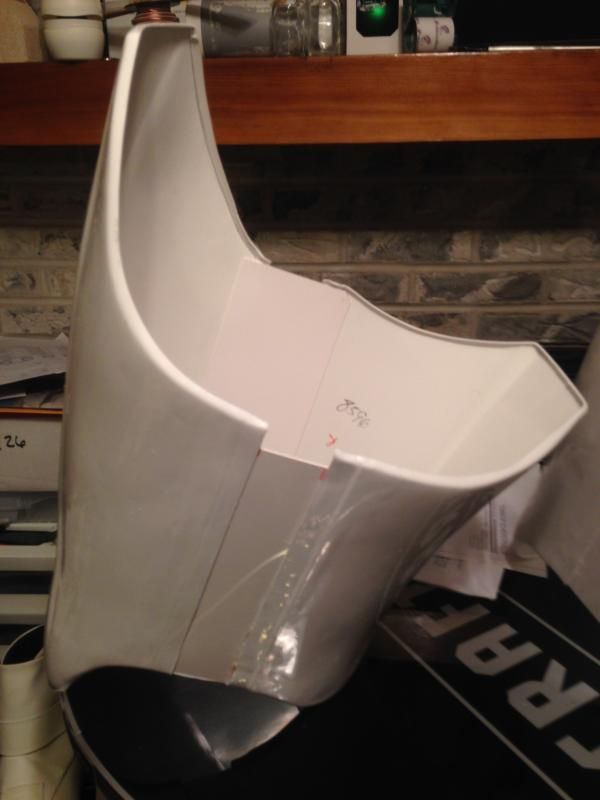
As you see I had to add to it to fit. I am not leaving that big gap there to just be filled by bondo, I glued an additional piece of plastic on the outside to get it flush and provide strength. I will still use bondo on the seams of the arms and legs, to make it seamless. On all the pieces I did add a cover strip on the inside to reinforce the seams.
Now off to bondo the parts...
-
This has been 4 months of work in the making with a very hard deadline of April 24th to have it complete. As of now we are working on this every 2 weeks so far.
We all know how the armor is supposed to look, but here is what 6 of us in Illinois are going for:
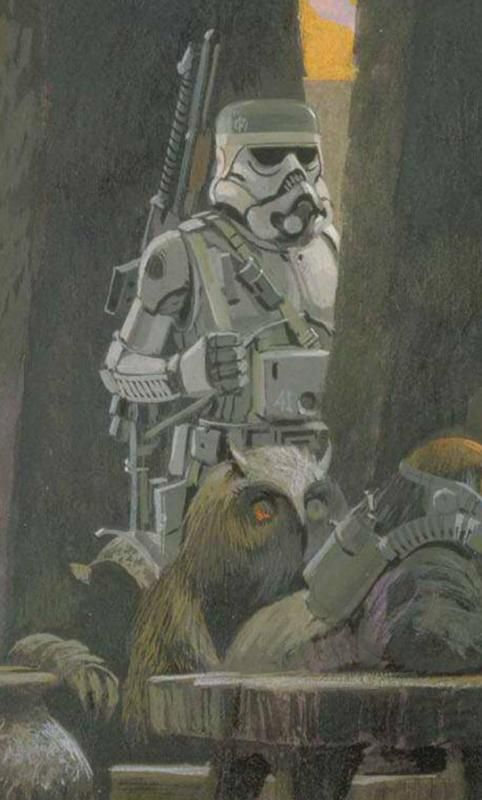
Yea I know the concept TD but I don't plan on really dirtying it up.
Now to the blaster, we are using a British STEN airsoft rifle:
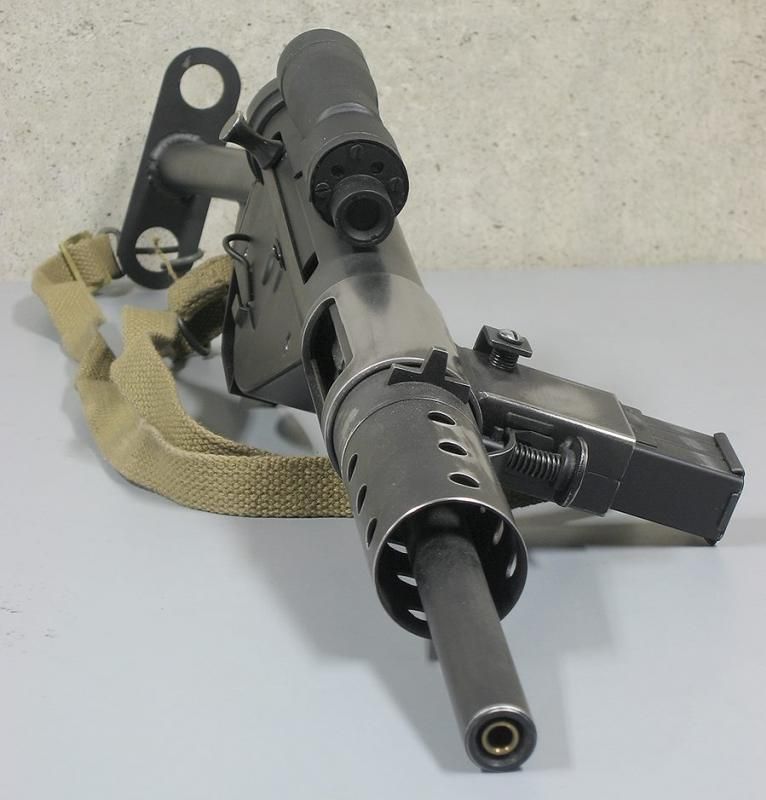
That photo has the barrel shield cut down half way, which right now I do not plan on doing. We are using the current E11 scope for the blaster with a mod on the color of resin used to make it, clear with a coat of paint on the outside. We are also making custom mounts for the scope as well.
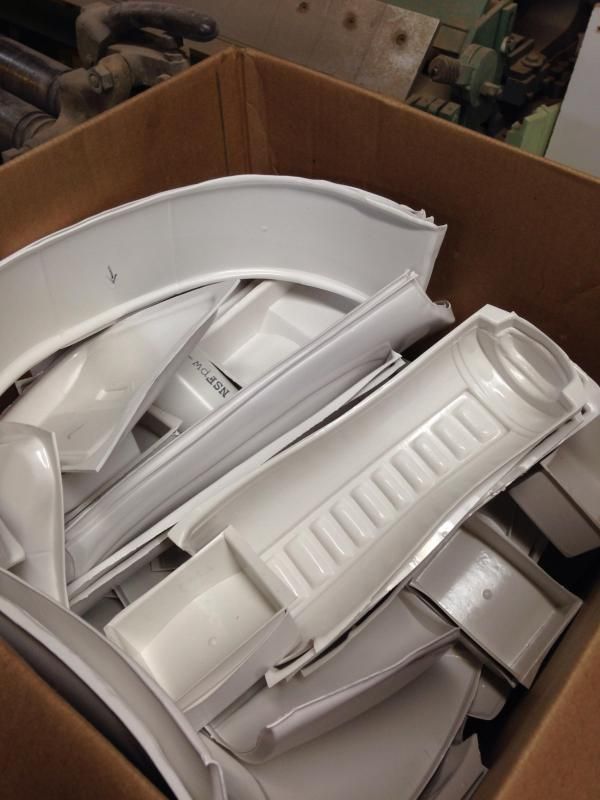
Ok for the part everyone wants to see, the brown box of plastic. It is suit #10 in the first series of suits KWD molded.
-
Nice...I really need to start my RMQ WIP thread
-
Vern did you do any troops from Jan through October last year?


Hitman's RMQ Build
in Build Threads Requireing Maintenance
Posted · Edited by thechosenhitman
So here it is, our big reveal from this weekend. I am on the far right.