


Darth_Finger
-
Posts
545 -
Joined
-
Last visited
Content Type
Profiles
Forums
Gallery
Articles
Media Demo
Posts posted by Darth_Finger
-
-
Great thread
 Is this how most of you strap the armor?
 -
Wow, amazing price. Love that first pic
-
I used humbrol paints for the details; black satin, and gray #5. Taupe(Rustoleum Specialty Plastics), to recreate the HDPE, and for the white color I used Rustoleum Profesional gloss white 7592. I hope it helps

Cheers
A
Got to love that Rustoleum gloss white. Do you use a new can when you paint? Did you use primer?
-
What kind of paint did you use?
-
Primed, Sanded with 1000 and ready for paint.

Painted

Here is the frustrating part. Not sure what happened here. None of this came through on the primer. Dont know if something was on it, the paint was bad, not hot out enough, to close when painting, to much paint ect. Insted of sanding and repainting just going to use some 2000 sand paper and buff it out.


I noticed this on the leg armor that I still have to do. The guy I bought it from must have had some tape on the armor. I think this is what messed up my paint job. I thought I sanded it off pretty good. Is there anything else that would take this off better?

-
Did some work on this today. Not to happy with how a few pieces came out when painted. First question. Are these suppose to be this off centered?


I taped the areas that will be glued later on. Didnt want to have to remove the paint down the road.


Cut this little plate out.


I took that bump out. Filled it in and letting it dry.


-
Put me down for one set as well
-
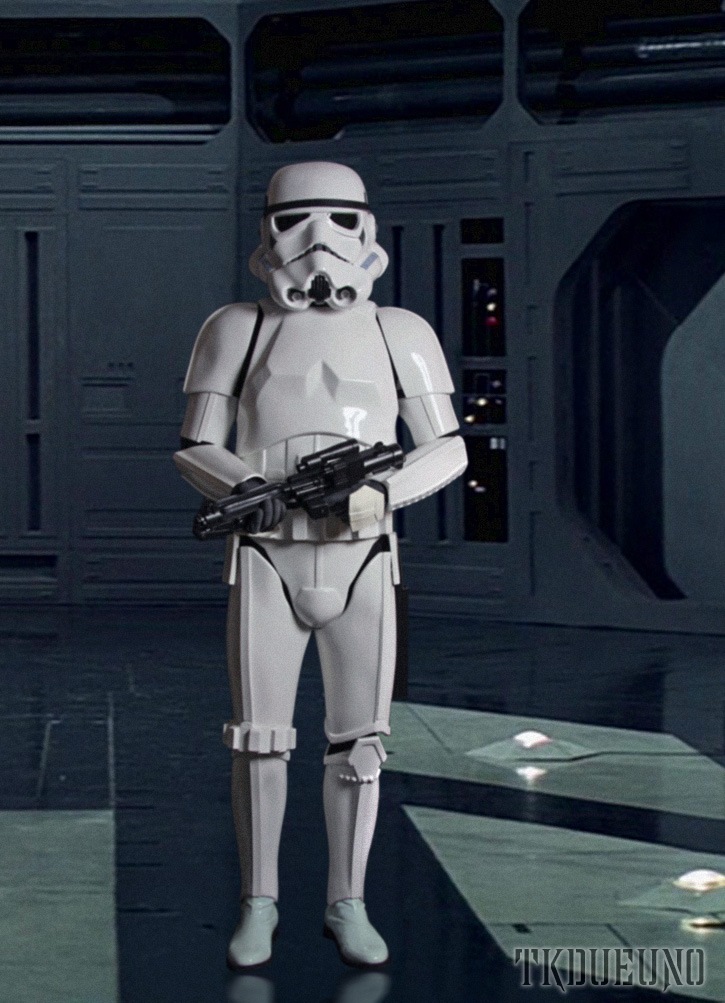
On-Duty shots

That is a cool pic right there. Really awesome looking armor
-
Agreed
 , it is looking very good, more pics please.
Cheers
A
Hope to have more Monday
-
The back plate bump can be taken out.
As for spraying, the only way to ensure perfect coverage is to spray in the lightest of coats, first up and down, then side to side. let each coat dry and be TOTALLY patient. GO have a cup of tea in between coats! Don't be tempted to go back and touch up while its drying! I found this out, its the only way to get a nice finish.
Going back and fourth on the bump. Wont take much to take that out.
Yeah, you got to have lots of patients when painting.
-
Here is the armor I got a few weeks ago. The guy that sold it to me claims it to be a TE but I found out other wise.

Got a chance to start on a few parts over the weekend. Sanded it down with 220. Primed and sanded with 1500. Nice and smooth


I didnt start on the back plate yet. Wanted to find out if this bump should be here or not. Should I grind this out?

Pretty good combo. I liked how these 2 worked out.

I think the paint job came out pretty good. Has a really nice shine to it.


Letting it dry

Once I am all done with the armor I will be using a med. cut cleaner and polish. I used this method on a Vader and Tie helmet a while back. Really brings out a great shine.

The arms and legs I will try and work on next weekend. Just seeing how this stuff fits together.

Should this over lap?

Or should it be flush like this?


Hope to get more done next weekend.
-
Going to start working on the armor
-
How about clear coating when your all done? Has anyone done that?
-
How come you are selling this?
-
A work of art.
-
Dang he did a killer job on that. The gloss white is awsome paint. I painted a TE helmet using this paint without primer. I wanted paint chips and cracks of course
I want to make sure I use the right primer for the armor. Dont want this chipping. -
Is this an ok combo?
---------
-
The screen used suits weer only connected at the front, the back of the bridge would be floating.
Nice
Thanks for that info -
Do you only glue the shoulder straps on the front side and not the back?
-
Love seeing pics like this
Awesome -
Oh man. So much to buy so little money
 That is a nice looking helmet
 -
Love that DLT-19 blaster
-
How many suits and helmets do you have?
-
Damn that is sweet
MY NEW ROTJ HELMET
in Build Threads Requireing Maintenance
Posted
That looks spot on. Cant wait to see this finished