


Chivo
-
Posts
62 -
Joined
-
Last visited
Content Type
Profiles
Forums
Gallery
Articles
Media Demo
Posts posted by Chivo
-
-
Nice work guys

-
 1
1
-
-
Hi,
I cannot download / see the schemes. Is anyone still able to see it?
I can see it !
-
-
Inspired by Manuel I've decided to give it a go myself and put this project together. It seems however, I've hit a little roadblock. I tried not to get everything running at once but follow a step-by-step approach. The first step was just to get the sounds (actually one firing sound) running using Manuels Code here >>> http://www.whitearmor.net/forum/topic/19322-arduino-a-cheap-board-for-e11-blaster-effects/?p=295206
This worked just as it should (I only rearranged the start up sound and the weapon):
However, when I installed the three buttons/selectors and uploaded the full code the system went a little bonkers and repeated one firing sound all the time and only reacted to the reload switch:
Any ideas about what might be the problem would be highly appreciated
Edit: Known deviations from the original layout: 5V powered, Resistors for weapon select and weapon reload are 20 kOhm (I ran out of 10k resistors)).
Edit Update 2: I've changed the resistors to the 10k ones. Also I've noticed, when I hold the fire button pressed the firing stops and only resumes when I let it go again.
What happens if you pull the wire of the breadboard from the switch, does the firing stop.
Make sure your switch is normally open contacts.
-
OK, tonights update. I've made significant progress. I've swapped HIGH for LOW where I could find a reference such as: <br>
digitalWrite(ledPin, LOW); //red<br>
digitalWrite(ledPin10, LOW); <br>
digitalWrite(ledPin9, LOW); <br><br>
Now my LED is diminished most of the time with one colour flashing which I've found is based on one of the delay times (think it was set to 250 default). I found by changing the value of this, the blinking rate of the main led changed, but why it blinks in the first place is still a mystery. If I hold the "fire" button the led goes off altogether (ie stops flashing) likewise it doesnt flash during the reload cycle.<br><br>
However I'm still not able to "fire" the led when pressing the fire button, so there may still be something I've not changed or done correctly. I am particularly unsure of where there is a "fade" control in the code, but I feel like I've made a little progress. At least I seem to have proven the HIGH = Off PWM setting on my particular drivers
What type of drivers are you using, do you have a picture of them, there is nothing wrong in the code as I have made 7 of these so far.
-
The RGB will come on and stay on at bootup for about 3 seconds then go off, you must have something wrong with the wiring Steve. there are some drivers out their that have the same part numbers but are the opposite side for the wiring, that I had to find out.
-
Hi Sly11
If you get stuck I can help you a little, have done about 7 of these and still have a few parts left over if you get stuck.
Not sure if you had seen ours at DW15 From the Desert Scorpion Squad.
Cheers Michael
-
2
-
-
-------------
available on ebay.
-
1
-
-
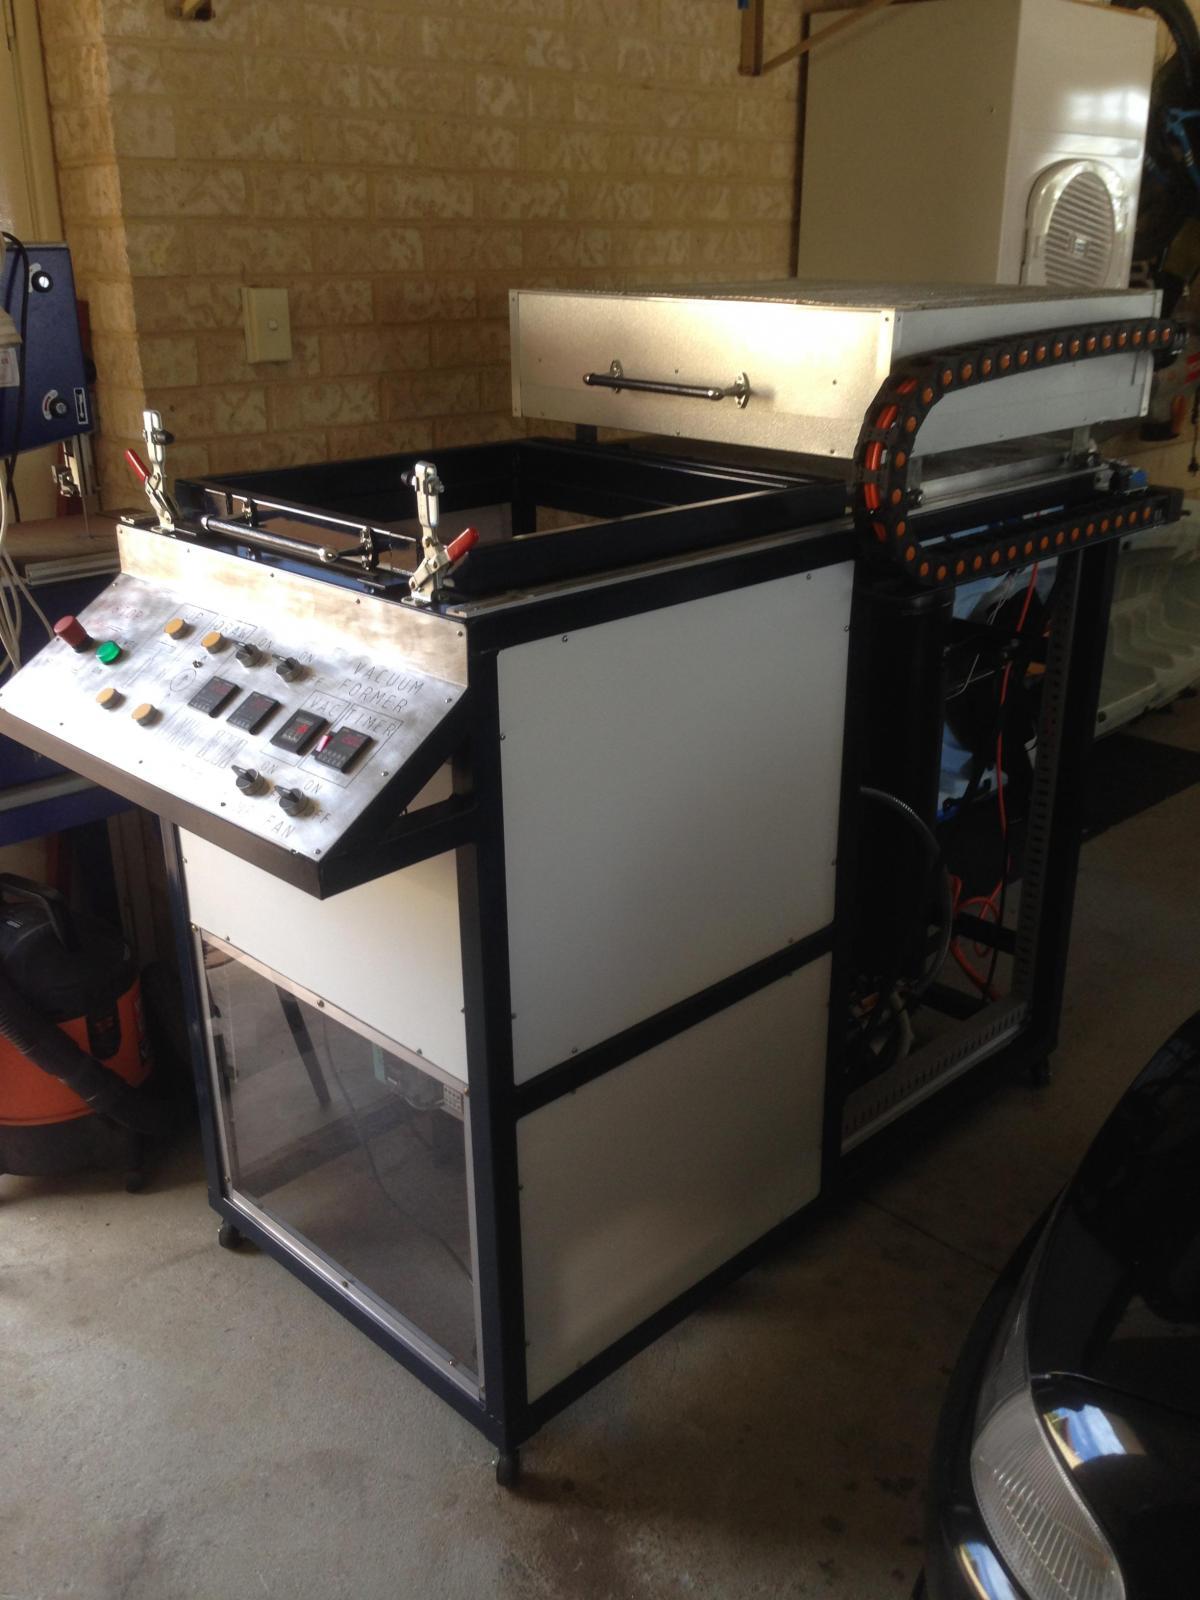
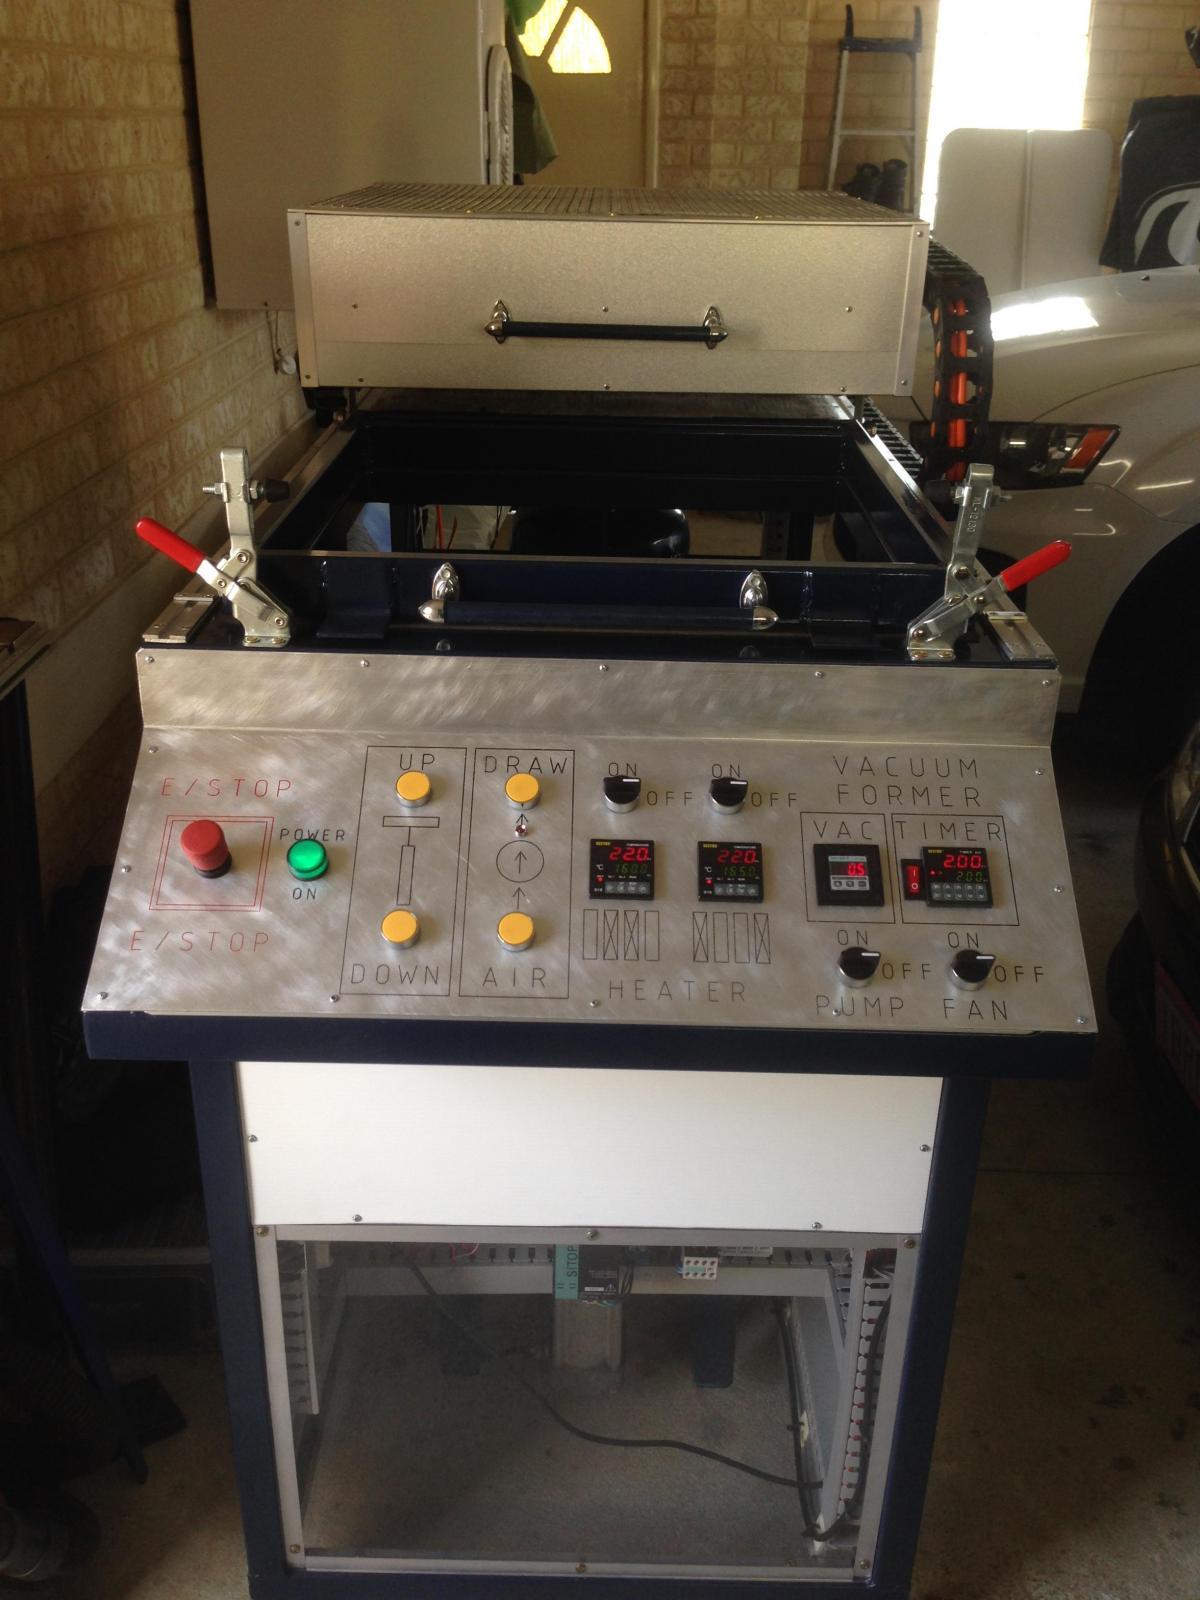
This is the Vacuum former I'm using.
-
I have used plaster in one mold but it starts to crumble if you have to blow air in to release it plus the force pulling down when you vacuum will can crack it.
I also use bondo on most of mine but you have to keep patching them up as it doesnt like the heat on it to many times.
MDF is good as its porous and release's easy.
If you can get one good pull, then use that and pour hydrostone in it for a longer lasting mold.
-
Thought I would put this out there for other options !
http://www.hobbyking.com/hobbyking/store/__48658___Pre_order_Beta_Project_Sterling_AEG.html
-
Thank you Skyone !!!!
Have it all working great
-
I like the play random TK voice's, Nice work

I seem to get this error with the code ?
e11_ver_04_02L_WT5001.ino:306:33: error: invalid suffix "cvf00" on integer constant
-
in the meantime i could finally test the WT5001M02-28P sound board into a new E11 arduino set, and it's working great!
it's even louder and more responsive than the old/bigger one
now i have to finish to convert the code to make it compatible with this mp3 board; when ready i will share it here.


I'm using the same sound module and it works great with your setup !!
-
Nice work there haui !!
Is it possible to add that code to Skyone's so we stay on track with his code ?
-
Thanks skyone for all your effort in this project,I have made this up with the WT5001M02-28p sound module and its working great !!
I ended up using less sounds as it takes to long to cycle back to the beginning for the E-11 blaster sound, would be good if you added some code so you could hold the selector button down for a few seconds to start back at the beginning.
Awesome stuff !!!
-
Nice pictures and some good tips on the helmet ears
-
Welcome Leith !!!!

-
Welcome Plunk
-
Thanks for that Skyone.
Will give this one a try as my somo14d module is not very good, don't like the clicks and if I add the 3watt mini amp it's worse.
-
Thanks
Looking forward to your feedback.....
-
Skyone have you tested the WT5001 sound module, need some feed back before I buy!
Thanks. Michael
-
Yes mine does the same thing, then I seen that the red led was locked on so no mic only static burst when ptt
have only used this twice, the only way was to switch off then back on? very anoying
Ps: thats with the ballon over the switch to keep moisture out.
-
Congrats Glen on Centurion


TK98311 Requesting ANH stunt EIB status (AP) [735]
in Request Expert Infantry Status
Posted
Congrats Pete")