

Boba_Skywalker3
-
Posts
144 -
Joined
-
Last visited
Content Type
Profiles
Forums
Gallery
Articles
Media Demo
Posts posted by Boba_Skywalker3
-
-
Looking pretty excellent!
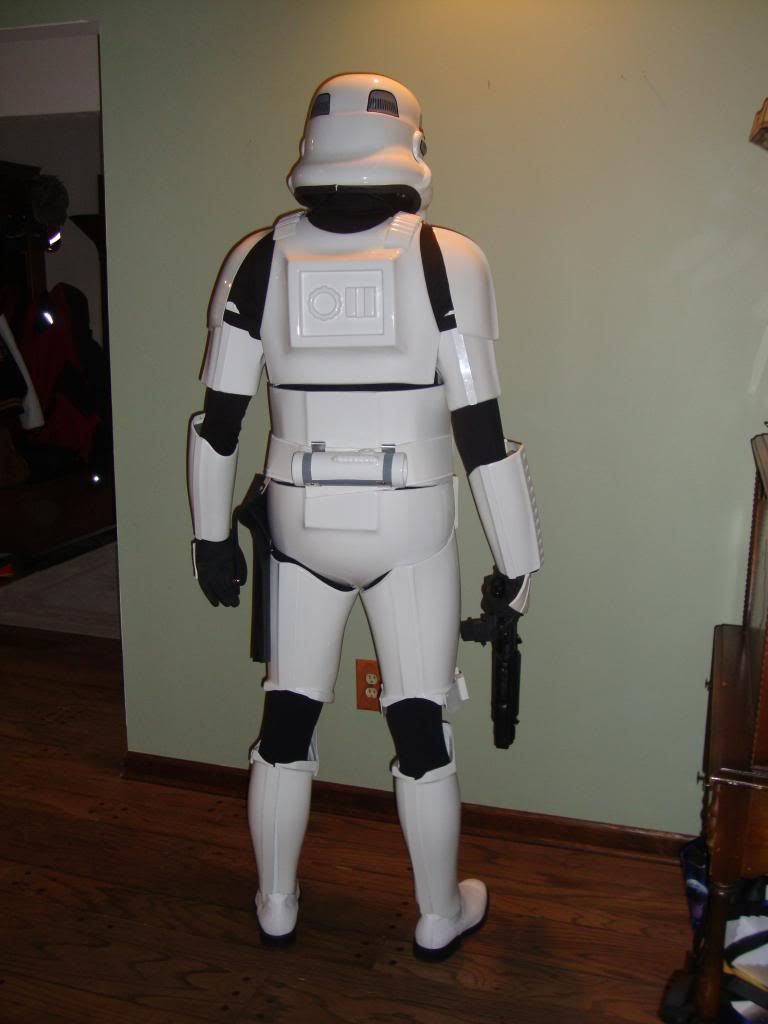
Might want to paint over/remove thet "L" on the back of the drop box... lol
Pick, picky - I know.
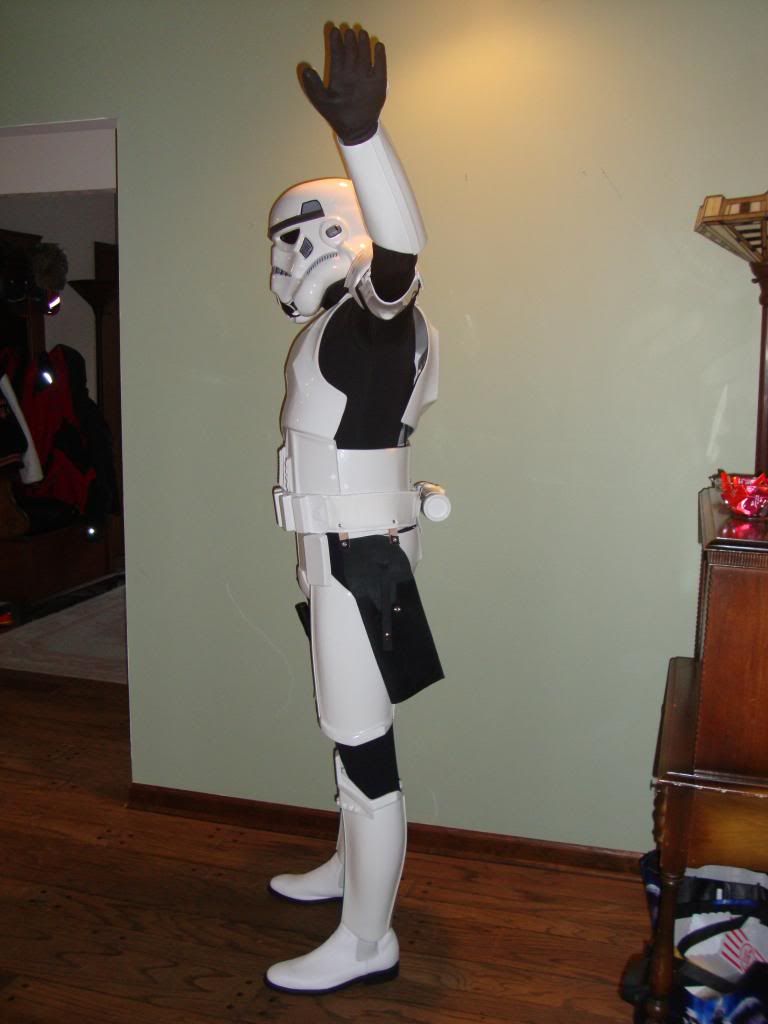
Seems like your thighs could come down just a touch - the side images show pretty pronounced gaps between upper and lower leg armors.
Hahaha not a problem! I can paint over those! I am currently out of town right now and I couldn't wait to put the pictures and I already had those side pictures and at the time I had my thighs pulled up too much but corrected it after I was told of how high they were, so th front and back pictures were take after the spacing issue was resolved and the side pictures were before. As soon as I get home I will take some new side pictures with the spacing corrected!
-
-
looks good!
that blaster and holster looks like mine! oh yeah? lol
Thank you! I could only get the best holster and blaster! Hahaha

-
TK-14285 Requesting ANH Stunt Centurion Status
- Armor = ATA
- Helmet = ATA
- Blaster = DoopyDoo's Pipe Build
- Height = 6'0"
- Weight = 145 lbs.
- Belt Maker = TrooperBay
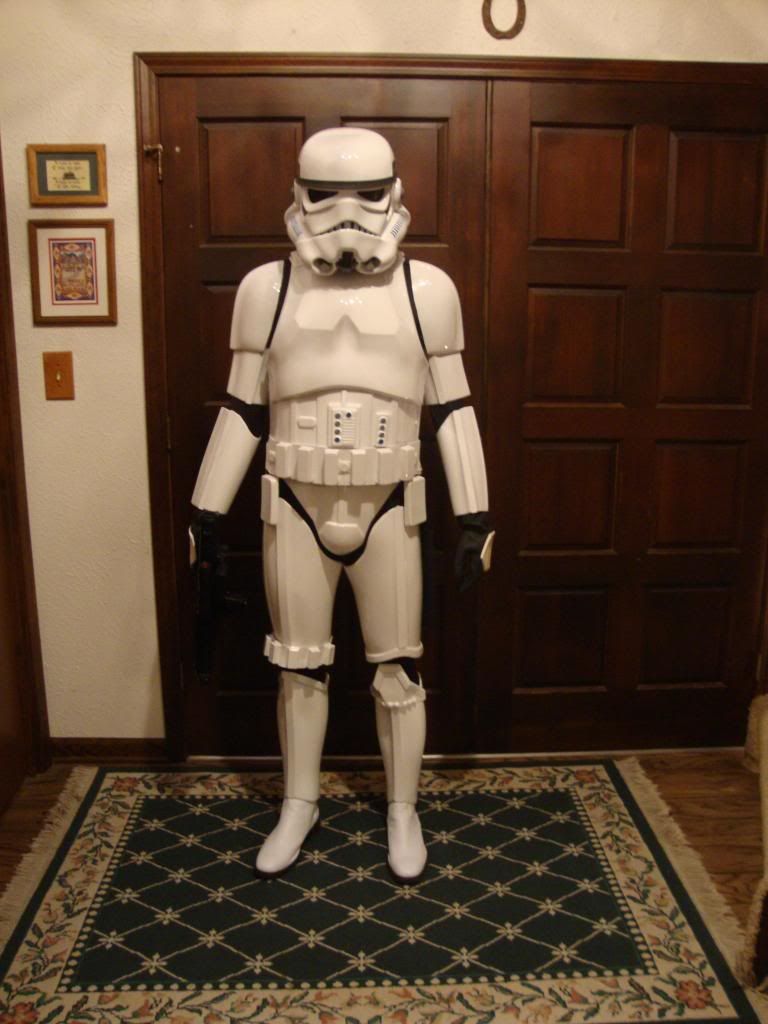
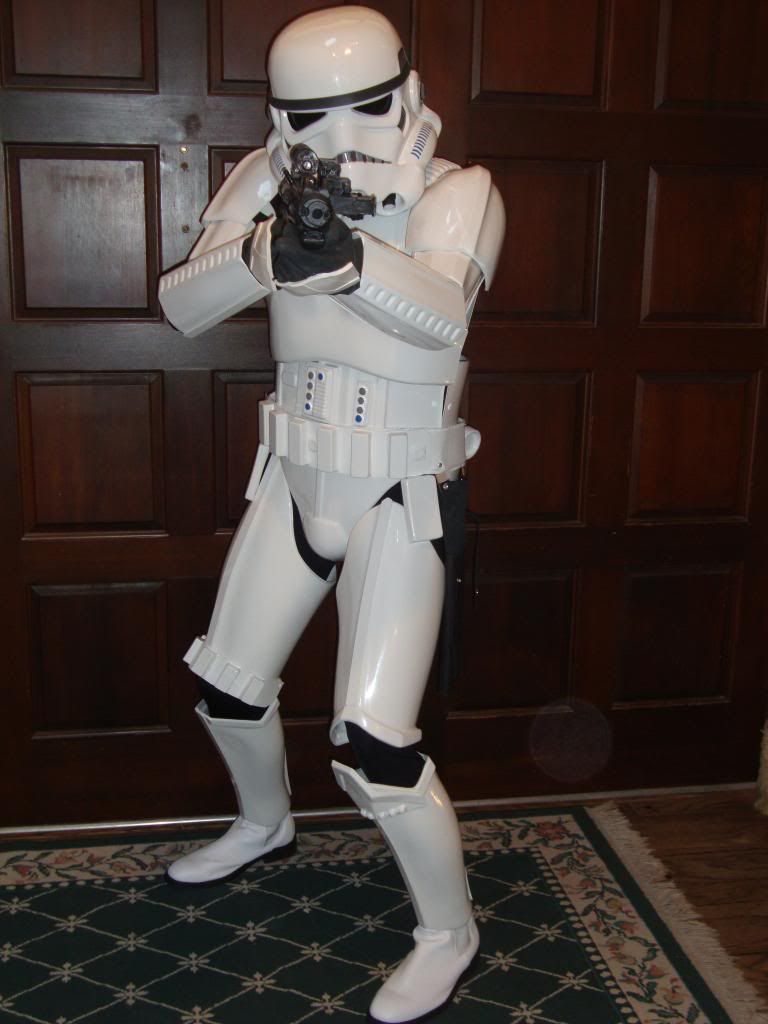
Full Body
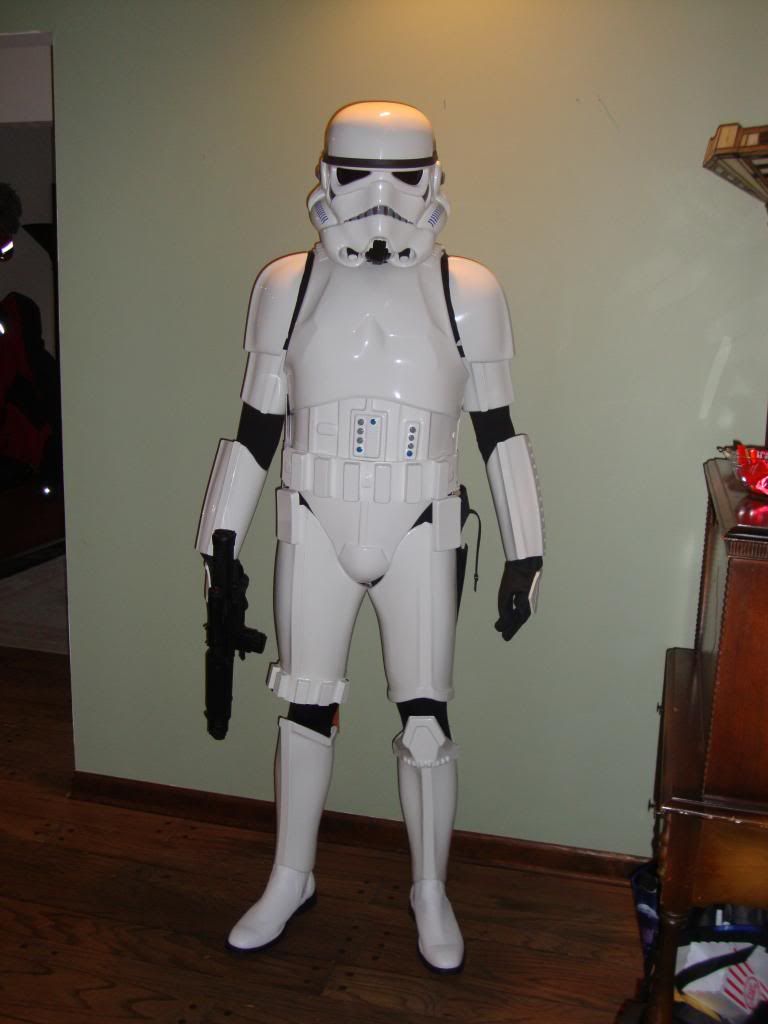
Front - arms at side
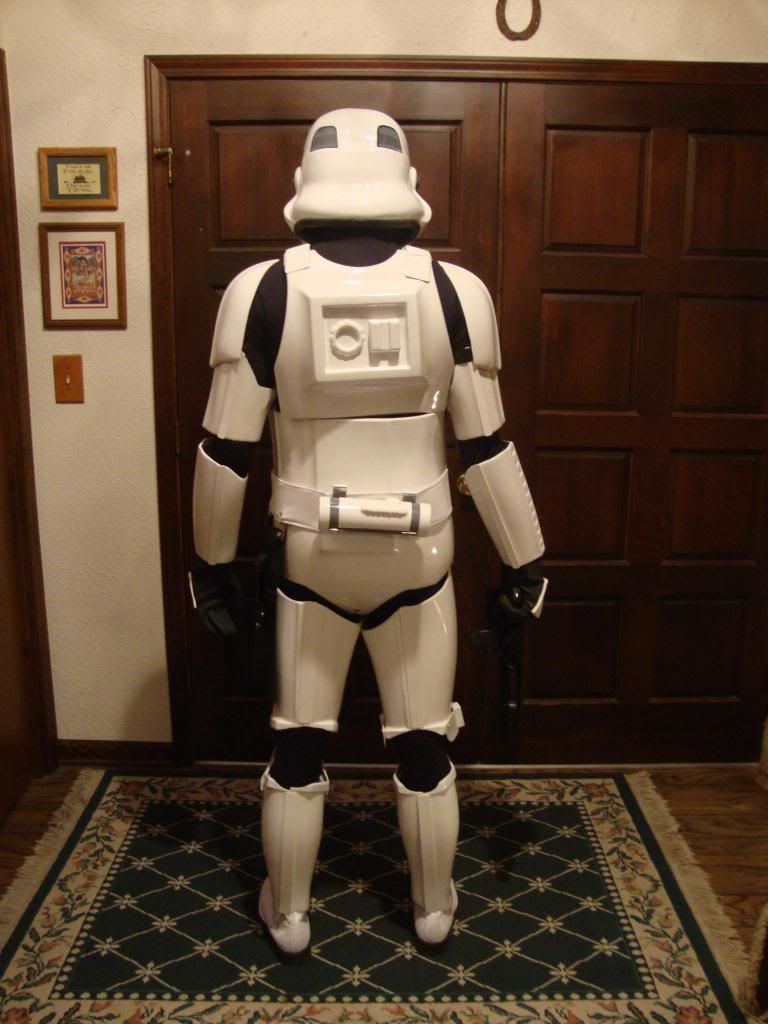
Back - arms at side
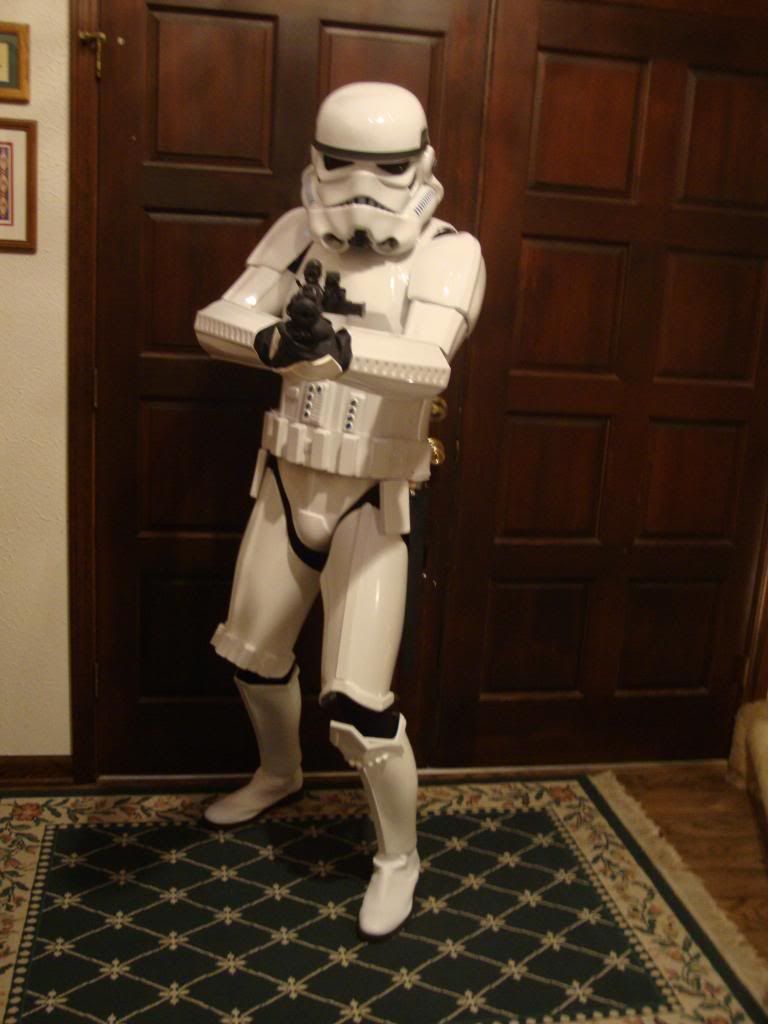
Left - arm raised
Right - arm raised

Armor Details
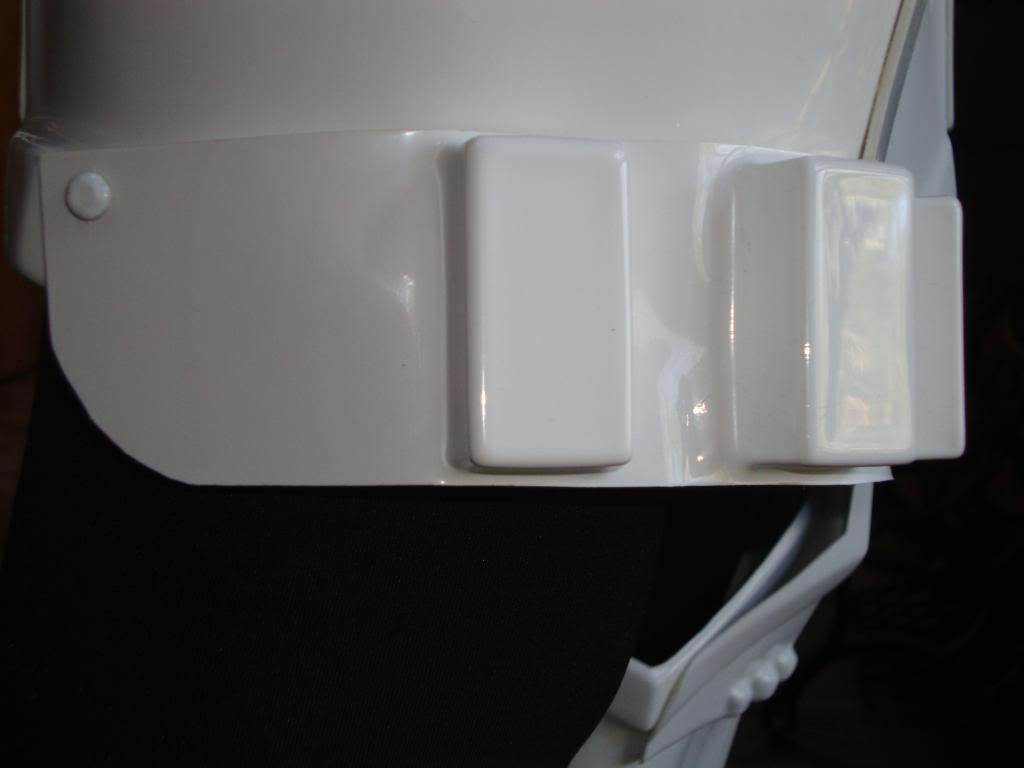
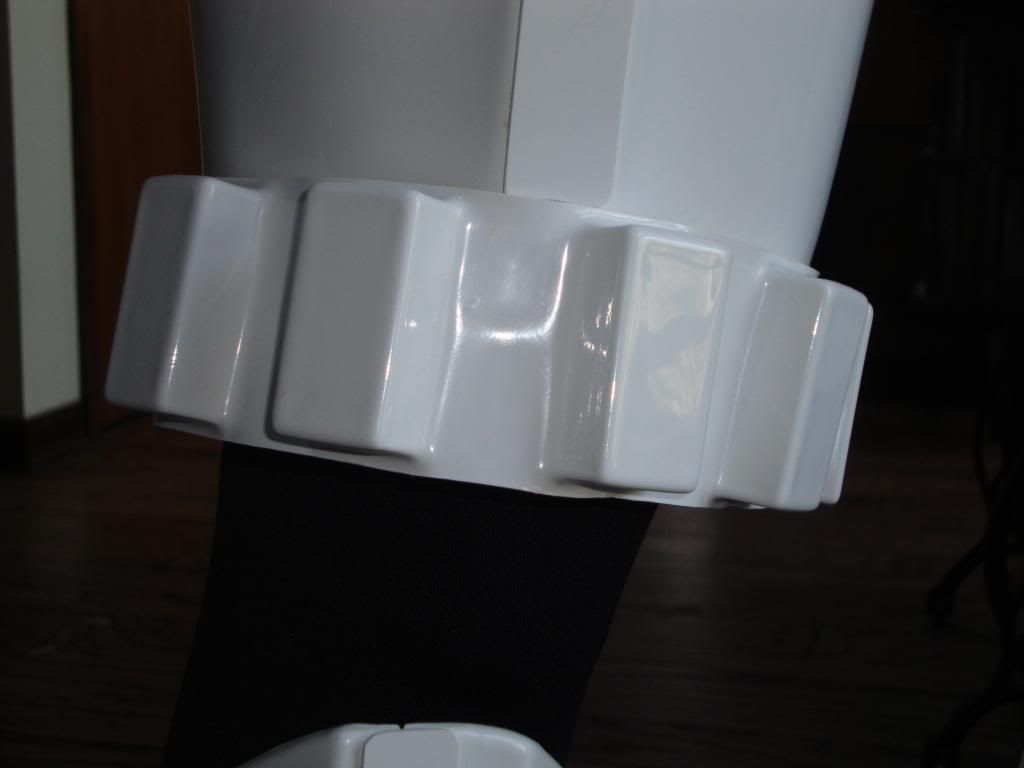
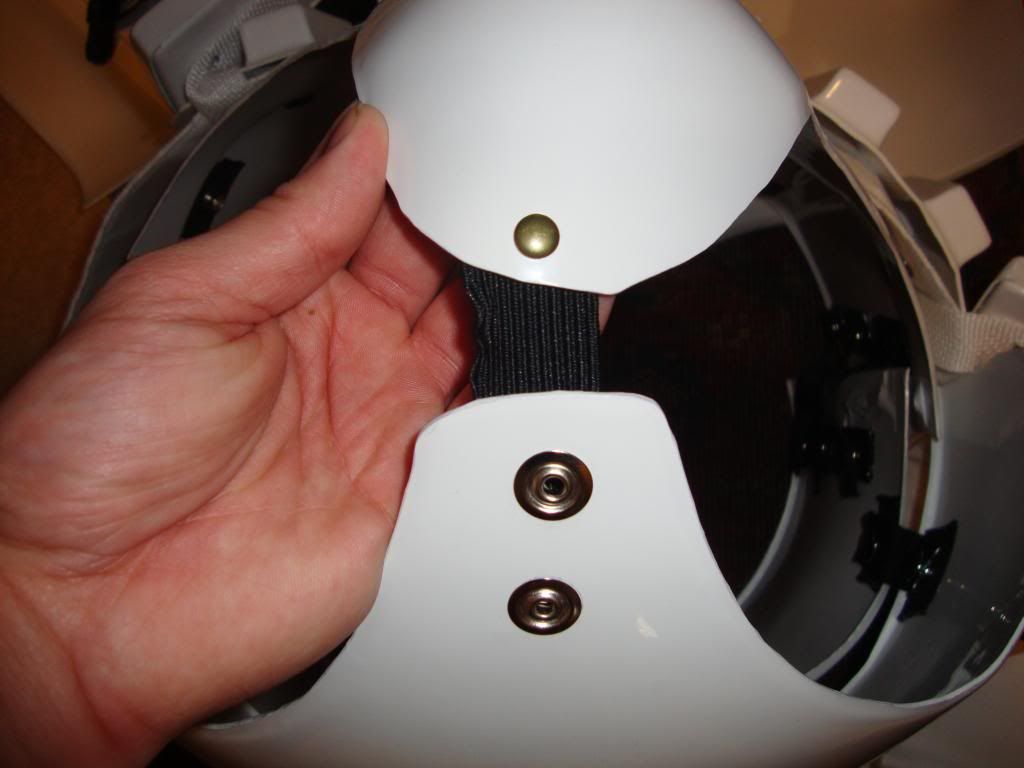
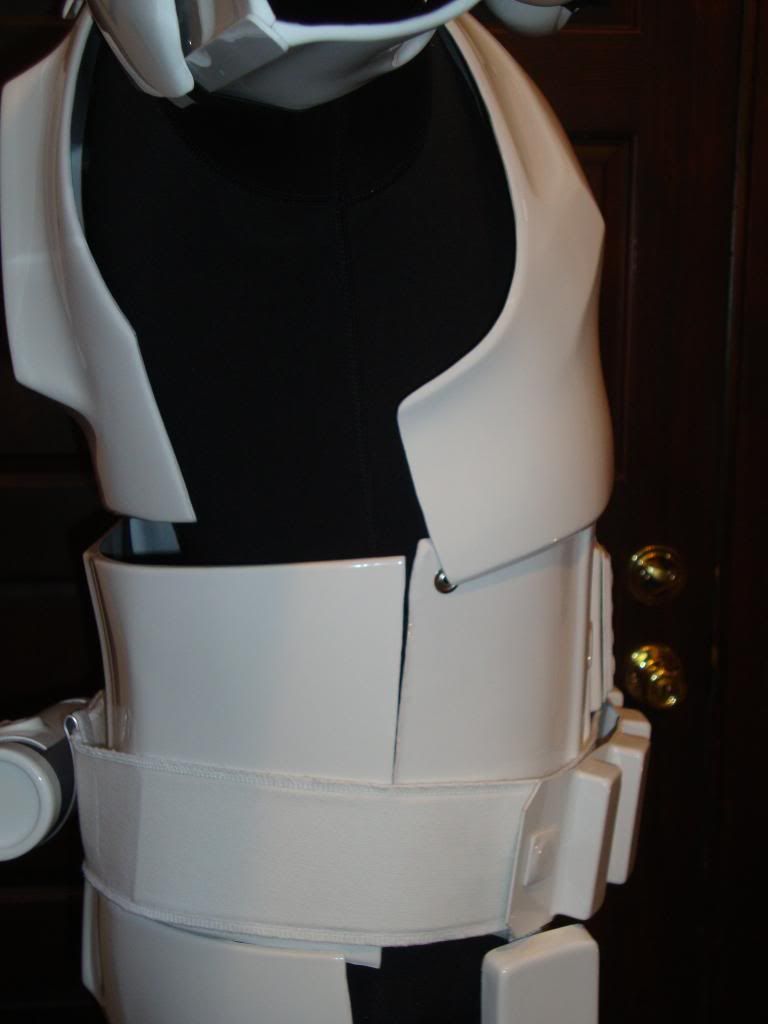
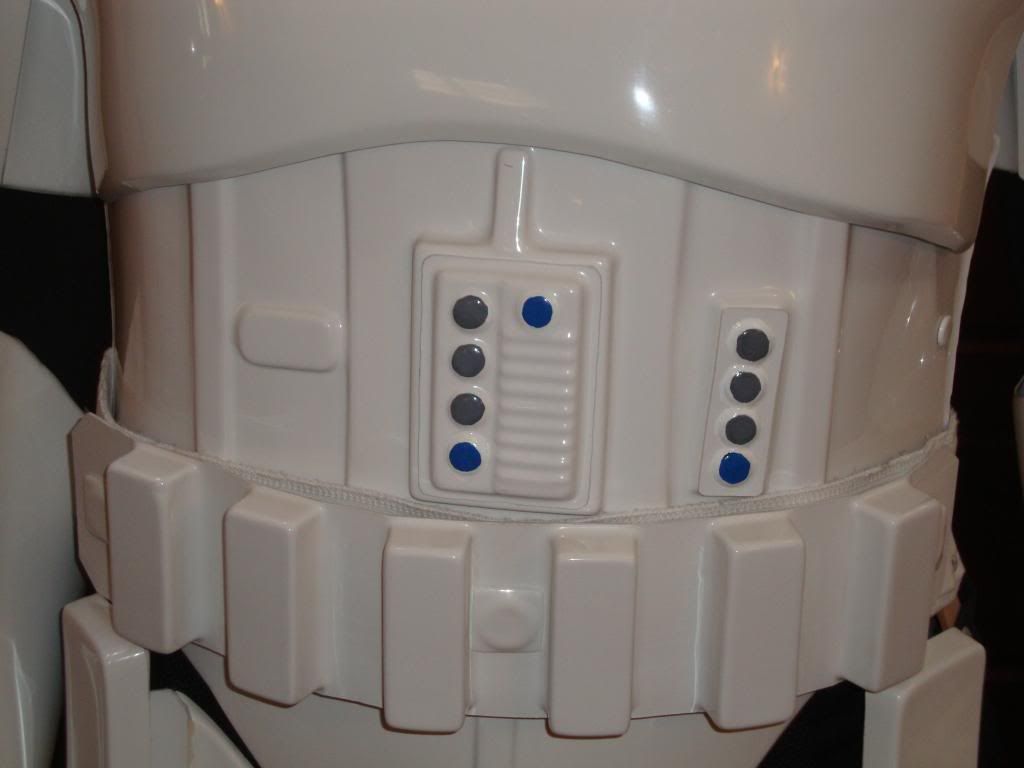
Ab/Kidney Attachment - Button Orientation
Butt/Kidney - Not Fixed
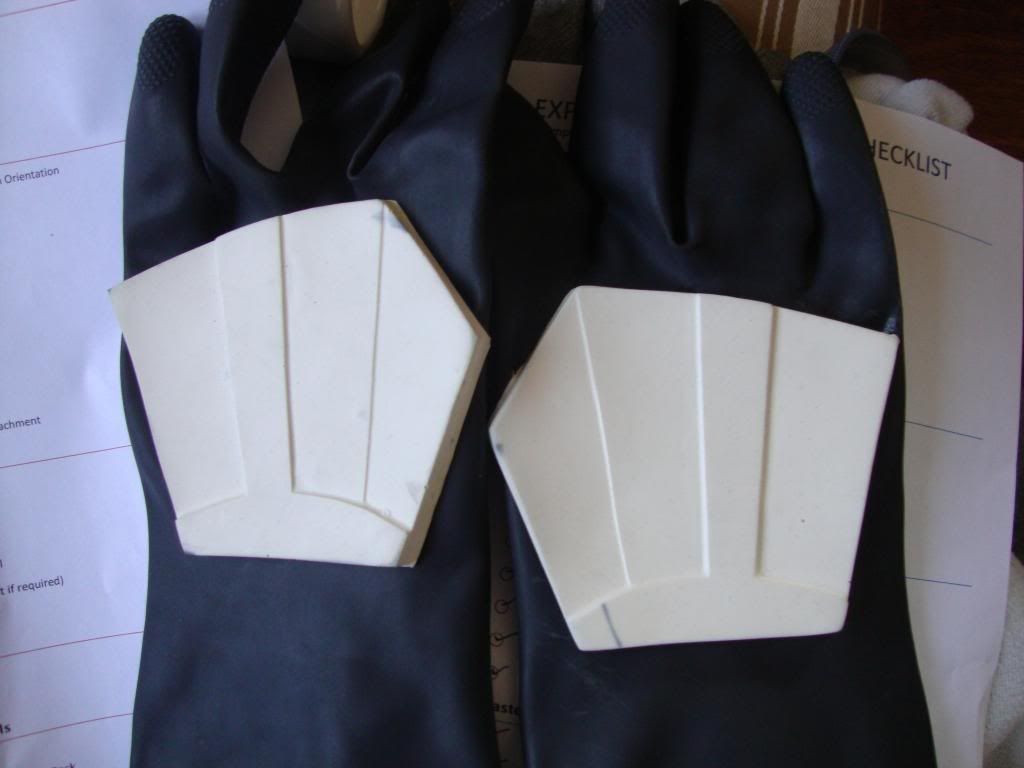
Hand Plates
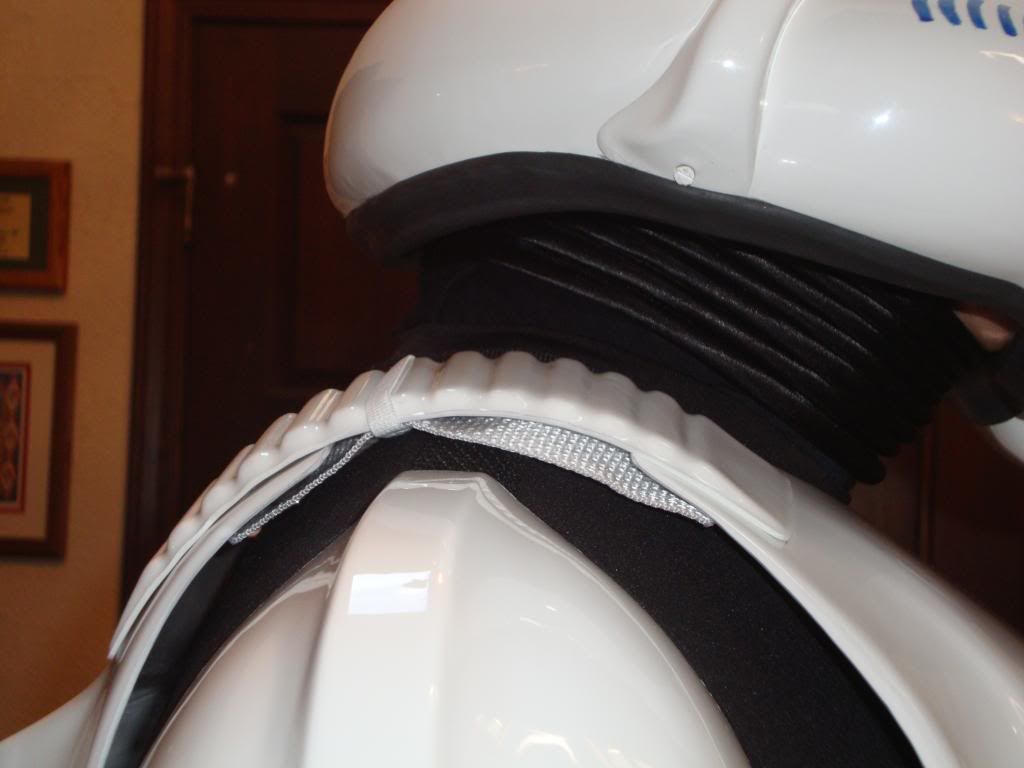
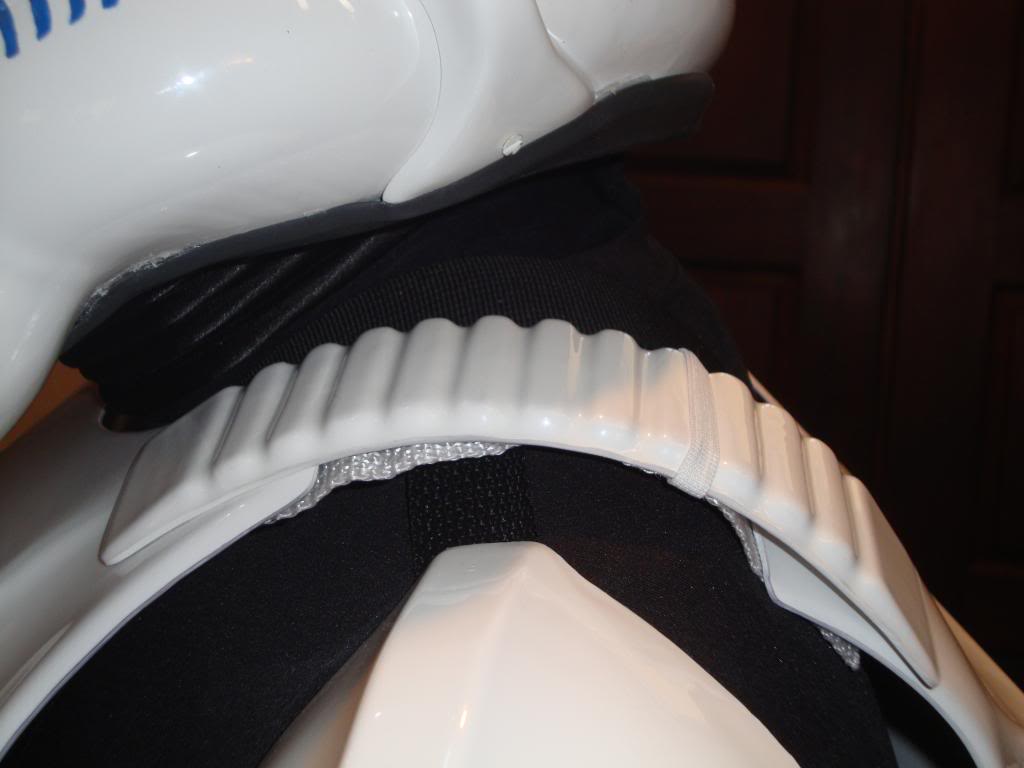
Shoulder Bridge and Chest/Back Connection
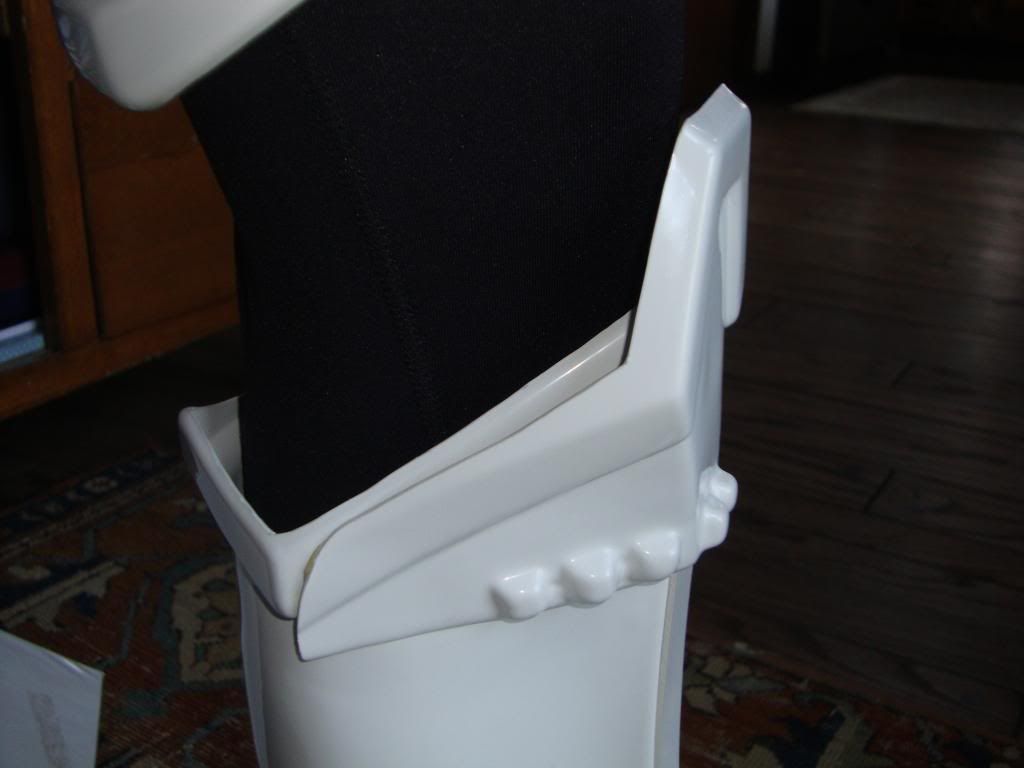
Thigh Pack Attachment
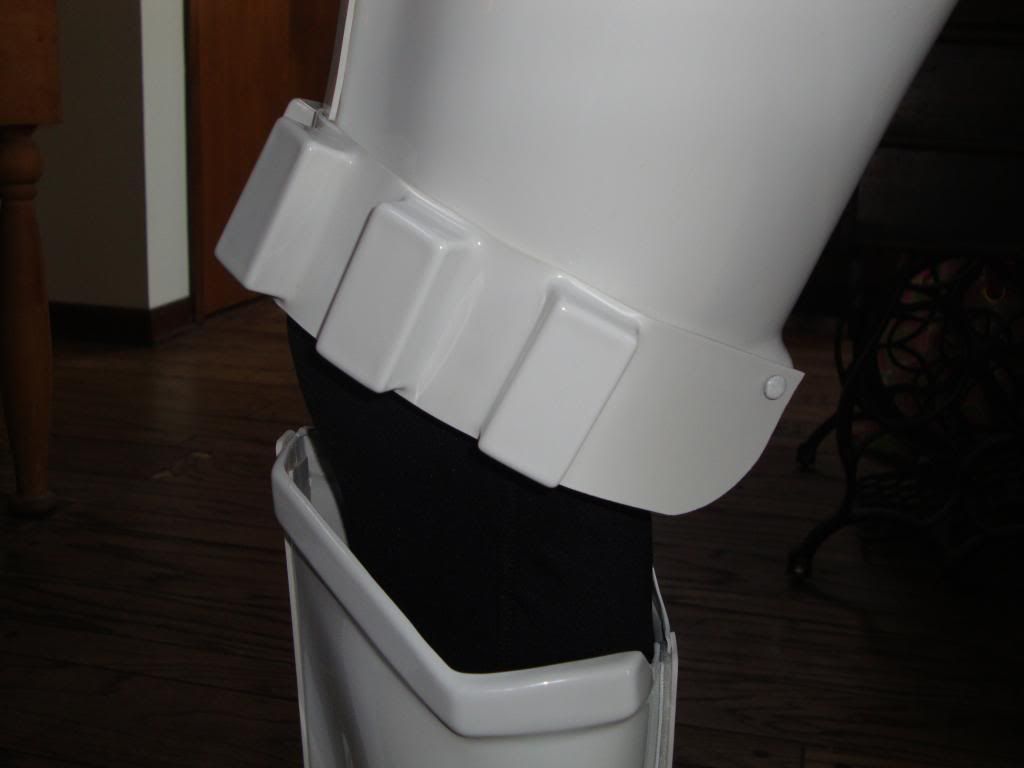
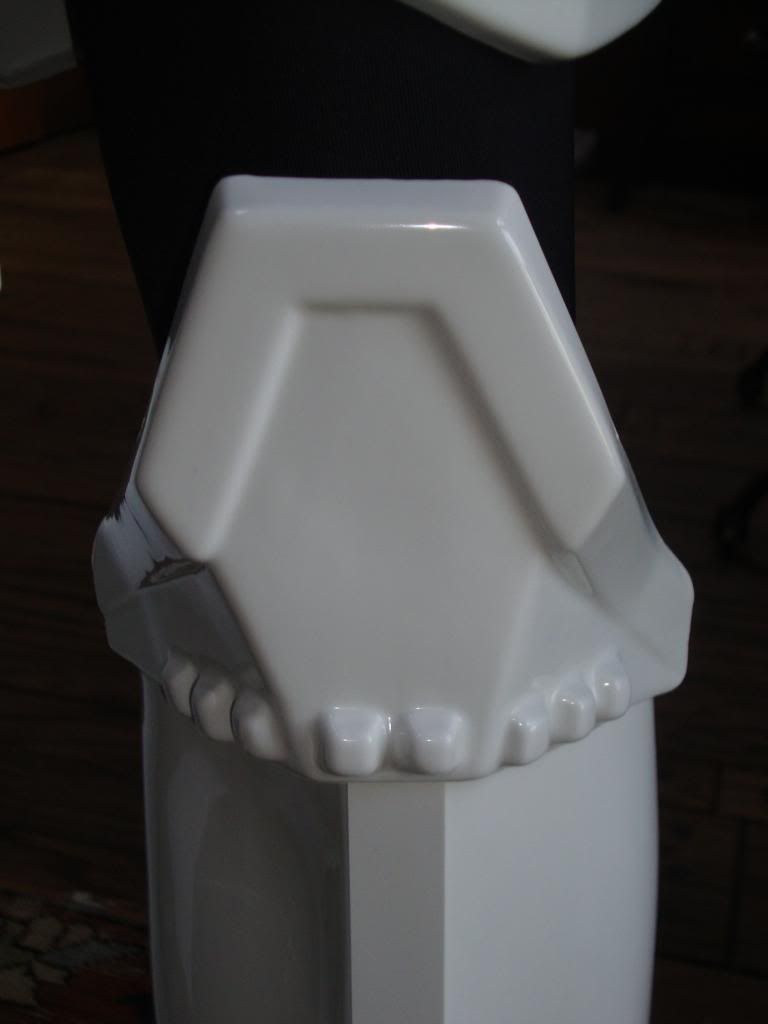
Knee Plate

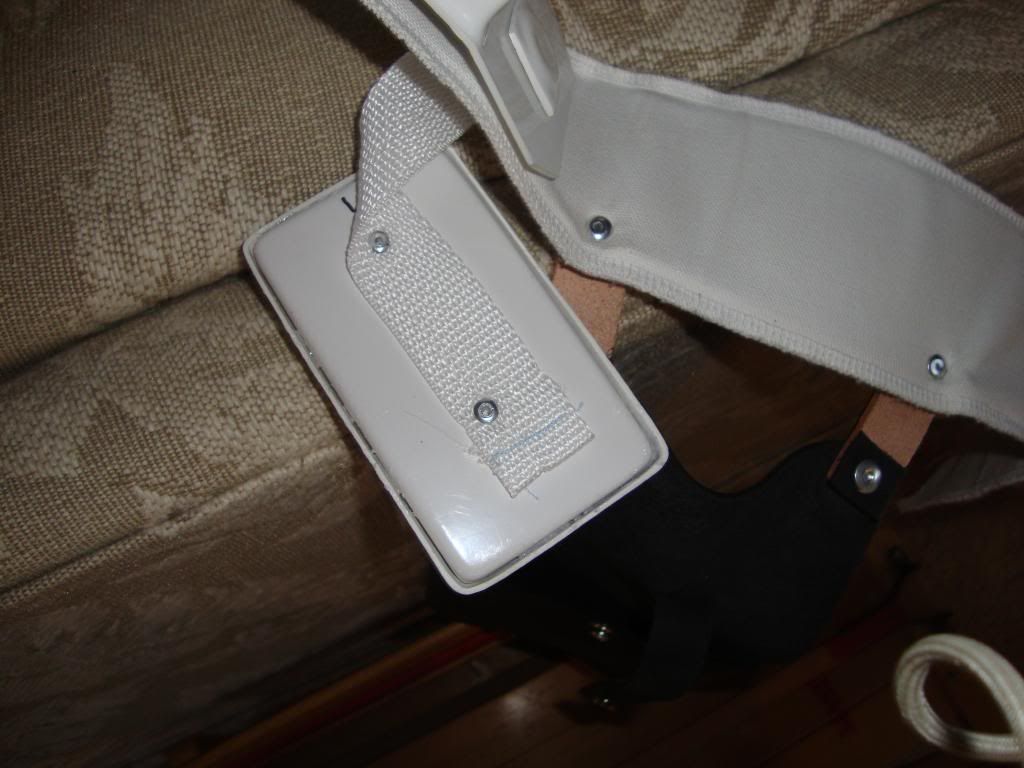
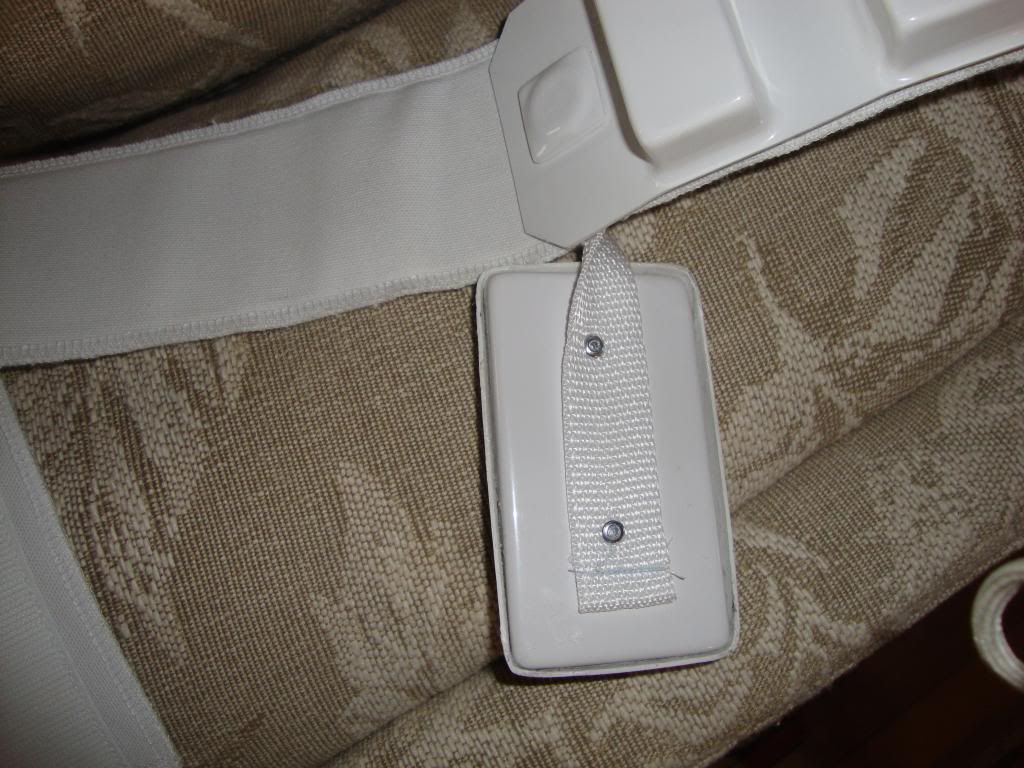
Drop Box Back
Cod and Butt Plate Attachment
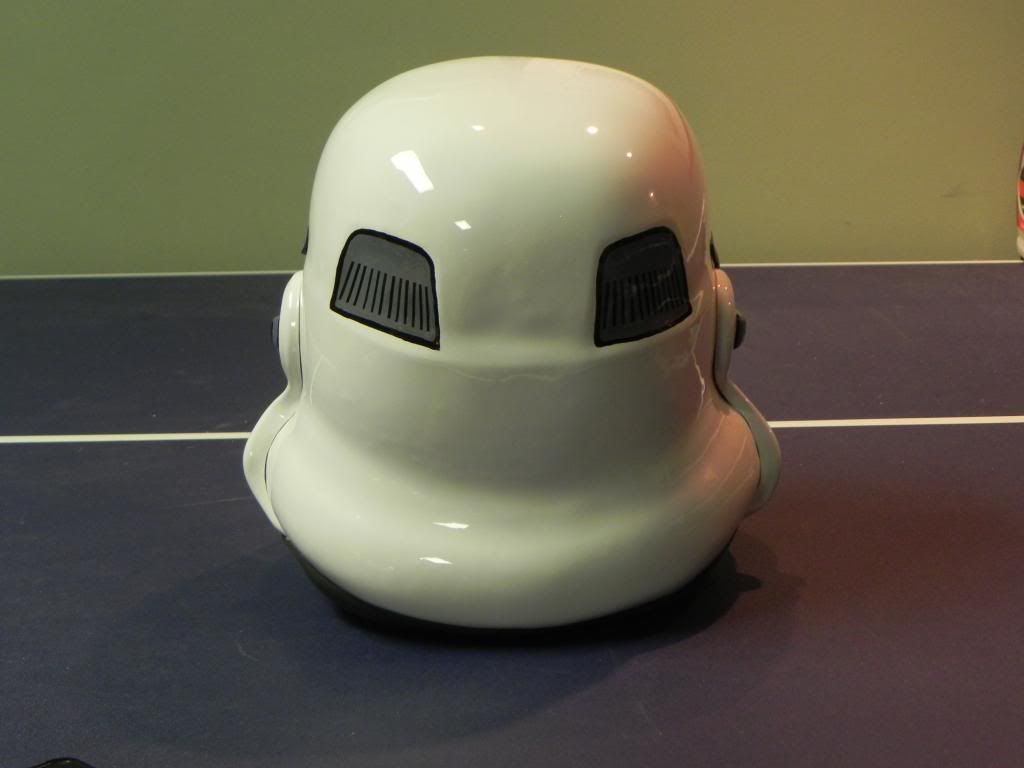
Helmet Details
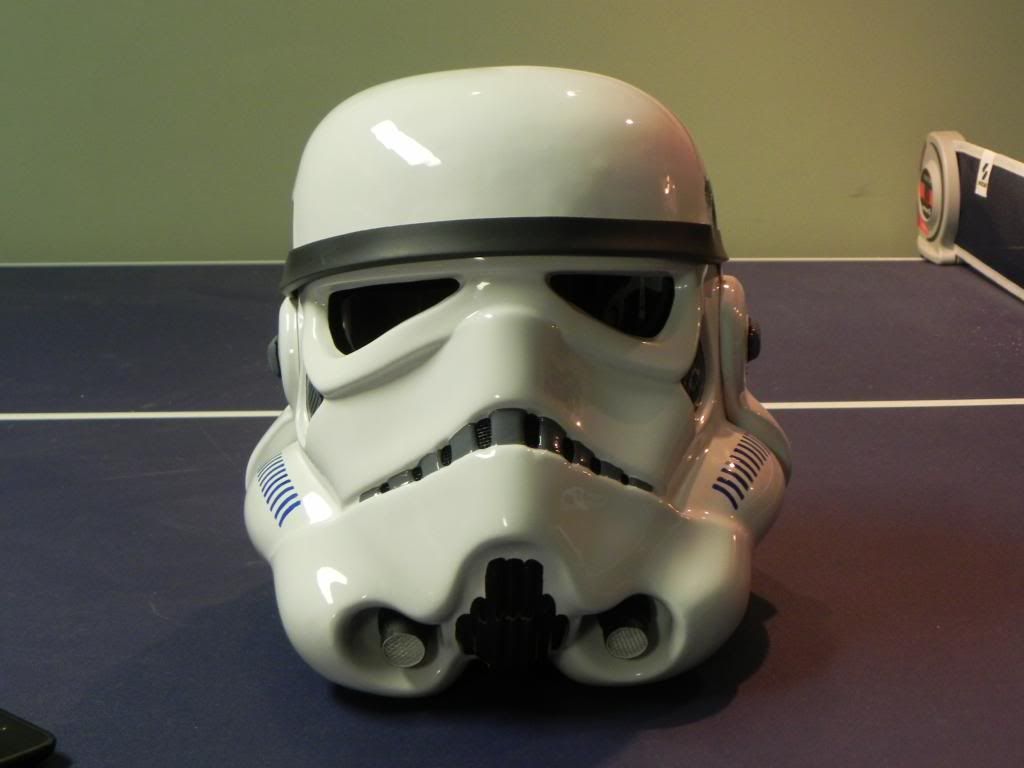
Front
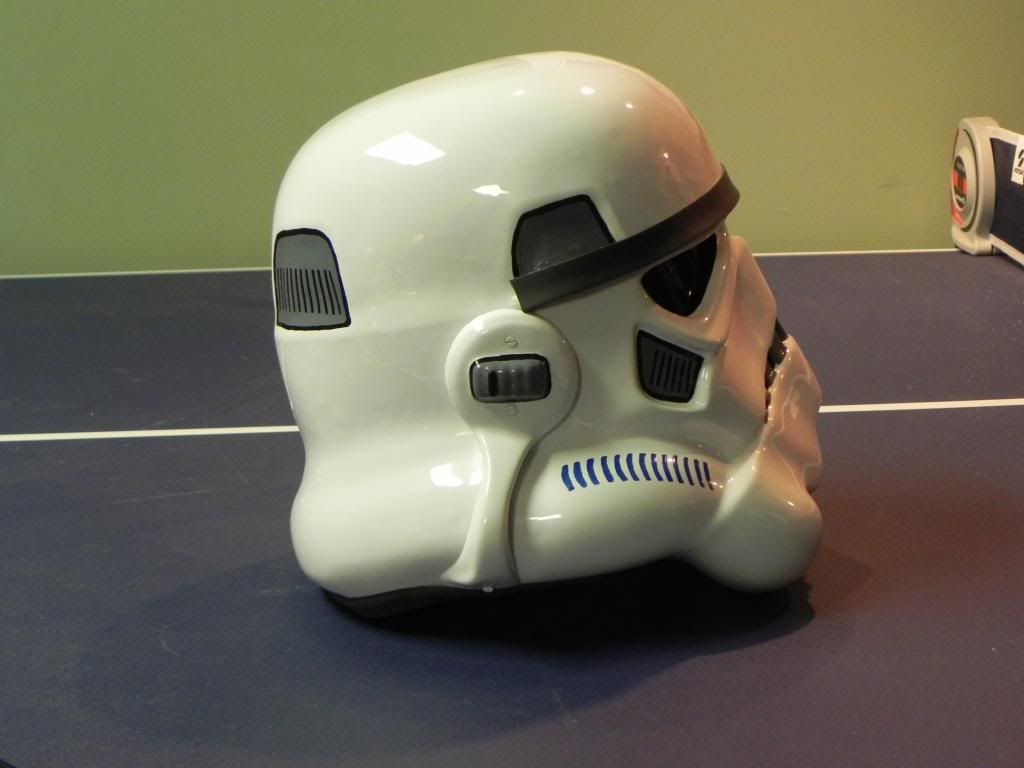
Sides
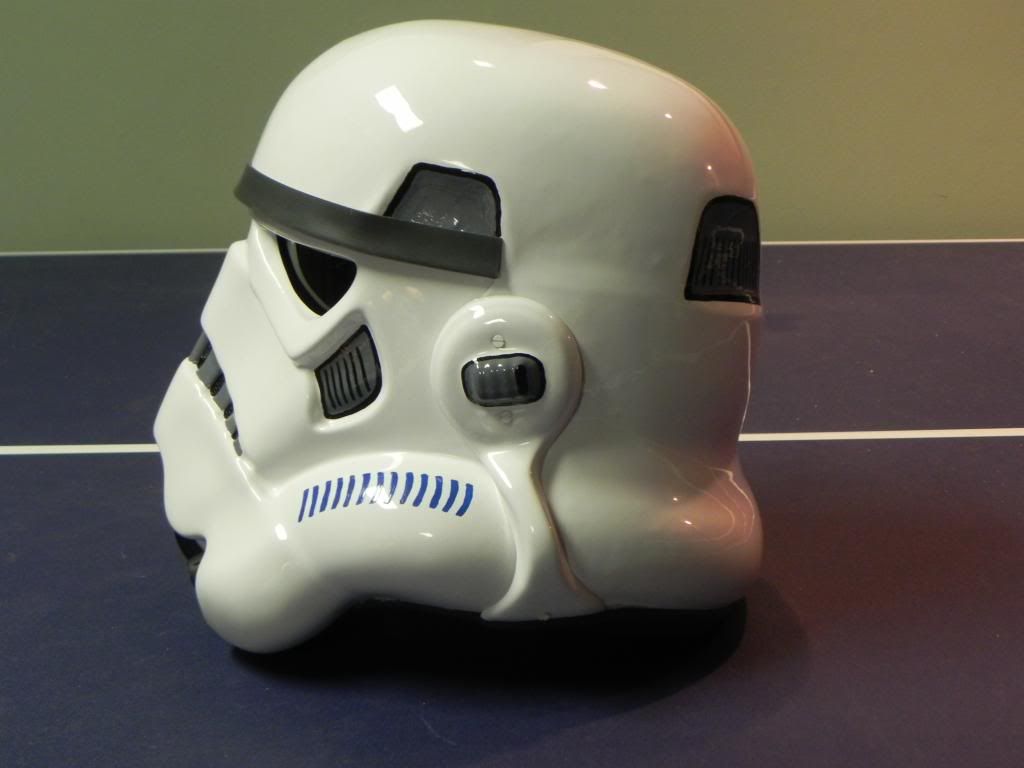
Back
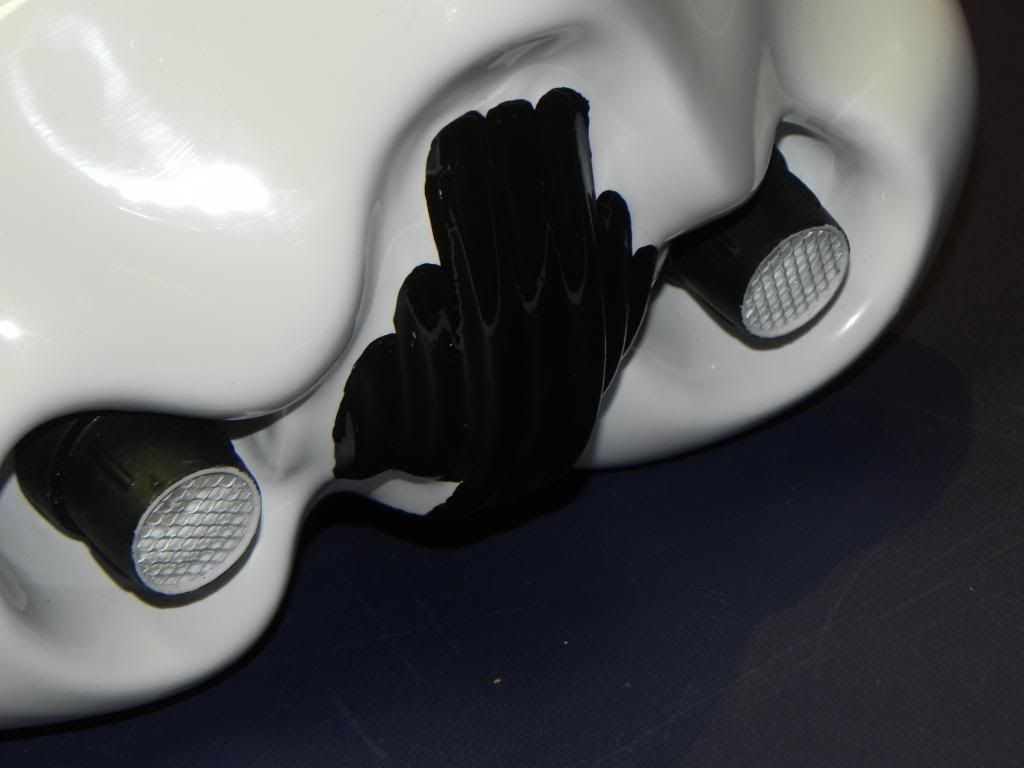
Hovi Tip Detail
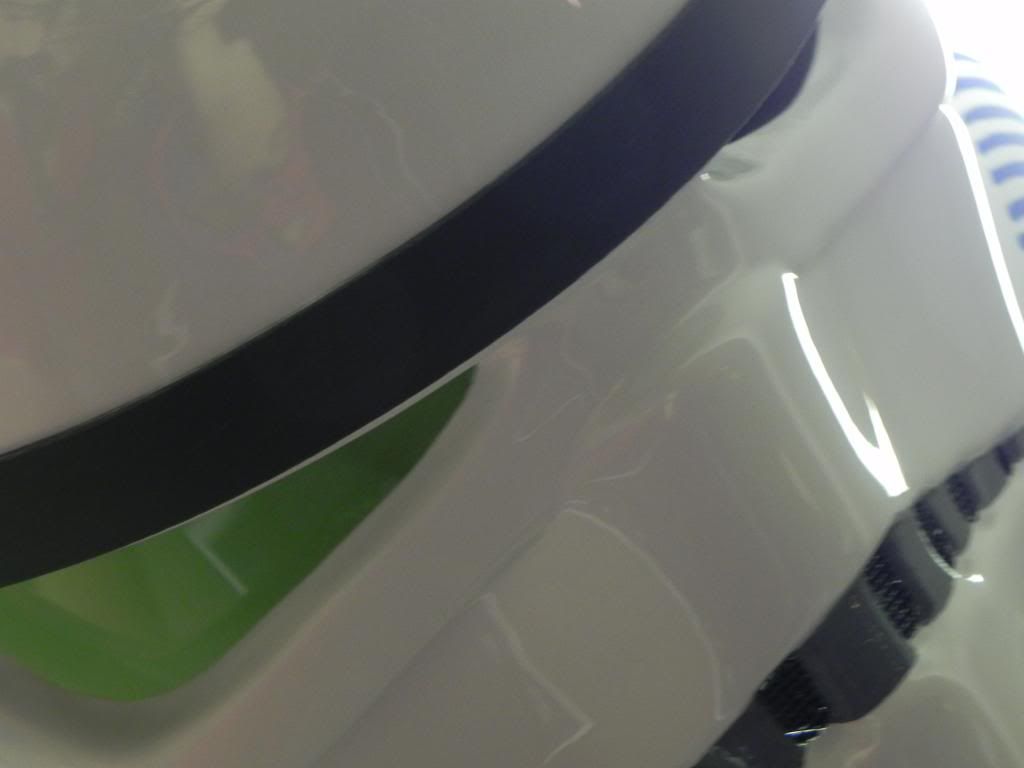
Lens Color
S-Trim
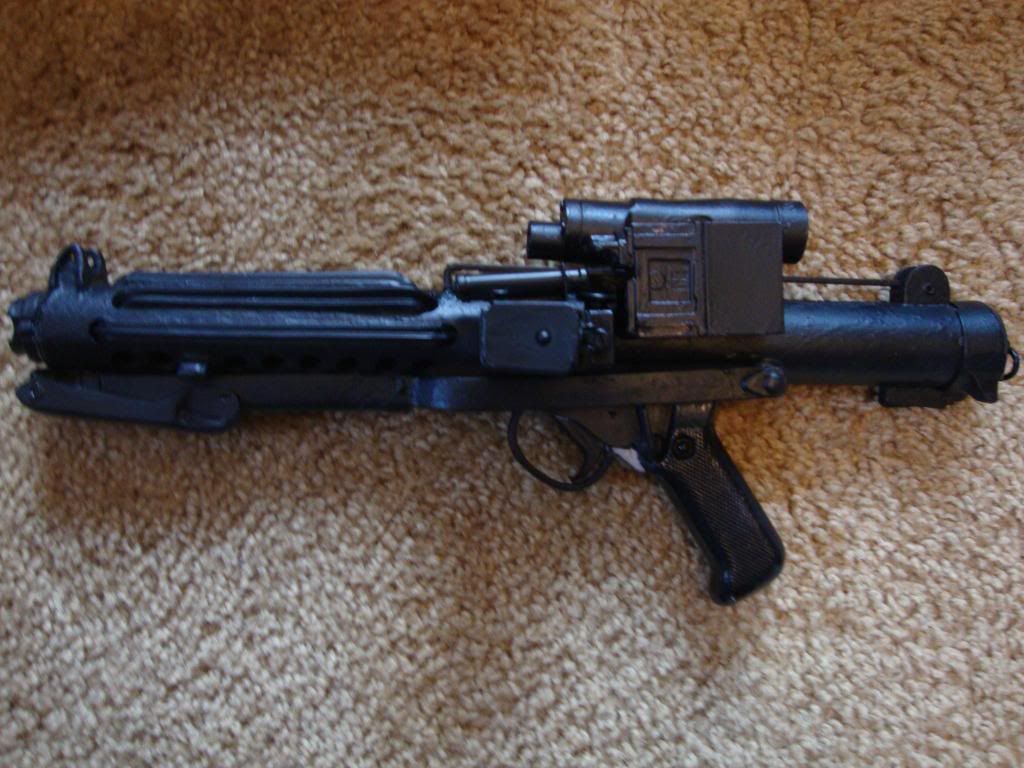
Blaster Details
Left
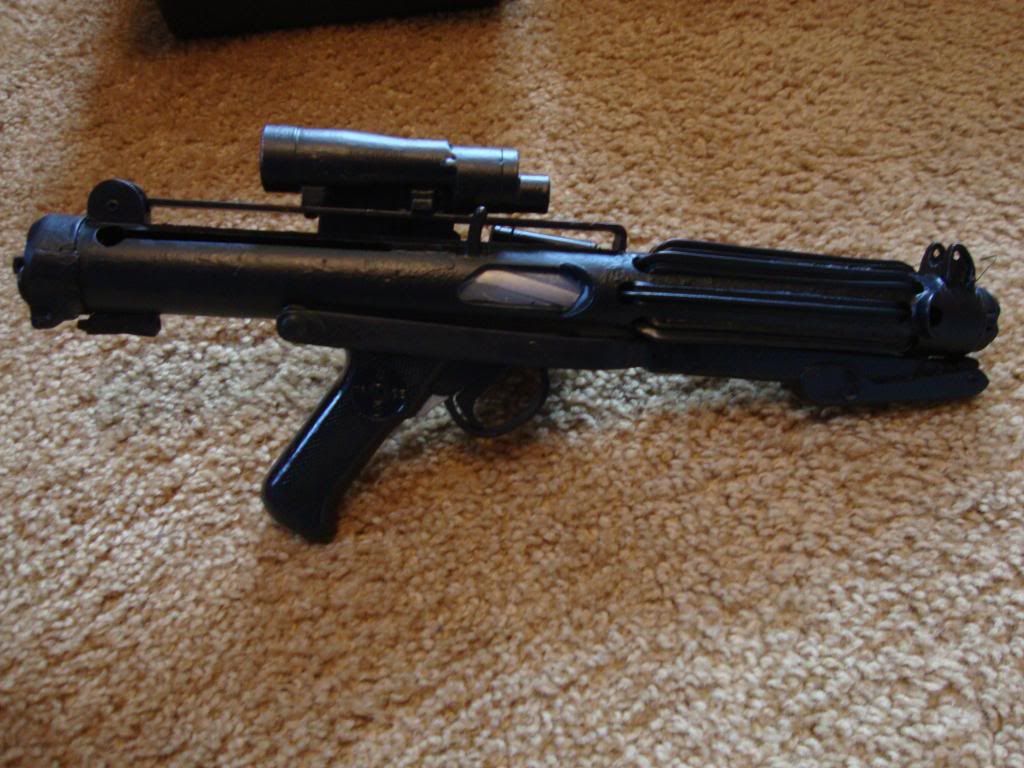
Right
Accessories Details
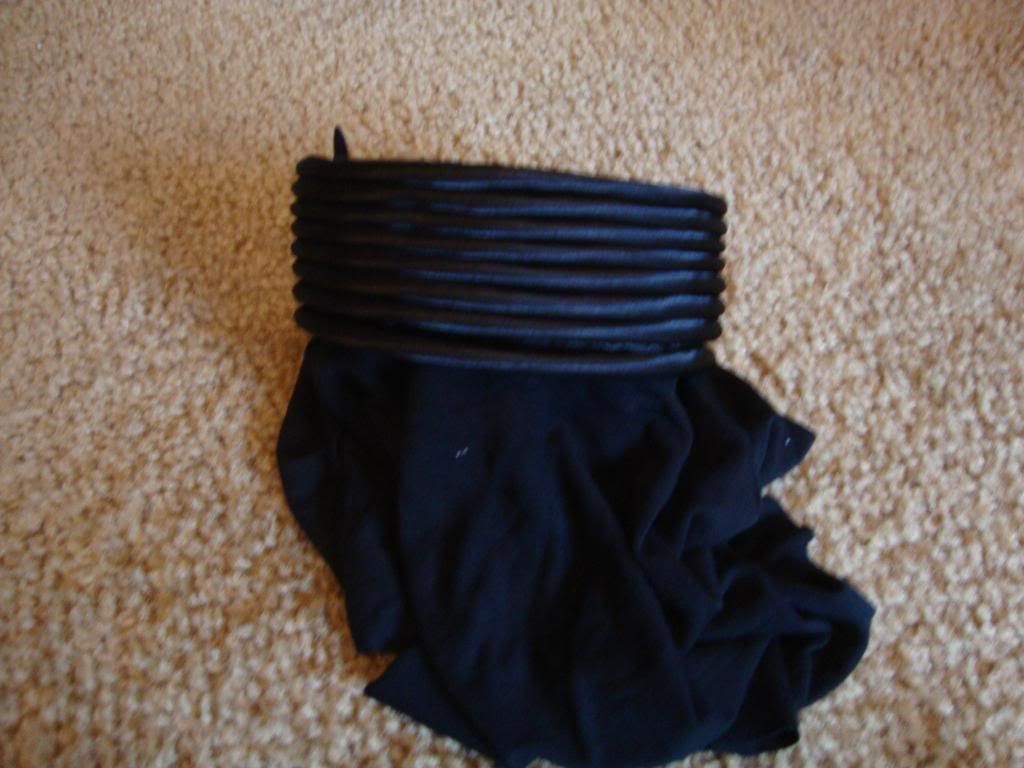
Neck Seal
Thermal Detenator Back
Holster Attachment
Other
Forearms - No Return Edges
Thank you in advance for your time and let me know if you require further images!
TK-14285
-
Dominic Milano 14285 EIB Letter
Thanks!
-
Thank you guys! Now it's time to go for Centurion!!!

-
I will tighten my belt when I put it on. I don't know why I keep leaving it loose! Thank you do much!That looks better. But I think you still should tighten up your belt so it doesn't sag in the back, like it does in your pictures.
Approved.
-
Definitely loads better.
I'm sure you can see it yourself.
I can definitely see it! Is there anything else I need to improve on to get EIB status?
-
That looks a lot better!
Very nice, look a lot better
Thank you guys!!!

-
Alright, I lowered the biceps and brought up the gauntlets. I also lowered the thighs. What do you think?
Thanks!
-
Nice work Dom! Good luck buddy!
I agree with all of the above said about your forearms, biceps (connect your forearm to your bicep with a snap and strap) and thighs (lower them) and I would also suggest that you connect your back to the kidney with some snaps and elastic. It's pulling away and looks like its floating a bit. It won't affect your app and it's just my opinion, others may disagree, but I personally think it looks better and more unified when those back pieces are connected.
Other than that I think you're looking pretty great! It'll be an honor to troop along side you at the Autism Walk in May! Good job!

Thank you for the suggestions! I thought the spacing did look a little funny! And that's awesome that you are going to the Autsim Walk!!! I can't wait!!!
-
Thank you guys! I am actually 6'0" and 145 lbs. I purchased the belt from TrooperBay. Would you like me to adjust how I put everything on and take a few new pictures?
Thanks!
-
TK-14285 Requesting ANH Stunt EIB Status
- Armor = ATA
- Helmet = ATA
- Blaster = DoopyDoo's Pipe Build
- Height = 6'0"
- Weight = 145 lbs.
- Belt Maker = TrooperBay
Full Body
Front - arms at side
Back - arms at side
Left - arm raised
Right - arm raised
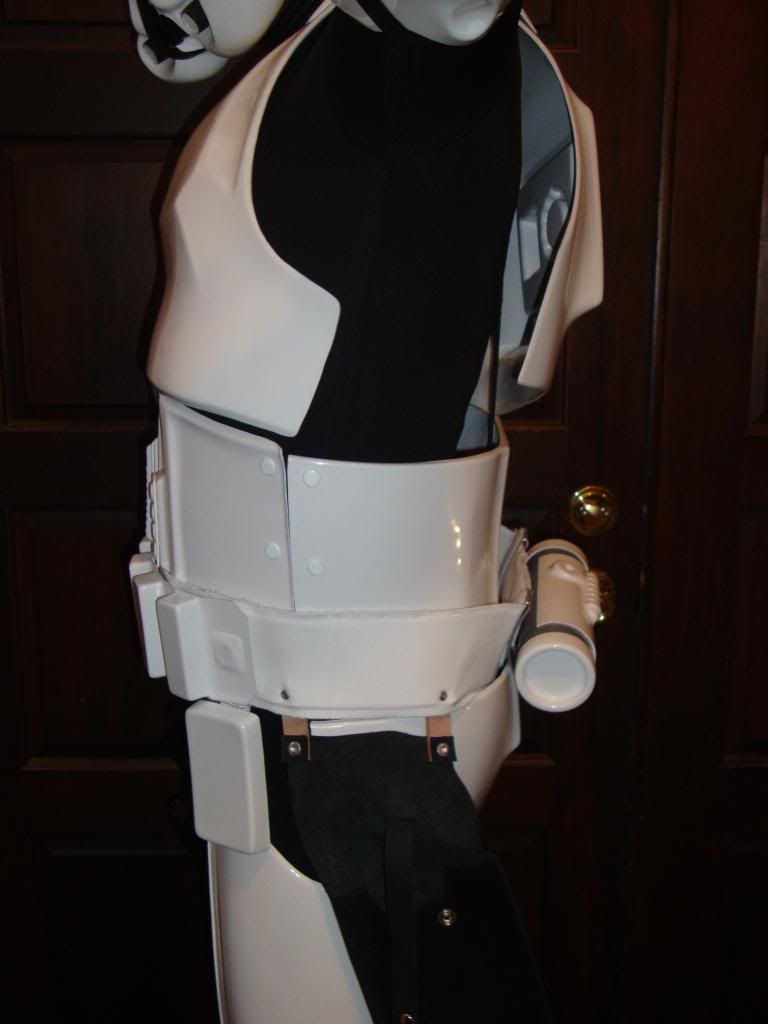
Right Side Detail - arm raised
Left Side Detail - arm raised (NOTE: I will need to tighten the belt to prevent the thermal detenator from sagging)
Armor Details
Abdomen Details
Action Shot
Cod and Butt Plate Attachment
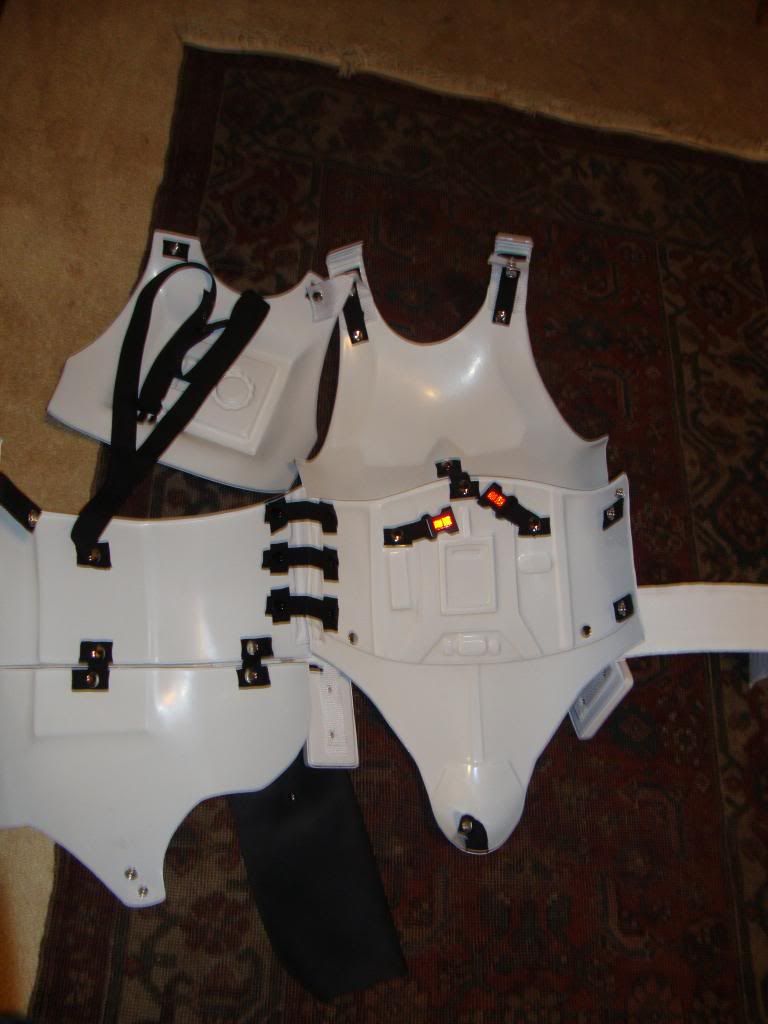
Interior Strapping
Helmet Details
Front
Side
Side
Back
Hovi Tip Detail
Lens Color
Blaster Details
Blaster - Left
Blaster - Right
Accessory Details
Neck Seal
Thermal Detenator - Back
Holster Attachment
Please let me know if you require other pictures! Thank you!
-TK-14285
-
Dominic Milano requesting 501st Status!
Thanks!
TK-14285
-
They are offered on the Legion boards to members. It's an ongoing run so after you finally join you'll be granted access to that page and can get all the cool swag you want!
It seems like most guys go with this one as it was the dominating method for all on the troops I've been on. It holds everything with some room to spare, it's really secure, it has locks, it rolls and has a retractable handle, it has a tray to hold things like your sound system, thermal get, holster, etc. and it fits in the car nicely. You won't regret the investment!
Ya gotta get down here for C2E2 in April and do some trooping with us! Finish that armor up!
I am 99.99% done! The last thing I have to do is attatch a holster I'm waiting on to the belt and then I am 100% completed!!! As soon as I attatch the holster, I am going to take all of my submission pictures and send them in 2 weeks before I turn 18!! I'm so pumped!! I would love to come and troop with you guys at C2E2!!
-
On 1/26/2013 at 1:46 AM, Solcar23 said:
Here ya go Dom!
-----------
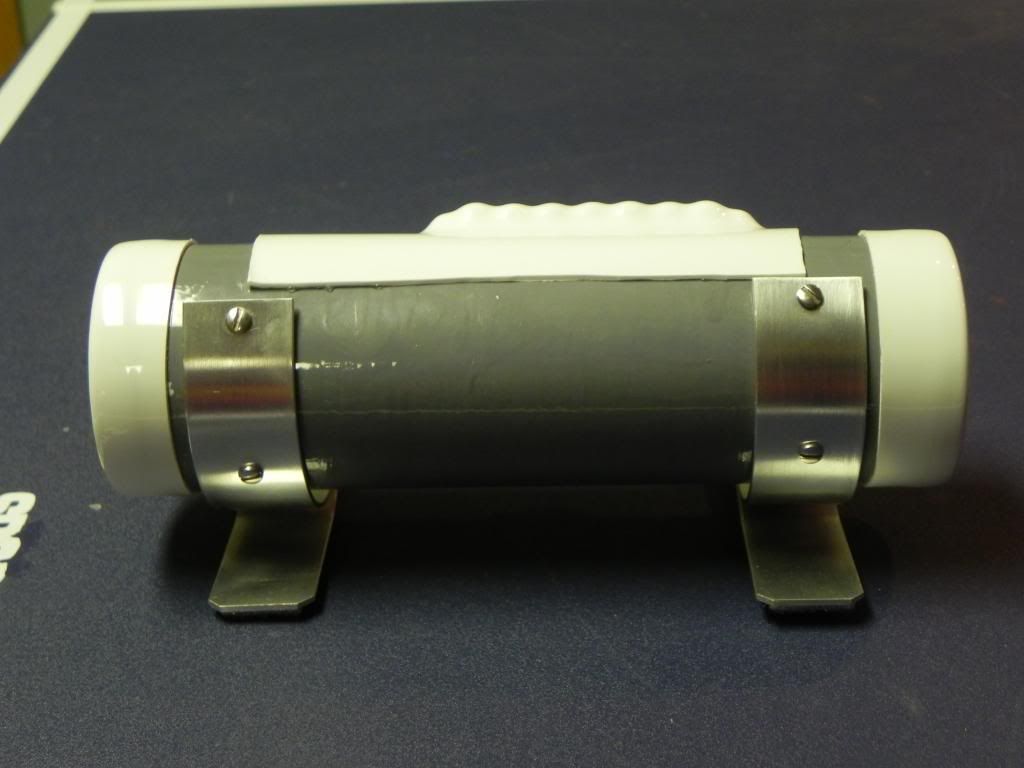
No brainer, go with the Stanley!
VERY NICE!!! Where did you get the name plate? Did you make it or order it?
-
What do you guys use to transport and store your armor? Pictures would be very helpful!
Thanks!
-Dom
-
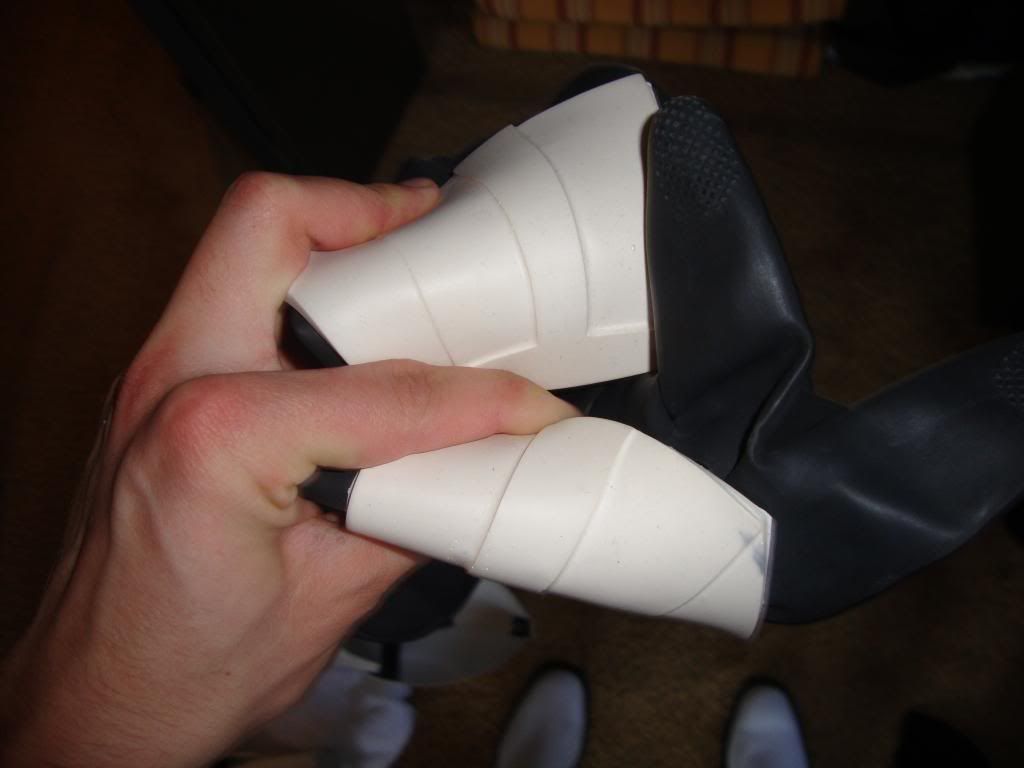
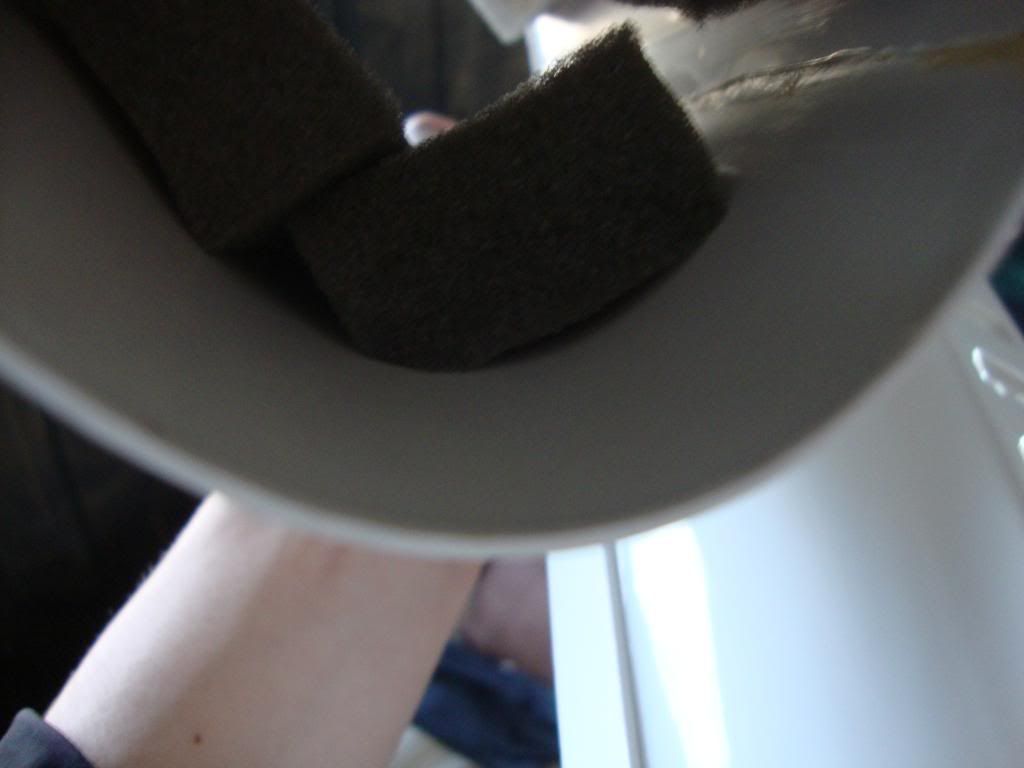
Thank you guys for all of the help! I finally attatched it to the thigh!!! What do you guys think?
Thanks again!
----------
-
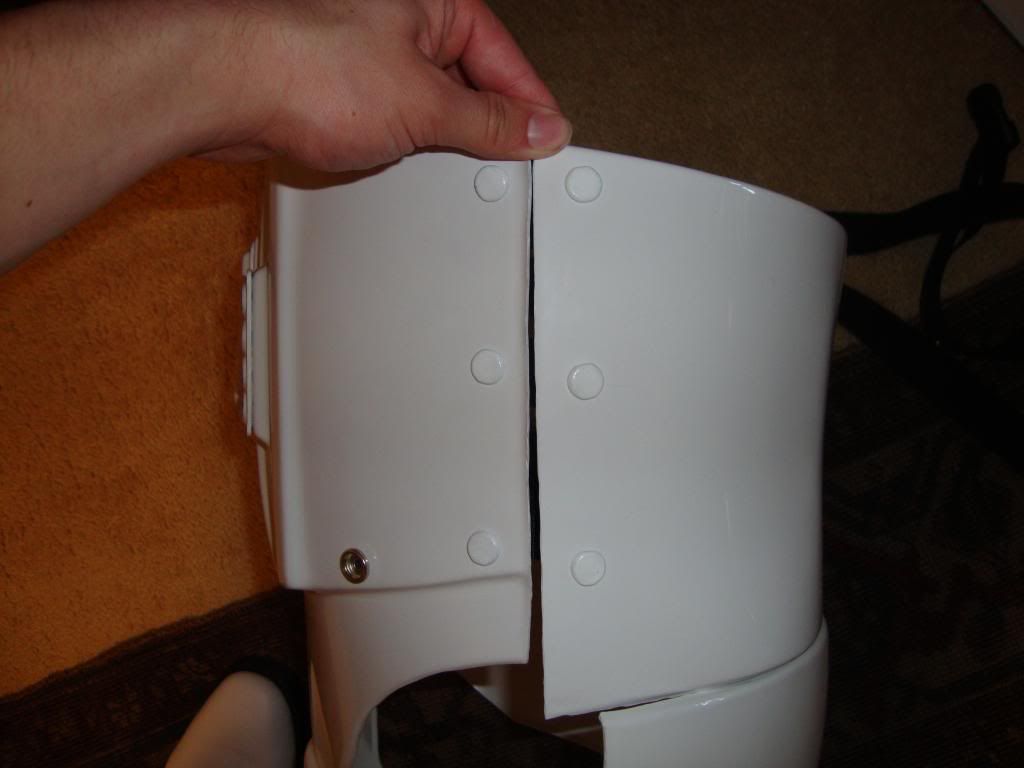
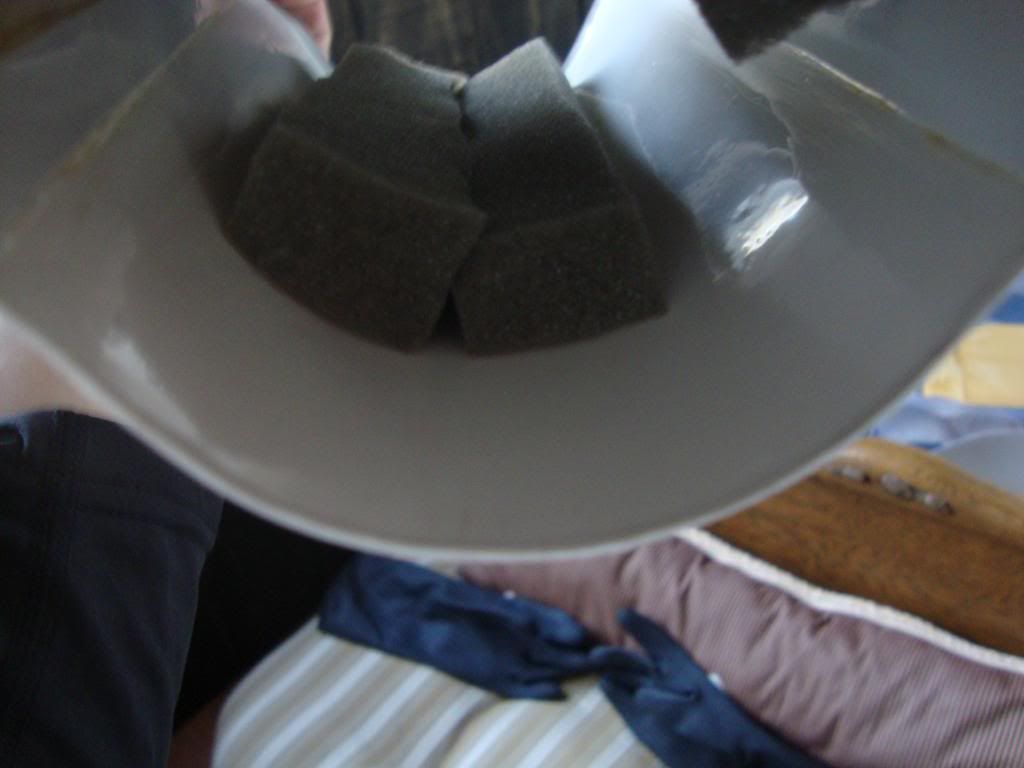
So are those spaces ok?
-
I just wanted to get rid of the gap. So it looks like I will have to make up another batch of the paste and sand the refill?
-
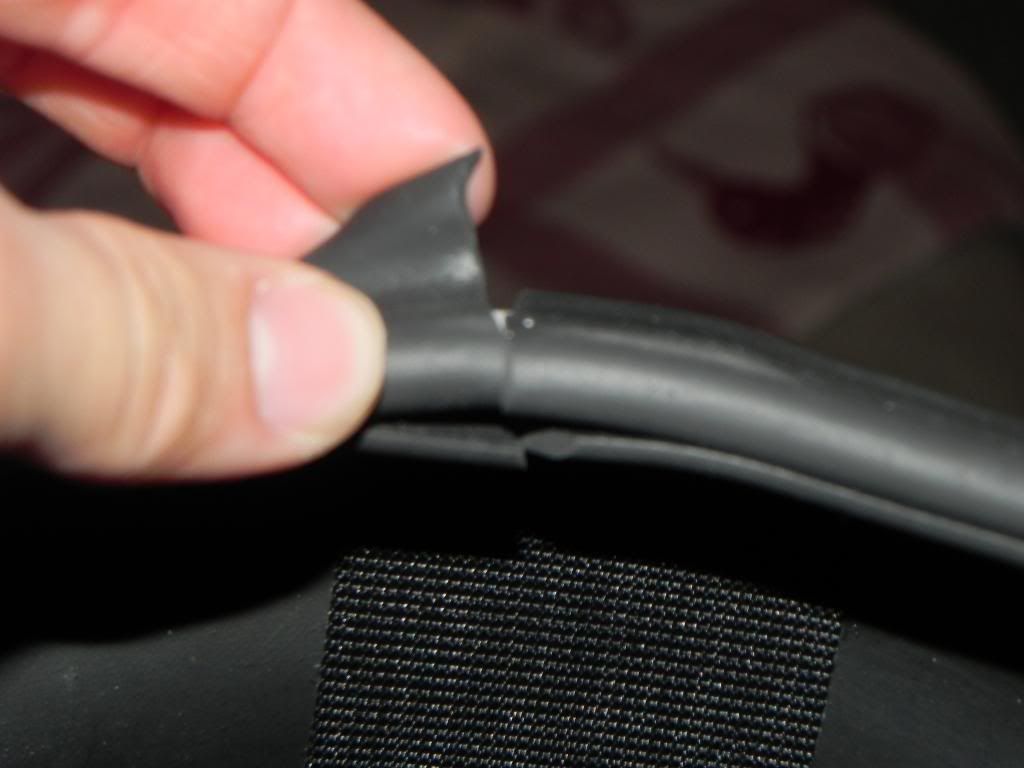
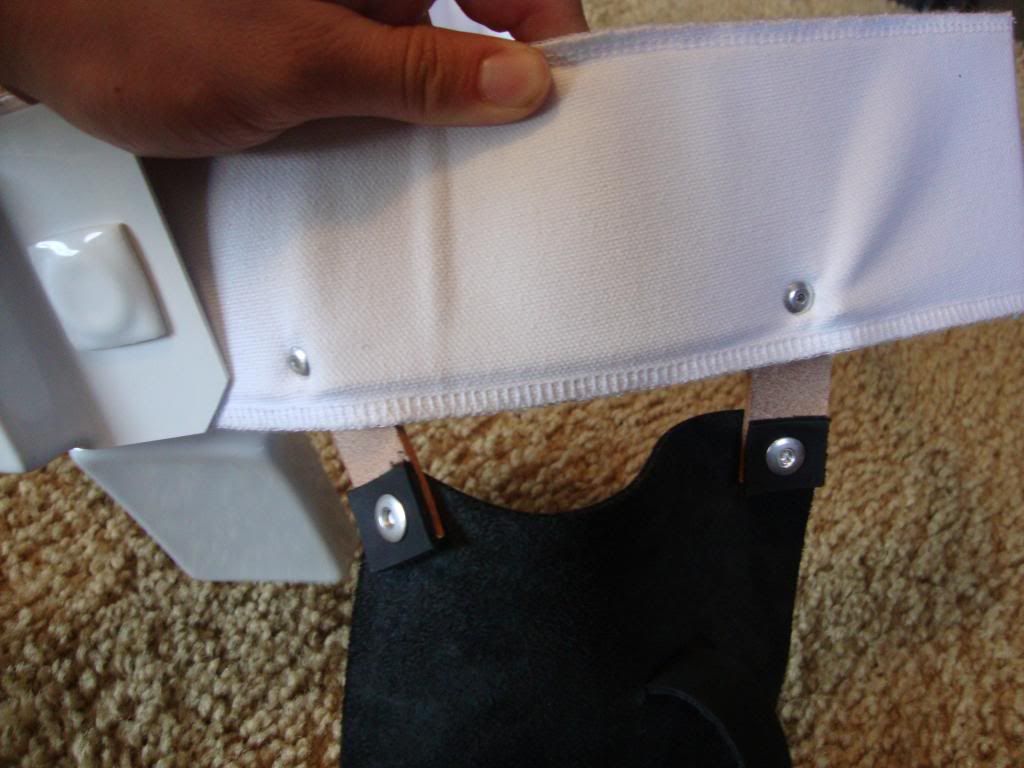
Ok, so I cut it and placed it aganist my right thigh to see how it looks before I use the cap rivets. The only problem I seem to be having is when I match up the corners, there is a space on both sides between the ammo pack and the thigh. Do I need to change something? Thanks!
------------------
-
Alright, I installed the ABS paste (handmade) into the gap and here is how it turned out. I feel I will need to sand it down a bit. What do you think?
Thanks!
-----------
-
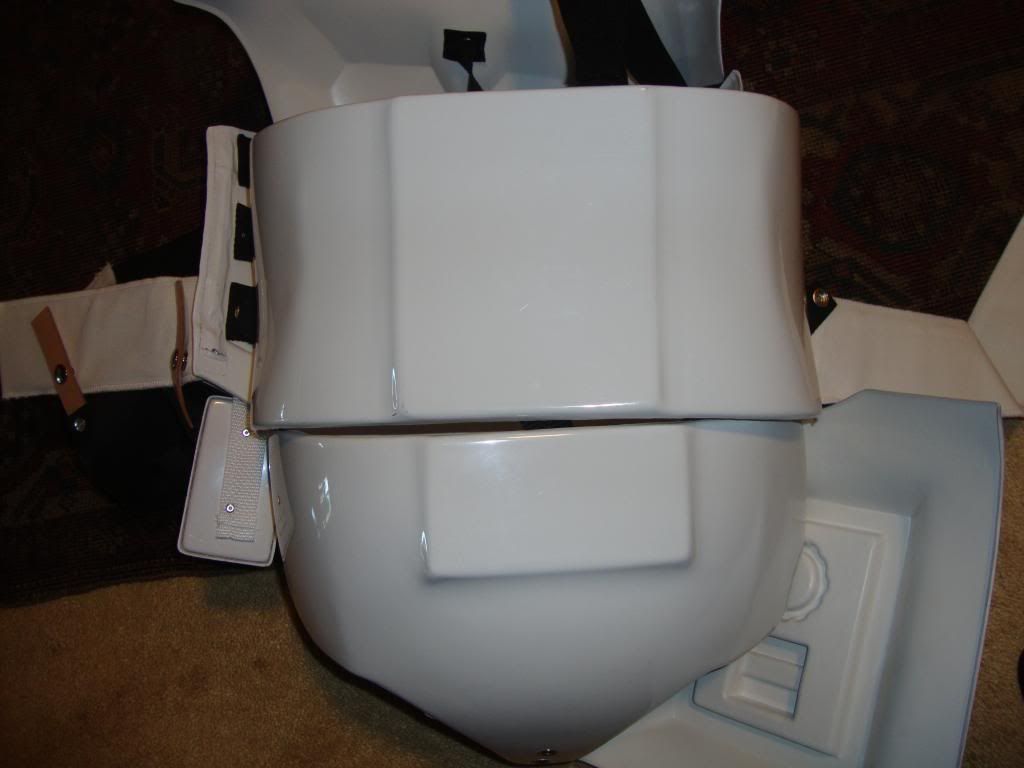
Alright, I have it traced out where I am going to cut! What do you guys think? What is the best tool to cut this with (Dremel, Knife, Scissors)?
Thanks!
------------
-
My build thread (below my signature) shows the process of heat bending the pack with popsicle sticks and how I attached it with the correct rivets. Don't forget, for accuracy It should be cap rivets.
Let me know if you need any other help Dom!
Thanks Carlos!!!
TK-14285 Requesting ANH Stunt Centurion Status
in Request Centurion Status
Posted
Sorry I haven't gotten back to this in a while! I have been finishing up with school. Anyway, I am going to start getting to work on the suggestions. Also here is a link to the side rivets I bought for my armor: http://trooperbay.com/2-inch-fasteners-and-washers/
The description says "These split rivet type fasteners are very close in accuracy to the originals used to fasten the ab plate to the kidney plate of the original TK armors used in SW." I measured them and they are 10 mm in diameter.
Also, not trying to be difficult but is the elastic and single rivet on the drop boxes required for centurion because it is not specified in the CRL.
Thanks!
-Dom