Aussie Mike
-
Posts
26 -
Joined
-
Last visited
About Aussie Mike

-
I figured it was wise to check first and see if anyone had a tried and tested method, and certainly the instructables one looks great. But before i made that mix, i decided to try a few things on a scrap of the same plastic And bingo where the PlastX didnt work this did Before After If you compare these side by side the improvement is obvious. I hope this will be helpful to others
-
Thank you that looks promising. Yesterday i took some fine sandpaper to the spare bit of sheeting, and sure enough it cleaned up back to a white colour , But it took the shine off the plastic. I will experiment with the finest grade wet and dry i can find and the PlastX as a cutting compound and that may work too, failing that the link provided offers some great advice too Cheers guys much appreciated
-
Yeah, all from the same kit. Just bad luck i guess. I thought it might have been the plumbers cement but none of the other joins have discoloured, and digging out my off cuts i can see that the sheet these were cut from has gone the same colour. Its not a big deal, i still walk out into the lounge look at my armour and think to myself how freakin lucky am i to own such a wonderful thing. Its still a vast improvement on the papier mache and cardboard set i bulit in 1978 lol. I was hoping this had happened to others and a fix had been found. If worse comes to worst i can remove them and replace them with fresh plastic. but if there is a bleaching process that works id rather try that
-
Gday I was wondering if anyone has had this happen and if there is a method to bleach the effected area As you can see the strip of ABS down the front of the legs has gone a bone colour, while the rest of the armour is still pure white. Any advice is appreciated I have tried Meguiars PlastX but it didnt work (did wonders for the cars headlights though)
-
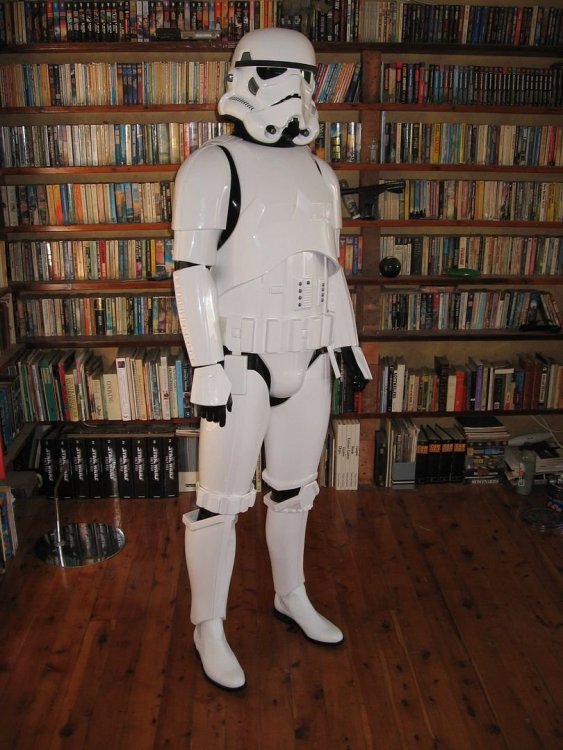
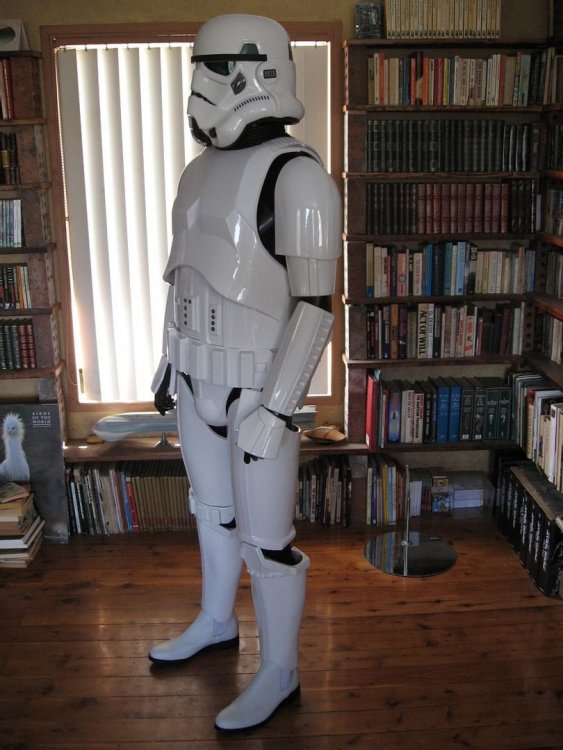
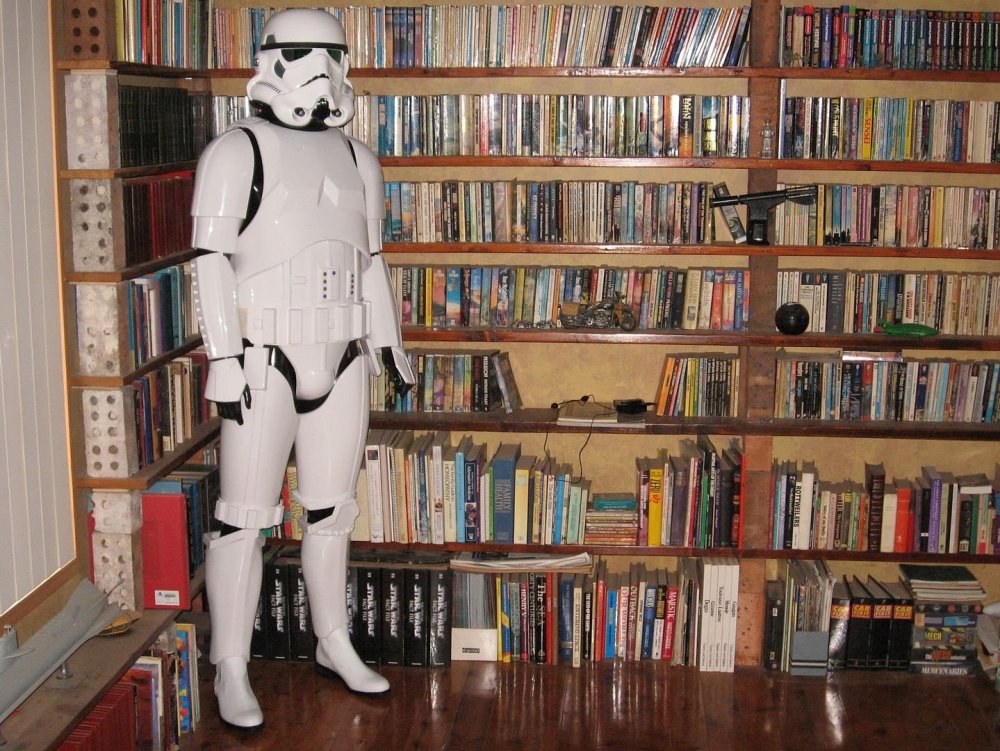
Well im almost done, and i was lucky enough to source a black mannequin that stands on its own with the armour on (though im using some fishing gut to ensure it stays upright in its final display position) I'd like to thank every one who helped me along the way, could not have done it without you (you all know who you are) Sincere thanks Mike
-
Thanks guys, im seeing the funny side of this today. bought a manny today, from now on ill do my test fitting on it when im home alone. It was only a 140 of the local bucks, and was already black so it doesent need an under suit, money well spent if it saves me being stuck for hours. It can be the dummy that gets stuck next time i did learn a few things, so it was a valuable lesson in the end Thanks again for the help and shared chuckles
-
LOL actually thats not an inaccurate image, there was much wailing and gnashing of teeth
-
Im free at last here i was trying to reach over the breast plate, and all i had to do was lift it up and reach under it. i feel like such a twit right now Thanks ppl
-
Yeah, im still stuck thanks for the advice, i have the forearms off, they werent attached, the shoulder bells and biceps are attached with black nylon webbing and it wont budge, i may have to start knocking on neigbours doors soon, how embarrasing, i just cant get under the shoulders with either my fingers or a ruler to unsnap them. The biceps are really tight so i cant slip it off as a whole assembly. all the neigbours are at work, i may have to stand on the street and wait for a passerby. It was really hard getting it on, but its impossible to get off, and the hotter i get the more flustered i am by the situation. if worst comes to worst i can take my pants off and sit in a bath of cool water with a cold six pack, and try and see the funny side of the situation
-
Ive test fitted my chest assembly and shoulder bell/bicep assemblys. I managed to get it on ok....... but now i cant reach the shoulder snaps and am stuck home alone unable to get the gear off, has this happened to anyone else ? any advice appreciated. It would be funny except my wife isnt due home till 6:30 tonite. (6 hours wait)
-
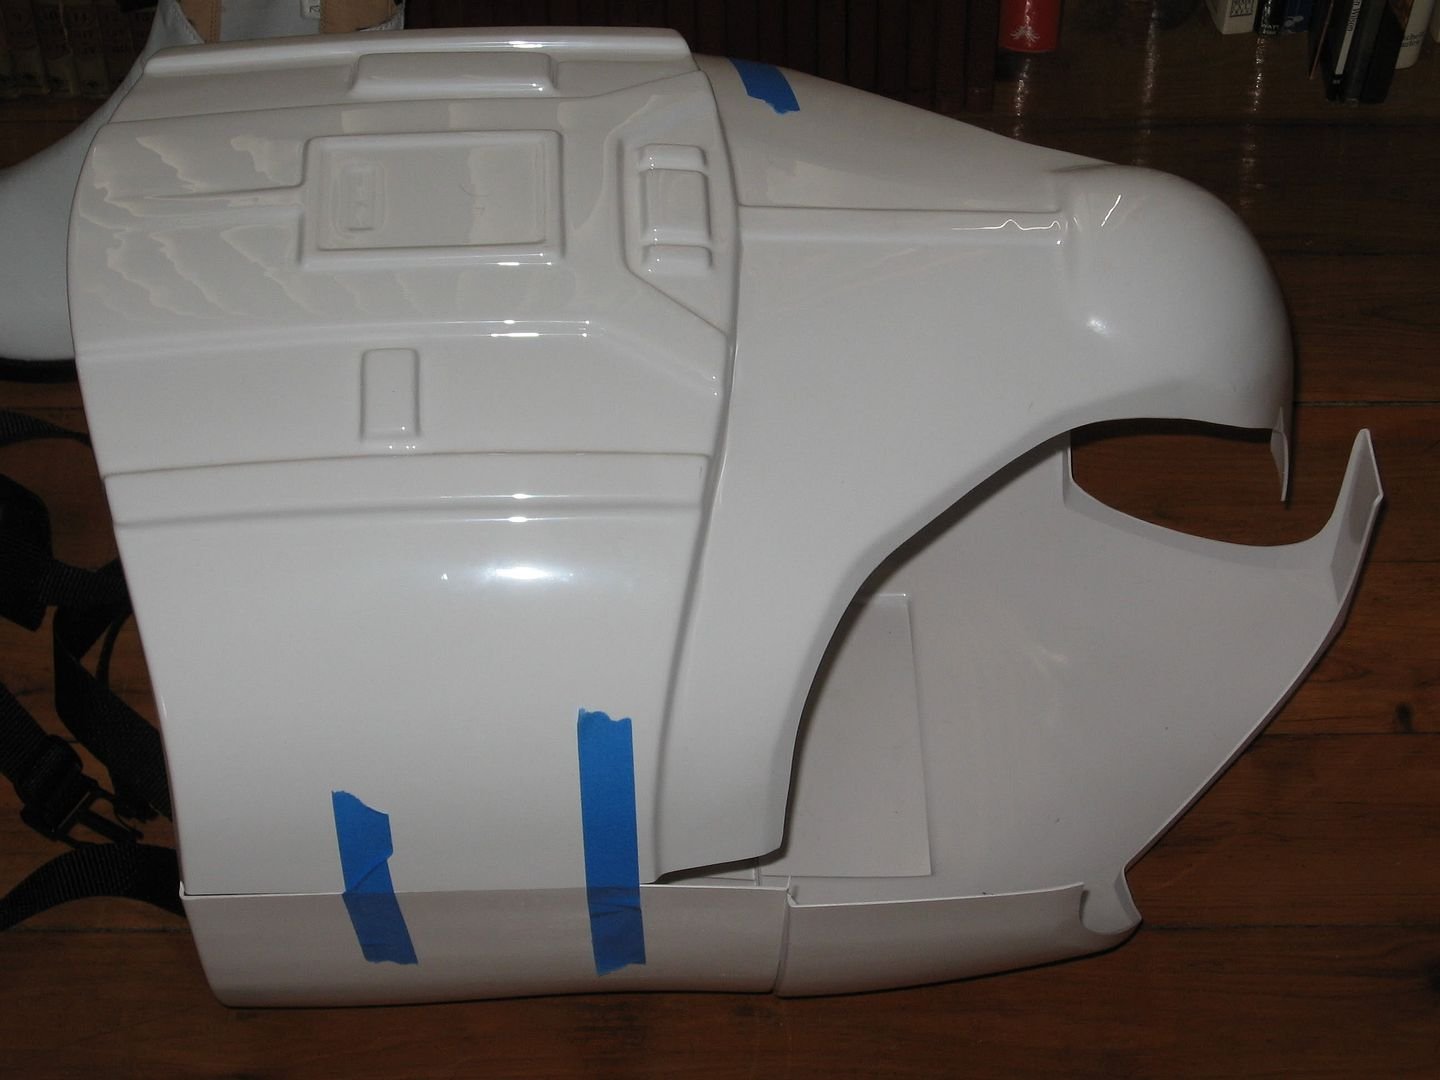
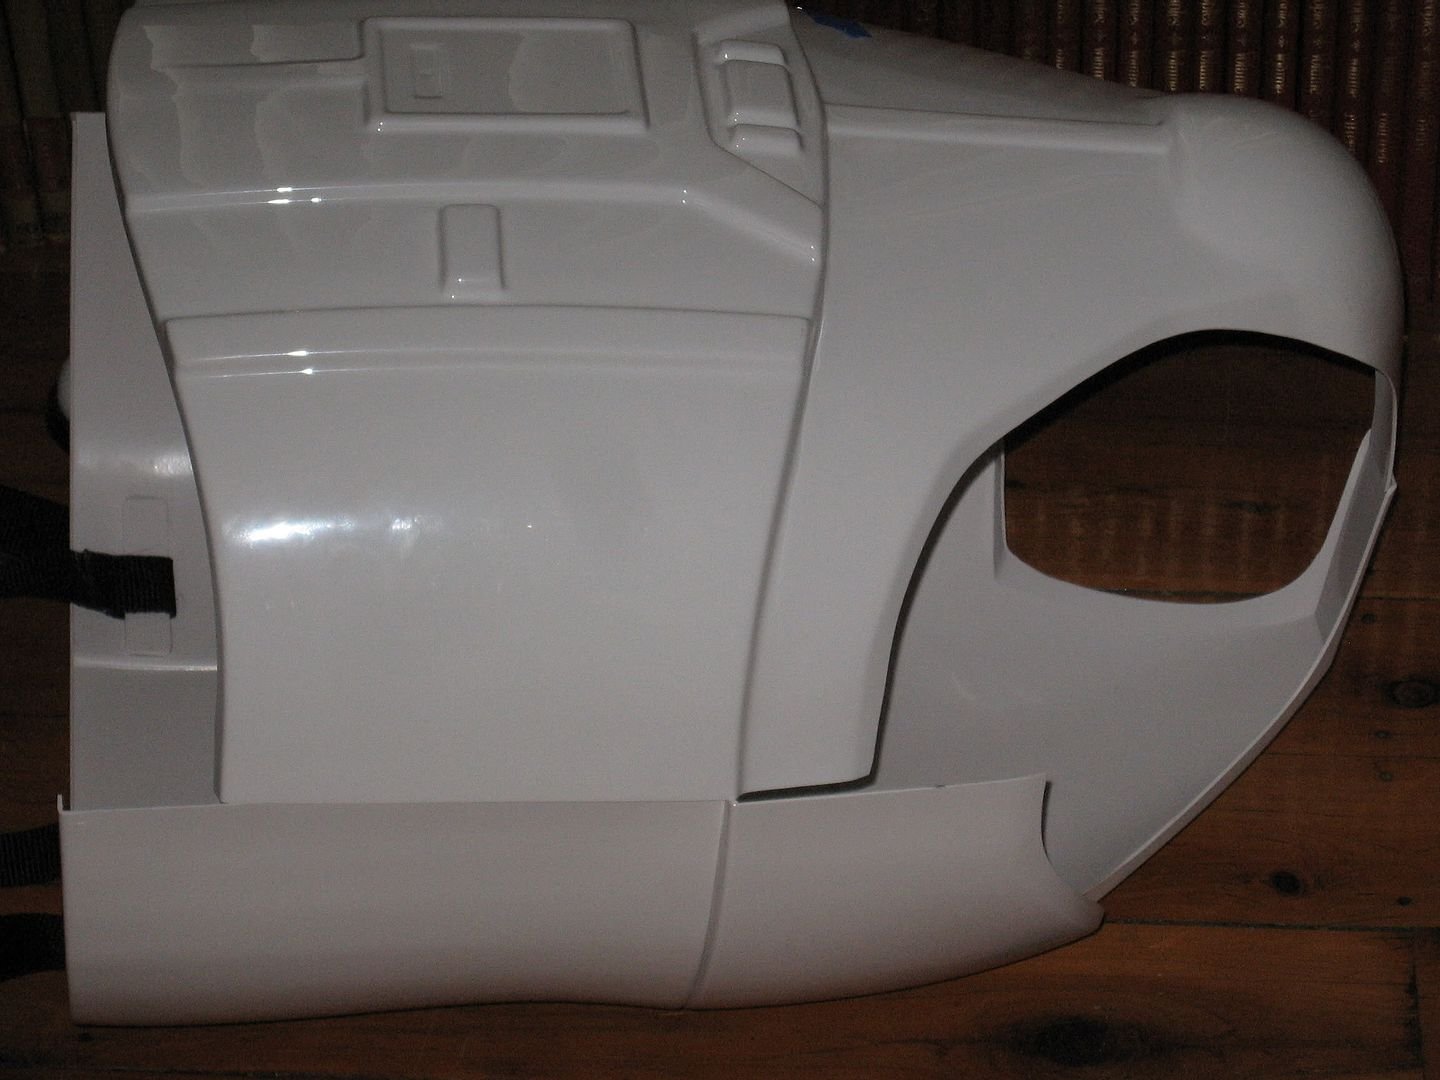
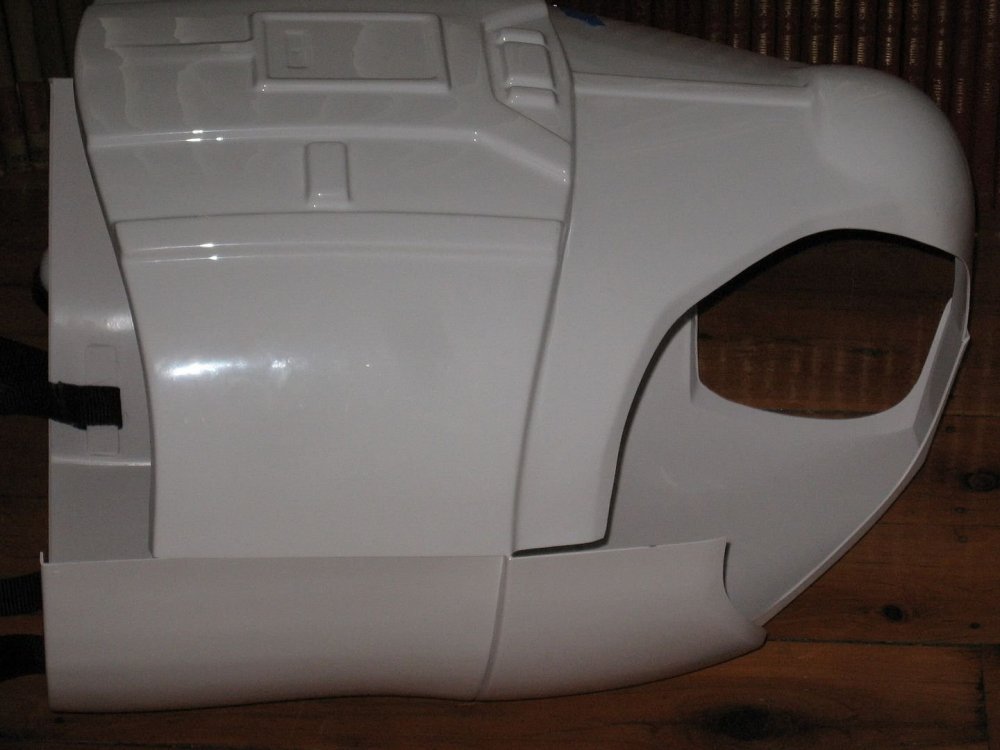
Just in case you havent done the left leg yet heres a pic of mine for the right thigh i ran the butt join all the way down because the battery pack covers the bottom ridge, but on the right i used a butt join down to the ridge then an overlap for the ridge itself, it runs from the left shell over to the right and is as wide as the overlay strip (in my case 20mm)
-
Thanks Brian, Thats great I figure its always better to ask twice - cut once
-
Thanks Brian I appreciate the new input and pics, i hope my armour looks as good as yours when its done I re fitted the parts again, and took another photo. the most obvious thing is the mismatch of the crotch section Is that normal ?

-
This better
-
Thanks Brian, The question of cutting the butt plate where ive marked it came up after seeing the photos in the link you sent me yesterday. Im looking to get this set as screen accurate as possible. Ill reposition the two halves as per your advice and post another pic soon Cheers Mike