


TK 5156
-
Posts
113 -
Joined
-
Last visited
About TK 5156

-

TFA Trooper Battle/Riot Shield Interest?
TK 5156 replied to TK-Sonic's topic in Weapons of the First Order
I'm in! -
Hand Made First Order TK
TK 5156 replied to mitcheg1's topic in Build Threads Requireing Maintenance
I've recieved one of these buckets today and I cant say enough good things about it. Thanks Greg! -
TK 5156's TFA Build Thread
TK 5156 replied to TK 5156's topic in Build Threads Requireing Maintenance
I Haven't posted much. I'm not much of a tutorial guy I guess. I just finished my build. It took about 70 hours total and I am still making tweeks. Here is something that might help others that feel the padding in the bucket is just too tight. Open this seam in the back. The piece of velcro on the opposite side supports the seam on the other side so if you cant sew you can just leave it open when done. I started by taking our small sections at a time. There is a lot of foam stuffed in there. Even with that much foam removed you can hardly tell any is missing. But it fits much better. -
Barcoder's First Order TK build thread (TK-12175)
TK 5156 replied to Barcoder's topic in Build Threads Requireing Maintenance
This build thread rules! -
TK 5156's TFA Build Thread
TK 5156 replied to TK 5156's topic in Build Threads Requireing Maintenance
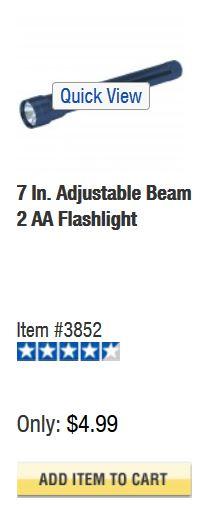
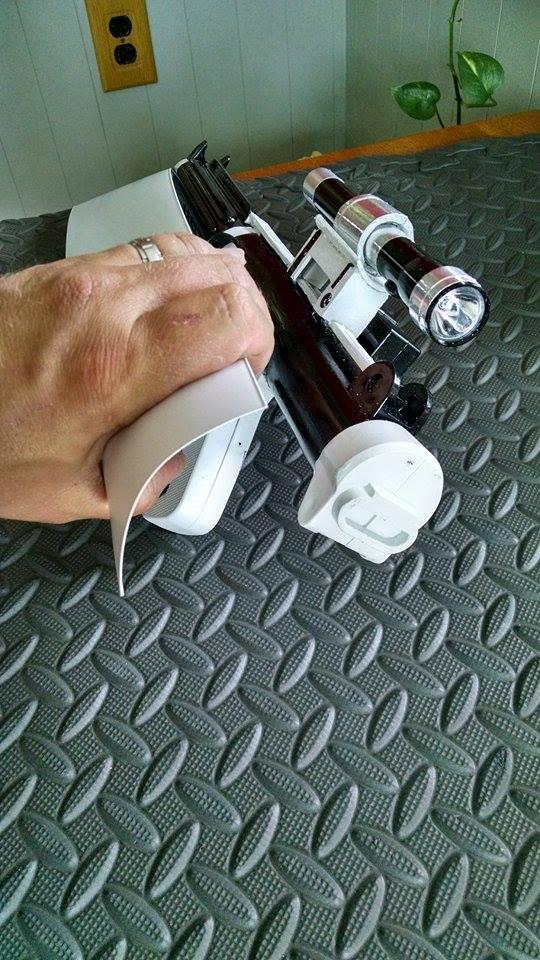
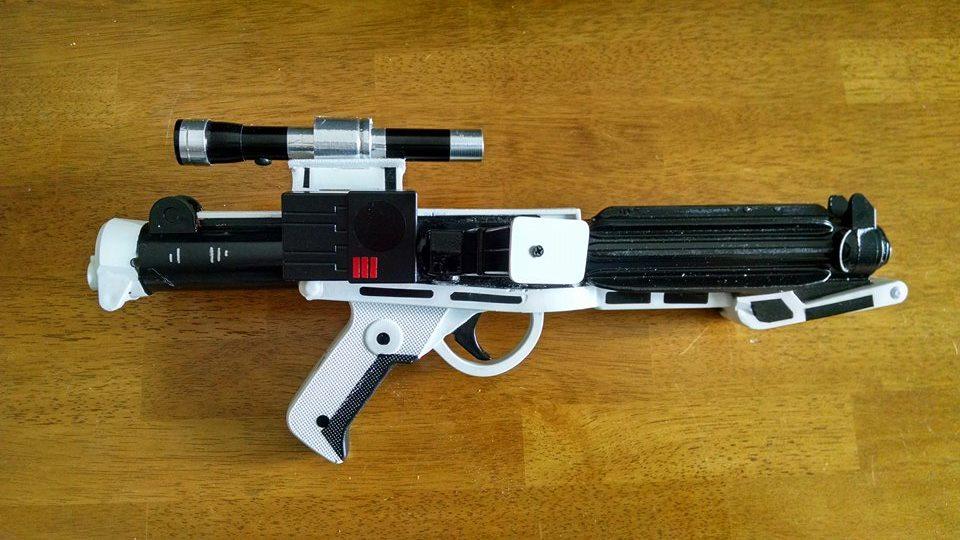
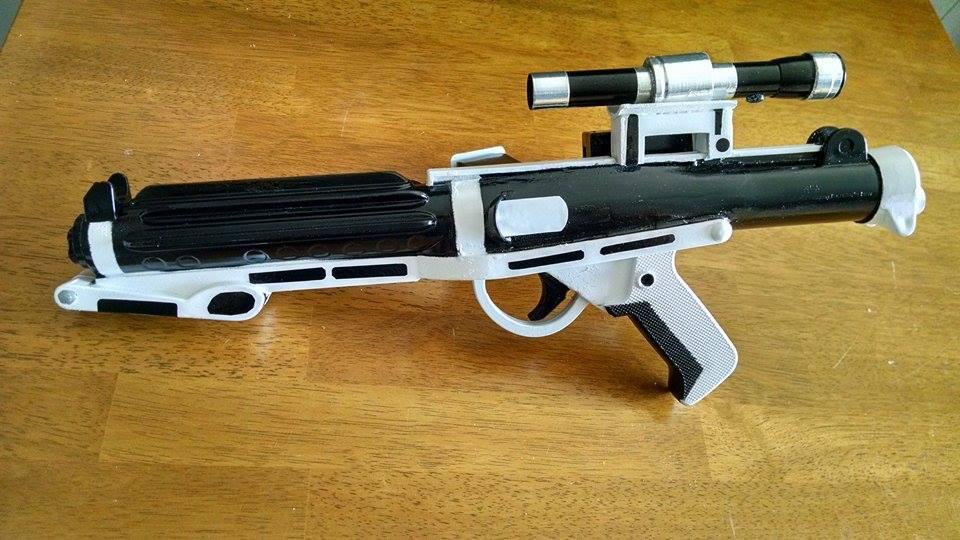
Took a break from armor building and spend a couple days on a blaster. Started with the Rubies Rebels blaster for 12.99 Then a flashlight from Harbor freight. To cover the gaps left from moving the parts from the left side of the blaster to the right. I used this vertical vinyl blind material. Surrounded the seam with CA glue and sanded smooth. (well kinda smooth) I used chrome tape for the silver on the scope. Some vinyl stickers cut from the wife's cricut machine in various places. I'm not the best painter so I used as many vinyl stickers cut as a could. I built the scope rail wtih ABS. The only think I wish I did and still might is build the greeblie that goes on the back of the gun. Currently there is a molded in D ring there. It wouldn't take much to sand it off and build a greeblie. It's not 100% accurate, I was jut going for close as I could with this blaster. It will get the job done till I get an accurate blaster. Ordered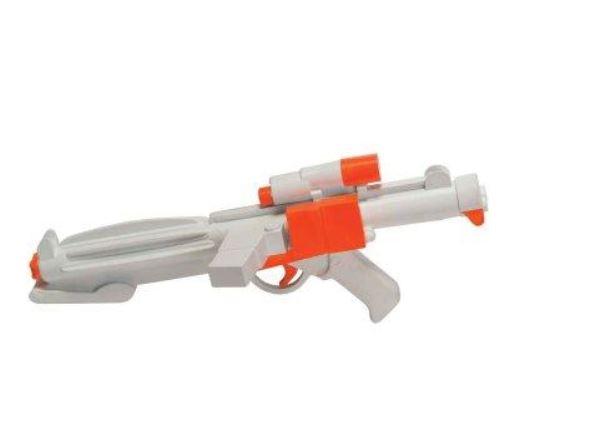
-
TK 5156's TFA Build Thread
TK 5156 replied to TK 5156's topic in Build Threads Requireing Maintenance
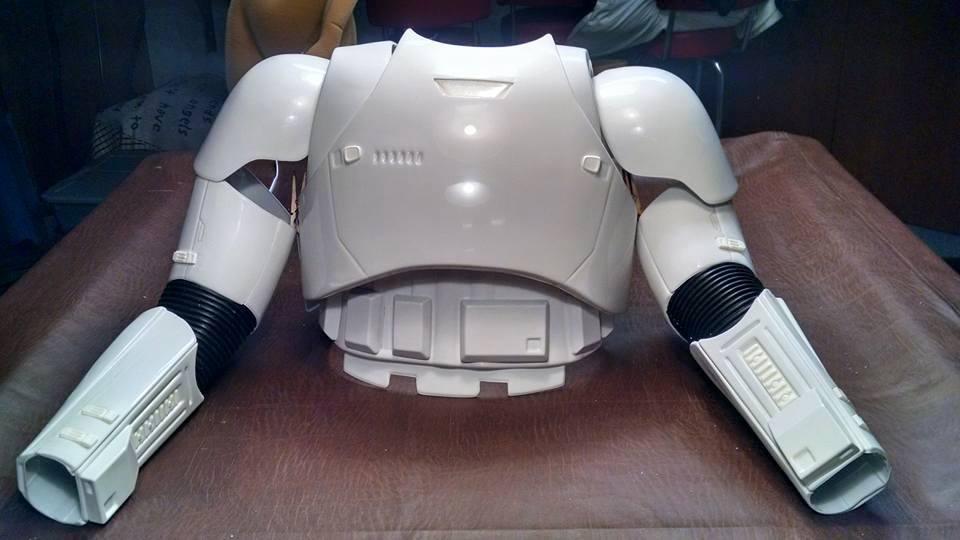
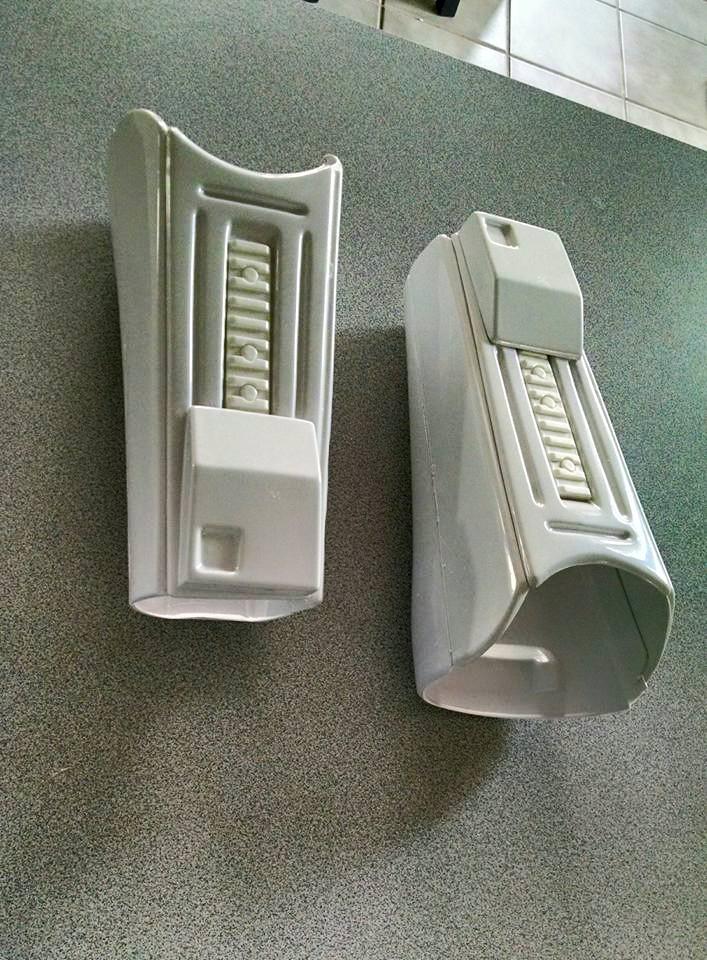
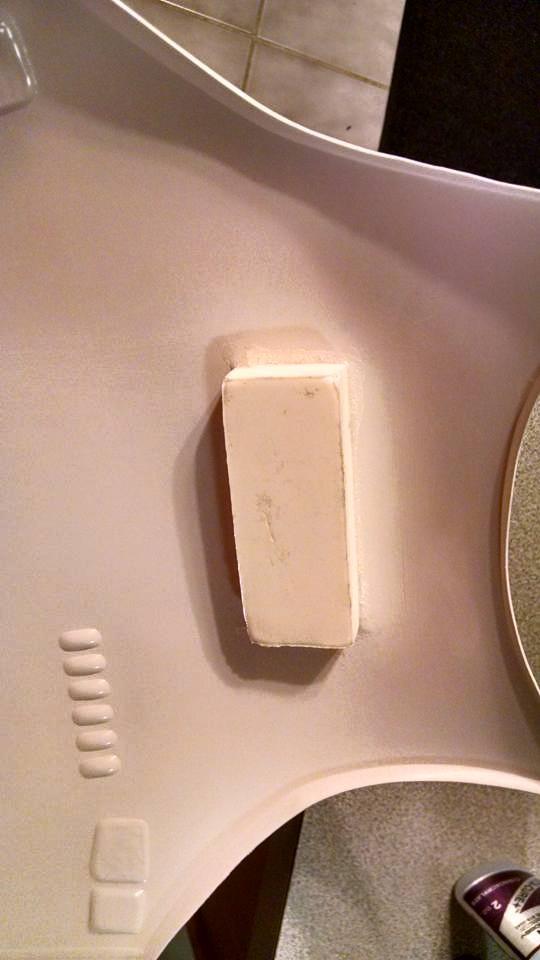
I am slow and updating progress. I am ready to start strapping it up. I dont have a lot of advice other than what was given in other builds. But for the chest greeblie. I used E600 to hold it in place because I didn't want to commit with CA glue until it was perfect. Then I "Welded" it in place all around the edges with CA glue so it would never move.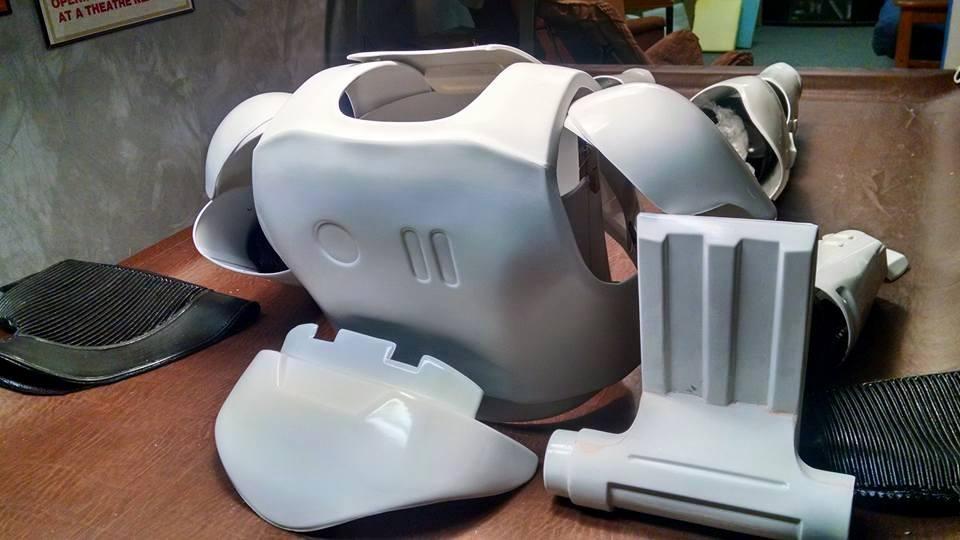
-
TK 5156's TFA Build Thread
TK 5156 replied to TK 5156's topic in Build Threads Requireing Maintenance
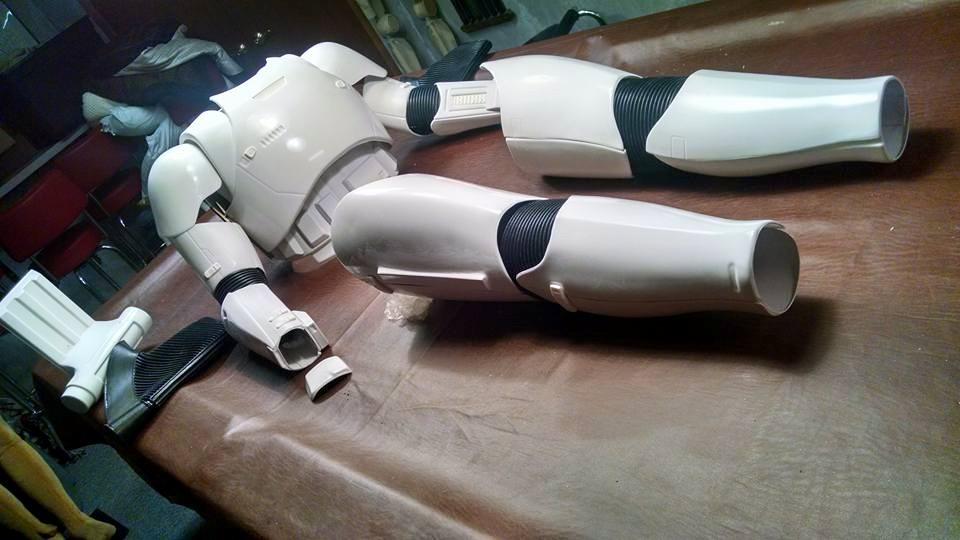
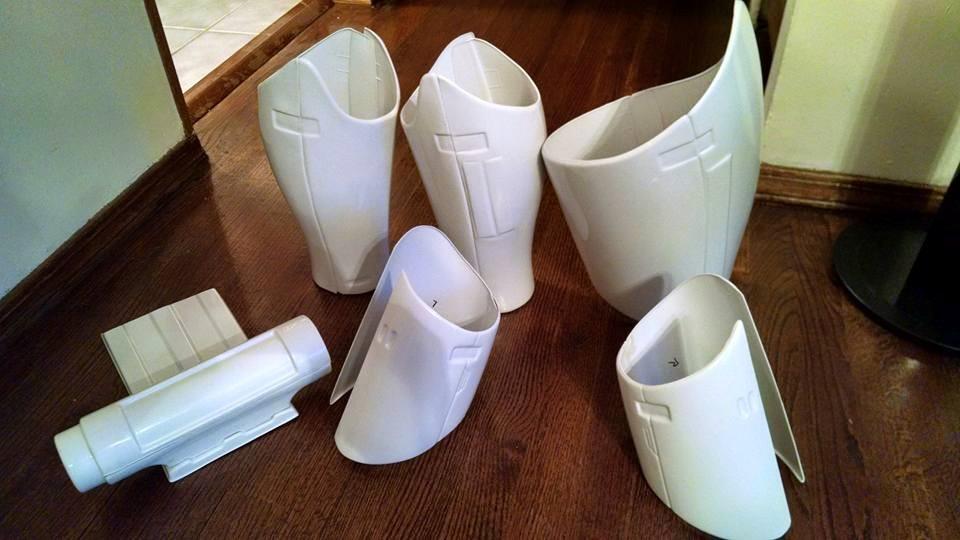
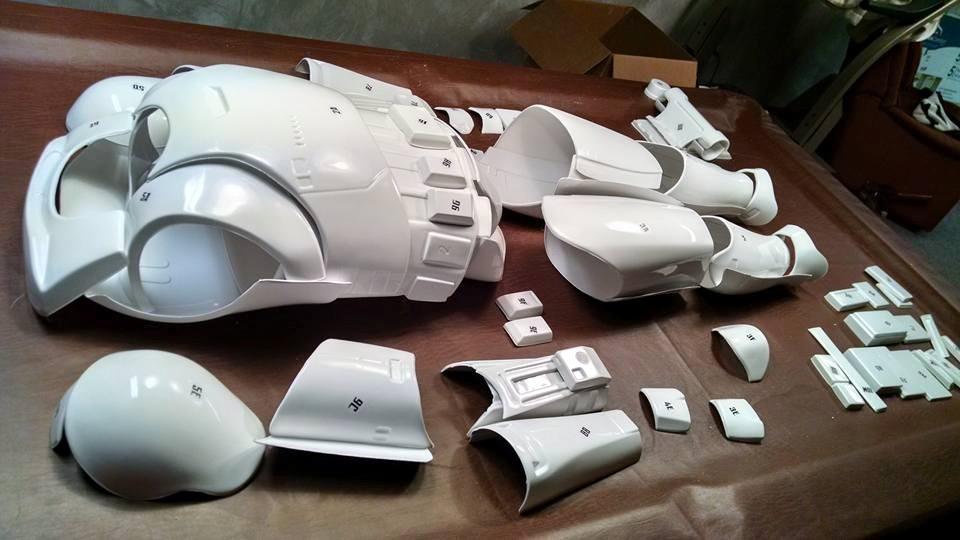
So far I have about 20 hours in this project. Friday will be 2 weeks that I've had this kit. To those of you that got it done in time for celebration, I cant even imagine. I set my own hours so I have put a lot of time into this. If you are one of the few that work 40+ hours a week and got this done in time, My bucket is off to you. I still have more gluing, bondo work, sanding, paint, fitting etc....and I haven't even thought about working on the gaskets yet........My goal is to have this done for Maker Faire Detroit on July 25th. That is, if I have a bucket by then. Anyways, this is what I have done: Armor trimmed and sanded (more to do as I go along of course) Thighs glued together Calves glued together Biceps glued together (half finished in photo) Forearms One half glued together Detonator glued together. Shim and yoke glued together waiting for glue dry. No greeblies attached to anything above yet.
-
TK 5156's TFA Build Thread
TK 5156 replied to TK 5156's topic in Build Threads Requireing Maintenance
I'm keeping track of my hours. So far I got this far. 14 hours in. Still need to do a little sanding on some of the edges. No matter how many times I think I have it sanded good enough. I see some spots that need to be taken down a little.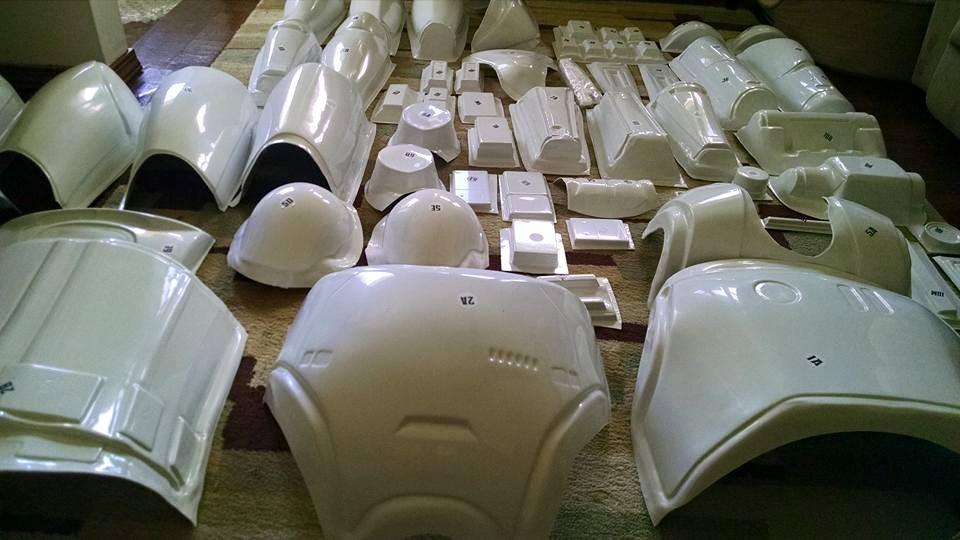
-
TK 5156's TFA Build Thread
TK 5156 replied to TK 5156's topic in Build Threads Requireing Maintenance
Yes that came with the rest of my resin parts. -
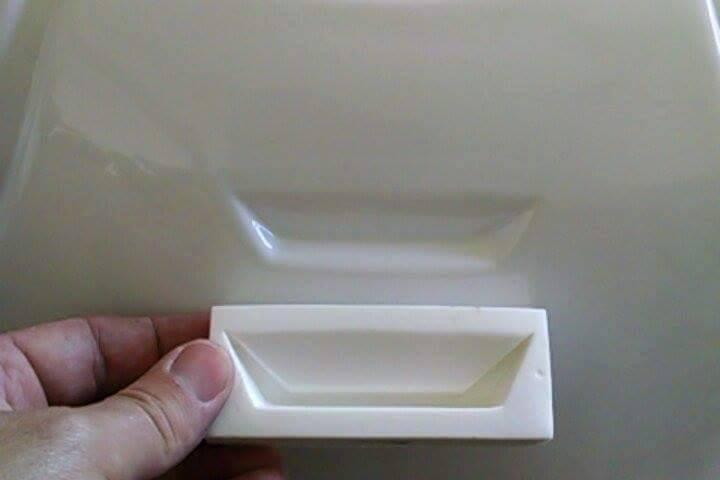
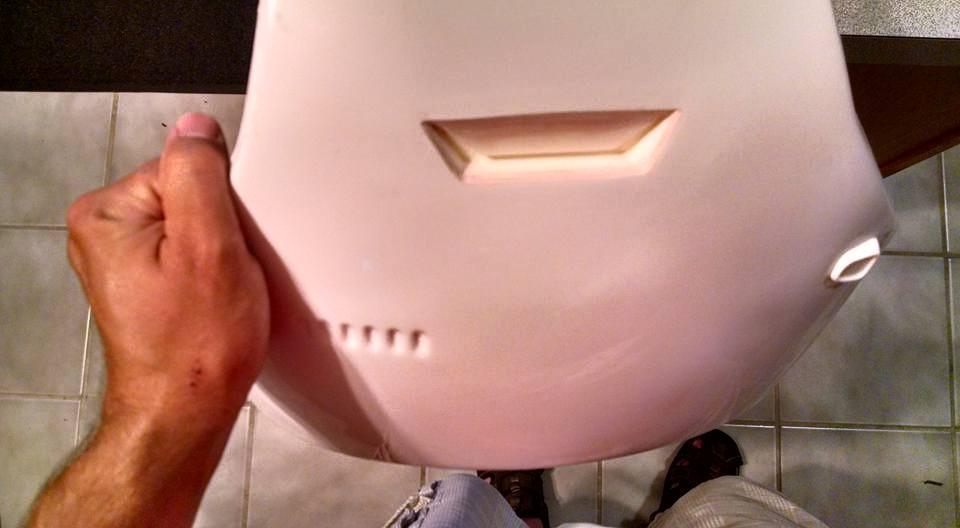
It's been years since I finished my ANH AP armor. I just started trimming my TFA kit today. I am slow at updates but I wanted to share this photo. This appears to be a new upgrade that i received on the chest detail.
-
Awesome!
-
I dont think we should assume Mr. no stripes was a mistake. Especially as many times as he's been on screen. And now he even made the poster.
-
I can barely get my AP helmet on/off. I dont want to trim the opening of it so most of those options won't work for me. I just use foam but am looking for a better idea also.
-
How did you fix your knee plate on your AP kit
TK 5156 replied to Bigturc's topic in Hard Armor (General Discussion)
He is right, my bad on that one.I have been looking at too many tutorials lately. -
How did you fix your knee plate on your AP kit
TK 5156 replied to Bigturc's topic in Hard Armor (General Discussion)
Once you have it glued on and you are satisfied with the location, then you can drill the holes. Plus you won't have to worry about your glue coming off at a later day.


