


PatrickM
-
Posts
77 -
Joined
-
Last visited
Content Type
Profiles
Forums
Gallery
Articles
Media Demo
Posts posted by PatrickM
-
-
Very interesting thread, great looking results already Brian! Looking forward to very accurate folding stocks without all the hollowing out and reconstructing/shaping effort!

Judging by the quality of your scope casts these sterling parts are going to be nothing short of awesome!!!

-
 2
2
-
-
On 12/30/2019 at 1:24 PM, NoVATie said:
Updated
Thank you!

-
1
-
-
TK29312 requesting 501st access:
https://www.501st.com/members/displaymemberdetails.php?userID=31324
Thanks in advance!

-
-
1
-
-
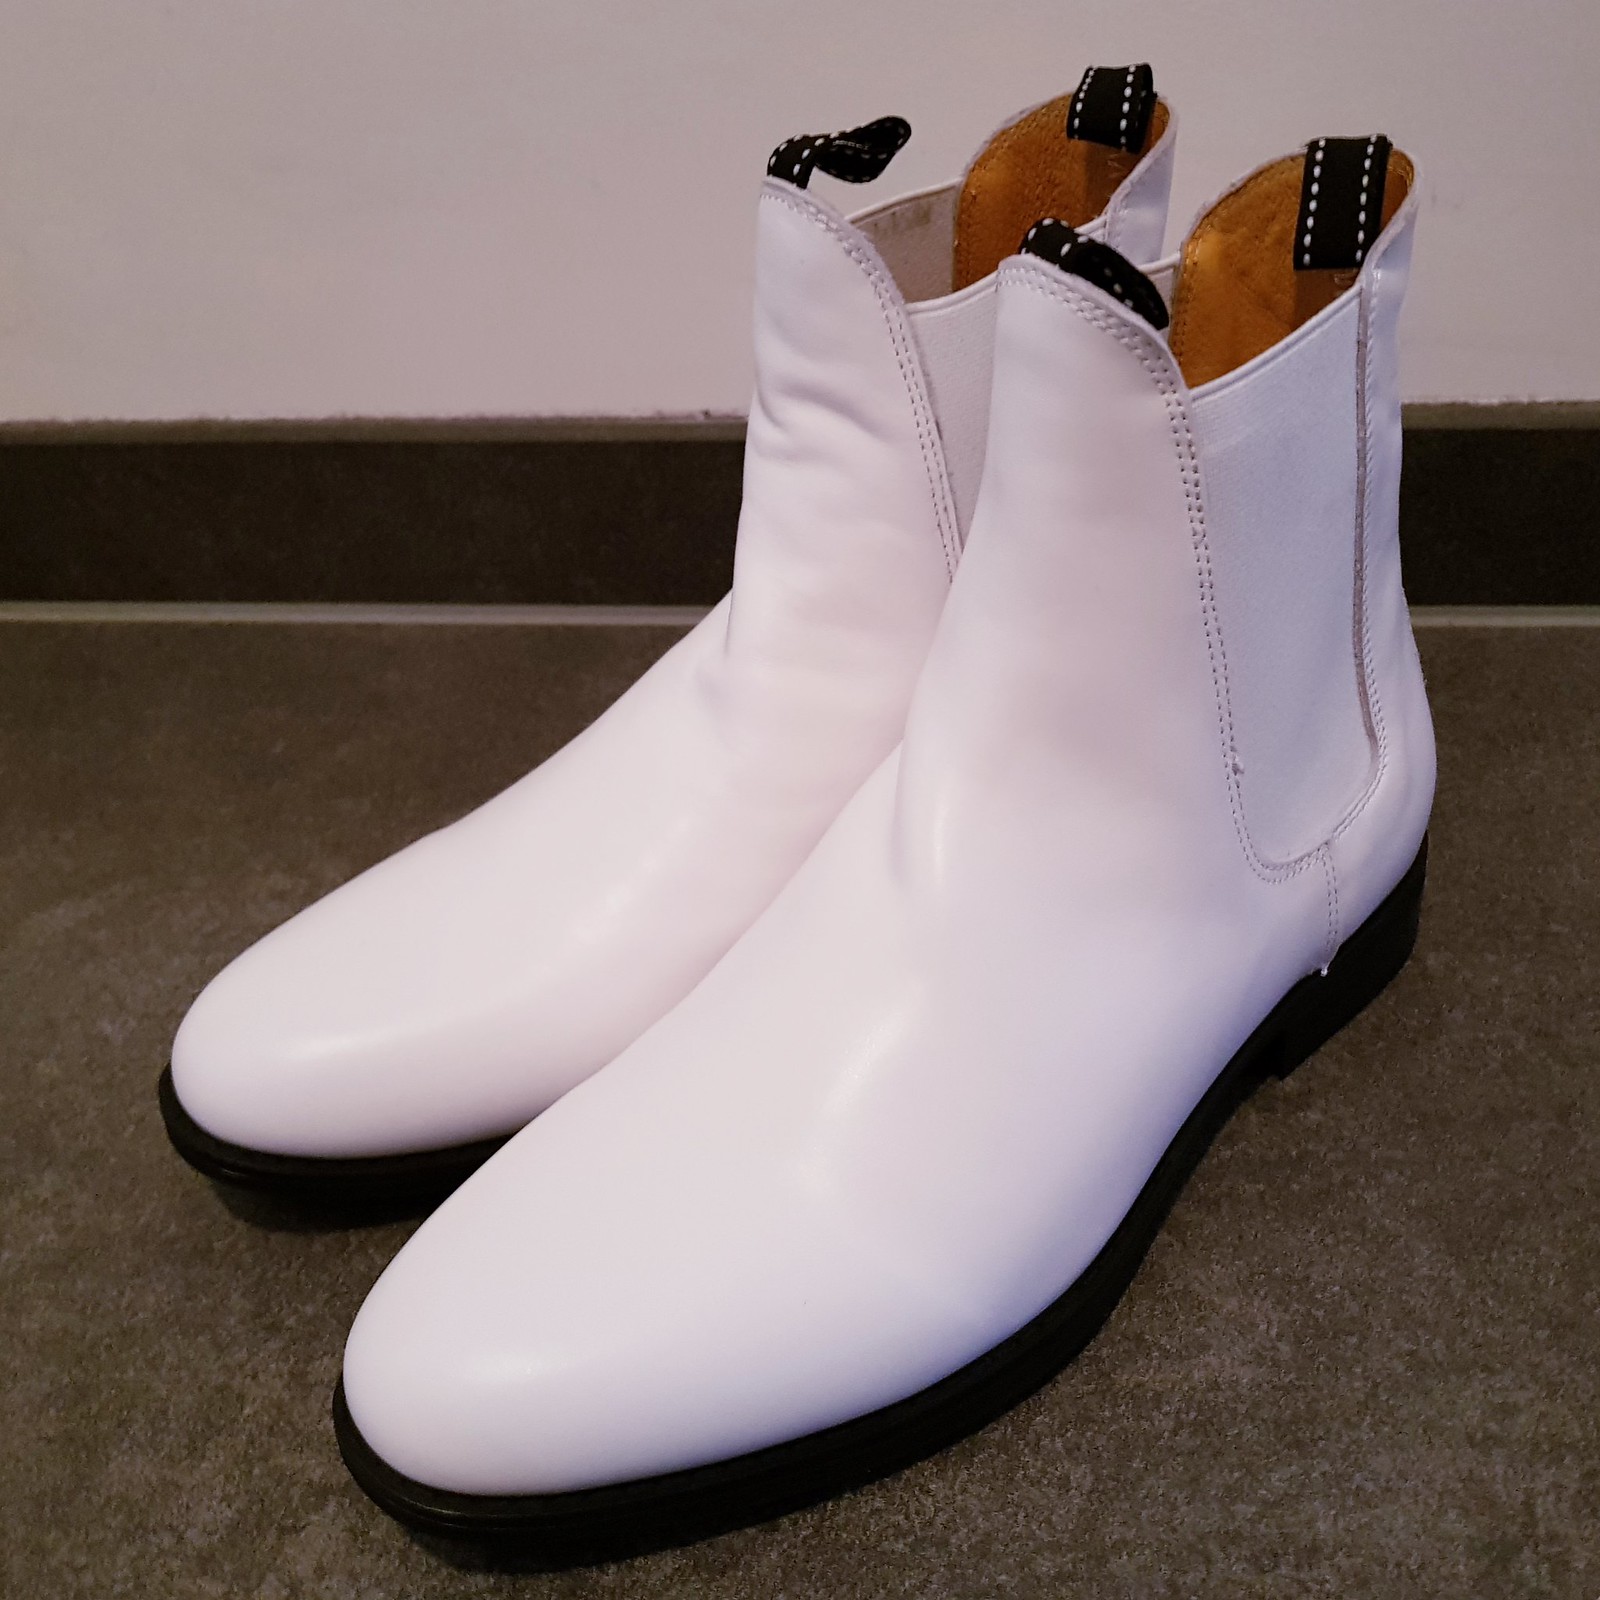
Bought some new shoes...
Obviously these were made for trooping!
Yes I have decided to accessorize my E11 with some nice white armor from TrooperMaster...

-
1
-
-
10 hours ago, Aaradorn said:
Goede morgen Patrick :D, I can't wait to get started, I already bought a Dremel, and some froggy tape for when I will eventually paint the armour. I have not decided on a paint scheme, or unit yet but I will paint it.
A Dremel is definitely going to be very useful!

-
Welkom Jelle!
You came to the right place for Star Wars fans who like to dress up in white armour.
-
Great progress Marko, those real metal parts look awesome! Almost ready to paint now?
-
On 3/18/2019 at 9:38 AM, T-Jay said:
Great job so far. Can't wait to see a video of this blaster when everything is completed...
I know, progress is slowing down.
 Lots of other things to do in my spare time, but don’t worry I’ll get there! Hopefully temperatures will rise so that I can start painting the Hengstler counter black and hotglue the display, speaker and switch in there.
11 hours ago, Dracotrooper said:
Lots of other things to do in my spare time, but don’t worry I’ll get there! Hopefully temperatures will rise so that I can start painting the Hengstler counter black and hotglue the display, speaker and switch in there.
11 hours ago, Dracotrooper said:Thanks for sharing that video about the selector switch, really cool. Really nice to see how your frosted acrylic tubing working good like that, excellent concept and execution! Looking forward to your next update!
Sent from my SM-G390W using Tapatalk
The frosting hides the LEDs from direct sight and spreads their light. The main power LED will be mounted at the front of the barrel, so its light output is not affected by the frosting. Glad you like the result!

Cheers mates!

-
1
-
-
9 minutes ago, CableGuy said:
Very nice. Looks like the switch has a very satisfying ‘click’ to it. Good stufff. :-)Hi Dan, yes the switch has a very nice ‘click’. And the angles of the 3 positions match the ‘A R S’ printing on the grip very well. I’m very happy that Paul included this switch in my BlastFX kit!
-
1
-
-
Since the video section of Flickr is still not accepting new video's, here's a YouTube link instead:
Fortunately everything survived the build-in process!
Cheers
-
3
-
-
Great result as always!
What kind of automotive filler putty did you use? I also noticed that green stuff is not ideal for smoothening out air bubbles and stuff.
-
1
-
-
Sorry for the non-functional video guys. It appears that Flickr is currently performing planned maintenance on their video section, causing all new video's to be queued up until after the maintenance: Flickr temporary video down time
-
3 hours ago, Bulldog44 said:
Selector switch looks great! Nice work on that and the light tubes. Looking forward to see how the sanded tube helps with the LED lights. Does it all fir nicely in the receiver tube? Keeps those updates coming!
If only Flickr would finally process that video...
 It fits in the receiver tube, but I will have to cut a piece out of the acrylic tube where the scope rail enters the receiver tube.
2 hours ago, Dracotrooper said:
It fits in the receiver tube, but I will have to cut a piece out of the acrylic tube where the scope rail enters the receiver tube.
2 hours ago, Dracotrooper said:IMO, frosting the acrylic tubing dissipates the light where as keeping it clear and adding krinkled celephane carrie's the light down the tube ... but with LED strips on this BlastFX v2, light is evenly distributed down the tube - so if a milky light effect is your cup of tea, no doubt the effect will be sweet.
I frosted the tube because I didn't like how you could see the individual LEDs from outside the barrel.
Thanks for the feedback guys!
-
2
-
-
Finally another update.
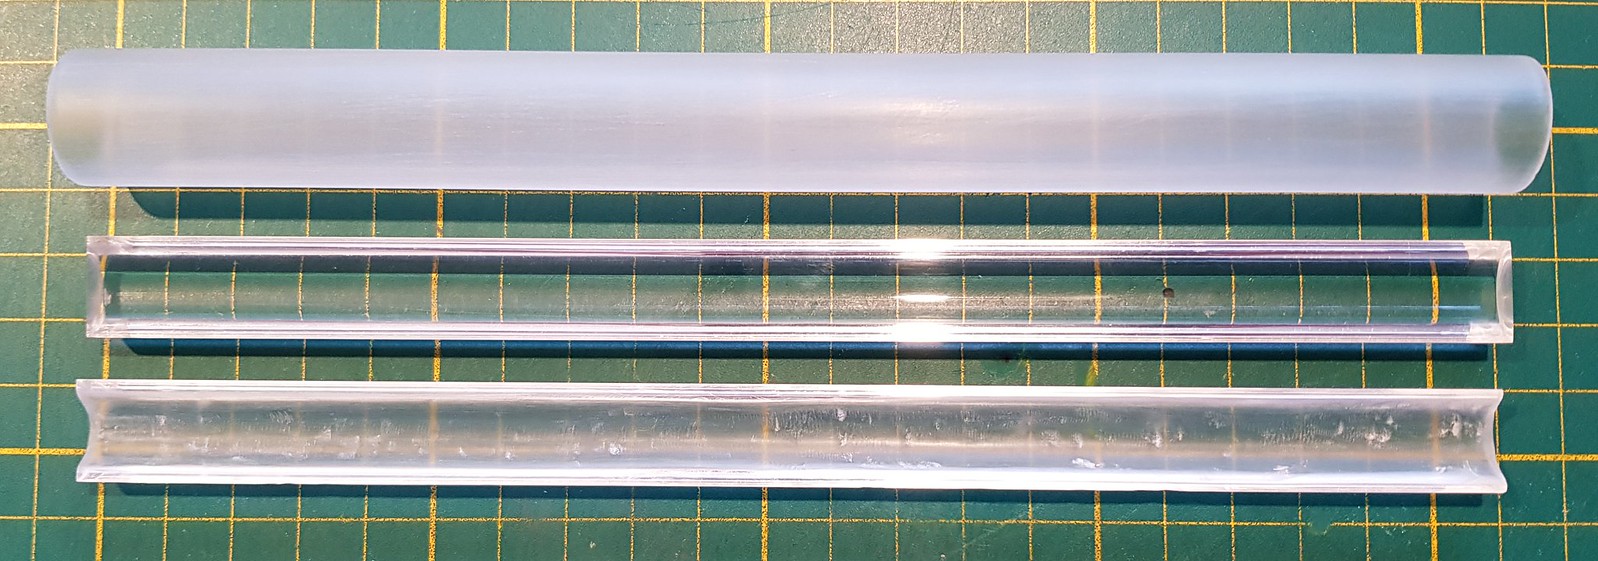
LED strip housing
The BlastFX LED strip will be placed inside an acrylic tube that I sanded down a bit to make it “milky white”. I will place the LED strip between two half-round rods, one of which I hollowed out with the Dremel:
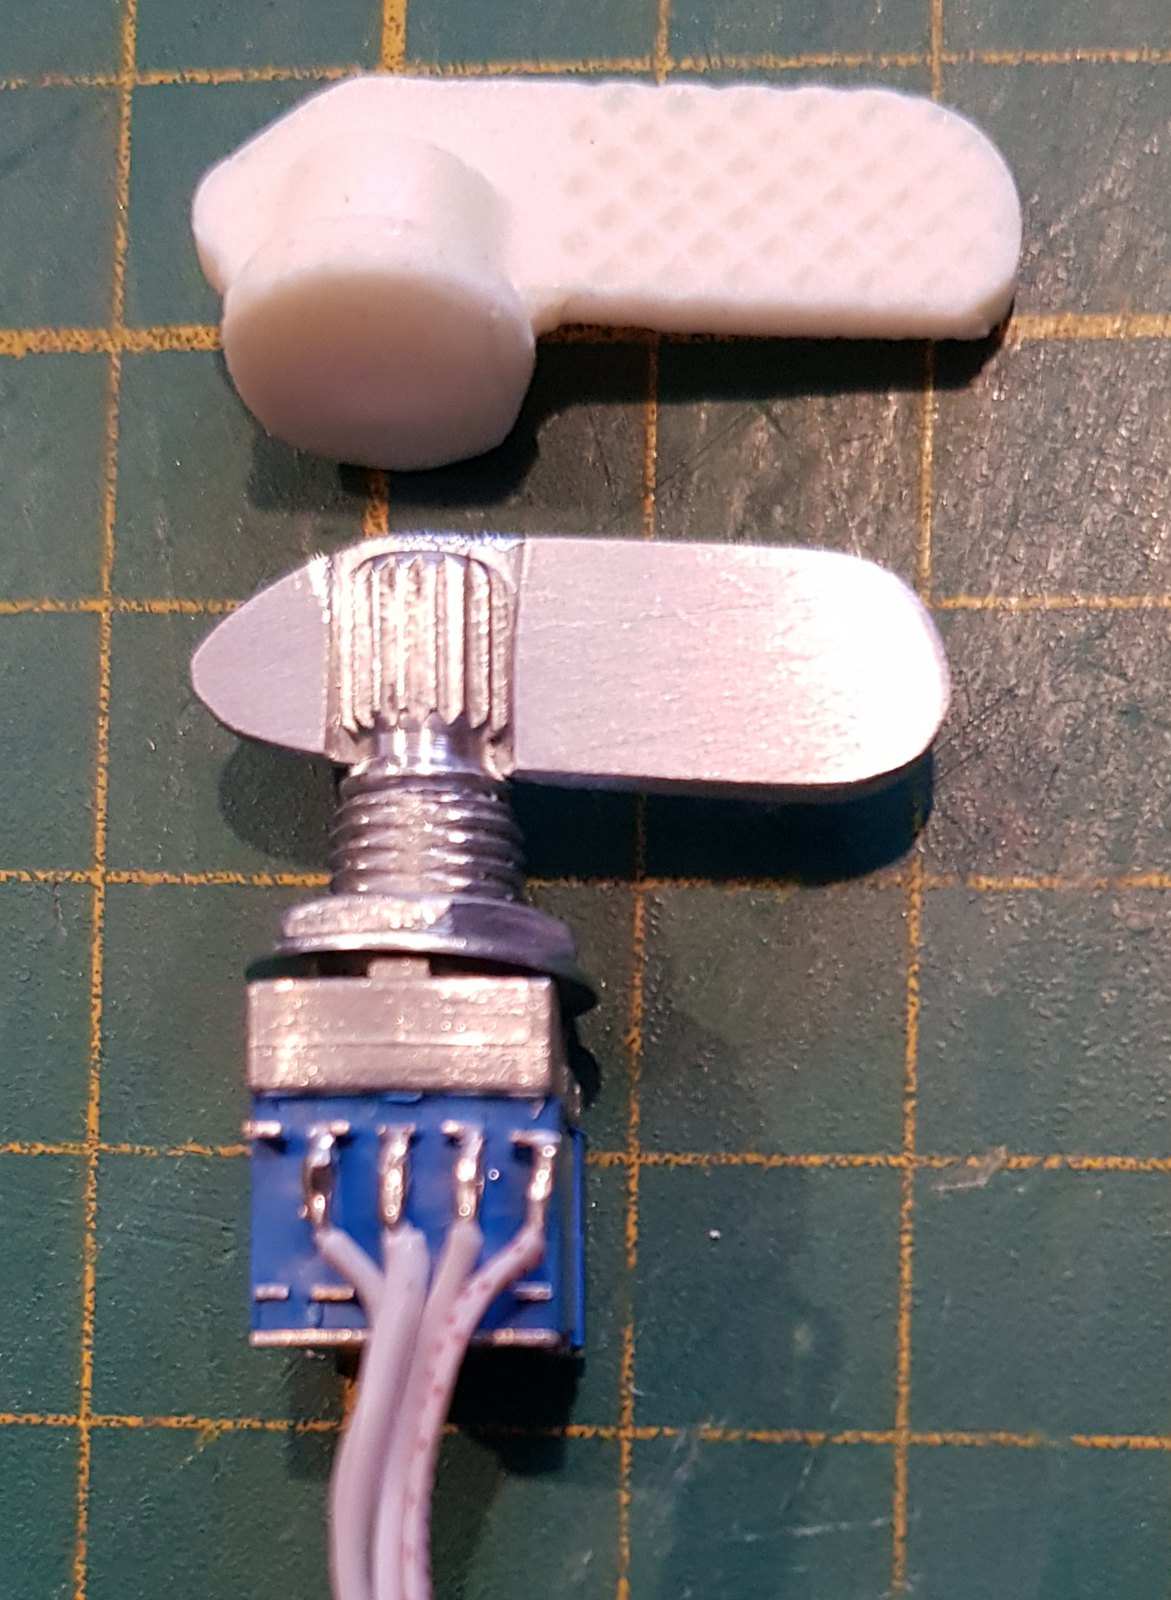
The selection switch
Today I worked on the rotary selection switch, which will be fully functional in my blaster. I started by recreating the shape of the lever from an aluminum strip, and filed a notch on both sides such that it could slide into the actual switch (knurling pattern will be added in a later stage, using a thin layer of green stuff):
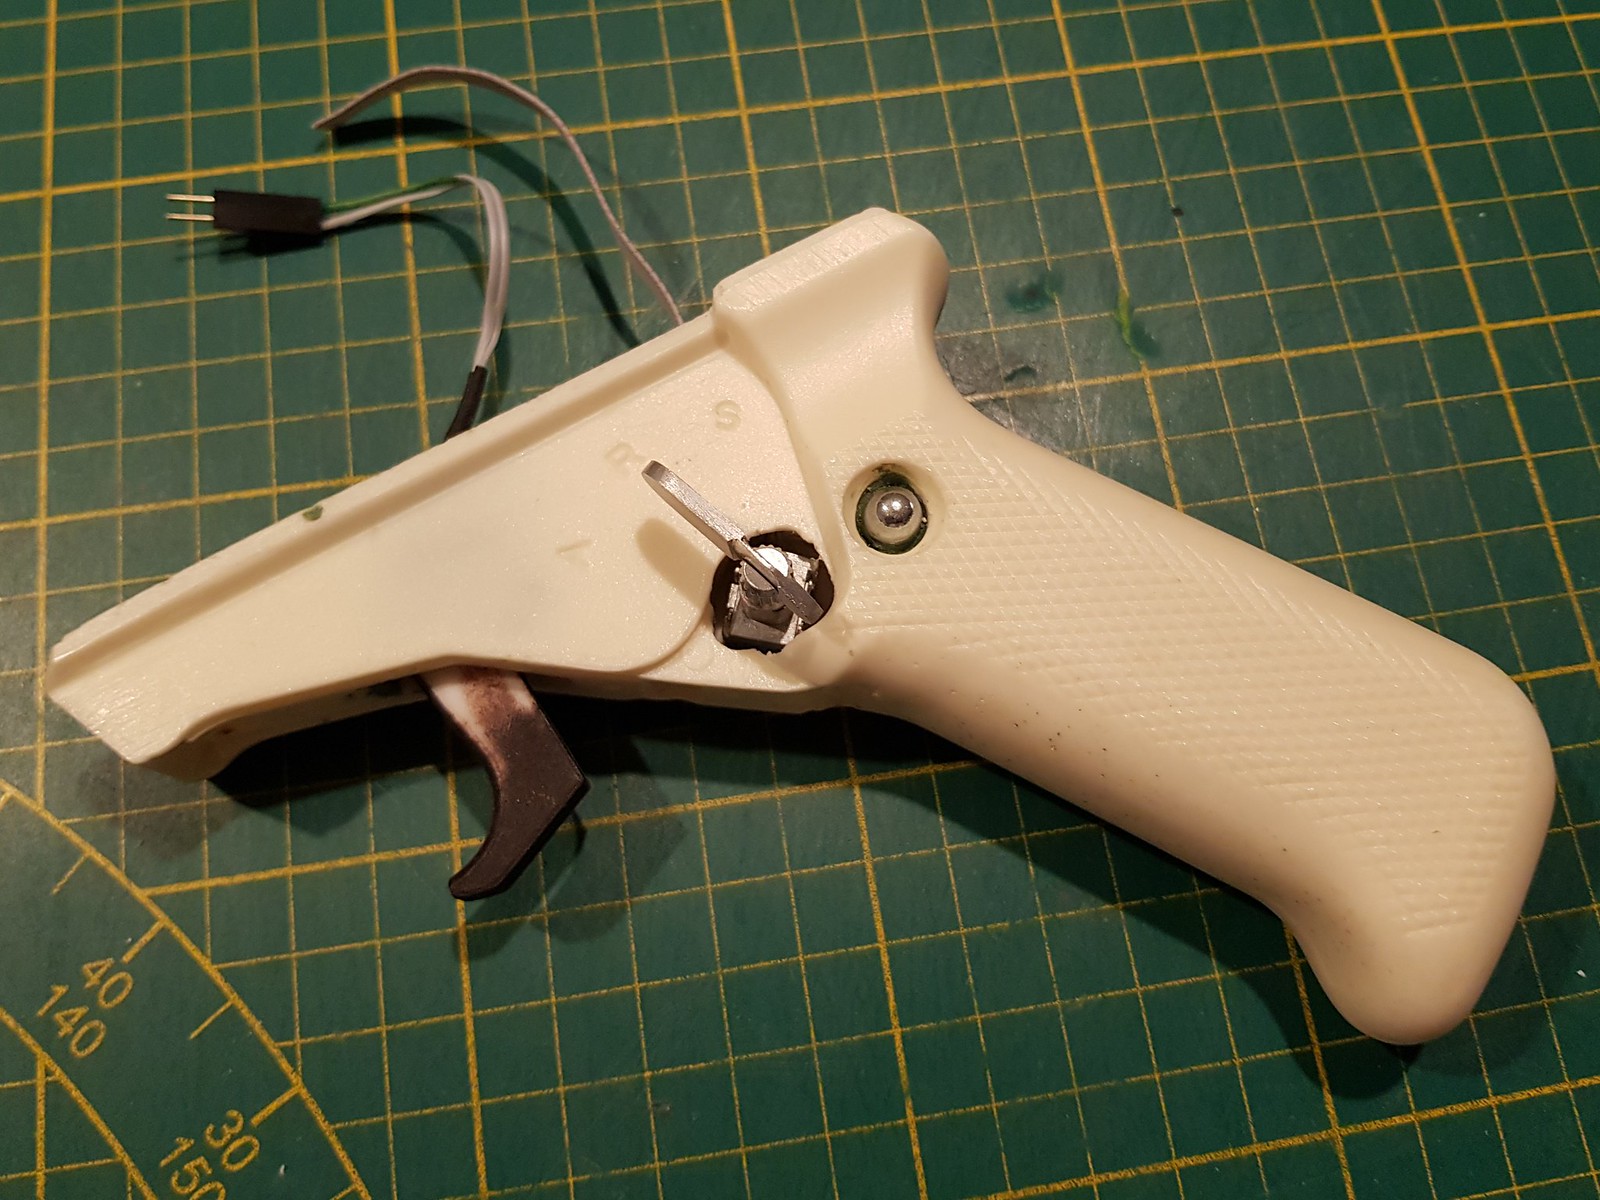
Then came the nerve wrecking Dremeling of a hole big enough to fit the rotary selection switch without damaging the grip. I drilled a hole from the top of the grip to the hole for the switch to guide the cables:
I used green stuff to fill up the hole and keep the switch in position:
Trigger switch
As you probably already noticed in the previous pictures, I had also mounted the trigger switch in the same way (Dremeling a hole, insert the switch, fill up with green stuff). Here’s a short video of testing the trigger switch:
That’s it for now, cheers mates!
-
3
-
-
Great result Jesse! Your power cylinders look awesome.
-
1
-
-
36 minutes ago, Bulldog44 said:
The printed sight block looks nice and sharp. Well done on the installation. I remember first cutting into the main tube to create the dovetail space, wondering if I had gone too far in trying to capture the look of the real sterling. It’s great to see this is now pretty much standard procedure for the doopy builds. It certainly adds that extra element is realism.
Keep up the great work!
Thanks to the pioneering work of you and the other contributors of the E11 reference guide these awesome mods are now available to all of us, greatly improving the realism of our blasters. Can’t thank you guys enough for that!

BTW: I bought some cheap bulldog clips, but unfortunately the metal is even harder to get through than the pen clip. Beginning to doubt the quality of my metal drill...
 26 minutes ago, Sly11 said:
Wow, such a good build thread, I look very much forward to seeing the finished product.
Great work trooper
Thanks Andrew! I’m also looking forward to seeing the finished product.
") It will probably take some time before the weather over here is suitable for starting the painting in my unheated garage, so in the meantime I can make up my mind about where to place the electronics and continue to add details.
It will probably take some time before the weather over here is suitable for starting the painting in my unheated garage, so in the meantime I can make up my mind about where to place the electronics and continue to add details. ")
-
2
-
-
This evening I added another important detail: the dovetail front sight block, using the 3D printed part by Suitcase props.
Before:
After:
Cheers!
-
Good progress on the power cylinders!
That metal folding stock looks great but I already spent so much time on the resin one that I think I’ll stick with that.
I hope that one of Tino’s suggestions will solve your front sight guard problem.
-
43 minutes ago, Bulldog44 said:
I checked my build thread and I used a bulldog clip for the spring plate. The metal was strong enough to keep its spring tension and easy enough to cut & drill through. I believe I used the large type of clips as the metal is a bit thinner and easier to work with.
Thanks Brian!
I had no idea that those things were called bulldog clips, needed a Google picture search for that.
I thought that these used springs. Will look if I can also find them with spring plates!
-
15 minutes ago, Mupfel said:
Looks great!
Did you find a solution for your space problem ?
Gesendet von iPhone mit TapatalkThanks!
So far putting the electronics in the pipe still seems to be the best solution in terms of accessibility. That would mean sacrificing the recoil spring though (why would a laser blaster need that anyway?
). But I haven't really made up my mind yet so I decided to simply work on something else today... -
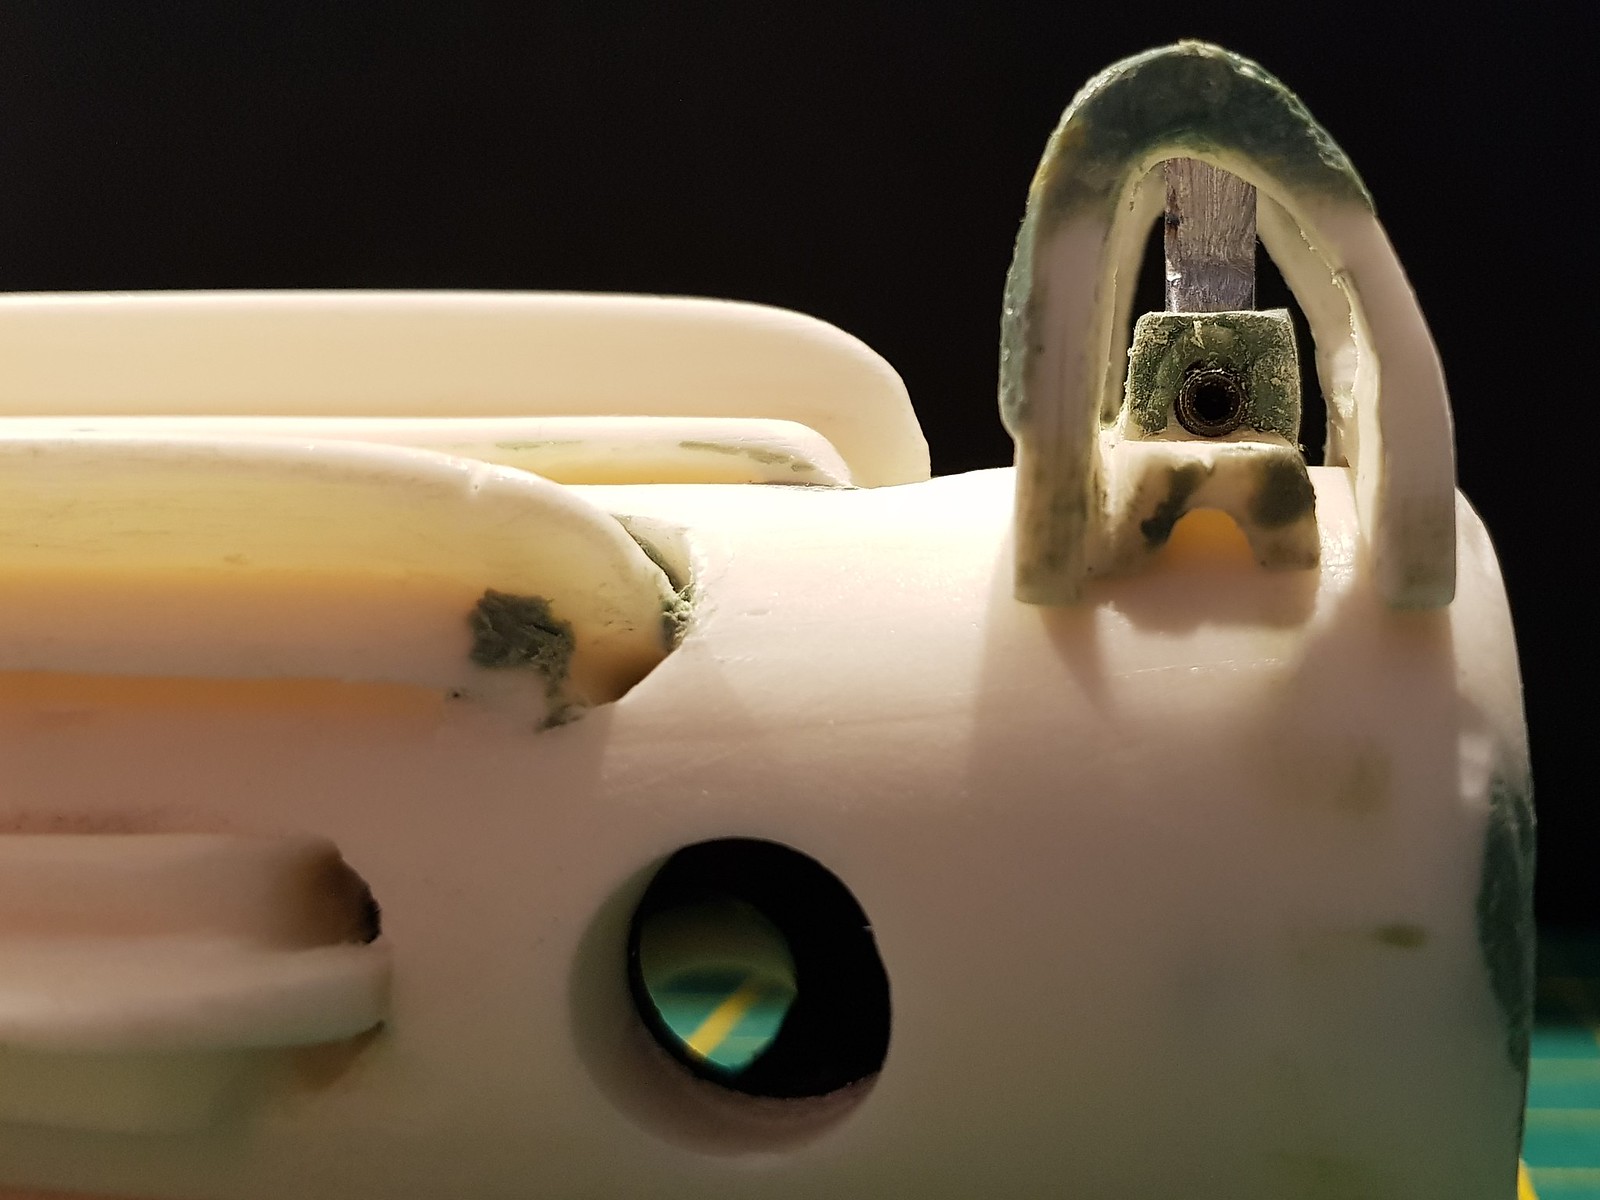
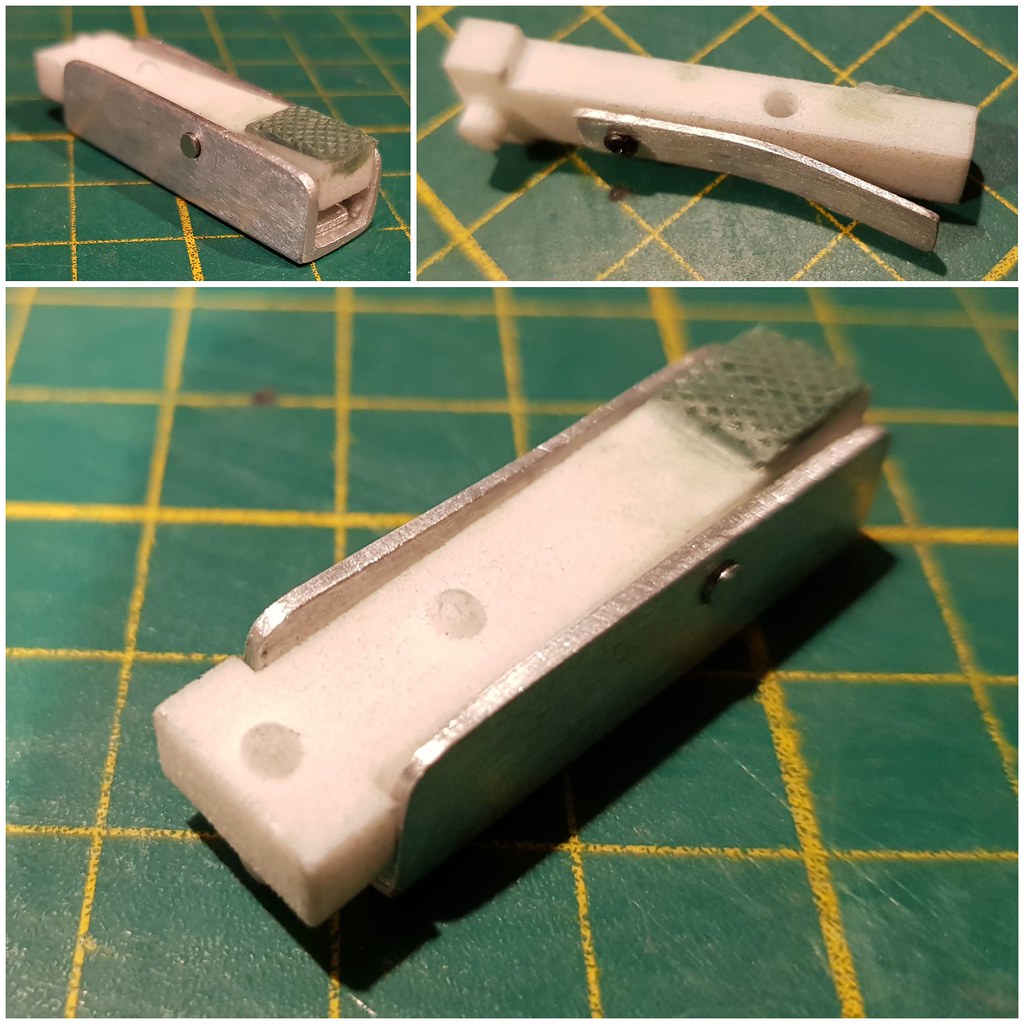
Today I worked on some small details again.
New end cap clip
Made a new end cap clip with a smaller axle diameter to ensure sufficient strength around the drill hole. Since the 3D printed part did not come with the knurling pattern, I applied some green stuff and pressed the pattern into that. I initially tried to use a clip from a pen as spring mechanism, but my metal drills just wouldn’t go through. So I used some aluminum instead, but that bends back too easily. Any suggestions..?
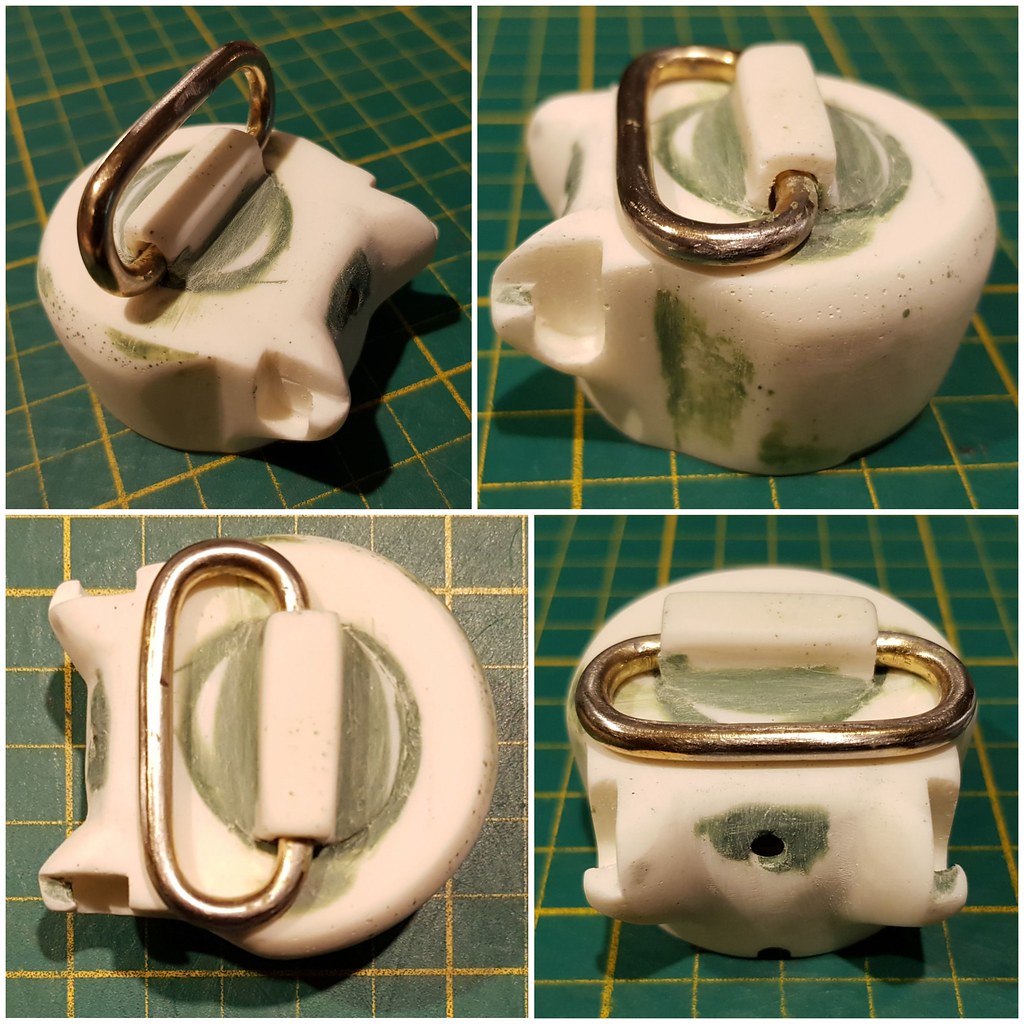
Thou shalt not look like a toilet

After reading Jesse’s build thread I had to agree that the DoopyDoo’s end cap looks a bit like a mini-toilet. Tried to replicate his reshaping of the bottom side of the cap:
Magazine clip release lever
At least I think that’s what this part that is completely missing from the DoopyDoo’s magazine is called. Feel free to correct me on that if needed!
I used some leftover aluminum parts to recreate this based on pictures I found on the web. Due to the small size of the magazine I could only fit this “cut-off” version:
Cheers!
-
2
-
-
43 minutes ago, Dracotrooper said:
Hi PatrickM, I will be purchasing a BlastFX module later this year. After short circuiting one last year, need time to gather the funds.
I'm trying to fit in time to finish off my power cylinders ... been hard pressed with work and personal life getting busy.
Thanks for the encouraging words! Having a great deal of learning with my builds, it's been quite the ride.
Sent from my SM-G390W using Tapatalk
Yes I can imagine, it’s not cheap. After reading your story I will make sure that all glue has dried before powering the electronics!
I’m also struggling somewhat to maintain the momentum from the Christmas holidays. Life does get in the way of living sometimes, but we’ll get there.
-
1
-
-
Hi Jesse, didn’t realize you were also still running a build thread. What a ride you’ve had so far! Did/will you install a new BlastFX module?
What an incredible mods you performed!!!
Some of those I wouldn’t even dare trying with my limited mechanical skills... But certainly a great source of inspiration! Looking forward to the next update. 


Patrick's E11 pipe build
in ANH BlasTech E11
Posted
Hi all!
Although I'm fully aware that I still need to finish my first build (based on a DoopyDoo's kit), I finally managed to obtain some really cool parts for another build:
First of all a picture of the aluminum parts (including a self-made trigger guard):
This is the unfolded folding stock:
Here are all resin parts, drying after the initial washing:
Note that some of these (folding stock, Hengstler counter, trigger guard, power cylinders, etc.) will be replaced by more accurate parts.
My first more elaborate job on this build was adding details to the 3D printed power cylinders. Here I am cutting the "resistors":
And here's the result after lots of fiddling (Obviously it still needs to be painted black)
That's it for now, cheers mates!