FencingCorvetteTrooper
-
Posts
173 -
Joined
-
Last visited
-
Days Won
1
Content Type
Profiles
Forums
Gallery
Articles
Everything posted by FencingCorvetteTrooper
-
Posted in a couple of different places and unfortunately, haven't gotten any replies. I was adding to my build thread last week with no issues, hosting my images on imgur. Sometime after Friday(?) I suddenly saw that my pictures in the thread that came from imgur were no longer visible! And when I try to link any new picture in a thread, I get "The link could not be embedded because there is no image at that URL." Below is a sample URL to one of my images. http://imgur.com/tonuDId I've combed through every possible setting both here and on imgur and everything seems to be fine. I went to the fl501st.com forum and tried to enter a URL in a new thread and everything worked just fine. So wondering if something happened here that's preventing the embedded pictures?? Or am I the only one with the issue? Any help appreciated as I found imgur to be a great and easy option for hosting pics and adding them to build threads. Thanks!
-

Using Dropbox instead of Photobucket
FencingCorvetteTrooper replied to MechaPumpkin's topic in Forum Help & Support
Anyone using IMGUR and now having an issue with both previously posted photos and trying to add new ones? Nothing has changed that I can see since it was working late last week - my album on the IMGUR site is still there, the URL links for the pictures work fine when I type them into a new browser. Could there be a glitch here on FISD? I saw the same issue on a couple of other posts that were using IMGUR to host. -
So am I the only one who suddenly lost all their pictures from IMGUR (my last two posts show up blank and the pictures are still in my IMGUR album)?? Had some fun progress this weekend, but no way to show it!
-
Happy Fourth of July! Well, after Sunday, I snuck in a couple hours on Monday and another couple hours this morning, and voila! Buckets are done! Got the S trim fitted and at this point, we just need to fit the interior padding for a snug fit, but that's something we can easily tackle later. An awesome learning experience and now to hit the really hard part - the body armor. Hopefully with an hour each night and some 4-6 hour weekend sessions together with my brother and son and we can get our builds done in a reasonable timeframe (and without losing our minds). Apologies, as this isn't really turning into an informative build thread (more just a log of progress), but I'll try to do more step by step or in progress posts as we go. My son and I apparently have the larger set of ears and noses, so I had to do some enlarging of the opening so we could get in and out easily (turning helmet 90 degrees, then straightening out once it's on). I made sure to do a test fit though with not only the s-Trim in place, but the neck seal as well, and we have clearance, Clarence! It's still it bit of a close fit, but I don't expect my head to grow anytime soon. What I just can't imagine is how to get fans, speakers and other fun tech into the bucket and still be able to put it on. But that will be a project for after our build and acceptance into the 501st.
-
Is my vocoder OK?
FencingCorvetteTrooper replied to FencingCorvetteTrooper's topic in Build Threads Requireing Maintenance
Thanks Tony! I cleaned her up this morning, then went ahead and tackled my son's and then my brother's since I was on a roll and he left his bucket here after our initial build session on Sunday. While we've got a lot of hard work ahead of us with the body armor, at least now at this point, I am pretty confident about putting a bucket together! -
Is my vocoder OK?
FencingCorvetteTrooper replied to FencingCorvetteTrooper's topic in Build Threads Requireing Maintenance
Thanks again guys. Am hoping with the adjustment below, I'm in better shape? I'll just need to cleanup the pencil lines and sharpen the edges. The two columns on either side of the three center columns can't seem to go much higher (I've seen some where they are just slightly below the level of the three center ones)- I'm following the molding on the helmet and that's where those two columns happen to stop. -
Is my vocoder OK?
FencingCorvetteTrooper replied to FencingCorvetteTrooper's topic in Build Threads Requireing Maintenance
OK, thanks for the feedback! I thought so too, but I was hesitant to go too thick/wide. Probably just tired eyes from a whole day of building, but I couldn't clearly see the ridges in the helmet that took the vocoder out that wide so I went with what I did see. -
I've seen a lot of different takes on the vocoder paint and wanted to get feedback on mine before I proceed to help my brother and son with theirs. Does it need to be wider/thicker? Any feedback is greatly appreciated!
-
OK, looks like I was able to setup a hosting account, so here's a few pics from today. OK guys, so let us know your thoughts! I know right off the bat, the brow trim looks low, but that's because I forgot to readjust them; they tended to move down with all the man-handling as we worked on the buckets.
-
OK, so we're back from our vacation and it's time to start building! The only two questions I have though are - why does my back hurt so much and where did the last 7 hours go?!?!? So my son, brother and I got together today and started with our buckets. Not a bad day as we got everything done on all three except the finishing detail on the ears, the frown screen and the black paint on the vocoder. Now I just have to get a hosting account for pictures setup so I can add them to the thread! Seems I was able to get away with uploading a few pics earlier via the file uploader on this site, but I hit the max limit on that.
-
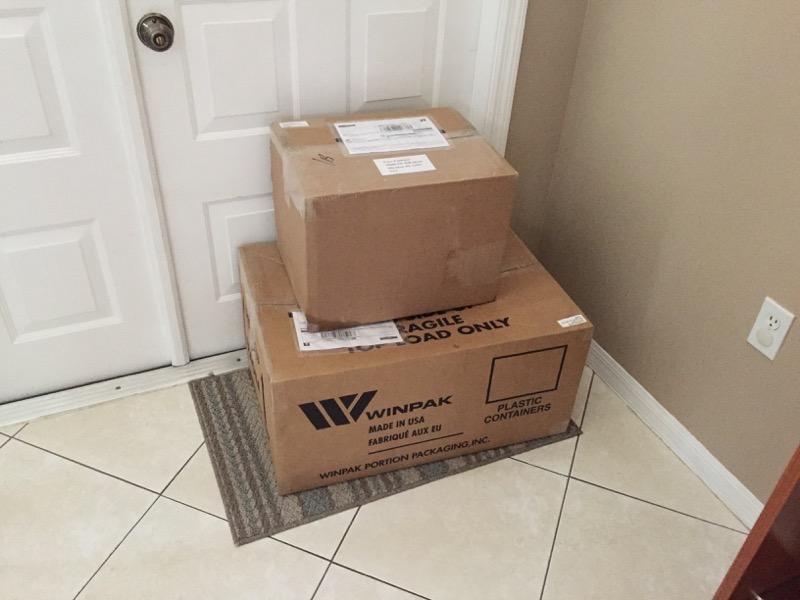
Well, BBB day finally arrived and it just got a little more real! I was greeted by these two lovely packages from Mark at AP yesterday. Now to start getting the last of the supplies and start some of the build (likely the helmet and hopefully before we leave on vacation at the end of the week)! If only I could convince my employer that a TK armor build is the perfect reason to ask for a sabbatical... Here are the boxes... And here is the entire squad unpacked!
-
Hi Nate - yep, first build too, so I'm sure there will be plenty of tips and tricks to share! As for the Florida Garrison, the Everglades squad is the one you'd fall into (there are 5 squads in Florida). If you haven't already, head over to fl501st.com and register there so you can start meeting some of the local guys and gals, as well as get access to the list of local events including armor parties. We've already served as handlers for one troop and had a great time meeting our squad leaders and just seeing this stuff up close and personal!
-
Congrats Nate! Just got our BBB from Mark yesterday as well and so psyched to get started (posting pics to my build thread later when I get home since the site was down for a bit). We've got 3 builds going at once (me, my brother and my son). Given our crazy schedules, we opted for the pre-trimmed kit just to shave some time off the build, but there's still plenty of work to do regardless. Definitely working with Centurion in mind as well! And from the looks of those hurricane shutter panels, I see you're in Florida Garrison/Everglades Squad territory . Hope to meet you soon at a troop, but in the meantime, let the fun begin!
-
Nice!! Just got my AP armor yesterday (posting BBB day pics later now that site is back up). Took the same pre-trimmed option as you did, as time is at a premium, and Mark at AP provided a beautiful product. Still plenty of work to do on our own, but it's a relief not having the stress of getting all that cutting done (and the associated worry of really messing something up). Can't wait to get moving on it myself. We're actually building 3 sets at one time (my brother's, my son's and mine) so it will be an entertaining group effort. Good luck and congrats on starting the build!
-
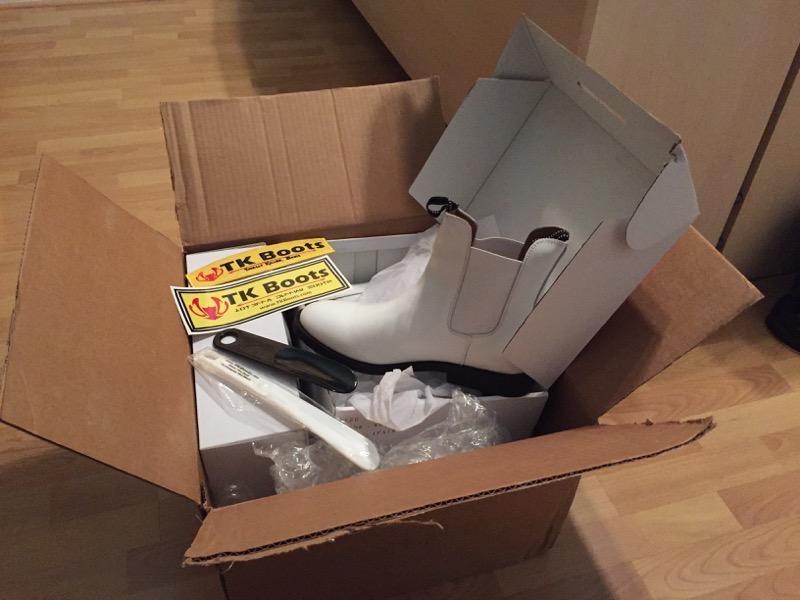
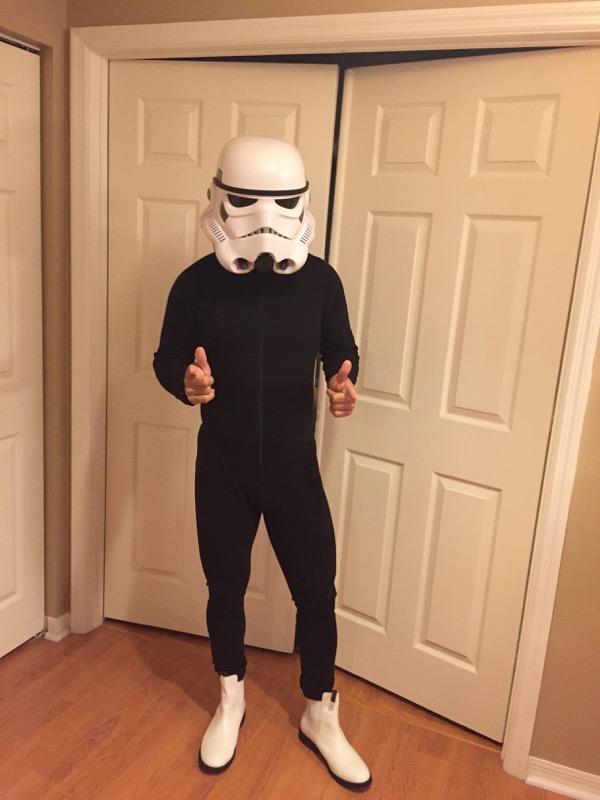
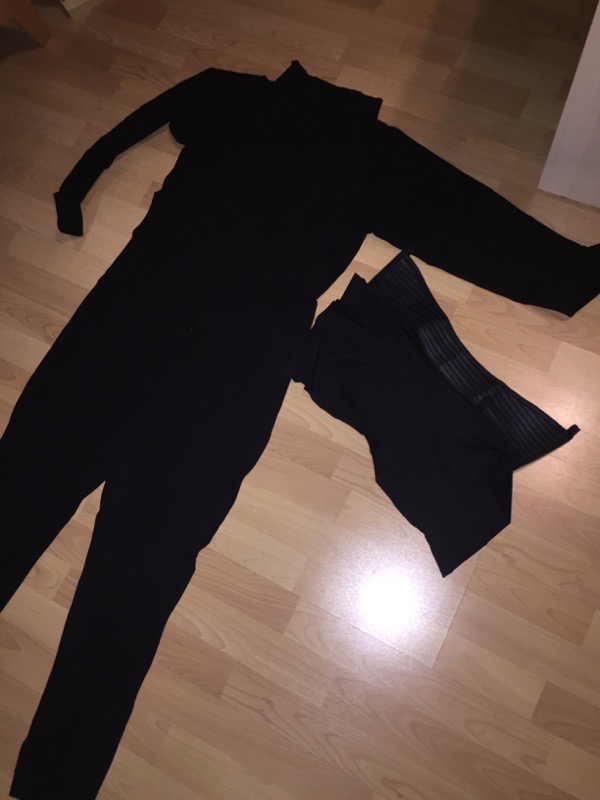
Greetings everyone! Well, as you can tell from the title, this is no ordinary build as we're going for not one, not two, but three TK's at once! I'll be joined in this build by my brother Javier (Chinchilla on FISD and DarkTrooper71 on the Florida Garrison forums) and my 16 year old son Alex (soon to join the Galactic Academy, but counting down the days he can become an official legion member). We dove head first into this adventure and are eagerly awaiting our really BBB day after purchasing our armor from Mark at AP. In the meantime, we've got a few items purchased and slowly rolling in. Tried to upload a couple of pictures of what's arrived to date using the attach file option, so hopefully that works. Undersuits - stormtrooperundersuit.com Boots - TKBoots Neck seals - Darman neck seals Blasters - QuestDesignCanada And of course we had to try the stuff on (that's a Hasbro Black Series helmet just to get a proper feel for it ;o). Nothing like a TK in his underwear.... Next up is to start gathering the other materials we'll need for our build. Given our crazy schedules, we opted for the fully trimmed kit just to help prevent the build from becoming excessively long, but leaving enough work for us to do to make it a worthwhile and satisfying experience. We've also already met some of the great members of our local squad and completed one troop as handlers, with a couple more likely before we're ready to apply for 501 status and officially troop ourselves! Light side or dark side - may the Force be with us!