
Chopper857
-
Posts
276 -
Joined
-
Last visited
Content Type
Profiles
Forums
Gallery
Articles
Media Demo
Posts posted by Chopper857
-
-
hope this helps
-
 1
1
-
-
For Tracey’s trooper a friend put together a micro fan system which runs via a a small usb bank that fits nicely in the front of the helmet
-
Tracey fennell
TK 13570
UK Garrison

-
5
-
-
any other questions just drop me a message
-

once the paste has set you can file/sand into shape might take one or two go's

then totally cleanup the shins and add the velco at the back

As you can see once you have been through all this the shims still look like they should and the raised portion stays nicely inline with the thighs
-
3
-
-

use the templates to make shims out of ABS and then glue (E6000) in place


once you are happy with the shims mix up a batch of ABS slurry (there plenty of references to this on the forum) and start to fill in the joins

Sent from my iPhone using Tapatalk-
1
-
-

step1 assemble the shins as normal and check what you've got to work with

if the shin sits nice around the ankle as in the above pic reduce the return edge to minimal size (i.e just showing the top radius) just to help then carefully cut done either side of the raised areas thill you get them to join up and sit straight as with the pic above.

once you have achieved this you can make triangular templates from card to cover the now visible areas

do the templates for both shins
Sent from my iPhone using Tapatalk-
1
-
-
ok So i understand your concern with the shins, these are a complex part as is but lets try to help with the issue, firstly i would assemble the shim as normal you can refer to my guide for this part of the process
the difficulty is keeping the correct look of the shin armour with it being unique and very different form that of a normal TK but that being said i have worked with a number of legacy's now and have a method that i feel retains the right look
-
All finish and back out there weirdly enough trooped the location for next years celebration at the weekend


Hopefully we will see some of you there
Sent from my iPhone using Tapatalk-
4
-
-
Just the helmet to finish off in time for this weeks con so we should have some fully kitted pics after the weekend, of what I think is the first legacy to have gone the extra mile to smooth out the seams
Sent from my iPhone using Tapatalk-
2
-
-


Sent from my iPhone using Tapatalk -


Sent from my iPhone using Tapatalk -


Sent from my iPhone using Tapatalk -
What I can post now is the finished armour all painted and polished


Sent from my iPhone using Tapatalk-
1
-
-
The main parts we’ve identified to go seamless are the biceps, vamp braces, thighs and shins this has been achieved with various different fillers and and a lot of sanding


Sent from my iPhone using Tapatalk-
1
-
-
So after a long break due to covid we all head back to trooping but storage hasn’t been kind to a lot of armour so we made the decision to go for a full recondition including making the armour seamless where possible due the the discolouration and the need for painting


Sent from my iPhone using Tapatalk -
POST 16
1.

First photo 2016 remaining photos 2019
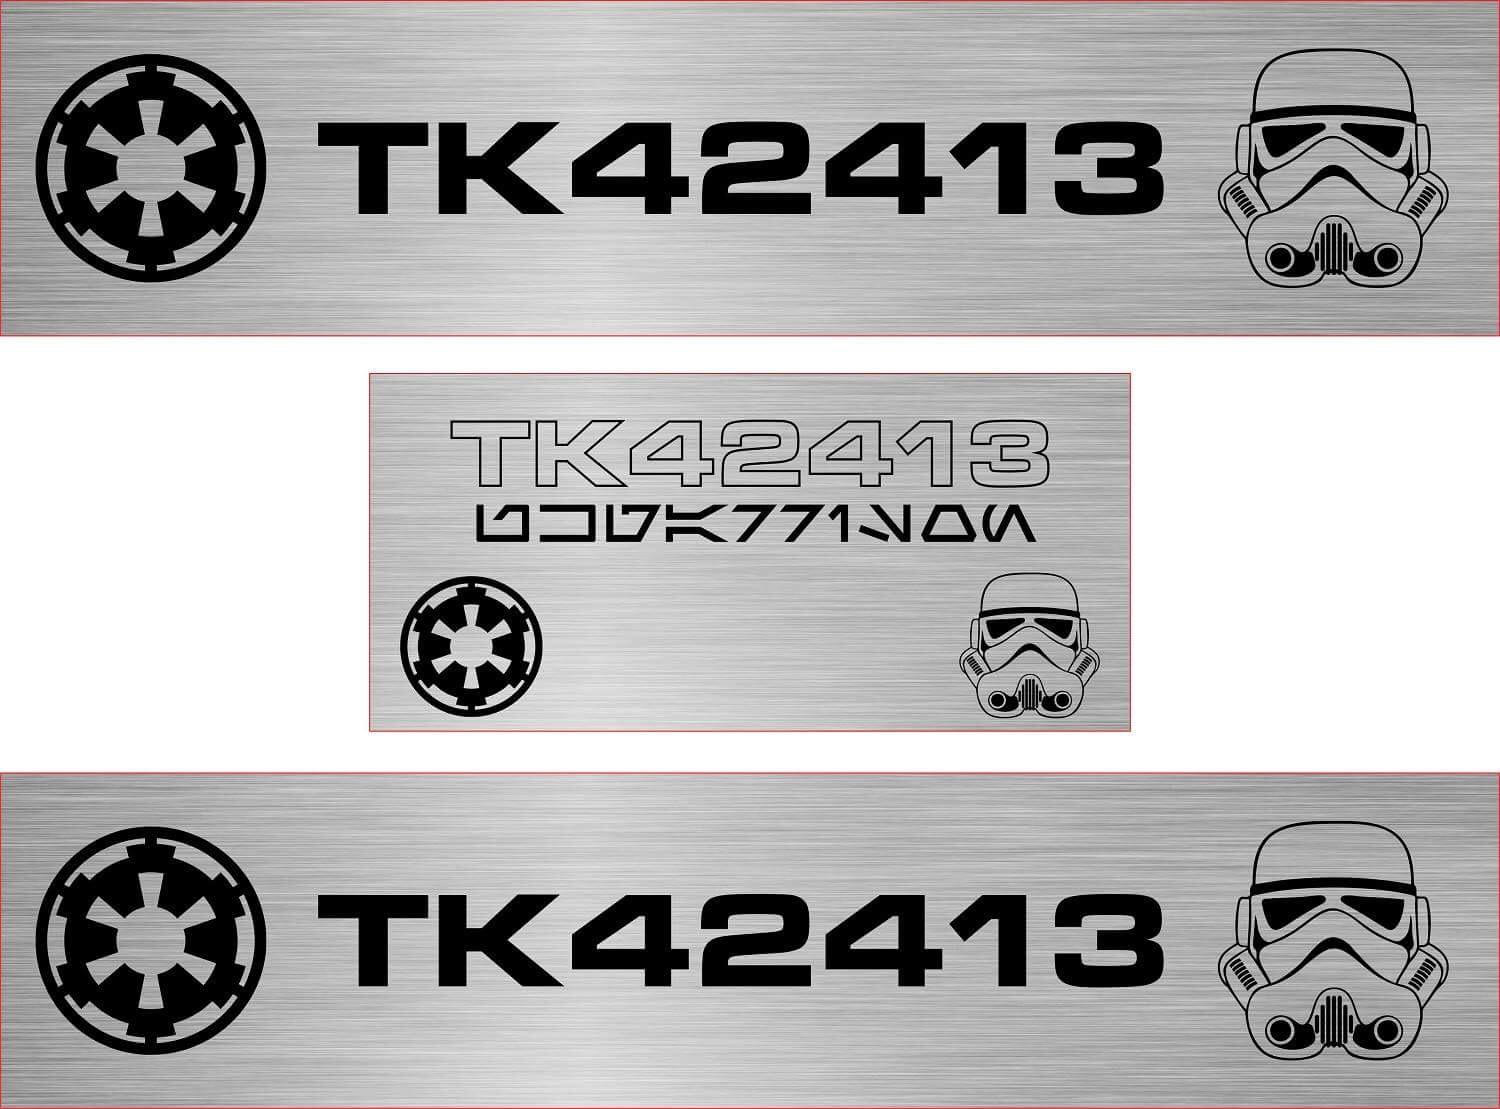
Martyn fennell TK42413 uk garrison
Photo credits
1. Unknown
2.Kris kobus
3. Katie sorrell
Sent from my iPhone using Tapatalk2.
3.
4.
-
4
-
-
OK looking at the thighs i think your on track the return around the knee could be reduced slightly also fitting on the guidelines will possibly let them sit a little higher. would recommend using the rear part of the thigh as master for fitting. with the shin the initial trim lines are a good place to start looking at the overlap you have. the majority of the lower return can be removed if needed just leave the edge curve visible. would also suggest sizing the shins with the boots on as it does make them sit differently
-
HI There, as suggested by the DS trim the corners out slightly more try to get as much visibility as you can for your wife, this lid is more restricted in view than a standard tk, you can cut back to the mold lines but personaly i tried to trim and shape in line with the curve of the lenses. also helps with the lense placement/fitment as well later
https://www.whitearmor.net/forum/topic/44182-legacy-fem-trooper-version-a-tj_fem-wip/page/3/
-
Hi Nancy, with this build yeah only one thigh needed to be adjusted and I will get you a pic of the inside to show how we did this build so it left us with no real issues and didn’t cause a problem with approval but funny enough I have just helped another legacy join the 501st who had this issue on the thighs and calves/shins, let me dig out those pics as well and I will pull together a storyboard to explain what we did to make them sit and fit really nice and also how to eliminate one of the lines, especially if it needs to be on the outside as well. The pics below are just a quick reference
Martyn


-
Well TJ_Fem aka TK13570 has surpassed 50 troops its time for some refurb and repair which I will document in the next few posts will hopefully highlight any weak points that can be strengthened to start with during a build.
Also taken a short video clip of each armour part which you can find here
https://www.youtube.com/channel/UC0Xls082QKUU9o5LOTqmkCQ
Hope this helps some of you out
Sent from my iPhone using Tapatalk-
2
-
-
6 minutes ago, Captain Eclipse said:Hi! I'm working on a FemTk too! Almost done with the helmet. About to start on the torso, but I was wondering if there are any photos of your above mentioned technique.
Hi there have a look at wip I did for my wife’s build any questions just let me know
-
Requesting Troop badge 75 please
many thanks
-
2
-
-
Troop number 75


Sent from my iPhone using Tapatalk-
3
-

Legacy Fem, Version A Build
in Legacy Stormtrooper Build Threads
Posted
personnaly and from a gml perspective i would mod the sides trying to retain the ridge at the back of thigh would be very difficult and with the side mod you only have to blend out one side of the shim as leaving the front edge retains the orignal look