-
Posts
56 -
Joined
-
Last visited
Content Type
Profiles
Forums
Gallery
Articles
Media Demo
Posts posted by Imperial FoST
-
-
-
Just hit 15 official
Requesting badge update please.
troops

Sent from my SM-N975U using Tapatalk
-
 4
4
-
-
Great photos Corey, i see you have enough troops up to get your first badge. If you so desire, please post your request here.
Thank you. To be honest I didn't know we got badges for the amount of troops. I really need to start getting on the forums more haha.
Sent from my SM-N975U using Tapatalk
-
 3
3
-
-
1. Evansville Thunderbolts Hockey Game
1/18/20


Sent from my SM-N975U using Tapatalk-
 4
4
-
-
6. Opening Weekend of Rise of Skywalker
Show Place Cinemas Newburgh, IN
12/21/19


Sent from my SM-N975U using Tapatalk-
 2
2
-
-
5. Salvation Army Toy Drive
12/6/19


Sent from my SM-N975U using Tapatalk-
 2
2
-
-
4.5 My son's daycare (not actual troop)
10/31/19
Sent from my SM-N975U using Tapatalk-
 1
1
-
-
4. Boo at the Zoo Mesker Zoo Evansville, IN
10/25/19

Sent from my SM-N975U using Tapatalk-
 1
1
-
-
3.5 Truck or Treat at my kids school
10/18/19


Sent from my SM-N975U using Tapatalk-
 1
1
-
-
3. Evansville Museum Geek Con
8/17/19


Sent from my SM-N950U using Tapatalk-
 1
1
-
-
2. Eville Con Evansville, IN
3/22/19


Sent from my SM-N950U using Tapatalk-
 1
1
-
-
First Troop of 2019
1. Riley's Walk Eastland Mall Evansville, IN
2/23/19


Sent from my SM-N950U using Tapatalk
-
Is there anything I need to do to update my status or anything?
Sent from my SM-N950U using Tapatalk -
Thank you everyone.
Sent from my SM-N950U using Tapatalk -
Thank you everyone. Today I achieved EIB!
-
 1
1
-
-
Thank you@CableGuy and everyone who has helped me accomplish EIB and making my armor look much better. I'm pumped. I have already changed a few things on my helmet and other areas such as my belt that you pointed put. I just need to do a little at a time and maybe become centurion one day.Hi Corey, and thank you for your EI submission!
CRL and EIB Application Requirements:
All required submission photos have been posted and I am very pleased to announce your armor displays all the necessary elements to qualify for Expert Infantry. On behalf myself and the entire D.O. staff, congratulations!

Other-Armor Fit/Assembly:
In this section we review observations made by your fellow troopers and ourselves. Some observations may lead to suggestions to improve the overall look of your armor.
Firstly, thank you for swapping out those Hovi-Tips - the new ones look much better! Moving on to the rest of your armour, let's start from the top and work our way down.
Overall, your helmet looks really nicely put together. There are some areas which could be improved, which we will run through below.
At present, your ears seems to have quite a lot of extra material to them. If you're up for the challenge, you could consider trimming them down to achieve a slightly neater look.
Also, your grey tears below the eyes might be a little on the small side. You could consider extending the paint to fill those tears a little more.
Reference
As below, if you were to consider trimming down the ears a little, you could consider leaning the left ear forward a little to match your right ear. This would help to cover the excess of the face plate that is showing from under the ear. It will also bring the angle of the ear a little closer to some of the screen used examples.
Suggested trim lines for the ears.
Reference;
Reference
Round to the front, as it stands your frown paint looks like it could be extended a little on the teeth. There is quite a bit of white on show above and below the grey paint. Whilst this was the case on a few screen used examples, you could consider filling it out a little, like the example below.
We would also suggest evening out the vocoder paint by matching the right hand side to the left.
NB, as a side note, you might see a slight difference in the tube stripes against the reference photo. This is a very common occurrence when the tube stripe templates are applied to the opposite sides. If you were looking to go all out at some point with your armour, you could consider re-doing them so that the front few stripes lean towards the frown.
Moving down to your limbs, you currently have quite large gaps at the elbow. Although it's hard to tell from these pictures, it looks like your biceps and forearms might be a little on the big side, too. For a sleeker look, you could consider trimming down the circumference of the biceps and forearms (leaving about a fingers width around the arms), tapering the forearms towards the wrist, and lowering the biceps closer to the forearms. Reducing the girth of the biceps might also help to bring the shoulder bells closer to your chest armour.
Also marked in this picture is the excess material above the ammo packs on the plastic belt. There is currently at least a few millimetres that could be trimmed off.
Belt reference;
It might also be worth taking another look at your thigh ammo pack. This is currently leaning quite significantly and is possibly mounted too far round to the left side (when viewed from the front. Various screen references show that the third of the five ammo packs is usually mounted a little off centre but to the right of the coverstrip (again, when viewed from the front). Here’s an example of what I mean.
This is could be down to the specifics of the armour and the ammo pack, or, it could simply be mounted to far around. We’d be happy to make suggestions if you wanted to provide additional angles of photos after your review.
Round the back, it looks like your kidney has slipped down under the butt plate. This has possibly lead to the slight gap between the back plate and the kidney. The butt and kidney should sit nicely against each other rather than overlap. Adjusting your strapping should help to keep the kidney close to the back plate and stop the overlap of the butt.
We've also highlighted your rear cover strip on your right thigh. Compared with the left one, it appears to be a little angled rather than straight up and down. Depending on the cut lines underneath, this could be a simple case of removing and reapplying the cover strip.
Reference: Thighs
This shot also shows the butt plate overlapping the kidney. Adjusting the strapping should remedy this.

Reference: butt plate
As below, your ab plates and buttons could so with a little TLC. The smaller of the button plates could do with some additional trimming to lose all of the return edge and flashing. As per the reference photo, this should be quite flat with square edges.
If you wanted to, you could also consider reducing the size of the painted buttons themselves.
A couple things come to mind regarding your TD. As you'll see below, we've highlighted the size of the detail plate on top of the main tube, but also potentially the length of the complete TD. They are usually around 190.5cm in length. It might be just the photo, however, yours looks like it might be a little long or a smaller diameter than the screen used versions. To help with the overall look, you could consider reducing the length of the details plate on top, roughly where the red lines are marked below.
On to your blaster, the weathering is a little strong in places. (I know that this is a pre-finished unit so this is no reflection on your build). Areas that might be worth looking at would be to tone down the brass effect on the scope, and also considering repainting the handle - the original handles were made of plastic so would not have the weathering effect that yours currently has.
Blaster handle/grip ref:
Centurion Suggestions:
In this section we prepare you for Centurion. More photos are requested that allow us to make better decisions on possible adjustment etc. If there are any areas of concern they will be discussed here. Because Centurion photos show much more detail than EIB, items pertaining to Centurion might be seen there and not here. We try to point out all we can from what is seen but the final accuracy is the responsibility of the trooper.If you wanted to move up to Centurion, there are a few areas that would need to be addressed, as per the L3 requirements of the CRL. These would include, but are not exclusive to, the below;
Looking closer at your belt, the holster attachments are a little on the high side. As per the reference photo, these were traditionally a little lower on the screen used suits.
As we touched on before in a previous photo, there is quite a bit of excess material above and below the the ammo boxes on the plastic belt. Also, the corners are a little over cut at this stage. As per the below mark up, you could consider trimming down the excess and adjusting the corners. This would also allow you to get the correct drop box alignment.
CRL: The corners of the plastic ammo belt shall be trimmed at a 45 degree angle that that meets the outer edge of the cloth belt.
Drop boxes are vertically aligned with the end of the ammo belt with minimal gap between belt and box.
Belt and holster references;
Additional areas for L3 include;
- Side gaps (Ideally there no gap between the abdomen and kidney armor)
- Side rivets (need to be present and close in appearance to screen used)
- Han Snap (must be present and correctly positioned)
- Rubber/flexible hand guards
- Elastic for shoulder bridges
Also, some of the above suggestions, like some of the armour alignment issues, would likely come up again at L3 as Centurion is all about the finer details.
Congratulations once more on achieving your EIB. We hope to see you back for L3 in the future.

Sent from my SM-N950U using Tapatalk
-
 1
1
-
Thank you. I appreciate all the help from everyone.They look great! Nice work.
Be with you you very soon.
Sent from my SM-N950U using Tapatalk
-
CableGuy let me know if you would like anything else. Thank you.
Sent from my SM-N950U using Tapatalk
-
Screens came in tonight.


Sent from my SM-N950U using Tapatalk -
Just waiting on my screens to come in then I'll put them back together and get some photos for you.Ah yes, Joseph beat me to it.
Joseph’s right. No need to buy new ones. Changing the mesh and painting the inside is the easiest option.
Here’s one way that the mesh can be installed.
I’m sure there are other methods, too.
Look forward to seeing back soon, Corey. You got this! :-)
Sent from my SM-N950U using Tapatalk
-
Just ordered a set. Hope I can get it all taken care of. Thank you.No need to get a new set of hovi tips, Corey! The easiest thing to do is remove the screens and paint the inside white. Tony sells the screens for $3.00 per set (includes shipping), and they are actually pretty easy to install. https://www.whitearmor.net/forum/topic/40706-fs-ukswraths-hovi-tip-screen/
I recommend removing the hovi-tips from your bucket first, but it is a not a necessity if you are careful. If you have any issues removing them just PM me and I will help you figure it out.
Sent from my SM-N950U using Tapatalk
-
Thank you. I have been trying to find hovi mic tips that are white in the inside but having little luck. As I said before I did not build my helmet and when I took mine off to see if I could take them apart I don't think it will be an option so if anyone knows where I can get a proper kit or some premade please let me know.
Sent from my SM-N950U using Tapatalk -
Hi Corey,
I believe we are up to date with pictures. Just in the process of running through your application. Shouldn’t be too long, Trooper. :-)
Ok thank you. Just wanted to make sure I wasnt missing any photos or anything.
Thank you all for your time and all the info and updates for my armor. I have been hard at work.
Sent from my SM-N950U using Tapatalk
-
 1
1
-
-
@CableGuy is there any images I am missing at the time that you would like me to submit?
Thank you


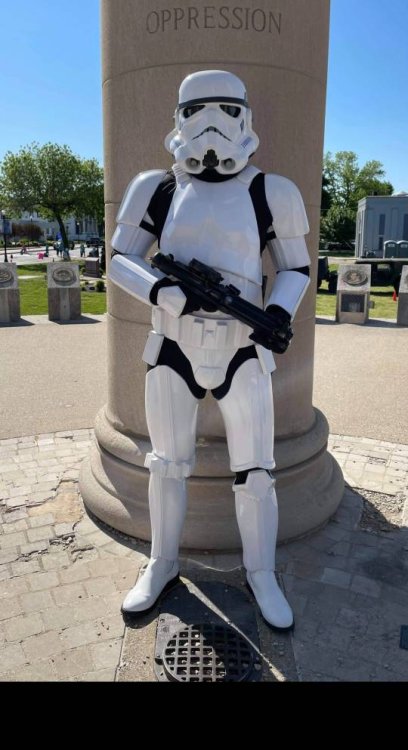
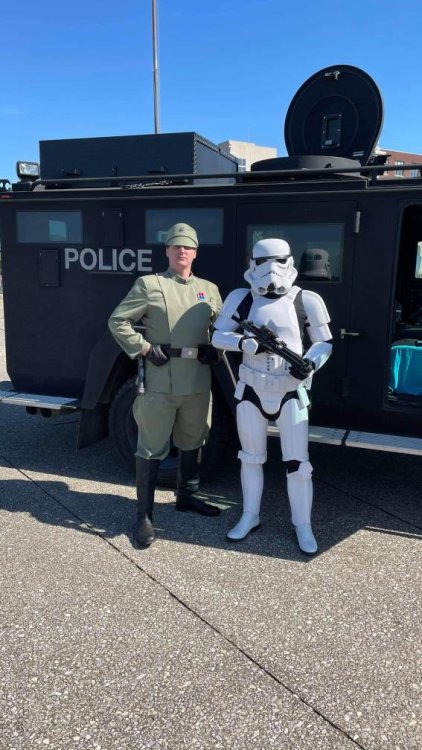
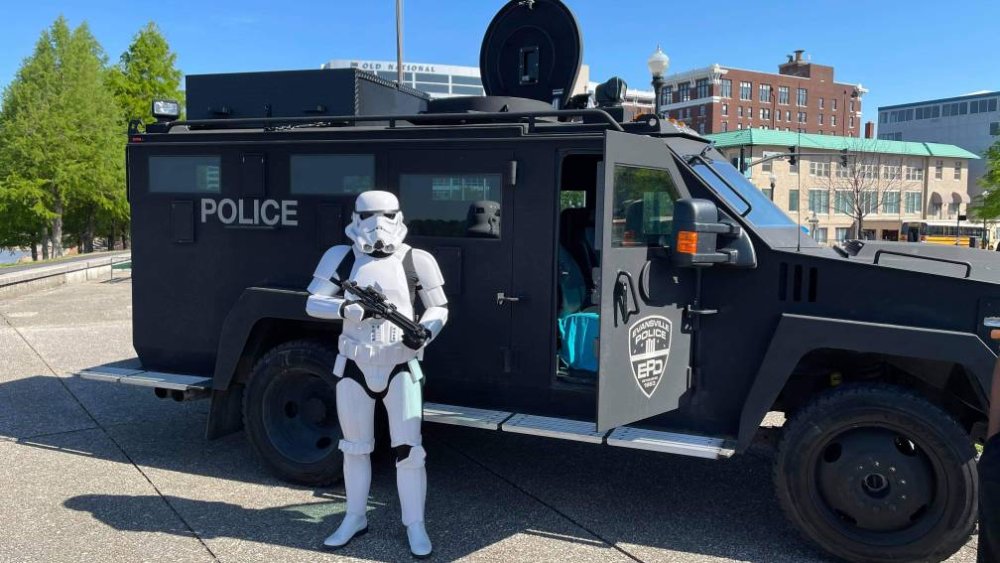
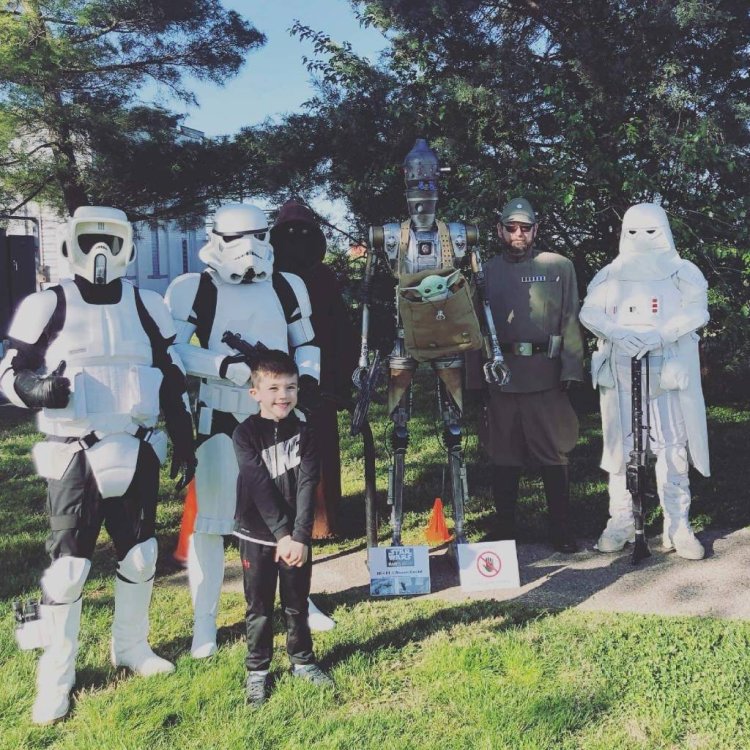
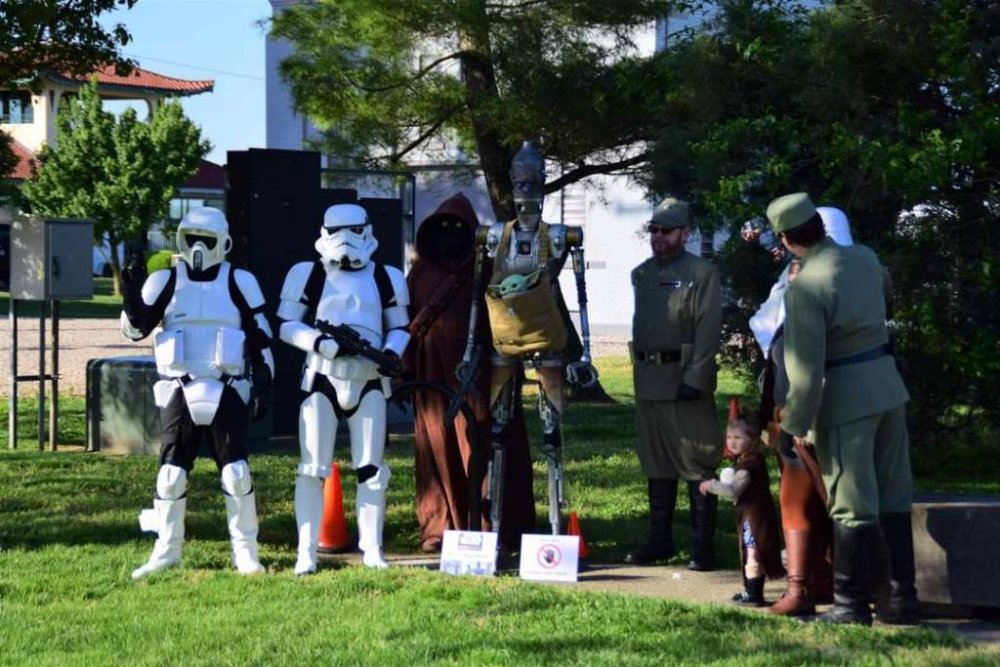
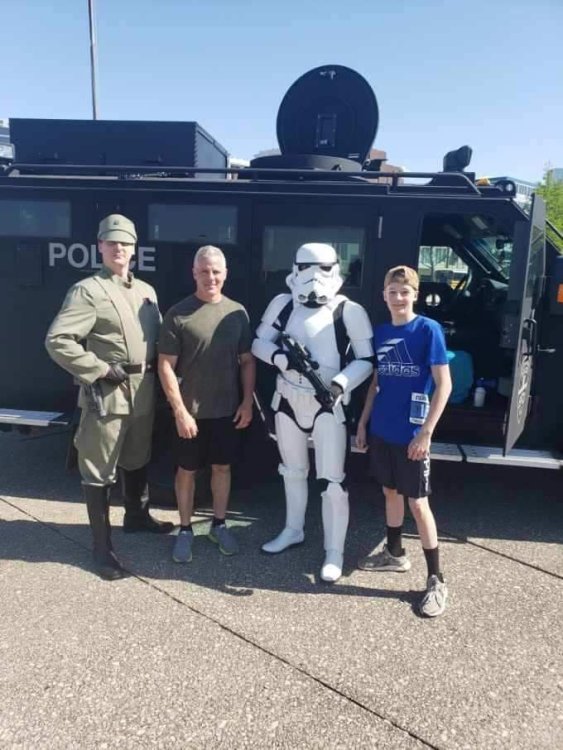


Corey Haury TK-81489 (18troops)
in Field Training Exercises
Posted
1. Boo at the Zoo (Mesker Park Zoo)
10/30/22
Unfortunately I was the only one who trooper that night so I didn't get any other photos and was having some armor malfunction.