helixios
-
Posts
13 -
Joined
-
Last visited
About helixios

-
So - on to swapping out the belt! The first job was to remove the buttons from the old belt and clean them up. Man that thermal compound is nasty! - and it doesn't want to come off either! It took me about 2 hours to get the three buttons removed and cleaned up. There was some cracking on the belt's ammo cover, but that was only around the rivet holes. I repaired the cracks where the buttons were removed: Then I tested the fit after the new snaps were put onto the kittell belt ...then riveted the ammo belt to the canvas and covering the rivets with the 'buttons' ...then fitted the dropboxes - I forgot to put a washer on the inside - so I put a generous dab of E6000 there instead. The hold is pretty solid, but I wanted to be sure. Next was making sure they were lined up correctly - and then closing up the dropboxes. Then checking the finished product from the front! and finally, fitting the leather holster - with only two Chicago screw holes for Stunt specification! Belt done!
-
....onto the strapping now Firstly, making the 'garter belt' - using 3" black elastic for the thigh connections with the ends doubled back and sewn up to thread the para-strapping belt through. (I may make this more comfortable in the future - but this seems pretty close to the original spec) Then gluing the thigh elastic for the left and right sides: I used electrical tape to keep the elastic lined-up with where I wanted it end up. The next day - glue dry and it's pretty well aligned to where I wanted it to be! (off-centre and vertically aligned from a 'front view') Looks good from the front as well Next time i'll be onto replacing the Anovos belt with my new Kittell belt!
-
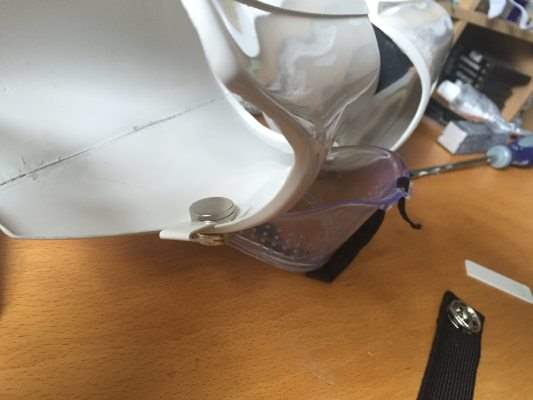
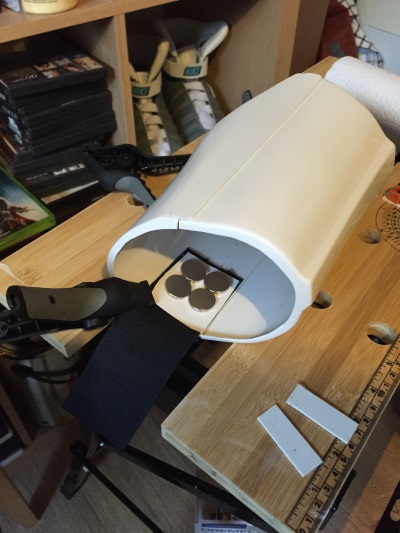
Thanks guys for all the positive comments! It's real nice to see everyone being so supportive! After the dramarama with photobucket links, I've gone back and fixed all my previous images (it turns out that keeping your uploaded photos in posted order - and in a separate folder is actually a good idea and not me being slightly OCD!) For anyone wondering where they can store their photos, I decided to use my existing dropbox account - and by using the share option and changing the ?dl=0 at the end of the link to ?raw=1 you can the use the 'insert image from URL' feature to reference dropbox shared images URLs - very useful! Anyway - back to some TK building! I trimmed up the right thigh ready to go: Then the usual process of E6000, coverstrip, magnets - and then wait 24 hours! The next day... Then on to the back. I did this in two parts as I was gluing using more of the ABS beyond the cut lines (big thighs here!) ...with both sides glued, the tension introduced a bit of a gap at the front, so I glued an off-cut on the inside to neaten up the front: Much better now! Then I fitted the ammo pack with tandy rivets to the thigh - this was really satisfying to attach! ...and then finishing it off with a spot of gloss white Humbrol on the rivets: Moving on to the other thigh - rough cut and checking for alignment: ...fitted together with tape - the top didn't align properly! ...but one 'boiling water and gentle plier' treatment later: Much better ...and then onto gluing with reams of tape, and gluing an additional tab on the inside at the front again Thighs done! On to the strapping next time!
-
Now gluing the shoulder elastic to the chest plate (I probably should have done this before I fitted the shoulder straps to the chest plate) I'd fitted a snap to a square of ABS and used a soldering iron to heat the snap up so that i could push it down and counter sink it into the square of ABS. This allowed me to easily mount it as a counterpart for the snap on the right hand side elastic shoulder strap. It worked out pretty well! I can now hang up the body part of the armour! (The belt is still the default offering - I have got a Kittell belt that I'll be using to replace the Anovos one) Ab buttons trimmed and painted (Humbrol Gloss Dark Admiralty Grey Enamel #5 & Humbrol Gloss Midnight Blue Enamel #15) Gluing the two button sections on was way more difficult than I thought! The magnets kept slipping off the corners! Looking better: and then some Humbrol Gloss White on the front and back connector screw heads: I'll move on to the thighs next!
-
The new site upgrade is looking great! - and I've more progress to put up! (Double win ) Moving on to gluing the shoulder straps to the chest plate: Looking good! The onto fitting the internal strapping to the chest plate: ....and then fitting the snaps to the ab plate:
-
Moving on to cutting out the chest and backplate: Note: You'll see that I left a lot of return edge at the bottom of the back plate - I wanted to be cautious on how much space i'd need to drill holes when connecting the armour together. I'll trim off the excess before connecting the two bits together. Next: Gluing the shoulder strapping to the back plate (with the counterpart to the shoulder sew-in snaps already in place) Then on to the "back-to-kidney" connectors: ..and then the kidney to rear-end ...looking good from the outside I'll move onto the front half next time!
-
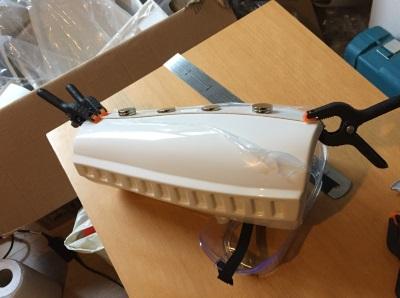
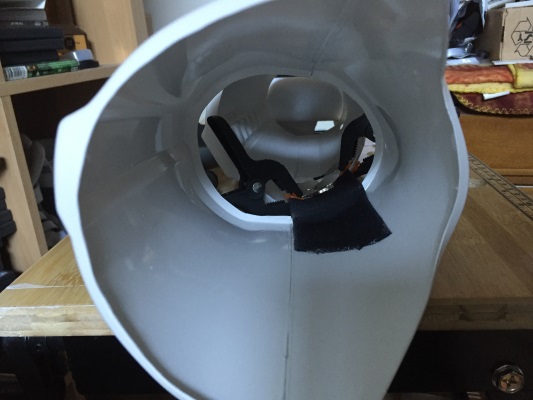
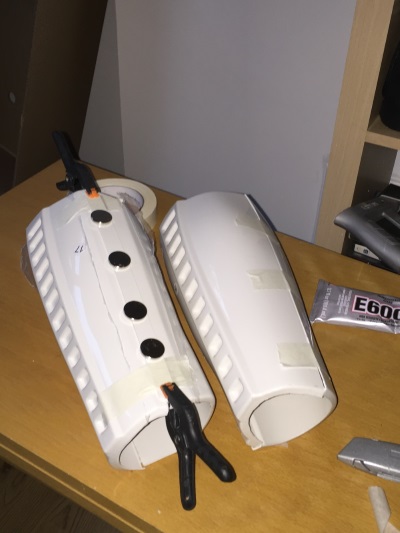
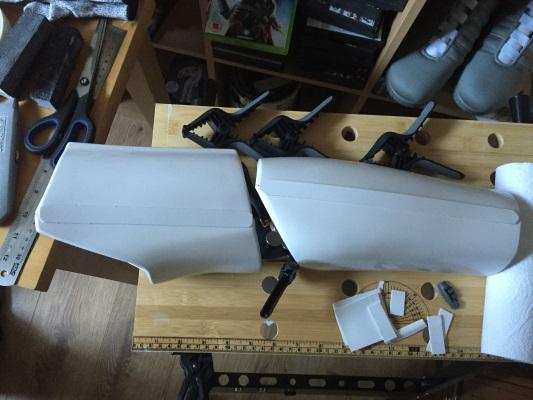
Both arms now done! Onto trimming the shins! Lots of glue, clamps, magnets and tape: 24 hours later: ...and then re-enforcing the inside so that they don't get pulled apart every time they are put on: My calf muscles are a tad on the large size, so I've left as much space beyond the rear trim lines to give the closures a bit of an extension
-
Gluing the shoulder bell straps and the connecting strap: I used these sew-in snaps for the shoulder strapping: And then a check on it all fitting together! ....and yes - I did end up trimming down the thickness of the hand guard (I've also got the rubber ones on order - for accuracy! )
-
How the bits fit on me together (obviously I'd measured for fit before they were glued ) I also added to the biceps the retaining hooks for the shoulder bell straps:


-
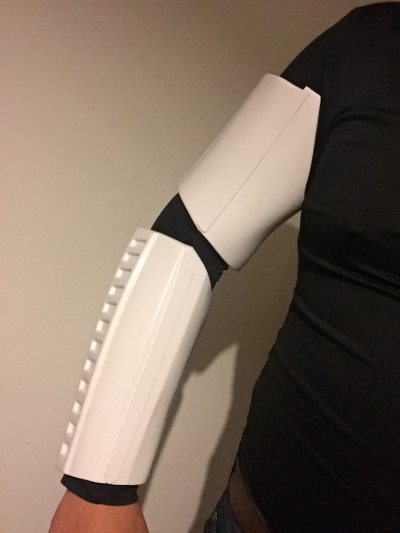
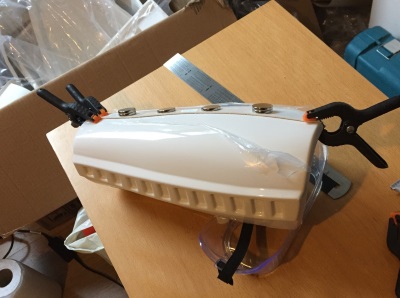
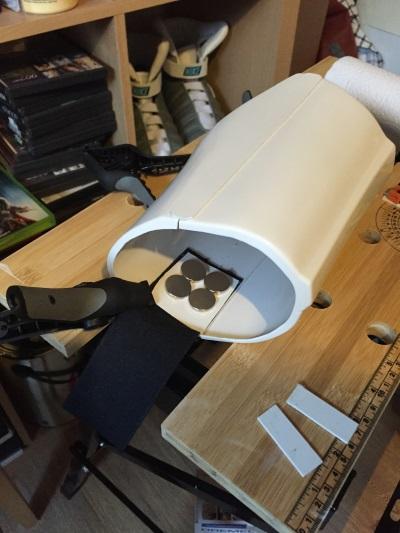
I thought I'd put one more post to keep those in the US entertained whilst I'm asleep! Shoulder bells cut out and also biceps trimmed to size and taped together for test fitting (these were a little tight - but I sorted it out by adjusting the return edge) Elastic being glued to the biceps for the elbow joints. As justjoseph63 said, I needed to remove the return edge at the wrists. You can see (in the background) that they've now been trimmed and I'm on to gluing the forearm to the connecting elastic: Lots of clamps and magnets to keep the elastic in the right place. It looks mis-aligned from the top - but when it's fitted, it's exactly where it should be! Right - definitely time for some shut-eye!


-
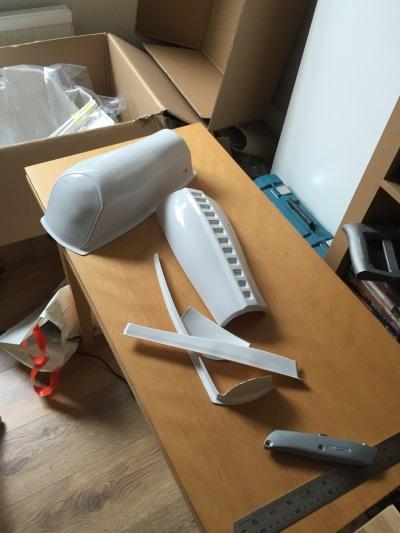
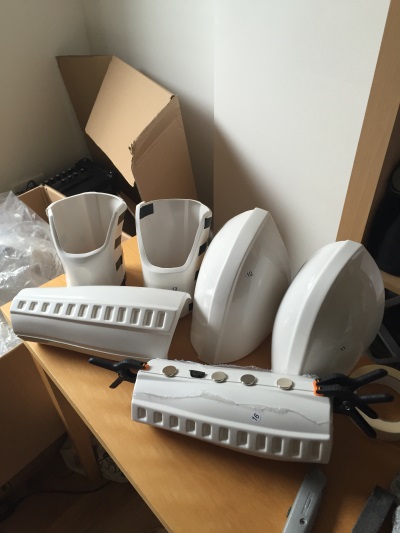
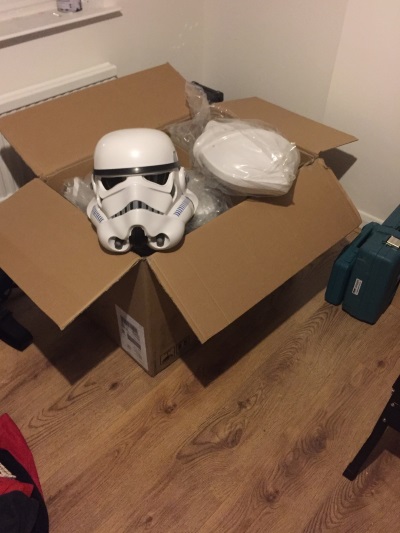
So - I've been lurking on whitearmor for a fair while - and am now quite a way through my Stunt TK build. Luckily I've taken quite a few photos along the way - so i'll drip feed a few in here every day or so until I catch up with my own progress! Looking forward to seeing what people have to say, and advice on how I can improve! Before I get going, I need to say a thank-you to ukswrath and the work he put into his ANOVOS TK BUILD thread - it has been an invaluable resource for this build (as have many other posts here!) Here we go! the big box - ready to go! Straight into trimming down the forearms! Being patient with the E6000 - It's really hard to get hold of proper E6000 in the UK. A lot of the stuff available is not the real deal. Luckily I have a cousin in San Antonio that went out and bought out a whole shop of its supply! Continuing with the gluing more to come!