


Wargasm
-
Posts
12 -
Joined
-
Last visited
Content Type
Profiles
Forums
Gallery
Articles
Media Demo
Posts posted by Wargasm
-
-
On 3/12/2018 at 10:13 PM, ukswrath said:
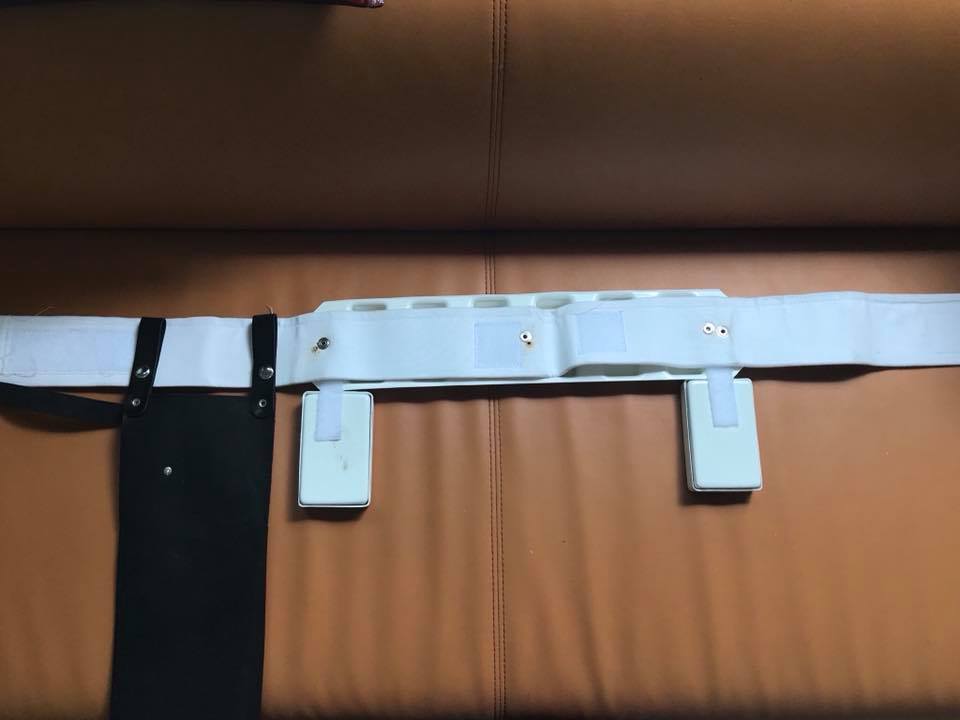
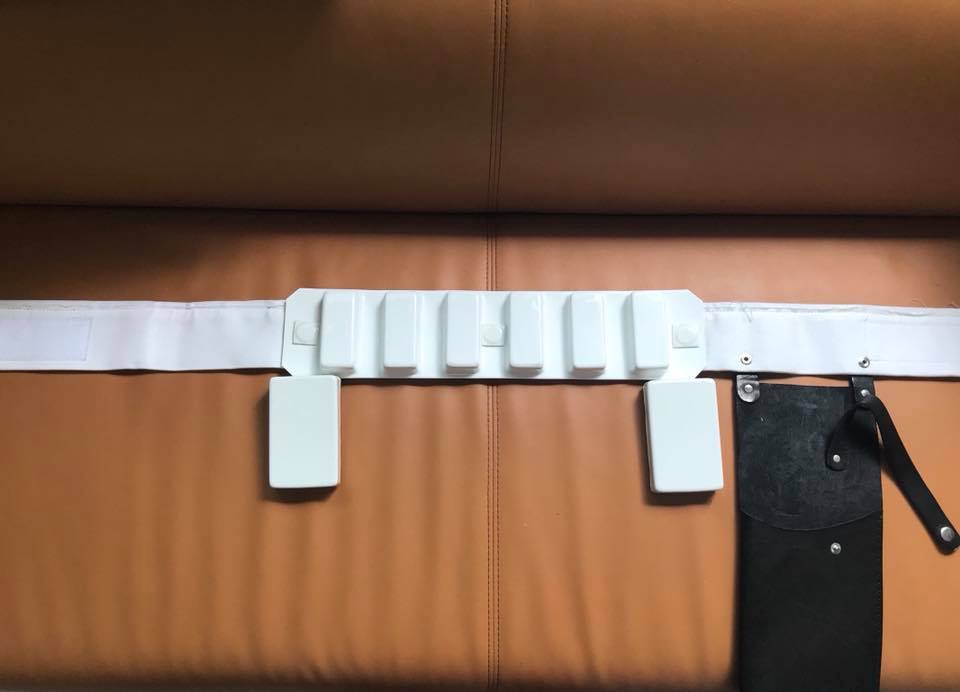
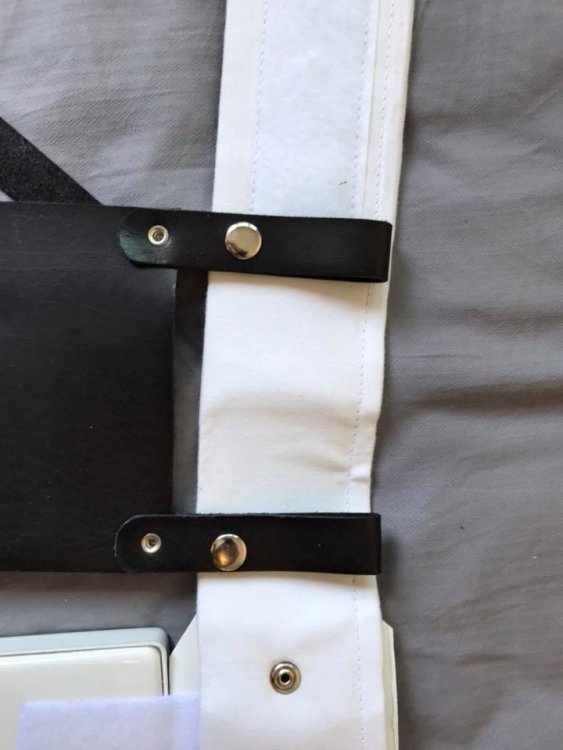
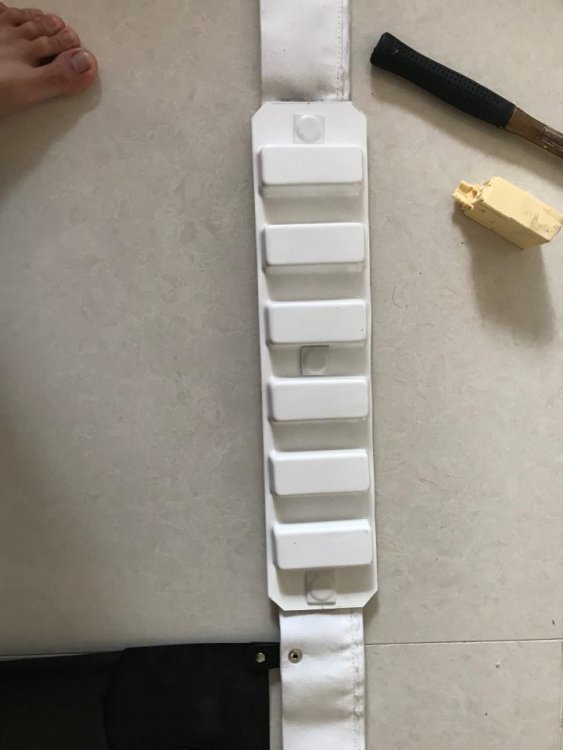
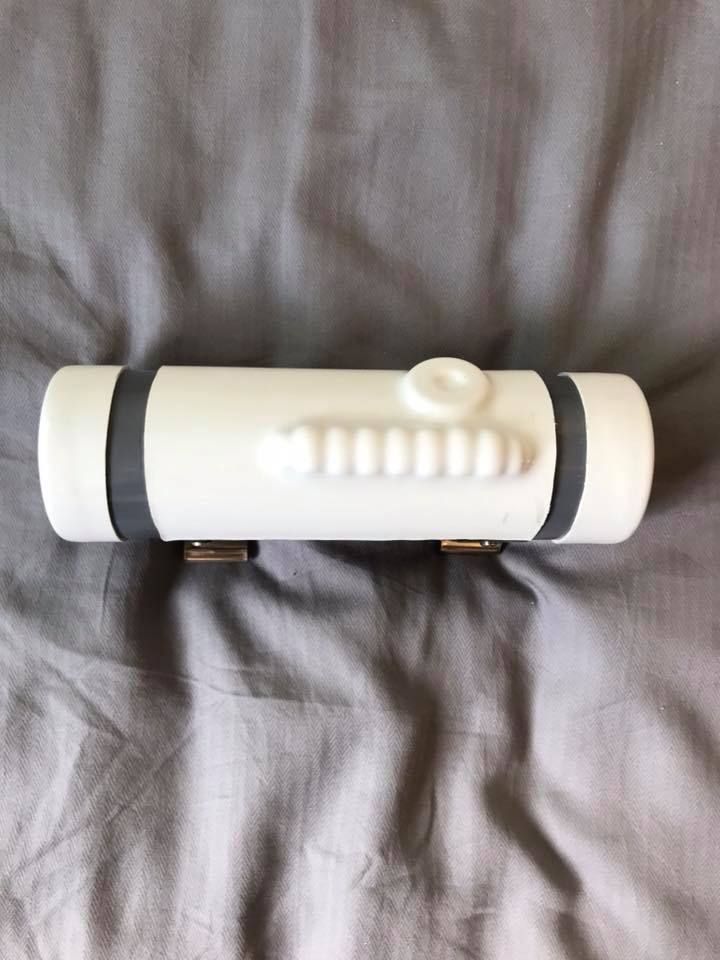
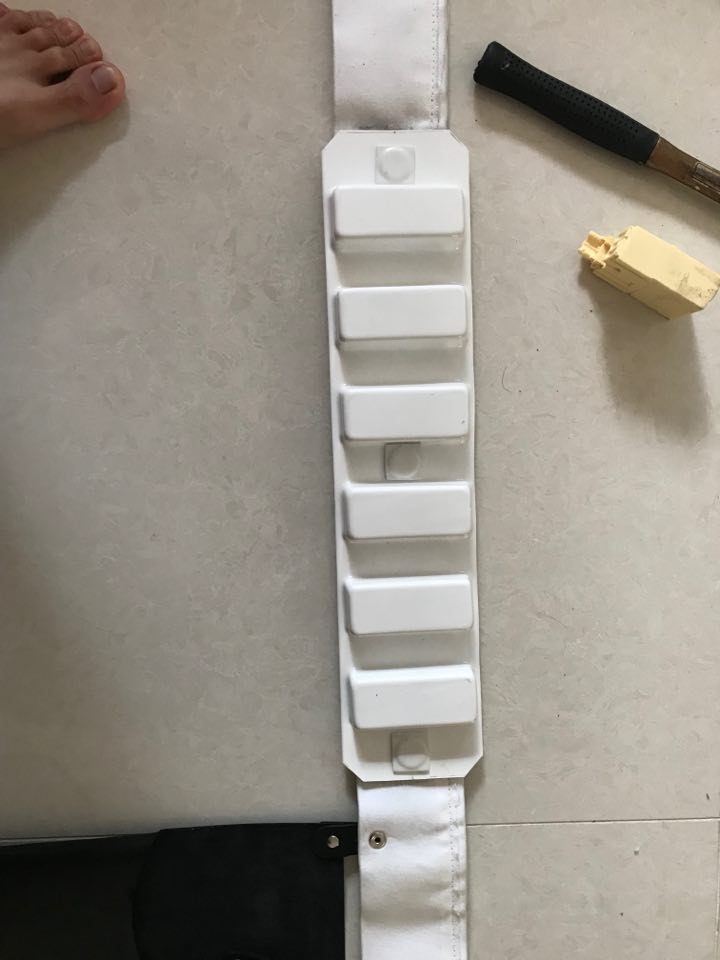
Lastly, not sure if it fell off the radar but please post a photo of the waist belt by it self please. Basically you waist belt face up and face down on the floor with drop boxes. Thanks
I have both Images but the forum is restricting me to 0.05MB and I cannot attach a URL from Imgur or Photobucket. (Nevermind its a forum bug, I managed to attach them here.)
-
1 hour ago, justjoseph63 said:
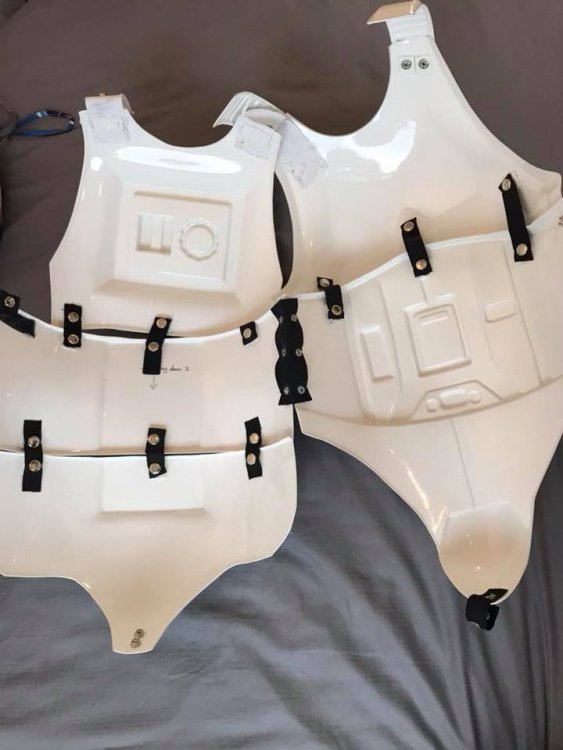
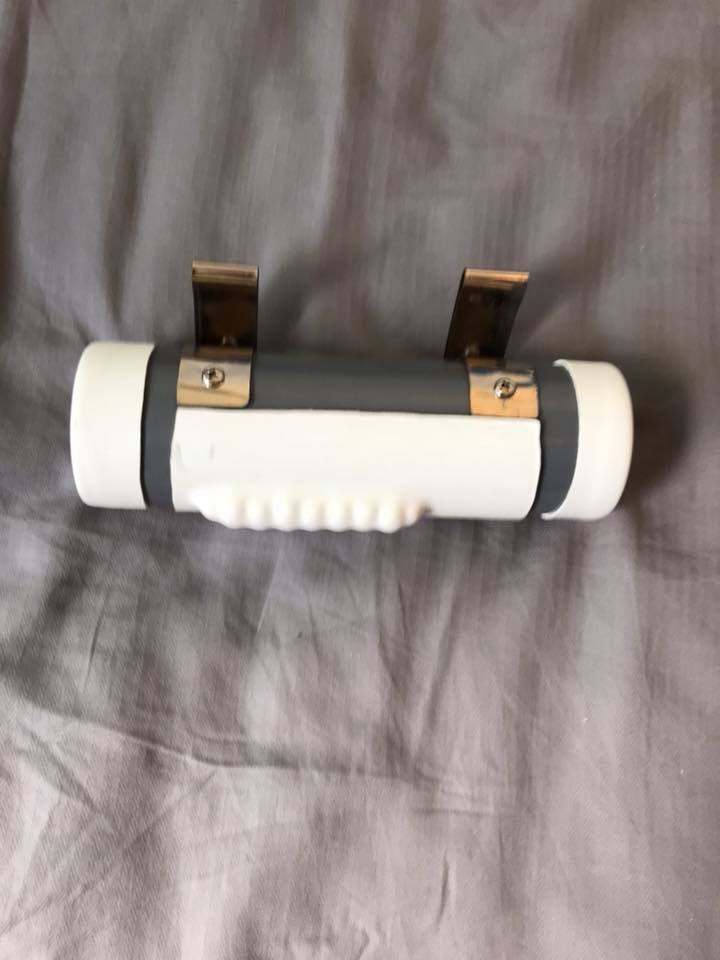
Great job on the fixes! You will need a pic showing the inside connection and attachment method like this:

Ah I have included them in the post above but here they are again friends ^^
-
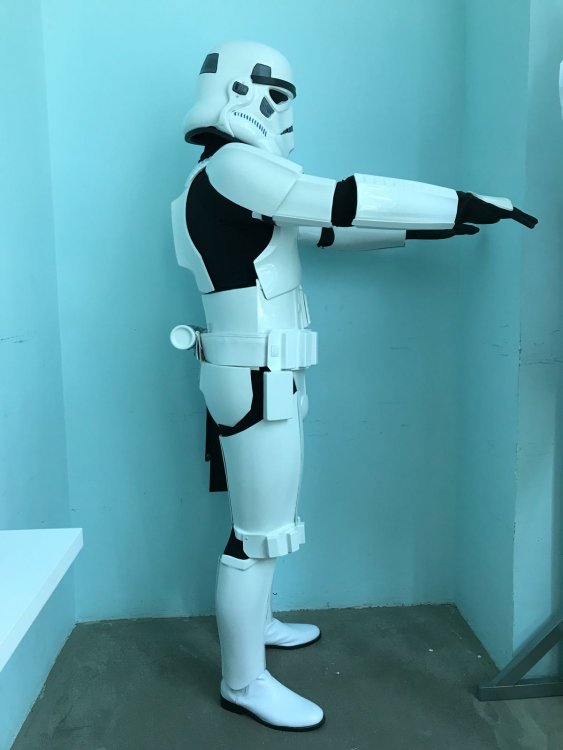
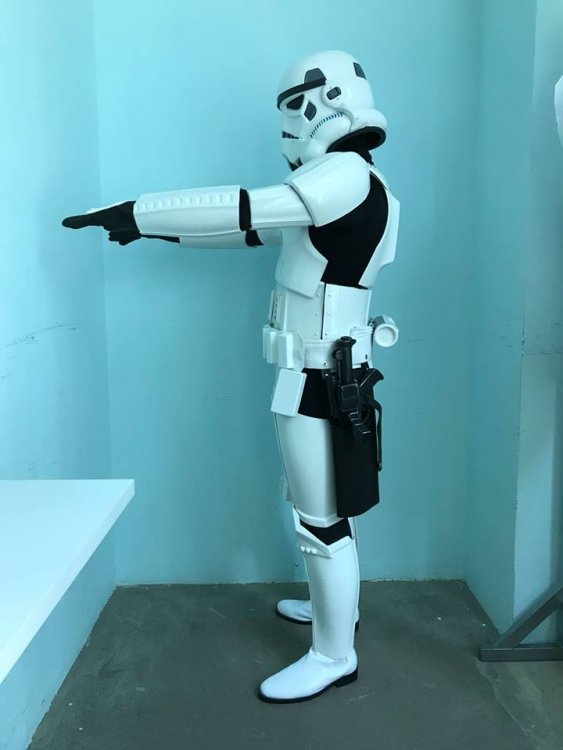
Some updated photos of corrections made.
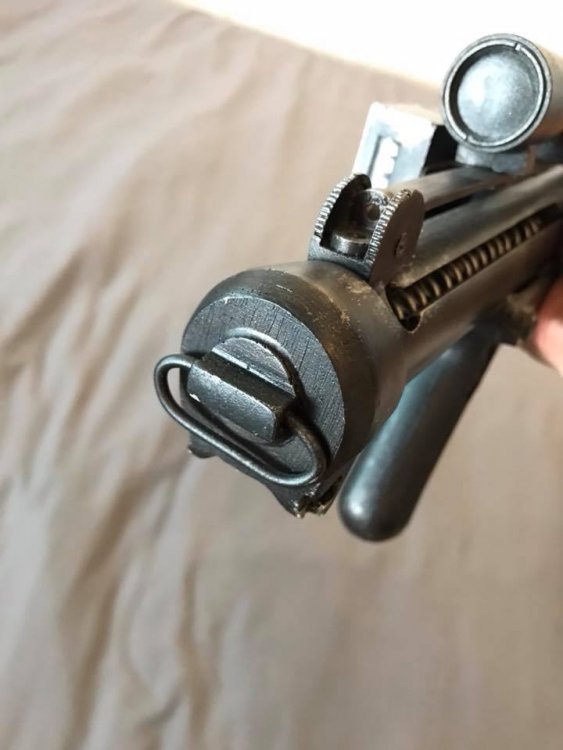
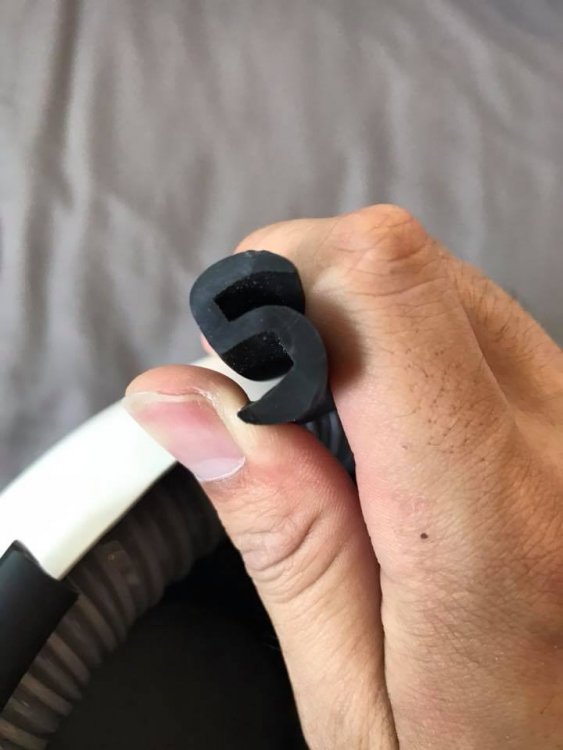
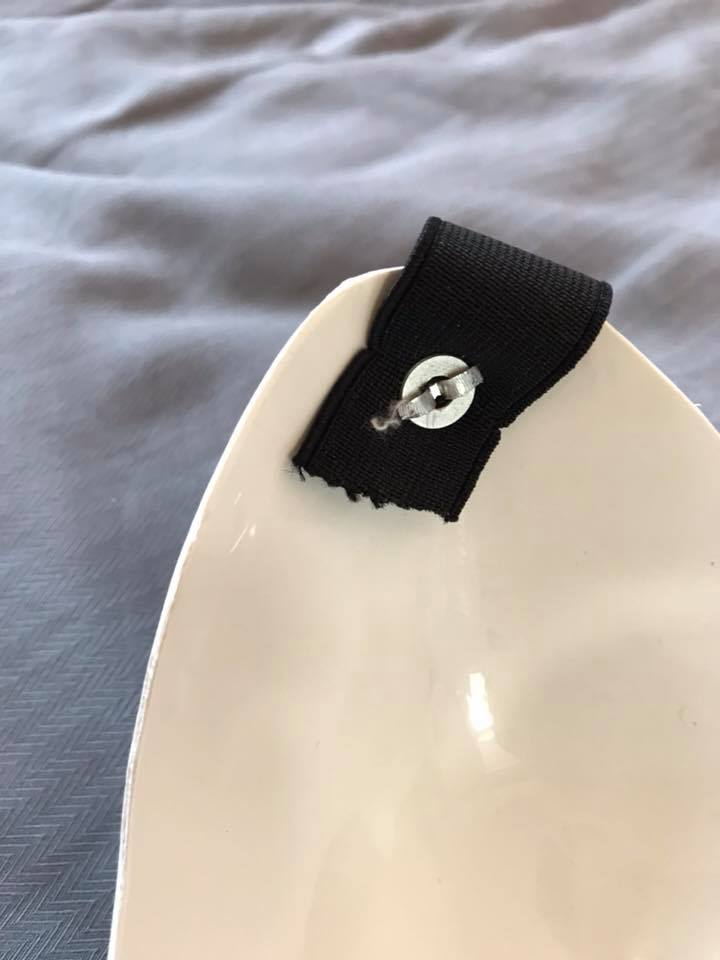
@NINJAM0VEHere is the D-Ring you requested
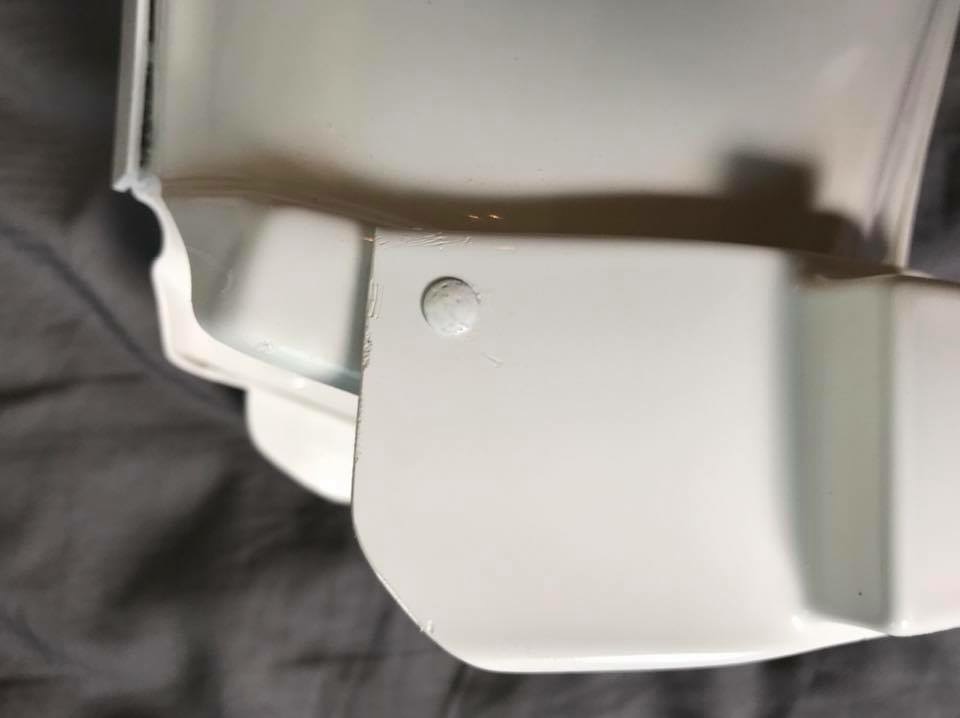
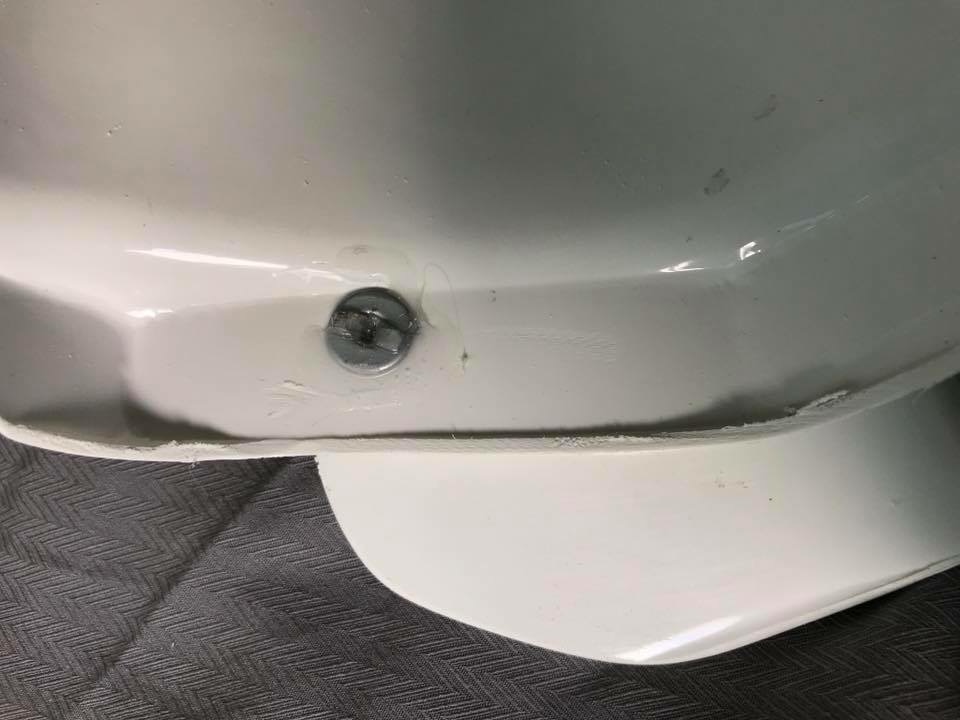
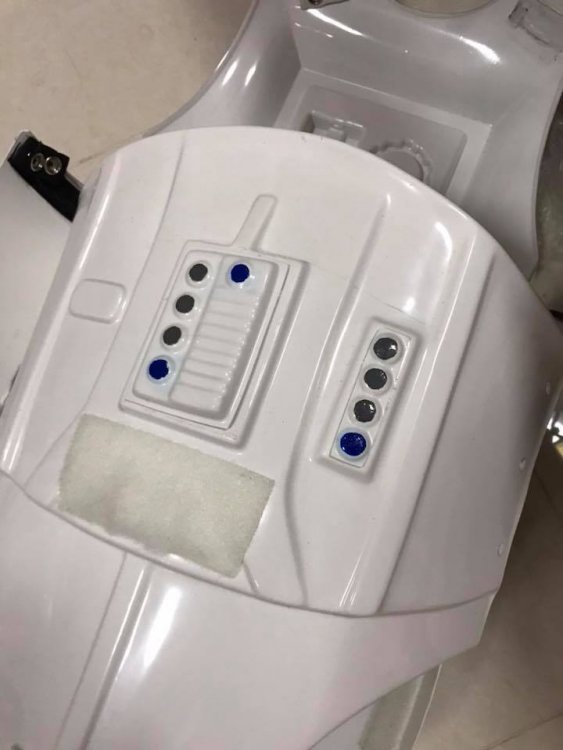
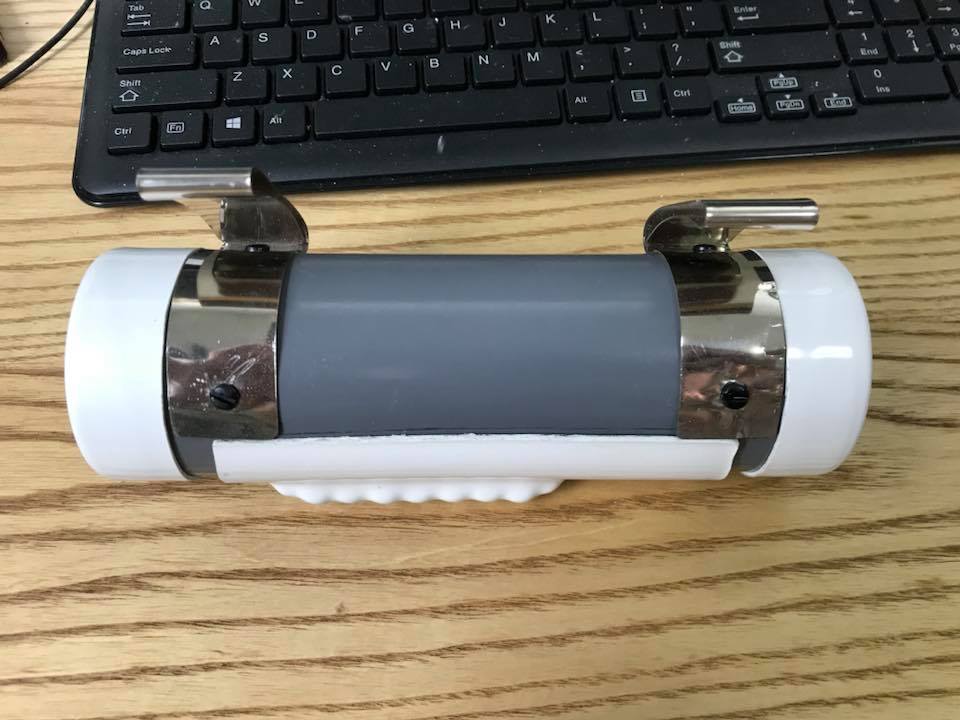
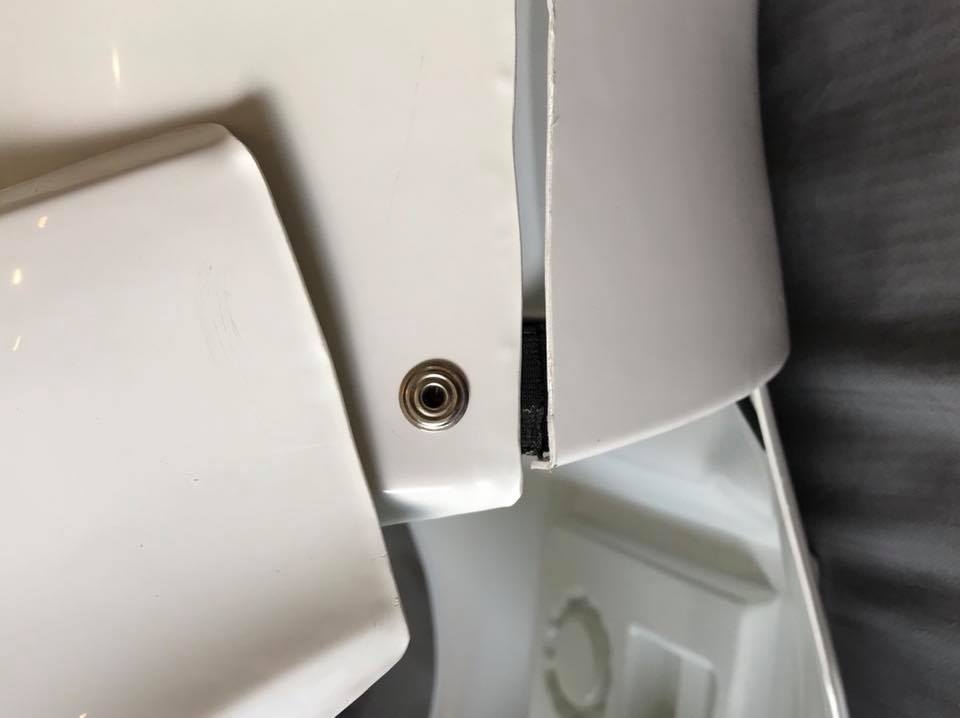
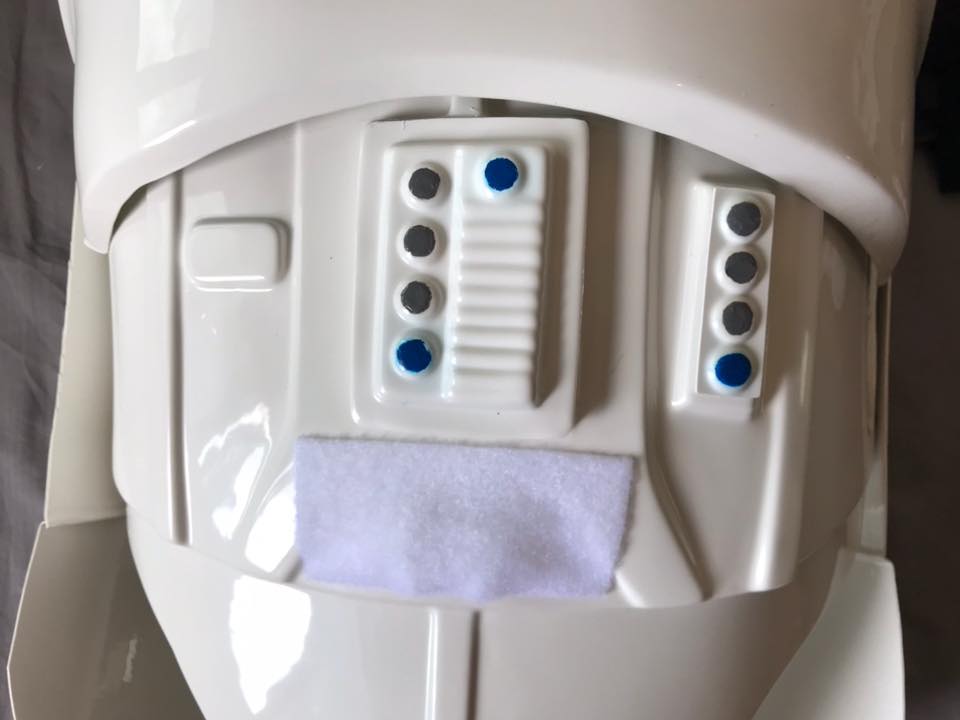
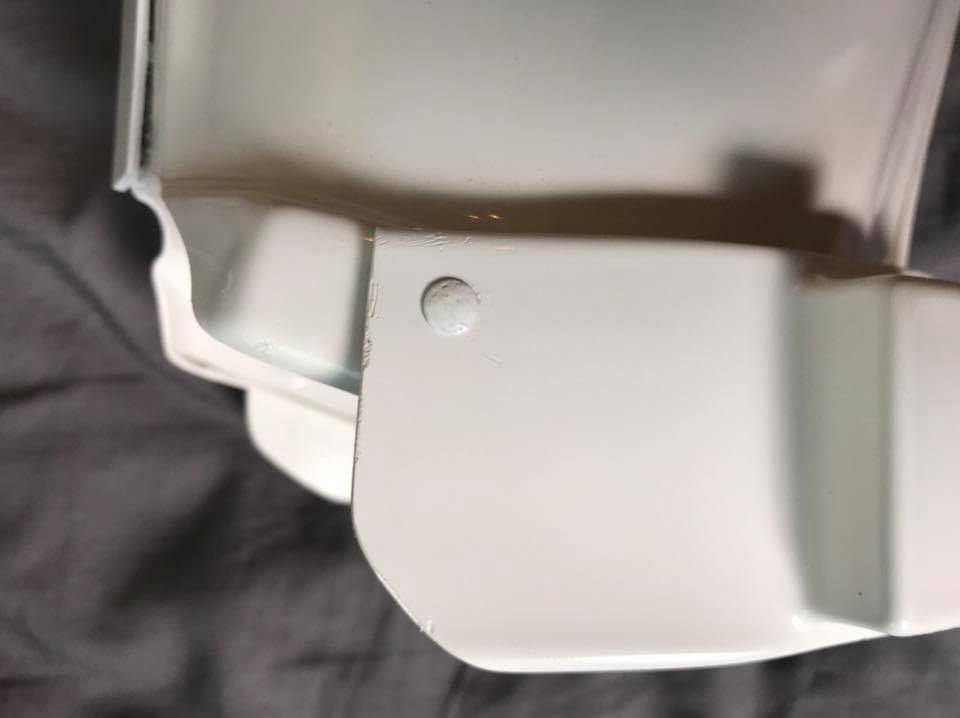
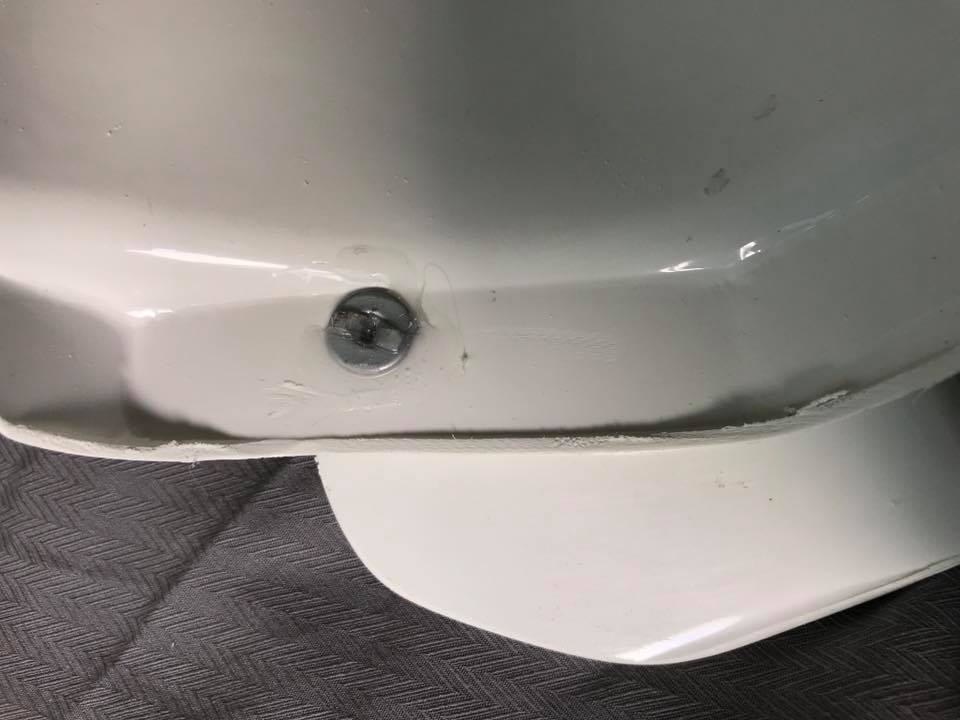
@justjoseph63 I have trimmed the AB buttons as instructed. I have also altered the position of the TD clips and swapped the screws to black panhead (- type) screws.
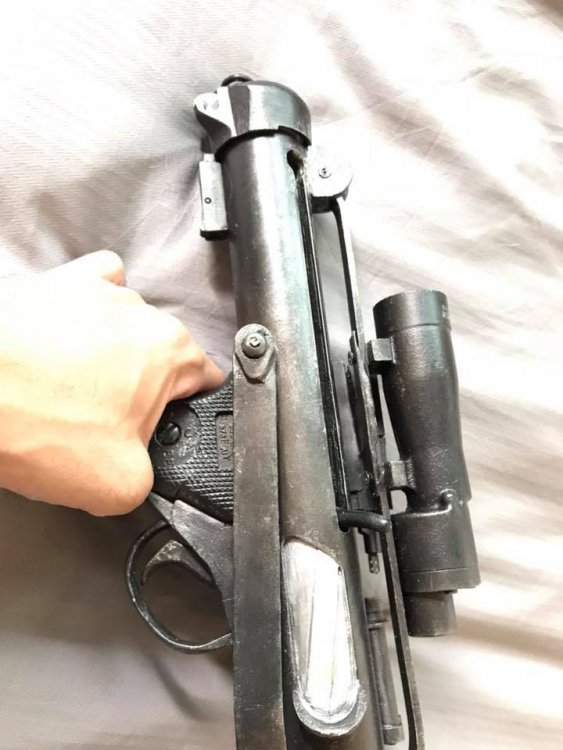
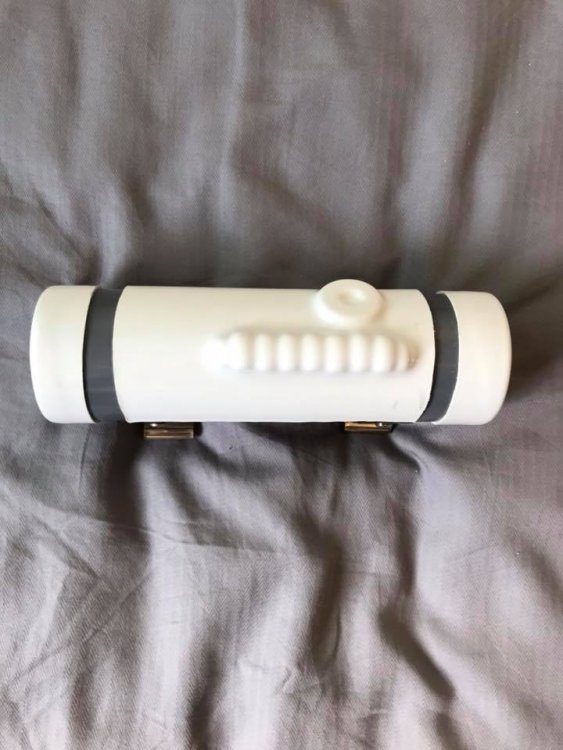
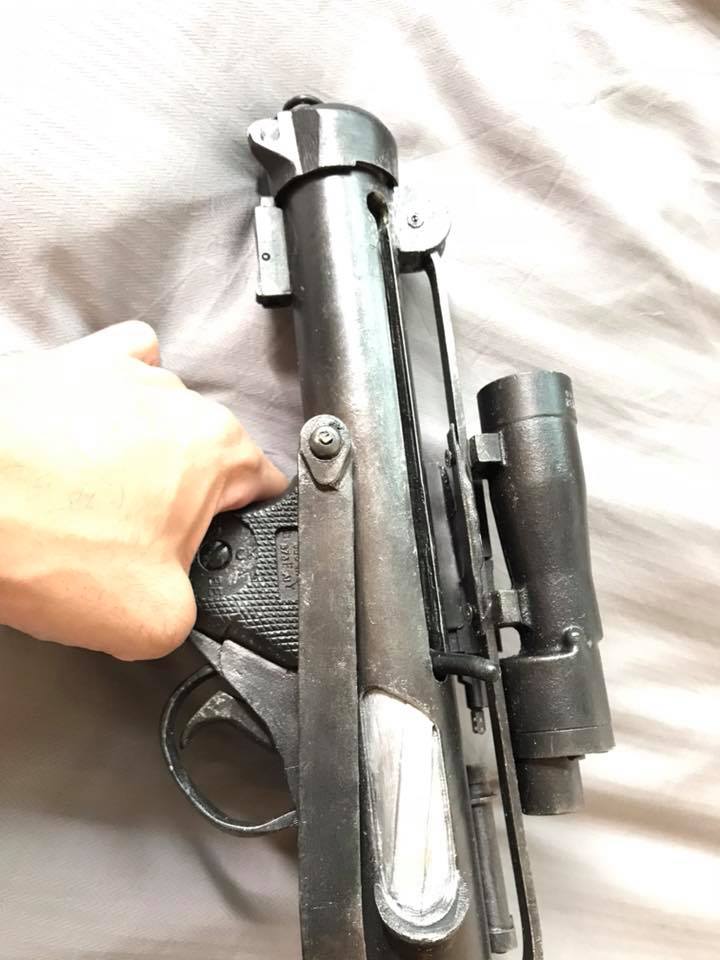
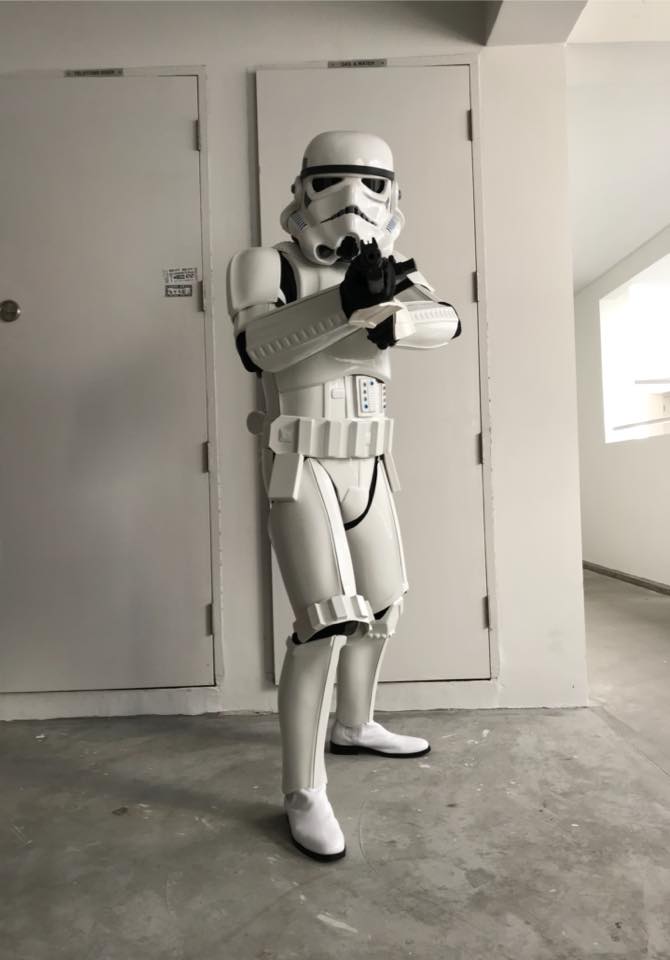
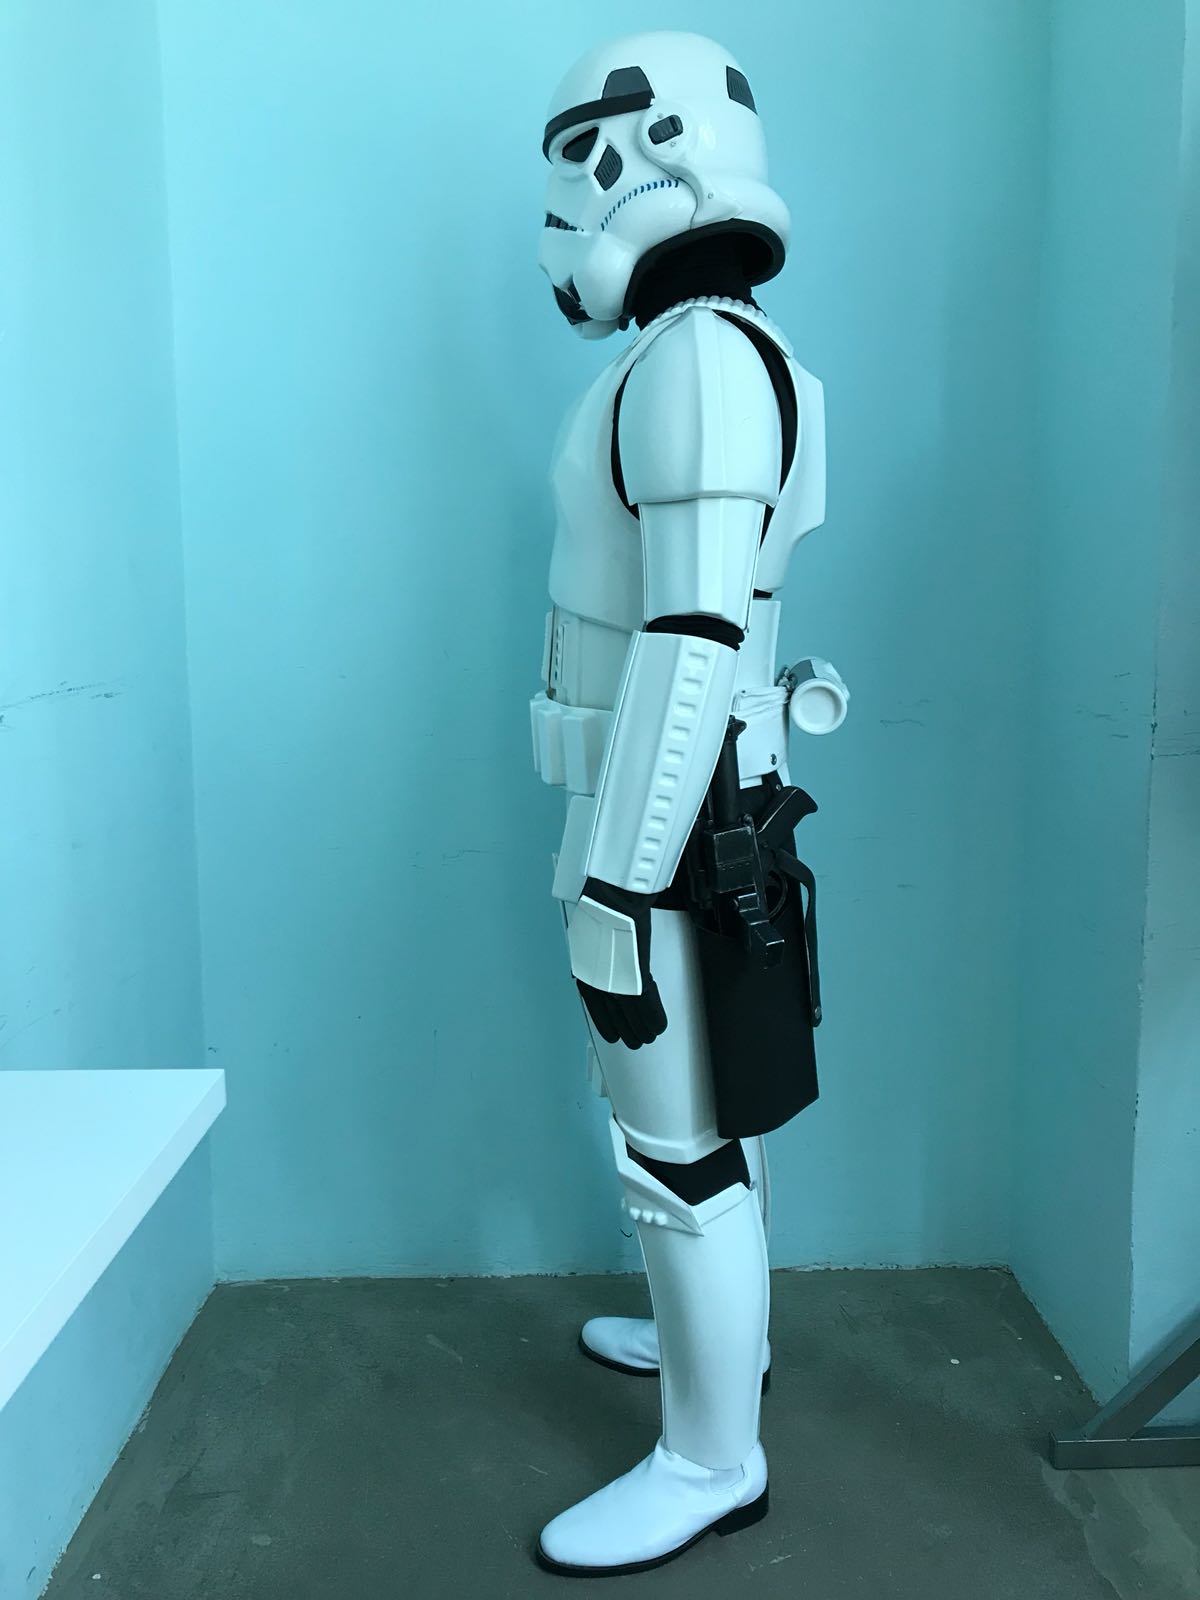
@ukswrathI have added the charging handle. (Previously I didn't want it to break off during travels hence I removed it. Its back now though ^^. I have also attached an action shot that I couldn't post due to a weird file size limit in the original post. (The belt in the picture has been upgraded and corrected since then).
Good sir I am still abit confused about the outer thigh ammo pack picture you need?

Once more apologies for the missing pictures in the main post. The forum is not being cooperative with me

Many thanks guys!
-
22 hours ago, NINJAM0VE said:
Hi Josh, as pointed out by Joseph, you should also use a panhead screw - slotted type painted in black for your TD clips.
Some other things that may need adjustments are as follows:
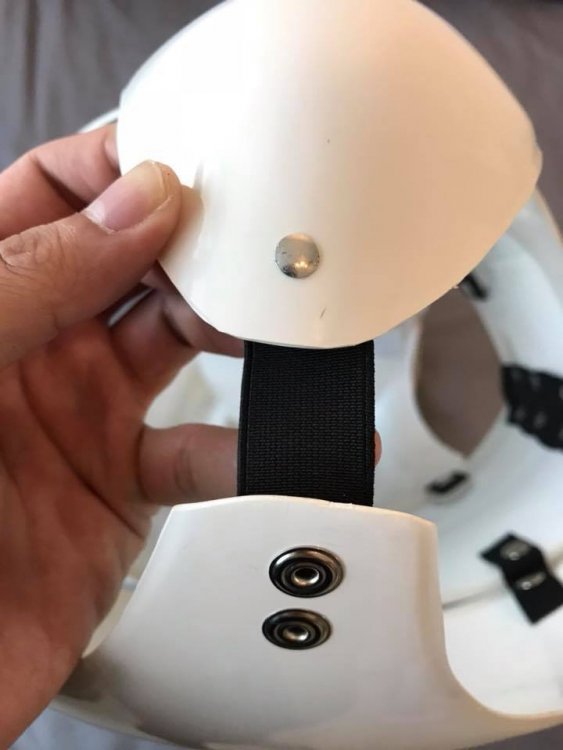
• your sniper knee plate may need to be glued on the sides. They seem floating in the photos.
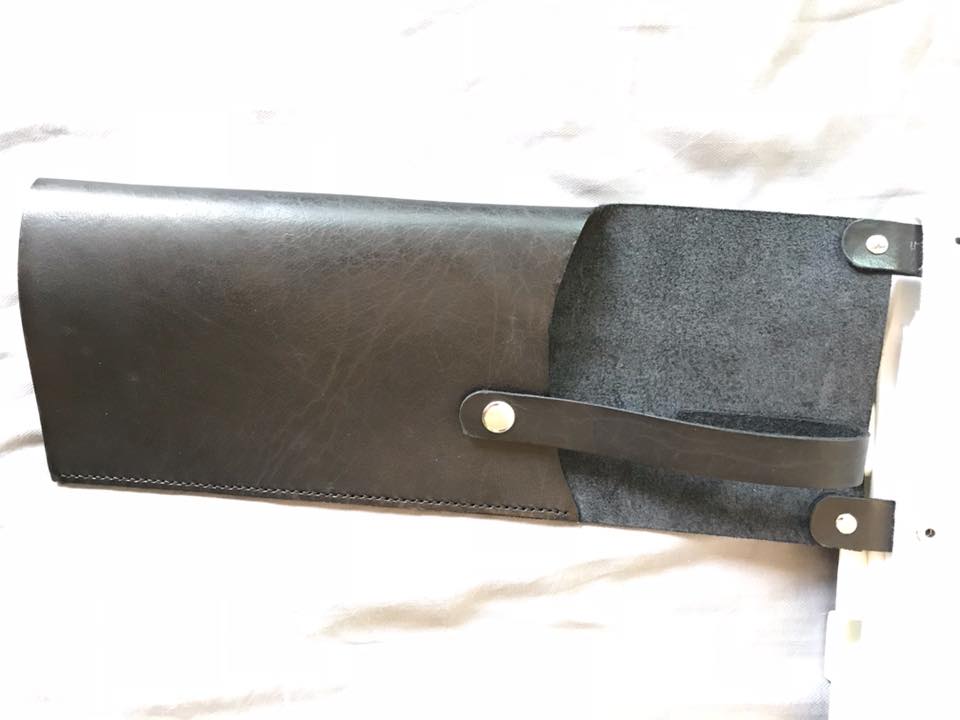
• you may need to cut the folded part of your holster and attach it to the white canvas belt using chicago screws instead of snaps.
• your thigh parts may need a little bit of trimming so you can have a gap in between your thighs and shins that permits mobility and comfort.
• dont forget to also upload photos of your boots and the D-ring of your blaster.
Cheers!
Finally managed to get most of my pics up in the second post.
-
You'll have to help me out with the panhead screw measurements

- My sniper plate is glued on at the sides, but the sides may be a littlle too long. Will do my best to trim it down.
- You mean the attachment straps? Also I can't swap the snaps for screws without damaging the holster. Will this be a requirement for approval?
- I actually move really comfortably at the moment, even ran up the stairs during the Chingay troop. ^^
- Will attach the pictures in the next reply. ^^
Thanks for the feedback bro!
-
You'll have to help me out with the panhead screw measurements
-
3 hours ago, justjoseph63 said:
Really nice job overall, Joshua! There are a few items that need some attention, though.. The large ab button plate needs some serious trimming, (the smaller one could use a little love too). Below is a photo of the ab section of an ATA chest plate showing how it should look. It may take some work, but hopefully you used E-6000 to attach it so you can remove it to trim it. Also, the placement of the clips on your TD needs to be moved (easy fix) and you should paint those screws black. Below is a pic of the proper alignment.
Keep up the great work.. I have every confidence that we will see you at EI level soon!


Thank you friend I will work on these ASAP!
-
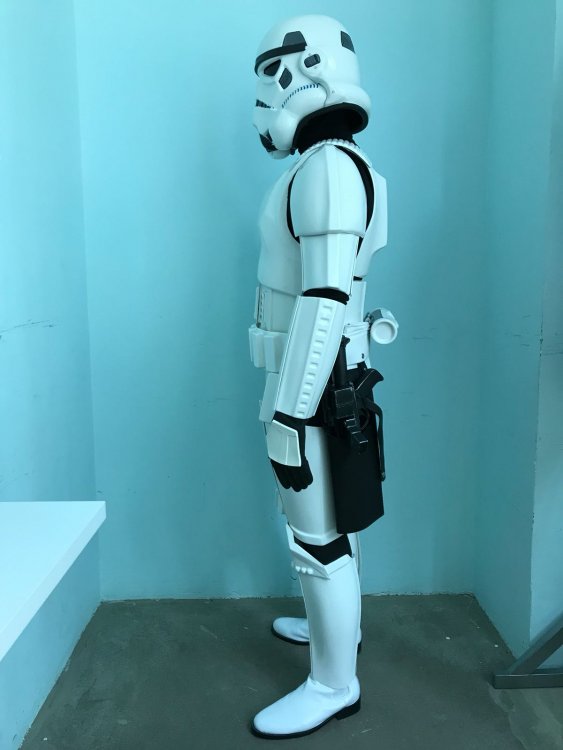
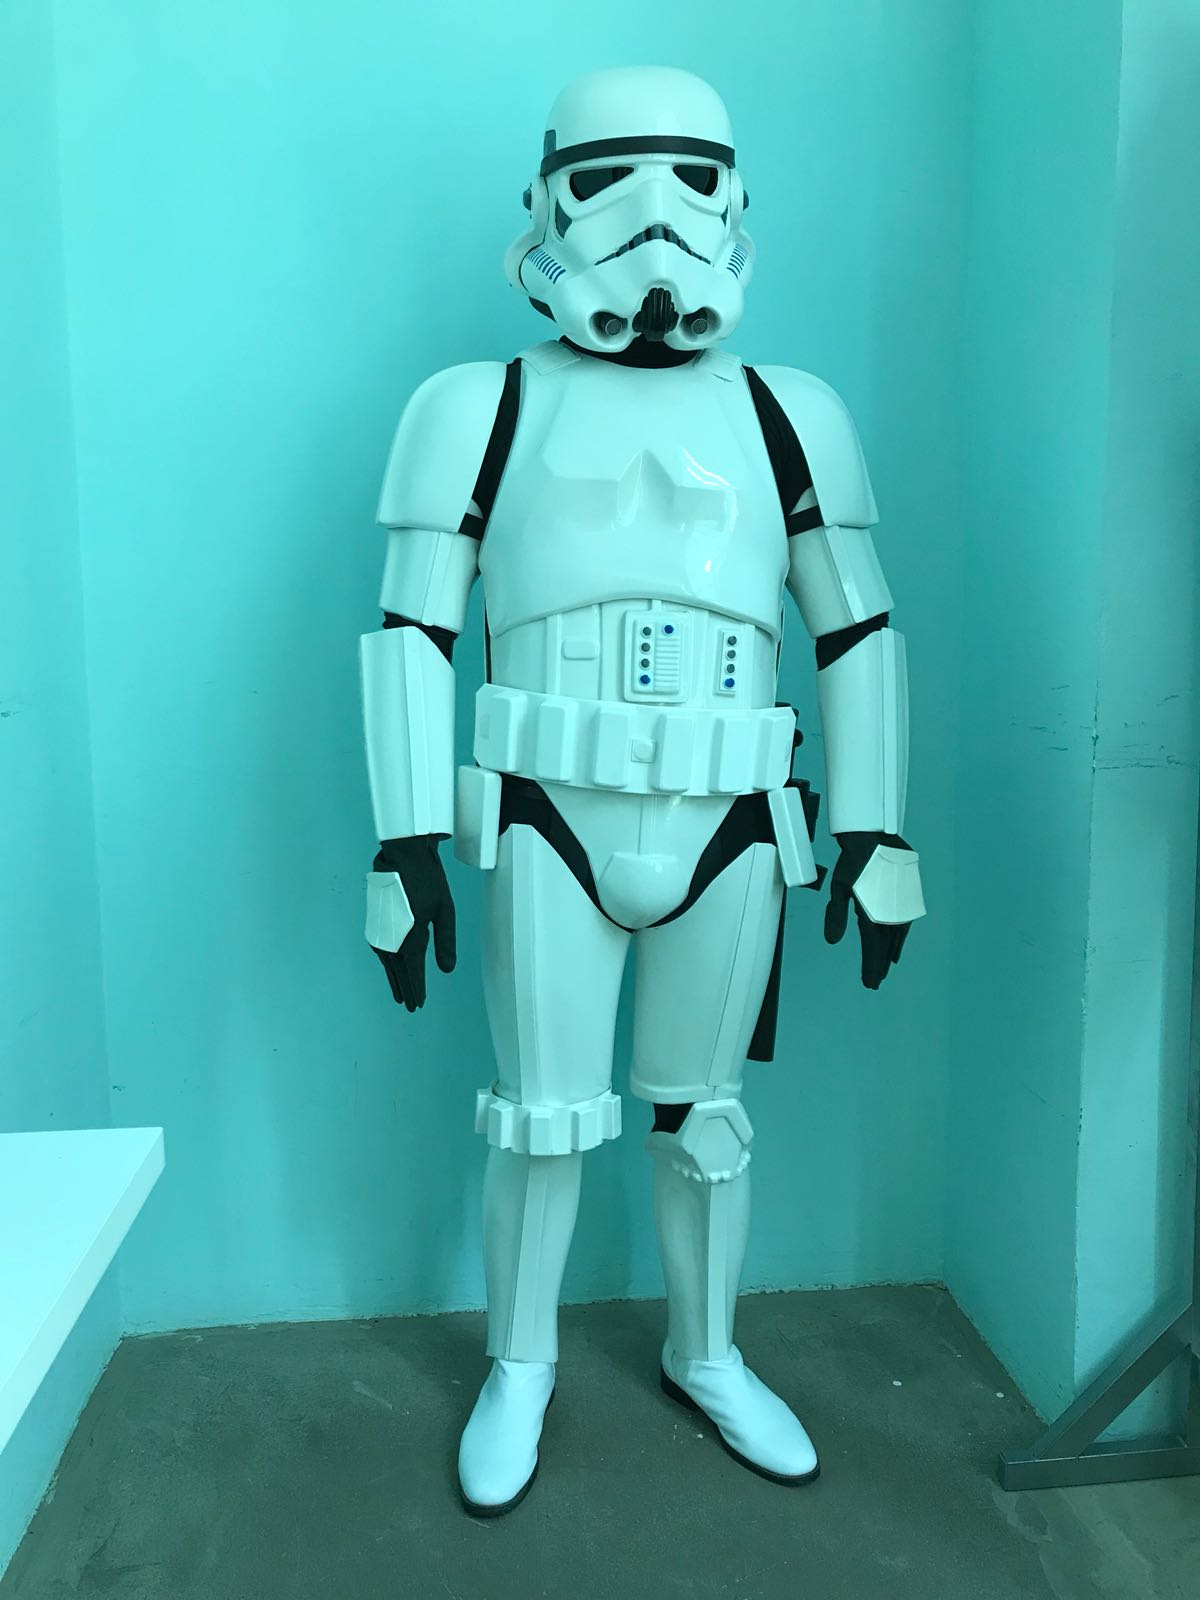
I realised my photo taking positions were wrong. Finally got the chance to re take them. ^^


-
Name: Joshua Tan
Height: 5’5"
Weight: 143 lbs
FISD Forum Name: Wargasm
Legion ID #: 12968
Garrison: Singapore Garrison
501st Member Page:
http://501st.com/members/displaymemberdetails.php?userID=20493
Armor: ATA
Helmet: ATA
Blaster: E-11 (DoopyDoos resin kit)
Boots: Imperial Boots
Canvas Belt: local supplier
Hand Plates: Rubber (Trooperbay)
Neck Seal: Darman's neckseal
Holster: Local leather supplier
Front:
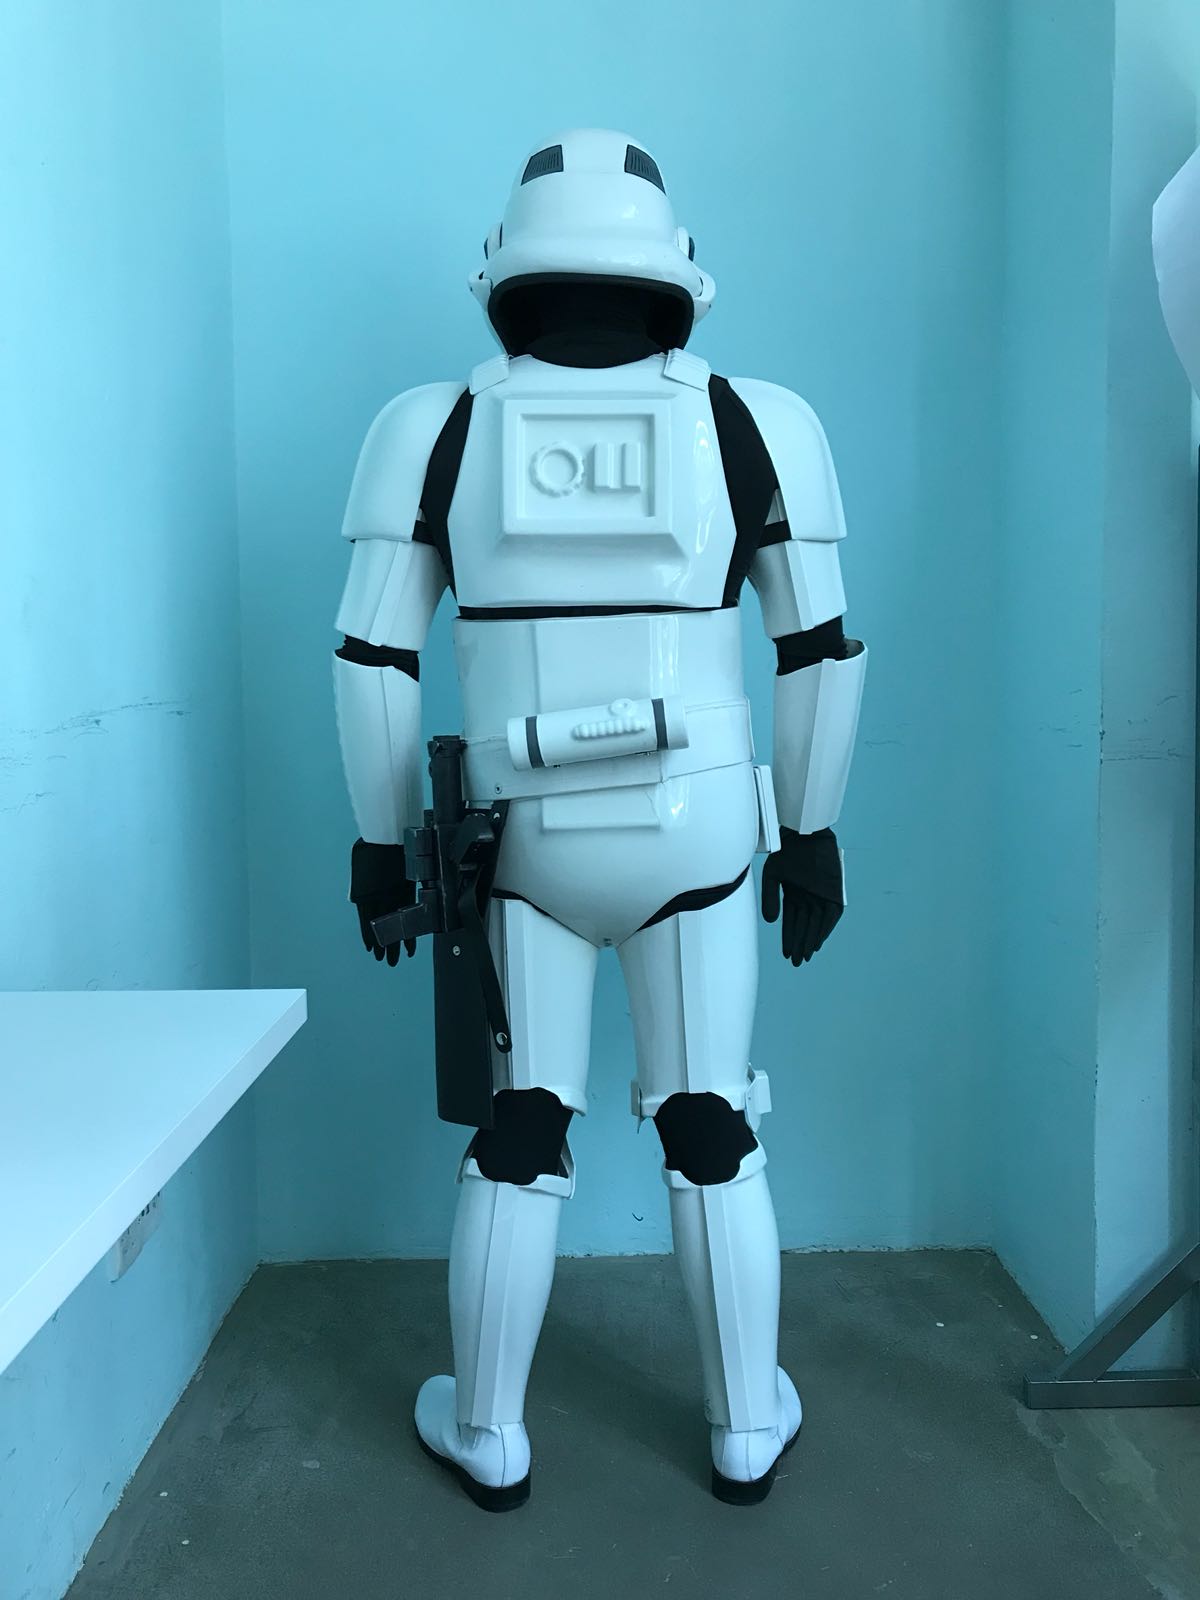
Back
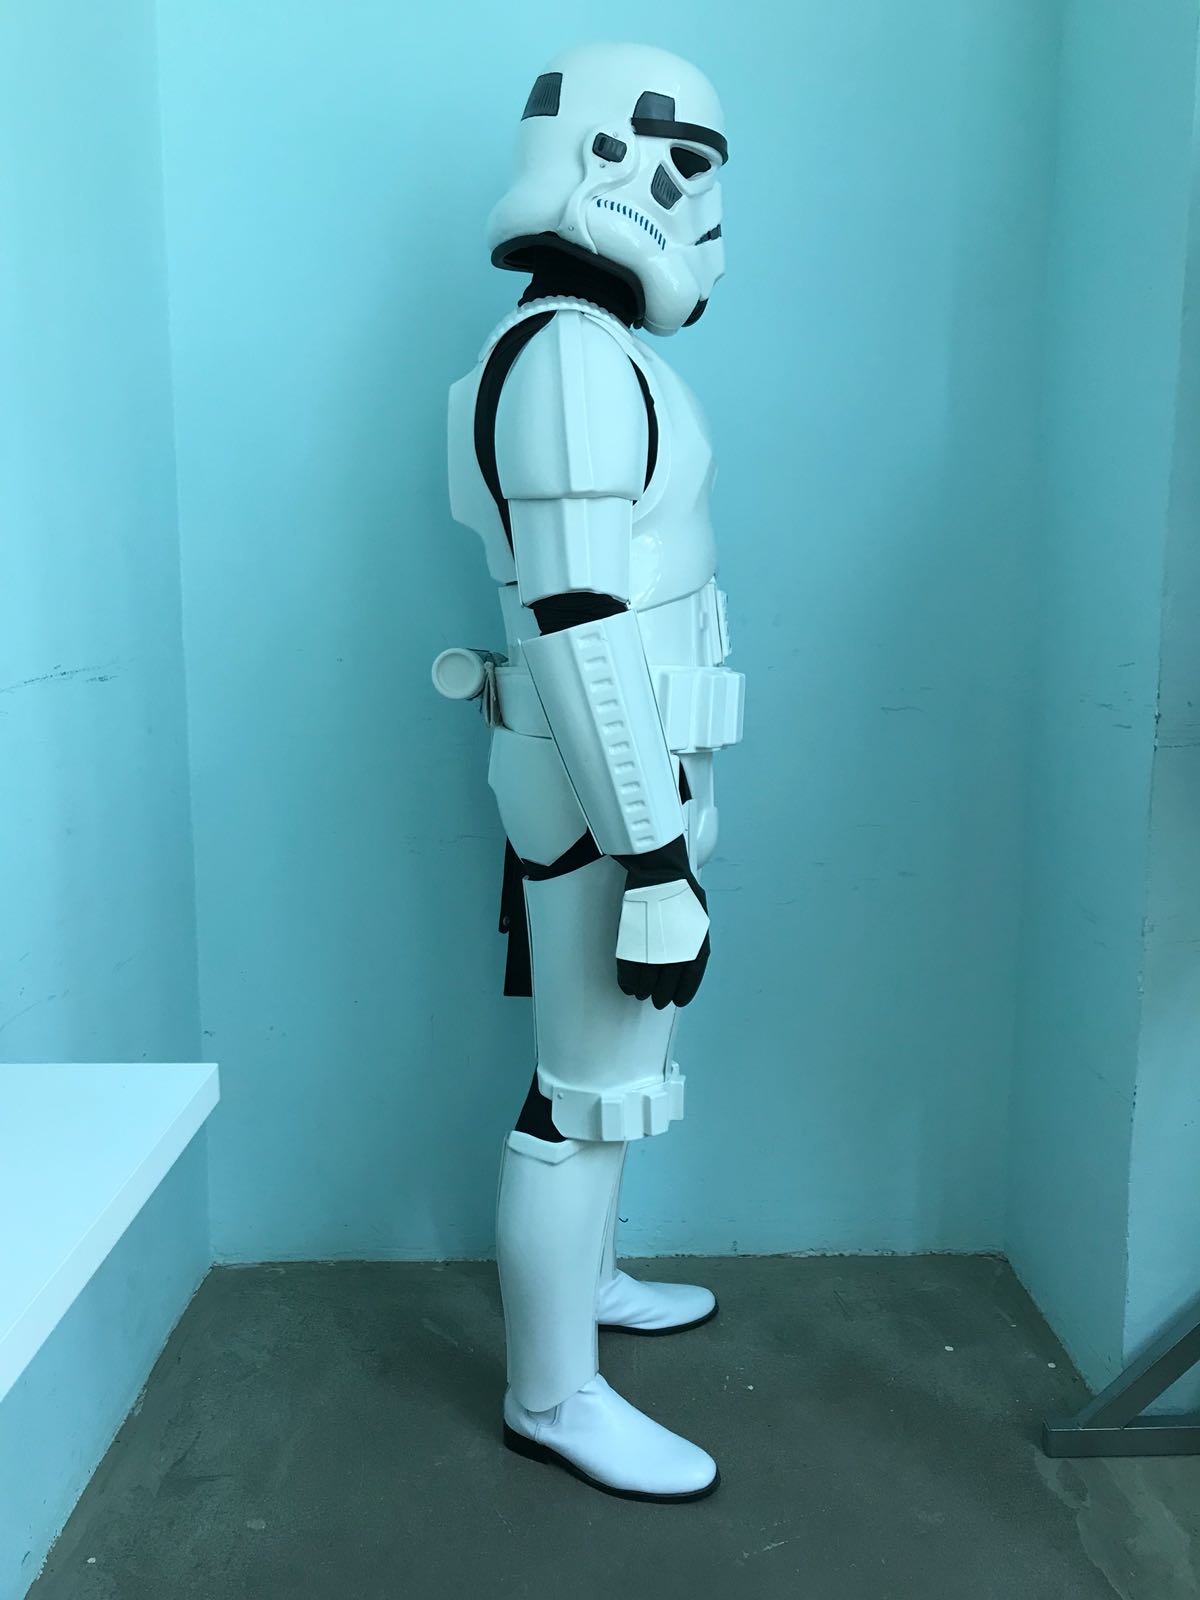
Left side
Right side
Armor strapping:
Left abdomen Split rivets
Right side abdomen male snap:
Ab Buttons:
Chestplate / Shoulder straps:
.jpg.cc1fd762f5a2f5046128e2c555e0b18d.jpg)
Crotch snap/rivet :

Belt / Holster / Thermal detonator:


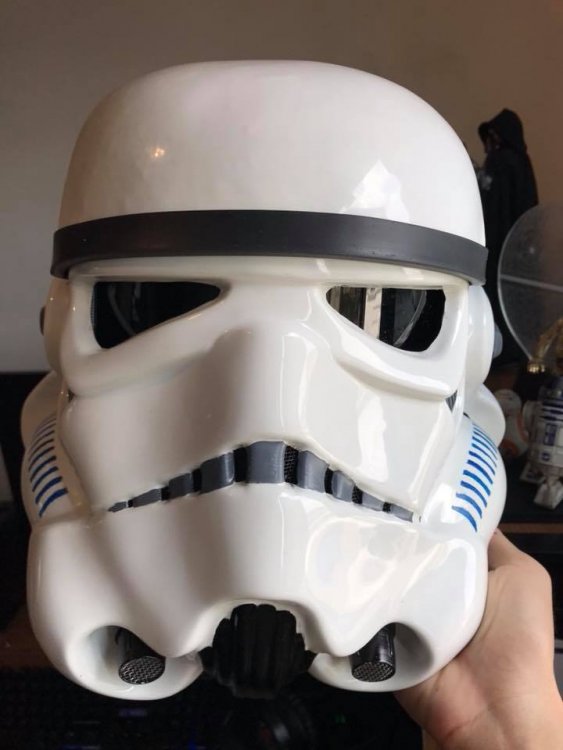
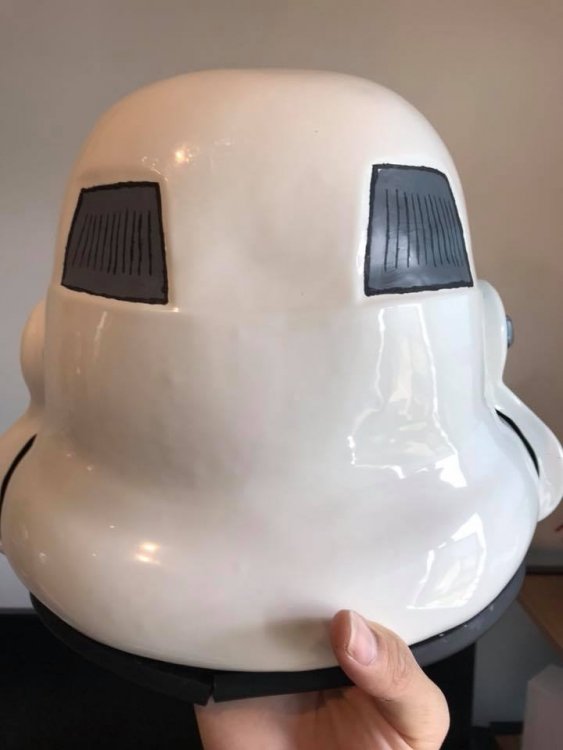
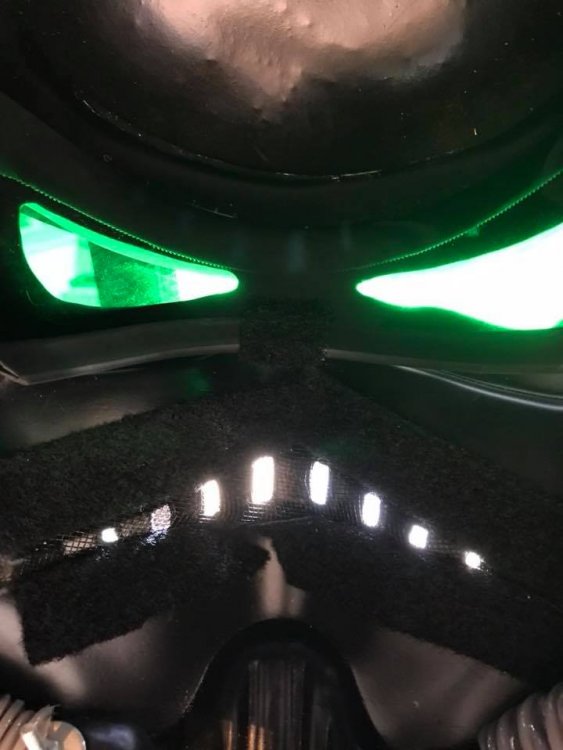
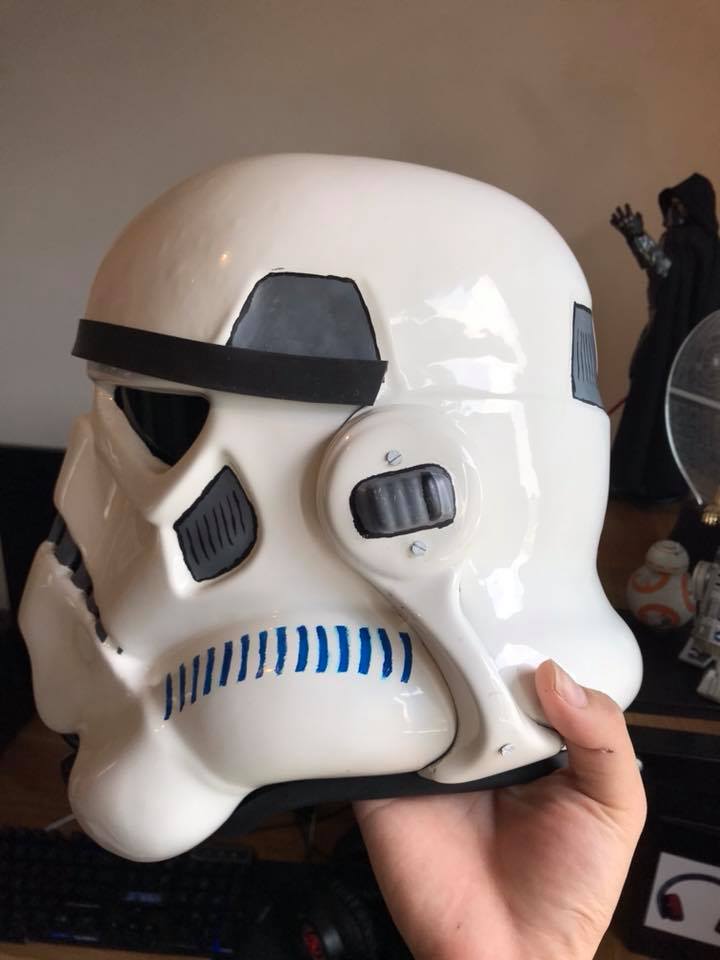
Helmet details:


Neckseal:
.thumb.jpg.ab5c66f1561fb2ee6928fa8a0b536dd1.jpg)
E11:


Rubber handplate:
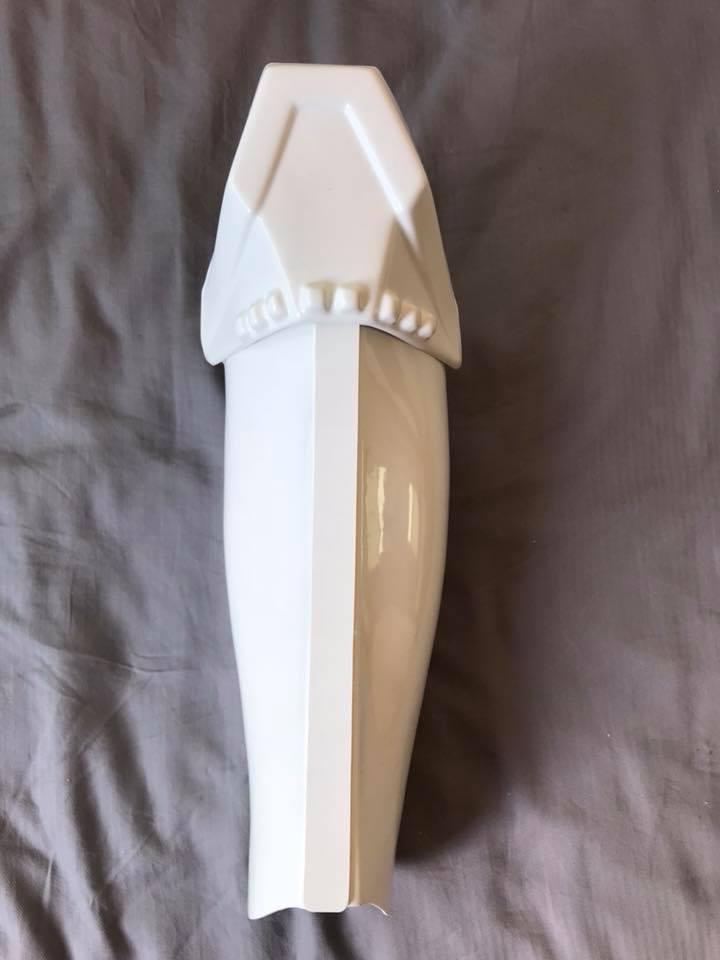
Sniper Knee plate:
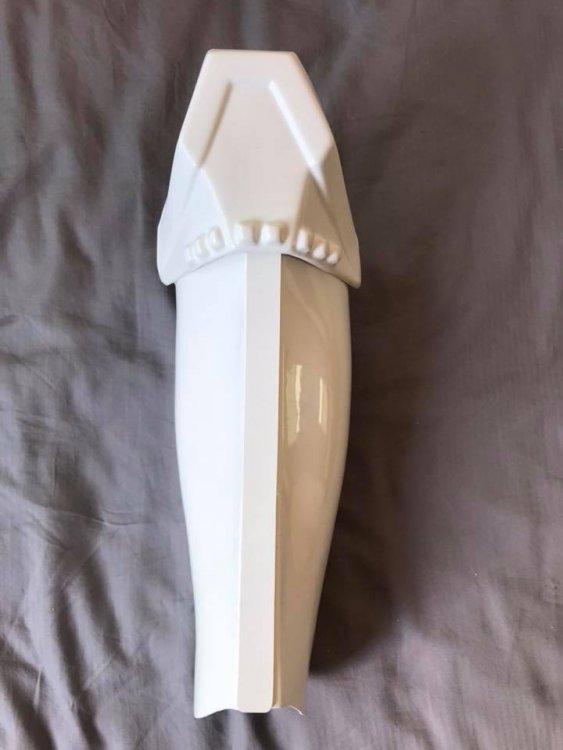

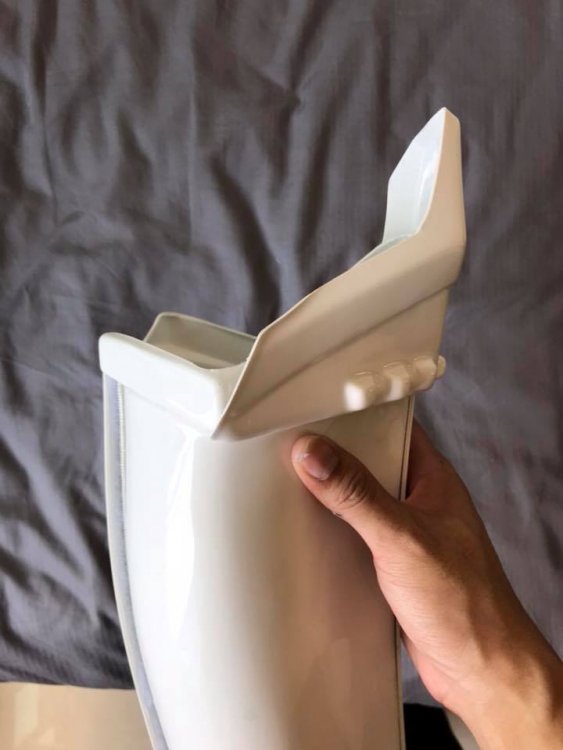
Thigh ammo pack attachment:

-
TK12968 Joshua Tan requesting access to the forums.
")
http://501st.com/members/displaymemberdetails.php?userID=20493
-
Where did ya get the printed barrel holes? Awesome build btw. I am building one in the exact same way

-
Wow looking awesome! Will be watching this build ^^
-
Hello all, I'm Josh from the Singapore Garrison. I am a ANH Stunt TK hoping to upgrade to Shocktrooper ^^


.jpg.294b498194781f0ec517e547a0293f6d.jpg)


TK12968 requesting ANH Stunt EIB status (ATA) [810]
in Request Expert Infantry Status
Posted
Thank you so much for the observations will do my best to further improve on all the mentioned points!