


gromitsdad
-
Posts
88 -
Joined
-
Last visited
Content Type
Profiles
Forums
Gallery
Articles
Media Demo
Posts posted by gromitsdad
-
-
Ugh. Mid forties and laziness took over. Thanks for the heads up.
-
Thanks so much for this thread! I've been installing the same setup basically, but an issue I'm having is that the fans are spinning at full speed and are very loud. I don't mean that the fans themselves are making noise, but that the wind generated by the fans is loud. Has anyone else had this issue? Any suggestions?<br><br>
Thanks!
-
Thanks so much! Onward and upward!

-
Congratulations Tom! Looks like it's a great fit!
-
 1
1
-
-
Great, thank you Tony
Sent from my iPhone using Tapatalk
-
Thank you! Fingers crossed...
Sent from my iPhone using Tapatalk
-
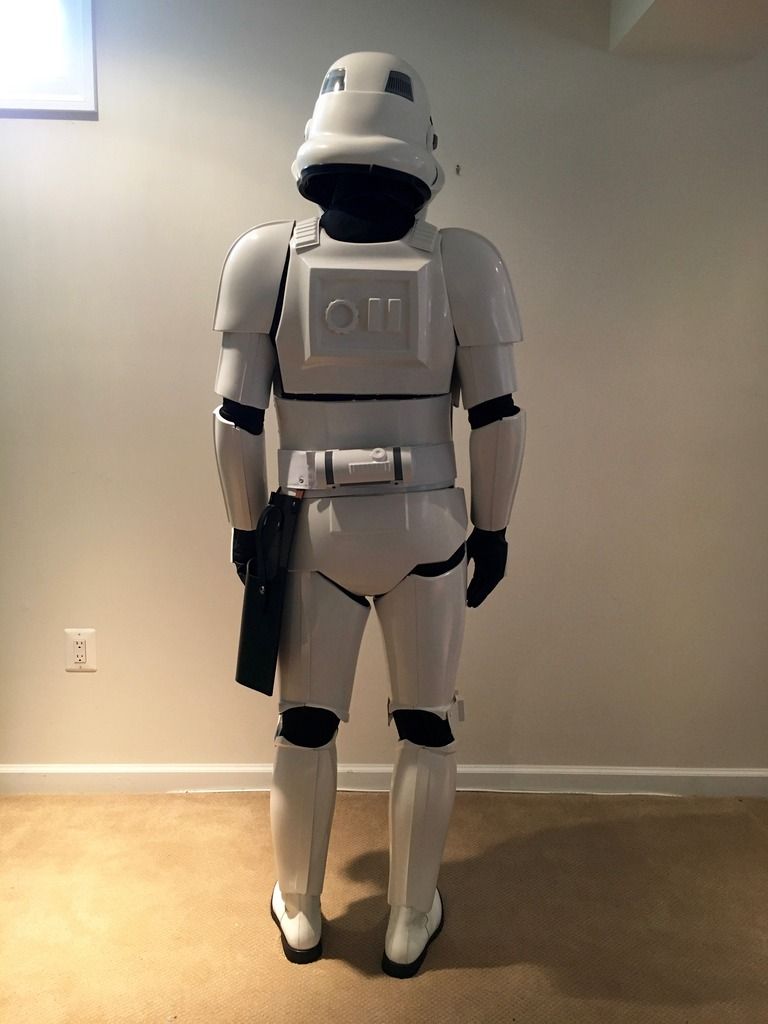
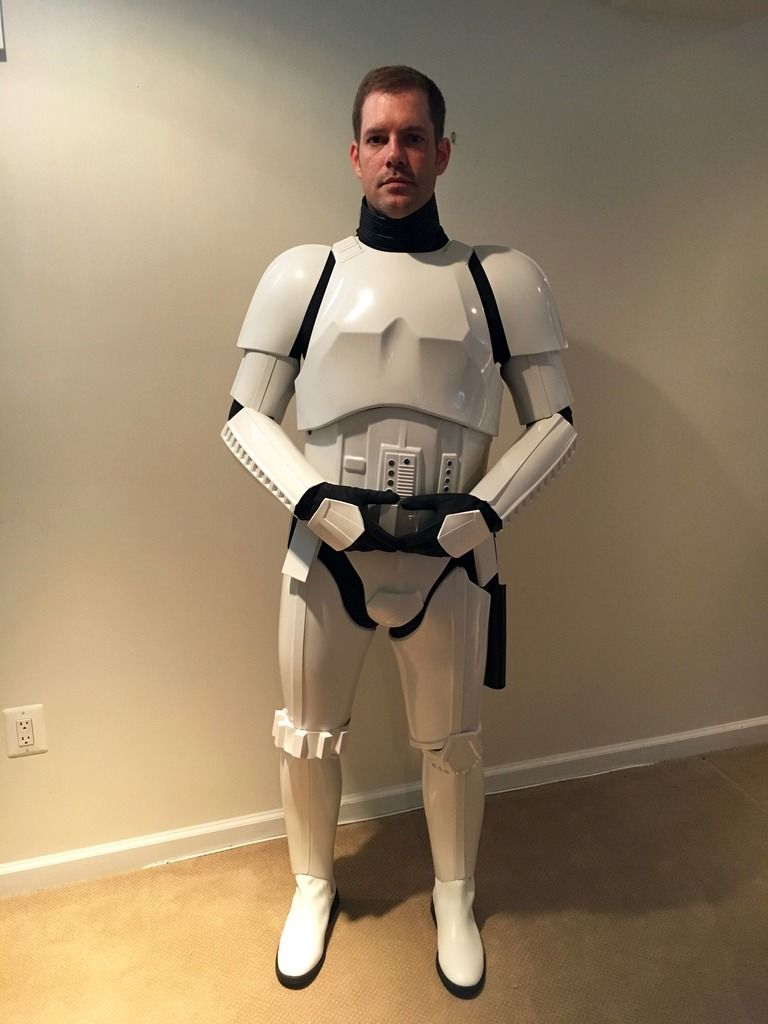
I'm modestly submitting photos in hopes of EIB approval for my Anovos ANH Stunt. Thank you so much for taking the time to review.
Name: Chris Johnson
TK ID: 71430
FISD Forum Name: gromitsdad
Garrison: Garrison Tyranus
-
Armor = Anovos
-
Helmet= Anovos
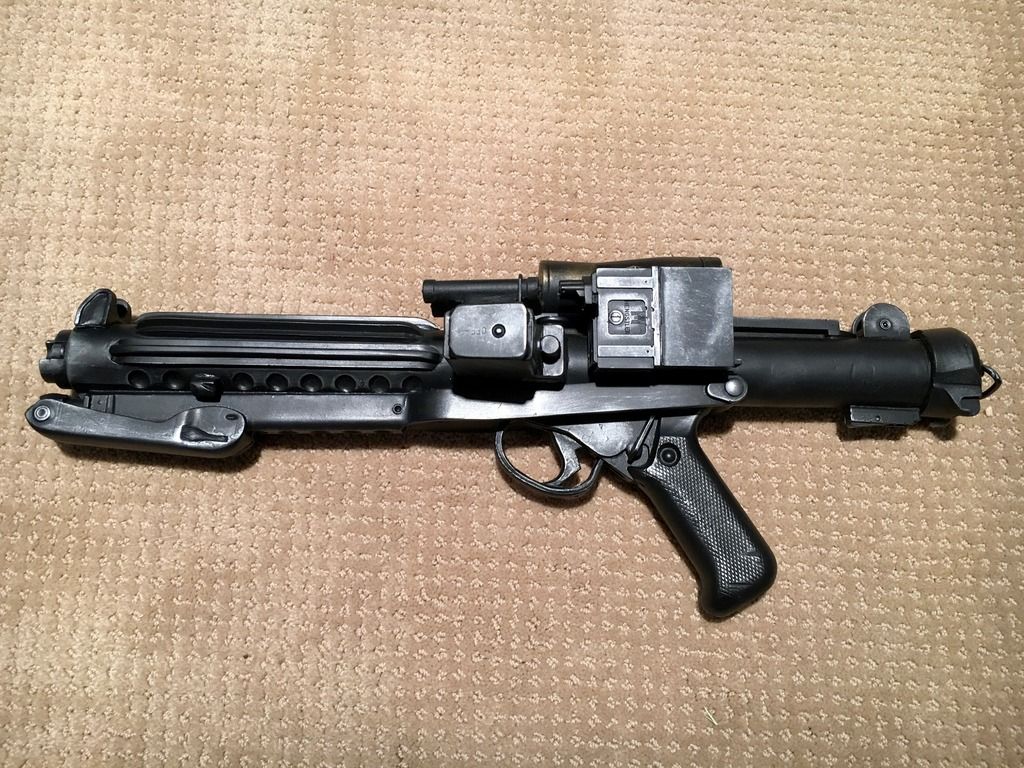
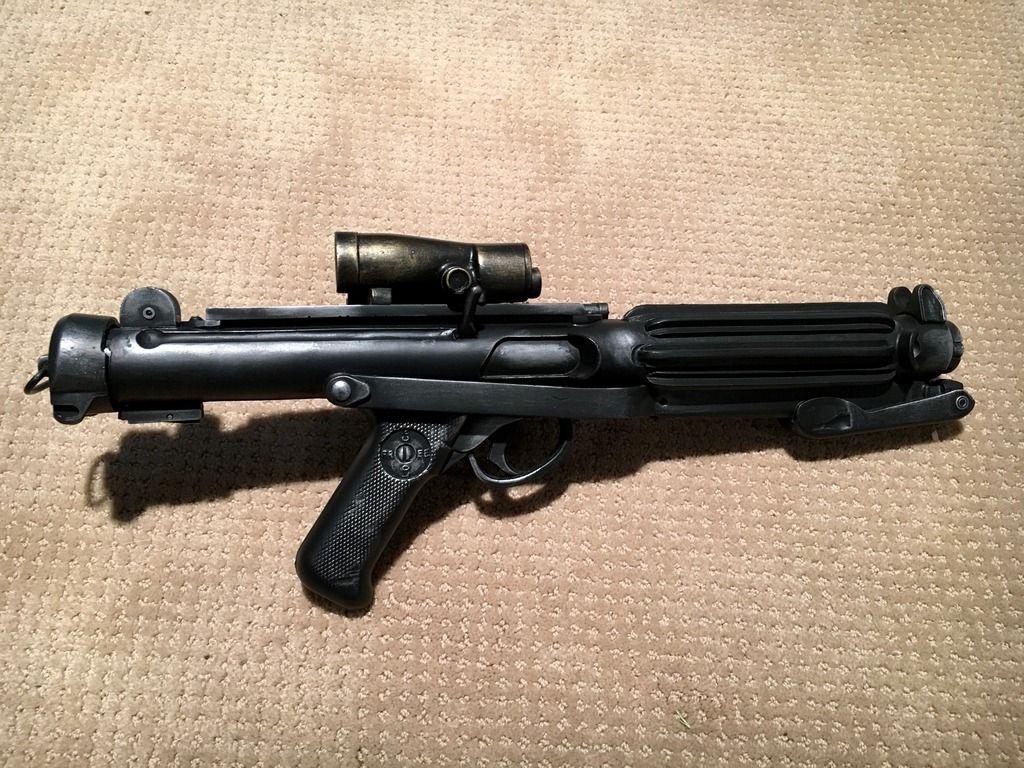
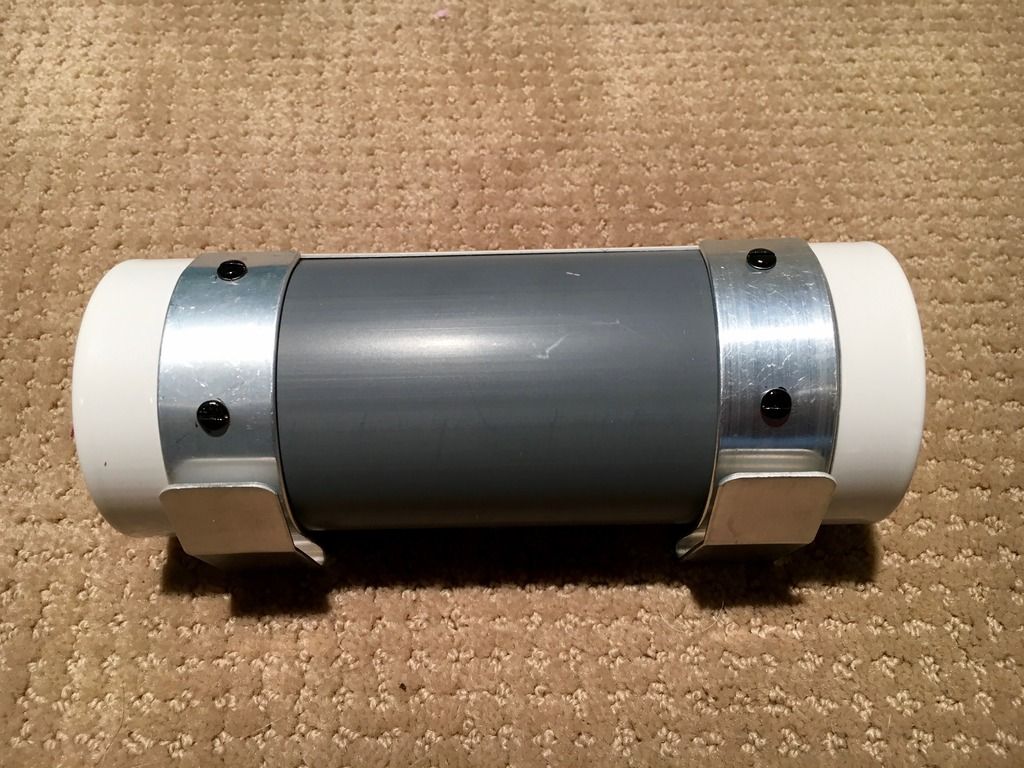
- Blaster= HFX Hyperfirm Elite E-11
-
Height = 6'0"
-
Weight = 175 lbs.
-
Boots = TK Boots
-
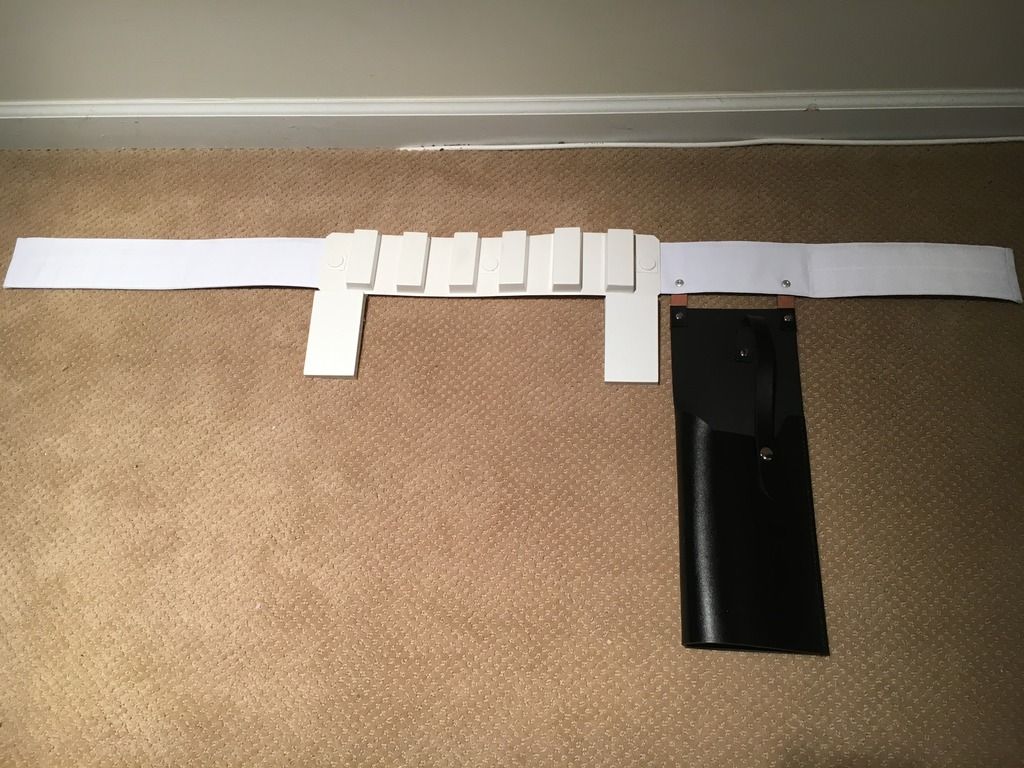
Canvas belt = Kittle
-
Hand Plates = Rubber Chemical Gloves / Latex Hand Guards (Joseph)
-
Electronics= Craig Stultz
-
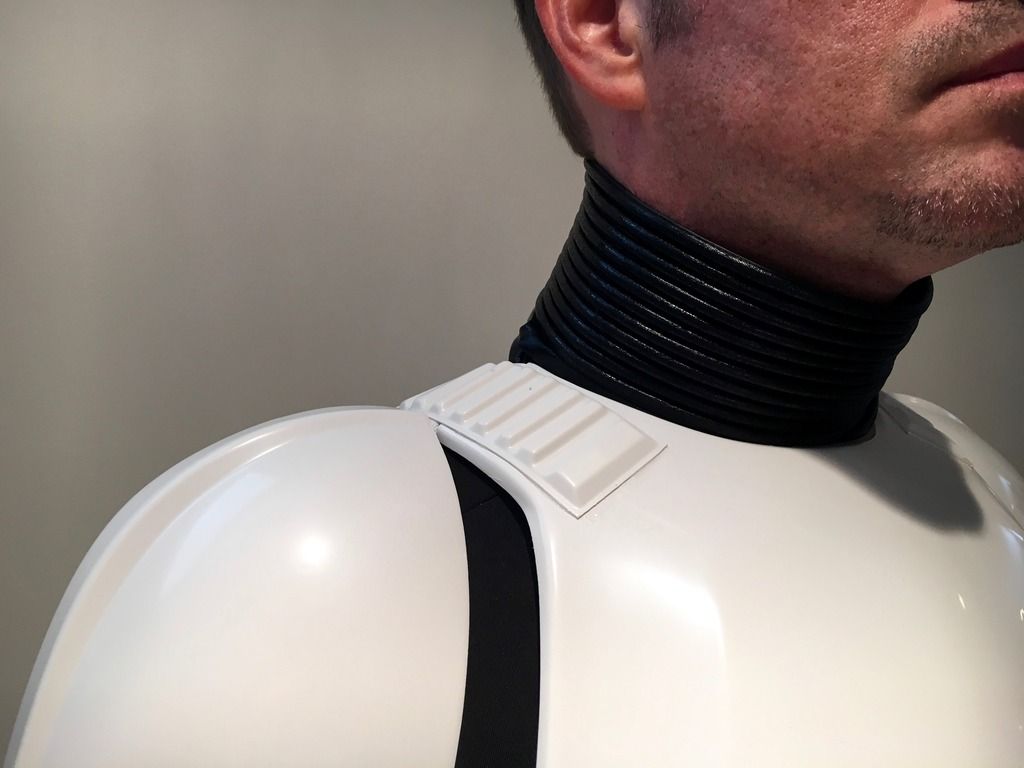
Neck Seal = Anovos
-
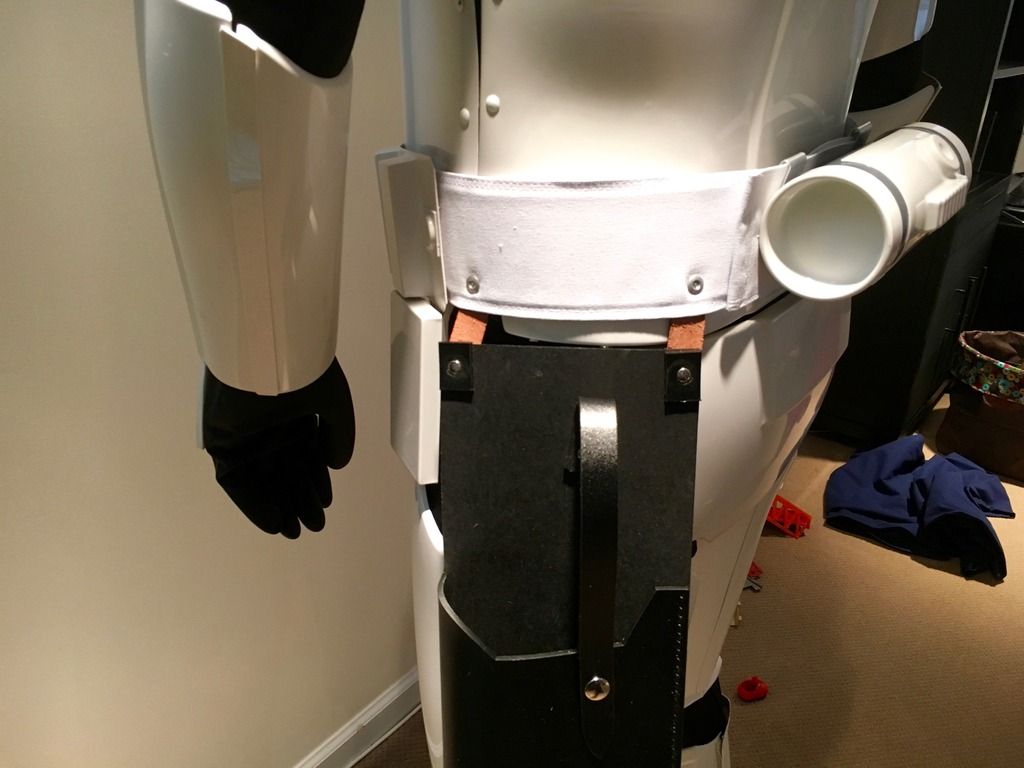
Holster = Anovos
*I should mention that due to a badly broken leg skateboarding as a teenager, my left leg is 3/4" shorter than my right. This makes it appear as if I'm leaning slightly to the left. I did my best in the photos to raise my left hip up to be more symmetrical, but it's difficult at times. I've since added a 1/4" insert into my left boot to assist.
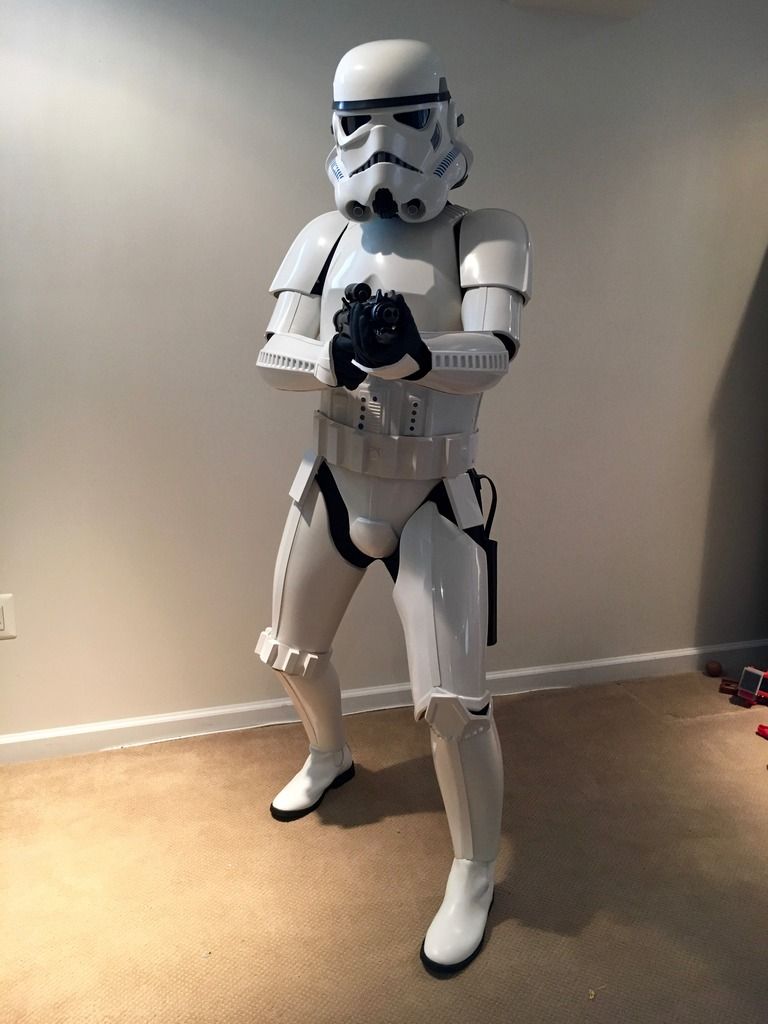
Full body front:

Full body back:
Left arm raised:
Right arm raised:
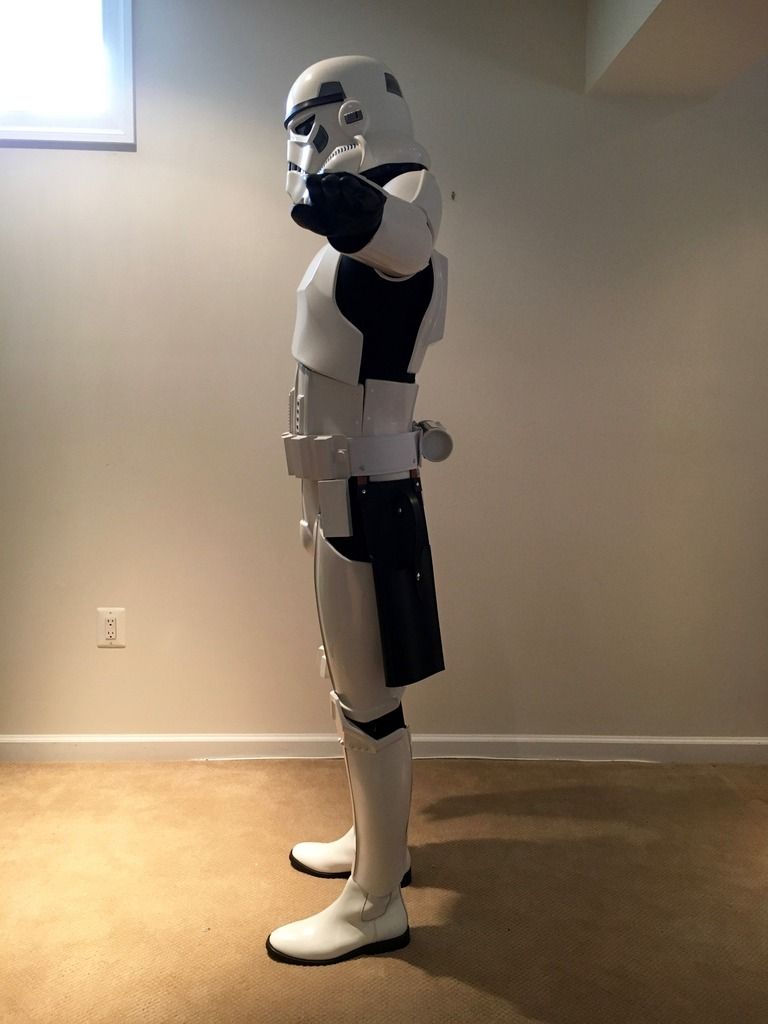
Right side detail:

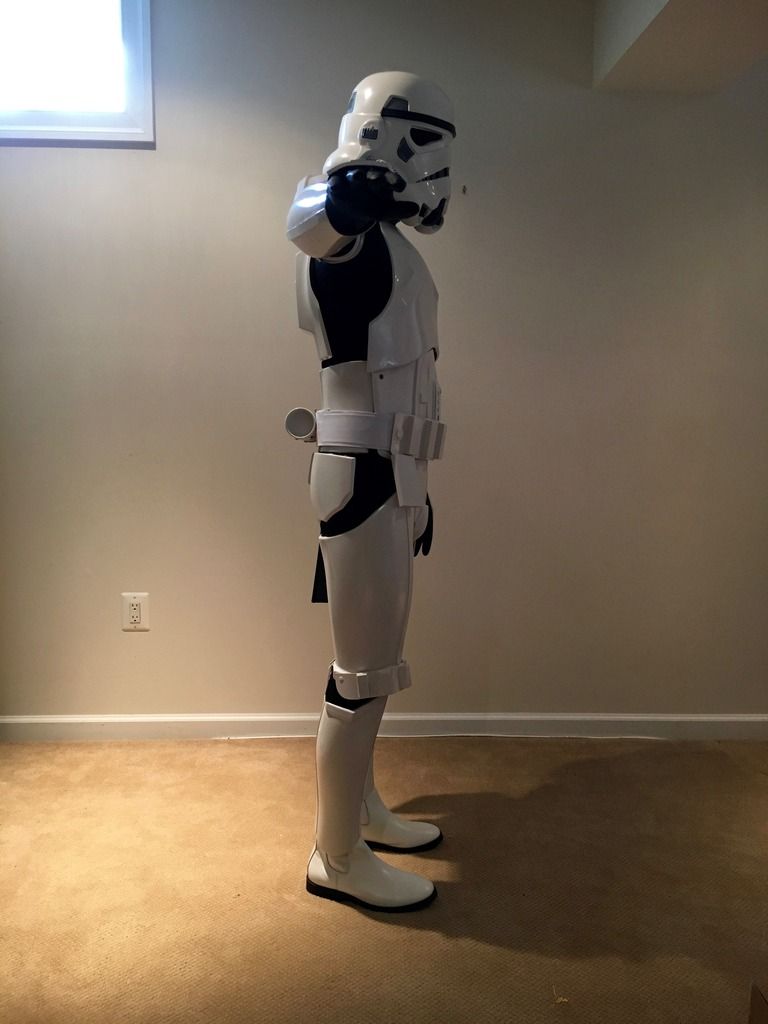
Left side detail:
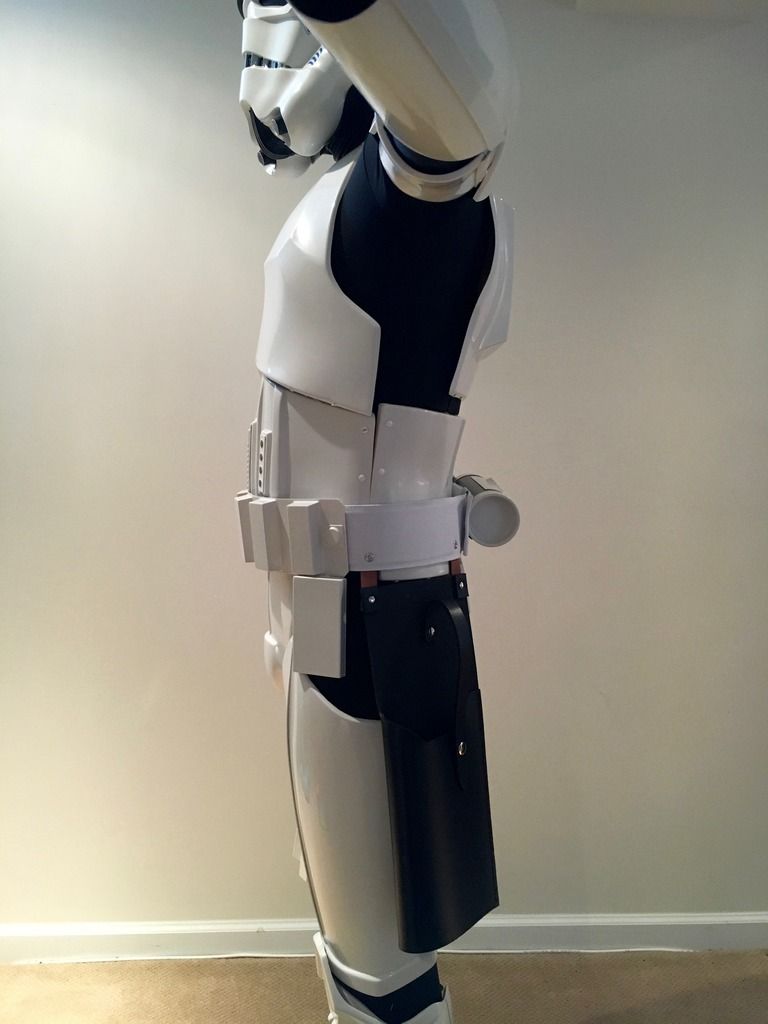
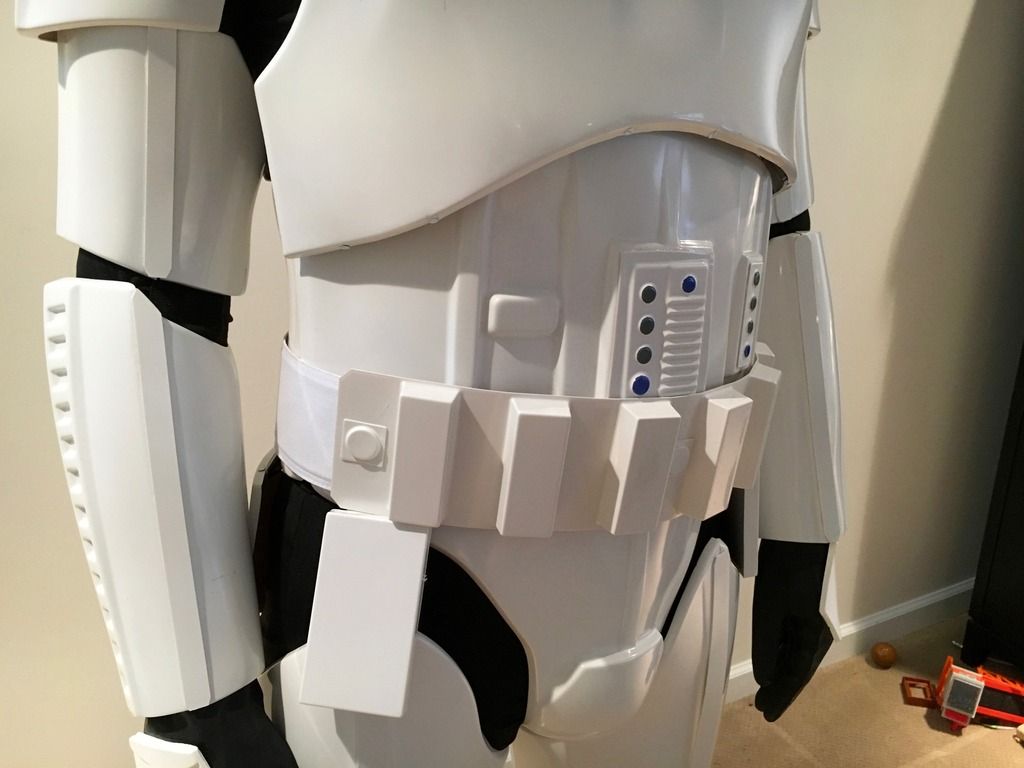
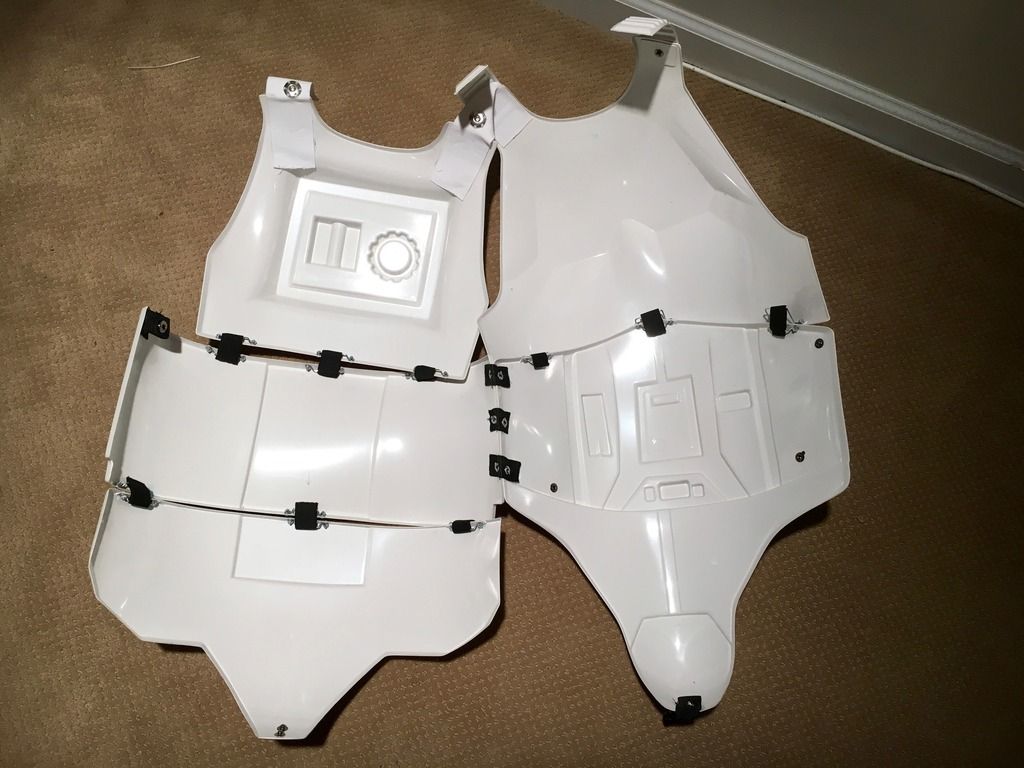
Abdomen details:
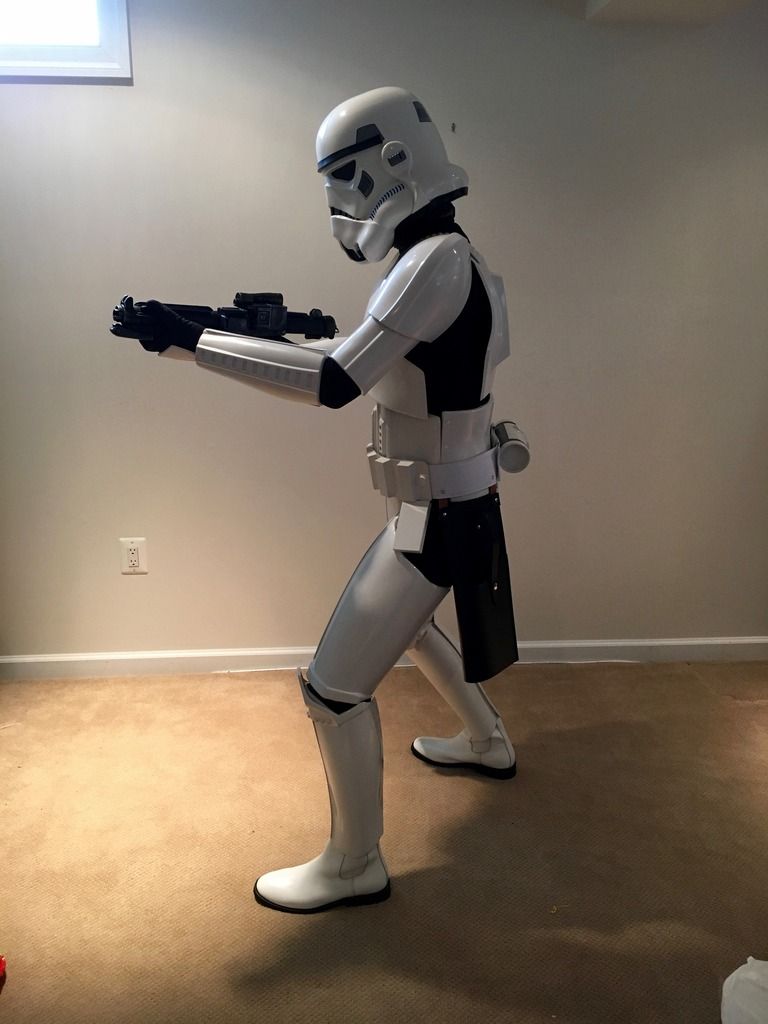
Action shot:
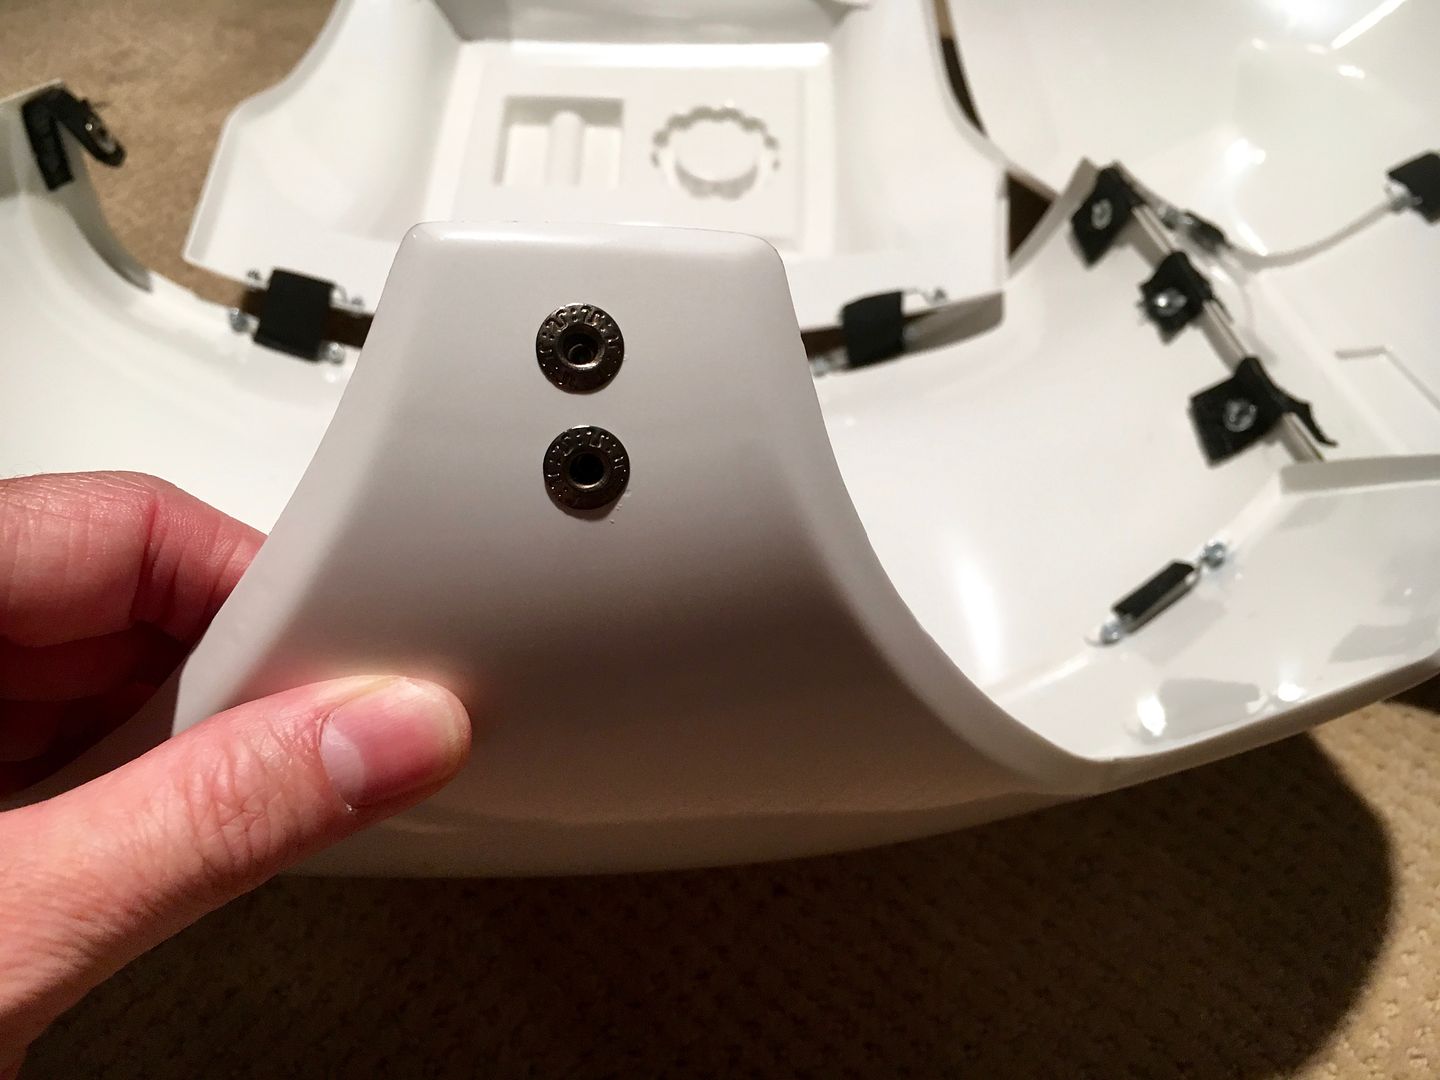
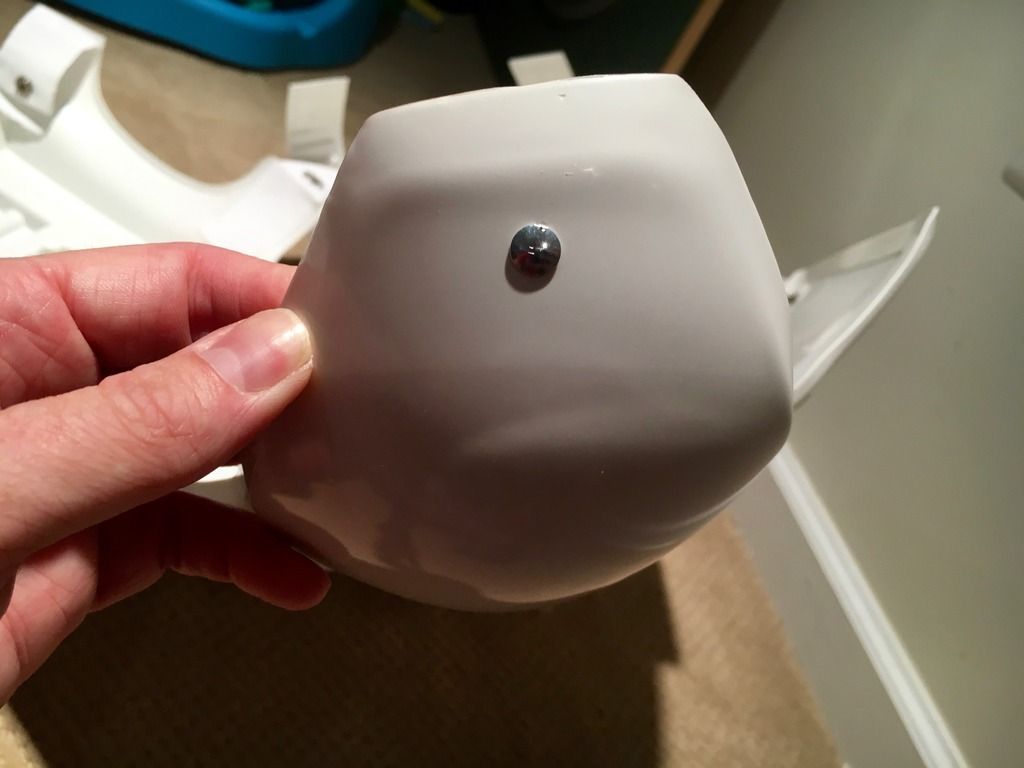
Cod and butt plate attachment:
Interior strapping:
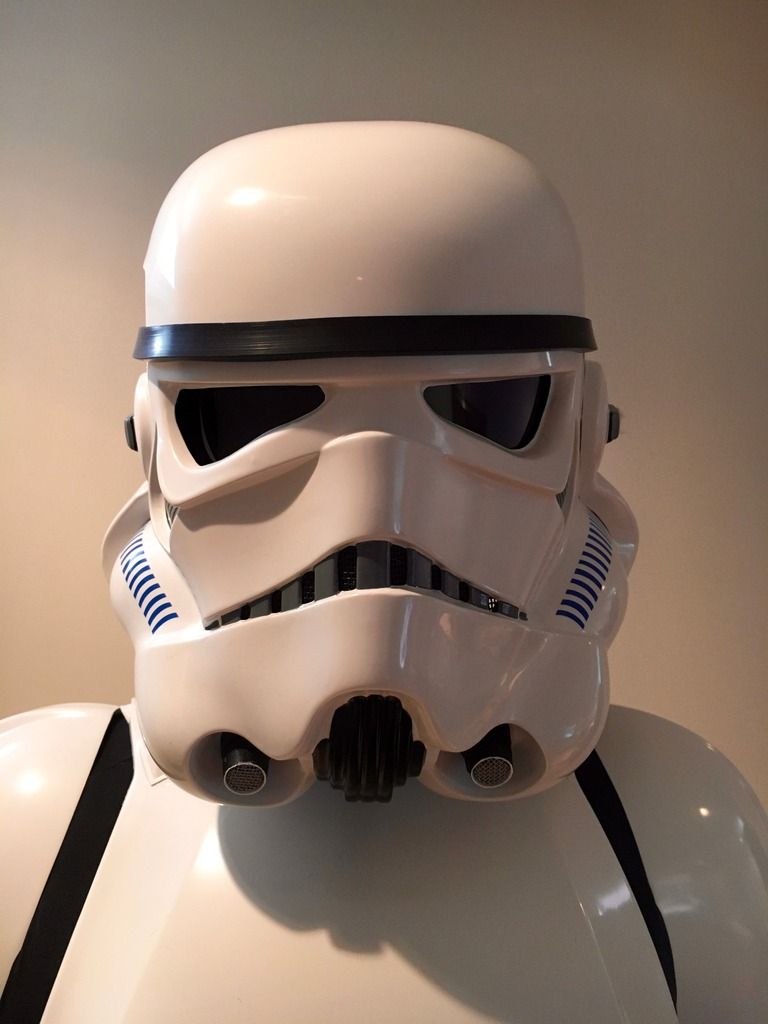
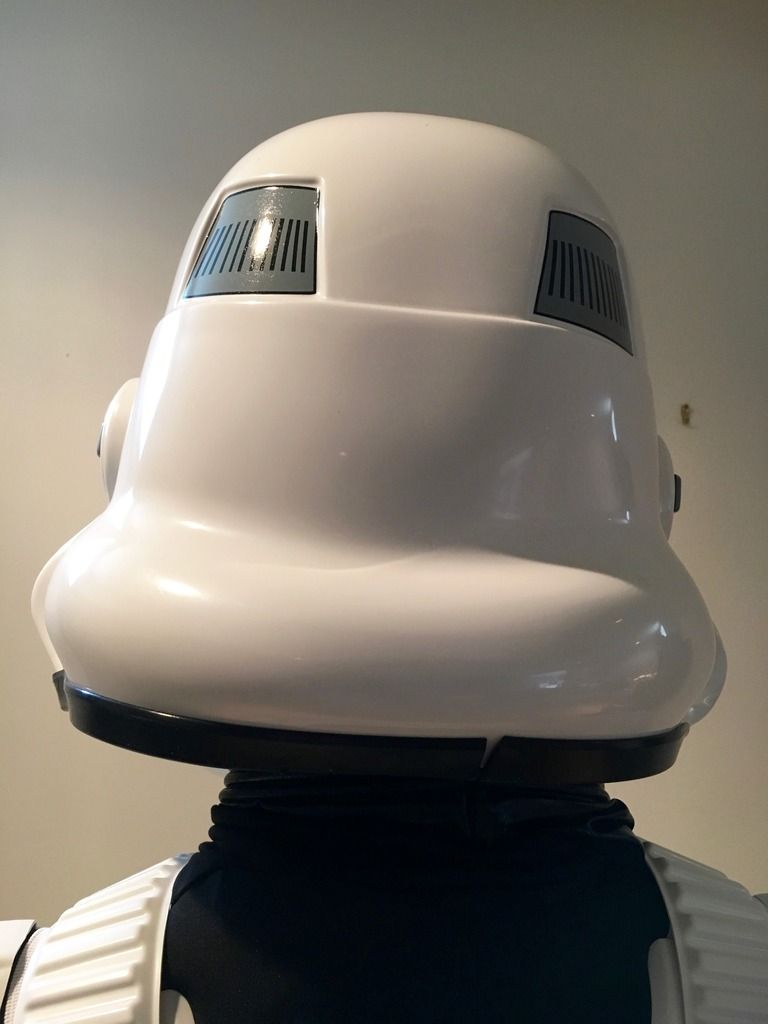
Helmet details:
Front:
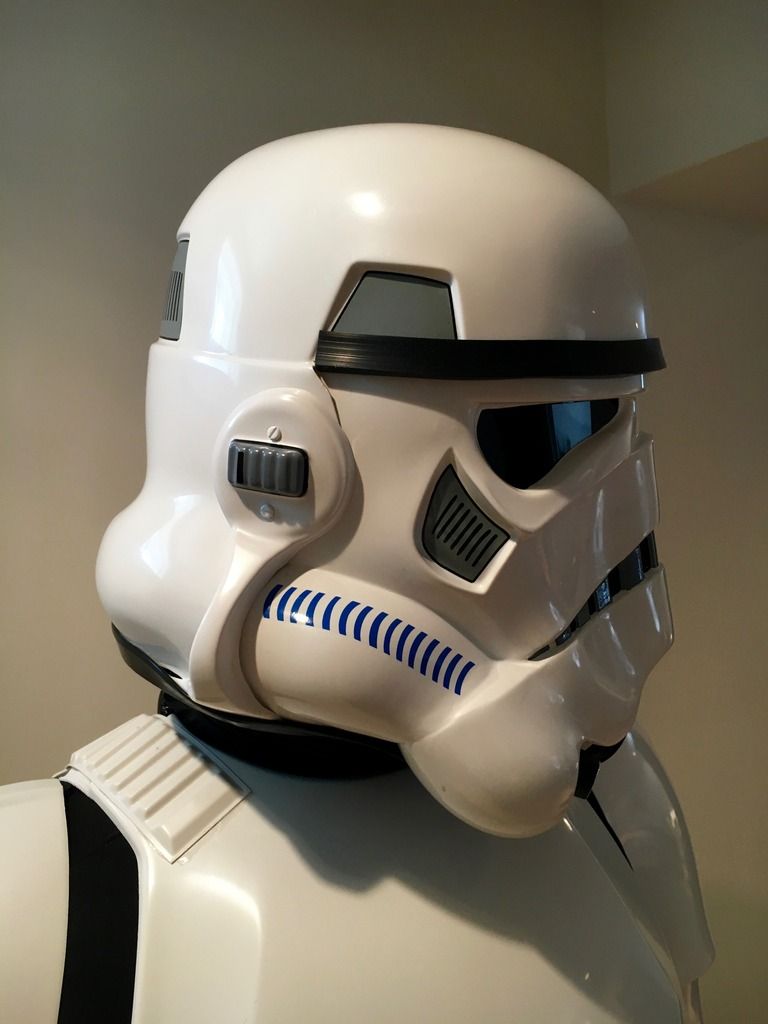
Left side:
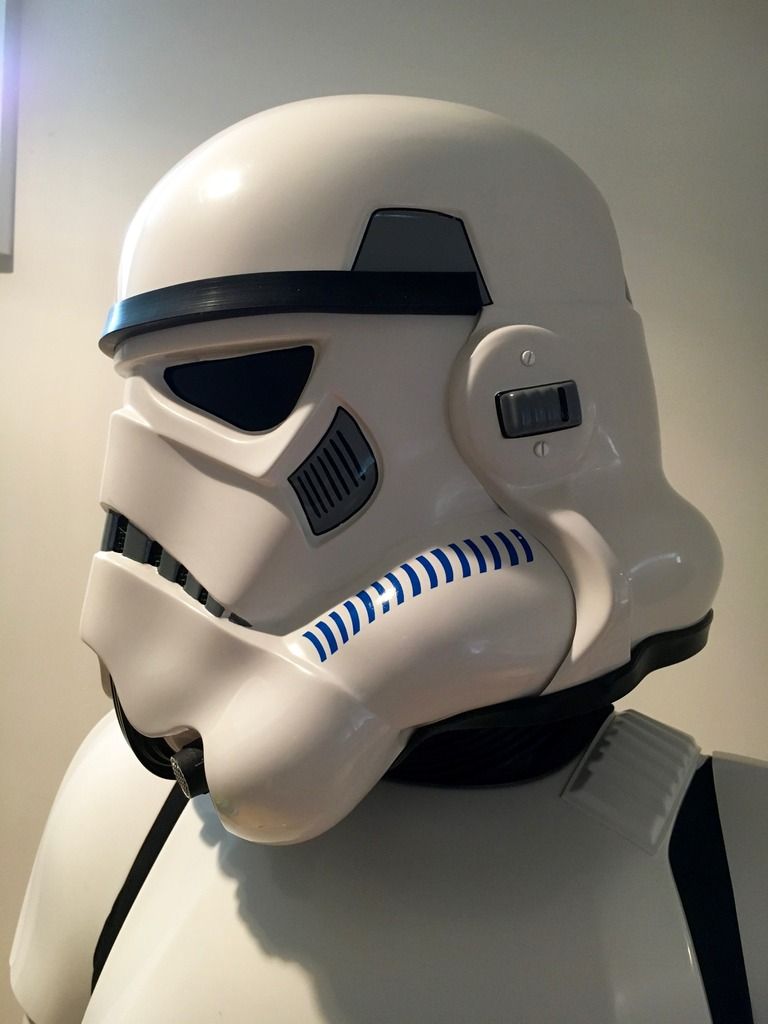
Right side:
Back:
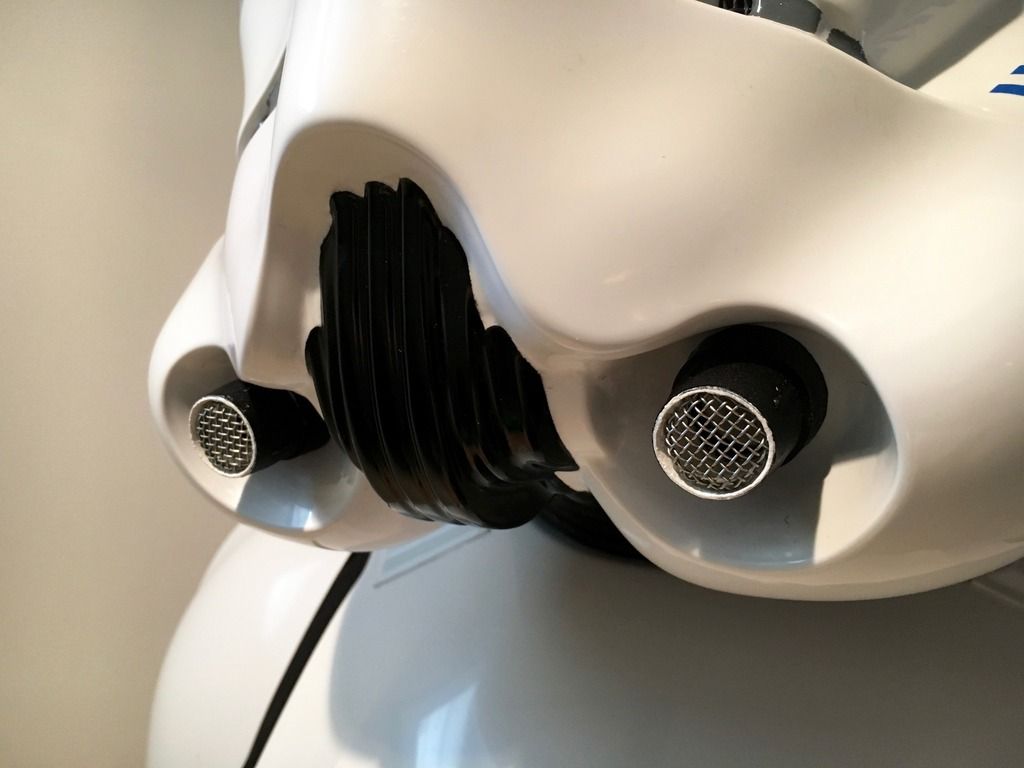
Hovi tip detail:
Lens color:

Blaster left:
Blaster right:
Neck seal:
Holster attachment:
Belt:
Thermal detonator back:
Additional photos:
-
Armor = Anovos
-
If Only You Knew:
- The second time around I would probably use CA glue for obvious time constraints while using E-6000!
- Be patient!!!
Oops!:
- I had to freeze some various pieces a few times to remove E-6000 which I was thankful for.
A funny thing happened on my way to the Death Star:
- After completing the kit putting it on for the first time is pretty interesting. You feel a bit like an un-oiled robot afraid to move around too much. And.....it's not pretty trying to snap the cod piece!
Shout Outs:
- THANK YOU THANK YOU THANK YOU to UKSWRATH's (Tony's) build thread. It was my lifeline!!!!

-
3
-
-
TK-71430 requesting access.
Garrison Tyranus
http://www.501st.com/members/displaymemberdetails.php?userID=22150
Thank you!
-
I have like 2' of it doing nothing in a drawer. Do you want me to send you a foot of it? PM me your address and I'll drop it in the mail tomorrow! No charge.

Jim - TK50899
Hey Jim!
Just sent a PM to you. THANKS!!!
-
1
-
-
Hi Tony,
I'm having great difficulty locating 3/16" elastic for the shoulder straps. I've been to Michael's, Hobby Lobby and checked Amazon. Do you have a link you could share?
Thank you!
Chris
-
1
-
-
Thanks for all the advice. Yes I have them separated from the Anovos belt already. I'm going to attempt using the Dremmel slowly and see how it goes. That is some extremely hard glue, whatever Anovos used for those!
-
Hey Tony!<br><br>
I wondered if you know of any other way to clean out Anovos' glue from the rivet covers from their belt? You used a Dremmel in your section. Will acetone soften the glue at all? I'm trying to think of another way to clean them out without damaging them.<br><br>
Thank you!
-
ok, his boots run long (rectangular) at the top and obviously the armor isn't designed (shaped) that way. You can make the armor a bit wider in the area to accommodate the boots but to be honest it's the nature of the boot. I just cram mine up in the shin and use Velcro to secure the two.
I would really like them a little more fitted to my ankle rather than to the boot, as you suggest, so I'll probably do just that.
Thank you...you've helped so much over the last several months.
-
Are you using TK (totally killer) boots?
Absolutely!
-
Hey Chris, during the preliminary fitment and build I almost always add 1/2" clearance between the body and the armor. This technique seems to help when fitting items like the undersuit, gloves, boots, etc.
Hope this helps
That's what I've done the whole way up to this point, the shins are my last pieces. The TK Boots are pretty deep from front to back, so I wasn't sure if 1/2" was enough in this case. There is a good 20-30mm difference between fitting the shins to my ankles vs. with the TK Boots on. I supposed I'll cut to the "TK Boot" line that I marked then fit from there.
-
Quick question regarding fitting the shins. I've marked them twice in the back; once without boots and once with boots on. How are most people fitting them? There is a huge difference (with me at least) between the two. I've got skinny ankles and calves on the larger size. I noticed that in Tony's section about this subject he fitted his to his ankle. Would that not leave a gap in the back when you slip them over the boots?
Any suggestions would be appreciated!! Thank you!
-
If you're comfortable using CA glue go for it. I would glue the cover strip to the outer side first, let dry, remove any excess, then glue the right side. This should give you more control over the process.
I may try CA glue for this. Thank you for the advice!
-
The clamping force may be the key here. The tighter the circumference the more difficult it will be to align the two halves. I would suggest reapplying the strip and this time in addition to the clamps and magnets place something of weight on top of it, maybe like a heavy book. This should force the armor inward and together.
Hope this helps
I'll give that a shot, but would you NOT recommend using CA glue in that gap then weighing it down until it cures?
Thanks! You are the best!
-
Hey Tony,
I'm getting some strange behavior from the backs of my thigh pieces. I fitted and glued the fronts first, then as suggested I glued one half of the cover strip to one side of the back of the thigh piece, let cure, then I glued the other half using a healthy amount of E-6000, magnets, clamps and tape.
Here's the massive amount of tape I used:
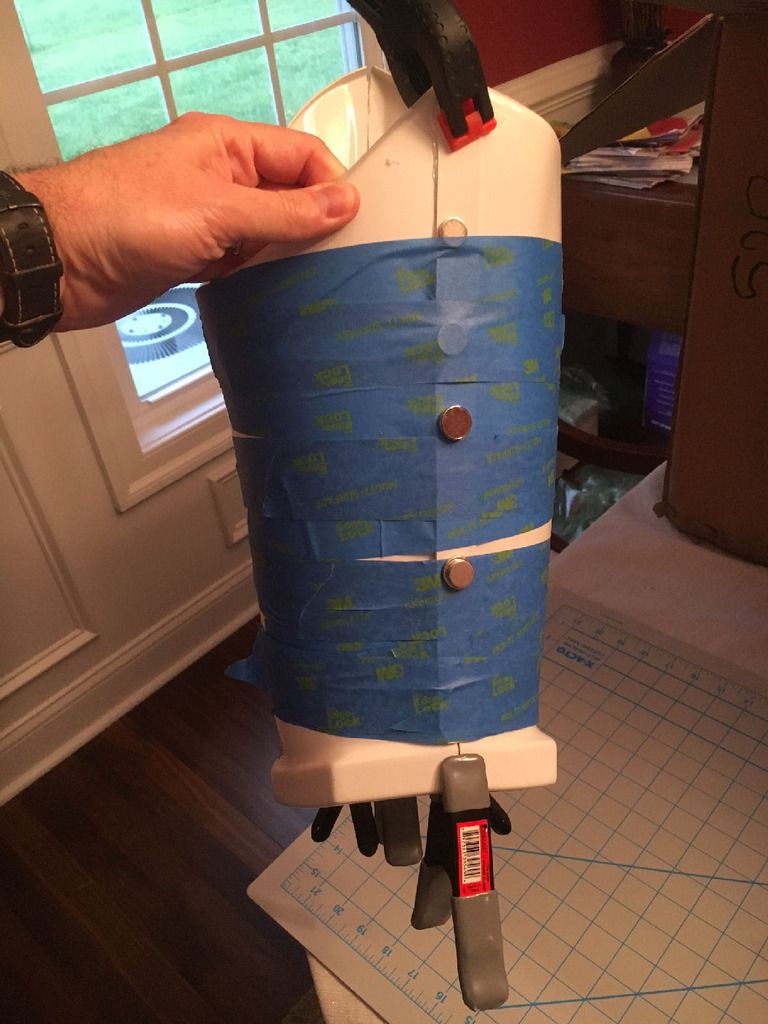
After leaving the piece in this position for 2 whole days, I still didn't get a 'flat' cover strip:
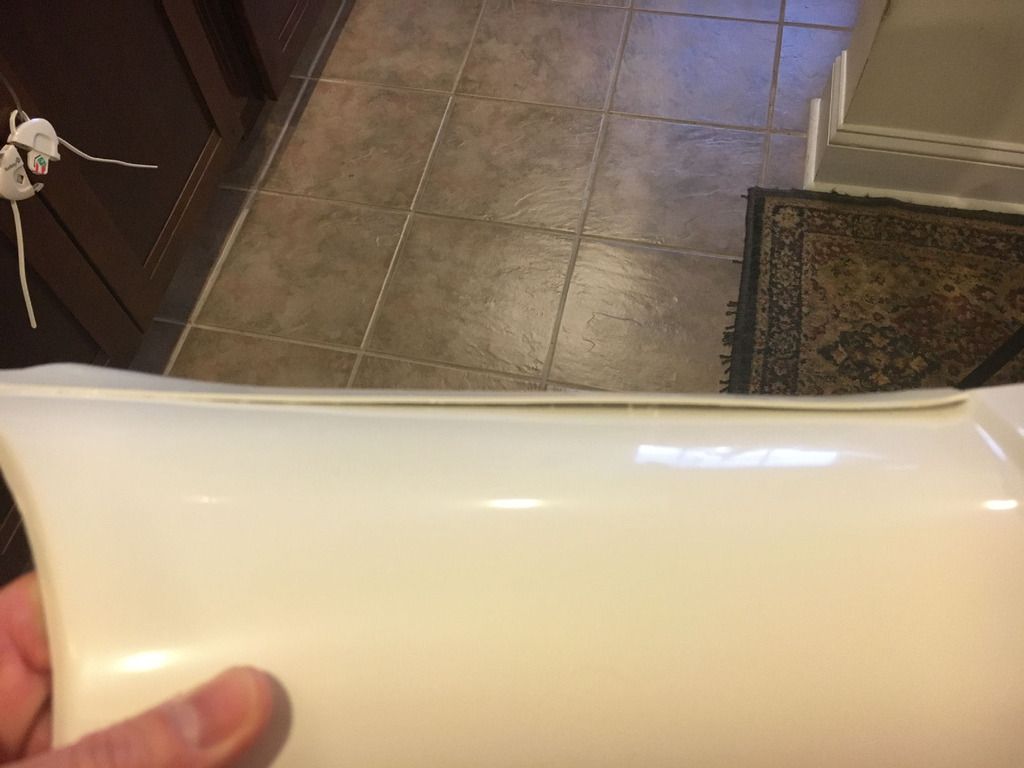
I have a couple of times with good success used the 'freezer' method to remove the cover strip, clean and re-do. In this case though, in your opinion, do you think I could get away with filling in that gap with CA glue and holding it until it sets?
Thank you so much!
Chris
-
I'm about the put the army pads into my bucket. For those that painted the interior (plastidip), does the velcro stick well, or do you need to apply the velcro to the plastic directly and mask it off when painting?
The plasti dip stuck to the interior of my bucket very well, so no masking needed in places where velcro went. I was pleasantly surprised by how well it adhered.
-
1
-
-
Thank the Empire I'm taking my time. I personally just started fitting my first pieces, the forearms. The mismatched the left and right forearms are giving my OCD a fit (especially the right!). I want it to be perfect, but am slowly accepting that it never truly will be. Human hands make human errors.
Thanks to all providing this resource!
-
1
-
-
This is what I use. Mike Appling sold them too and you could get your name/FISD patch sewn on. Putting them in a bin may be OK for a book store or something, but if you are at a con, parade, or long troop than having them with you is essential.
Paul, thank you so much for the link, that would be perfect. My specific reason for this is indeed for a con, so I don't have to schlep myself back up to the hotel room to get my ID or a few bucks if needed. Specifically at Dragon*Con, you'll wait 20 minutes for an elevator.

-
When I need to carry them with my OT TK I have pouches attached with Velcro to the insides of my thighs, but generally I keep them locked in my case. My FO TK has pouches so it's not a problem

I'm hoping next to do an FO TK, so that'll be nice. I suppose there is need for money and ID on Jakku but not Tatooine?

HOW TO: DIY USB Helmet Fans - No more 9v or AAs
in Electronics for Helmets / Blasters
Posted
Would a variable resistor work?