Darth Tiberius
-
Posts
23 -
Joined
-
Last visited
Content Type
Profiles
Forums
Gallery
Articles
Everything posted by Darth Tiberius
-
Darth Tiberius's TK AM 2.0 Build
Darth Tiberius replied to Darth Tiberius's topic in Assembly, Mods, and Painting
Quick Update. I have finished most of the interior of the bucket. I used Chicago screws and epoxy putty called milliput to install posts for the screws to hold the lenses on the helmet. It turned out pretty nice and holds the lenses in tight. I also did a plasti dip/cheesecloth combo on the interior, which turned out great! I bought a military helmet padding set and installed some of the pads. Overall I'm pretty happy with how it turned out. Thanks to everyone on the forums here for the tutorials and advice. You guys are great! -------------- -
Darth Tiberius's TK AM 2.0 Build
Darth Tiberius replied to Darth Tiberius's topic in Assembly, Mods, and Painting
Thanks! I am going to finish the painting of the ears today, I've just been practicing since I'm not the greatest painter. Once the bucket is finished ill start on the arms. -
Darth Tiberius's TK AM 2.0 Build
Darth Tiberius replied to Darth Tiberius's topic in Assembly, Mods, and Painting
Ok so I'm getting closer to being done with my bucket. It seems to look pretty good to me so far. Any suggestions are welcome. I need to to some touch up painting on the teeth and paint the ears. Then I will install permanent lenses and mesh behind the teeth. I had the brow originally a little higher but the screws pulled it down, hopefully its not too low. I've read that the AM kit has the raised eyebrow on the right side, I tried my best to prevent it but alas it appears to be a little higher. I hope that is ok, anyways suggestions are appreciated ------------ -
Darth Tiberius's TK AM 2.0 Build
Darth Tiberius replied to Darth Tiberius's topic in Assembly, Mods, and Painting
---------- -
Darth Tiberius's TK AM 2.0 Build
Darth Tiberius replied to Darth Tiberius's topic in Assembly, Mods, and Painting
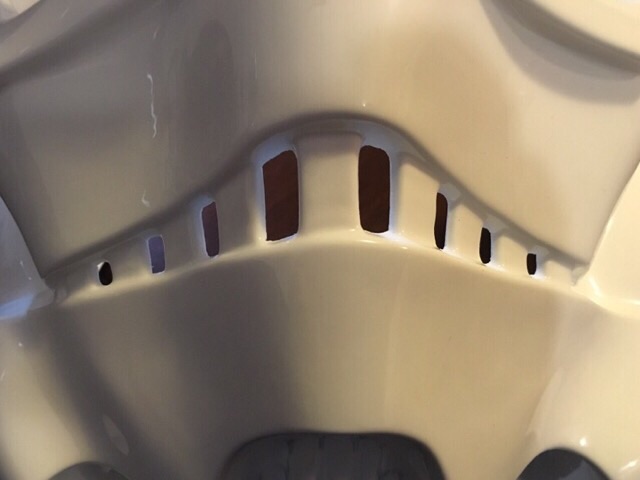
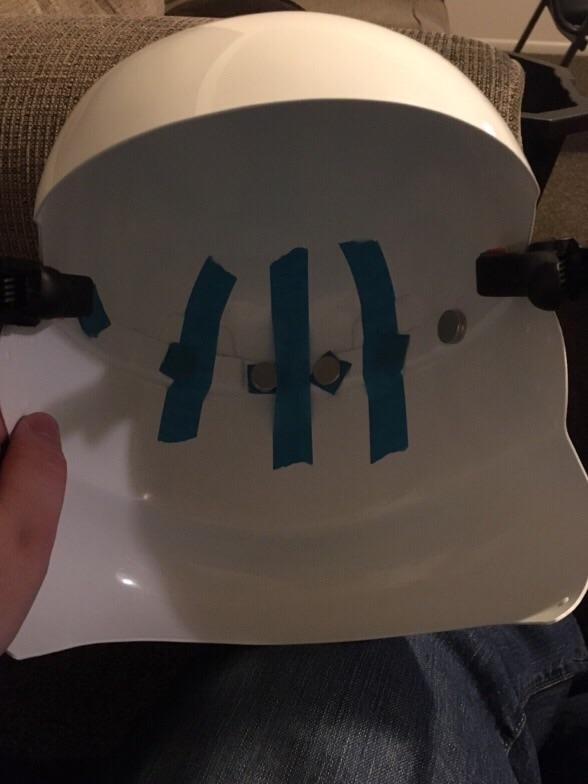
So an update, I've got the bucket mostly assembled. Sanded out the teeth. Used milliput to reinforce the hovi mic tips, thanks pandatrooper! I had the brow lined up much higher but after putting the ears on (which was crazy hard) the brow sunk down. I can push it back down from the inside but I would need something to hold it down. Any suggestions would be great. I've heard you can roll up elastic and that helps. Anyways here's some pics:
-
I've also heard that due to the heat some hot glue guns can warp/melt your plastic. You would probably have to buy a low temperature glue gun or risk damaging your kit.
-
Darth Tiberius's TK AM 2.0 Build
Darth Tiberius replied to Darth Tiberius's topic in Assembly, Mods, and Painting
Awesome, I'm checking out trooperbay now. I figure ill pick up a new lens with the paint as well. Thanks! -
Look into Navajo Bros build, his helmet guide is fairly comprehensive. I just got my AM kit and am starting on my helmet as well.
-
Just made a huge mistake! Please help!
Darth Tiberius replied to Pledford's topic in Assembly, Mods, and Painting
Good to know, I'm going to be starting mine here soon. Thanks for posting the questions Phil, at the end we will both be experts haha -
Just made a huge mistake! Please help!
Darth Tiberius replied to Pledford's topic in Assembly, Mods, and Painting
I'm pretty sure it's up to you whether or not to trim the return edges, i wouldn't worry. All the build threads I've seen appear to have them trimmed, otherwise the plastic will dig into you. I hope I'm not giving you incorrect information -
Darth Tiberius's TK AM 2.0 Build
Darth Tiberius replied to Darth Tiberius's topic in Assembly, Mods, and Painting
Started on the bucket Saturday, glued the cap on to the back. I used E6000 and it seems to be pretty sturdy. As far as strength is concerned I did sand the attatching areas to give additional grip, but I'm wondering if E6000 will be durable enough or if I should add supports on the interior with a permanent glue? I've also been filing out the teeth, I'll post pictures below

-
Darth Tiberius's TK AM 2.0 Build
Darth Tiberius replied to Darth Tiberius's topic in Assembly, Mods, and Painting
Real quick question for someone, as far as the blue abdomin buttons the CRL just states you need 3 blue and is not specific on what blue color for EIB or Centurion (or at least I can't see specifics). I have found the chart that details the paint colors but I don't have access to humbrol French blue but I can find model masters French blue, but I've heard it's much darker. Will model masters French blue work? I want to eventually qualify for Centurion and figure it would be easiest to do it right from the beginning. Thanks for the help! -
Looks awesome! I'm starting my helmet Saturday and getting excited one thing I have heard a lot is if you're going to rivet the helmet together, be sure to use screws first and make sure it lines up/fits, just in case you decide to go that route. I've also heard the AM ears can be tricky to put on, we'll have to see when we get there. Keep up the good work!
-
AM 2.0 helmet build question
Darth Tiberius replied to Pledford's topic in Assembly, Mods, and Painting
Check out Navajo Bros AM build, his helmet explanation is the best I've found for AM -
Looking good to me, definitely easier to fit without the return edges I probably would have done the same thing haha, I look at my box and feel like I need to spend hours more on here researching
-
Darth Tiberius's TK AM 2.0 Build
Darth Tiberius replied to Darth Tiberius's topic in Assembly, Mods, and Painting
Just purchased split rivets from justjoseph63, he is selling them on here. They look great! -
Darth Tiberius's TK AM 2.0 Build
Darth Tiberius replied to Darth Tiberius's topic in Assembly, Mods, and Painting
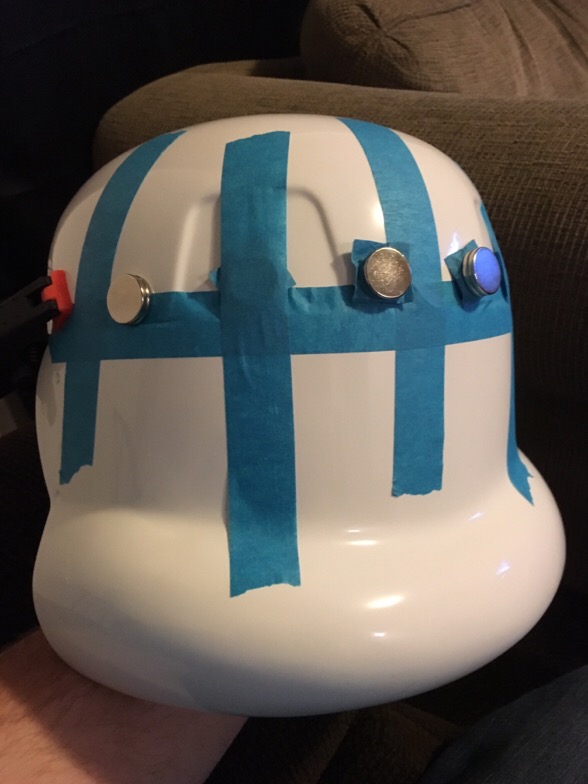
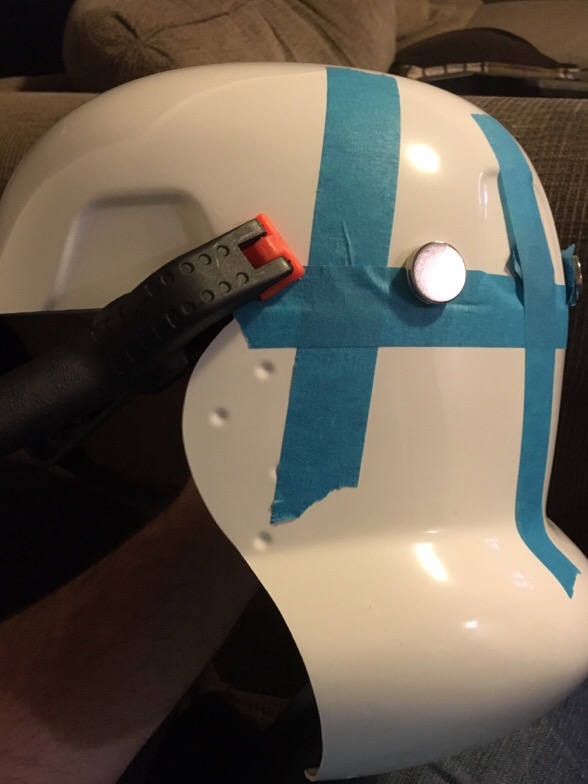
Magnets I got on EBay. I got 20mm and 15mm sizes, just searched for neodymium magnets. Bought a couple packs, hopefully I'll have enough. One is from China so I'm still waiting.<br><br> As far as split rivets I haven't found any locally, my Home Depot doesn't have any. I might try buying some from a seller on here, I'm not 100% sure yet. Any suggestions are welcome -
Darth Tiberius's TK AM 2.0 Build
Darth Tiberius replied to Darth Tiberius's topic in Assembly, Mods, and Painting
Hey Phil we will definitely have to stay in touch, any help is awesome! I think I am going to either go with the helmet or as you said the forearms/biceps first. I will need to buy some more parts for the helmet though. I've heard that the lenses in the AM kit are 'see through' in some situations and several people have said to buy the darker ones off of trooperbay. I'm just hoping I can get started here soon, i'm just waiting for my Rare Earth Magnets to arrive! -
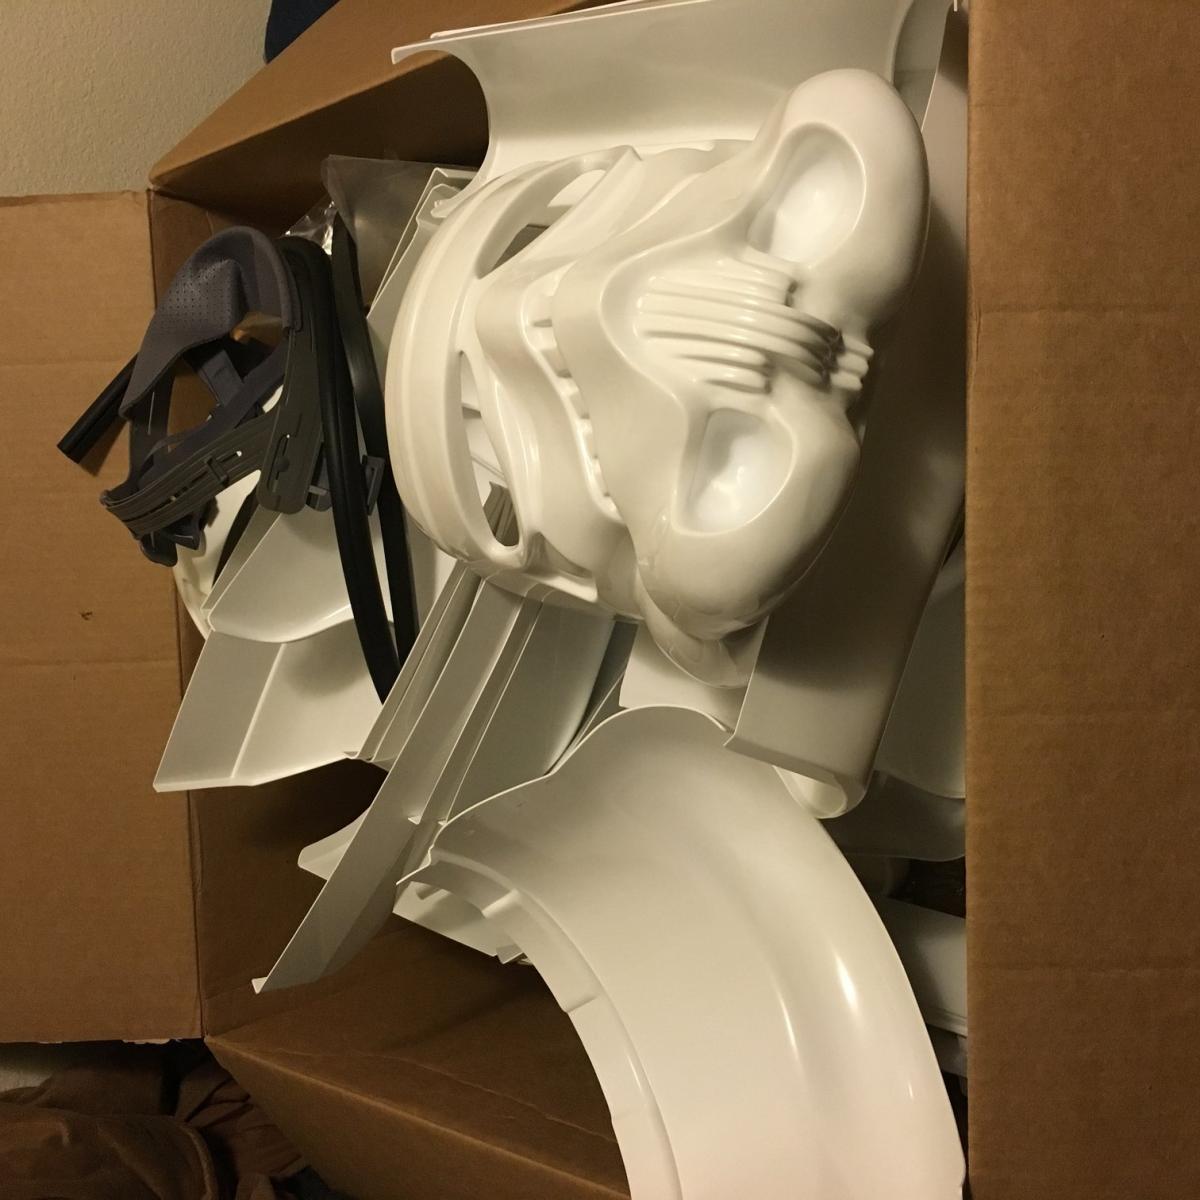
Hey guys. So I have been floating around on the Forum for awhile just doing research. I finally decided to go with AM 2.0 armor and got my big brown box yesterday! I am trying to take things slowly and make sure I don't make any major goofs I still am in the process of purchasing tools and other parts (magnets, paint, etc.) but wanted to get started on my build thread. I've been looking over ukswrath AM 1.0 build a lot and it has been incredibly helpful. I'm sure ill have a ton of questions and all help is appreciated. Thanks!