-
Posts
77 -
Joined
-
Last visited
Content Type
Profiles
Forums
Gallery
Articles
Media Demo
Posts posted by Jenlarouge
-
-
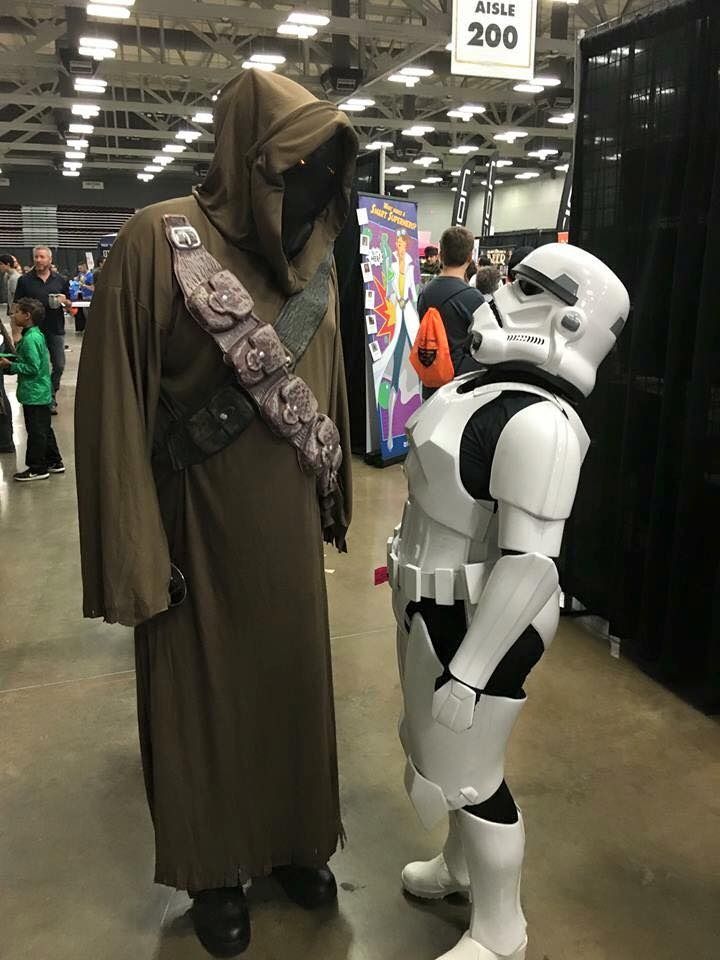
Yup! I'm a shorty at 5'0" on the nose. Though my build is not 100% done,because Reasons, all of the armor parts you will need to mod are done. Check out my build thread and if you have questions feel free to reach out I will answer questions if I can! Good luck!
-
Which boots are the trouble the High heel or the Low? To my knowledge there are ladies out there who have had both approved
Hi guys and girls.
It has come to my attention, that the boots from Gio are not approved by the LML, even though they are pictured in the CRL and follows all reference material I have seen.
Anyone here know why this is??
-
Yes, it was KW Designs. His website is: imperialsurplus.com; his email is: kwdesigns2@verizon.net, and on Facebook just search KW Designs. You can contact him through email or Facebook I believe but I sent an email request for info and then he sent me all the info needed to order.
-
I've seen your kit three times now... it looks good on you. The little flaws are going to happen regardless, as now I've seen the other girls in Georgia with the exact same issue spots (the corner in the chest, and the shoulder straps) so a little ABS paste or CA glue is not anything anyone is concerned with.
The only thing I've noticed on yours is the knees sometimes get inside the shin. This occasionally happens to Shannon, too, but it's mostly when she's walked up or down stairs.
Jen - I can't see your photos for some reason. I saw them last week and it looked like you were making good progress, though! Keep going!
Thanks Bobby, can I ask where you have seen it or just the post I've made on this forum? I am having a hard time finding pics we took that show the different angles to see my problem spots.
-
Test run complete!
Learned a lot of important things and have some mods to make. Glad I wore it before I made it pretty cause I have work to do!
The thighs go past my knees just a bit so that meas they rub badly. Not sure it this is cause the thighs are to long or just to far down, will have to look into that.
Also, I lost just enough inches during the making process to need to make the ab smaller cause it is just big enough to not really stay where I put it, it wants to slip down just a smidge. Also, the ab and kidney want to shift making the kidney slide up and poke me in the arms when I put my arms down. =(
Need to trim just a bit more from the length of the forearms
Made the thighs just a smidge to big, or lost just a bit enough to make them want to slide around.
Didn't loose any of my calves though, they are still pushing the limits of my shins. sigh
Biggest issue is that when I have the helmet on it sits on my breastplate and the eyes are up to high so I can't see. I need to find a way to lower the breast plate a bit so I can wear the helmet.
So...project continues.
-
 5
5
-
-
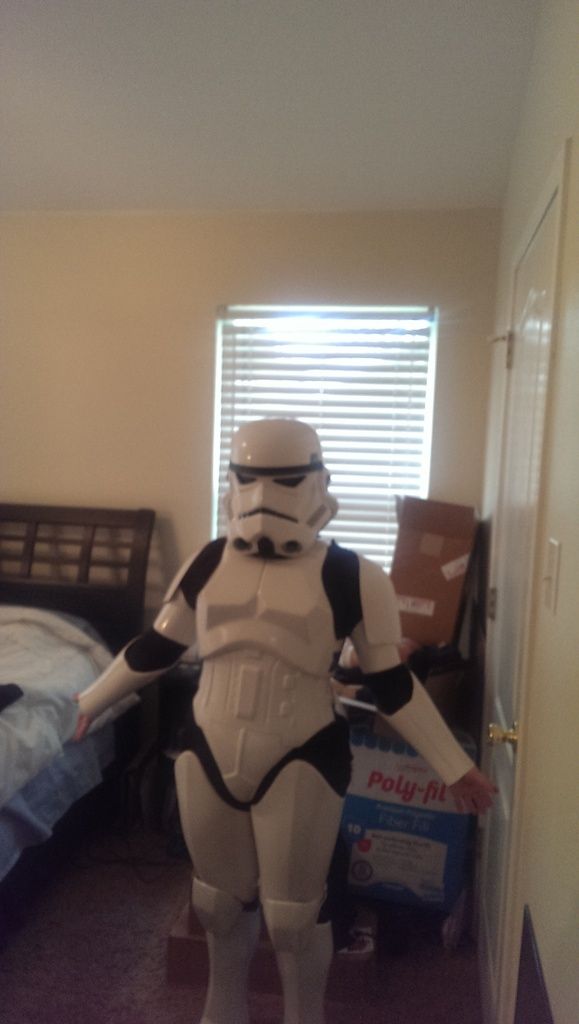
Ok, No laughing... first try-on. Keep in mind that I learned during the try on that one of my thigh straps was to long so its sagging just a smidge and my shoulder bells didn't have the snap on yet. The belt was not on cause I wanted to fit the rest. And I just have yet to finish the TD cause I am still trying to figure out if I want to do Statue version or Comic Book. that decision is harder than I thought I would be. I think one day at ATXCC will help me decide if I can troop in the heels.
without further ado I give you, a VERY short Legacy Stormtrooper!
Please begin the critique/tutelage/advice portion of our discussion.........NOW!
-
 4
4
-
-
Hi Jen - my namesake!
You are doing an AMAZING JOB! Your build will help lots of us ladies who do not quite fit in Kevin's original design. I like how precise and neat you build. You are so organized!!!
 I have felt your pain with the try-ons, then the temper trantrums, then the pouting.. then deciding to try again. You'll be trooping in no time. Get lots of pics and share them here for us. Cheers! Jenny in Georgia
Thanks Jen, I feel like its getting close. I think I may take it out to Austin Comic Con this weekend for a spin. Its not 501st ready by any means but it is wearable. This will give me an idea what adjustments I need to make before the finishing all the little pretty things.
-
 1
1
-
-
And now to put it all together.
Here is a leg sorta fit with tape just to see where everything goes.
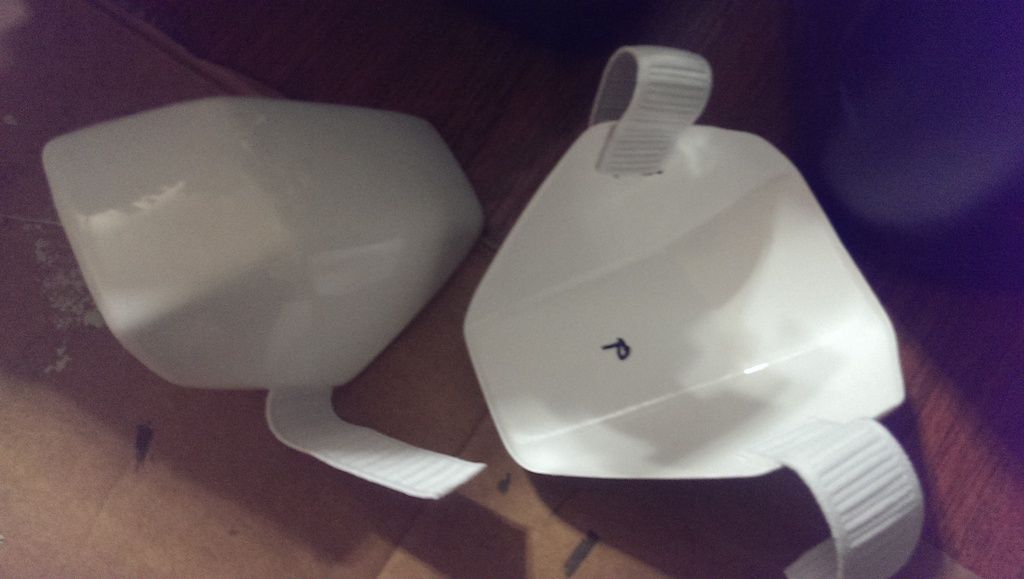
attached the elastic to the knees
attached the knees to the thighs
could NOT get the knees to not gap in the front. Finally just decided to take the high road and stop throwing a temper tantrum. This was my thinking outside the box solution
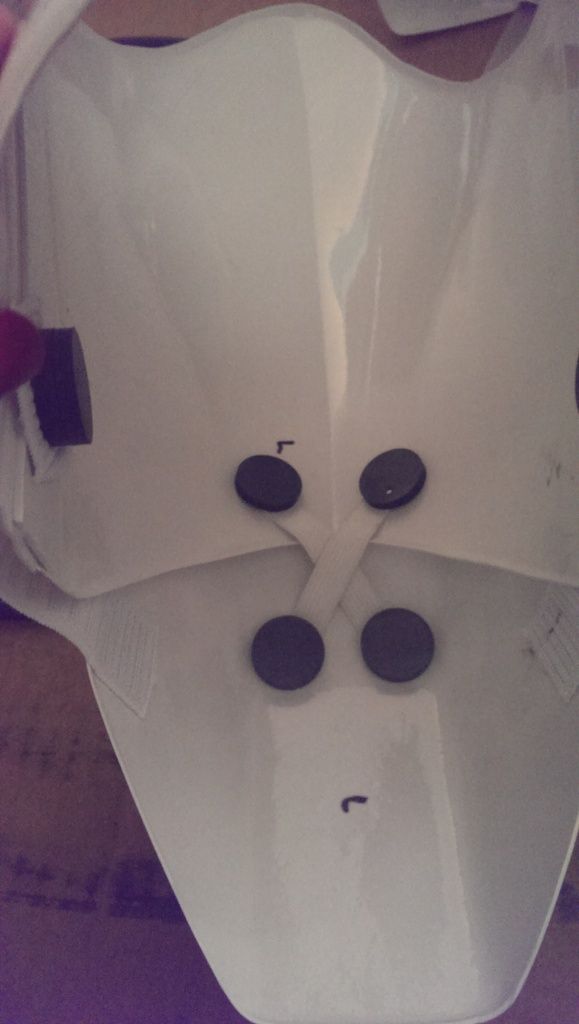
later I will prepostion the elastic on the sides and make it so I don't need the elastic "x" under the knees but this will work for now
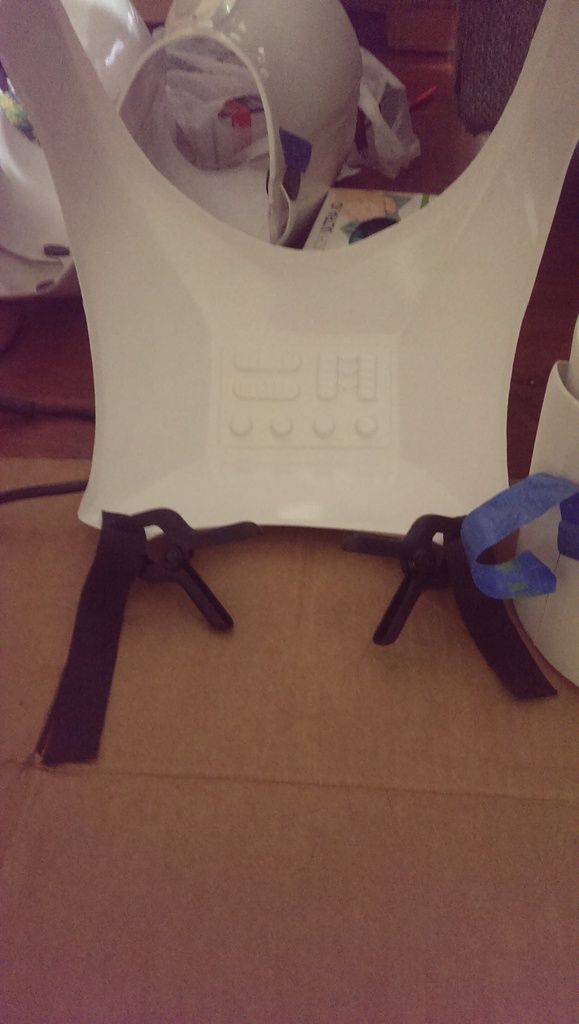
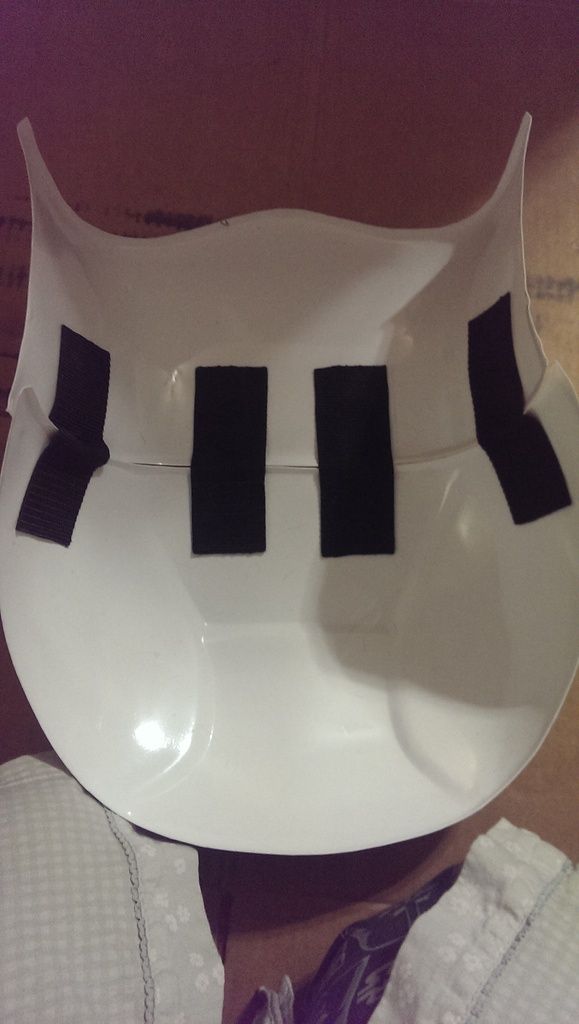
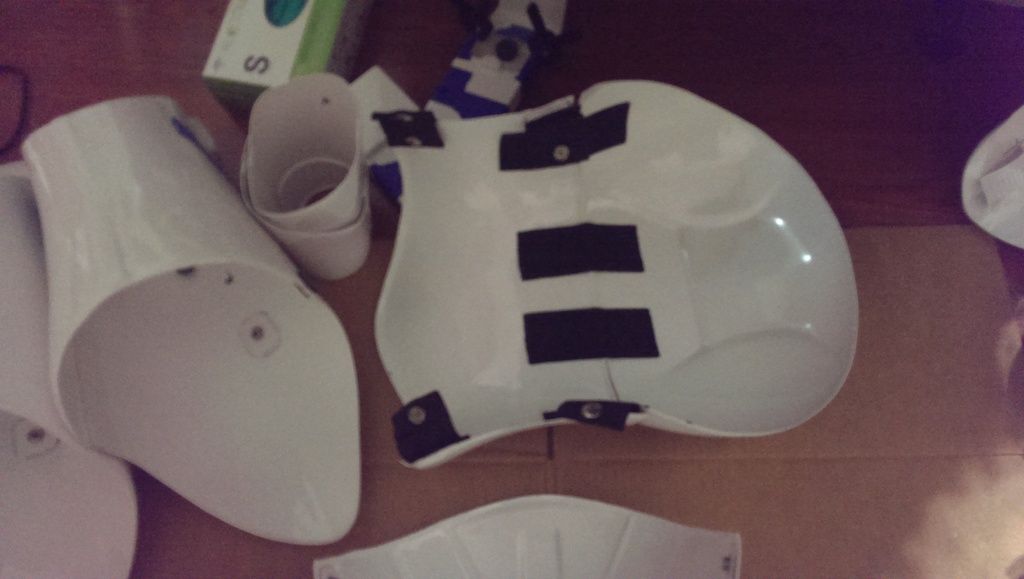
Added snap plates on the front of the chest and elastic straps on the back
Added the webbing to the kidney/butt plates to join them
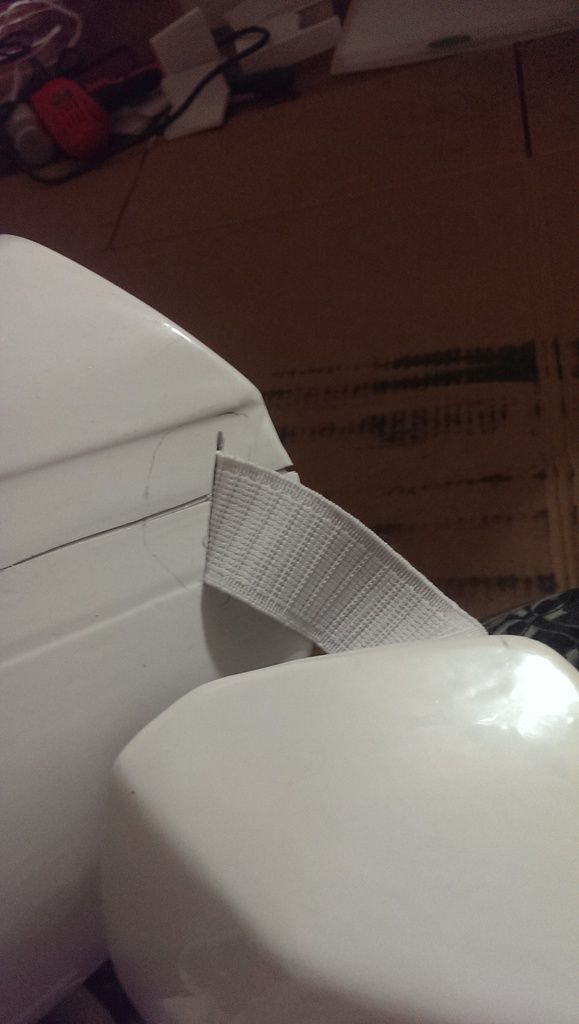
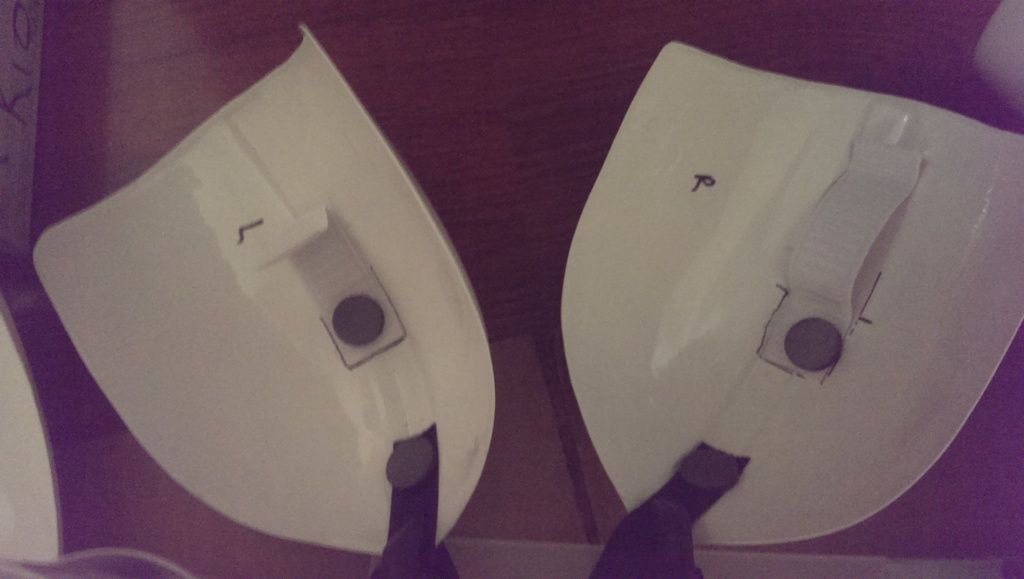
Straps on the shoulder bells
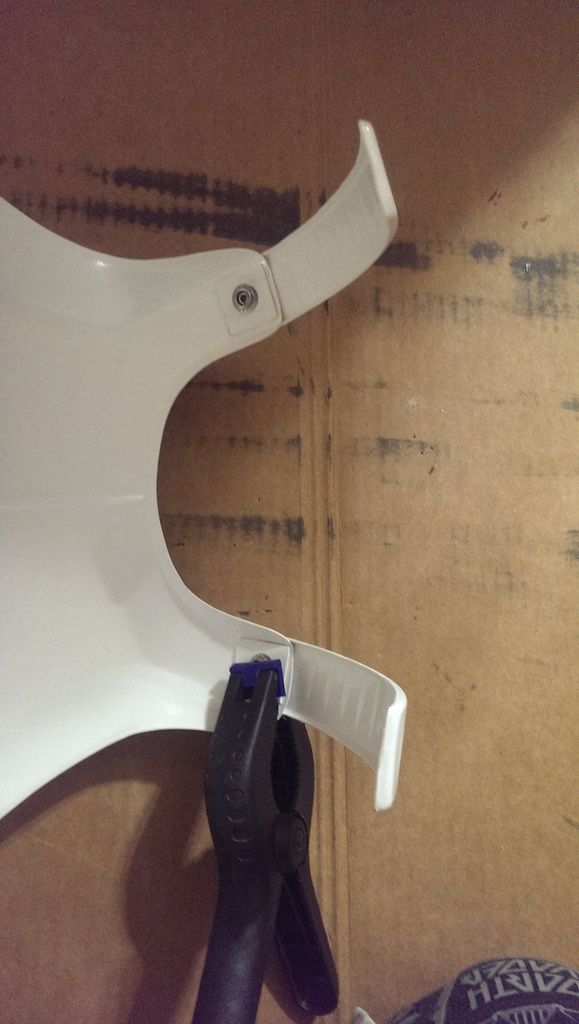
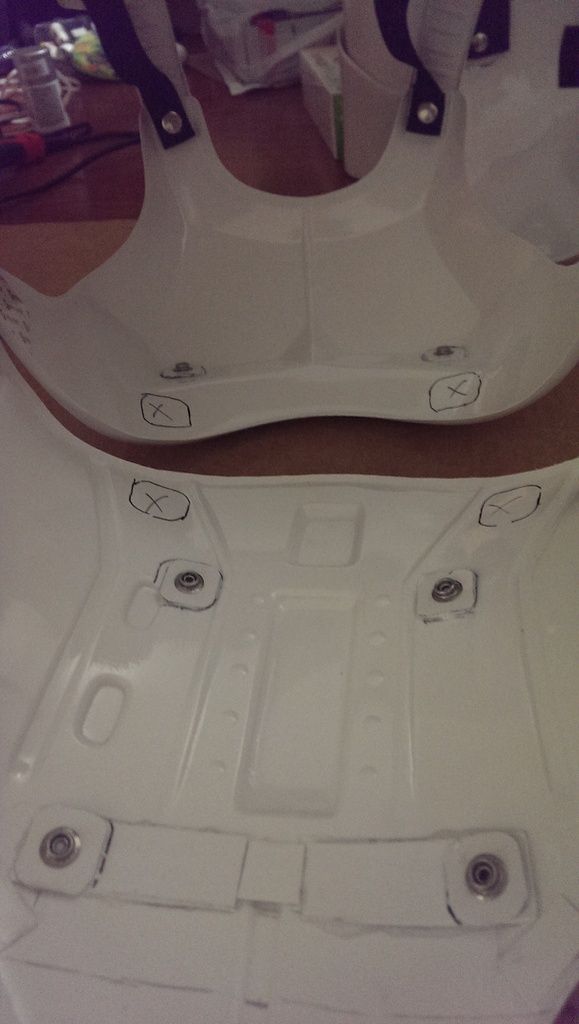
Snaps and straps on the kidney and inside the thighs
Snap plates on the chest/abs
Also built up the boxes for the sides of the belt but didn't remember to take pics of that... except this one...
Sorry
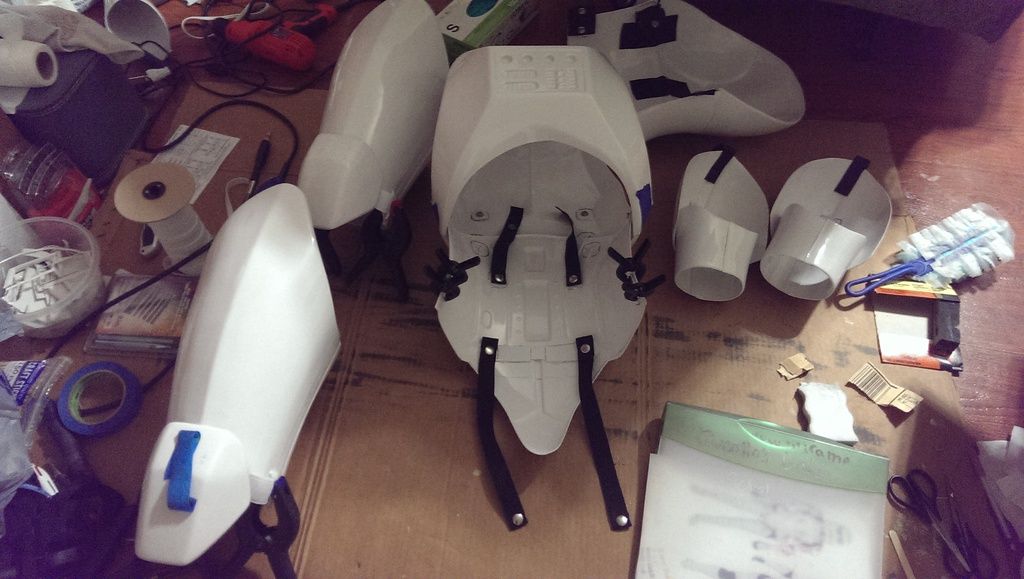
Here is the carnage of my work area... and just about everything strapped just needs to cure
Tomorrow I try on, wish me luck!
-
 1
1
-
-
So anyone watching the news knows that we have a little hurricane thing off the coast of Mexico, which is both terrifying AND causing serious rains here in TX. So its a day inside for me and mine. Which means lots of work done. Couldn't have come in at a better time, since Austin Comic-Con is next weekend! YIKES!
So we have pictures but not a lot of step by steps. Most of the rest of this build has been exactly like everyone else's. So here is where we are today...
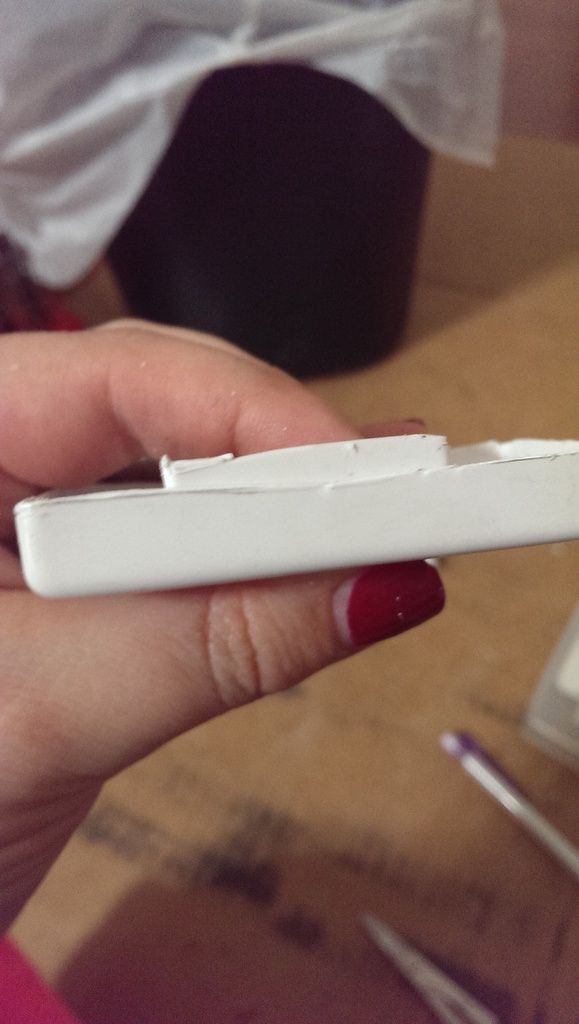
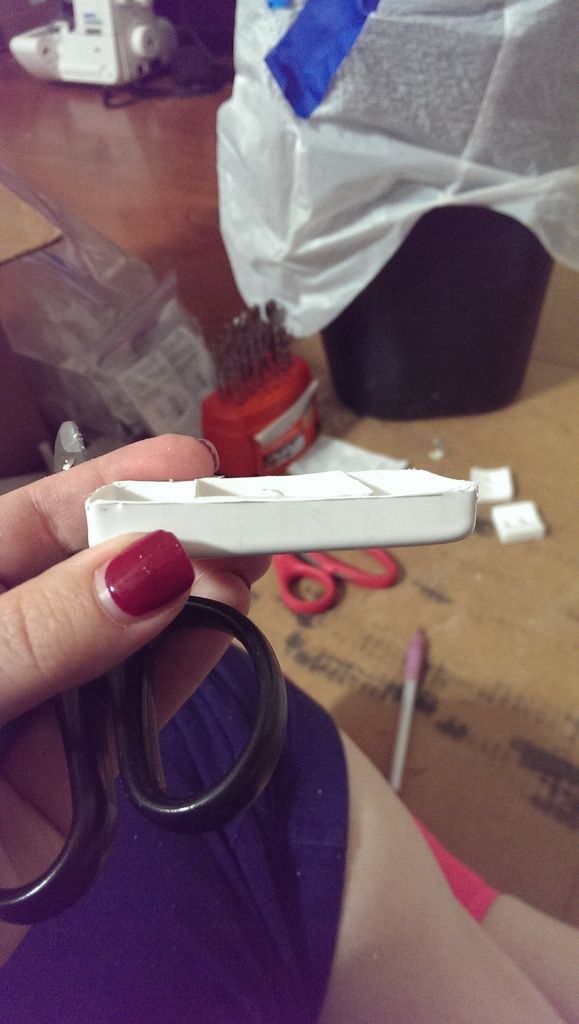
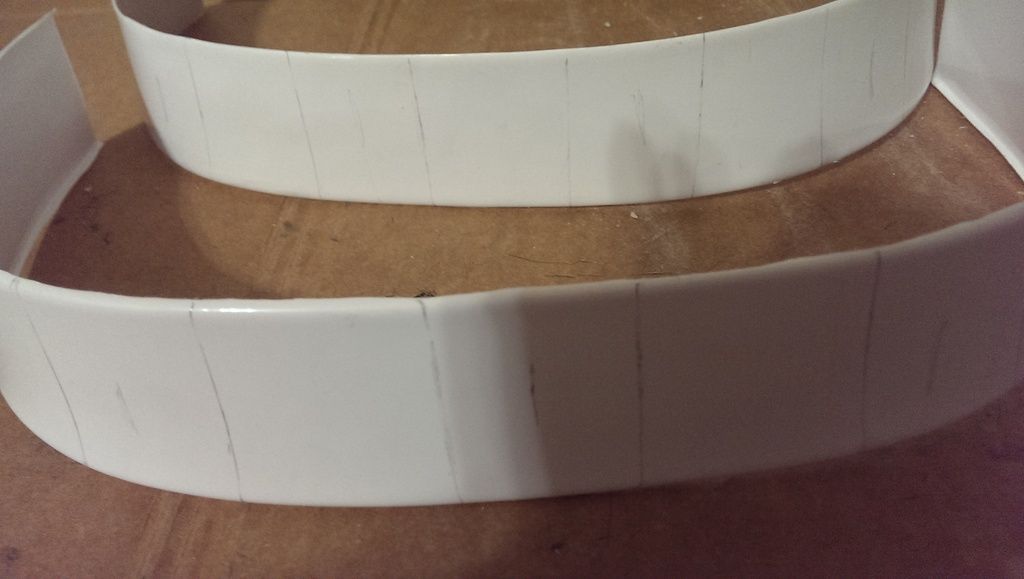
First is the belt. This little piece was a pain in the tookus. So many little boxes all had to be cut to the same dimensions or they are all wonky
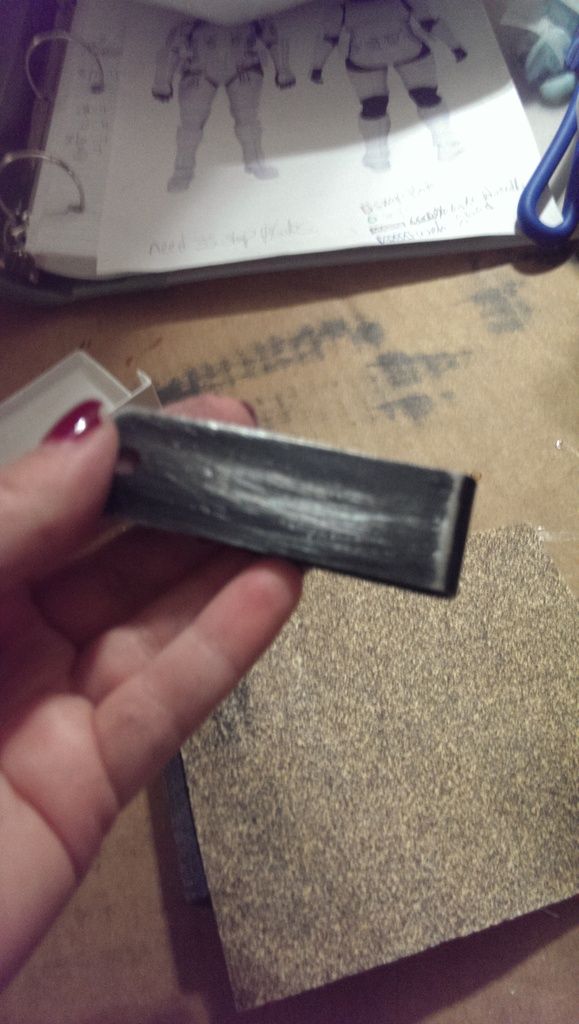
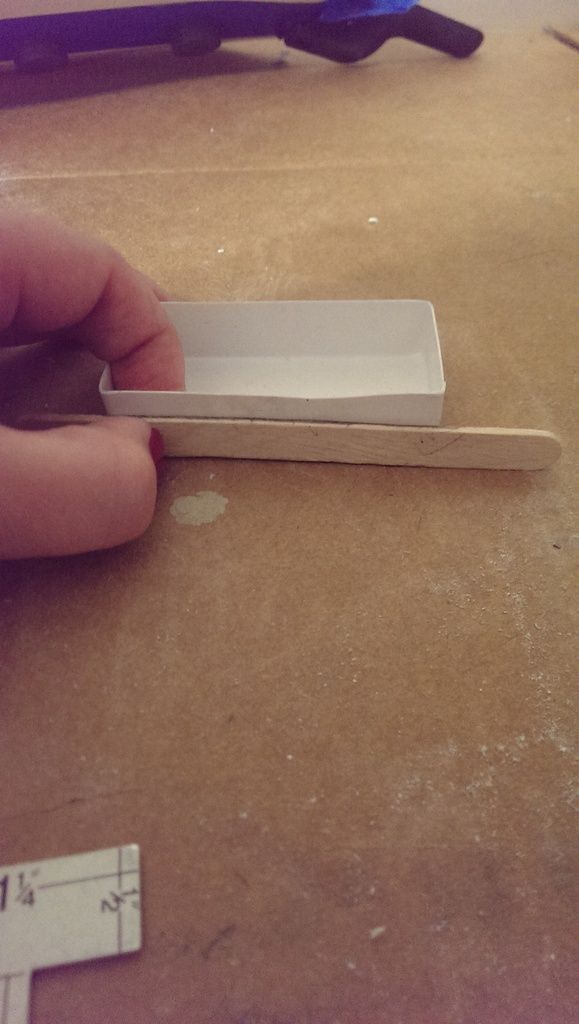
I found that using the little wooded tongue depressors I could get all the sides even like this
then just trim the line
that way they are at least the same size as the little box holders that go inside
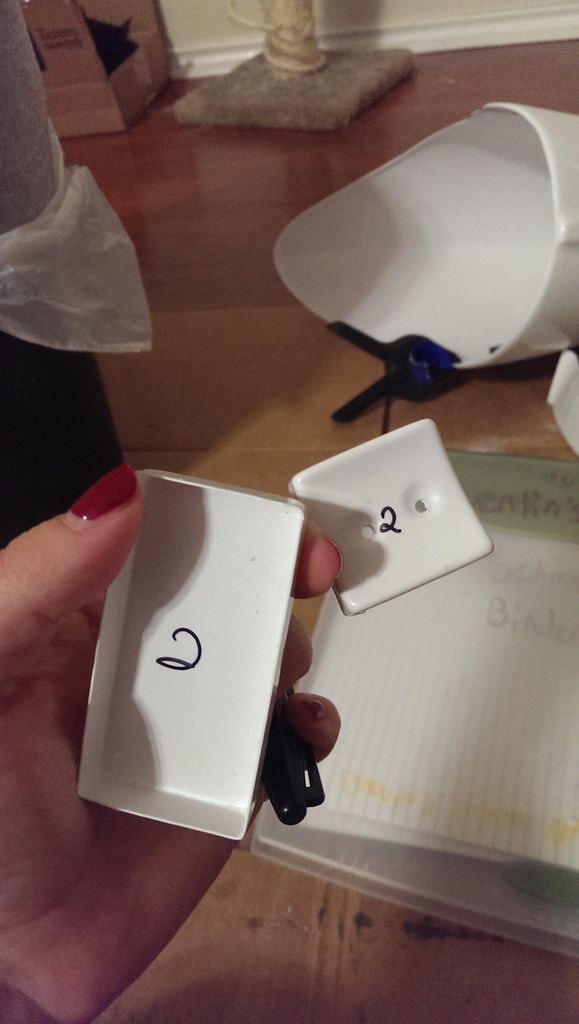
Marked their position on the belts
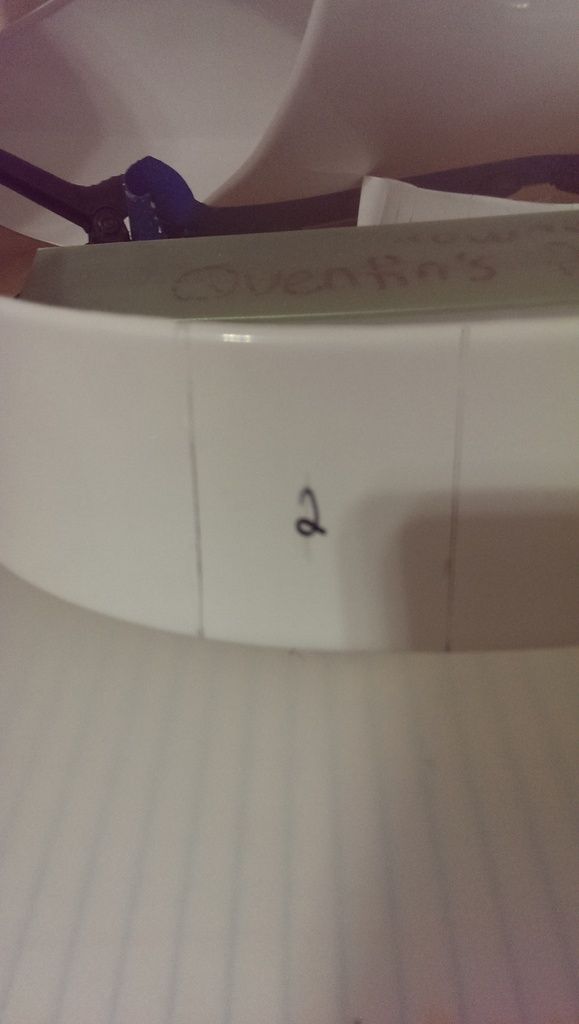
numbered them so I know which one goes where. This would not be an issue if I had made sure I measure the distance between the holes I drilled in the box holders...=\
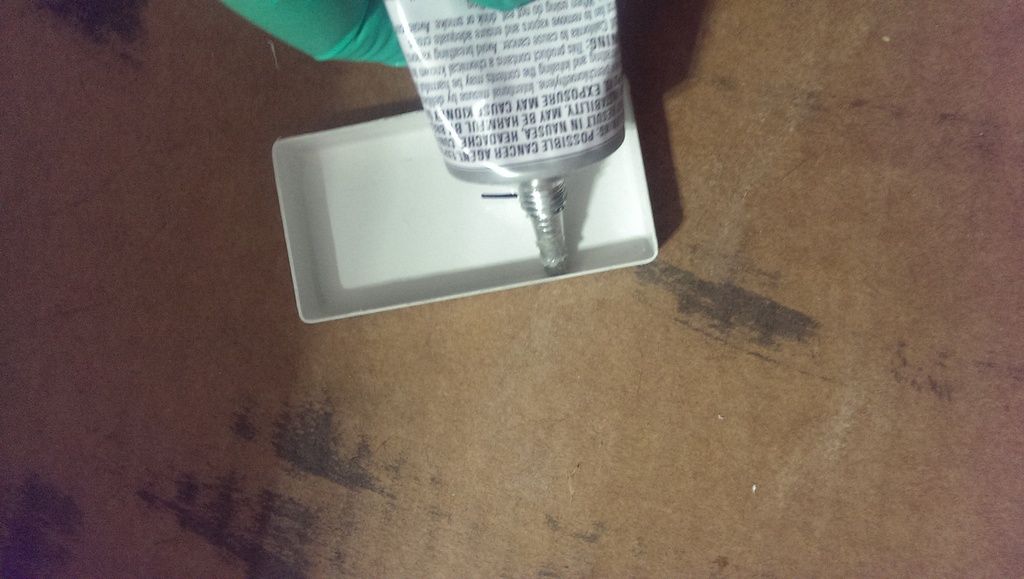
Adhesive in the edges will make sure that the outside box actually adheres to the inside box
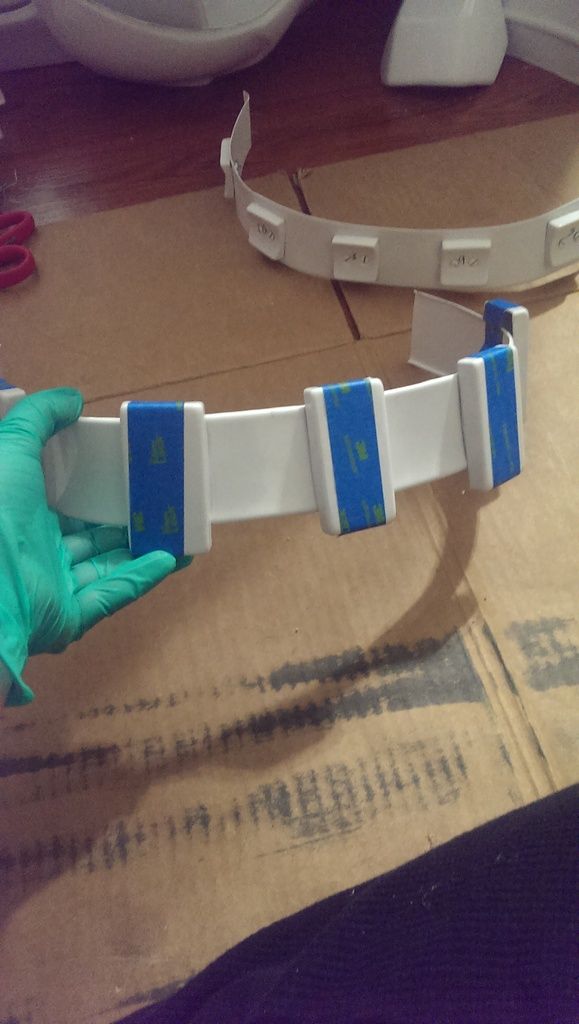
Strapped them on with some blue tape and set aside to cure.
Next, putting it all together and strapping in all in
-
I would love this info as well. Also sweltering here in TX. =(
-
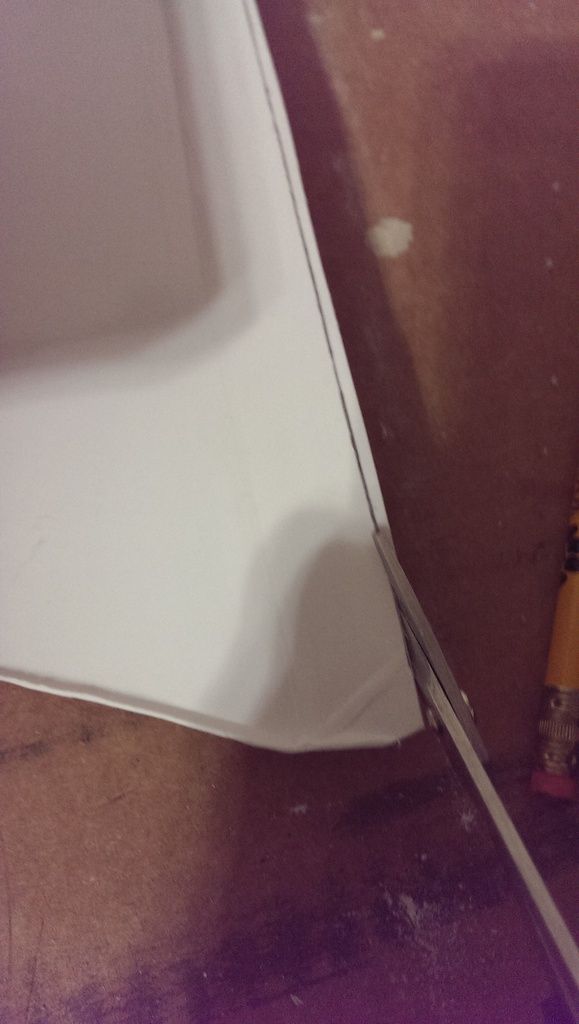
Thighs are pretty straight forward. The sides are butted. I pretty much needed every smidge I could eek out of them so I just used a straight edge to the last available indentation and cut.
Cut it off super straight. the straighter the better to line them up, the better they line up the less crack I have to fill with ABS paste.
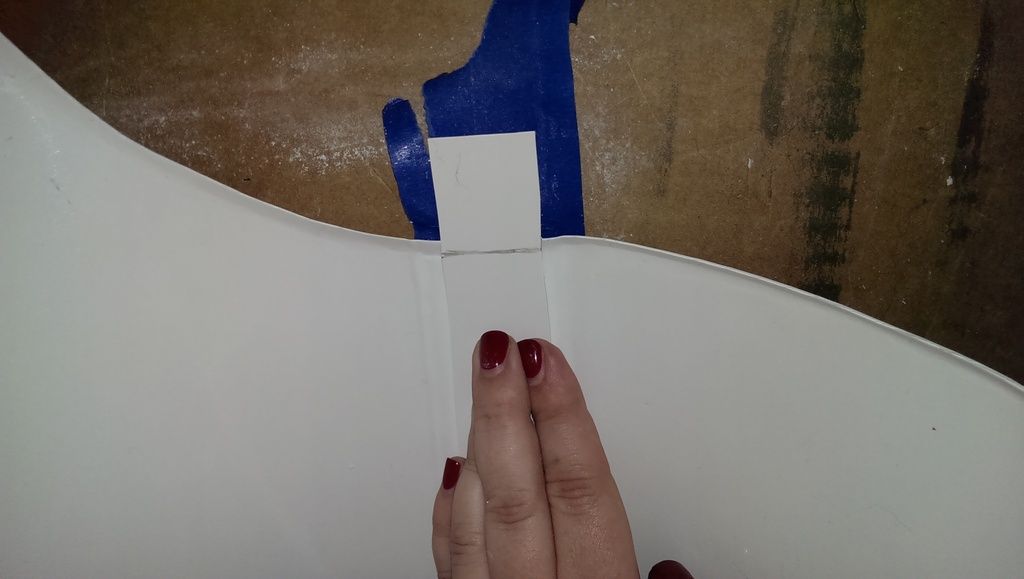
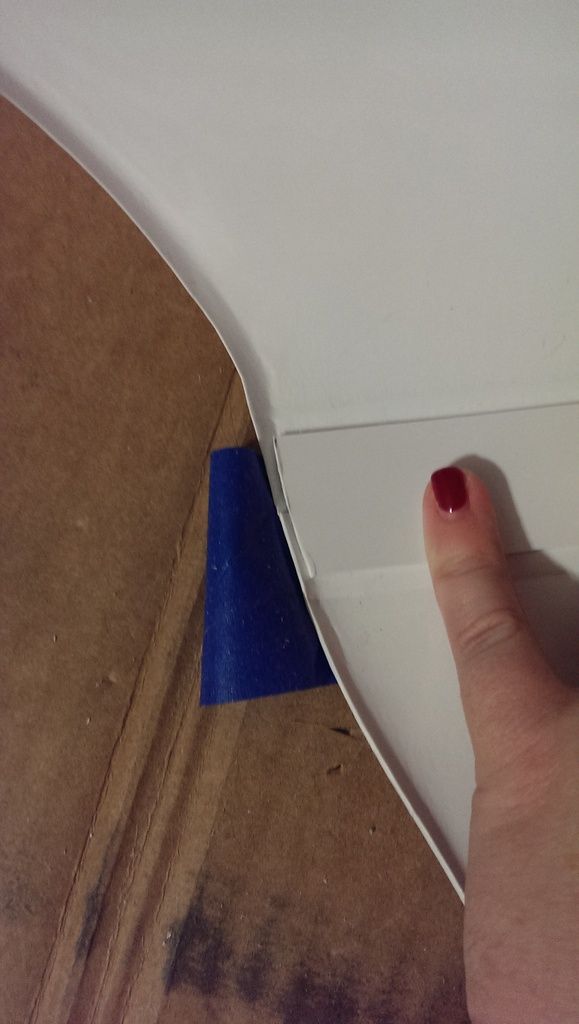
Cut out strips for the inside to brace the butt joints, cut it off to match the angle of the top edge
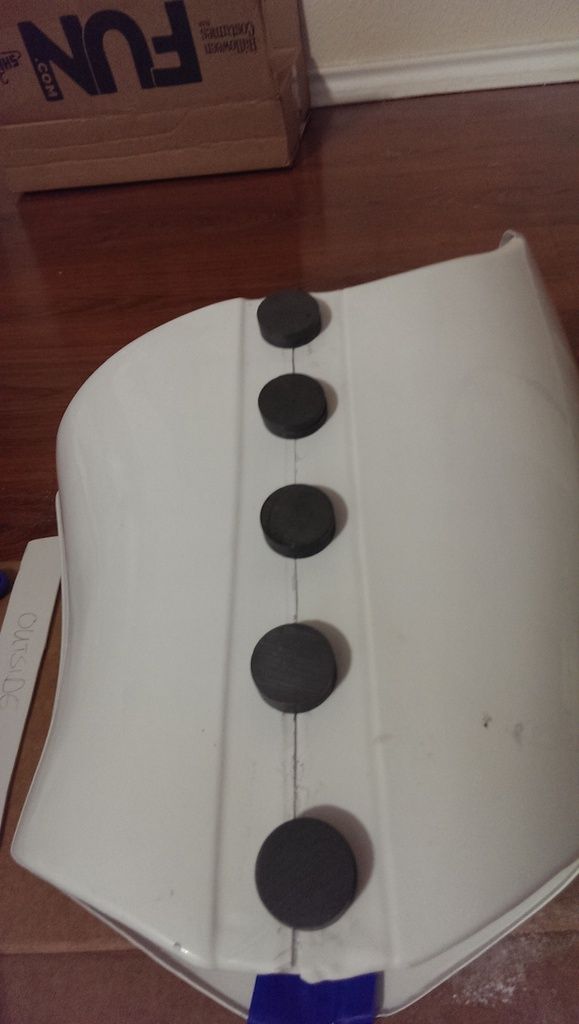
Sand both sides that will be stuck together, glue and brace with magnets or clamps or something.
Do the same to the other thigh.
When it all sets up you just do the same thing on the other side. Tada
-
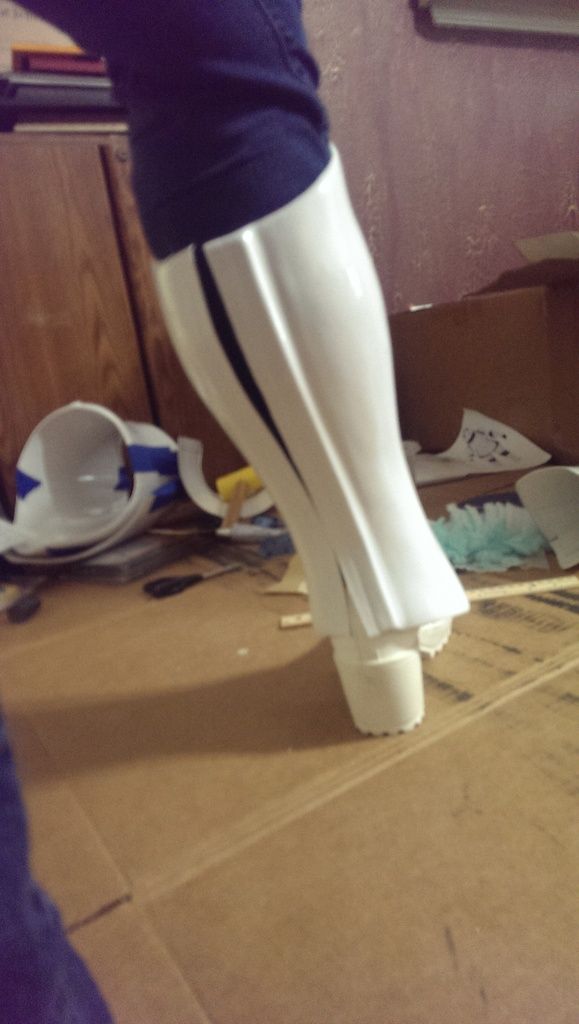
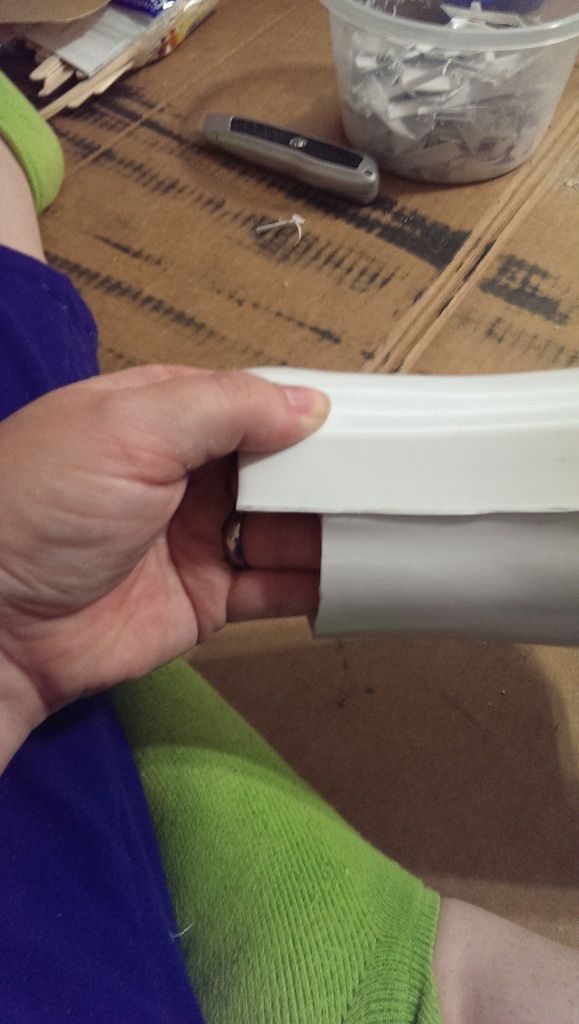
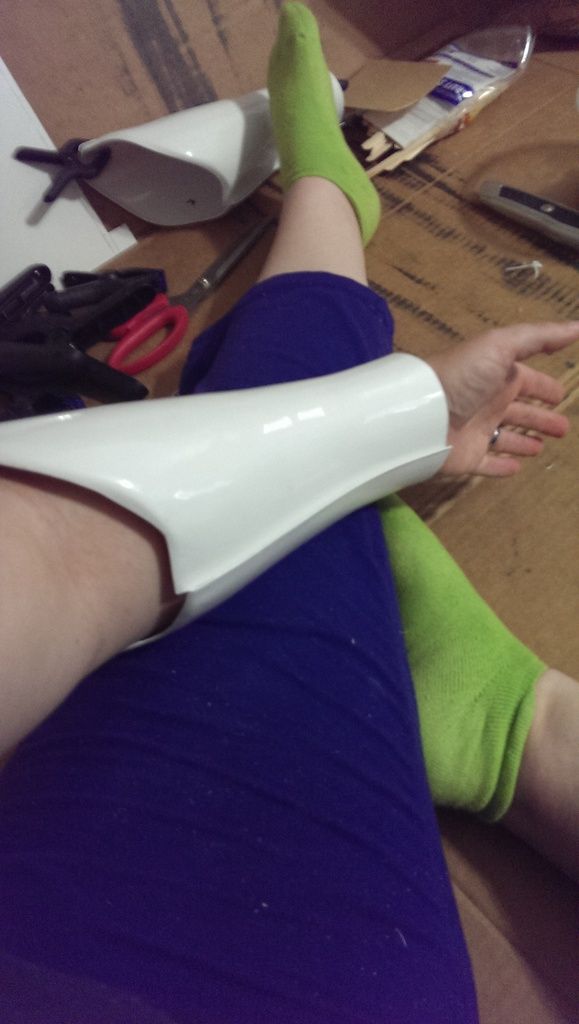
ZOMG almost Austin Comic Con! I better get a move on! Worked on Shins and Thighs today, not mine, but mine... errr anyway. As I have laminted before, I have chunky thighs and big calves. SO we are going to add a cover strip on the back of the shins to eek out a bit more room. Here is the problem
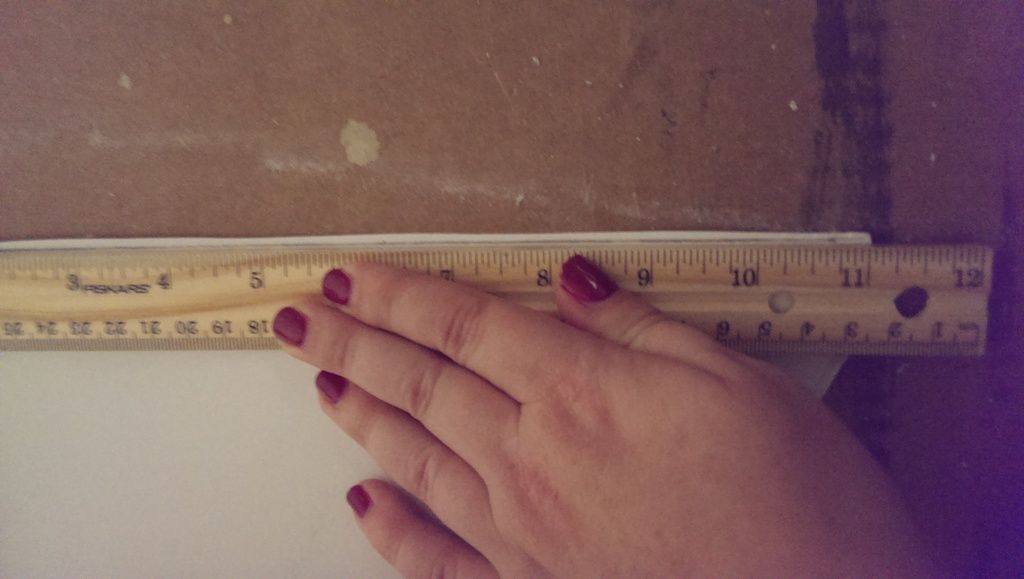
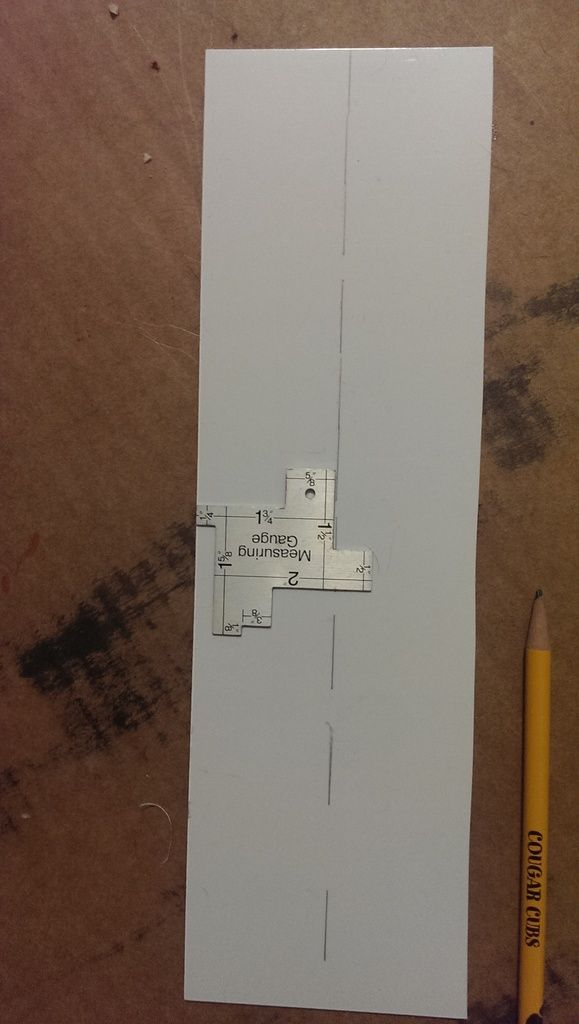
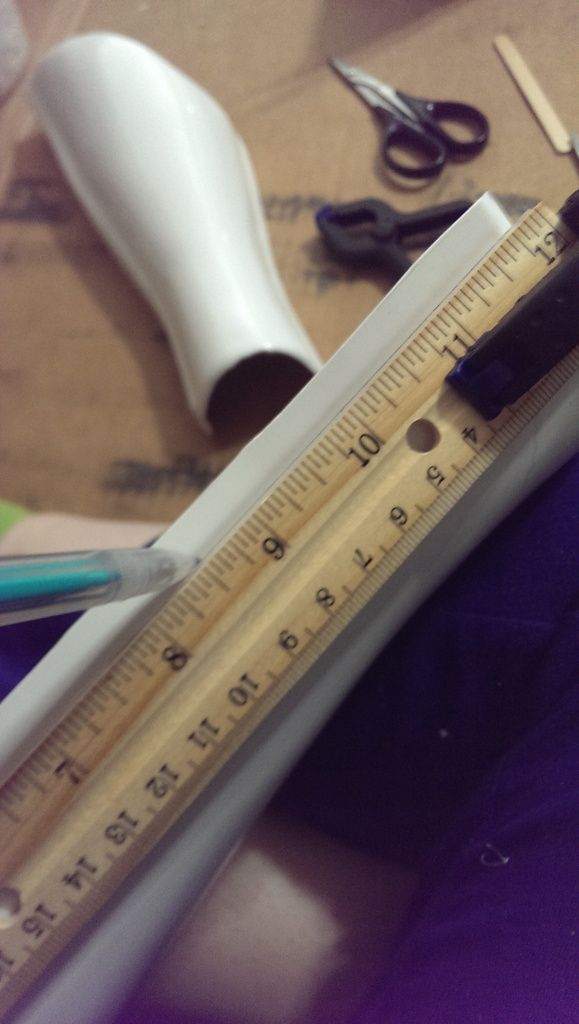
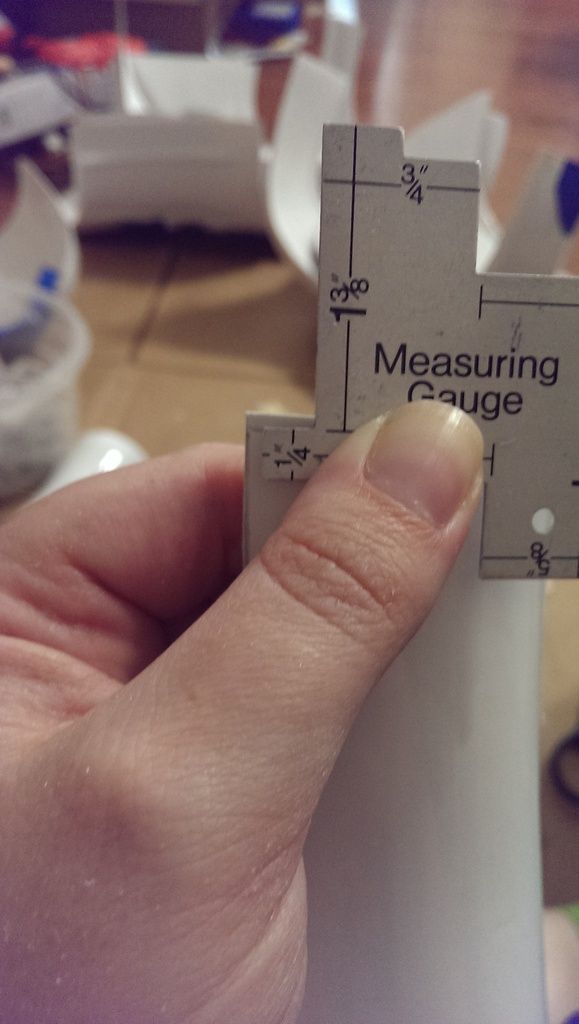
At the largest the gap was about 1.75 inches so I cut two strips that size
but that seemed to big and most of it was more like 1.25" to 1.5". SO I measured out strips 1.5". sigh
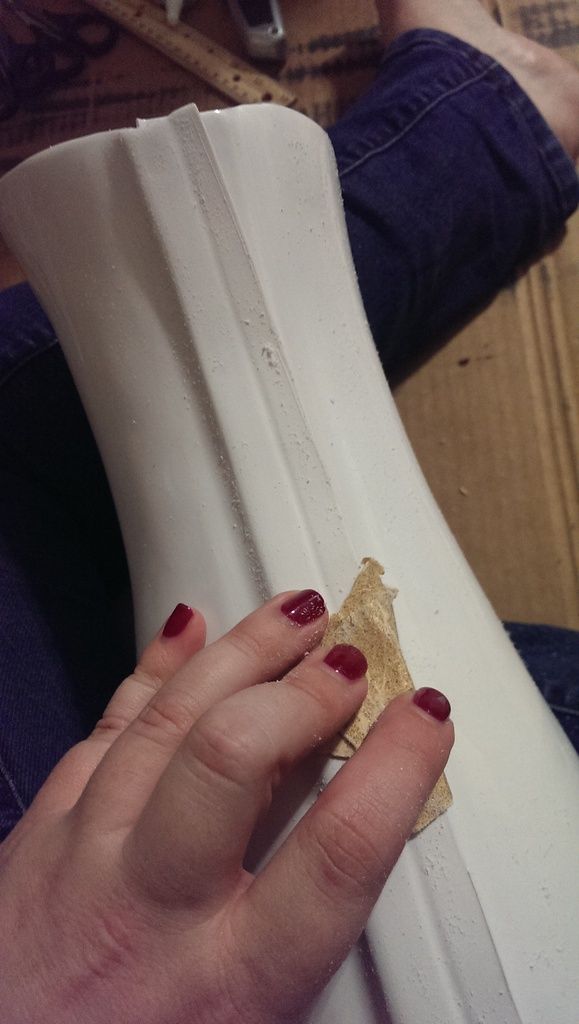
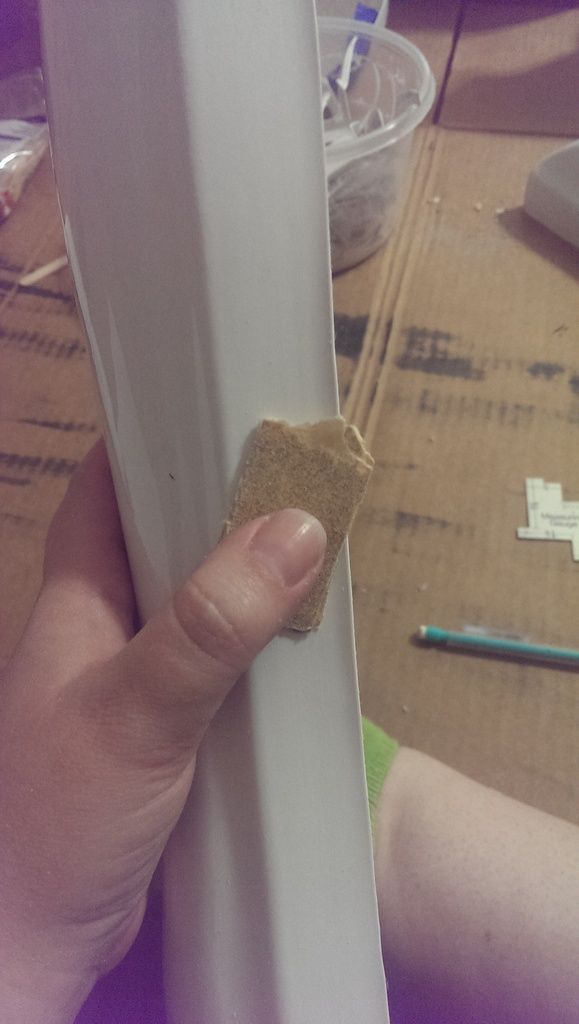
I sanded up the lips where I would be adhering the cover strip and the Velcro.
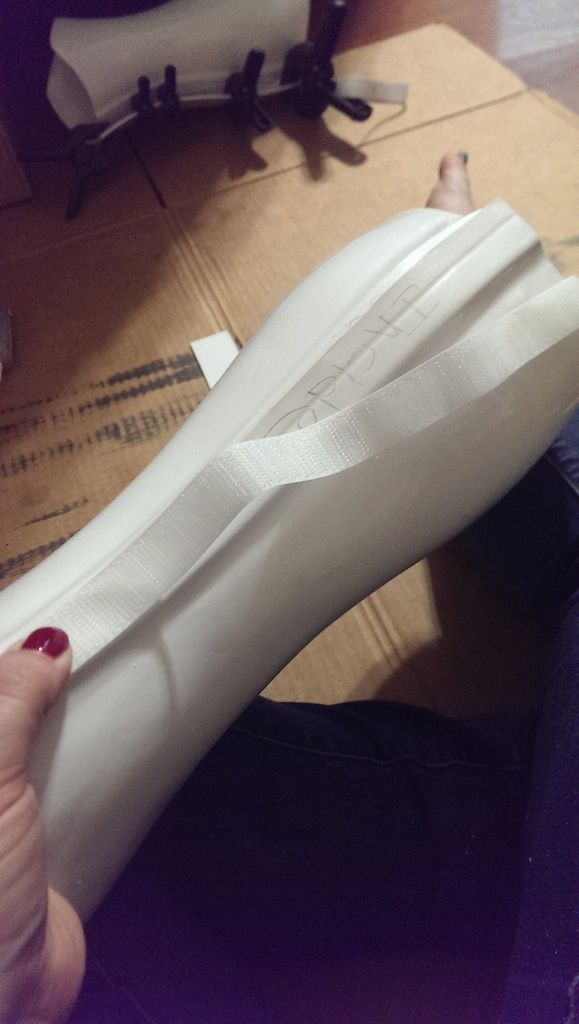
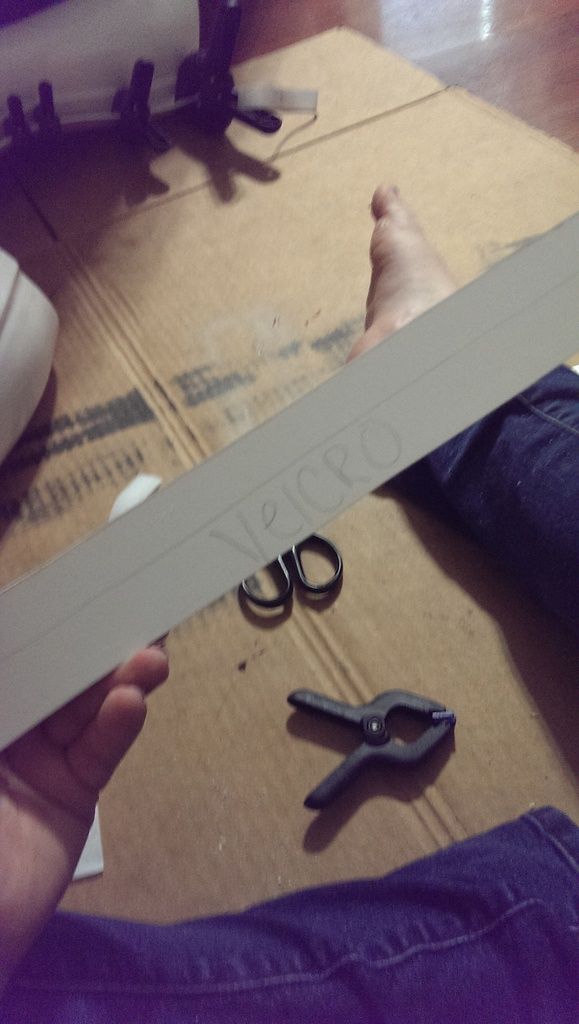
I ran the Velcro along the lip of both sides on the back of the shin to get the measurement. I have found that because they are sculpted by hand these pieces are not always symmetrical. This way I get an accurate measurement for the piece where I will put it.
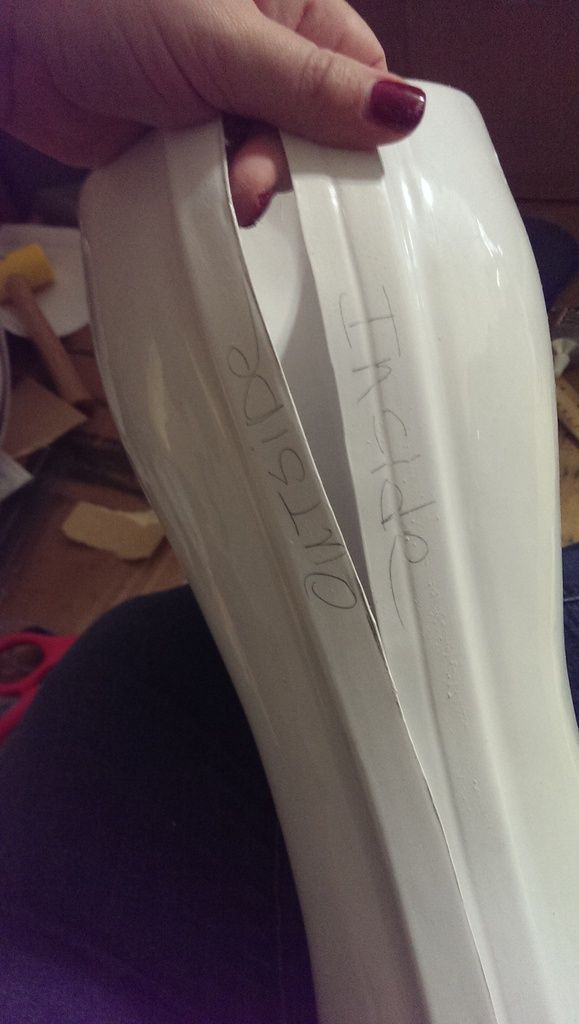
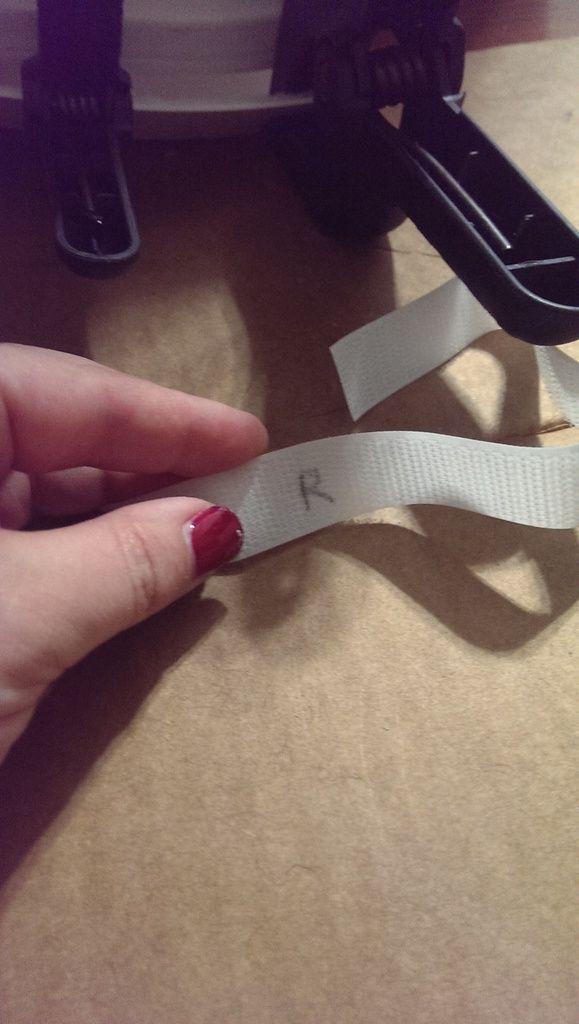
Always mark/label sides and things. Its surprising how easy it is to accidentally glue the wrong piece to the wrong place. =\
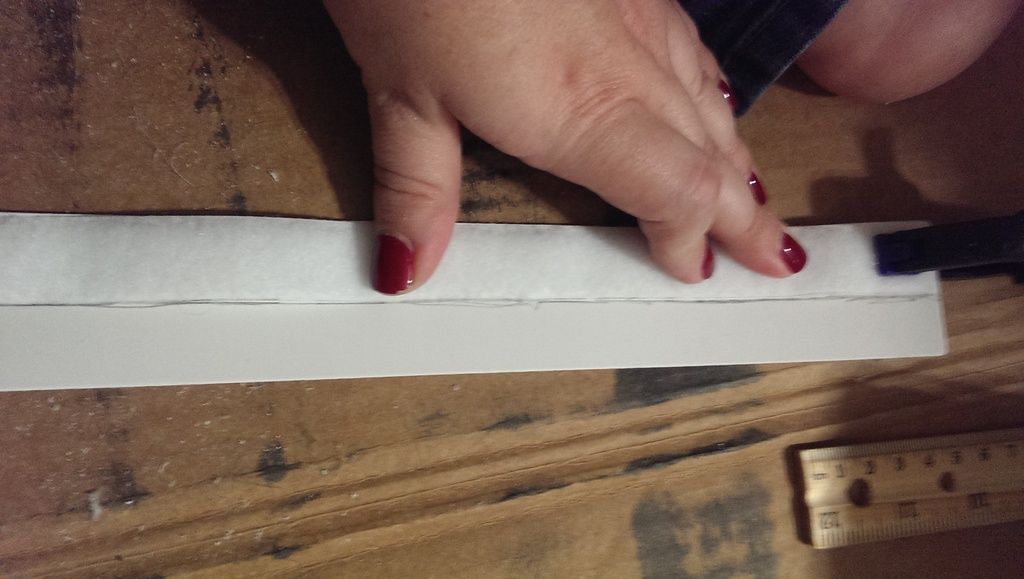
Roughed up the underside of the cover strips and then laid the loop (softer) half of the Velcro down and drew a line along the edge so I would know where to put the adhesive.
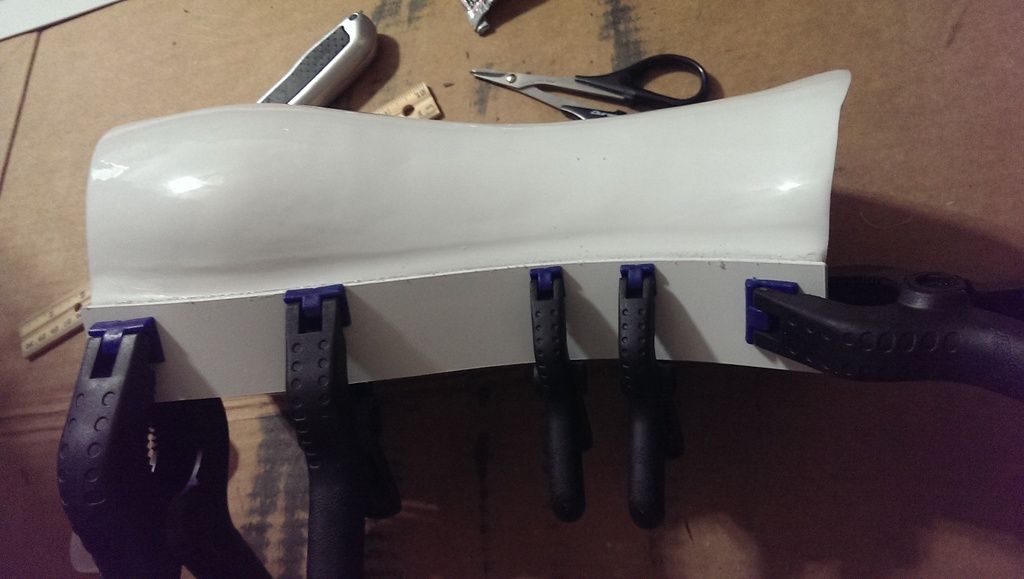
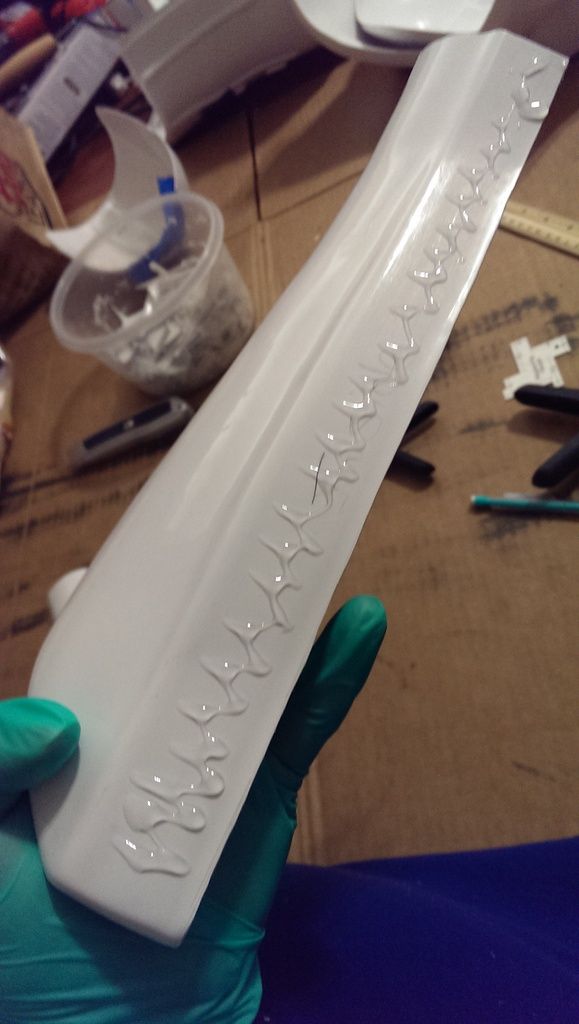
Then just used my wooded craft sticks to lay down thin lines of adhesive to the cover strip and the Velcro, wait the two minutes for it to set up, then stick them together.
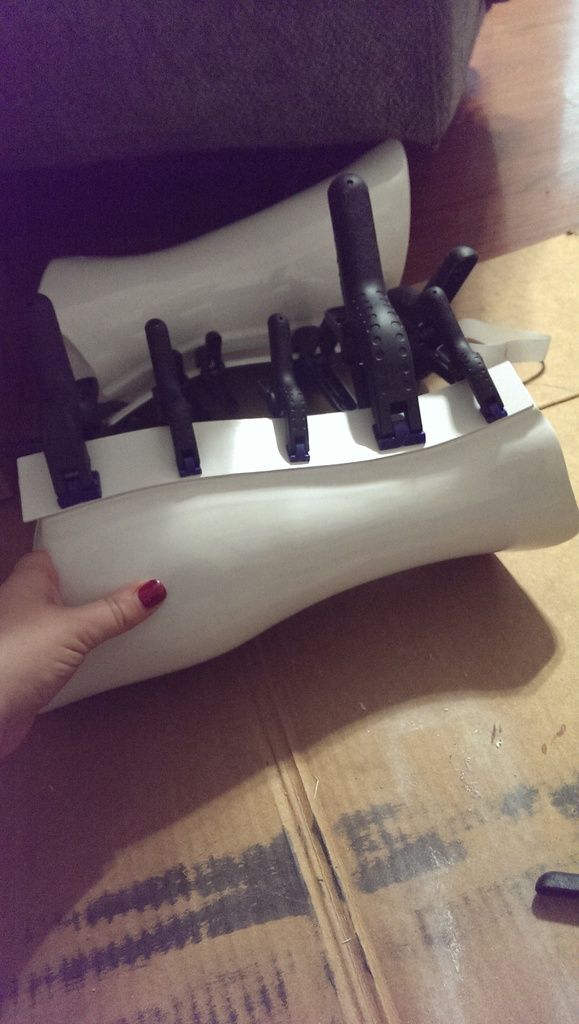
After the Velcro is glued on the cover strip add more adhesive to the non-Velcro side and adhere it to the shin on the outside edge (you marked which one was the outside right?) and clap it down to set up.
Rince and Repeat on the other side
Every thing needs to set up for a while, a day is best but after a few hours you can take the clamps off. Once the clamps are off you can use the same process of glue to glue down the hook side of the Velcro to the inside lip of the shins.
The hard part is resisting the urge to try them on until after they have 24 hours for the glue to set up. =(
-
wow, cutting that ab plate is really courageous! I'd freak out if I'd try! but you've done it SO well!
can't wait to see the finished armor!
Thanks Nienke, I wont lie. I freaked out for a month before I was brave enough to alter it. If I could have found a way to alter my torso instead I think it would have been less nerve wracking. =)
-
Carefully and slowly insert a flat head screwdriver between the cover strip and bicep and gently pry the cover strip off. Only pry apart a little at a time, being careful not to damage the bicep. You could also work a knife or X-Acto blade in there too to "cut" the E6000. I've had to do it a few times myself. Just take your time and be careful. Once the cover strip is off, simply rub the E6000 off until it's removed. You could also use either sandpaper or a magic (pencil) eraser. Good luck!
Thanks Greg. Haven't decided yet if I need to but I feel better know how to do it if it gets to that point. E6000 takes so LOOOOONNNNNGGGGG to dry! blarg
-
Yeah, they are pretty faint. I made a template out of a piece of paper for my traps cause I wanted to make them even. Then I just traced the trap with pencil using the template on both sides, masked it off with painters tape and painted. the indents will give you the placement you need.
-
 1
1
-
-
This is a really great build thread for someone that needs to alter the armor. Great job in the Ab Plate mod!!!!
Kevin W.
Thank you Kevin! Its slow and steady, but I am just so excited to have it. I am hoping it will end with it looking just as beautiful as regular build but at a 95% scale.

-
My biceps suffer from the same issue but it's not the shape of the biceps that's the problem. I just made mine too tight. Without actually seeing them on you, that might be the problem here as well. Is the pinching caused by armor bites (skin caught between the bicep and forearm)? If so, remove s little from the bottom of the bicep and inside of the forearm where they pinch.
If they are too small, you can remove the inside cover strips and make them bigger. Use some ABS paste and fill in the seam and then sand, bondo and paint.
But, you could also try a hot water bath and try to reshape them first. too. I know, so many decisions

So, in the event that I need to remove the E6000 glue to let out my seams a bit in the biceps.... How do I go about removeing E6000?
-
Do the biceps fit? If so, leave them. My advice, only reshape them if they don't fit well. Save you some work.
Greg they go on but I can't bend my arm without them pinching pretty badly. Like they will fit when the muscle is relaxed, but when they are engaged it feels like the seams will burst. =(
-
Finished putting together the biceps yesterday as well.
Because the upper circumference of my biceps are on the larger side and I trimmed the return edge down quite a bit. The top will be covered by the shoulder bell so I am not worried about it looking funny.
I cut and sanded the edges that will butt together, again using the ruler and clamp to make sure my line was nice and straight.
Tada, nice straight line. All I had to do was sand it a bit
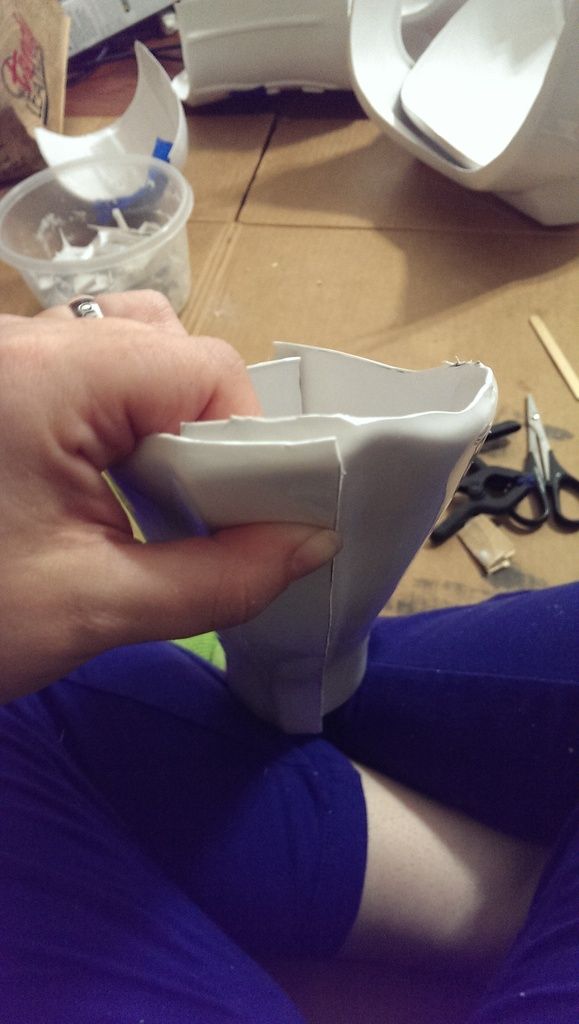
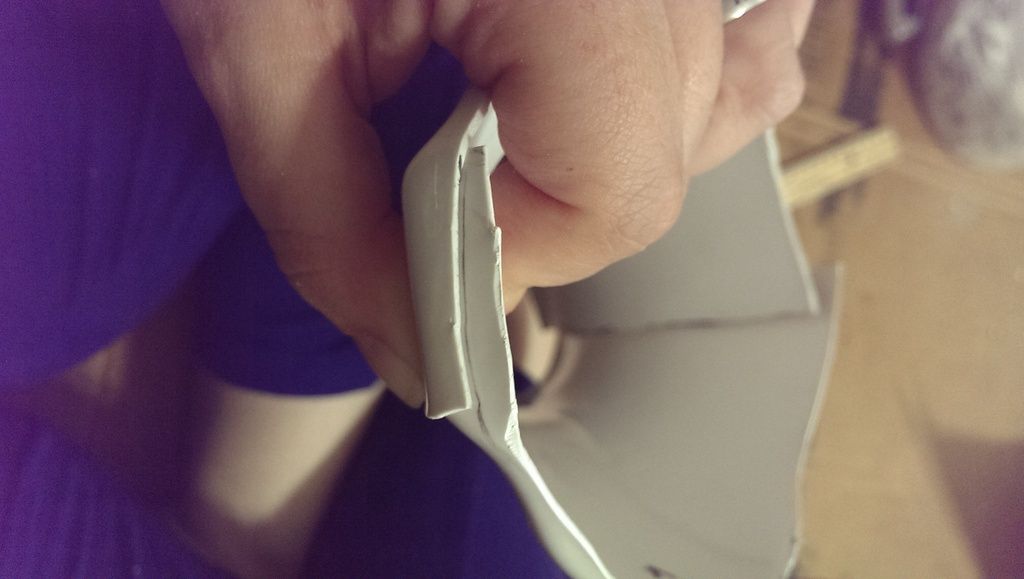
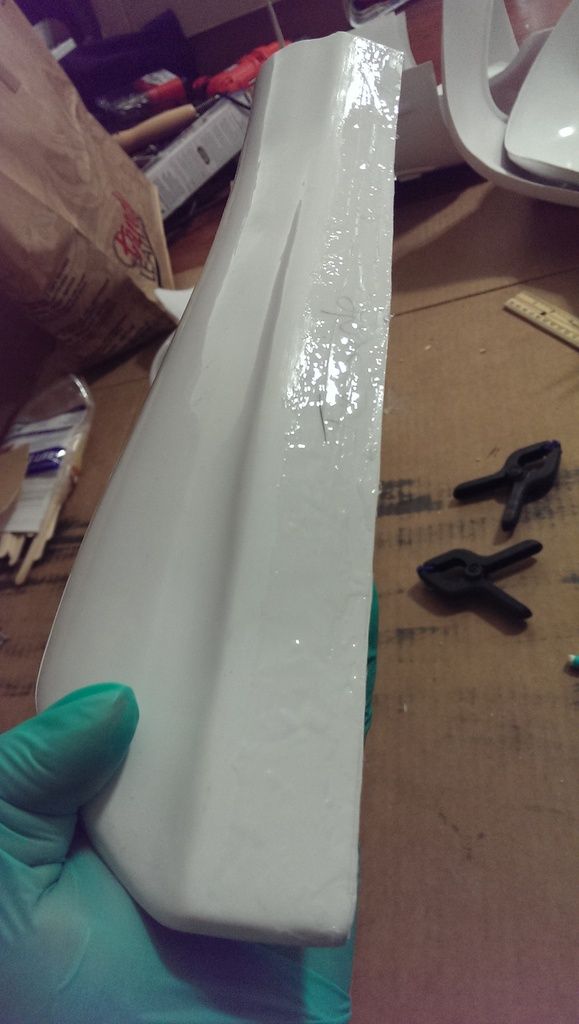
I measured the seam from edge to edge just under the return edge lip and used that measurement to cut a strip of ABS 3/4 inch wide for the front and the back of each bicep. Sanded the top of the strip and the backside of the bicep where they will join, applied glue and spread it out. I applied the strips and clamped them down. In doing this I learned that it probably would have been better and less of a hassle to do one side at a time instead of both halves of the bicep. That way I would not have ended up wrestling with it to make it stay while the glue was curing. Ah well. Here is the back with the strip applied. You can see the strip on the back side of the seam in front, and the seam on the outside in the back.
Here is the outside front seam. You can see where they are slightly different lengths, but that will be fixed and ultimately would be hiding under the shoulder bell, so no reason to stress.
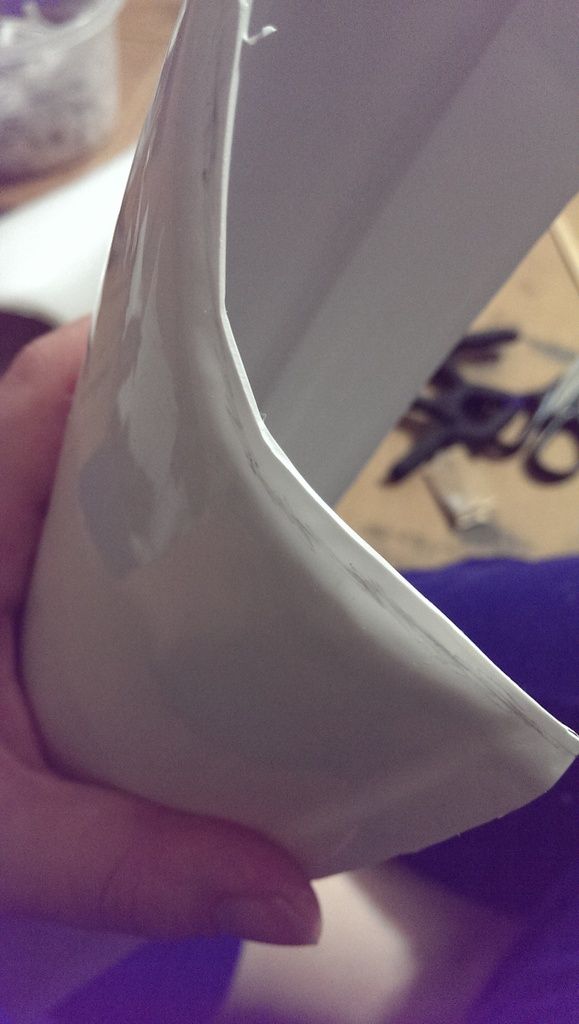
And here is my problem with the biceps. Is anyones arm that shape? Anyone? they are almost squoval! So I will try to round them out, but first I want to do some digging around in the forum for advice on reshaping a part. Any advice? I thought of heating them up a bit and sliding them over a pool noodle and letting them cool a bit rounder. we'll see
-
 2
2
-
-
Moving on to the forearms.
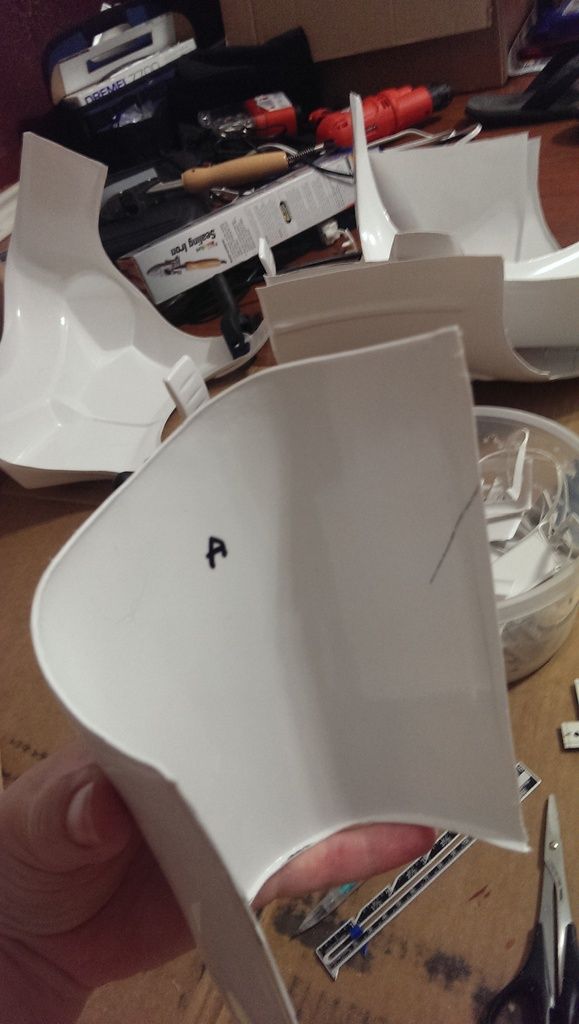
These are a bit of a battle to get the right size as they are another area that I am MUCH shorter than designed for.
I started by giving the surfaces I would be gluing a good scrub with the sandpaper. I had done that to the surfaces of the chestplate as well but forgot to note.
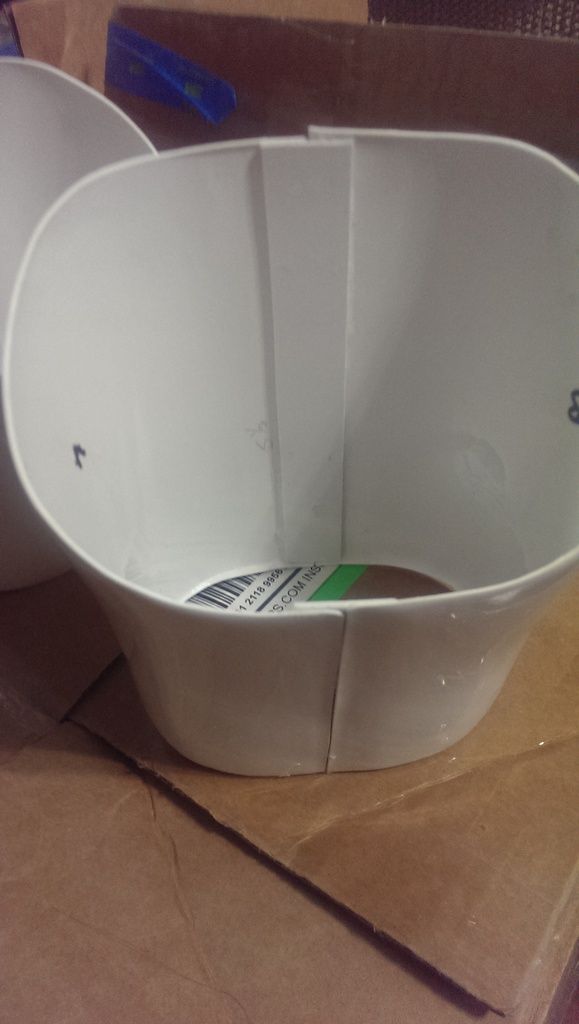
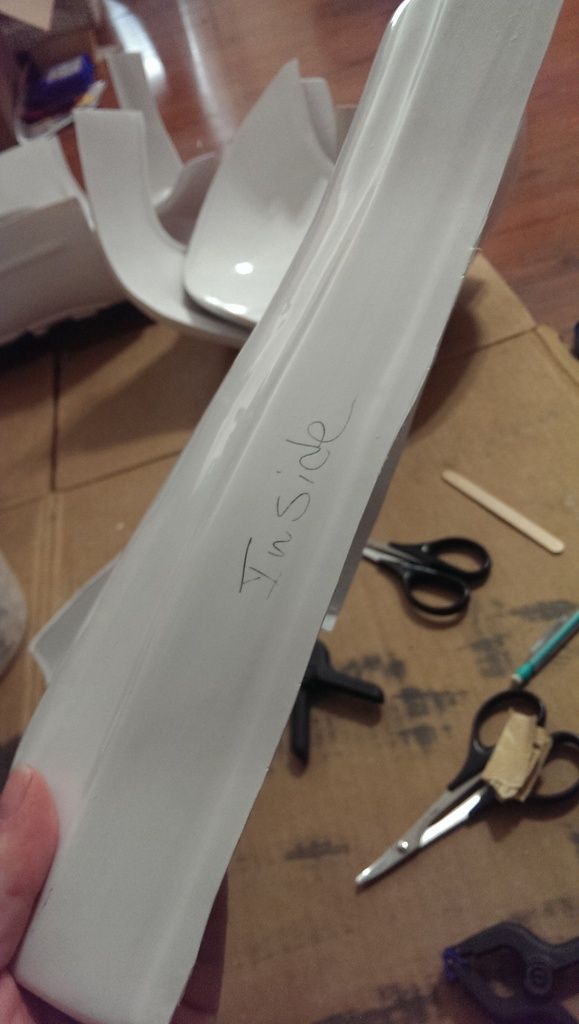
On the outside lip that will be overlapped I marked the "inside" so I remembered which one would be inside when I attached one to the other. They are meant to lap where the lapped edge is pointing towards the back on each side. SO they will lap opposite each other. I'll show pics as I go, I promise!
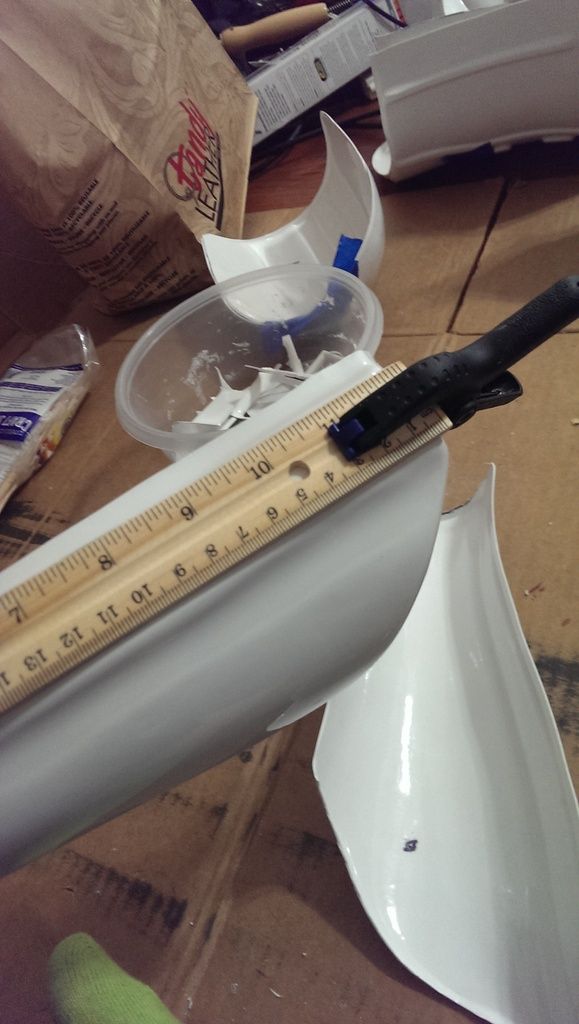
I used a ruler clamped to the straight edge and drew a line. Then trimmed along that line and used the sand paper to smooth the edge straight.
Once trimmed I lined up the outside overlapped edge and marked the top where they overlap.
Then penciled in the line where I wanted to trim the return edge. This is just to make it look prettier and line up better.
Those edges where then trimmed and sanded until they looked good.
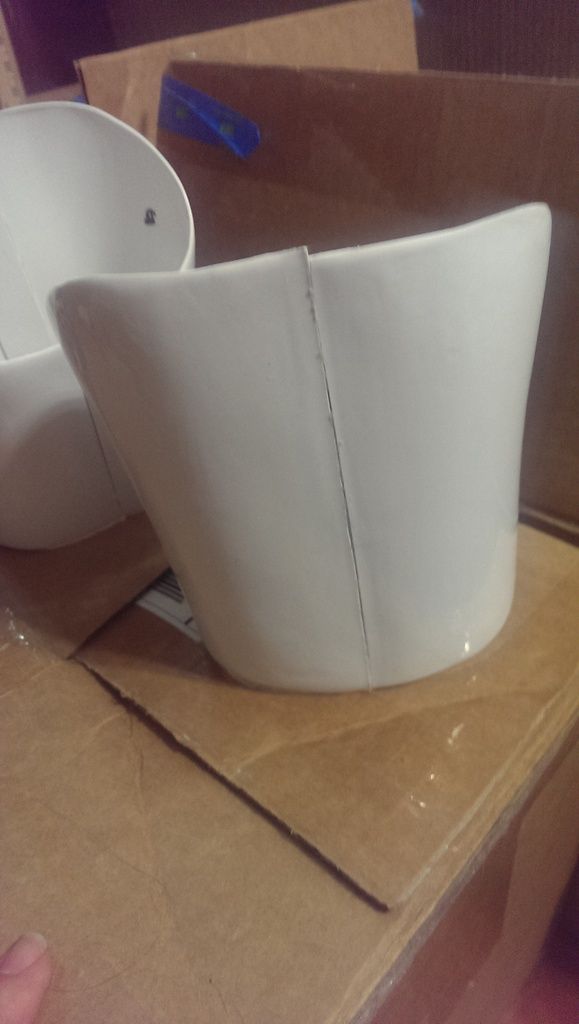
I then applied E6000 to the edge where they would overlap, top and bottom.
Then I took a wooden popsicle stick and smoothed it out so that there was no parts without glue and it wasn't thick enough anywhere to goop out the sides when I clamped it.
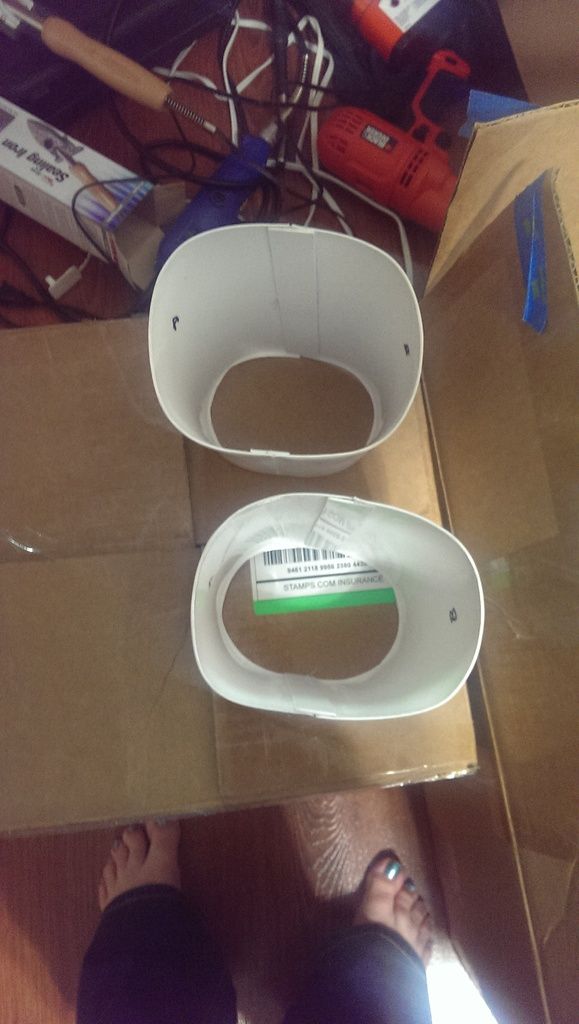
After it was clamped and dried for a day I started working on shortening the wrist edge.
They are about 2 inches to long. I was advised to trim the wrist edge, and it seems much more straightforward than the elbow edge. I was a bit of a chicken about just cutting 2 inches off so I trimmed and inch, then another 1/4, then another 1/4, then an 1/8 etc. Took a while but I got it to the right length.
Will finish the back seam next. taking a break from sniffing E6000.
-
Ok, full time job is sucking the brain out of me. But I really have been working in the evenings as much as I can. But it has all slowed down to much.
 *pout*
But there has been some small progress.
The shoulder straps for the chest piece are a bit of a challenge to get lined up right. Ultimately I found a reply in someone else's thread from Kevin where he was talking about the placement of the straps. It is difficult to get them pointed the right way without them being on your body and without the back piece on. I solved this little conundrom by using my 13 year old son as a mannequin. Understandably, he forbade me from taking pictures while it was on him.
Because the straps a "hollow" underneath, I made the glue a bit thicker and made sure it went up the sides.
I also used the bigger stronger clamps to hold them in place while they dried so that I made sure the most surfaces where touching the glue. Hopefully this will mean a good strong hold. As they do not actually hold anything and are just for decoration I am hoping they are fine as long as the glue stays.
-
HEY welcome back everyone! I have a lot of pics and catching up to do. I'll try and get it all up tomorrow. in the meantime, thanks Greg! I'll go buy some rivets.
-
 1
1
-
-
Here is a theoretical questions for those who have gone before and built this thing. Speaking specifically to the closure of the ab to kidney at the sides; the CRL says the L side should have two rivets which are covered by the belt and the chest/back pieces. The R side is snaps, again covered. My question is this; if they are covered how do they know what we used to close them? can I use snaps on both sides? what if you are Left handed and want your snaps on the Left side?! I want to put snaps on both sides. Is that a deal breaker?
-
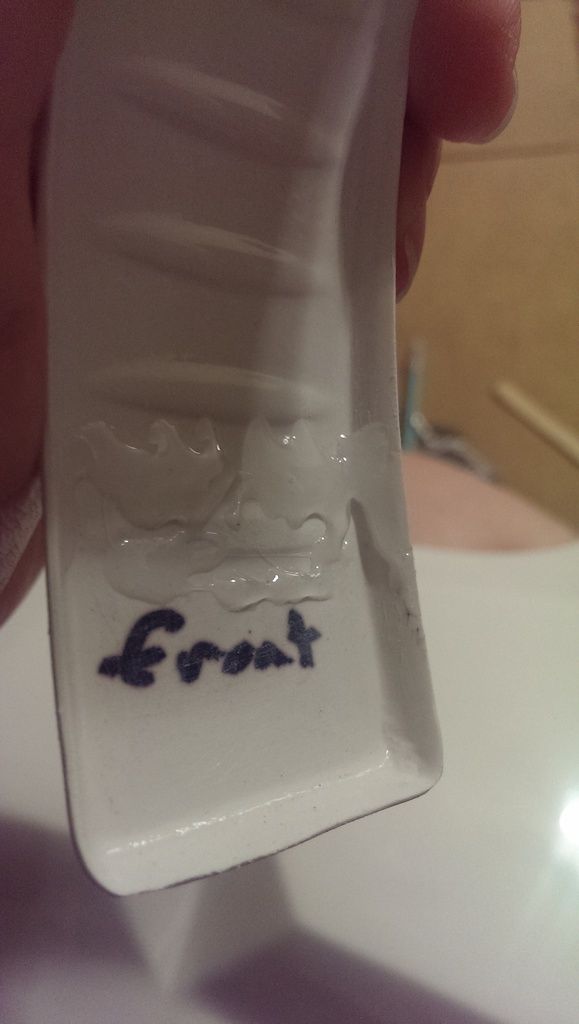
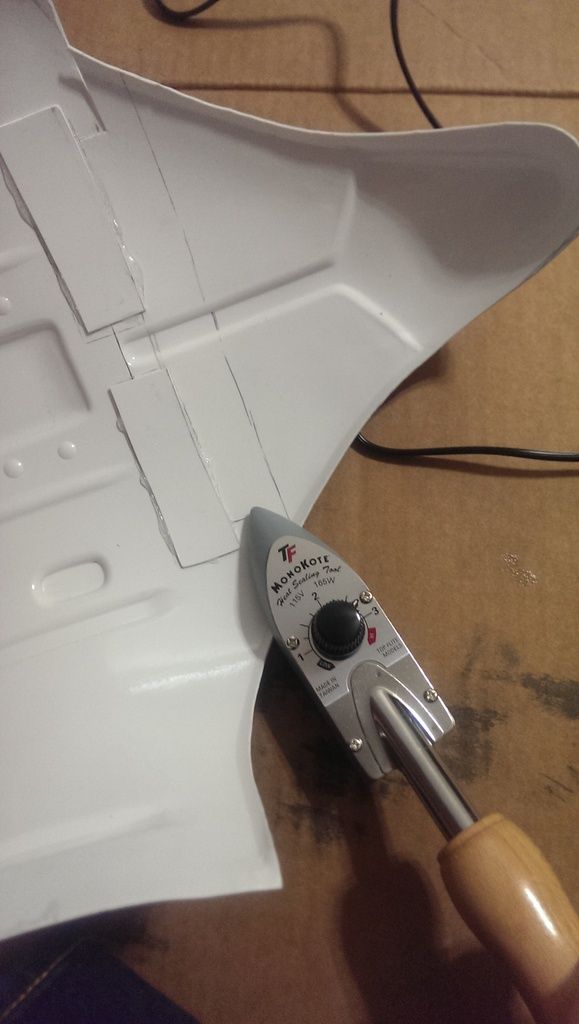
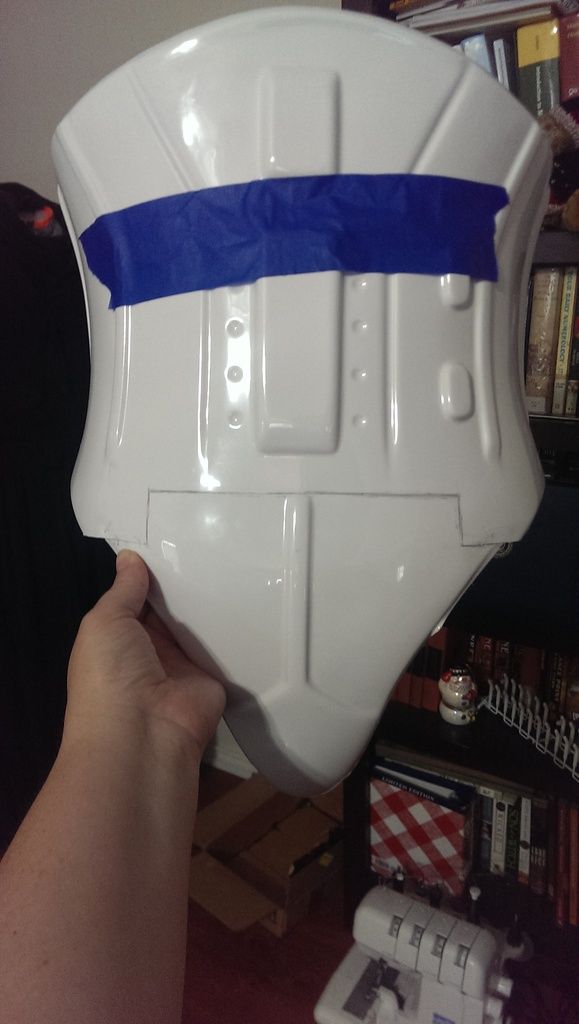
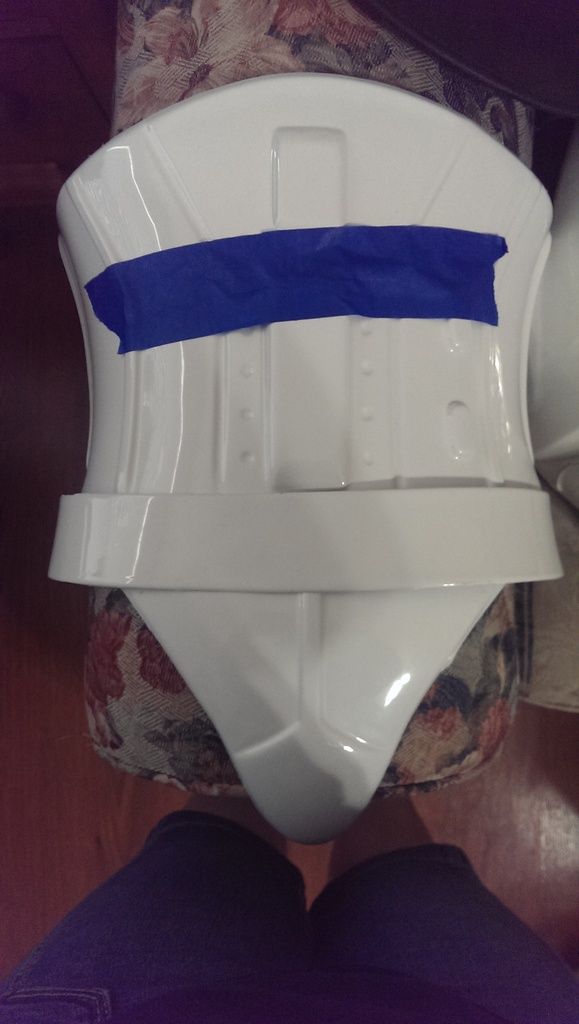
After it cured overnight I saw that I needed to lose the return edge bend at the seam to stabilize it. I used my heat sealing iron set at about 350 to gently warm up and straighten out that return edge bend
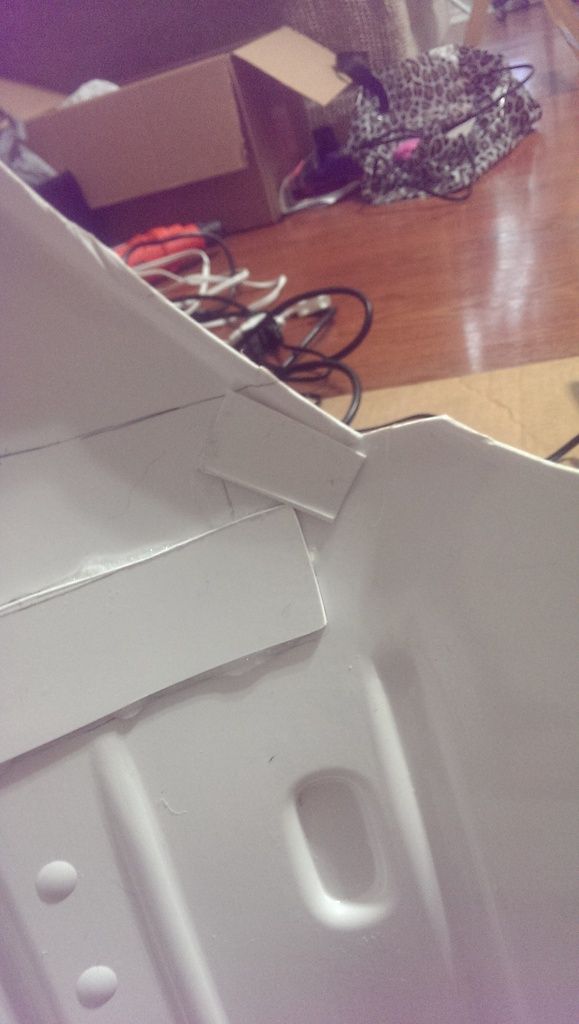
And then glued another small scrap of ABS to the back to stabilize that part of the seam
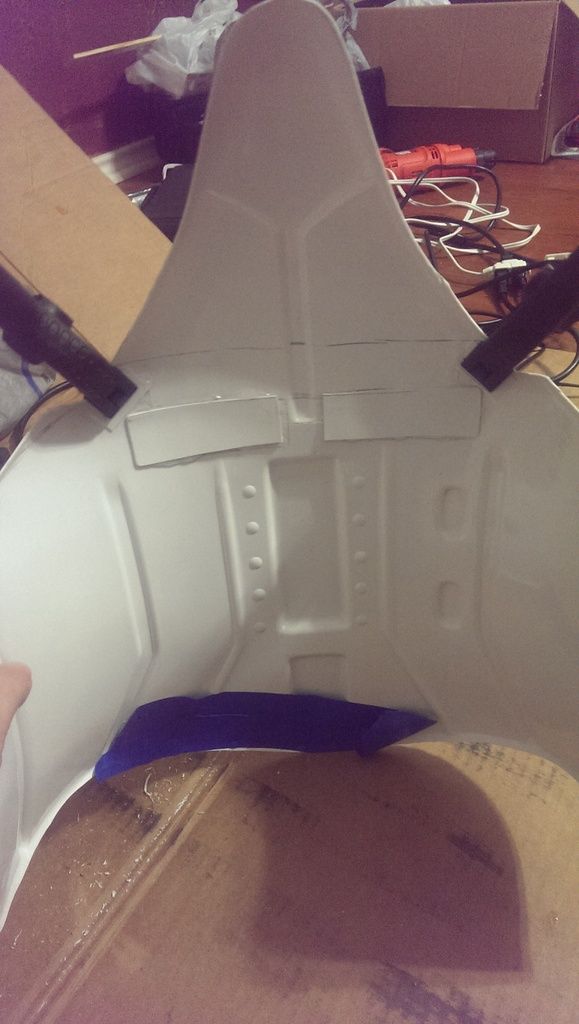
Repeating that process on the other side as well. Set it with clamps and waited some more...
The end result is a bit Frankensteined looking
And though I will eventually have to make up some ABS paste to make it pretty it will hold well, fit right, and is completely covered by the belt. I am gonna call this a win
Moving on...
-
 1
1
-


 [/uR
[/uR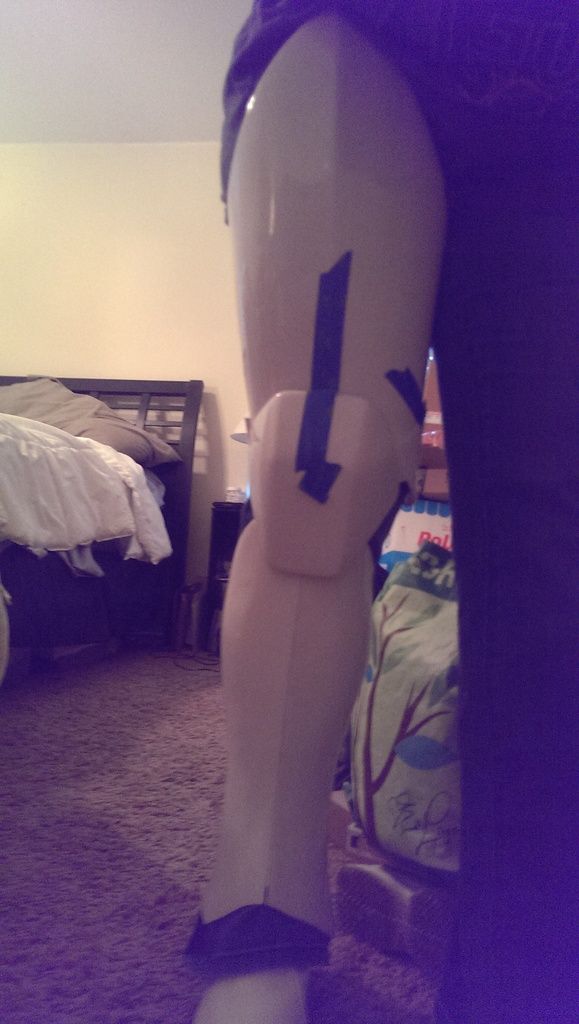


KW Designs Legacy Armor - Intended Height?
in Legacy Stormtrooper (Joker Squad)
Posted
I'm 5'0" and had to shorten the ab price but that was the only major mod. I did a build thread which details that mod. But other than that this suit accommodates short me very well