

Dougal
-
Posts
465 -
Joined
-
Last visited
-
Days Won
1
Content Type
Profiles
Forums
Gallery
Articles
Media Demo
Posts posted by Dougal
-
-
Here is my latest update...
Holes filled!! I'm fairly happy with the results. I still need to finish the seam so it should look even better after its finished. Camera also shows a lot more detail, lol!
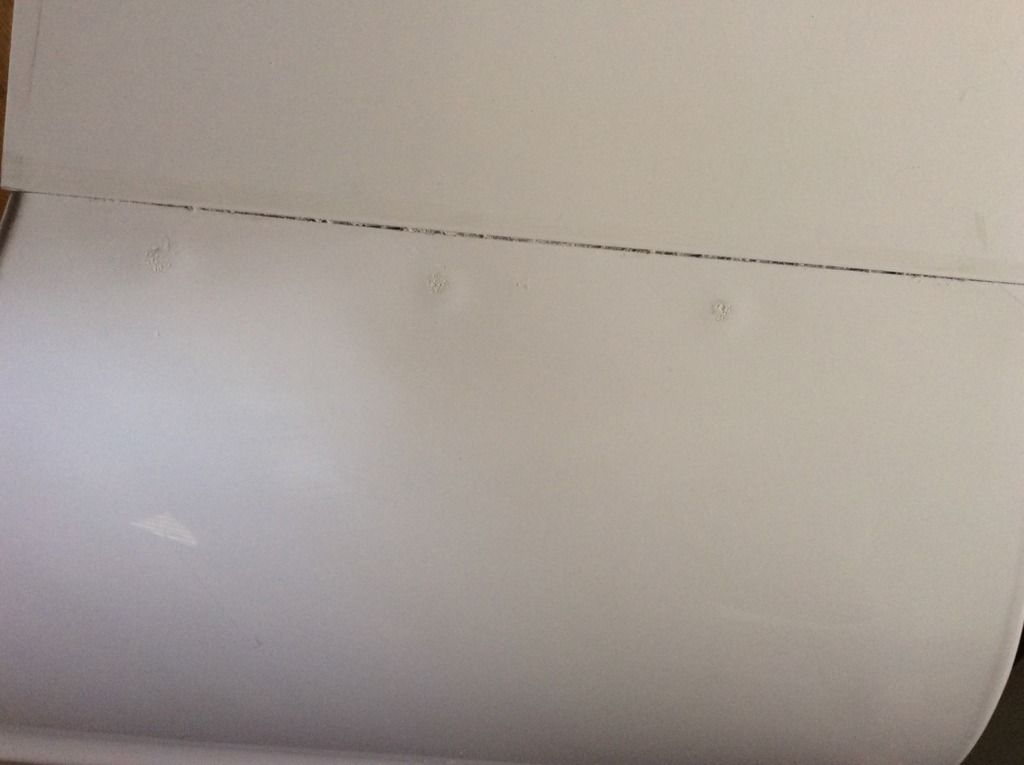
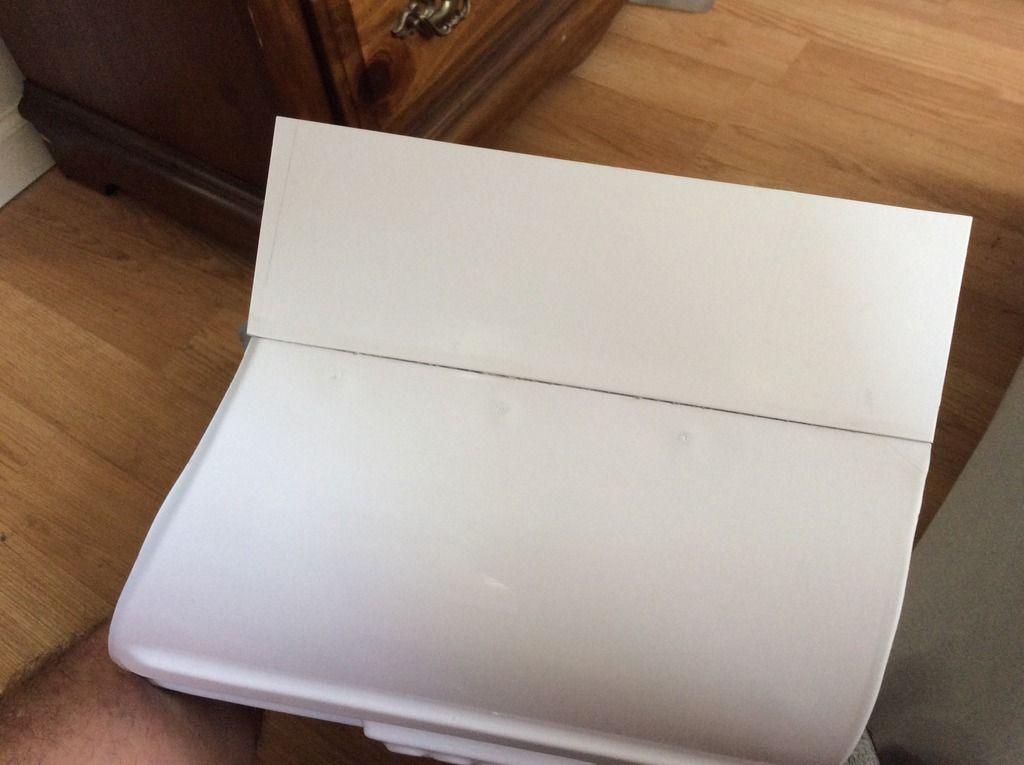
Here are pictures of the seams pre sanding and polishing.
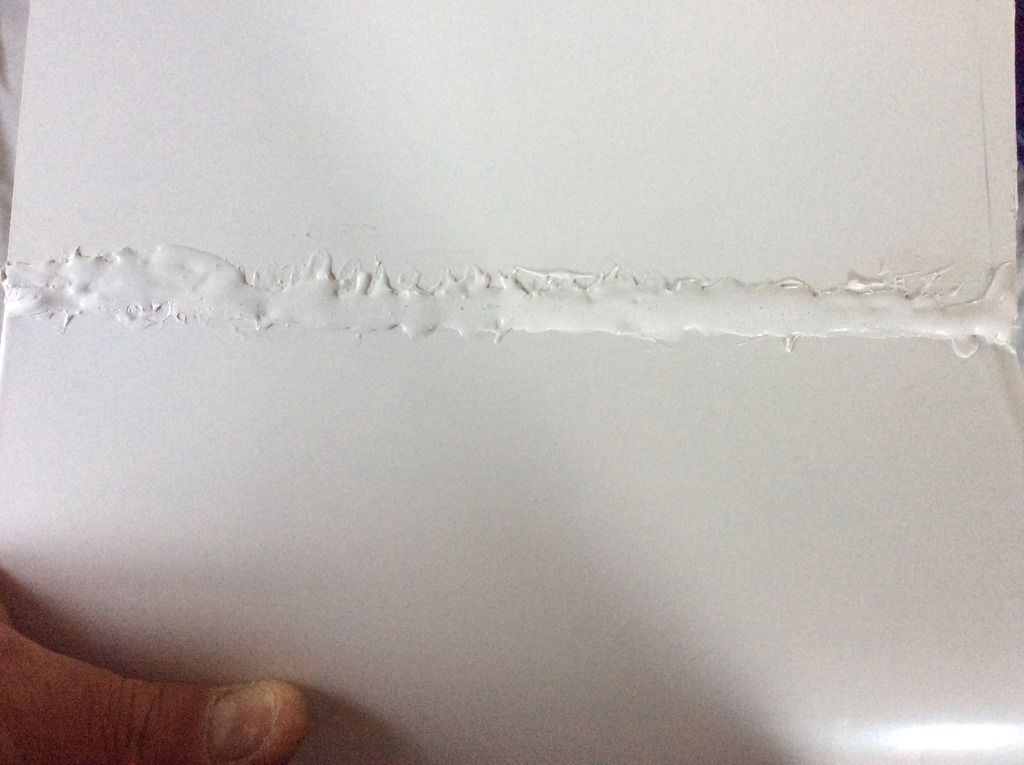
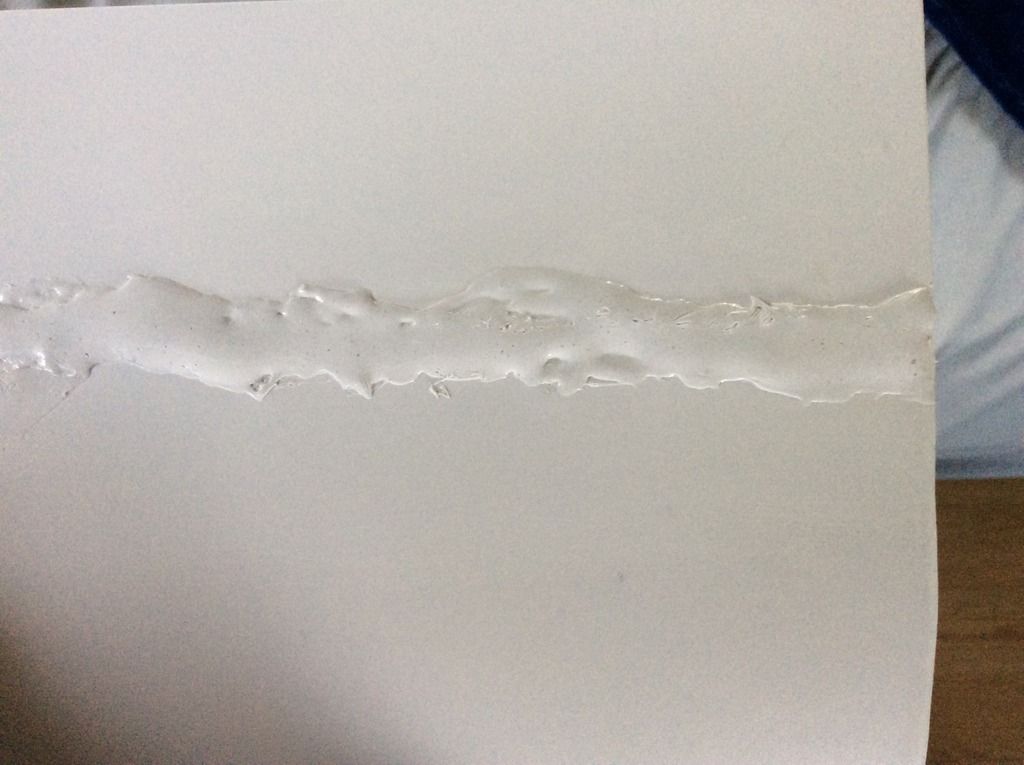
The paste took a lot longer to make then I expected. Maybe to much acetone and not enough plastic?? That's what I'm guessing. Took over a week to get to the point where it was usable. New to this, lol! I'm confident!!!
-
Kit is coming together nicely Preston!
-
 1
1
-
-
So I haven't posted on here for a while because my blaster was basically finished. I had never finished the sight fully because I just never got around to it and I still haven't topped it off with a PlayfulWolCub power cylinder. That will come!! I did finally get around to working on my sight though!! It isn't finished yet. I just have to do some glueing and touching up a bit with some paint but very excited with the outcome so far! First though a huge shout out to Derrek Day and his company Phoenix Props!! Without you my friend, my blaster would never be completely finished!!
Thank you very much sir!!
Shameless plug incoming -- If you are looking for an e-11 to build go to Derrek I wish he was making them when I made mine. Because if the rest of his blaster parts look as clean and detailed as the two I received then WOW!!!


-
It has been very slow going but I did make a little progress.
Pictures of my shims glued into place -
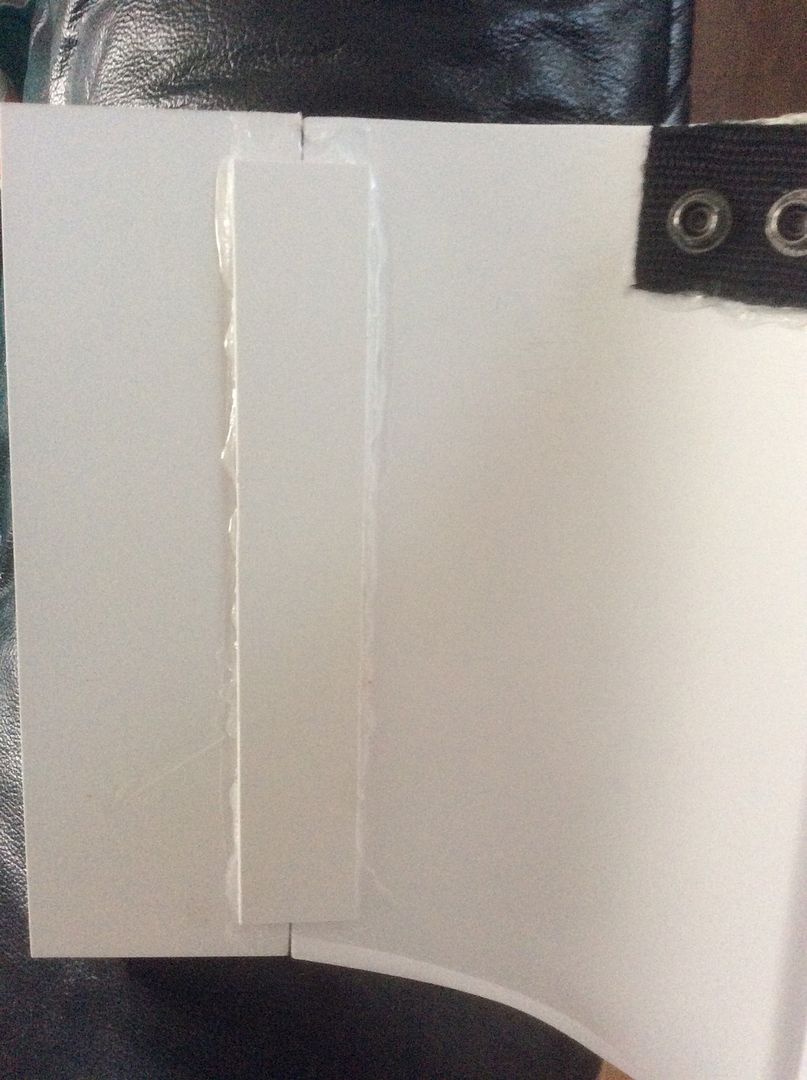
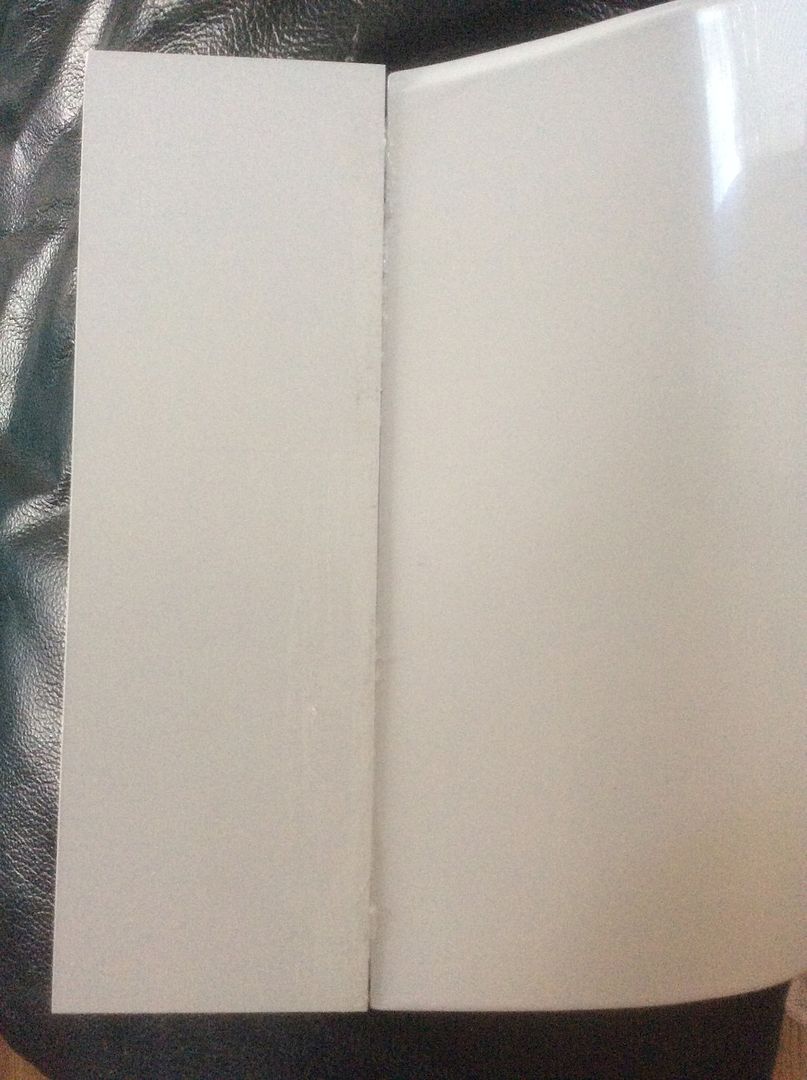
Making paste hopefully this week and trying to smooth those joints out. Wish me luck!!
-
1
-
-
Very slow...How are things coming along mate?
-
1
-
-
Your helmet looks awesome Preston! Great job!
-
1
-
-
The only snaps you need to be concerned with color wise, is the ones showing from the outside. All internal ones can be whatever color your heart desires. No one will see the inside of your kit when suited up. Fill those holes and seems with ABS paste. Try to apply it on as smoothly as possible and then sand it smooth. It may take a few applications but it's worth it in the end. Then wet sand and polish it.
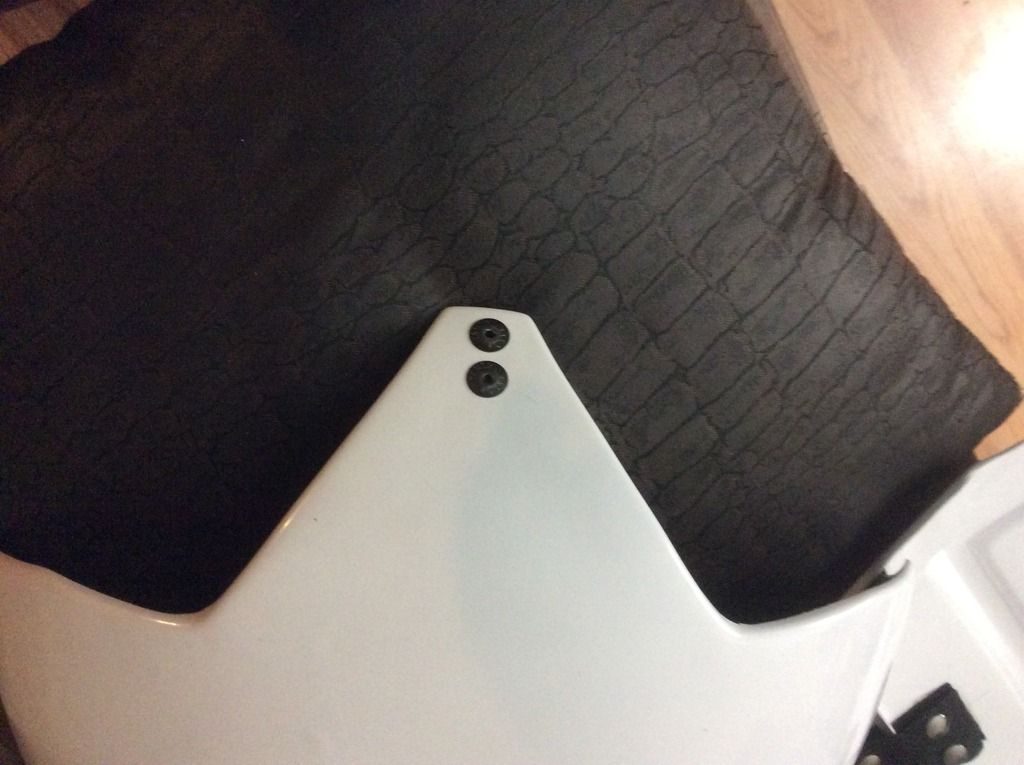
So.... Do I have to replace these?
-
Haven't worked a lot on my armor as I have been dreading having to put a shim on. Plus, I have been out of snaps so that put me at a "stand still". I didn't want to buy more snaps yet because I was hoping to get an answer to this question first. How much do snaps effect the decision for Centurion, in regards to brand and color? I have asked this question in a private message but haven't heard back from the recipient so now I'm asking via my build thread in hopes of getting some type of feedback on this subject. I purchased the black plated Tandy brand snaps. They aren't black. More of a gunmetal grey in color. (Haven't gone back to look again but I was sure I saw a build thread using the same color snaps.) The other thing noticeable with these snaps is the logo imprinted on the snap. Just wondering if this is an issue? Not necessarily on the strapping system but more in regards to the 3 visible snaps.
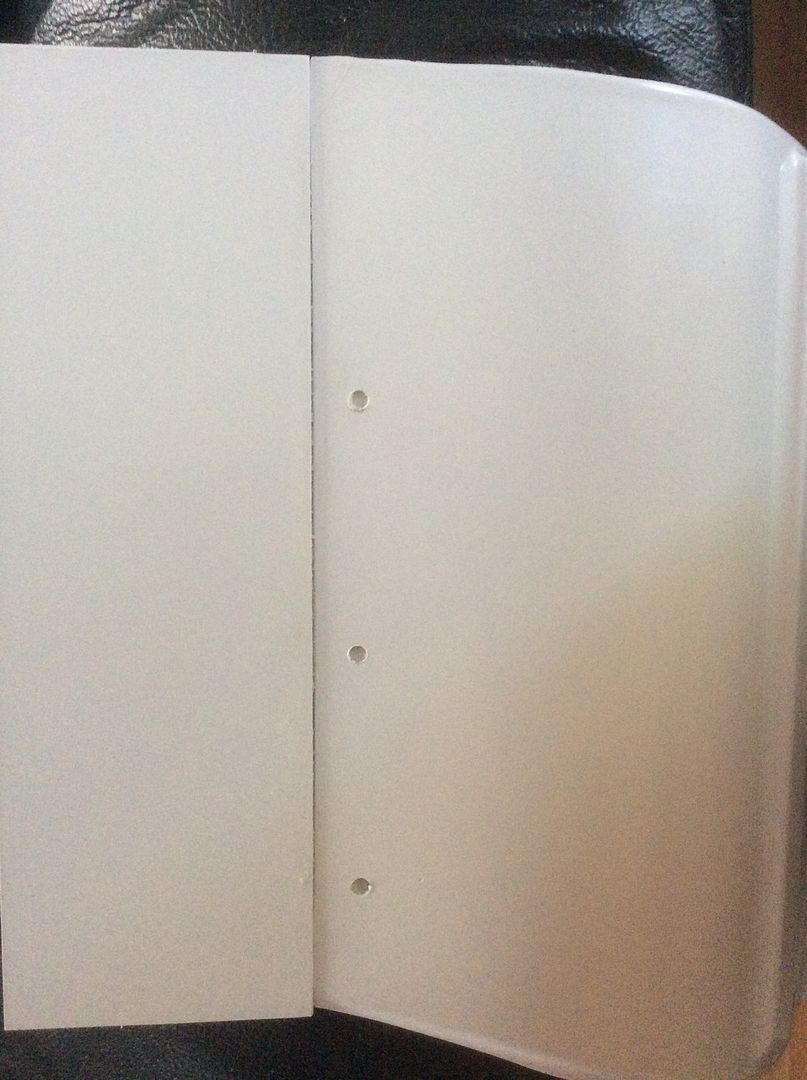
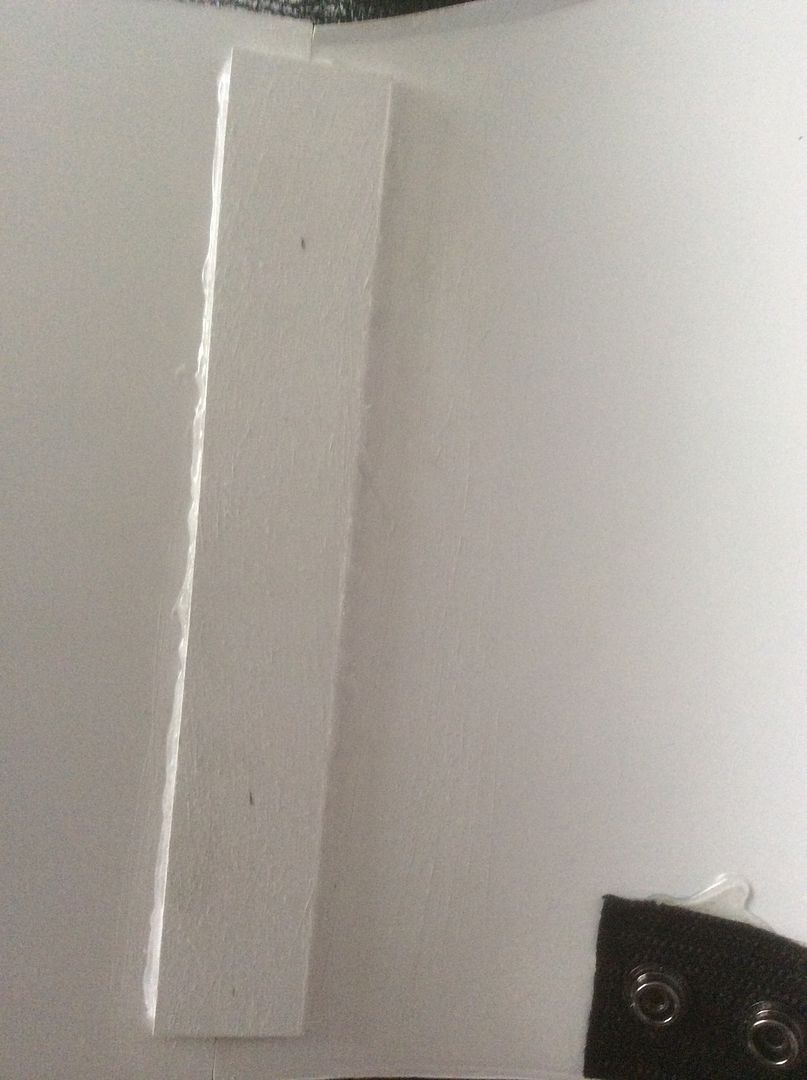
I did finally cut my "love-handle" extensions and this is the seam before gluing. Let me know what you think. I will abs paste the seam after I have them glued together via a strip of abs in the back.
**edit**
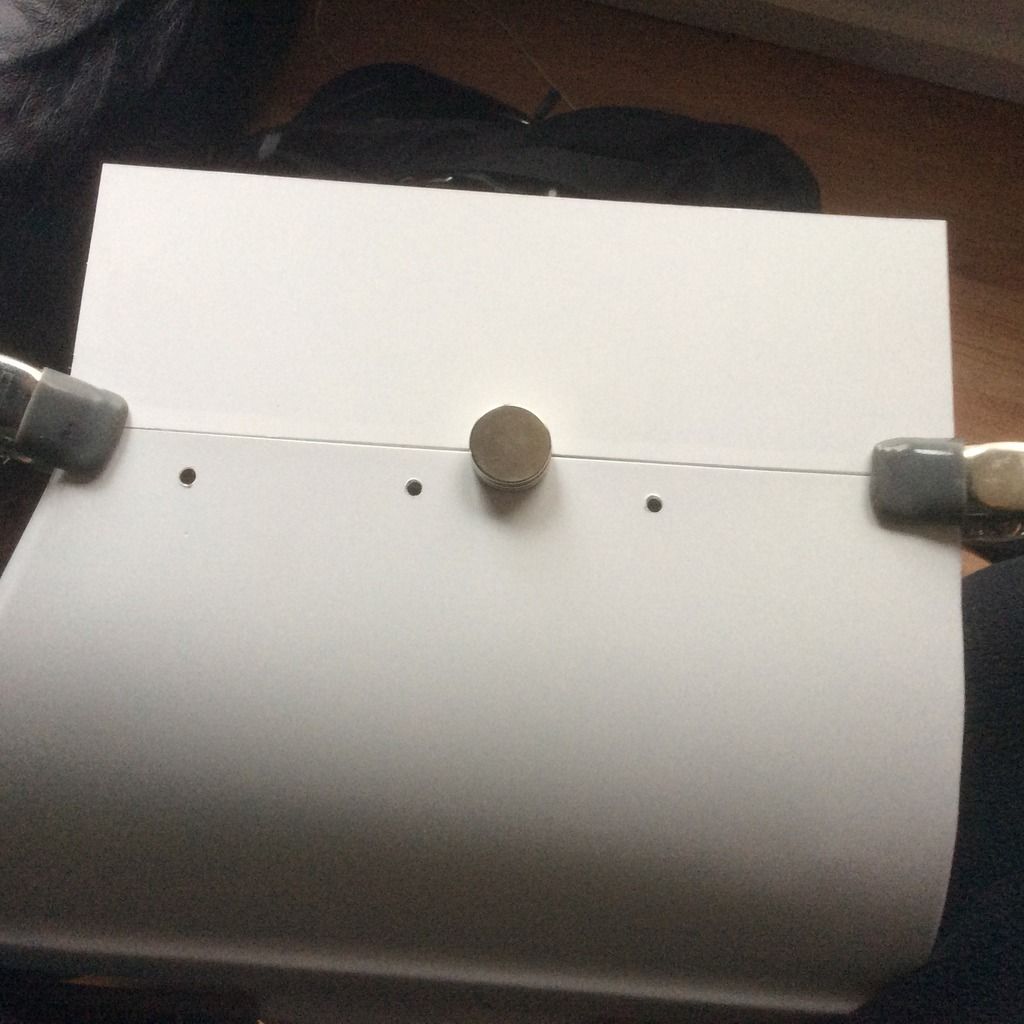
Forgot to mention I had to fill those holes I prematurely drilled... I guess I assumed to much before drilling, lol!!
-
1
-
-
I loved building mine! Enjoy the build and keep those pictures coming!
-
Looking good trooper!!
-
1
-
-
Great job bud! Don't let the shiny white stuff beat you!!
-
Not sure if I should wait for stencils or just free hand it with masking tape, because these look really nice!
-
2
-
-
The excess paint can be removed with a q-tip dabbed lightly in paint thinner or mineral spirits

Don't forget to moisten the qtip first to help with loose cotton getting left in your new paint job!
-
2
-
-
-
I'm going to have to shim my ab.... Ugh!!!!!
-
Here's the other side.
 This is the side that needed no clean up.
 Jim
I love this! Great idea! I am going to try this!!
-
2
-
-
Shiny goodness!
-
2
-
-
I am a glutton for punishment...
And...

Used a different brush and sucked on the qtip first. Was much easier!
-
1
-
-
Slightly dampen the q-tip before using - I used my tongue on the q-tip before dabbing it into a small amount of paint thinner to remove excess paint - hope that helps mate
Thanks Aaron! I will try that when I paint the chin tomorrow!
-
1
-
-
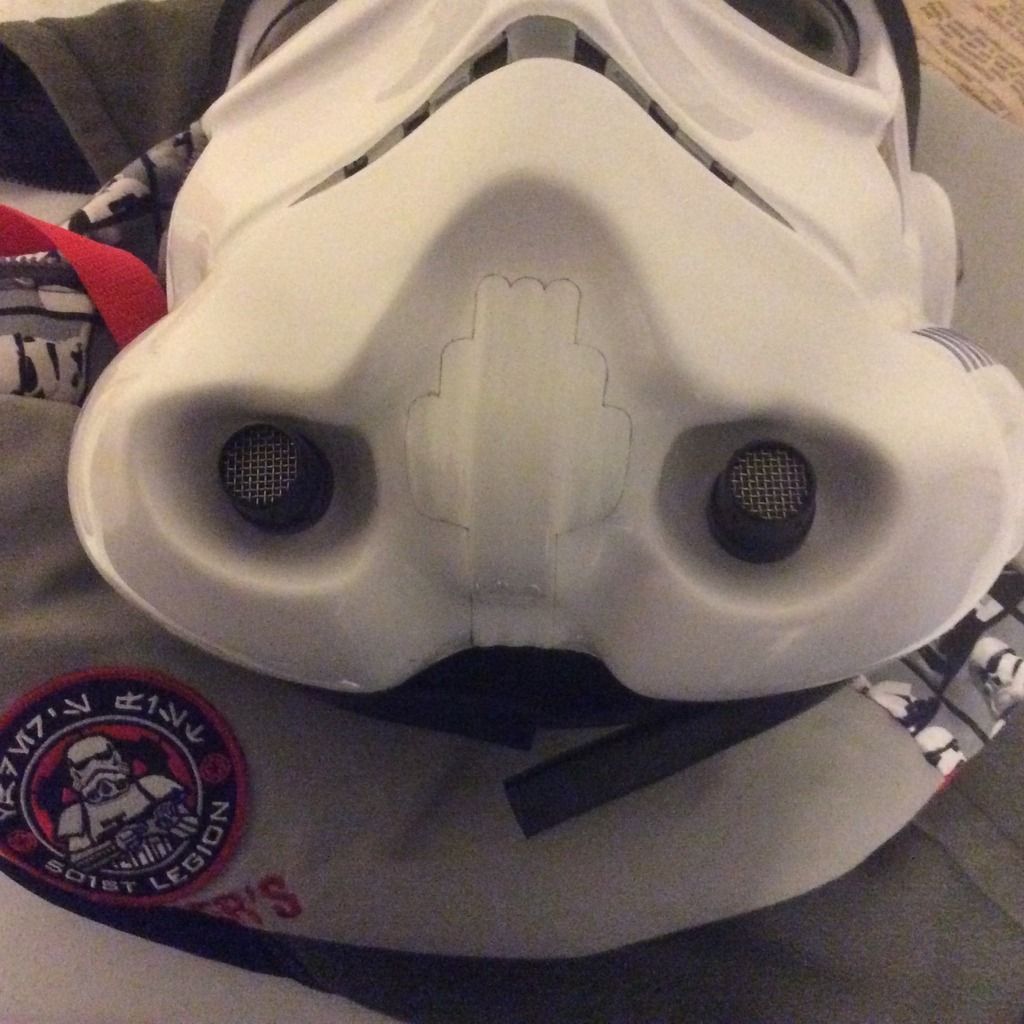
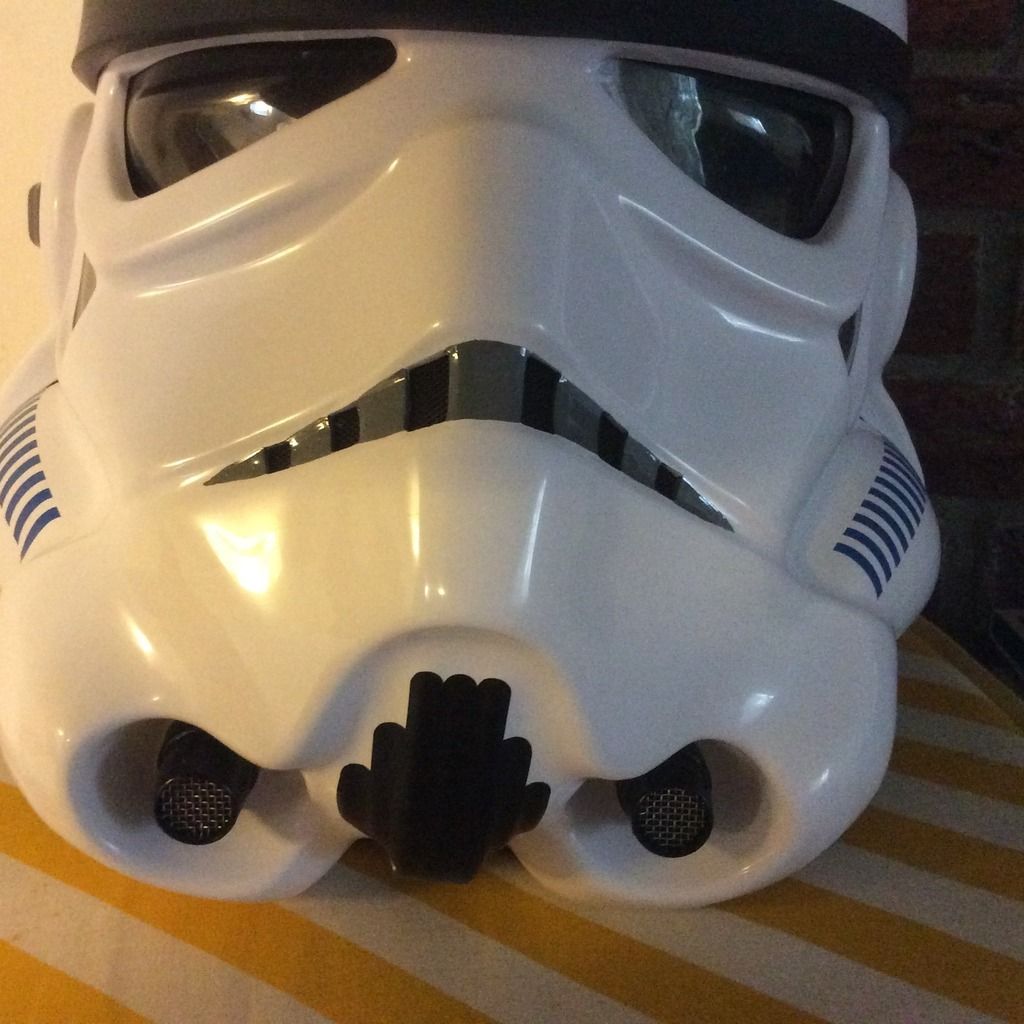
Attached and touched up!
I ran out of snaps... So, instead of finishing a couple more connections while out of town this week I decided to start hand painting the details in my helmet. I consider myself an accomplished miniature painter. I have painted for years... Oil base paints are horrible!!! Just my opinion, lol!! Now that I got that out of my system, I started with the frown. RTMod prebuilt my helmet for me and used details so I started by tracing the decal with a pencil and then removing the decal.
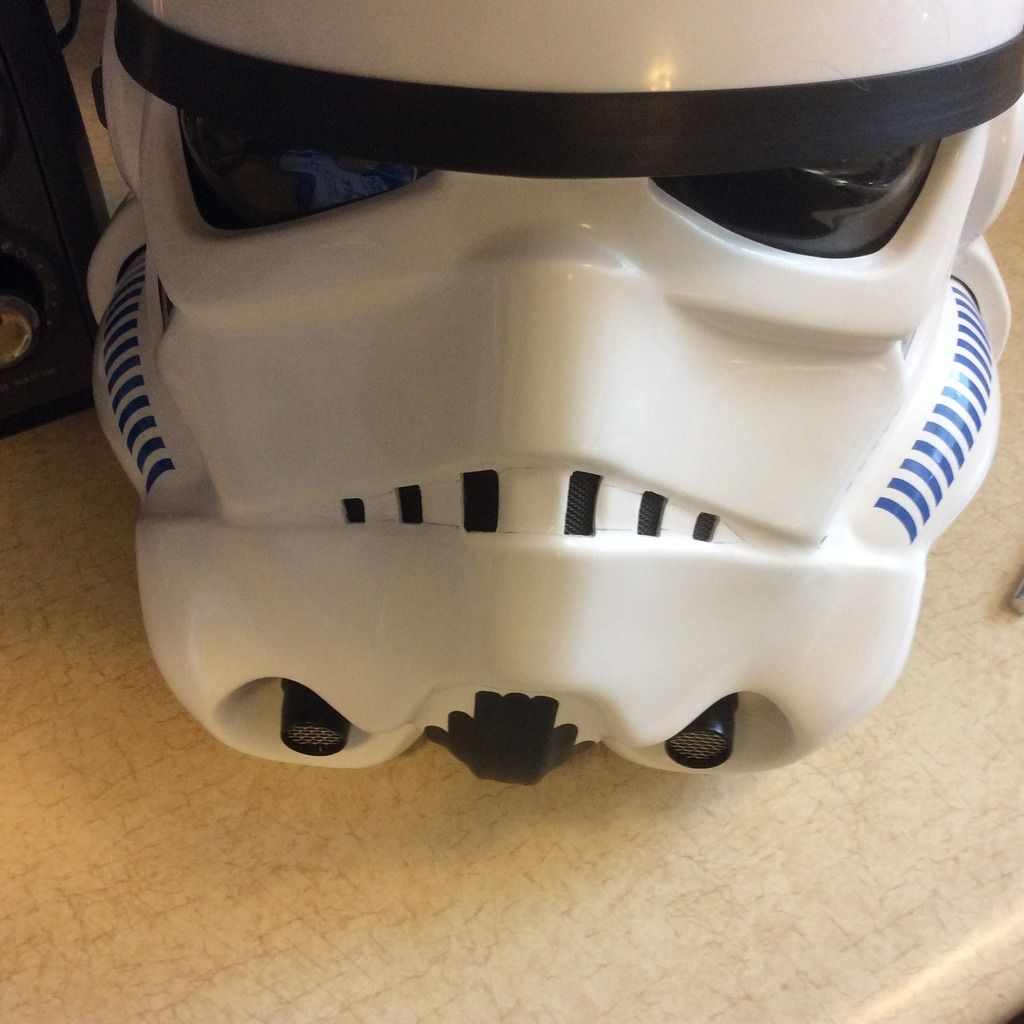
Then after an hour of painting and cleaning up and repainting, and then repeat that process again, this is what I finished with. I didn't use painters tape or stencils, just the tracing I took from the decal that was originally on it. It was hard... Just saying, lol!
I might paint more tomorrow. Not sure, need a better method of cleaning up. Qtips leave cotton material behind in the paint that I need to remove otherwise you see little string snakes in the paint. Might use some masking tape this time also!
-
2
-
-
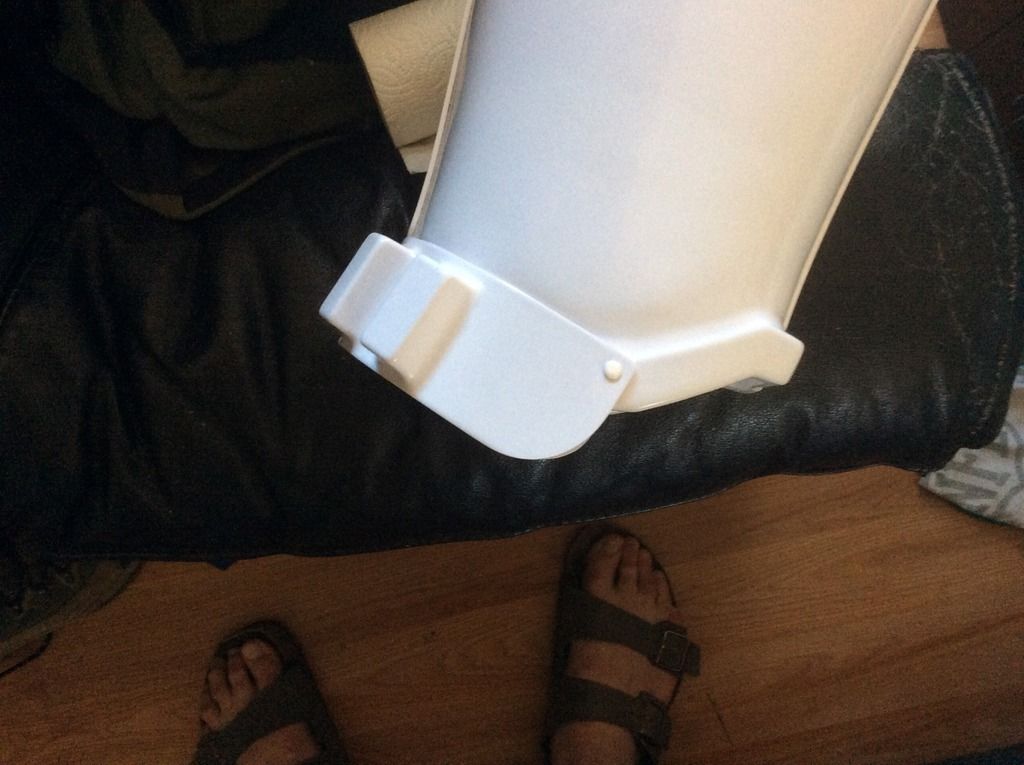
The backs of the calves and thighs can definitely be trimmed for comfort. I was actually just looking at the post of this fellow trooper who made Centurion and you can see the backs were definitely trimmed -
http://www.whitearmor.net/forum/topic/32965-tk-88118-requesting-anh-stunt-centurion-status-ap191/
Nice! Thanks, I may have to trim more on my thighs now!
-
2
-
-
Omg... Relax, and let that body mend so you can troop another day!! Hope you feel better!!
-
1
-
-
Hey Pyrates,
thanks for the help and support. I wanted to ask, the backs of the calves and lower back of the thighs do get cut out more correct? for mobility.
I know for a fact the shins can be cut out in the back for mobility. I sent Ukswrath an email about cutting out mine. But I neglected to ask about the thighs so I am anxious to hear the answer!
-
1
-
-
I used e6000 on my gloves(Centurion level)... I don't plan on using them anyway. They are to hot to troop in. So the e6000 holding won't be an issue since the only time they will be used is for my submission photos. My trooping gloves have Velcro sewed on them to hold my hand plates on. <br>
Kits looking good! Keep going trooper!
-
2
-


2 Year Anniversary!
in Field Training Exercises
Posted
Great job Preston!!