

TK-Sharp
-
Posts
76 -
Joined
-
Last visited
-
Days Won
1
Content Type
Profiles
Forums
Gallery
Articles
Media Demo
Posts posted by TK-Sharp
-
-
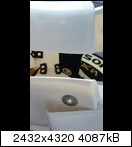
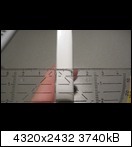
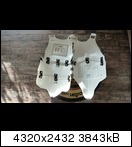
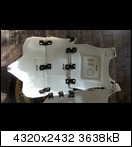
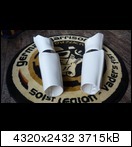
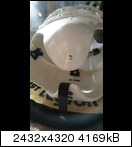
I also like to post the way I'm packing my trooper case having everything but helmet and blaster inside. I hope this will inspire other troopers out there. In order to get everything packed I basically decieded to strap the armor using snaps and elastics. The suitcase I'm using is a hard shell suitcase, measuring 75 x 50 x 34 cm. Sit back and get some popcorn

One thing to mention: The bottom of the suitcase has rolls. On the pics it is at the right side ... and now enjoy ...
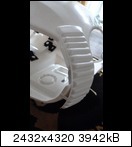
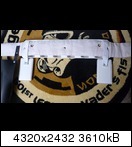
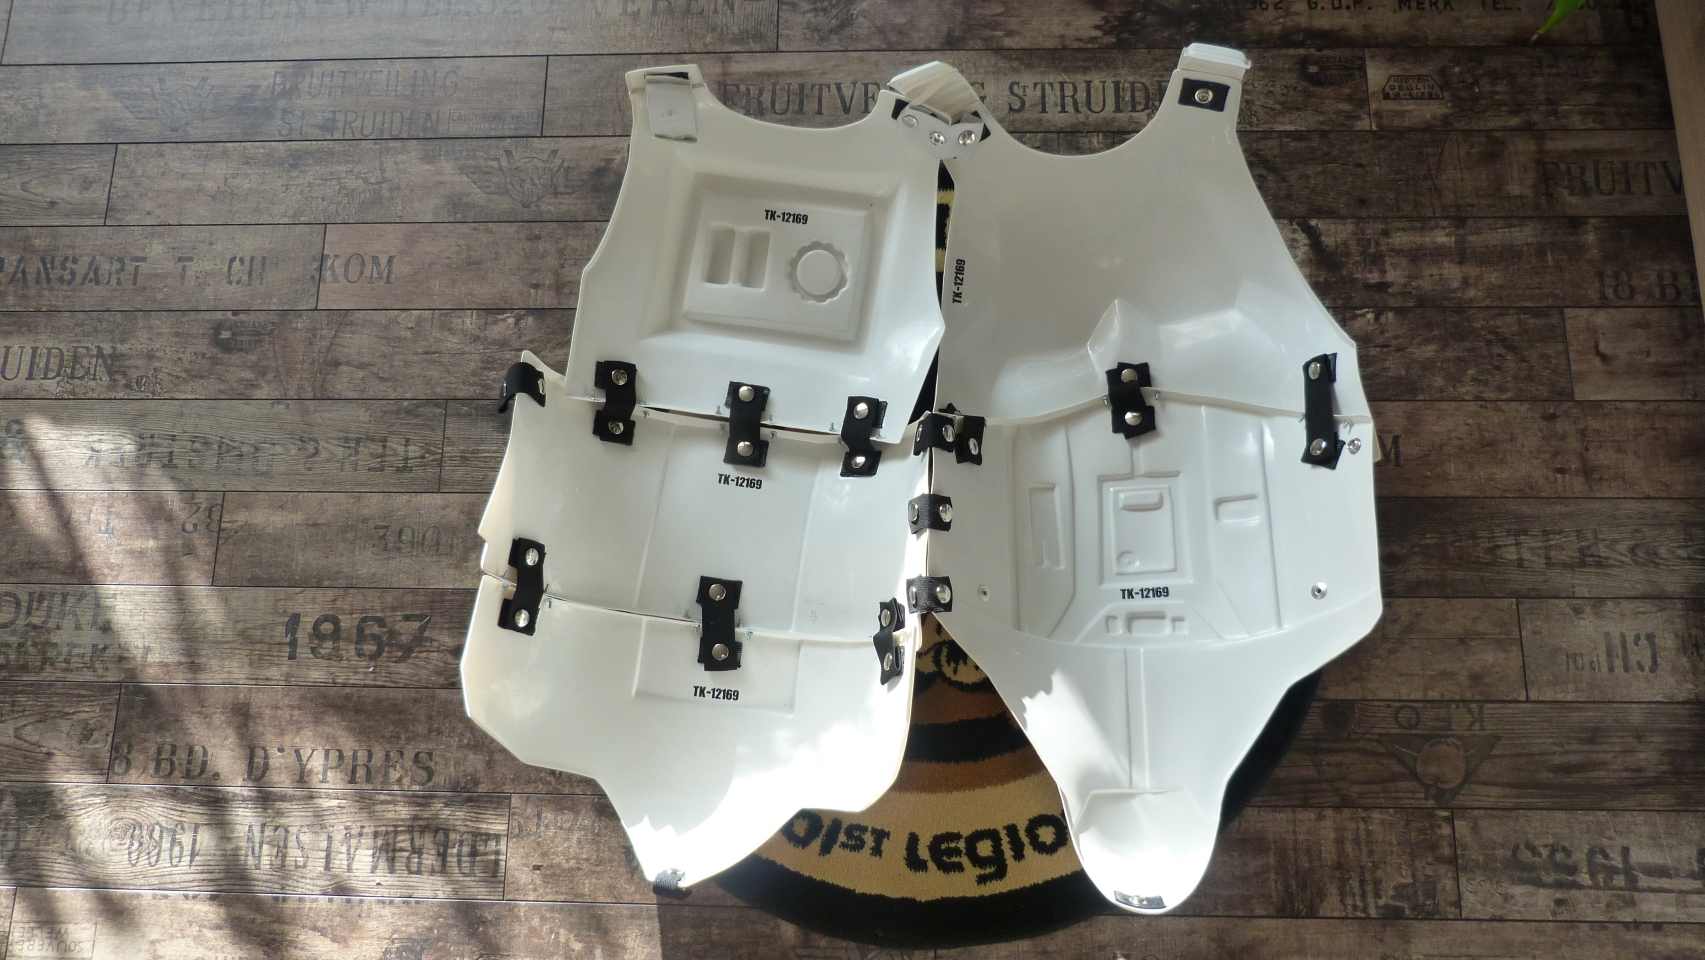
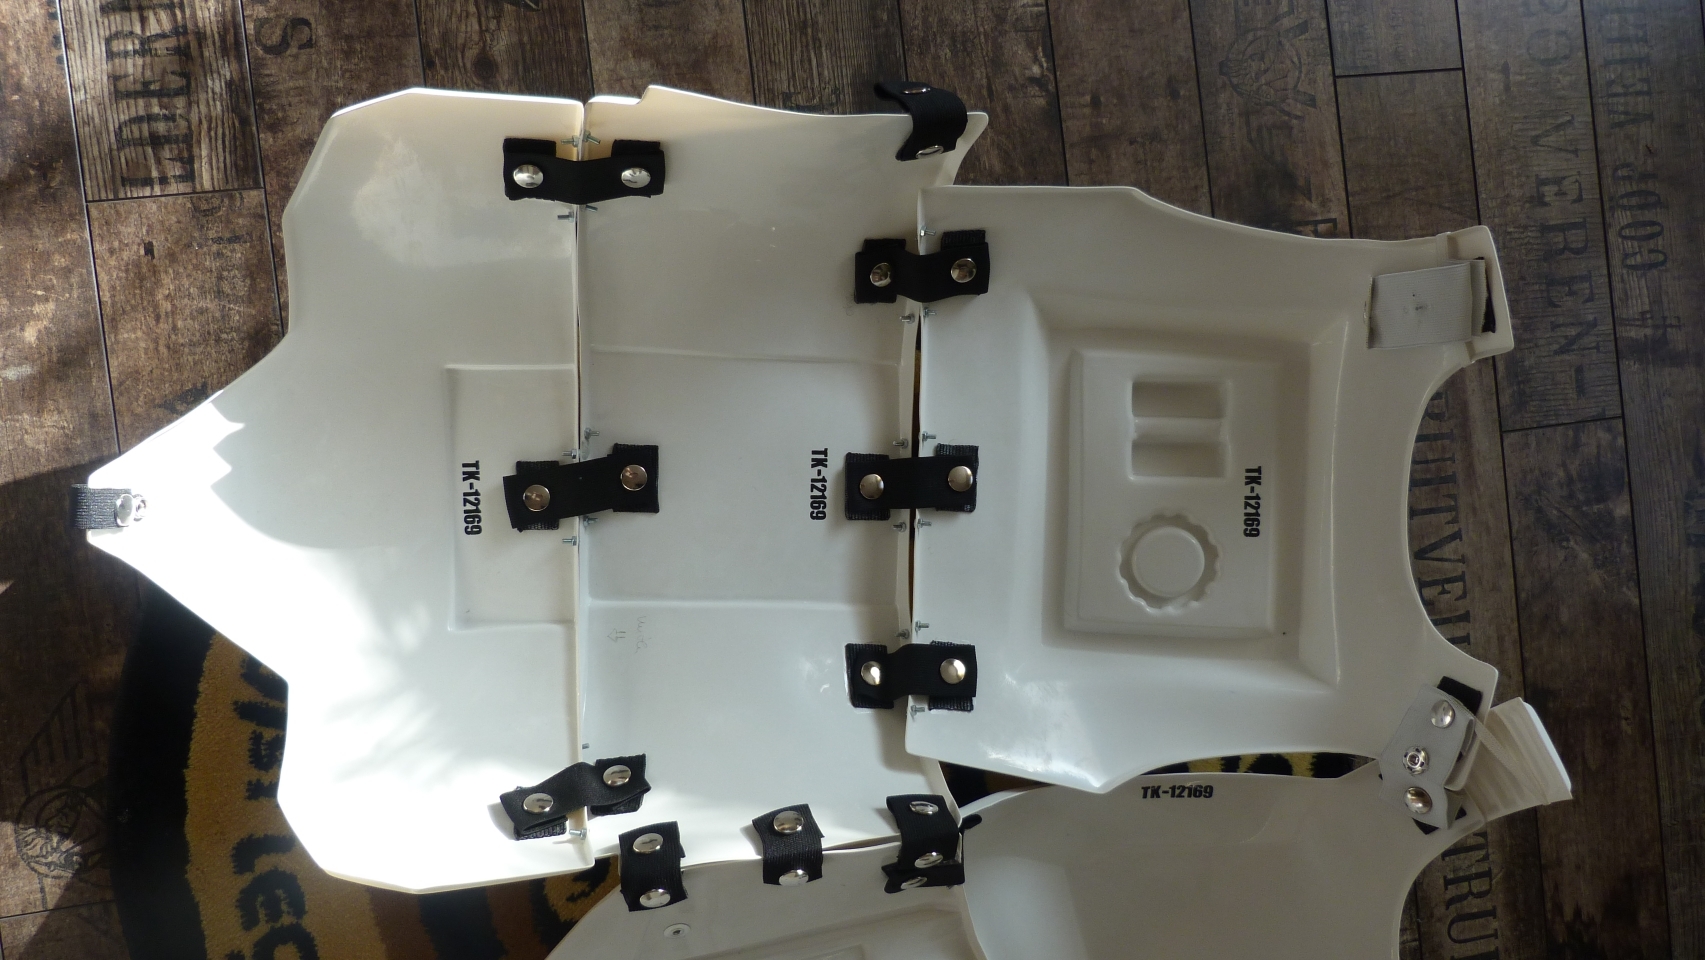
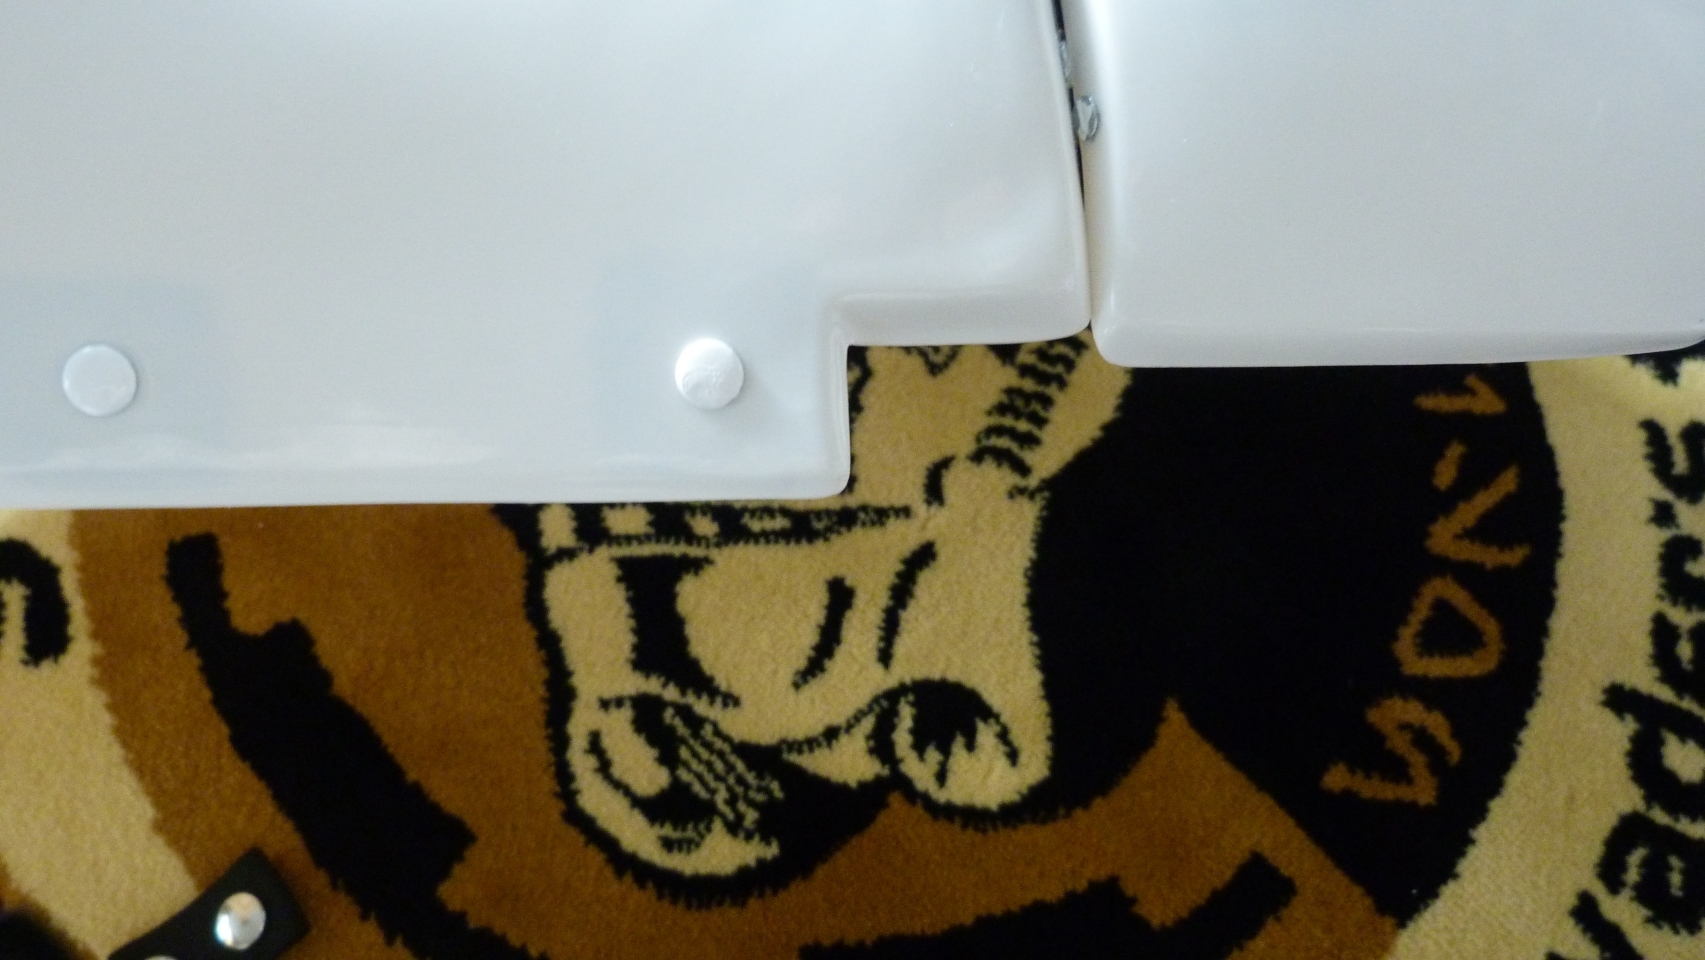
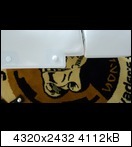
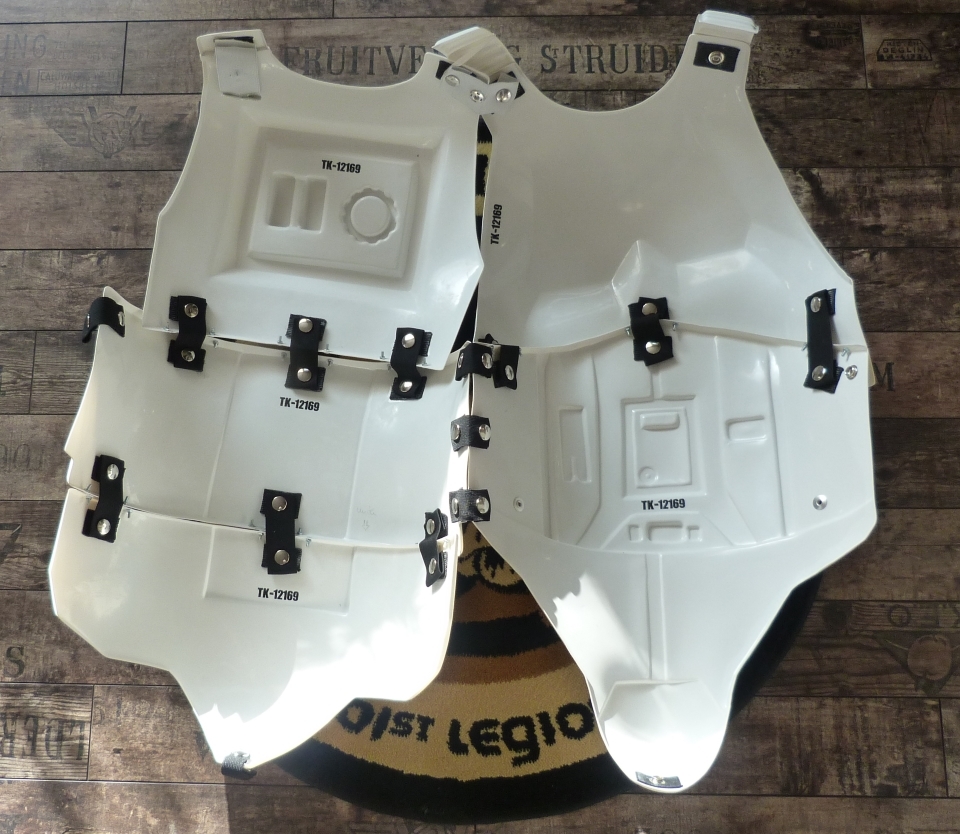
First the Kidney and Butt Plate (can be left assembled)
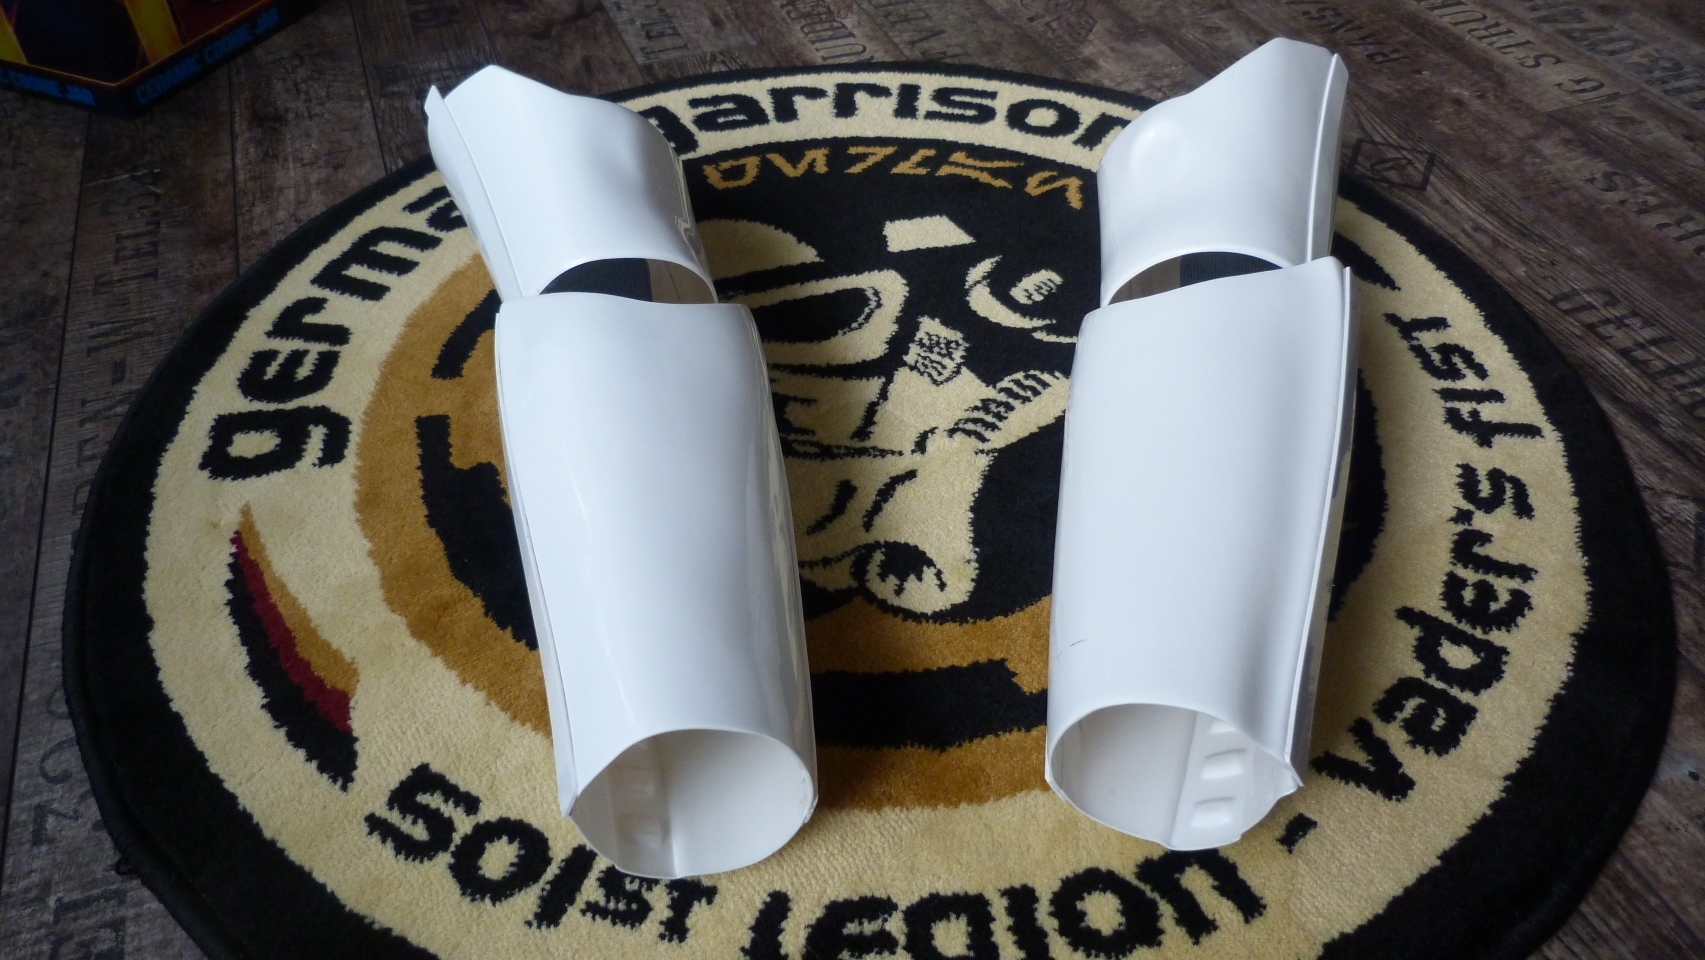
Right thigh with right shin and TD

Left thigh with left shin
Back of thighs looking up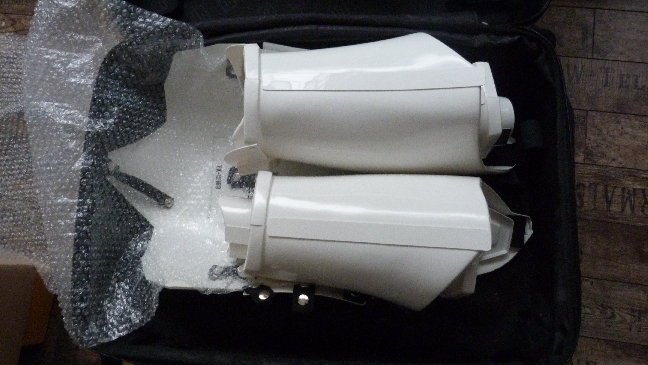
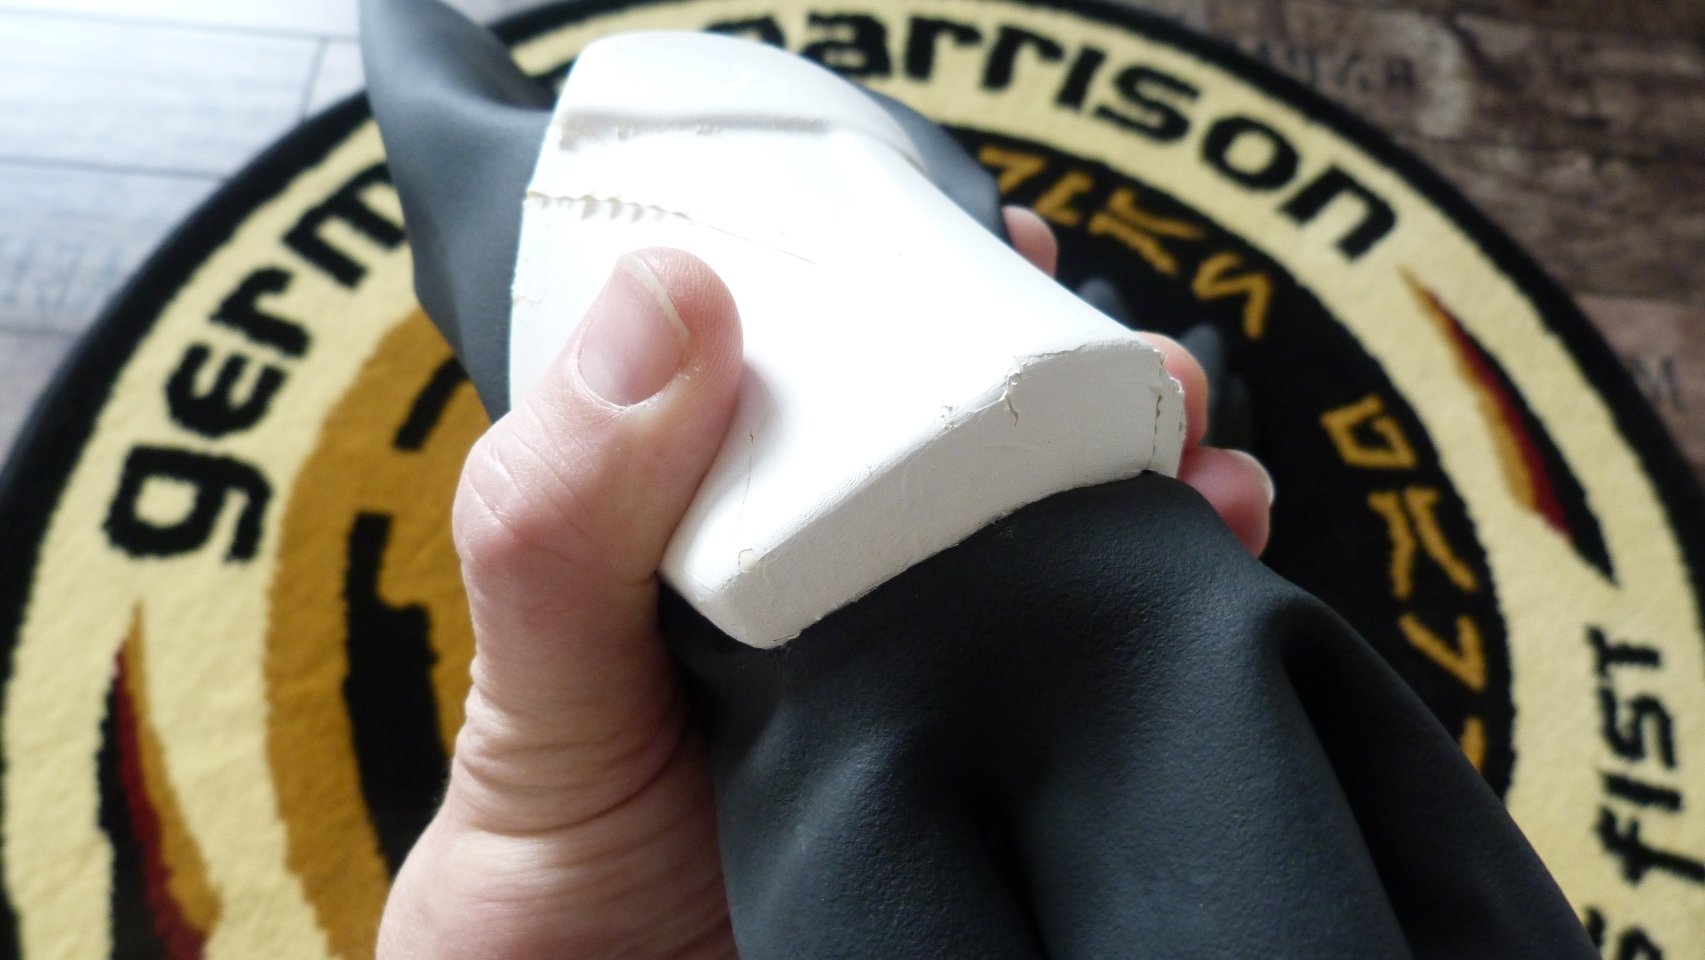
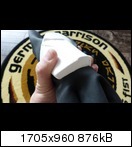
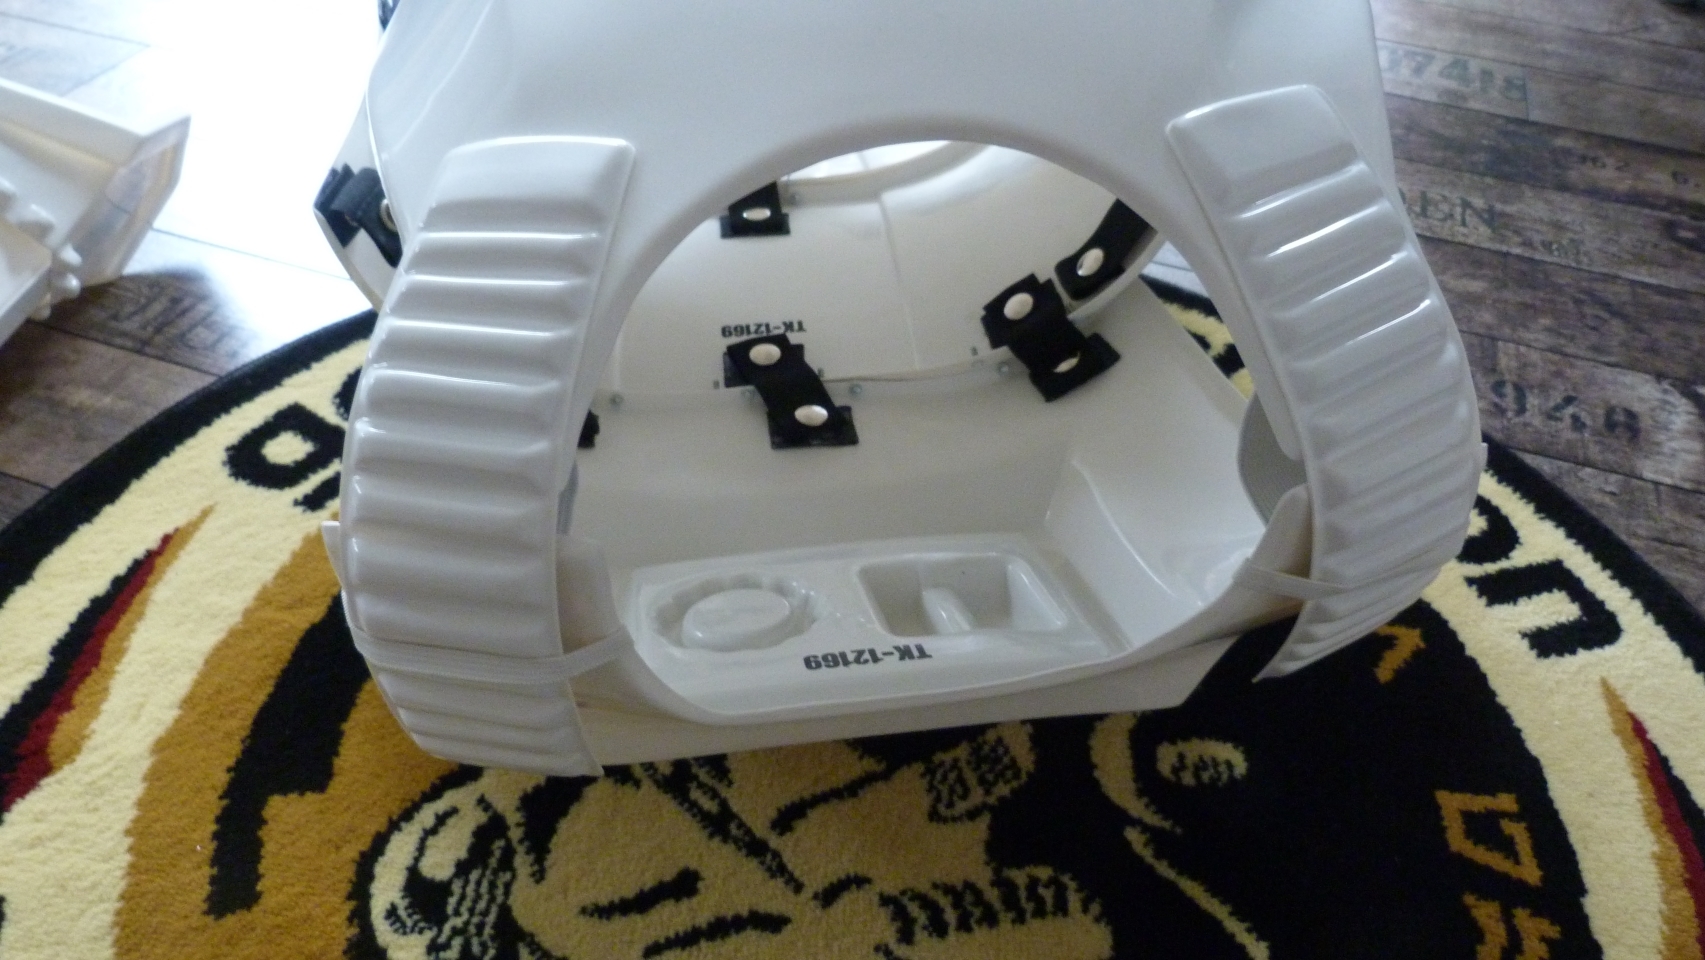
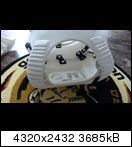
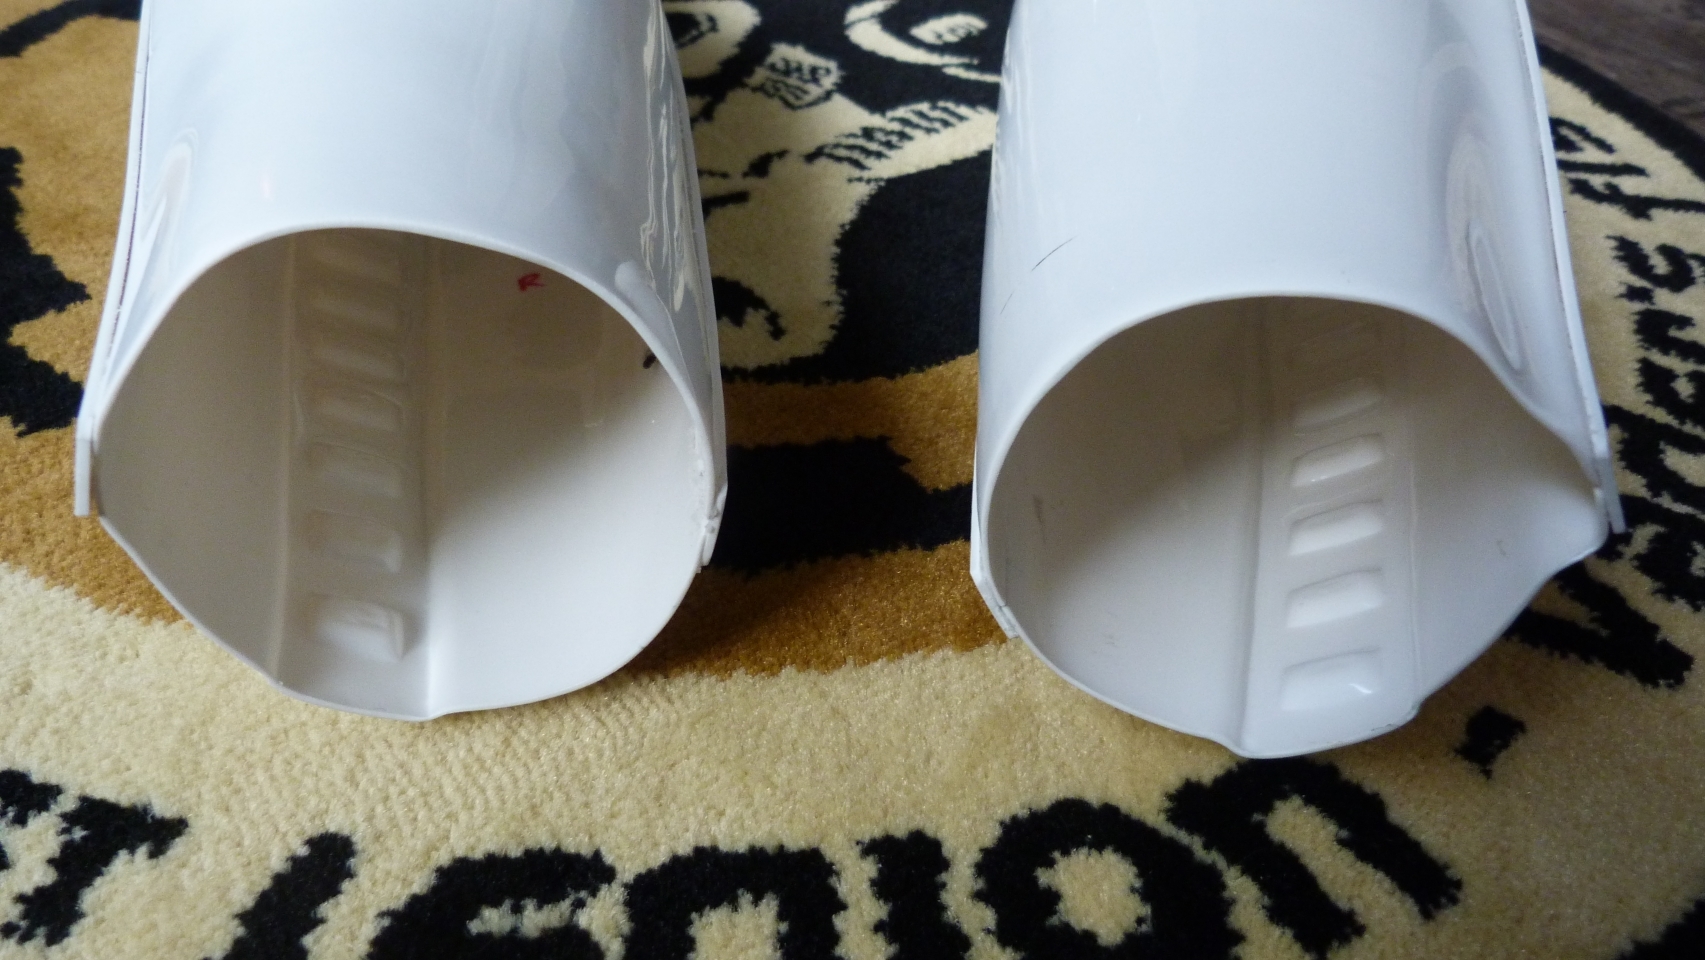
The boots
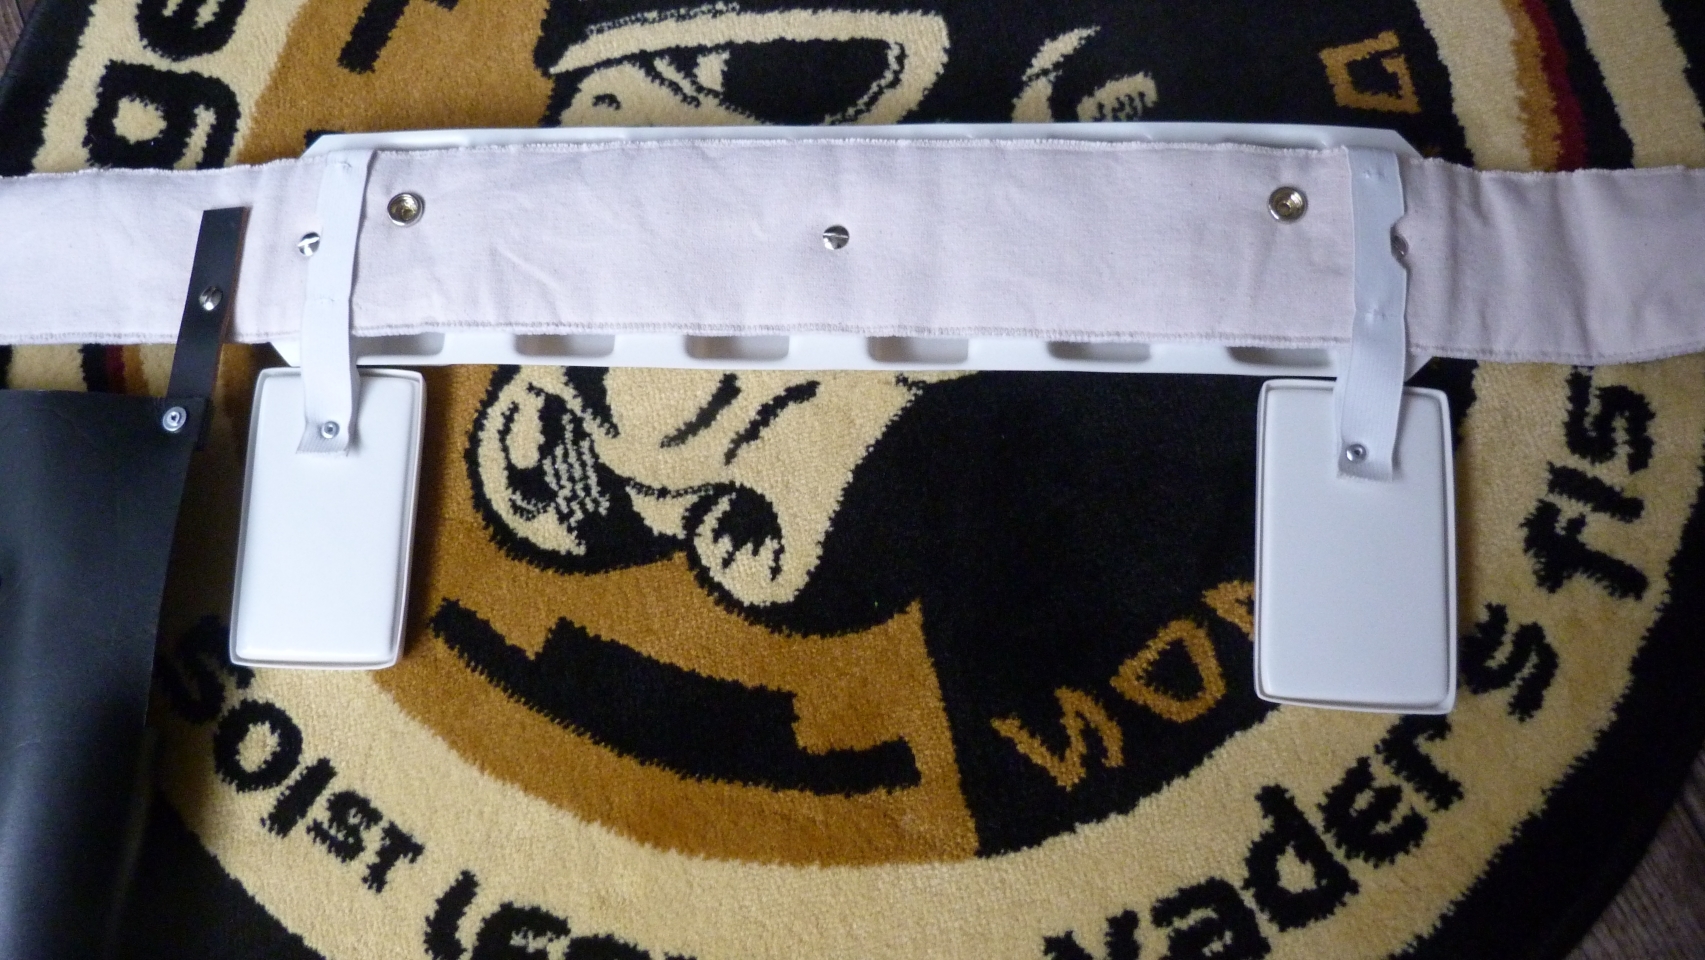
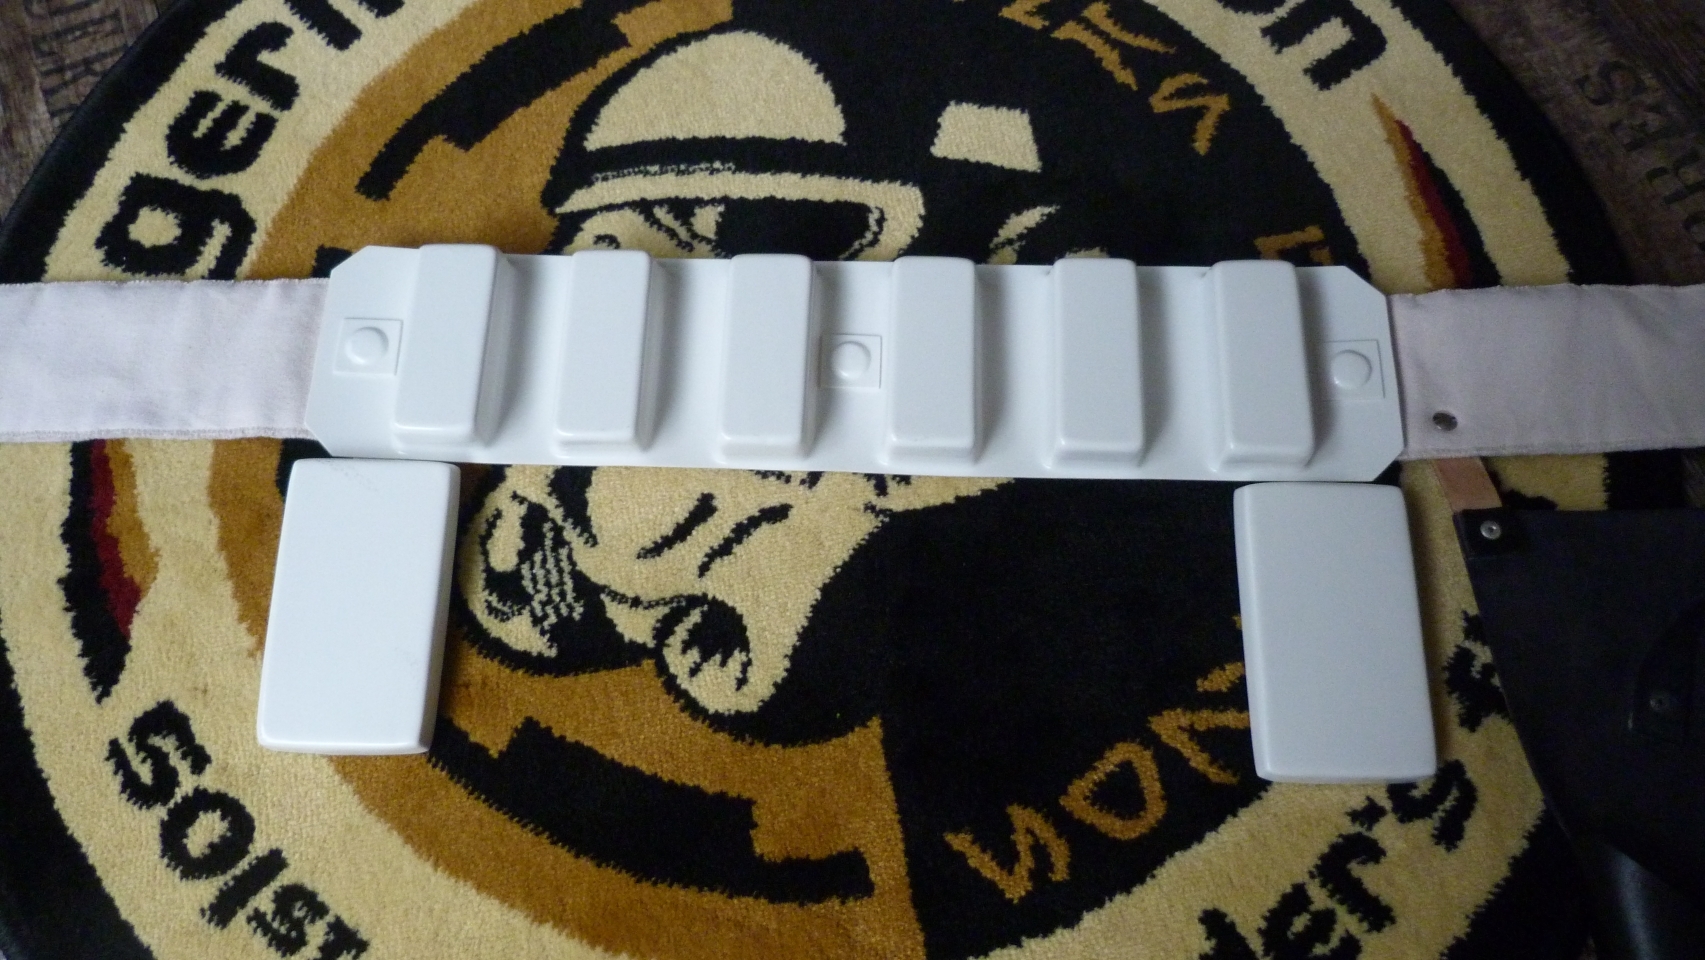
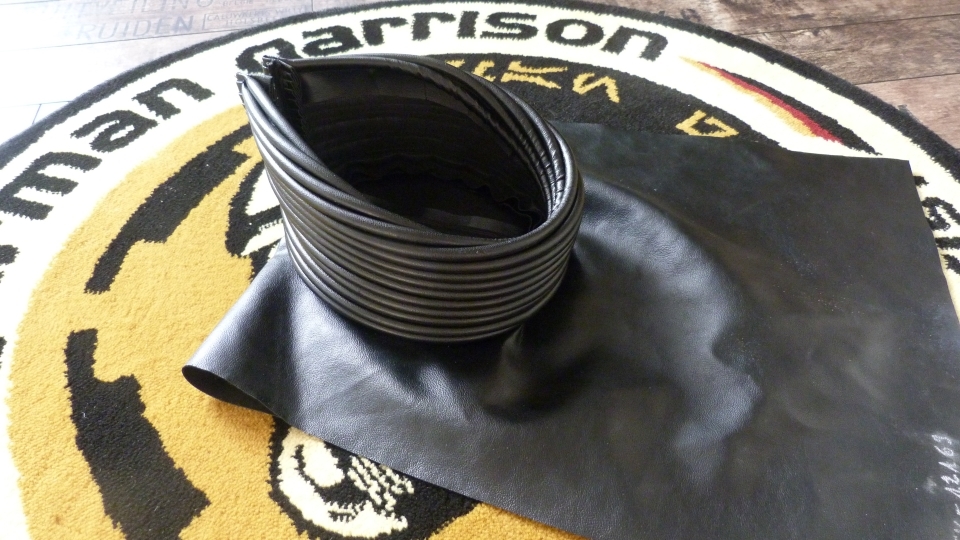
Neck seal, white cotton gloves and waist belt for strapping plus foam pads and shoehorn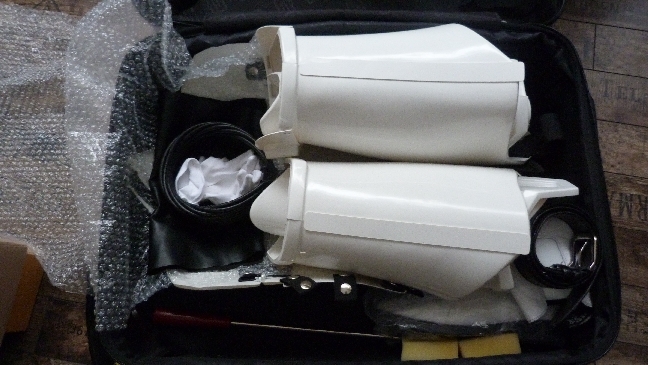
Rubber gloves (Hand Plates facing down)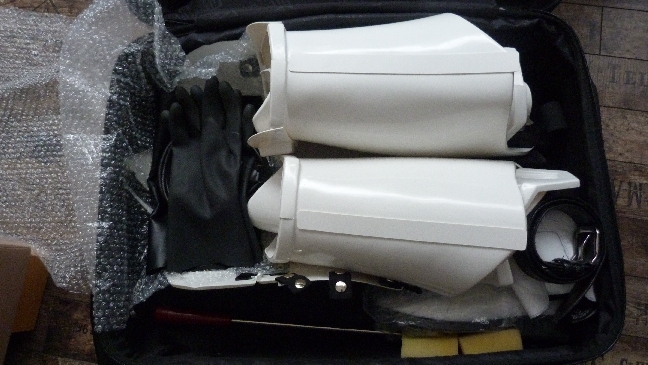
Jump suit (2 parts)
Waits belt with holster attached
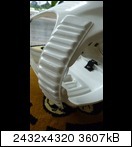
Shoulder bells (put together)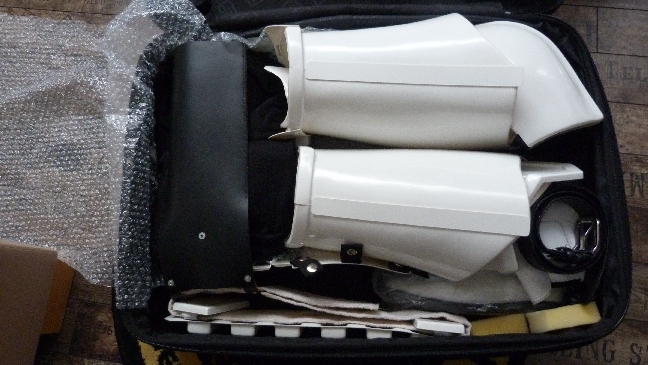
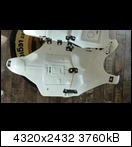
First complete cover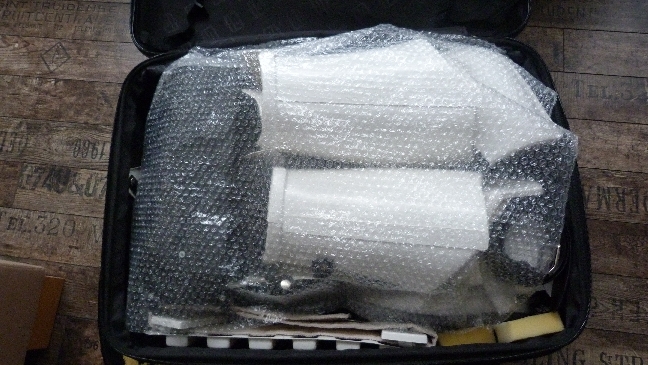
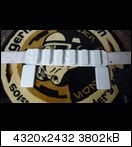
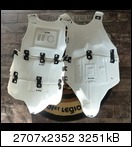
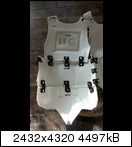
Back plate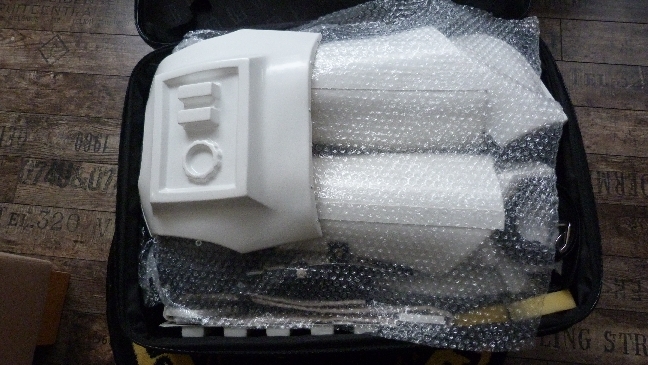
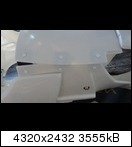
Chest plate - it is important that the shoulder stripes "flow freely"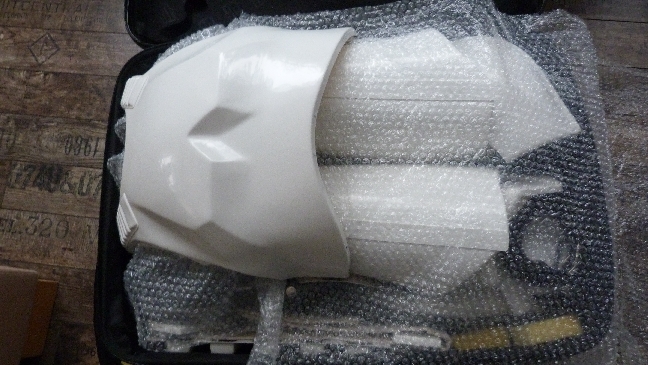
The shoulder straps have to show towards the top of the suitcase so that there is no weight on them when moving the suitcase using the rolls (at thebottom) Be careful when carrying and be sure the chest plate is always on top. Otherwise the straps might break apart.
Ab plate
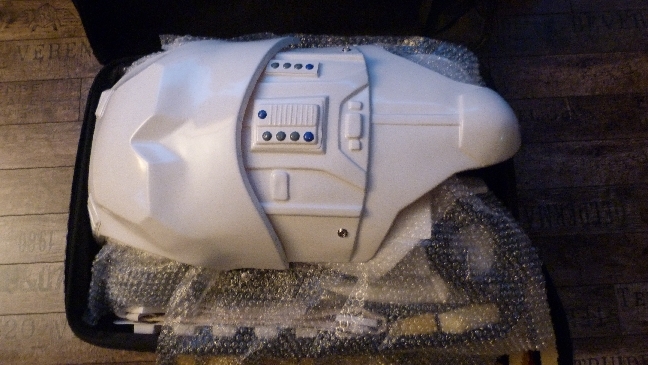
Biceps and forearms (left and right) - put together
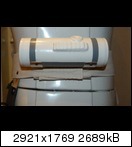
Some cover ...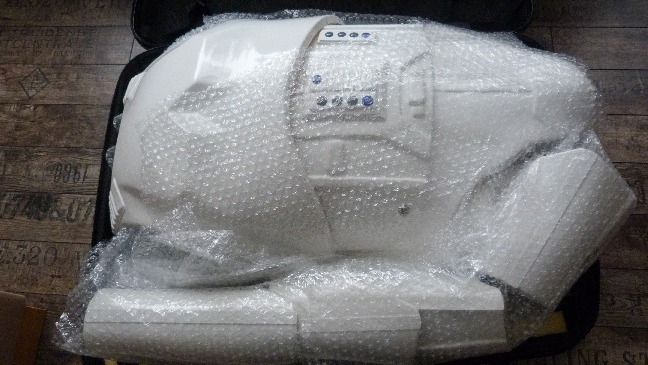
... and it's done!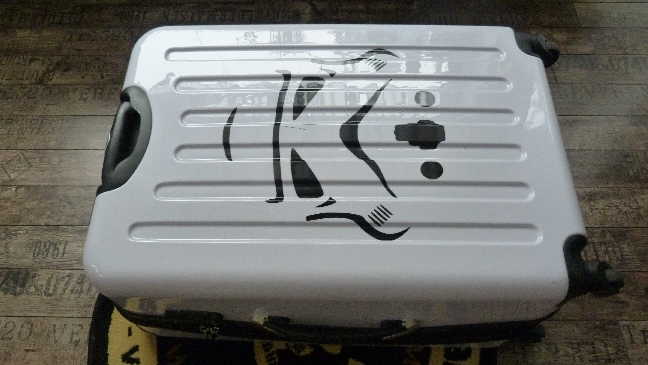
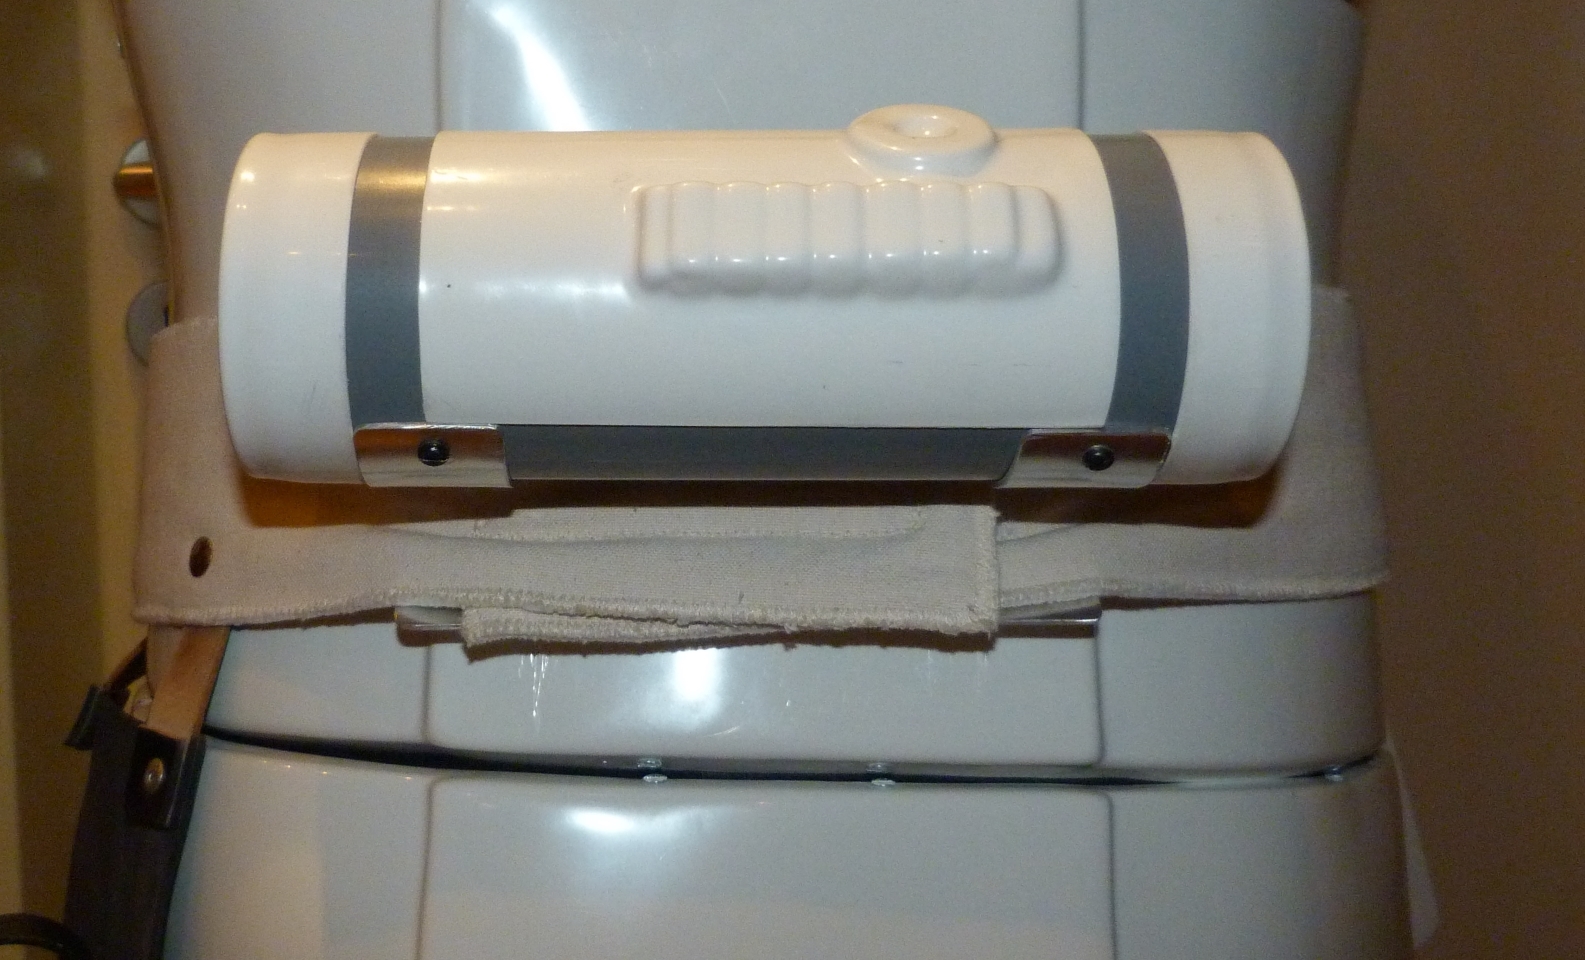
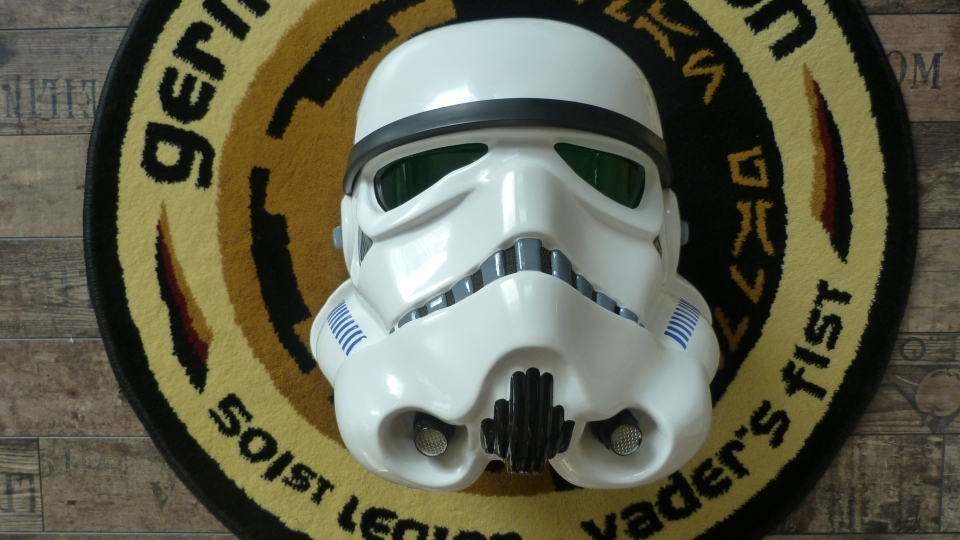
Only helmet and blaster can't be packed in ...
... but there's a solution at least for the helmet ;-)

Now we're ready for trooping! I Hope you had fun ...
-
 1
1
-
-
Merry Christmas Michael! Enjoy your well-deserved FISD gift

Thank you, Germain !!!
-
Michael Seeger - TK-12169 - Centurion - A4
Thank you in advance.
-
Hi Steve,
Hey Michael!!! Wow! Merry Christmas to us!!!!! Thank you so much for this incredible example of both a stellar EIB/Centurion application process and of course, a stupendous build! This will be at the top of my "how it should look" list to link people to when they want to see a fine example.
Thank YOU for this amazing Christmas present!!! I'm pretty overwelmed and quite speechless about this honor

This really means very much to me. It's the first TM armor I completely built myself and to be honest: I wanted to build this TK having it Centurion-Ready right from the start As all of the Centurions here I spent numerous hours of research before starting the project. During the build I had an awesome Garrison mate that reviewed the pics I made and I had at least one GMO who gave me some very useful hints. At least I had you and all the guys responding to my EIB Thread giving me all those precious hints for getting even better and reaching this rank.Thank you for making the little changes you did; Adjusting the thighs, good brow trim position, proper drop box position, better drop box thickness, all were icing on this tasty TK cake!!
Doing these mods was a matter of honor to me. I worked on them as good as I could. Be sure that I'll have a look on how to smooth out the black lines of the tears, traps and so on
THANK YOU ALL !!!

P.S.: Be sure to get another application for EIB/Centurion as soon as my Incinerator Trooper armor is finally 501st approved ... already waiting for almost four months ...
-
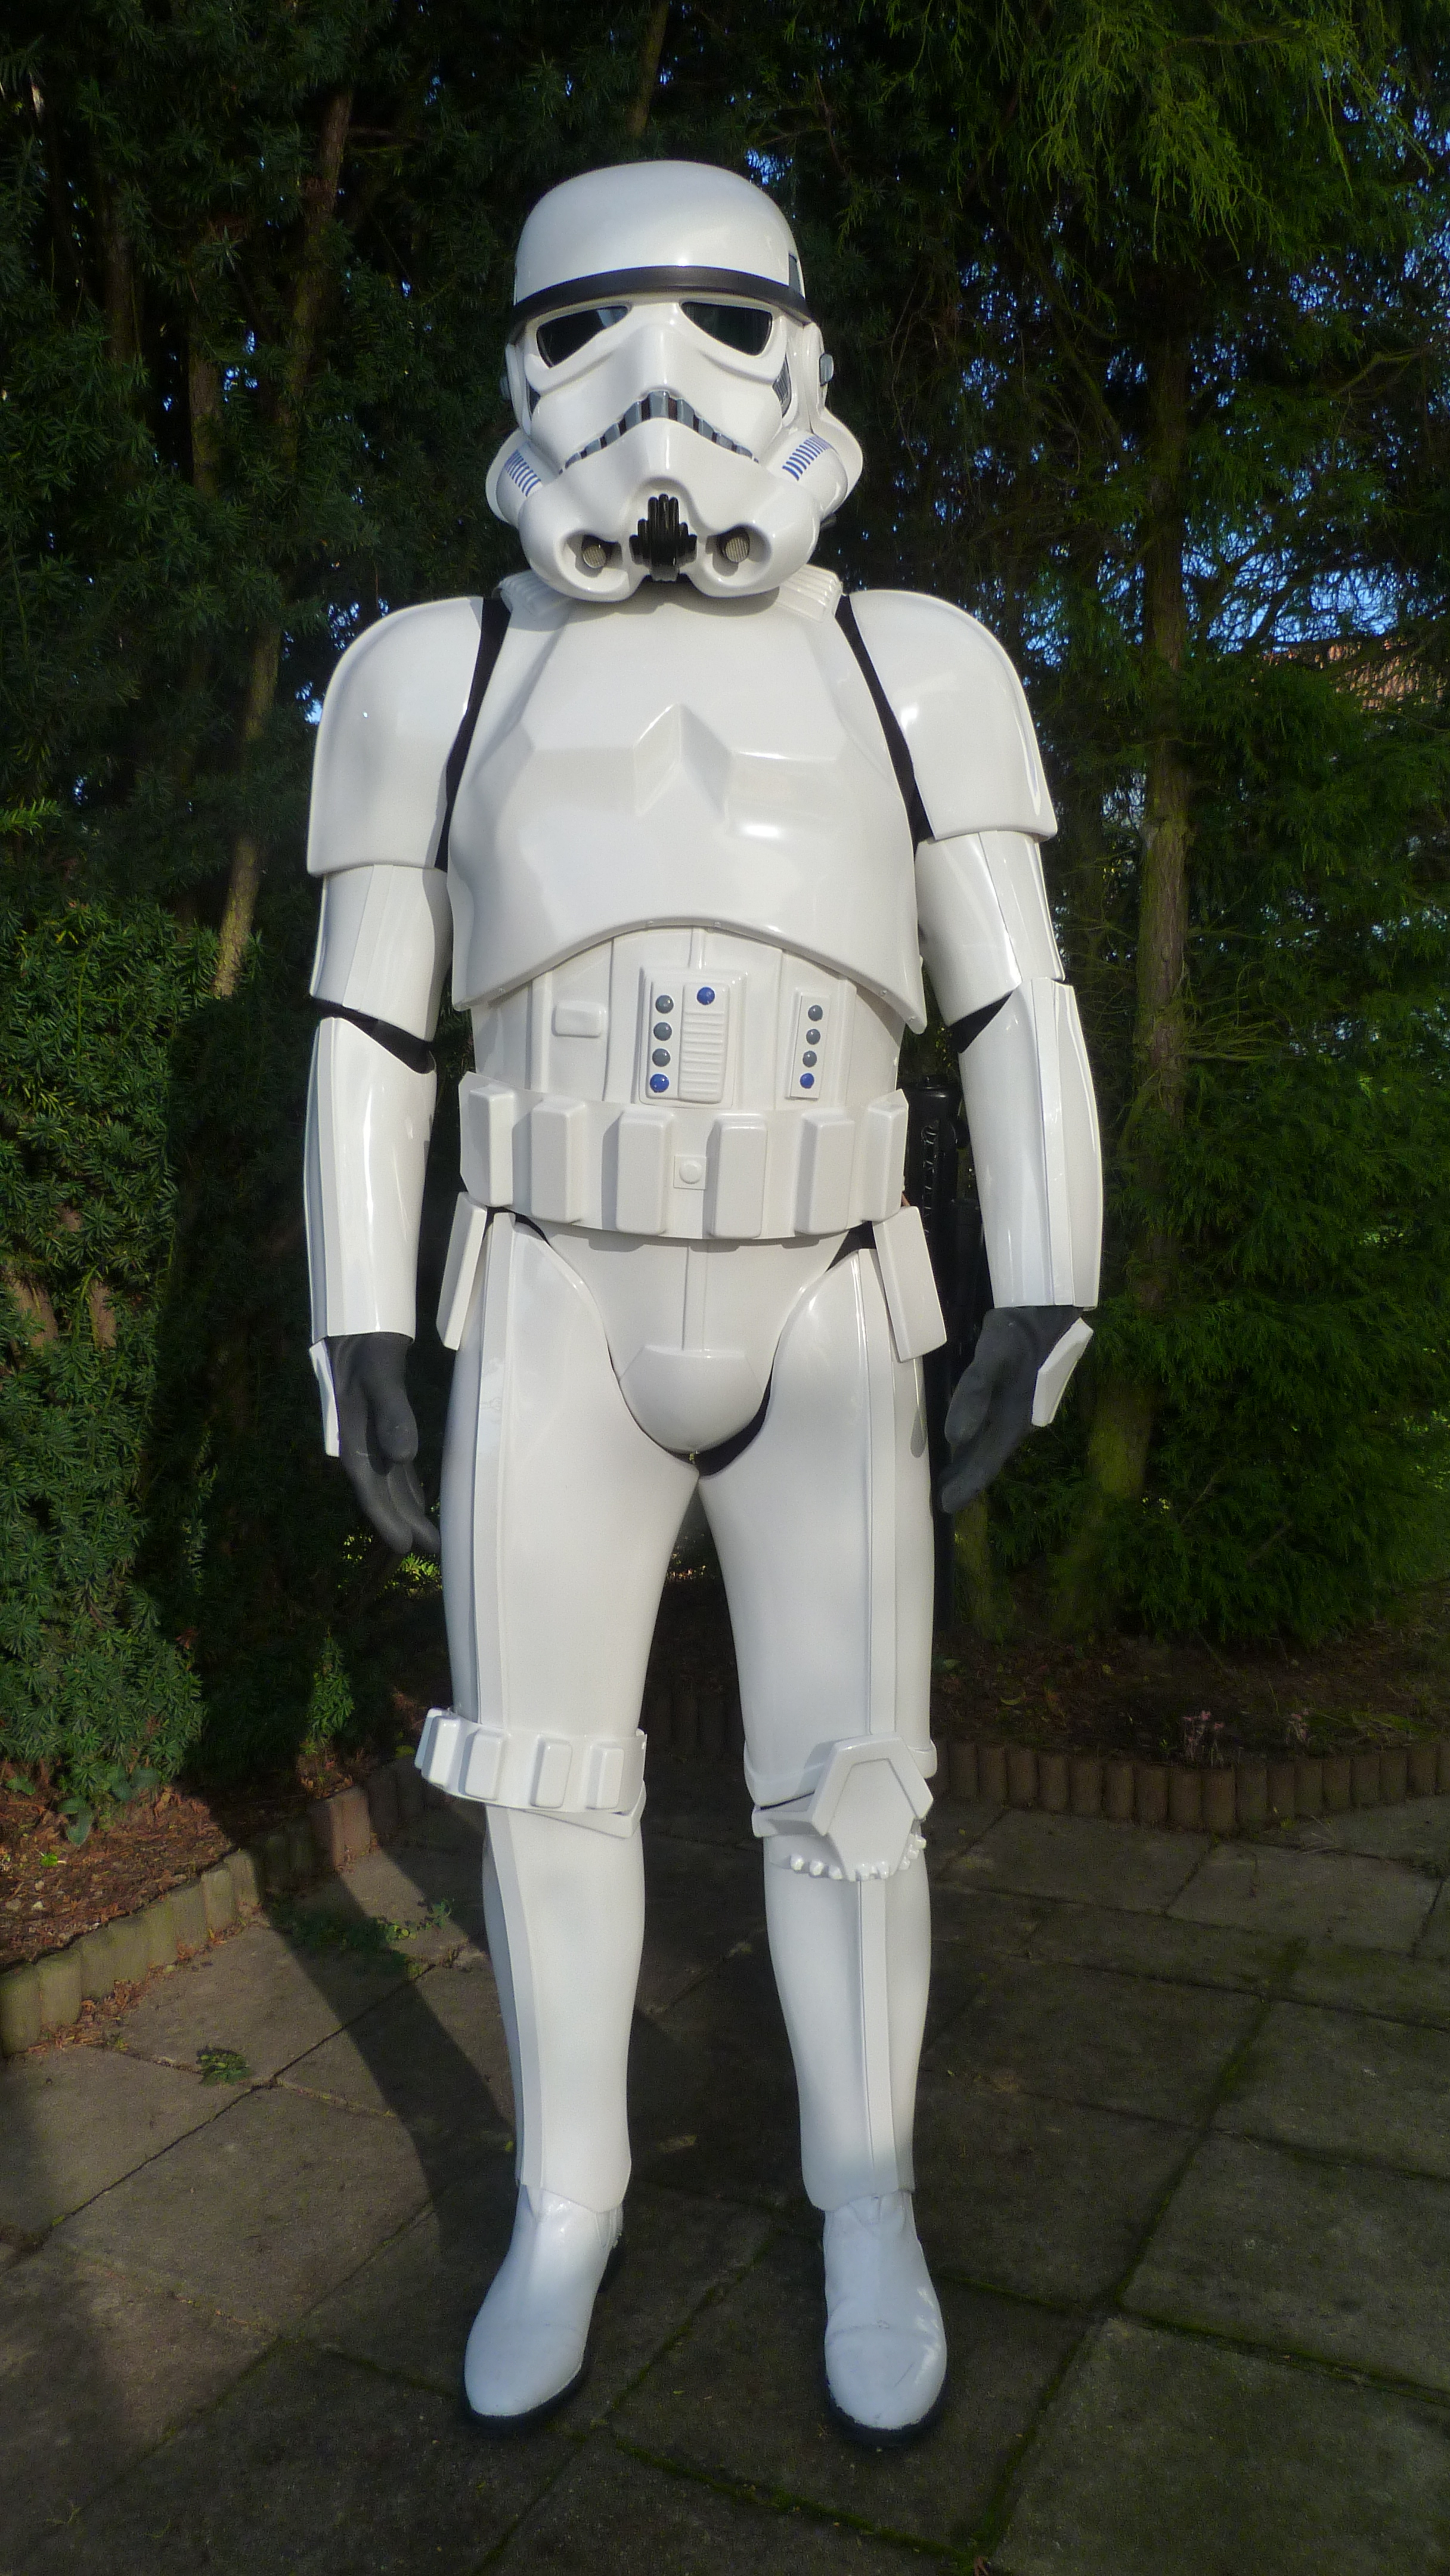
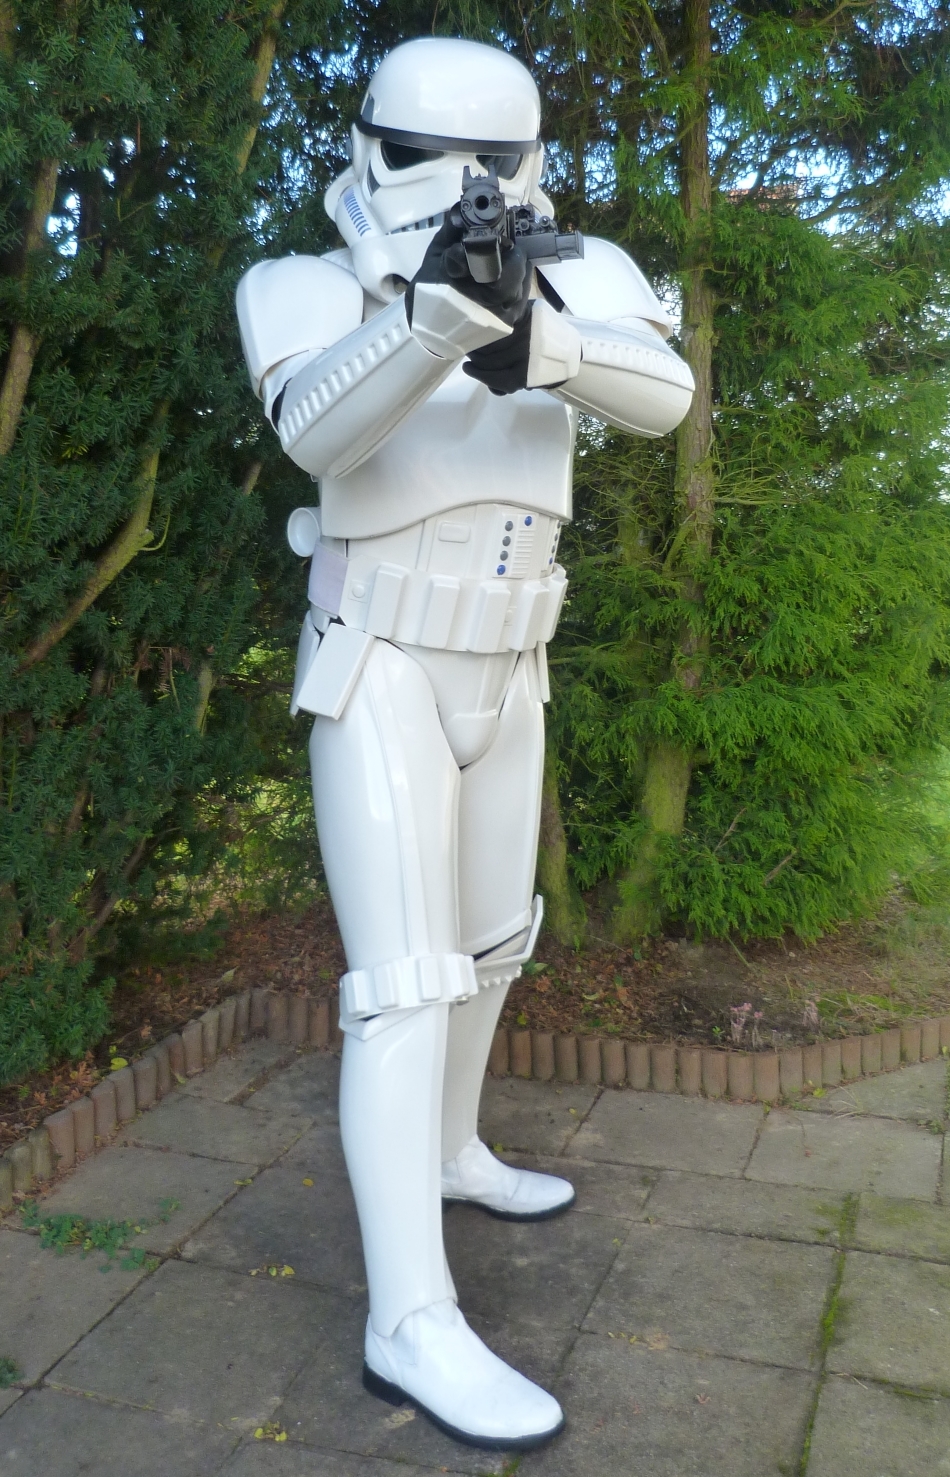
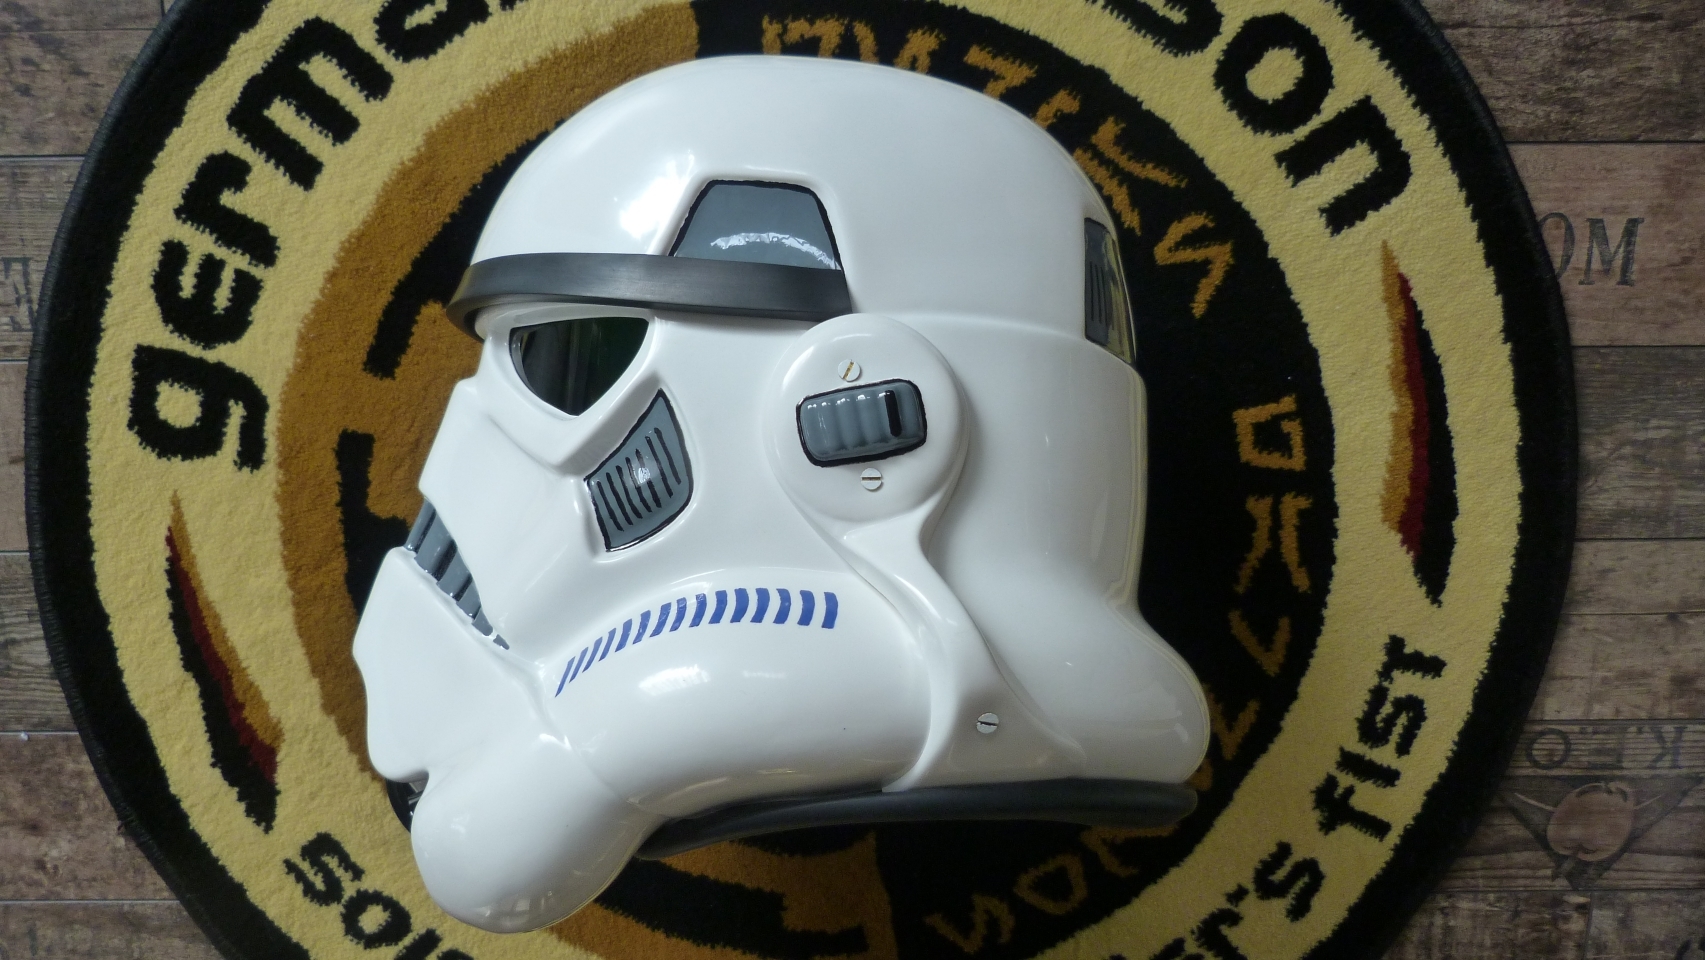
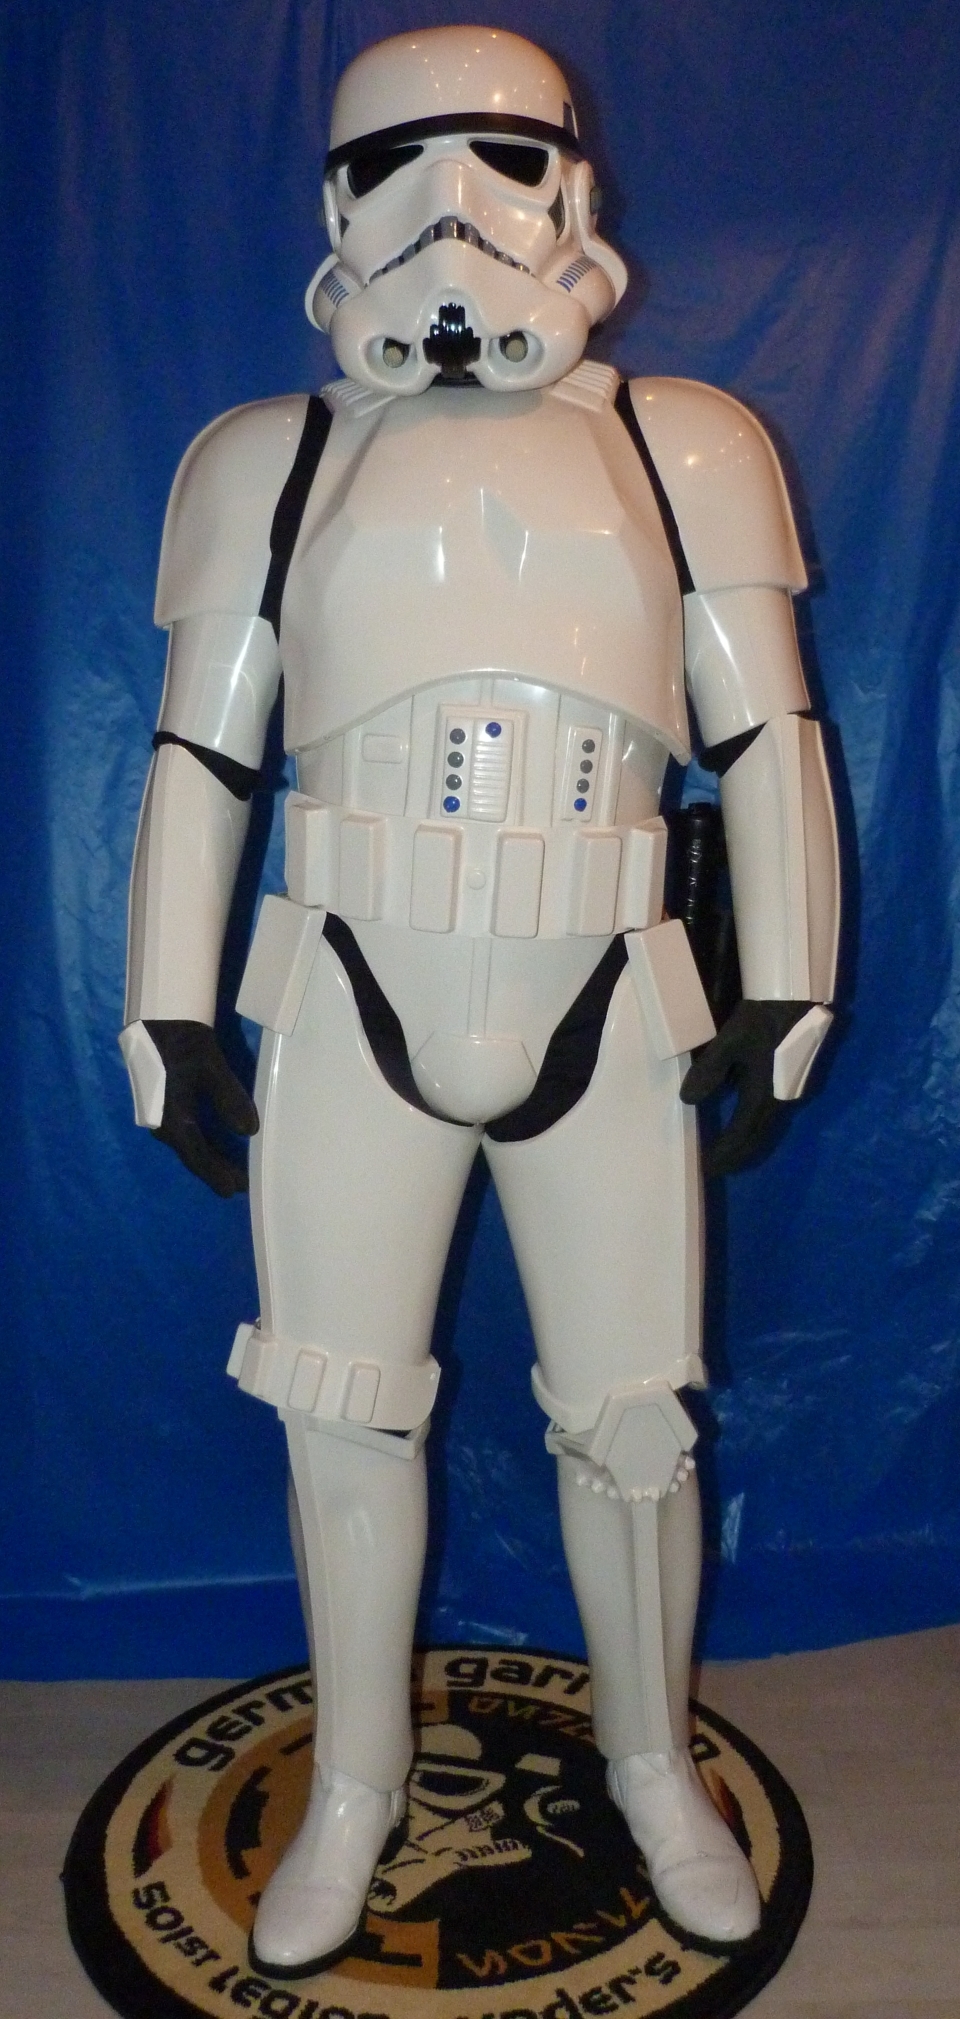
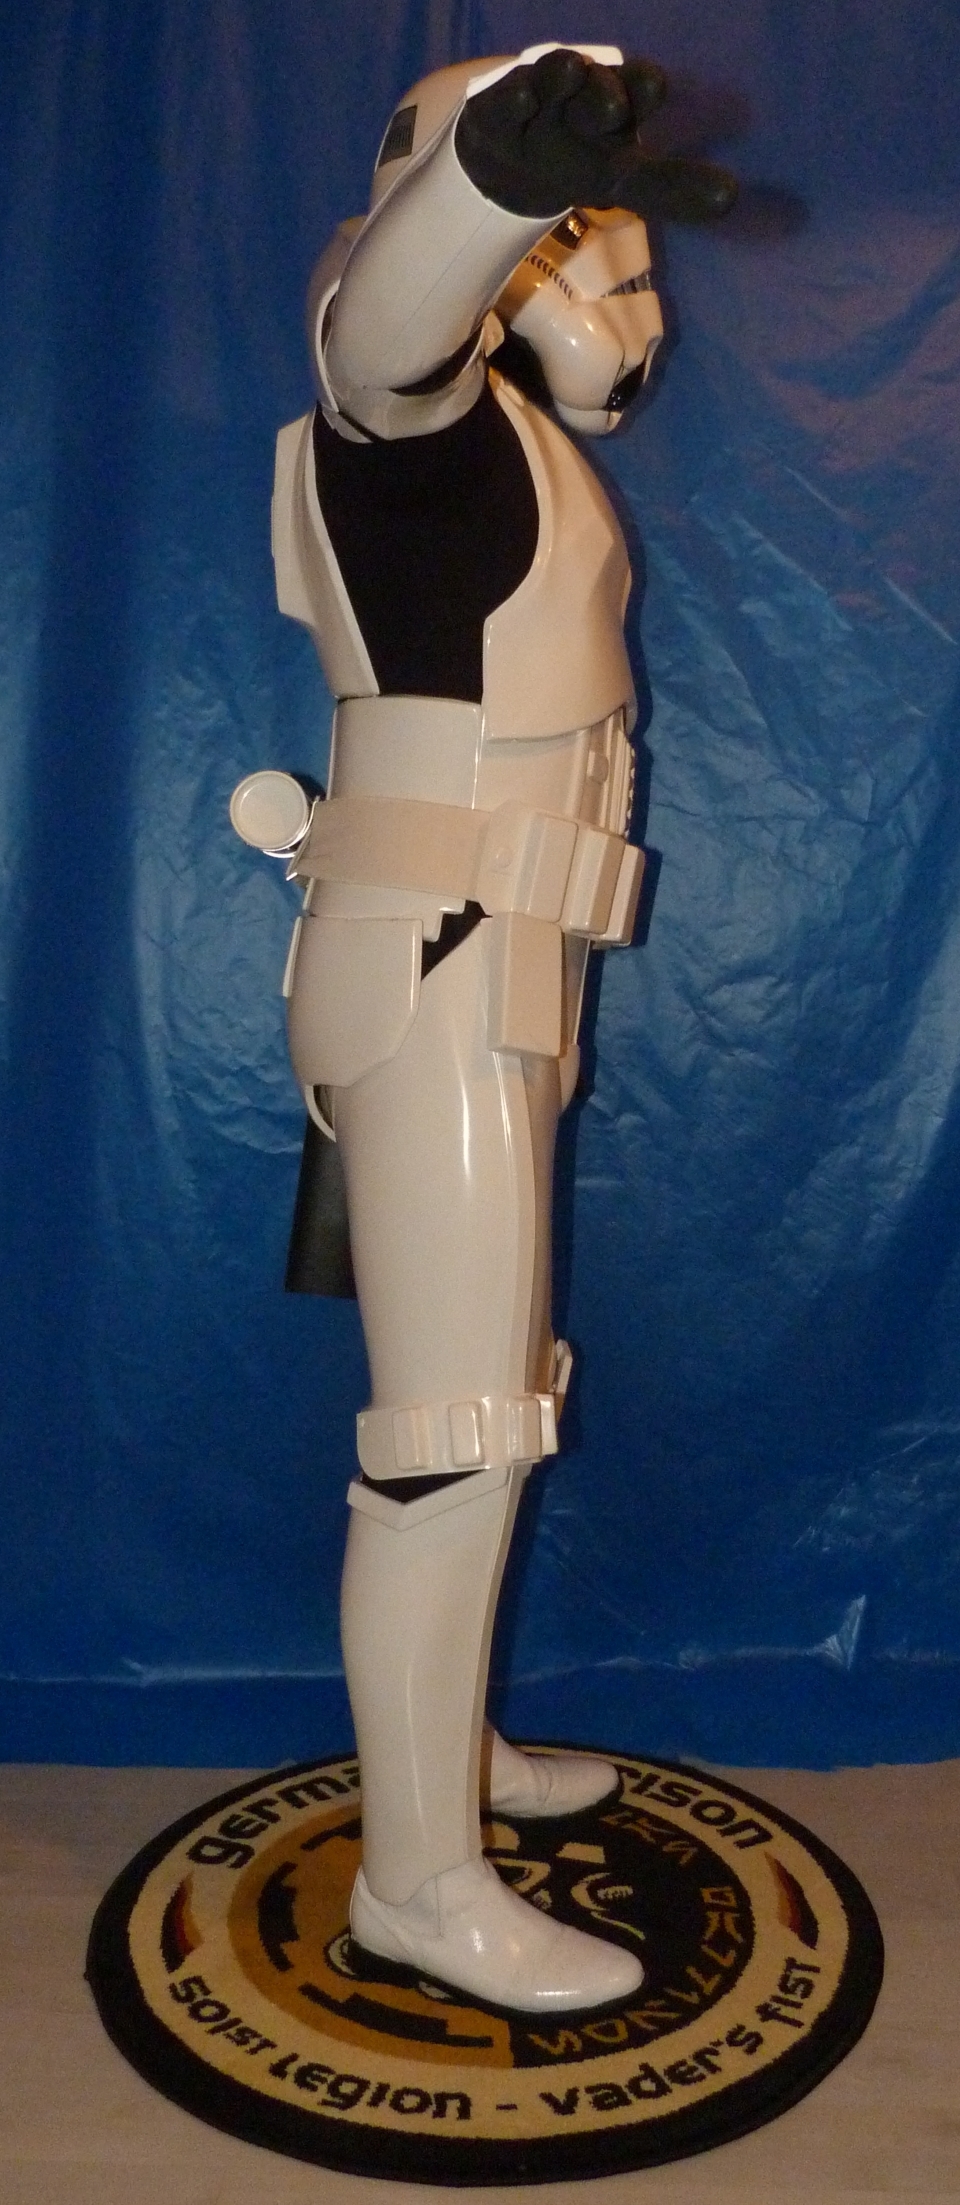
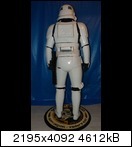
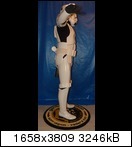
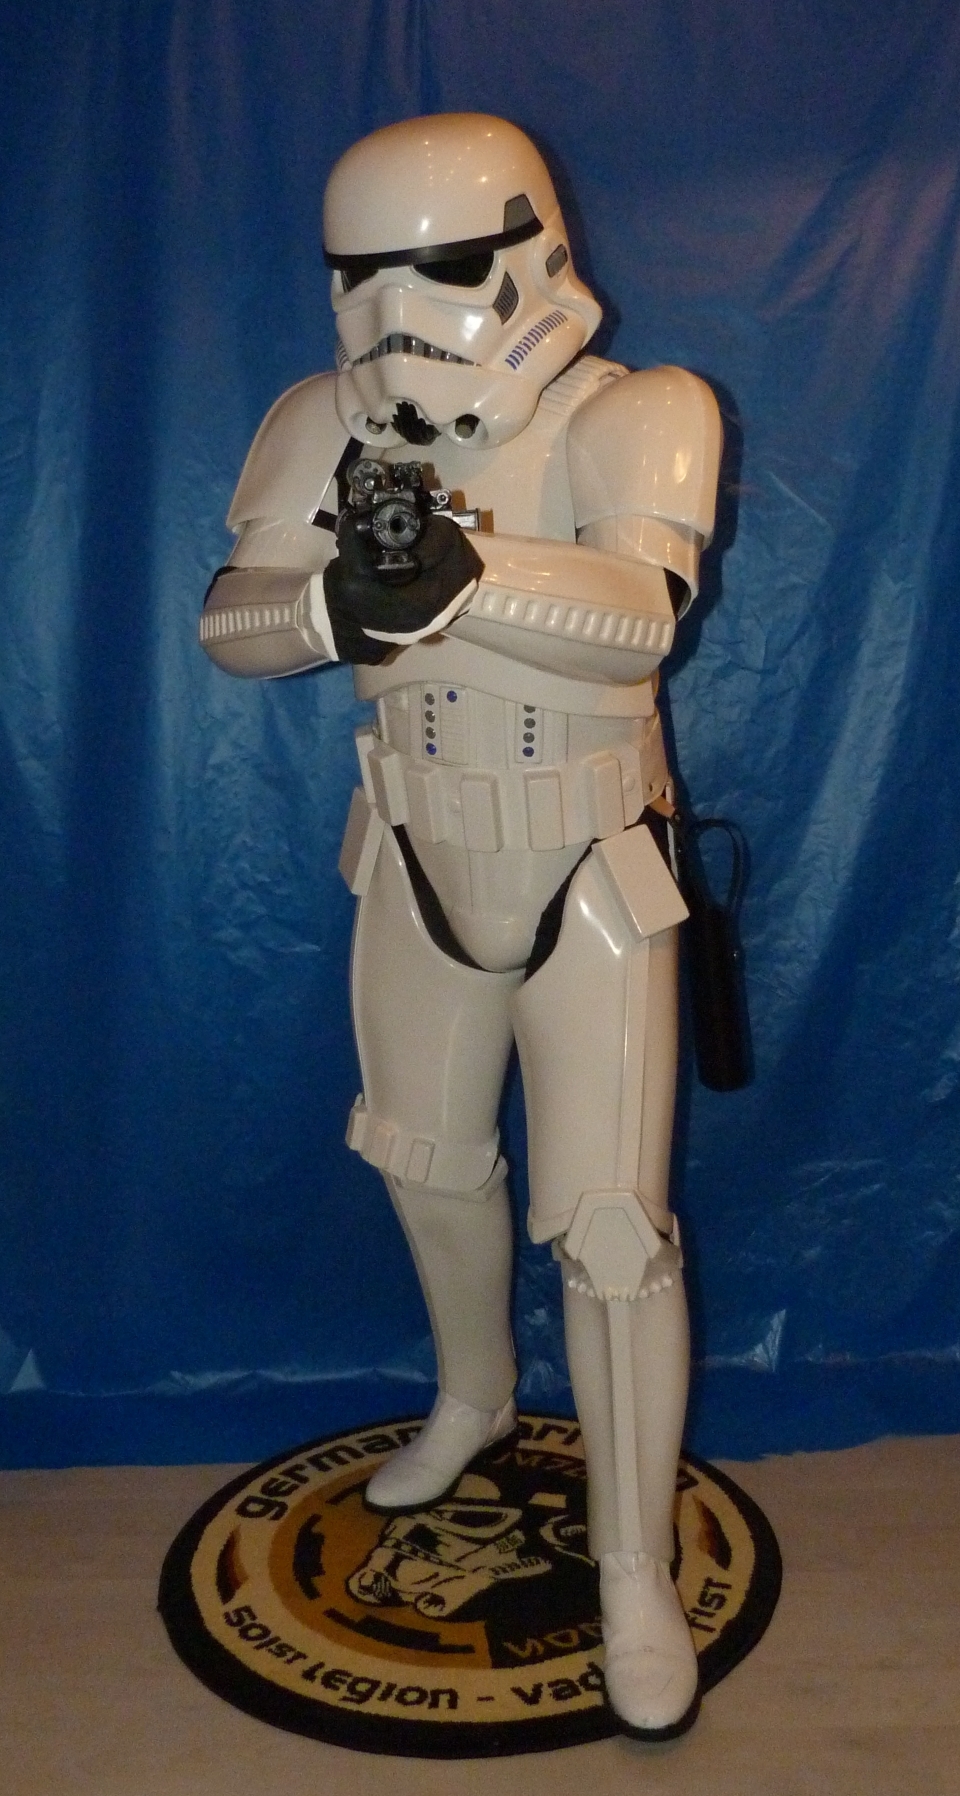
TK-12169 requesting Centurion status for his Stormtrooper armor (Trooper Master - ANH Stunt)
- Name: Michael Seeger
- ID: TK-12169
- Forum Name: Trooper Mitch
- Garrison: German Garrison
- Armor Maker: Trooper Master
- Helmet Maker: Trooper Master
- Blaster Type: Doopydoo
- Height: 170 cm
- Weight: 72 kg
- Boots: Busse Jodhpur (painted white)
- Canvas Belt: Self made
- Hand Plates: Self made (latex painted white)
- Neck Seal: TK-2647
- Holster: Self made (using TM's template)
You'll get to my EIB-Thread by clicking here ...
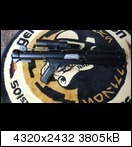
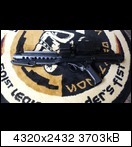
1) Full Body


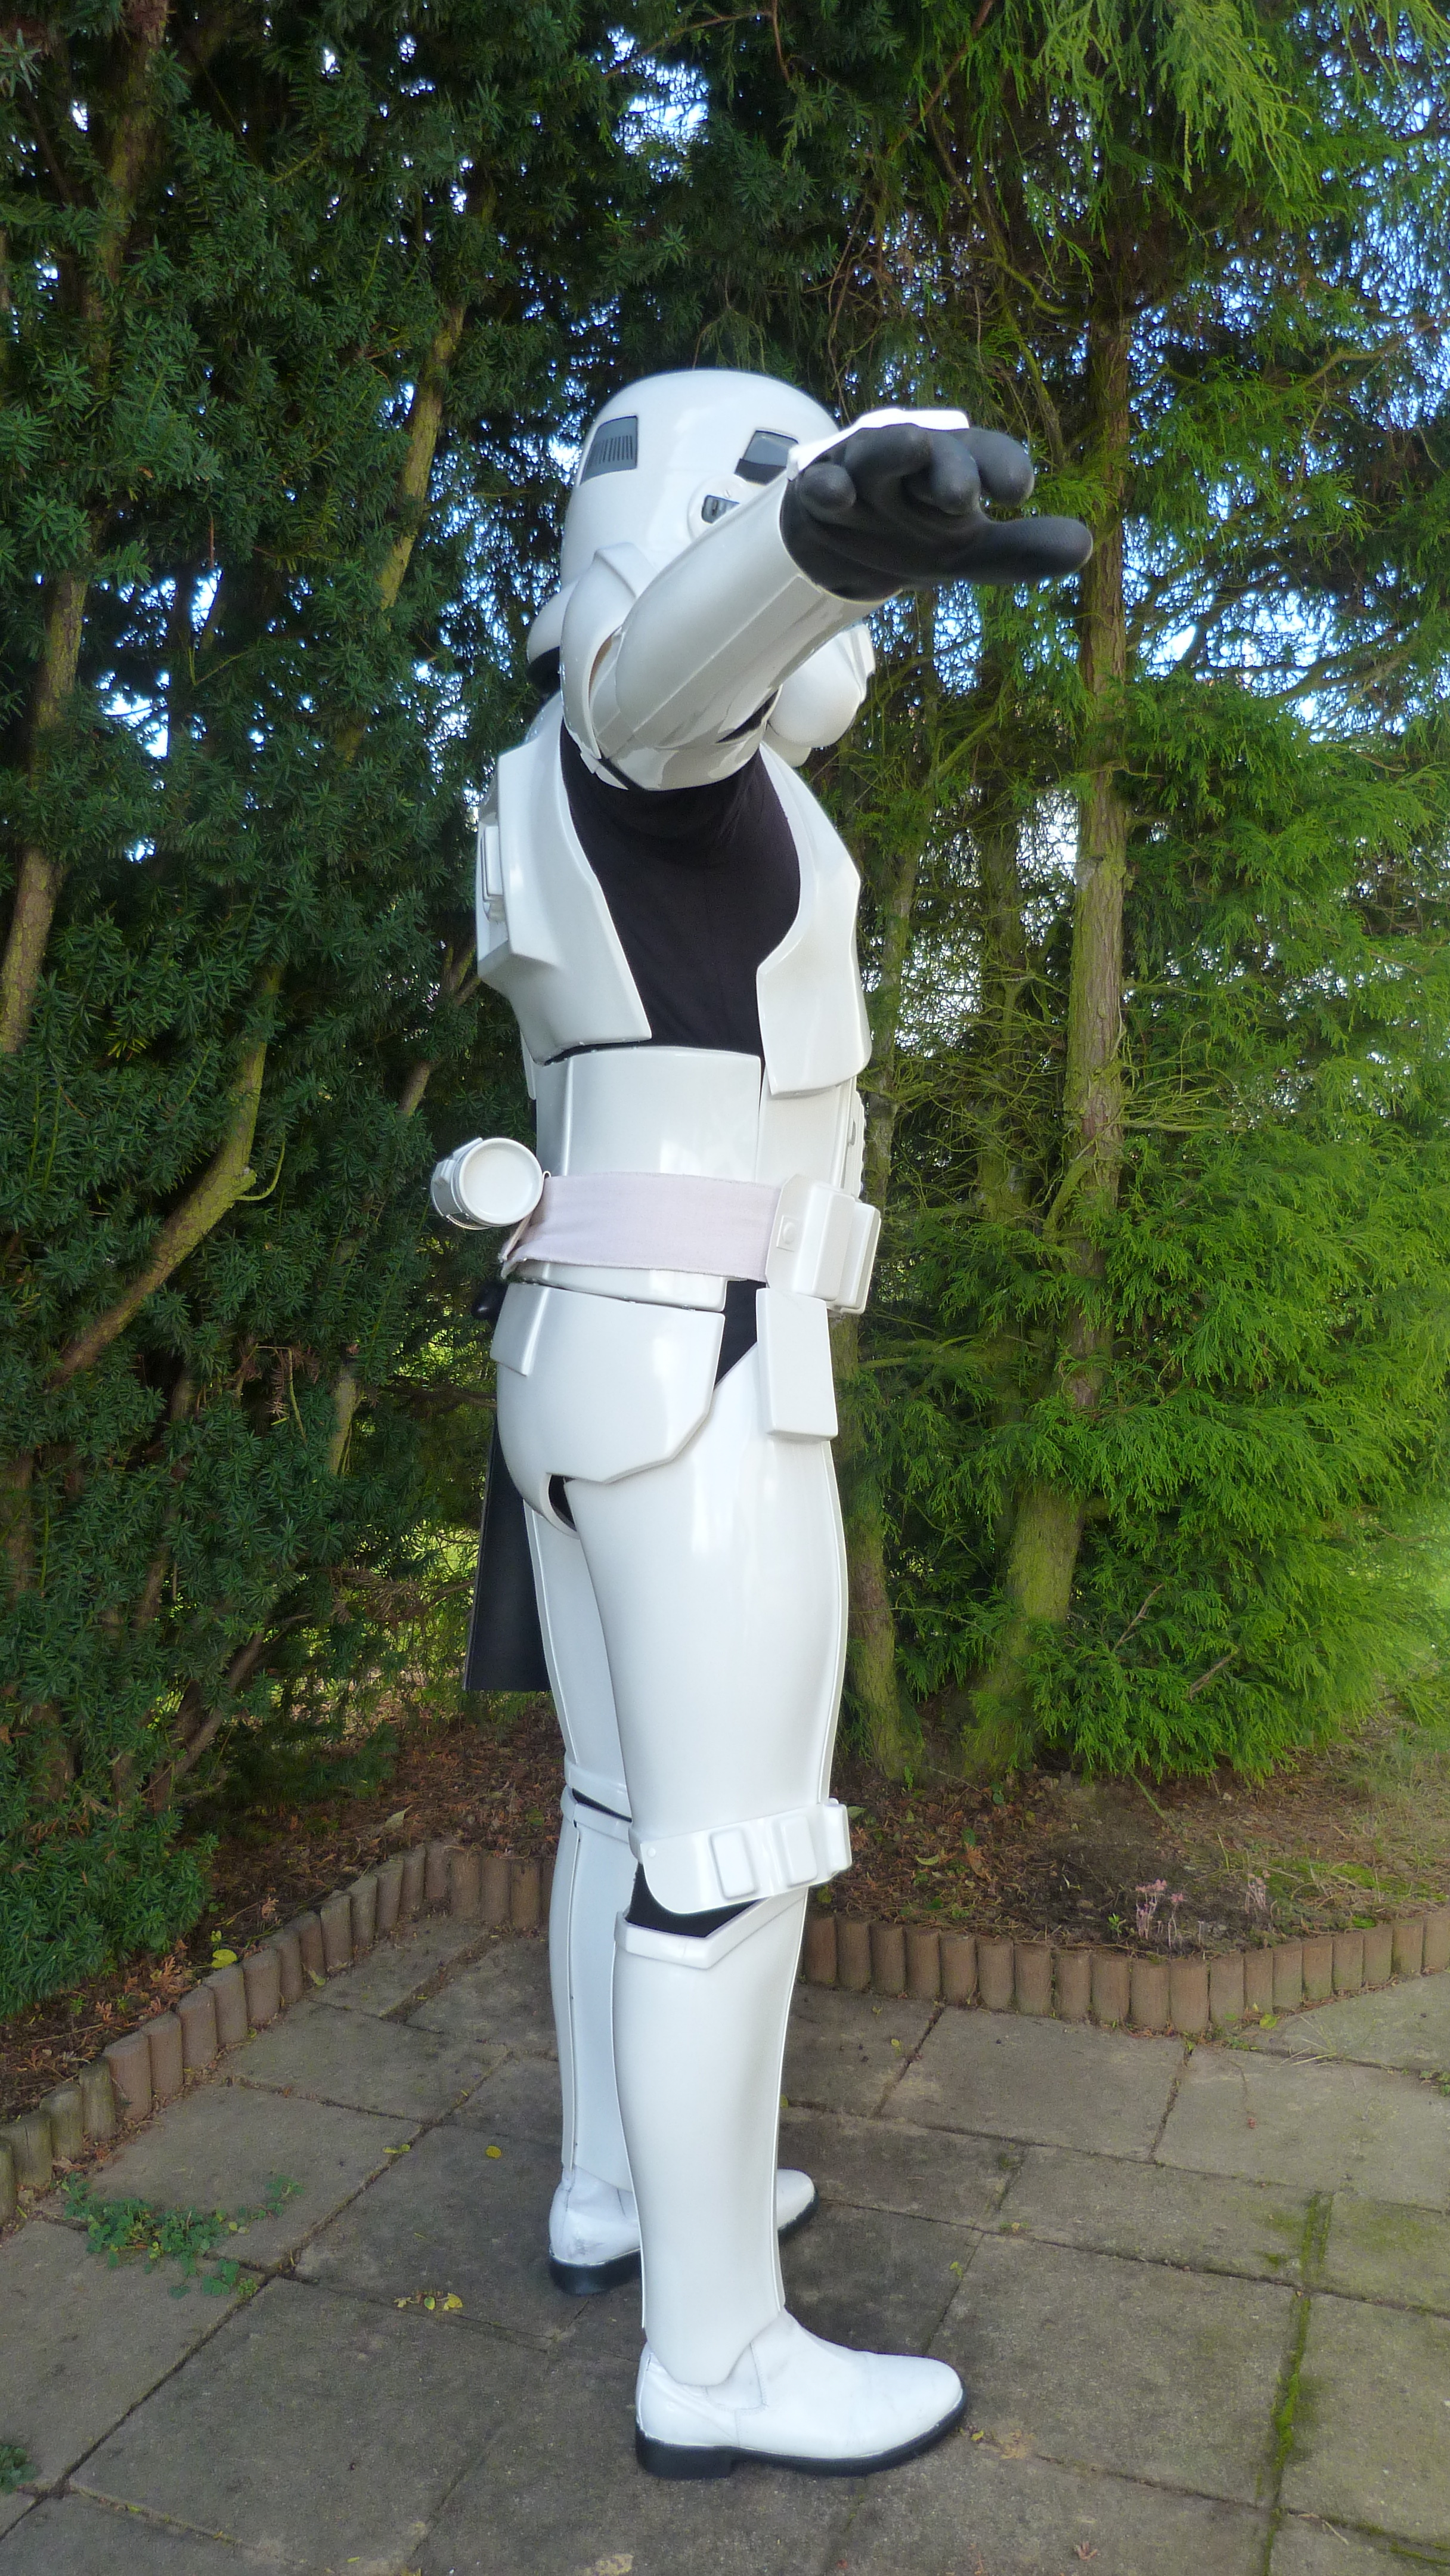
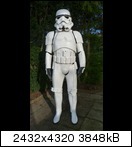
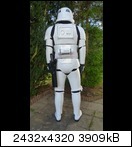
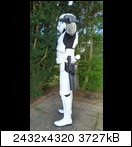


1a) Action

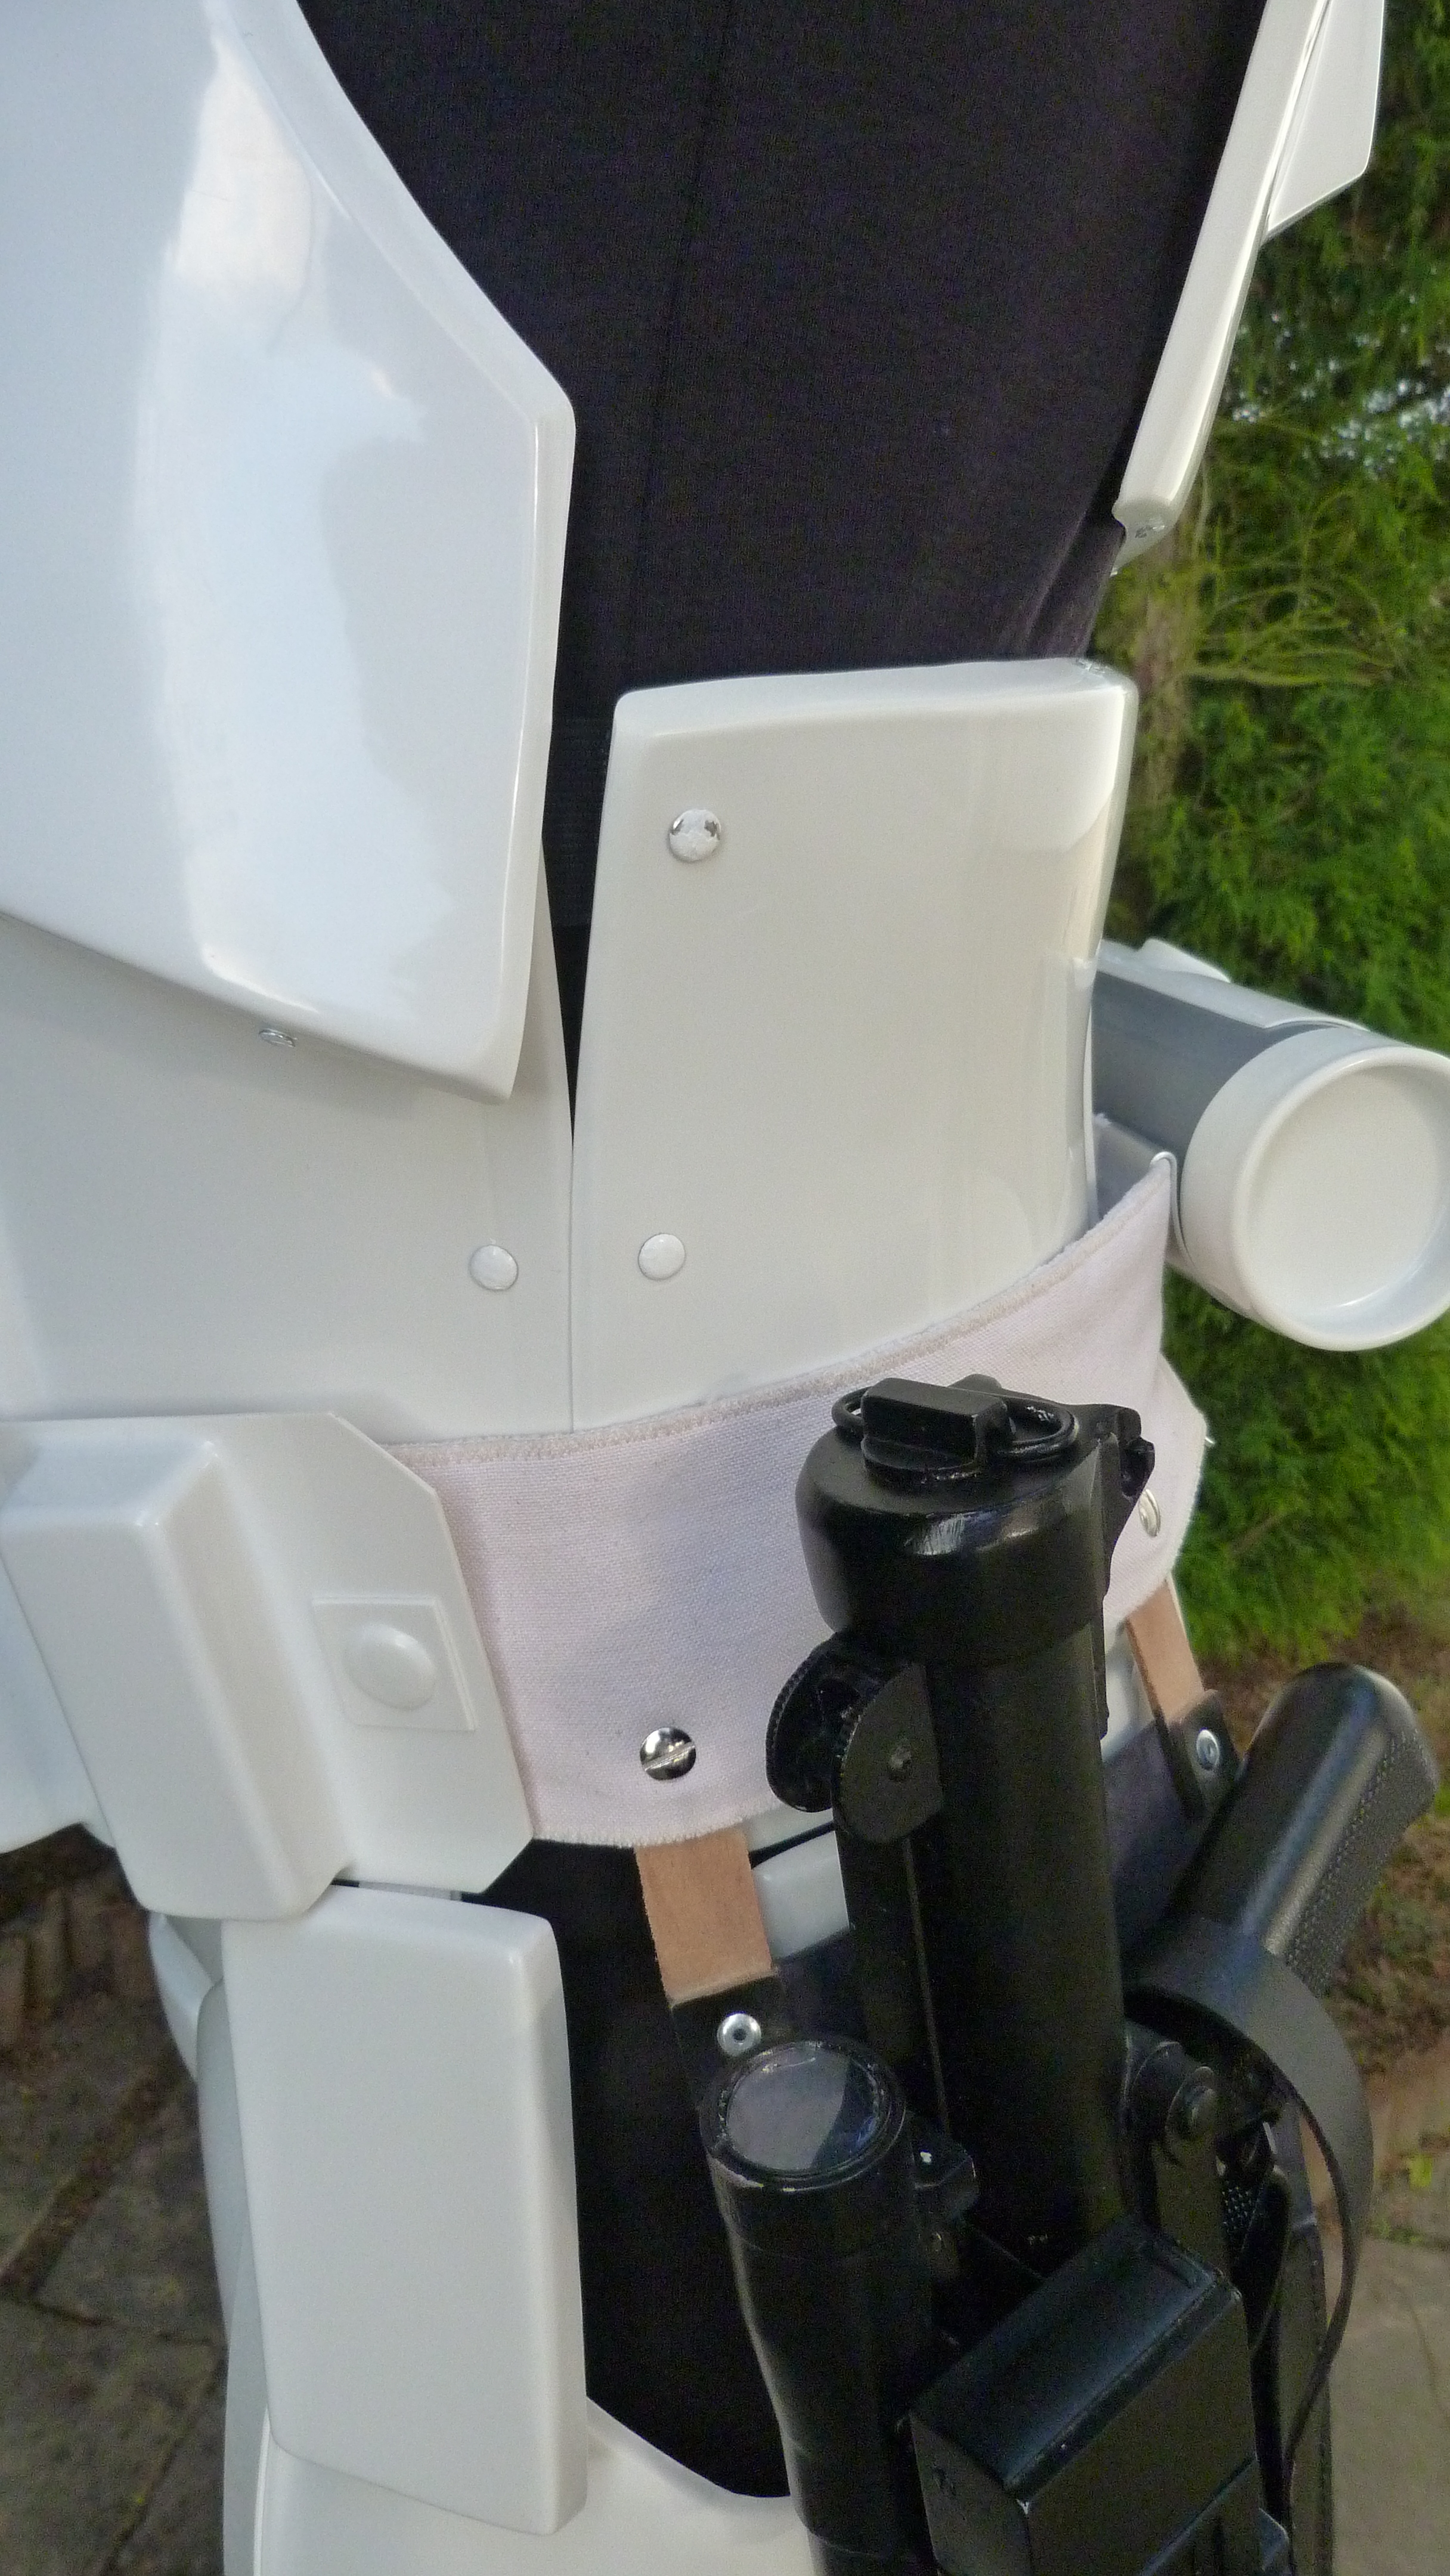
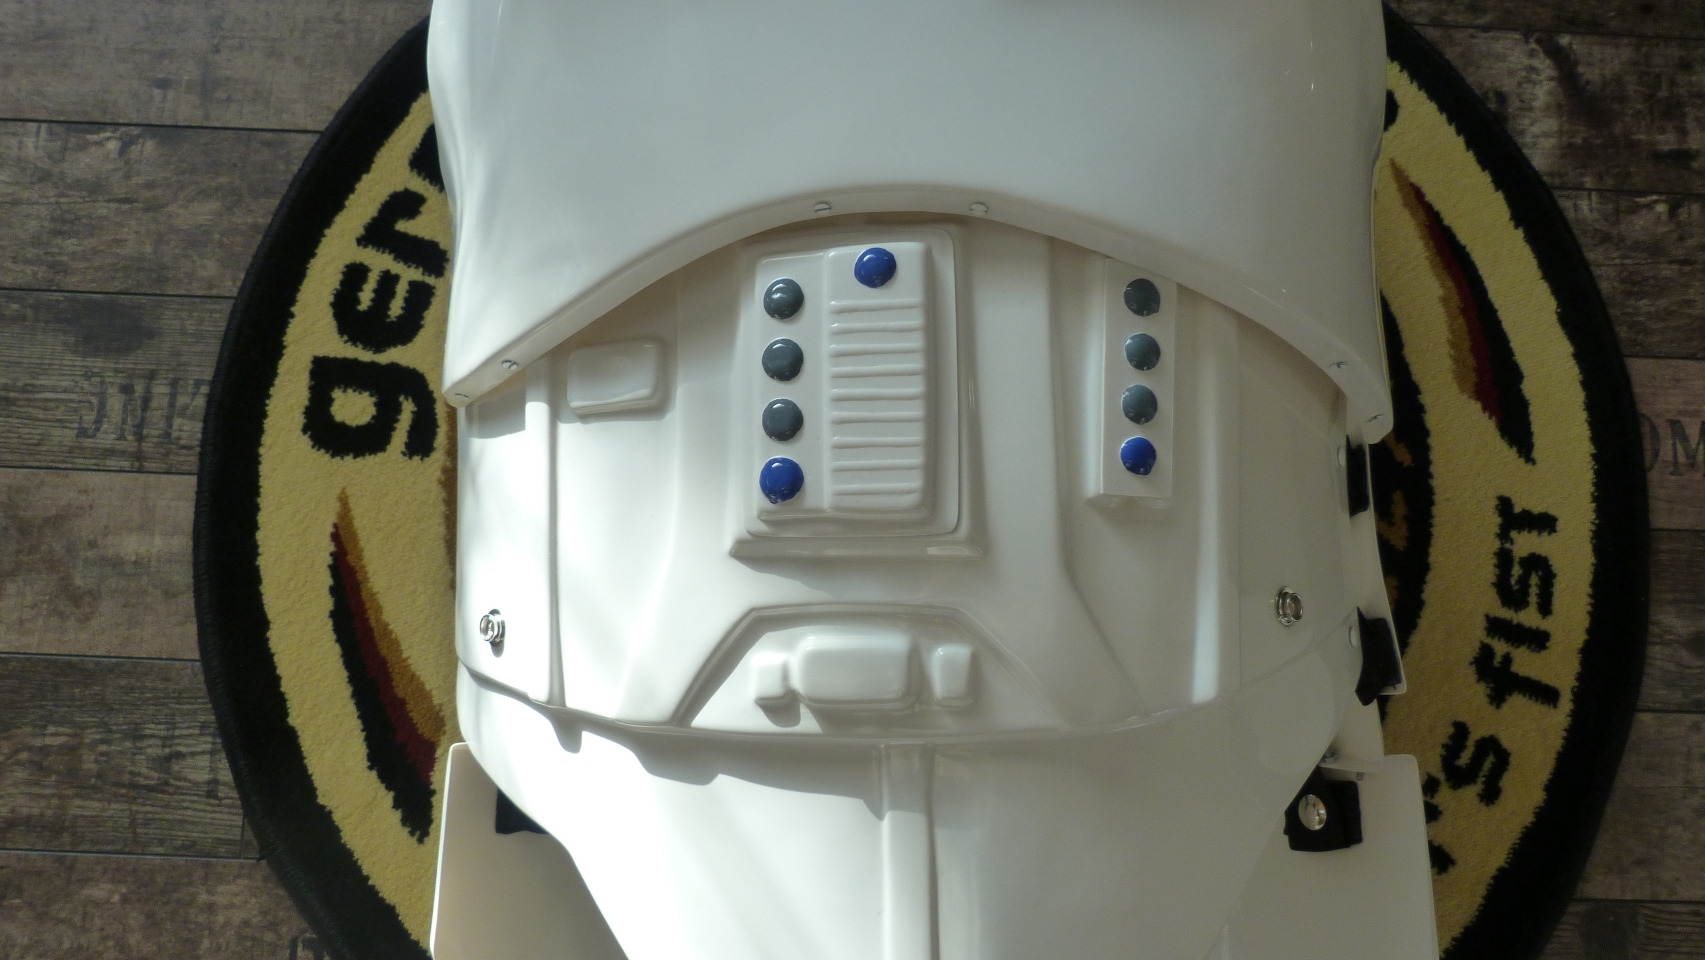
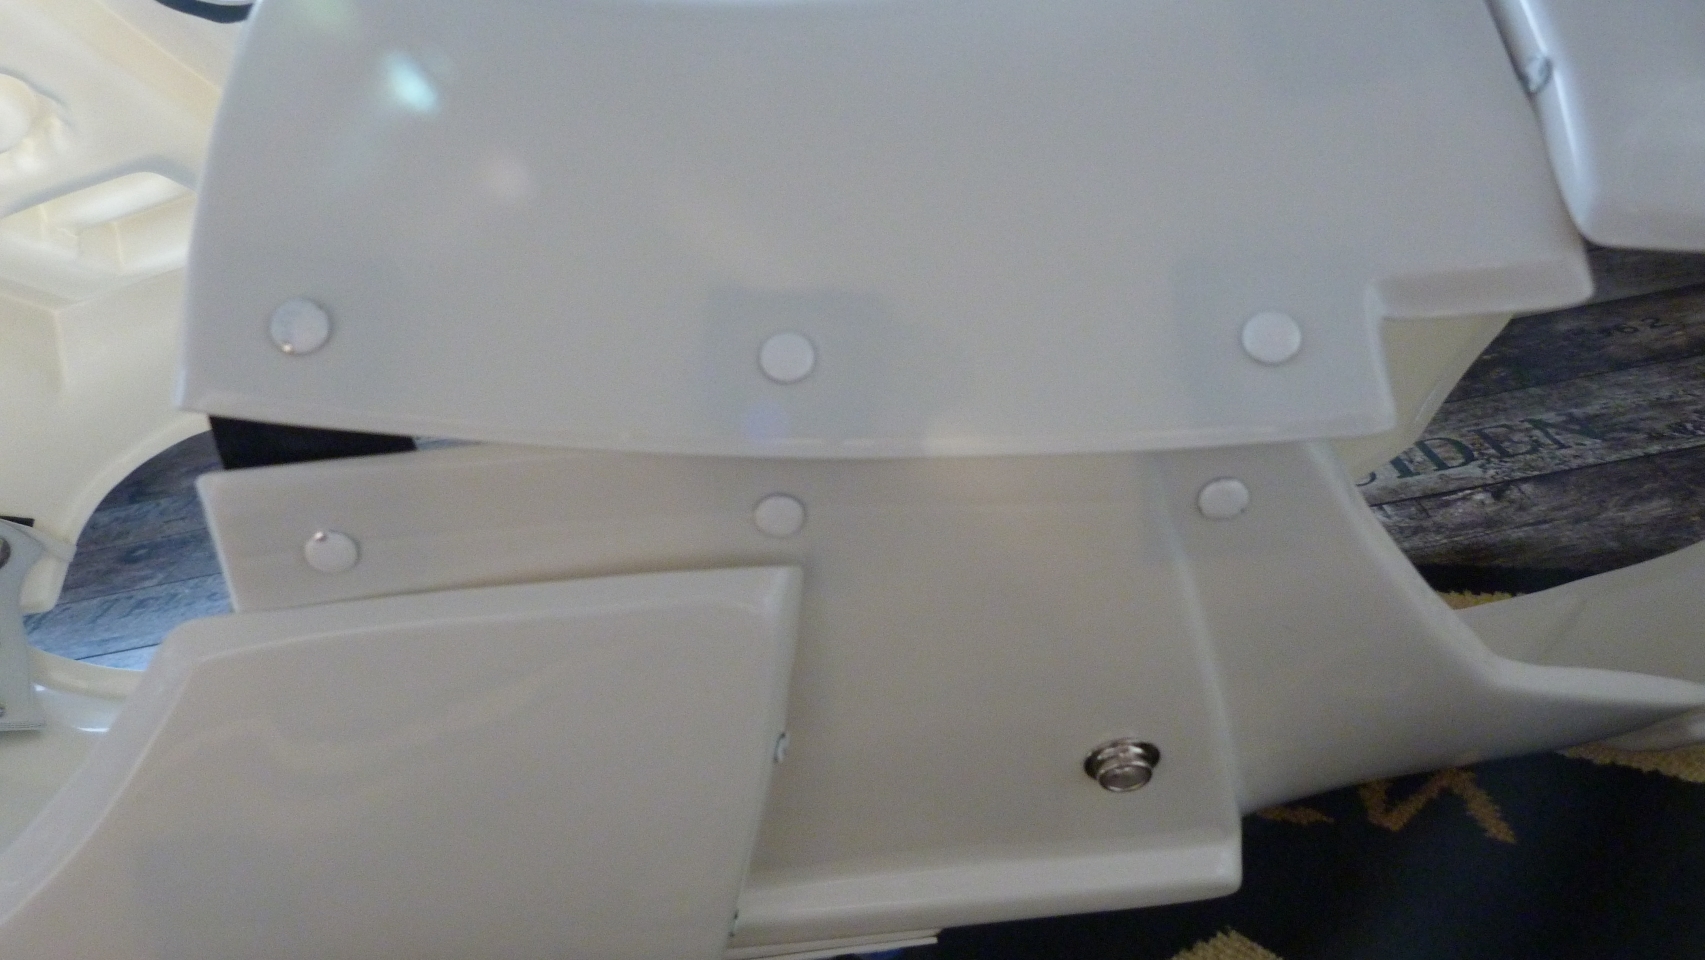
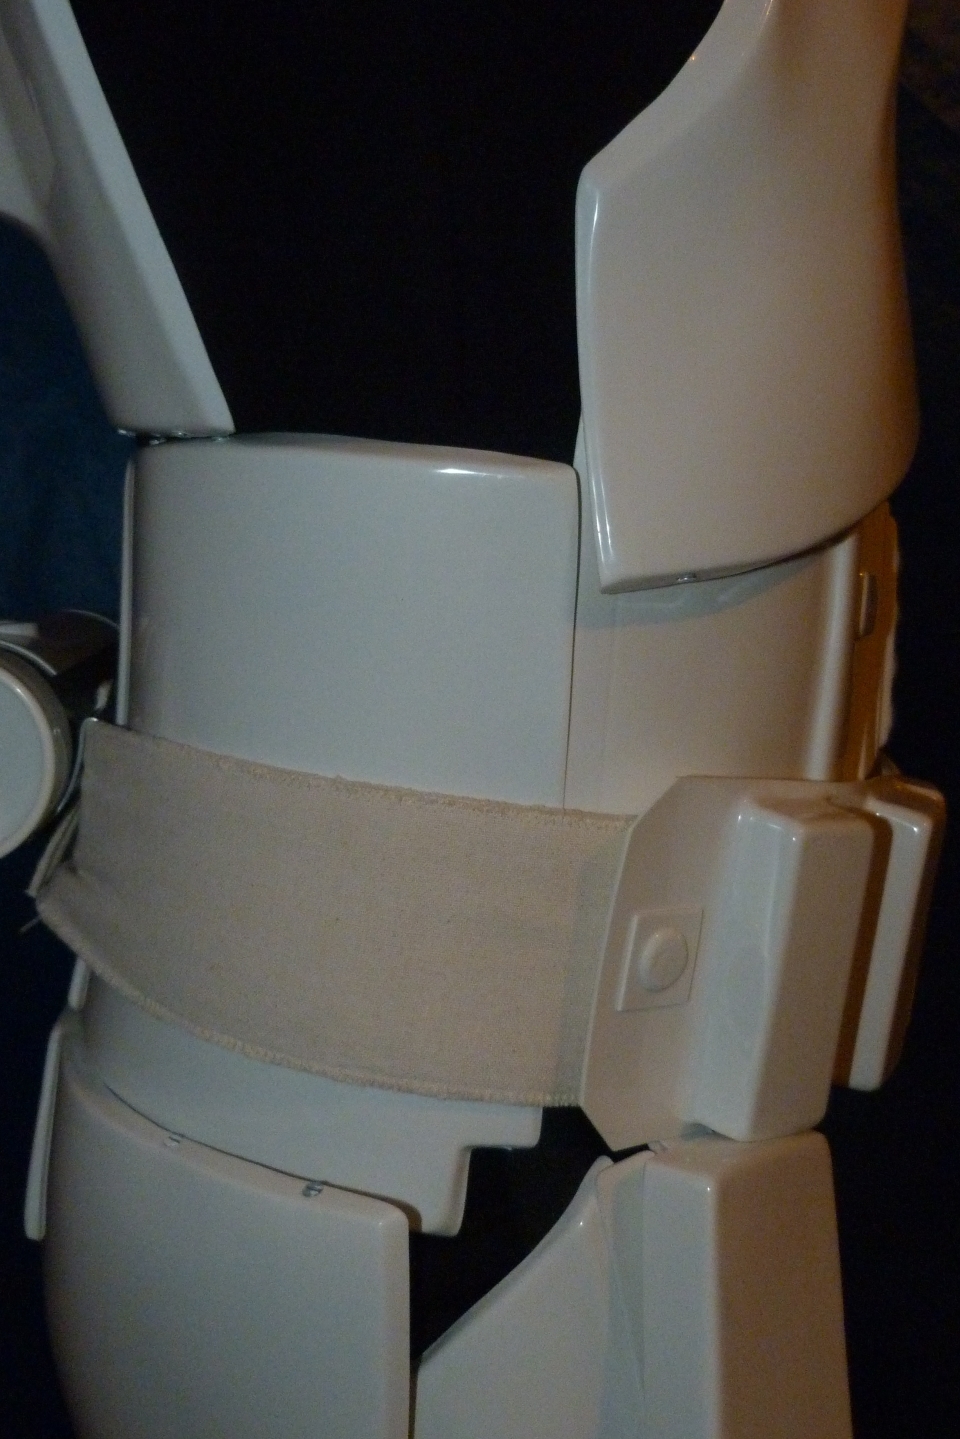
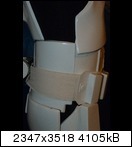
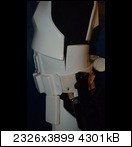
2) Armor Details
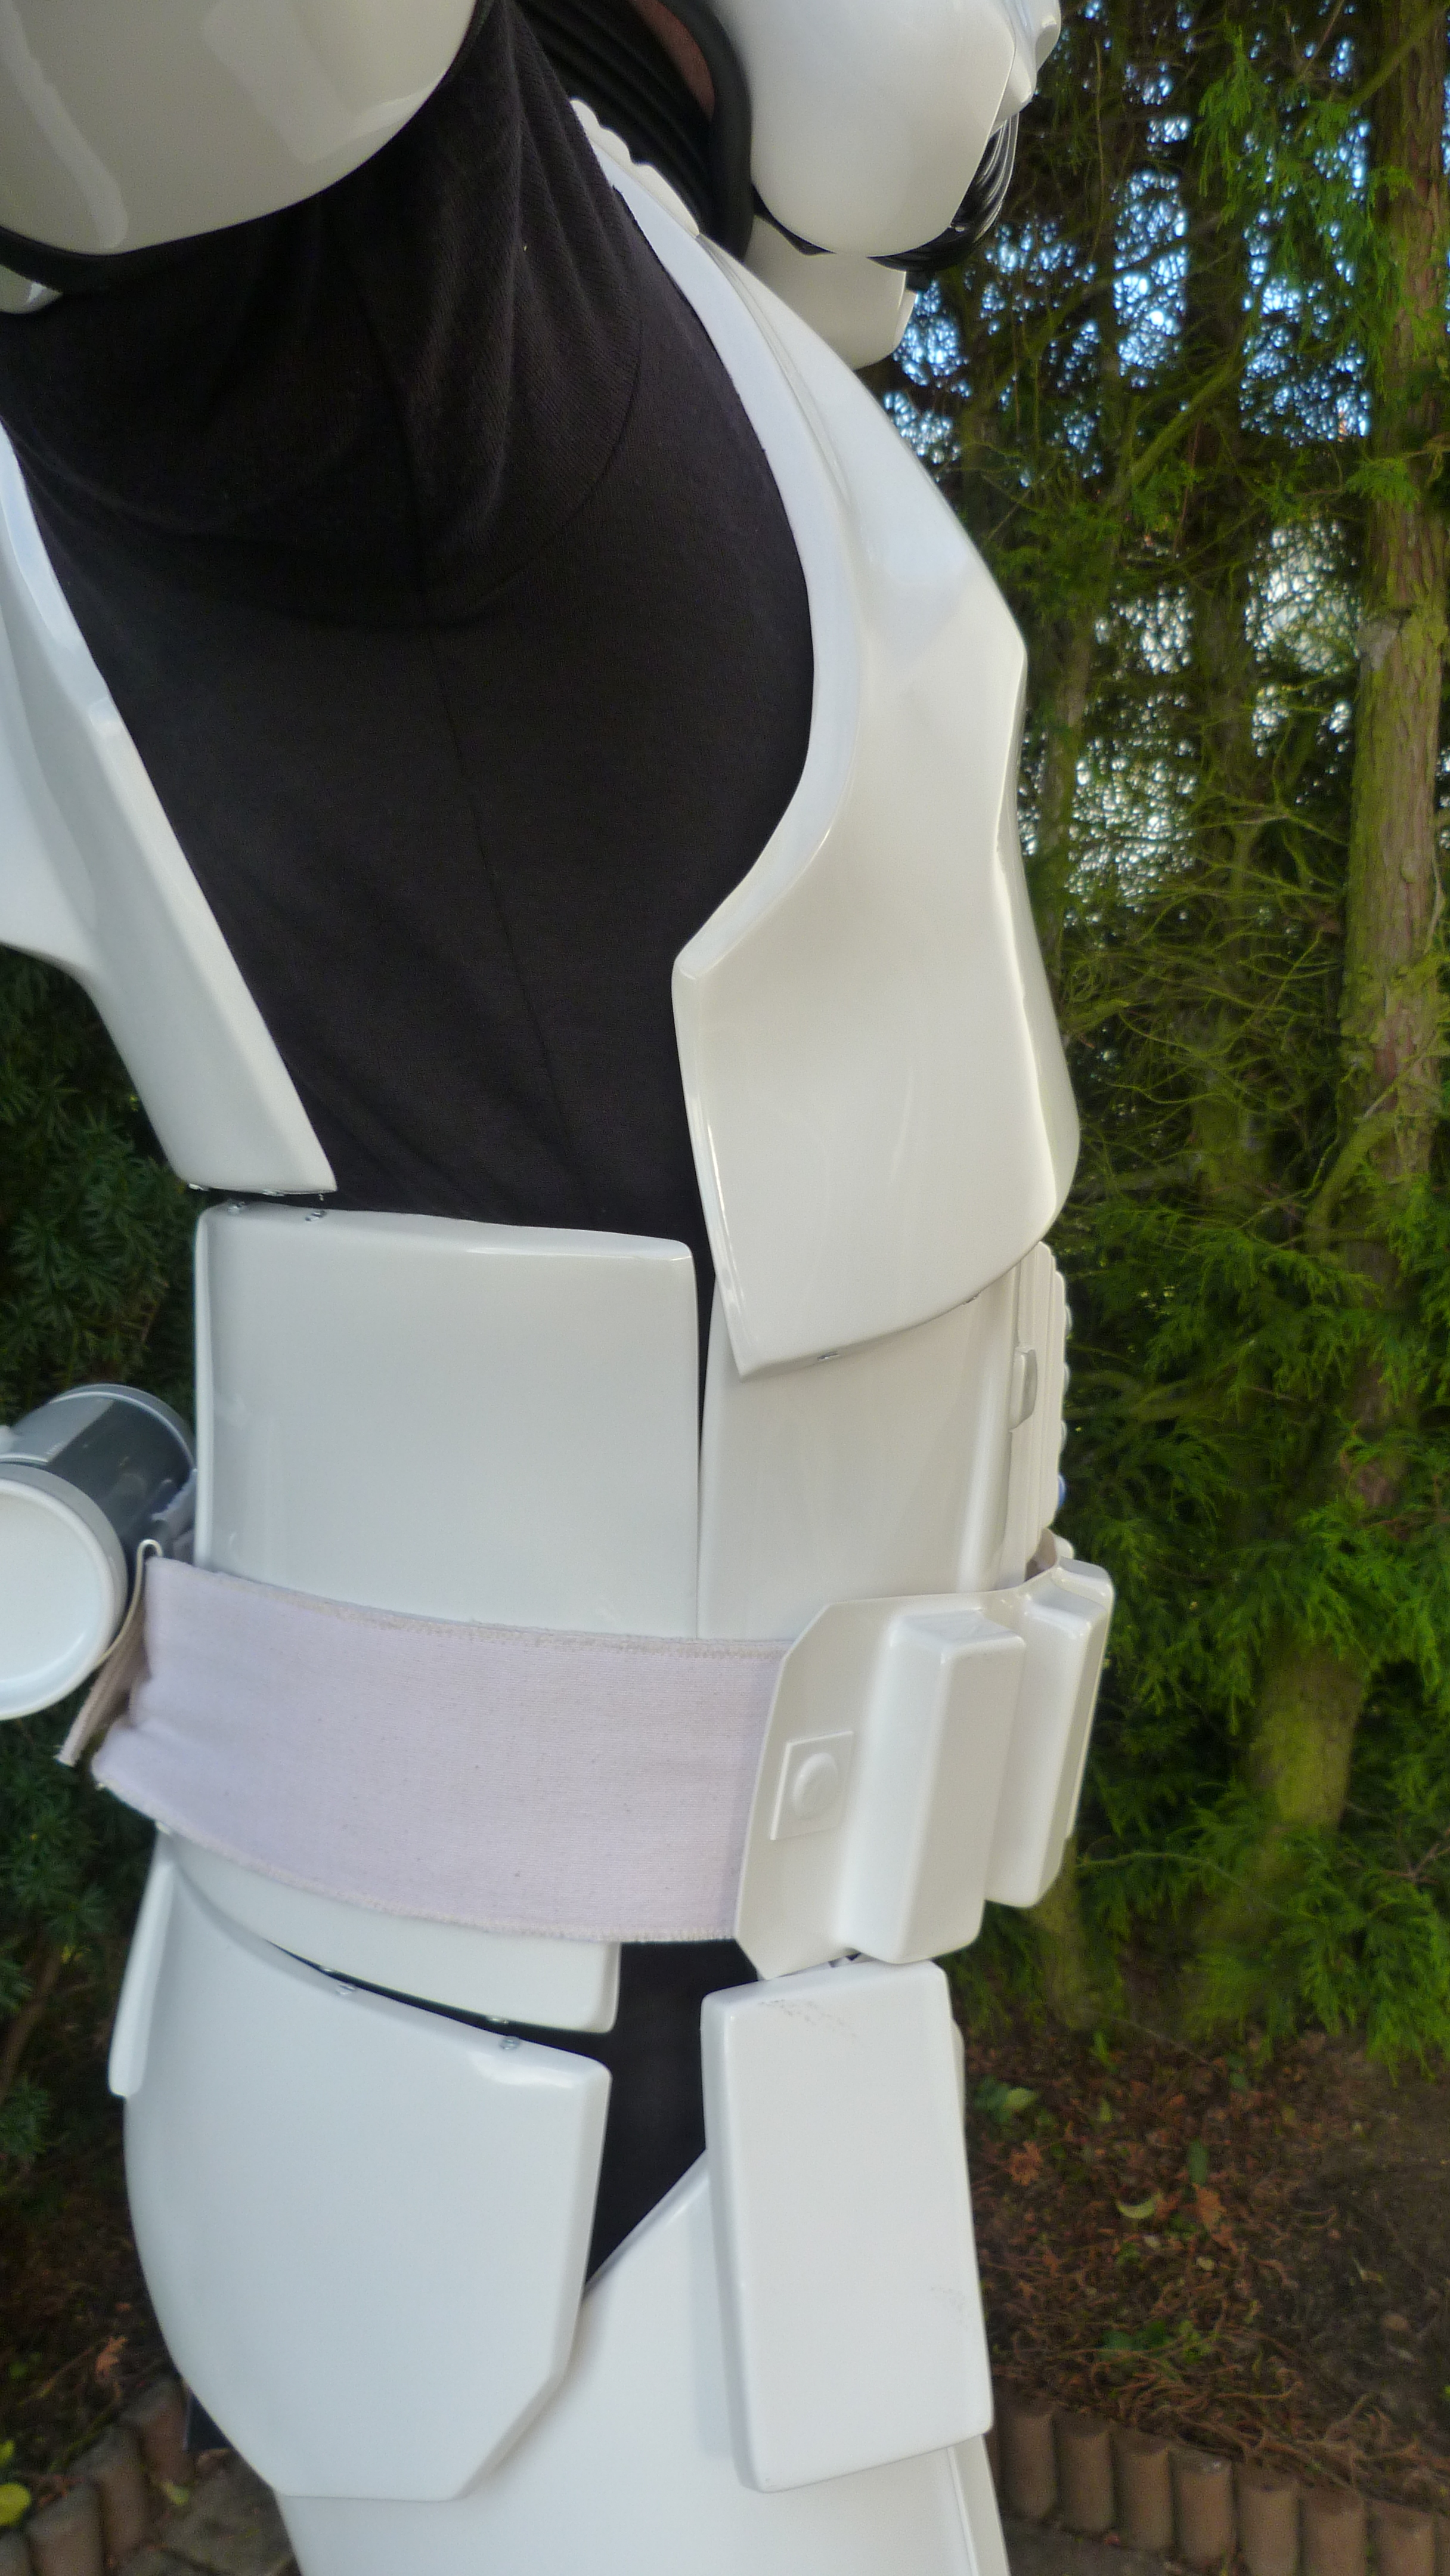
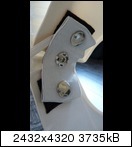
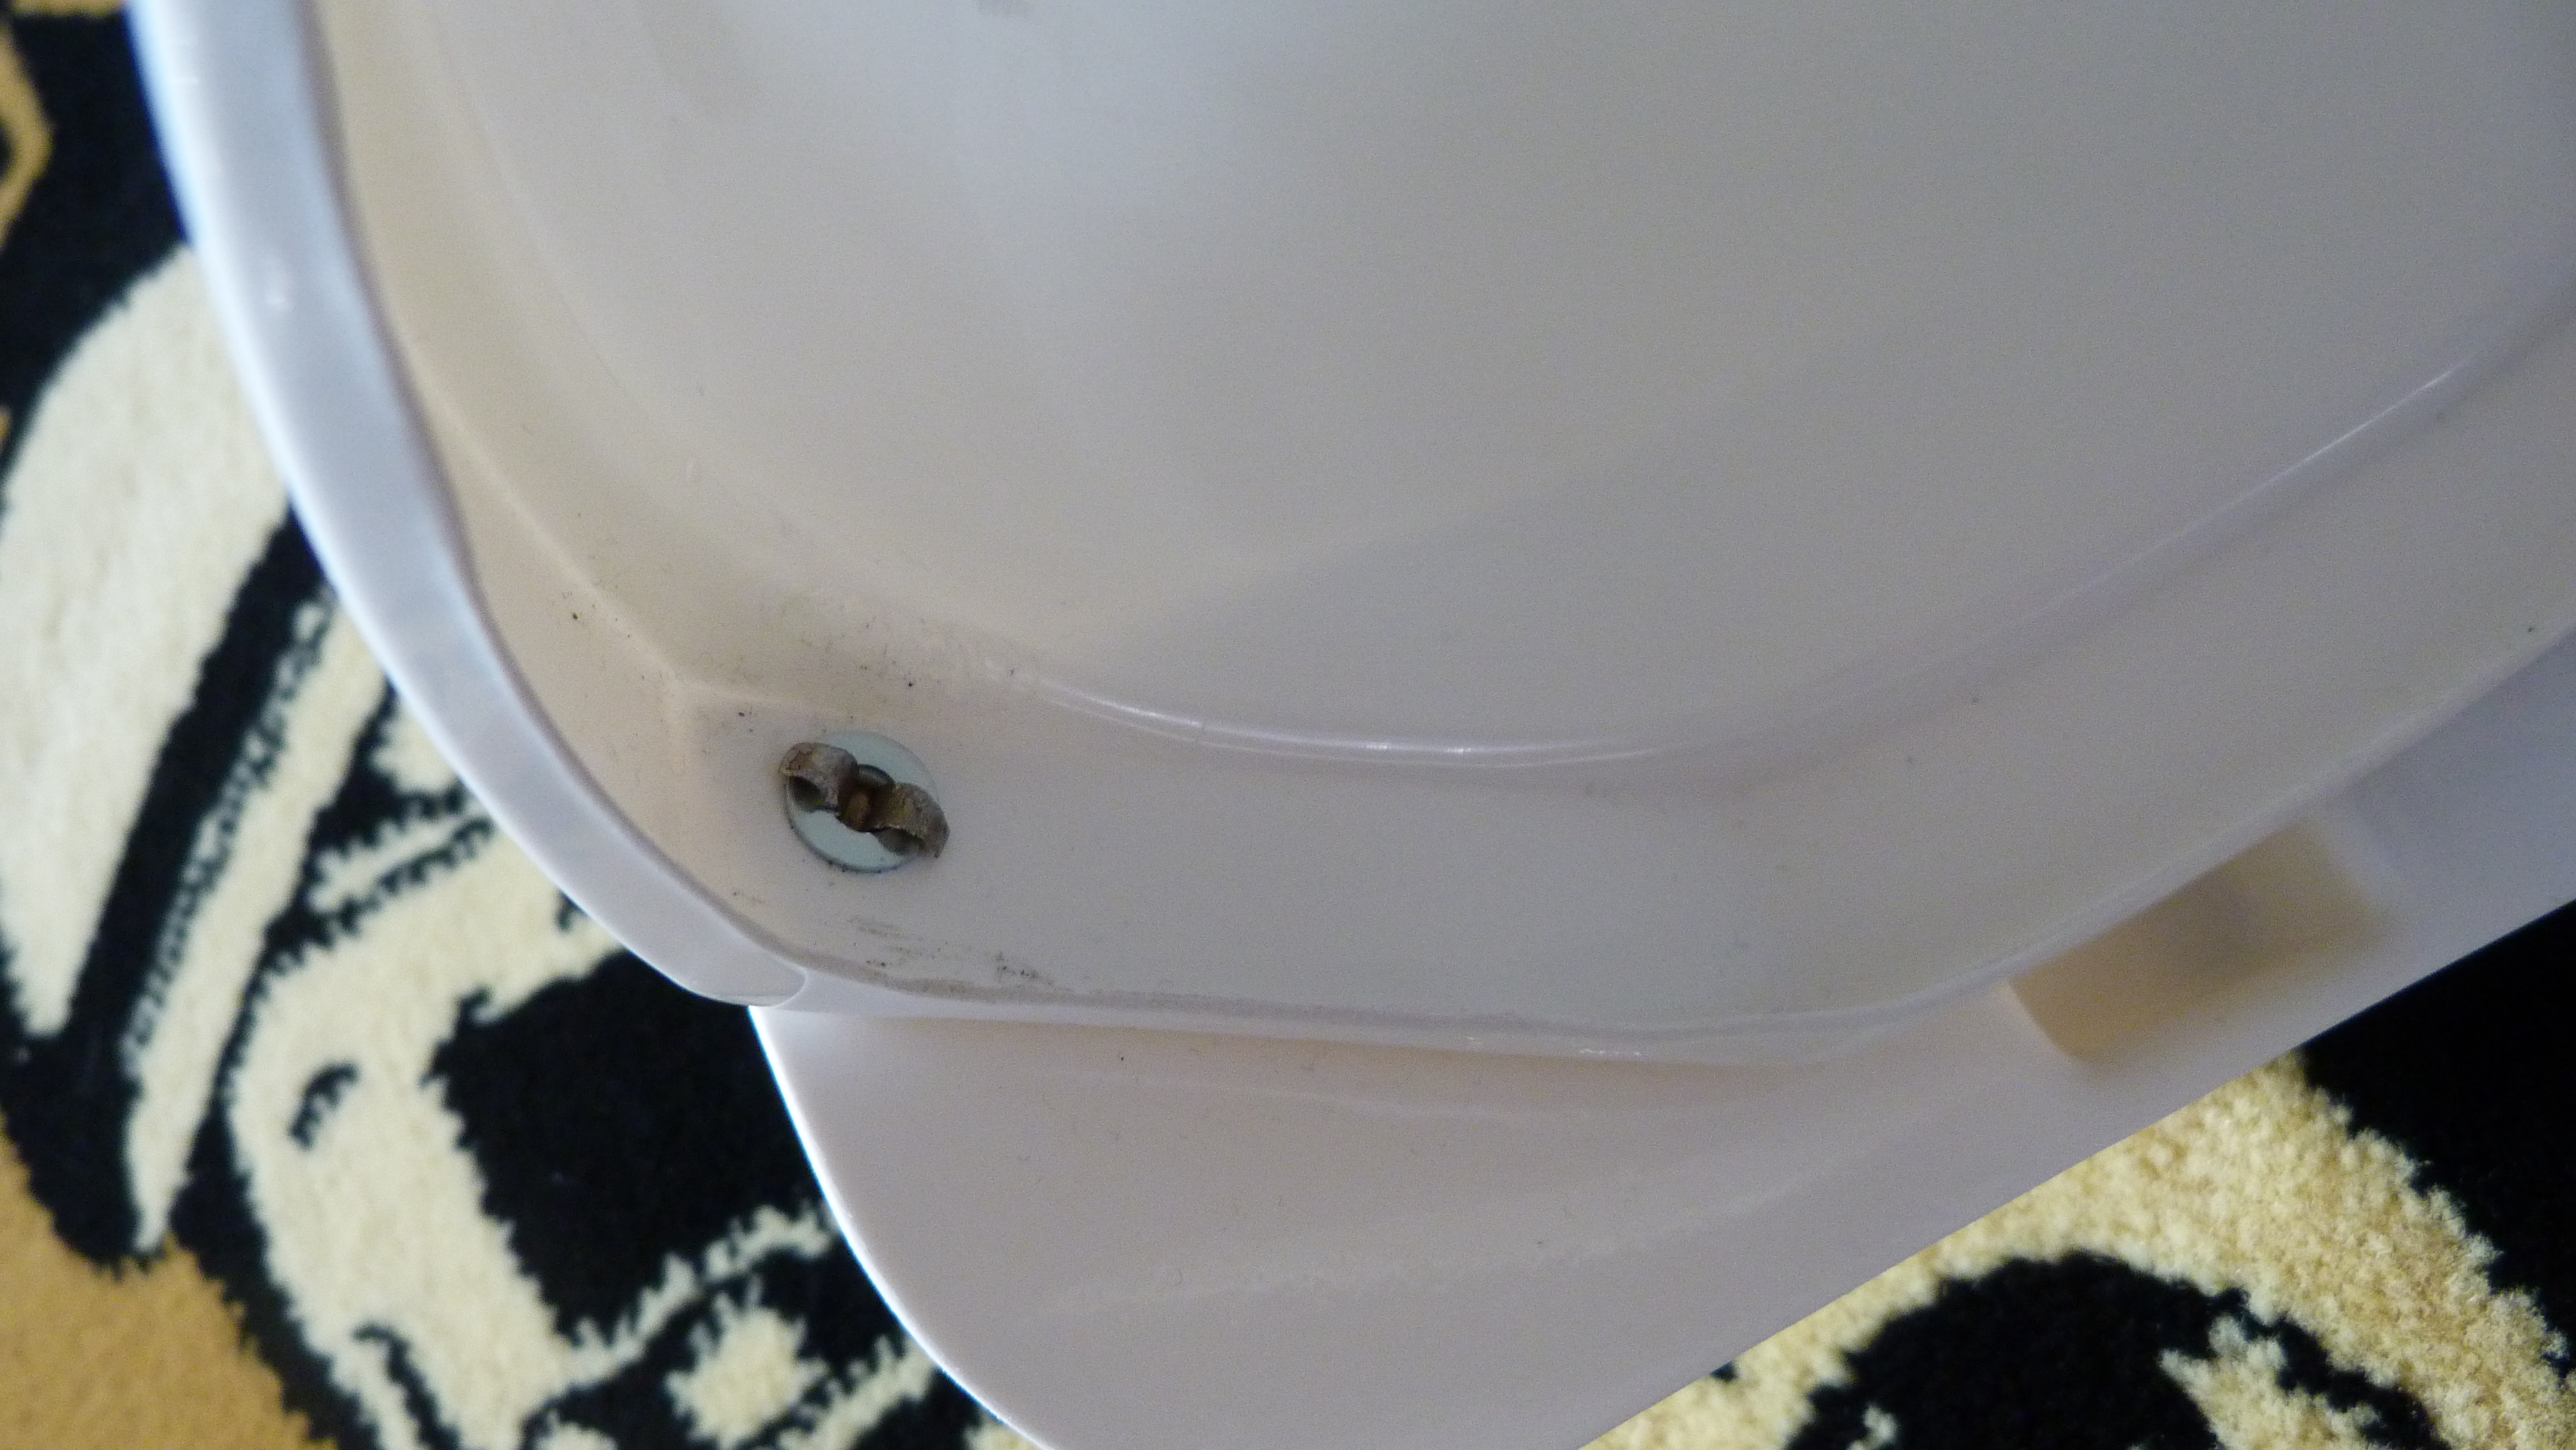
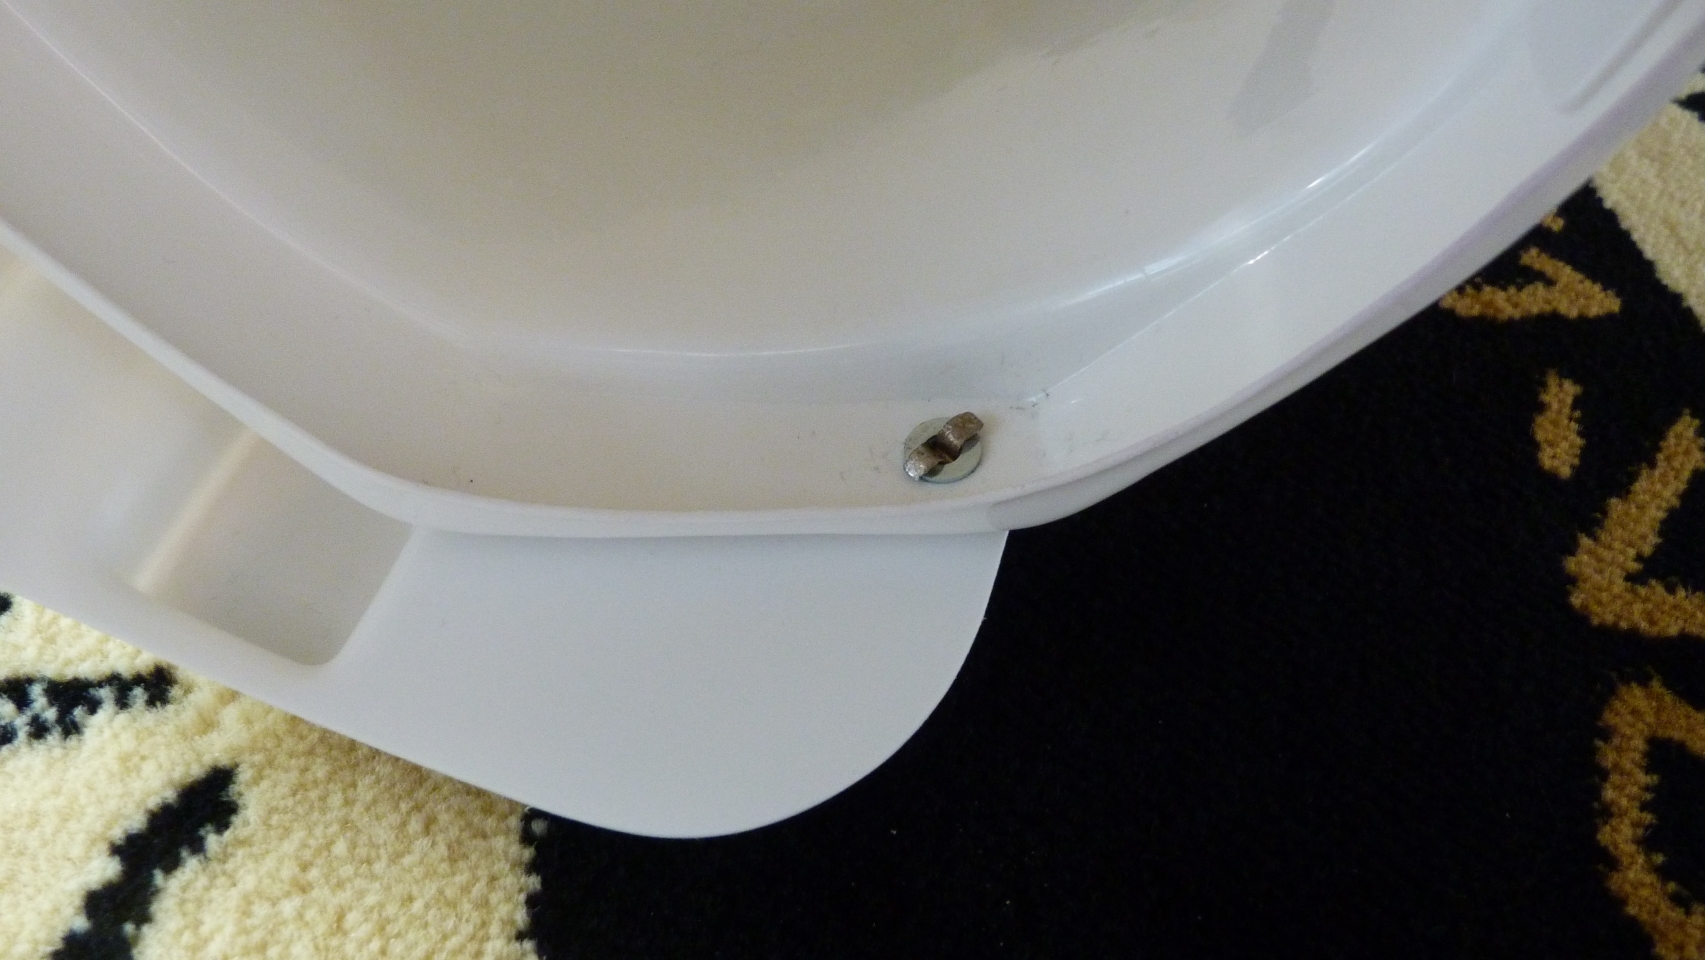
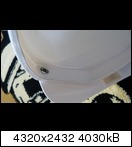
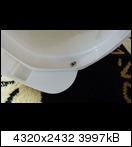
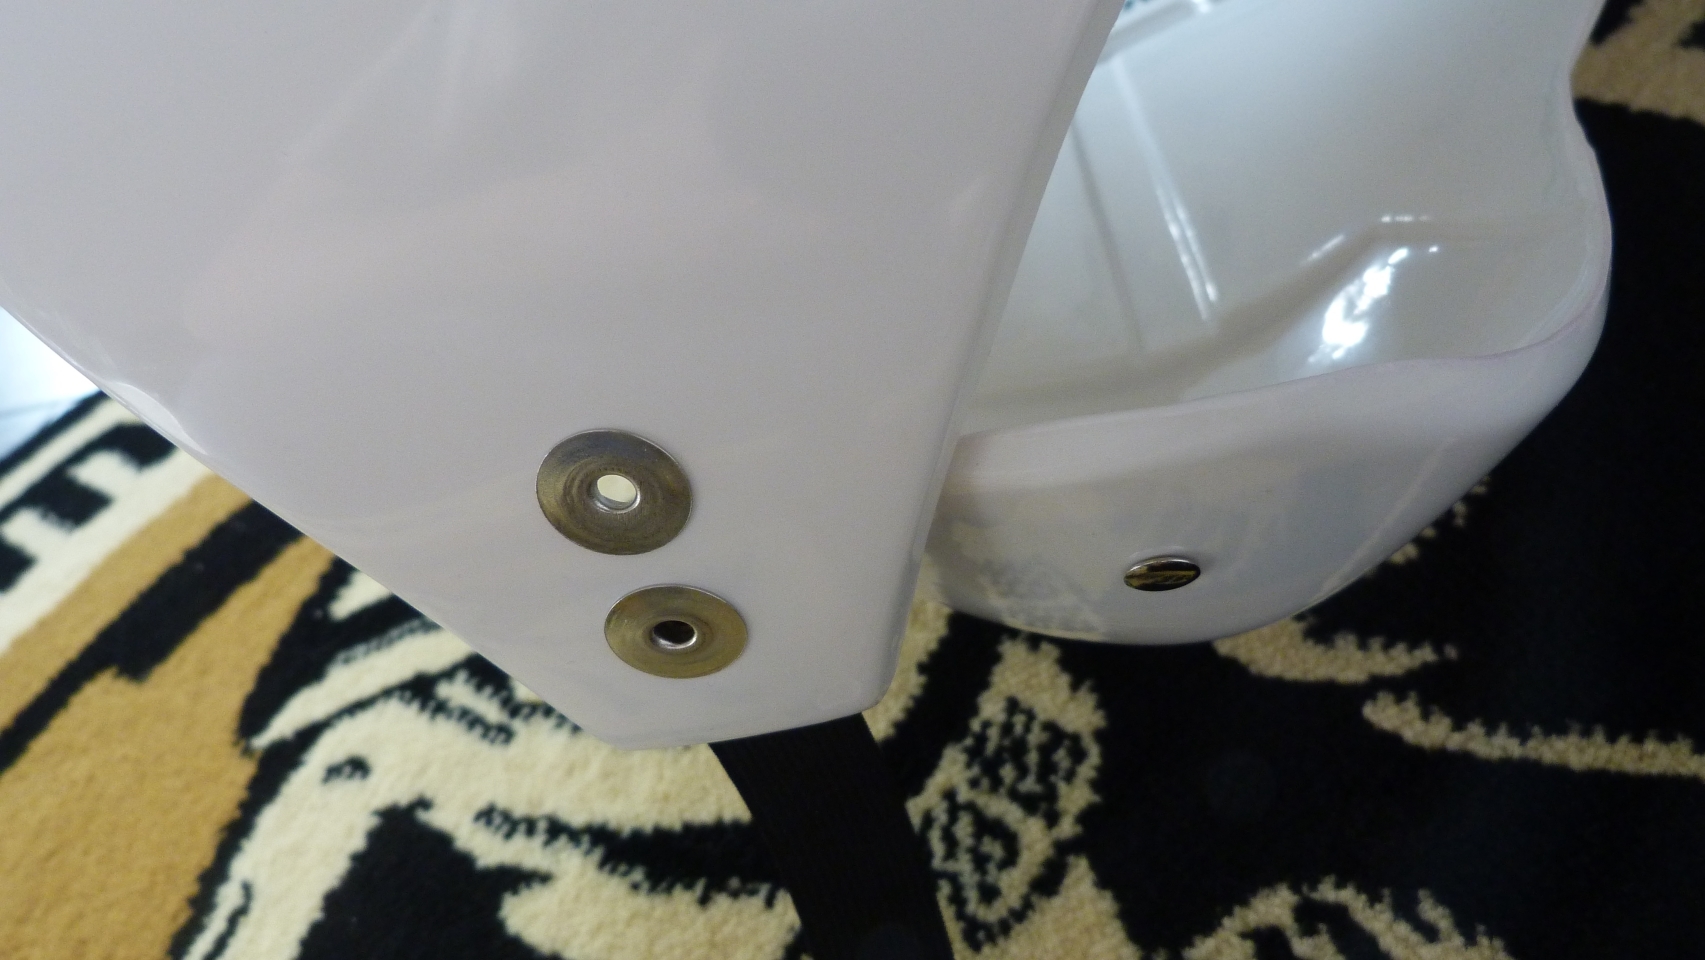
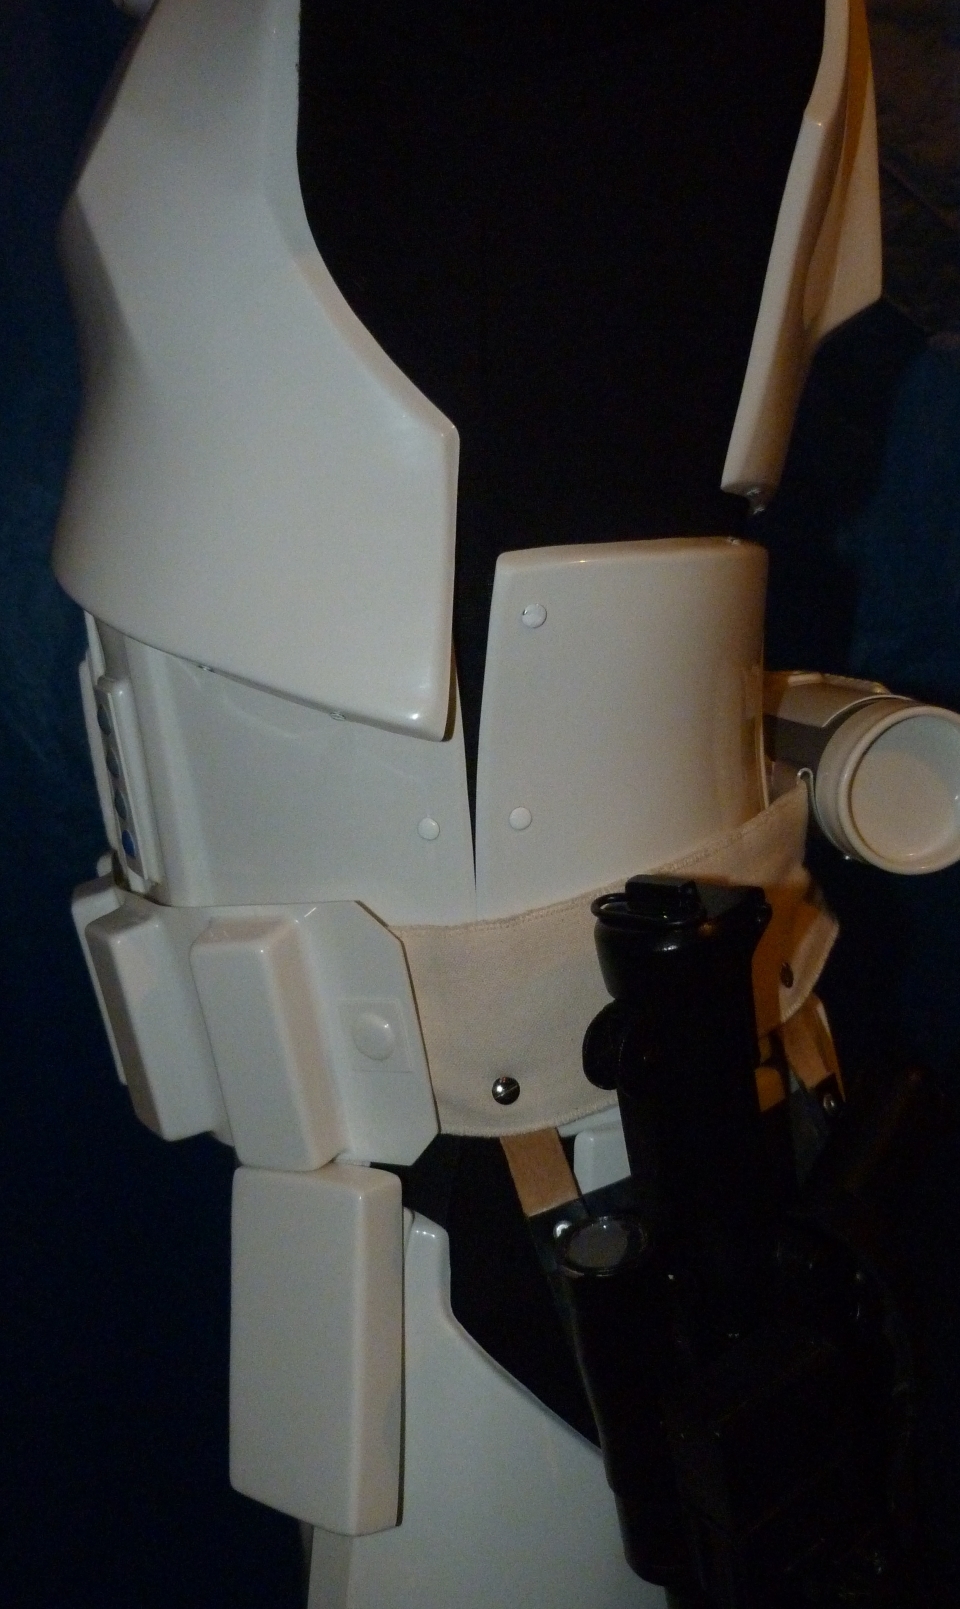
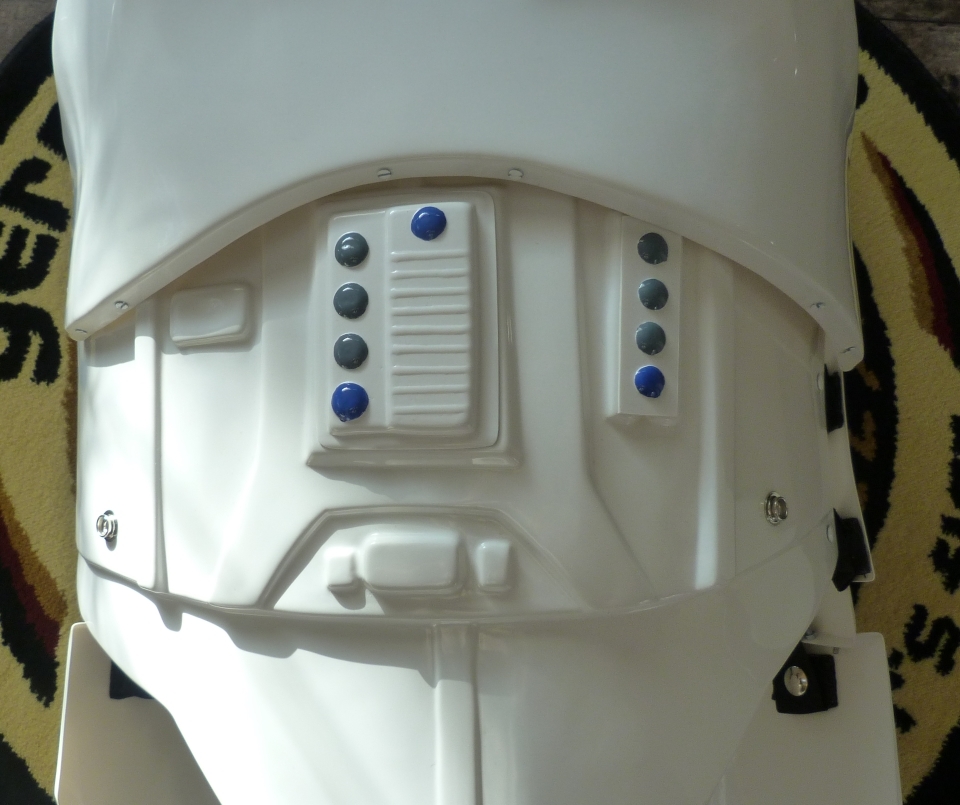
2.1) Ab/Kidney Attachment - Button Orientation

2.2) Butt/Kidney not fixed
2.3) Hand Plate
2.4) Shoulder Bridge and Connections


2.5) Thigh Pack Attachment


2.6) Knee Plate
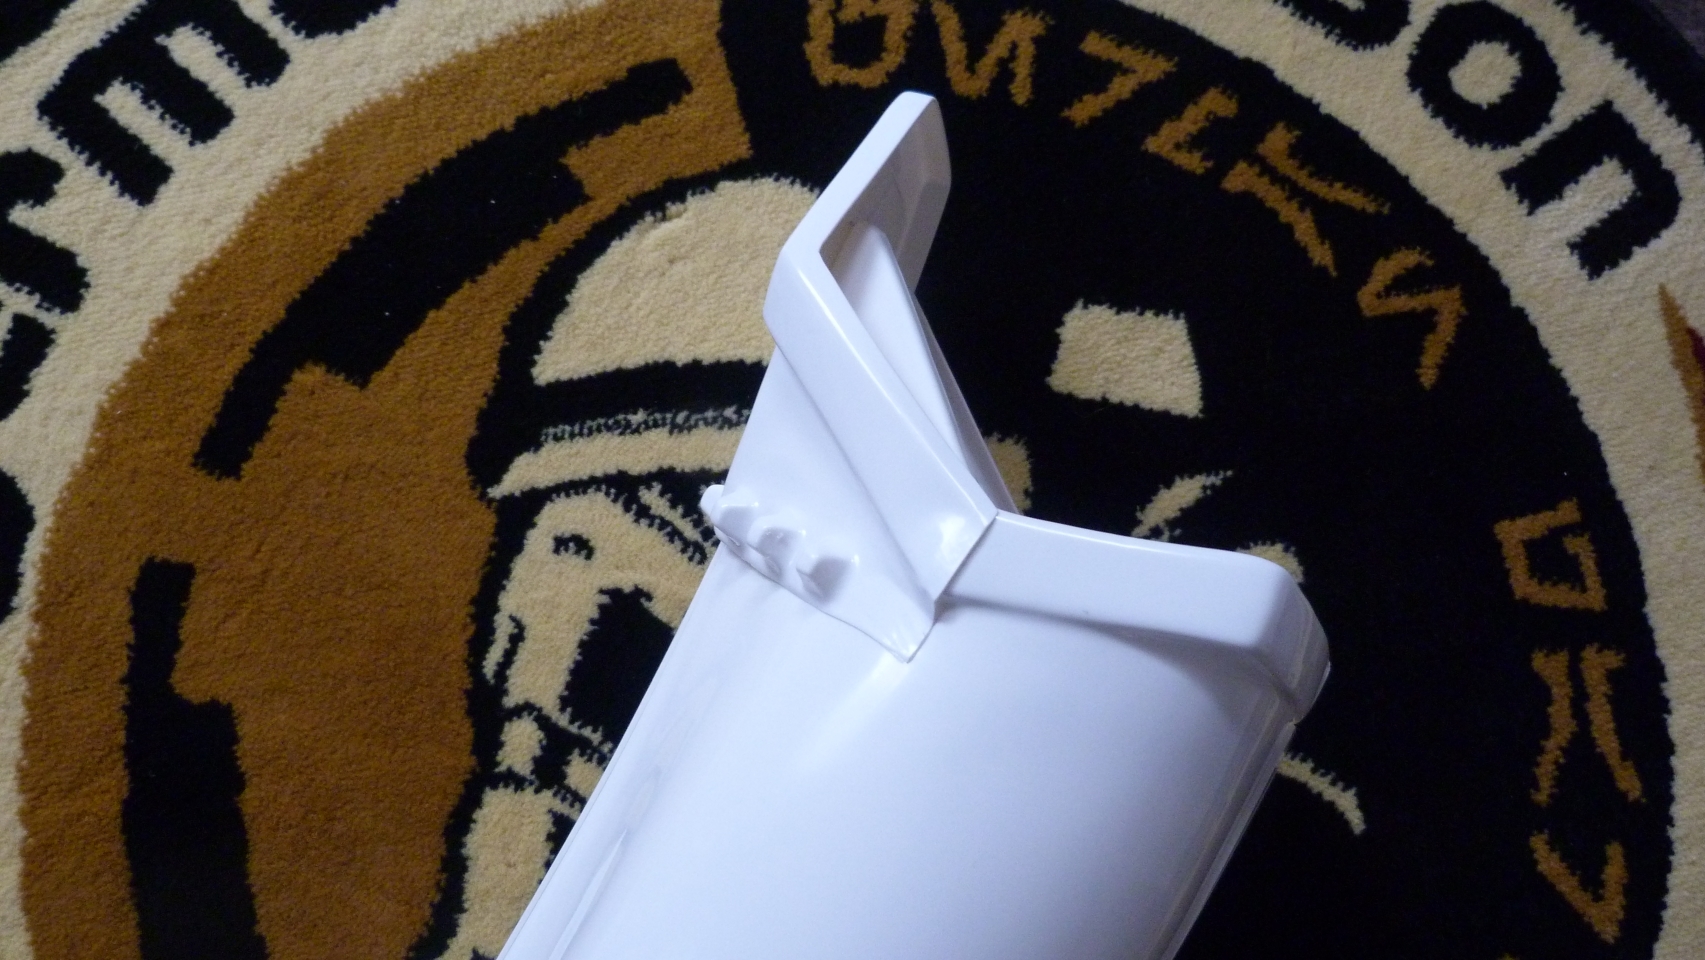
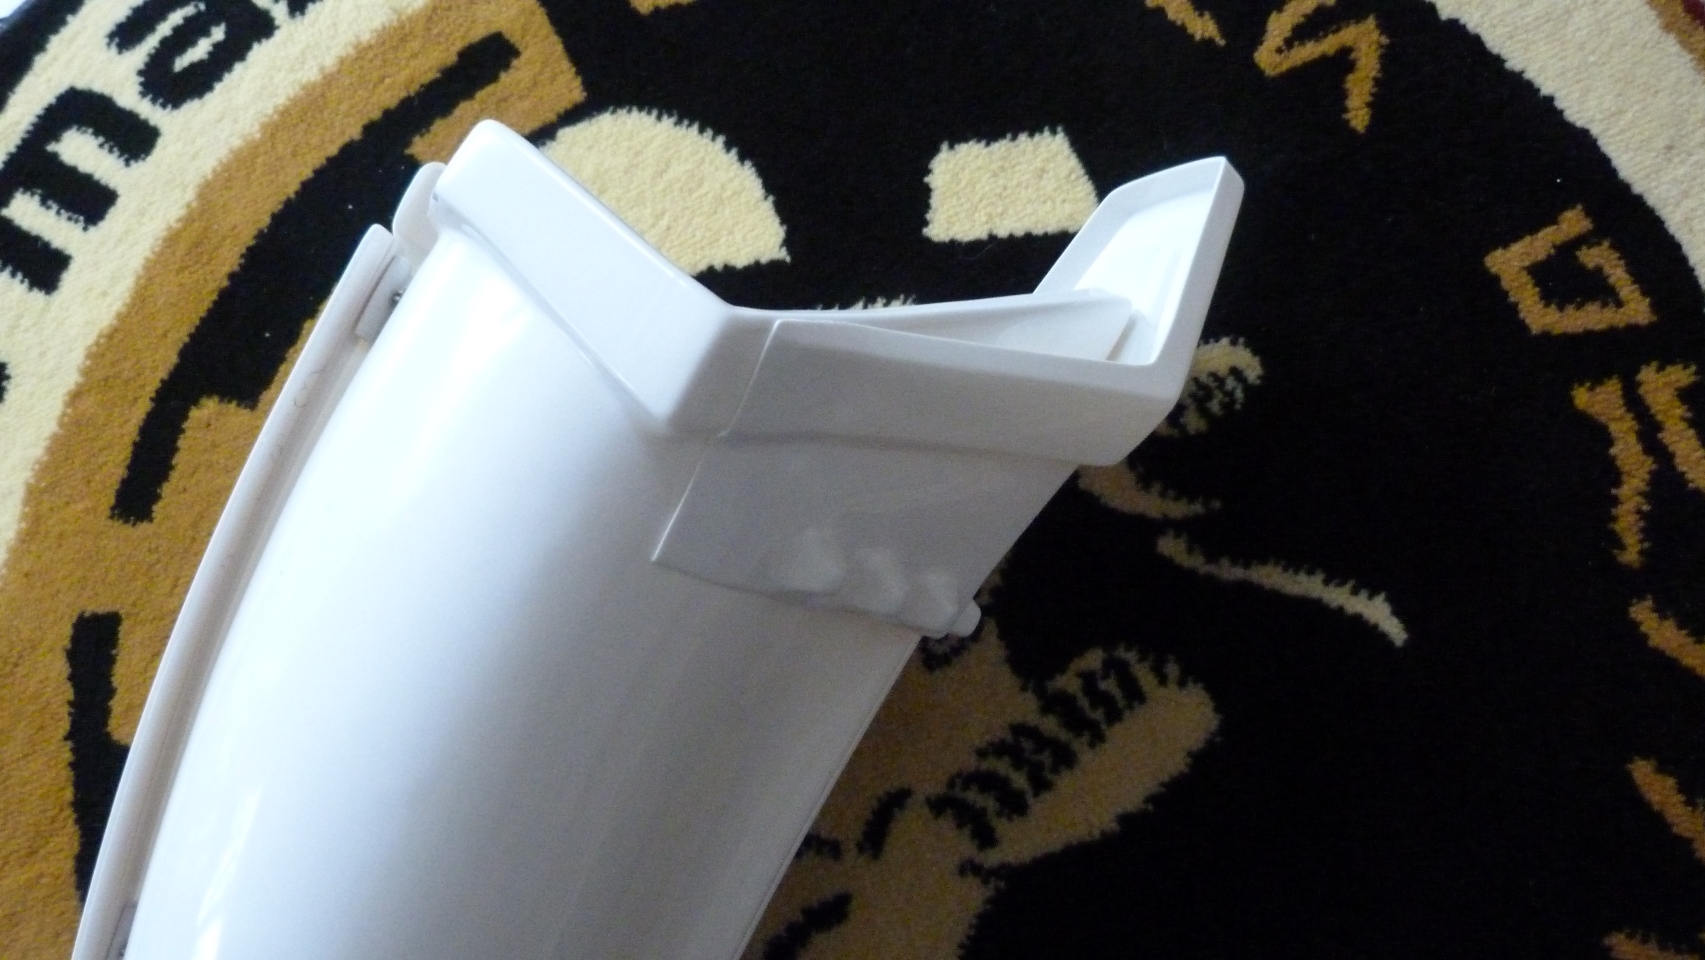
2.7) Drop Box Back (and belt modifications)


2.8) Cod and Butt Plate Attachment


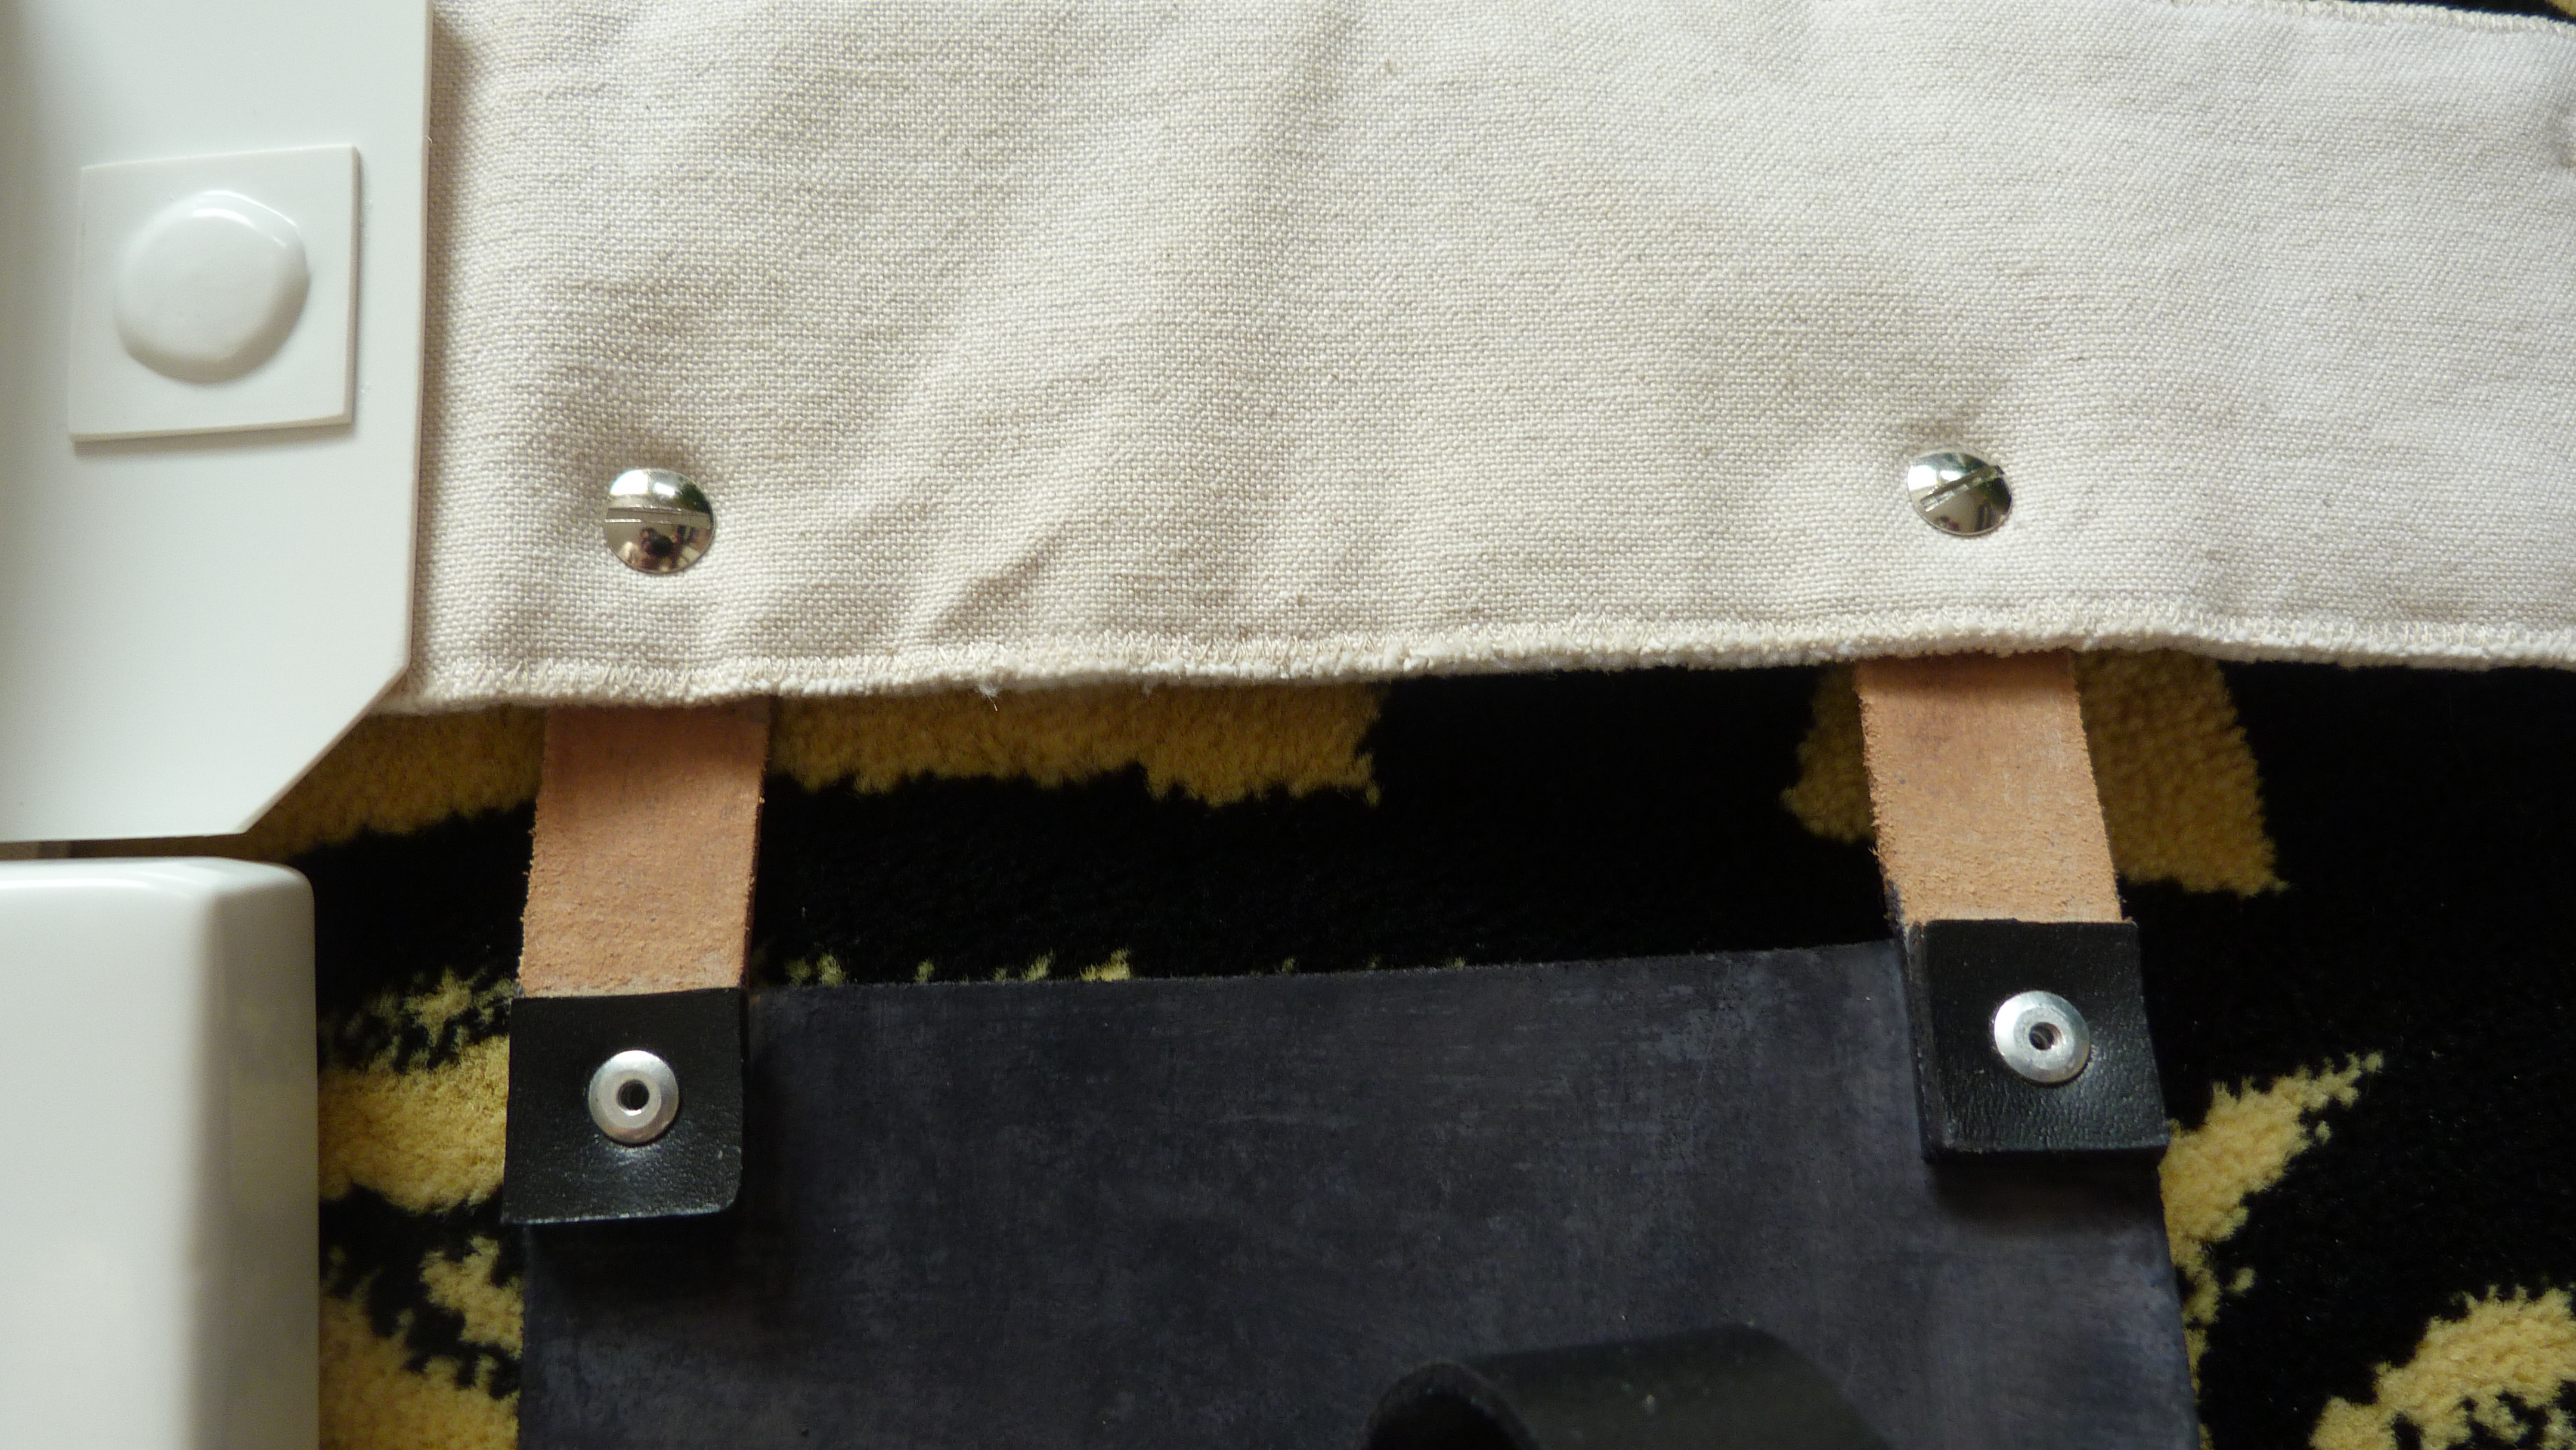
2.9) Interior Strapping

2.10) Kidney Plate Notch


2.11) Wrist side of forearms

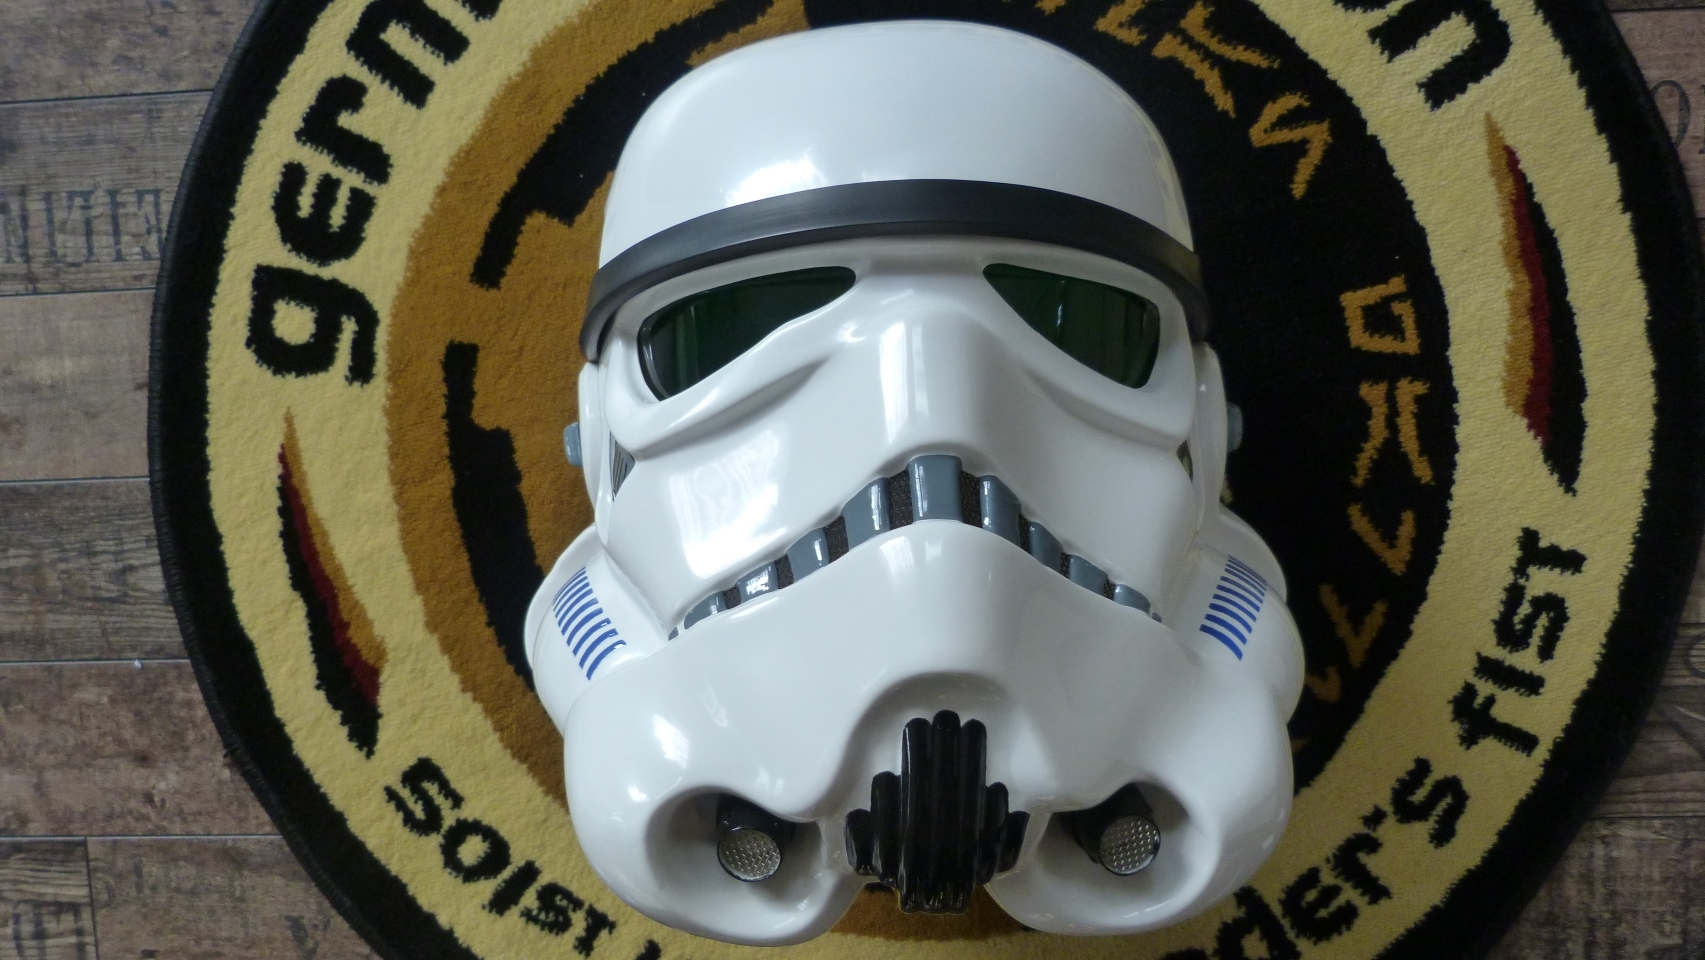
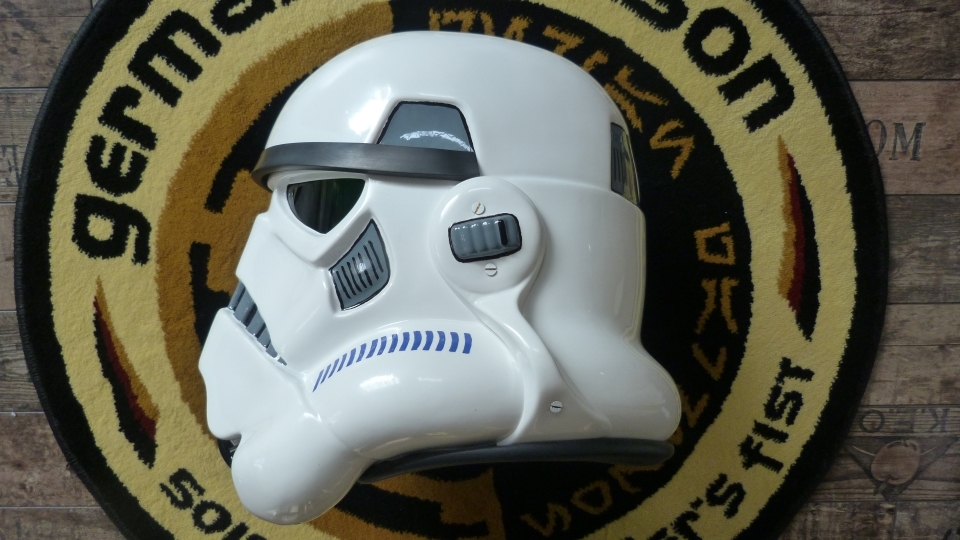
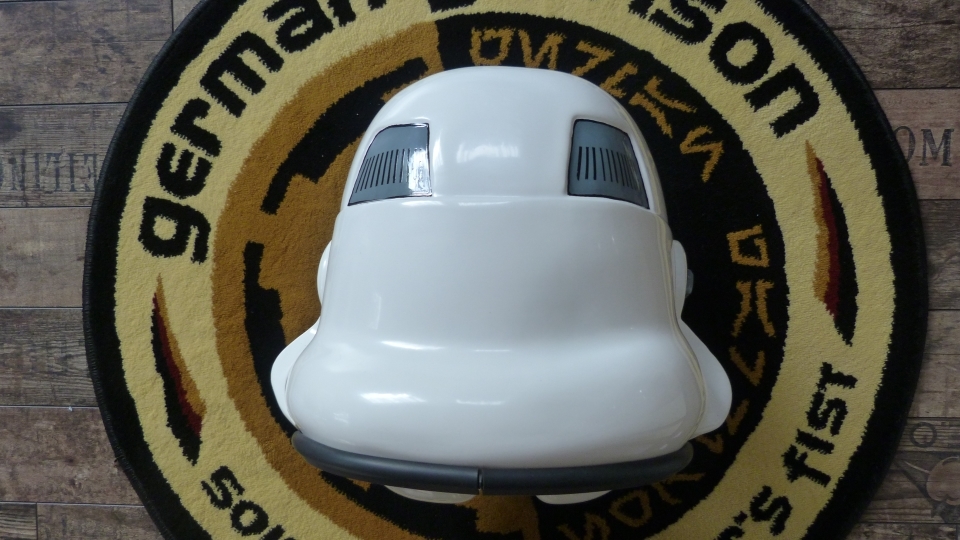
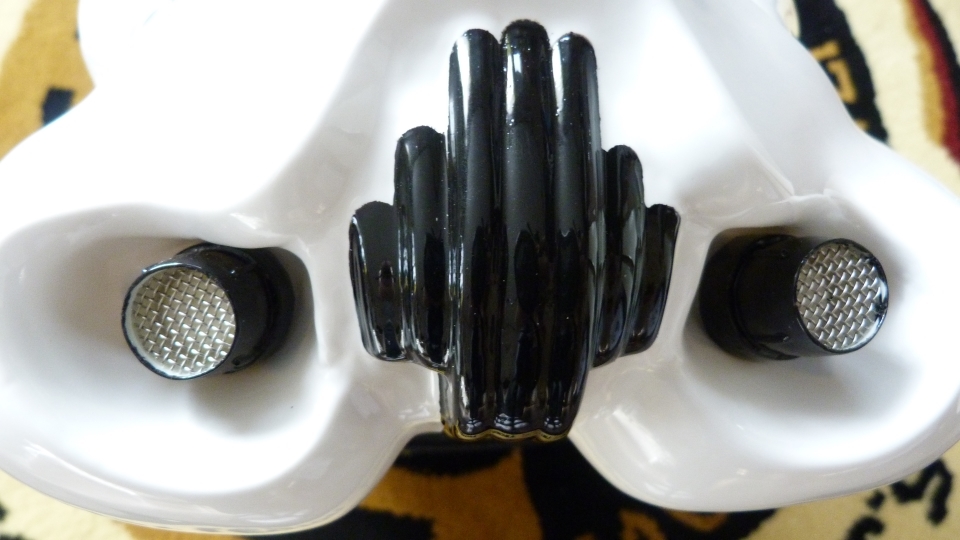
3) Helmet Details


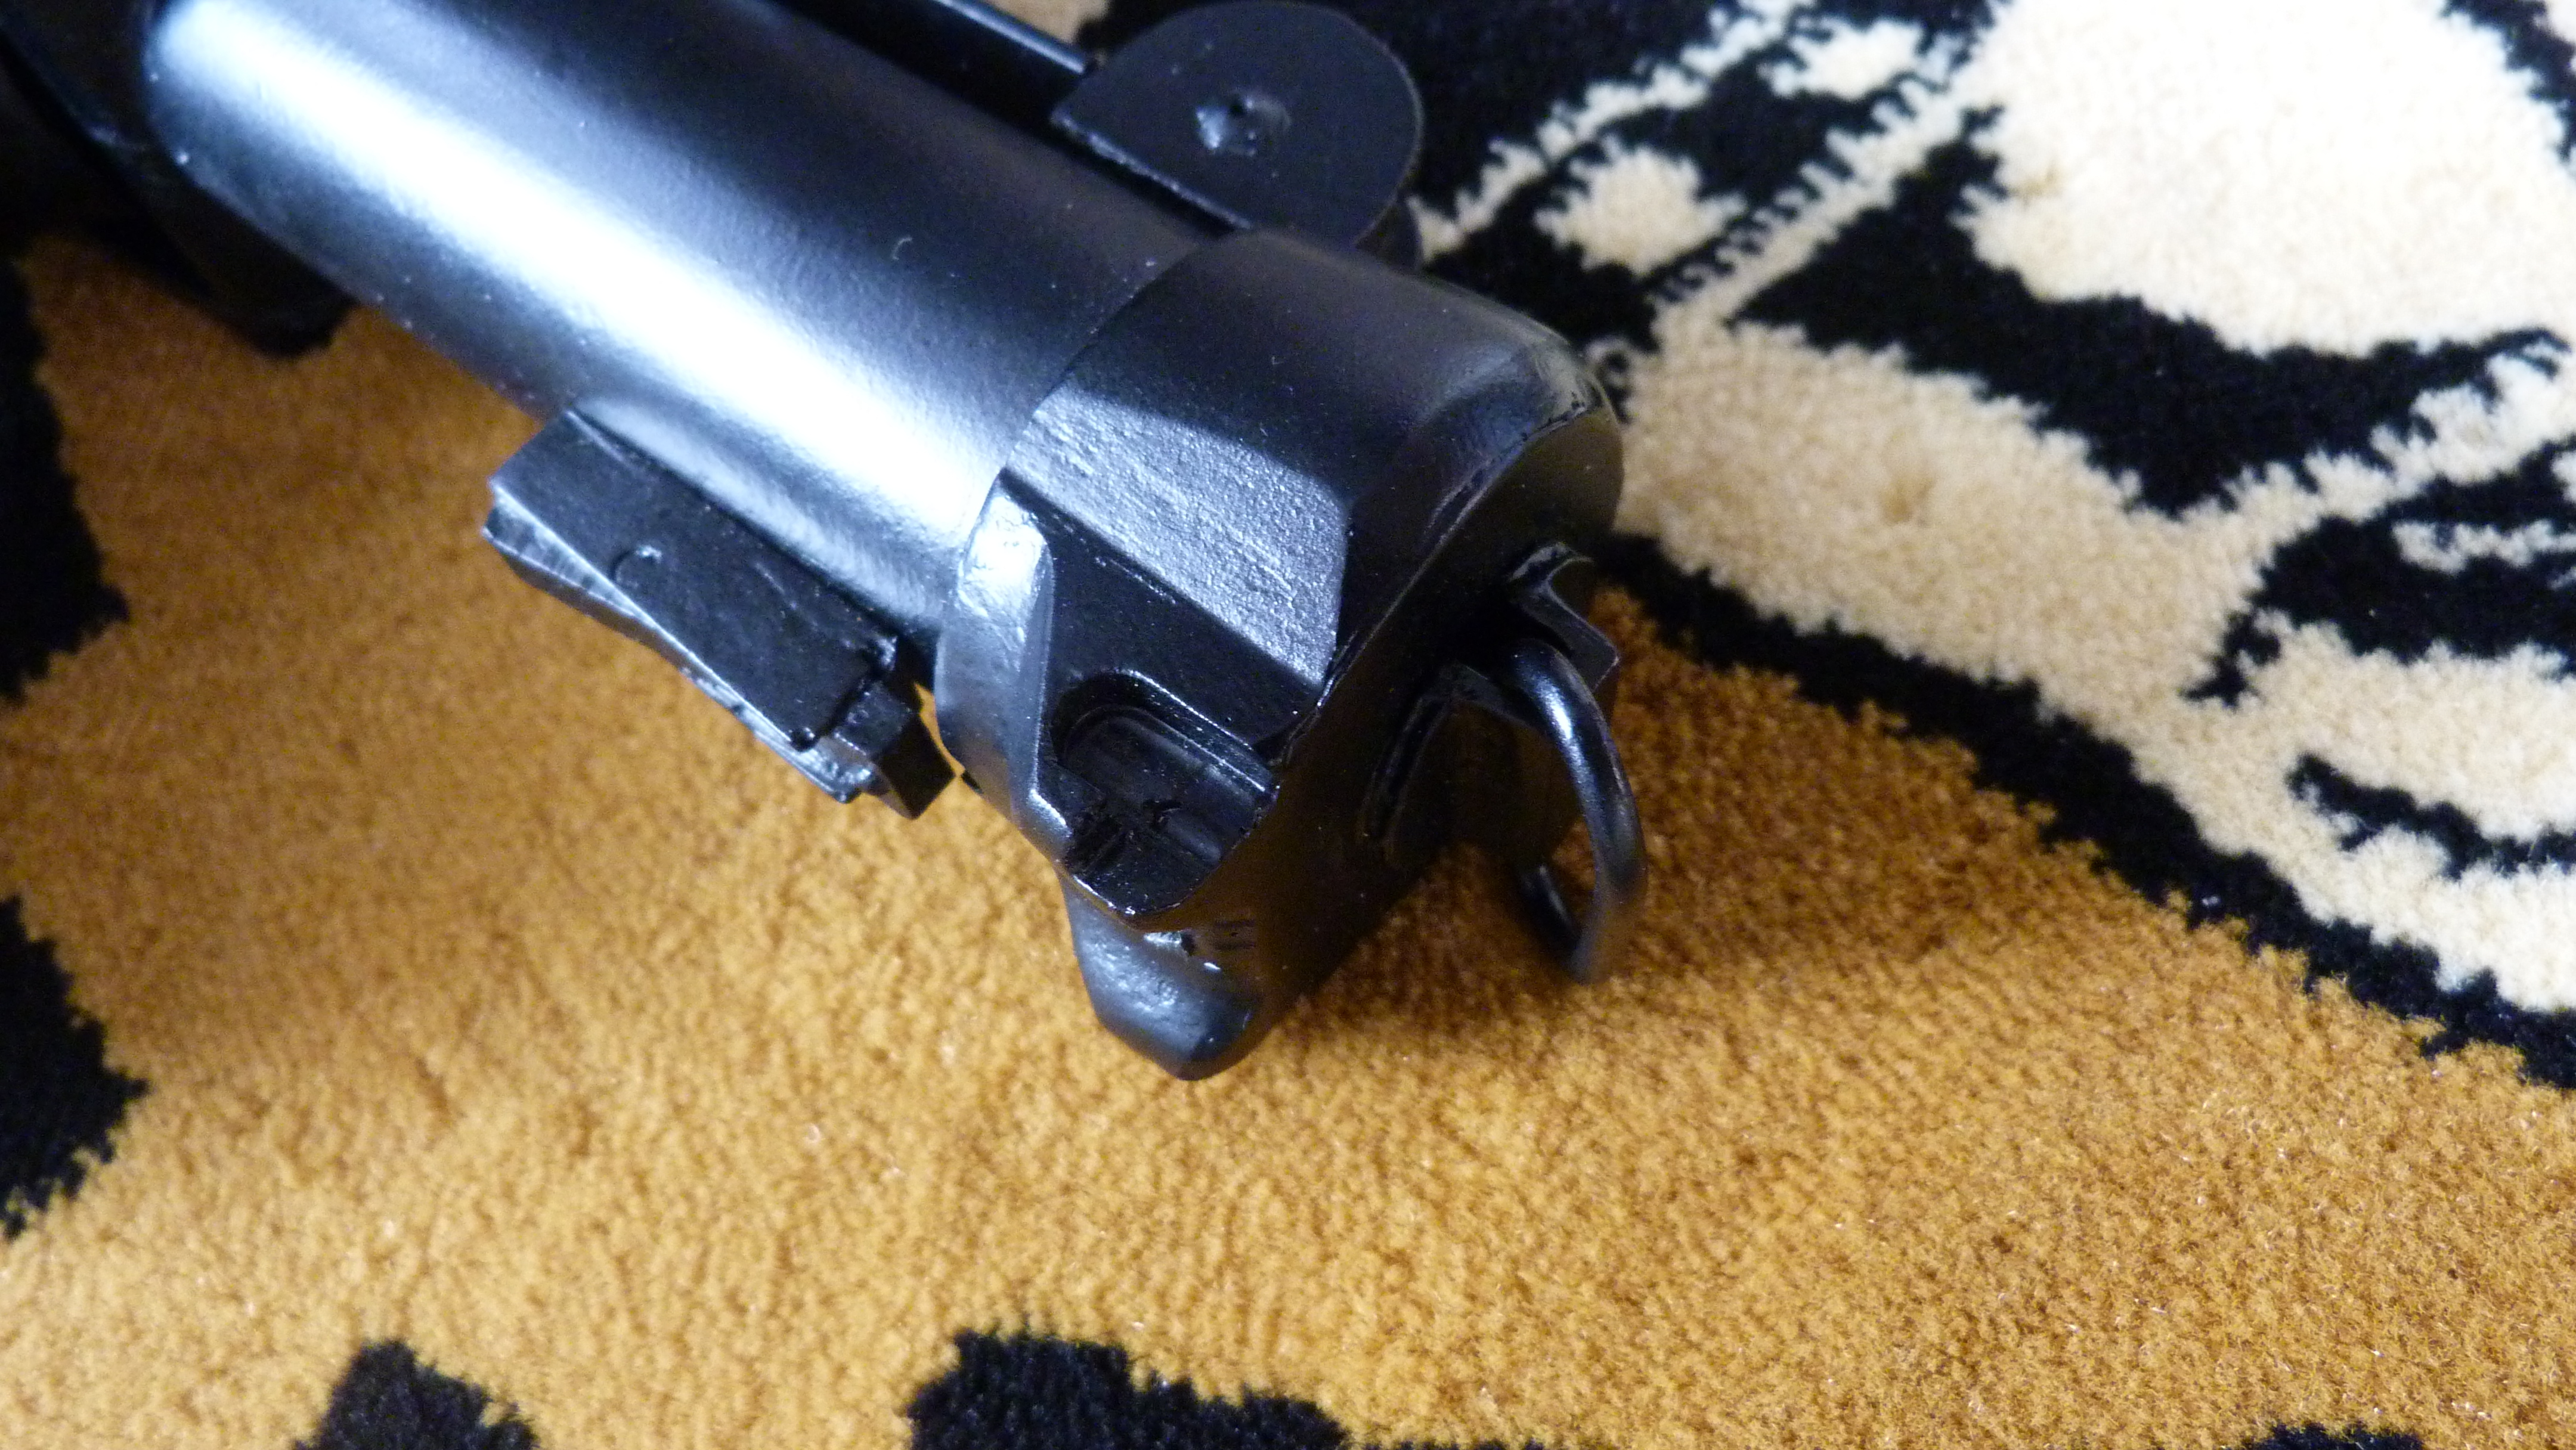
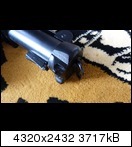
4) Blaster Details

5) Accessory Details


-
Michael Seeger TK-12169 EIB A4, please.
Thank you in advance.
-
Hello Steve,
thank you very, very much for this great news !!! It's a kind of pre Christmas present to me and I am very happy that I made it into the ranks. Thank you also for your benevolent comment and suggestions.
You can be sure of my application for Centurion grade in the next month

There's only one thing left to say ....
YEEEEEEHAAAAW !!!
-
1
-
-
Perfect!!
THANK YOU !!! Always doing my best and hope it'll fit the needs.
-
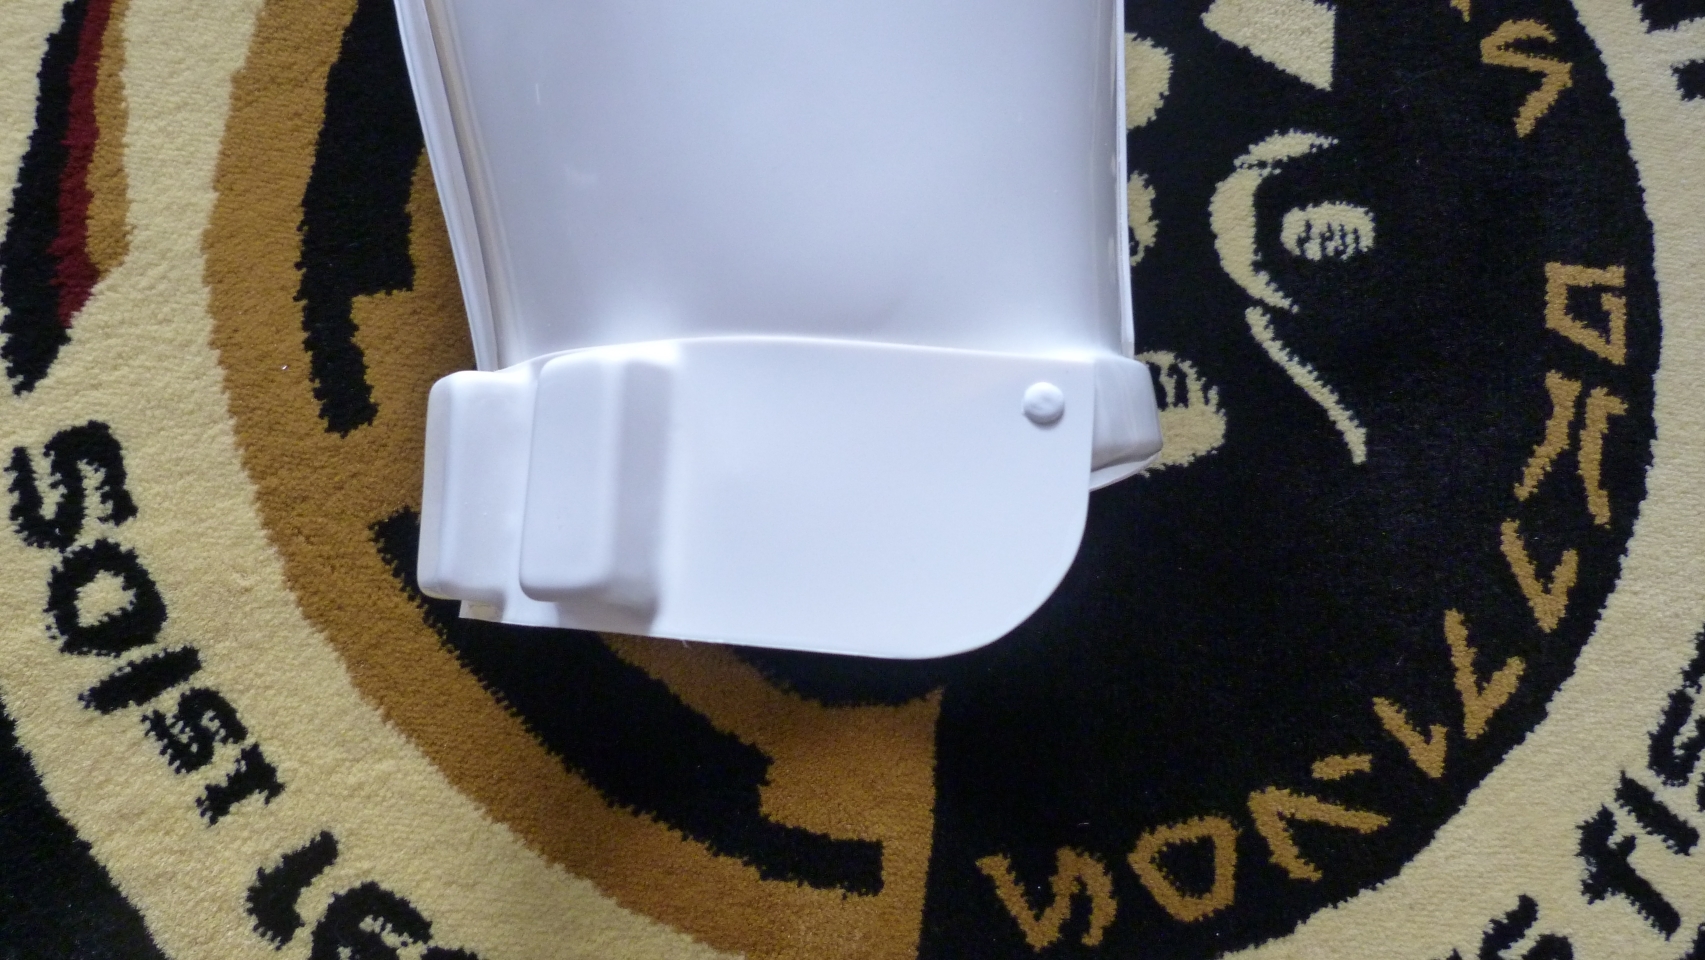
Here's my correction for the TD (think, I should bend it a little bit downward
) and the butt plate. I tried to find out what makes the butt plate overlap the kidney plate and it turned out that it's actually the fabric which connects the butt with the crotch ... so I increased the length of the fabric so that there is minimum tension at the moment. And here's the result (held my arms up):
Think that'll be all for today
Michael.
-
2
-
-
I found the puoches in Munich at a gunshmith's shop. They originally were brown but I dyed them black.
-
Yeah, in fact i was really amazed by how the armor fits you despite you're 1m70. Definitely impressive!
... and that's my first TM build - I swear it! Got only one tip from my GMO to tighten the biceps ... And now the only thing that seems to come back at me is this tricky little TD and the butt plate
 ... hopefully ... Pareto's greetings ...
 -
Well Michael, i had a second look at your armor and in fact every of these details aren't relevant for Centurion, so... Move along!
That sounds really great!
However, one other thing you could do with your thermal detonator would be to cut the excess of aluminium you have above the top screw holes of your clips, then unglue the main panel, and reglue it near the new cut:
I'll have to do it vice versa: Can't get the plastic off the tube because it's glued with Zap'A'Gap ... So I'll shorten the stripes and drill new holes. Think the old ones will be covered by the stripes quite well. Thank god I didn't glue the end caps
They're pretty tight fitting.And you seem to have a slight misalignment between your kydney and abdominal plates on your right side, which i think could be fixed by lengthening a bit the strap that goes from the chest to the ab.
This was also mentioned above. But it's a new aspect looking at the chest-to-ab-strapping. I'll have a closer look at that whole thing and will correct it. My overall problem is that I'm missing about 5 cm in length ... 1,75 m would have been great
It's really quite awkward when people that should know better tell newbies they are doing it wrong when in fact it's the other way around.
I don't want to get "between the lines" and don't want to annoy anyone but: Thanks for this.
-
Thanks for the KUDOS
I added a link to the video download to the post. But it's in a very early state of the build ... -
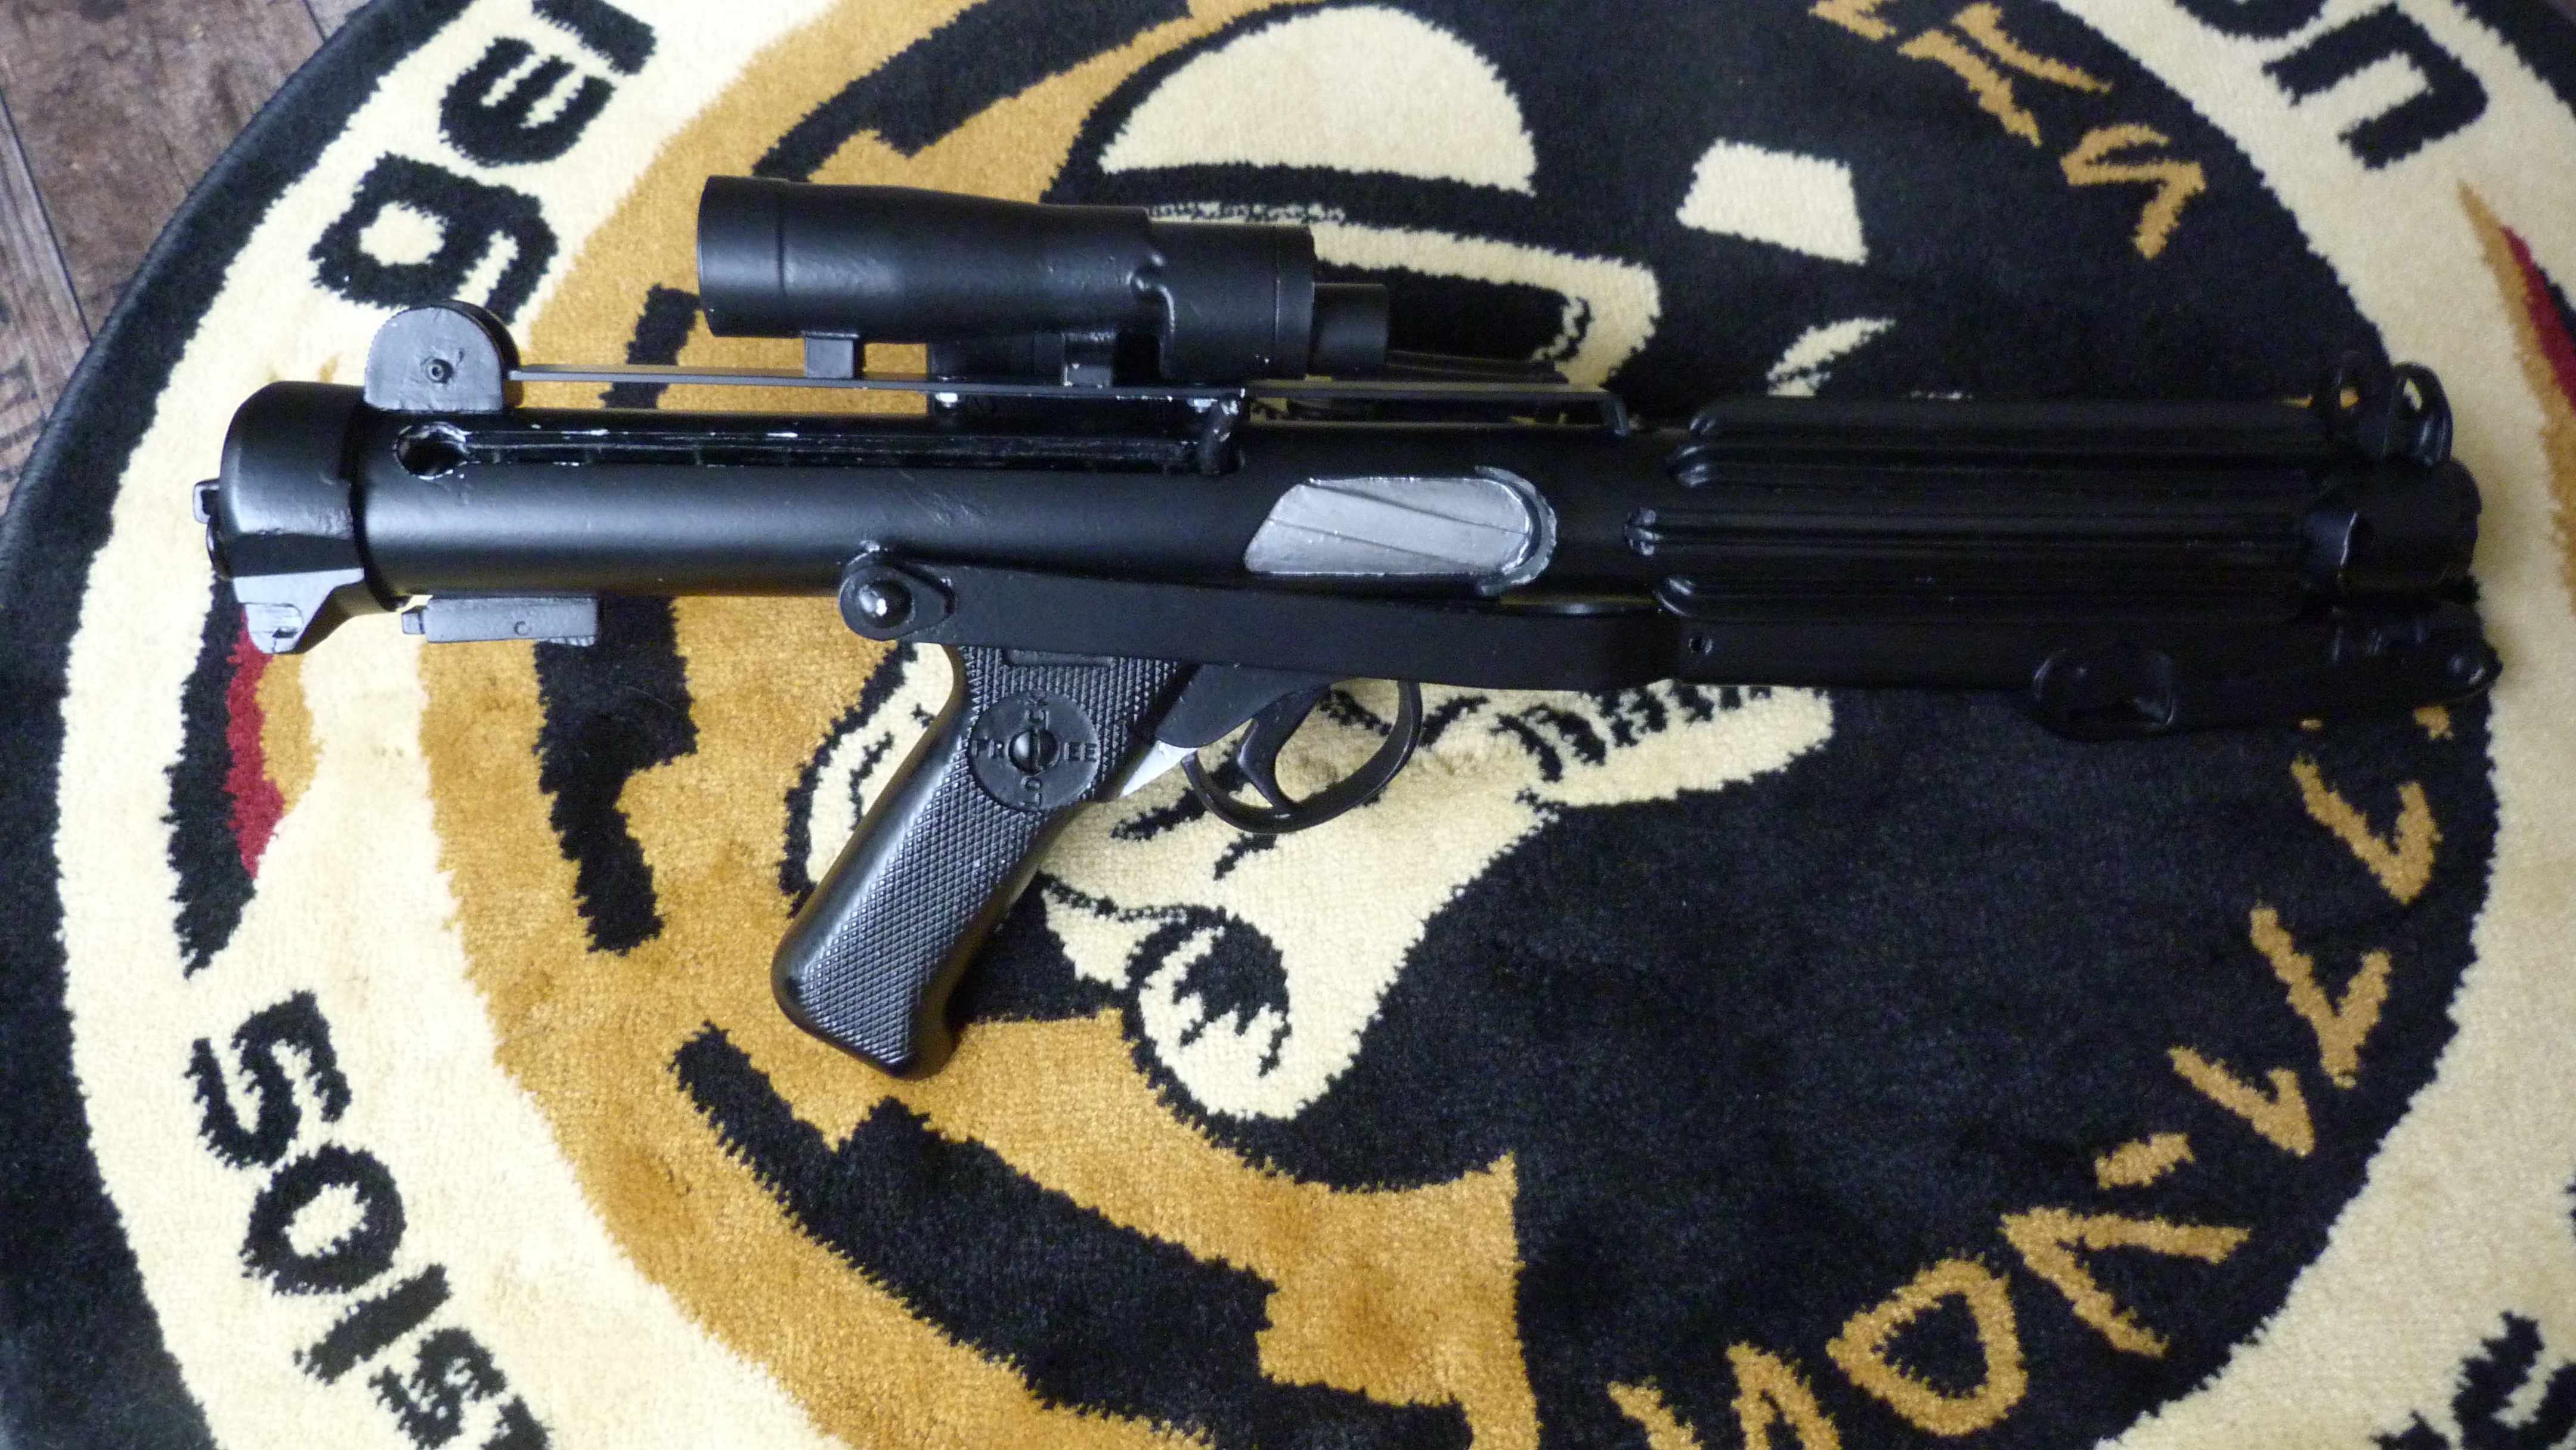
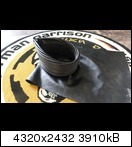
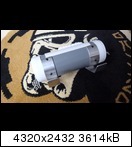
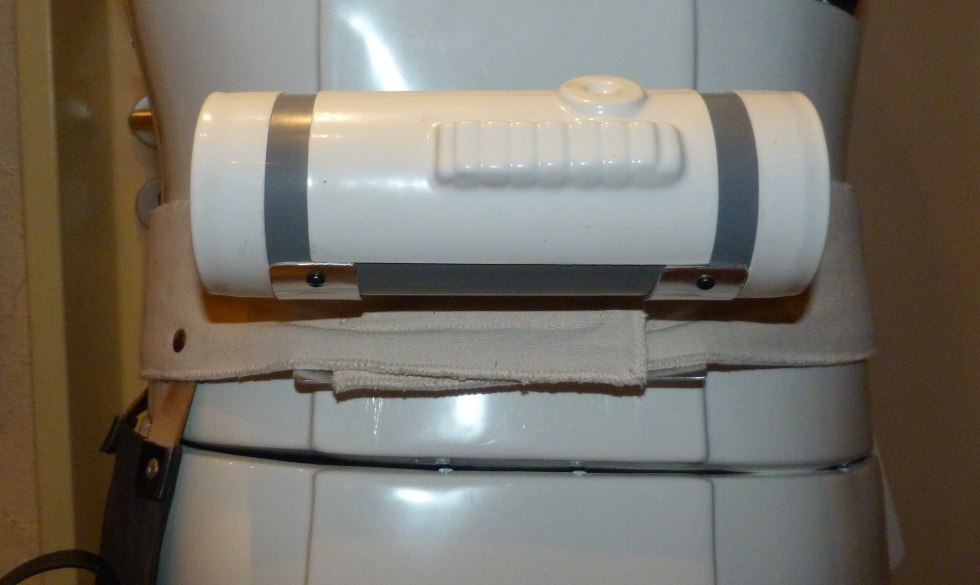
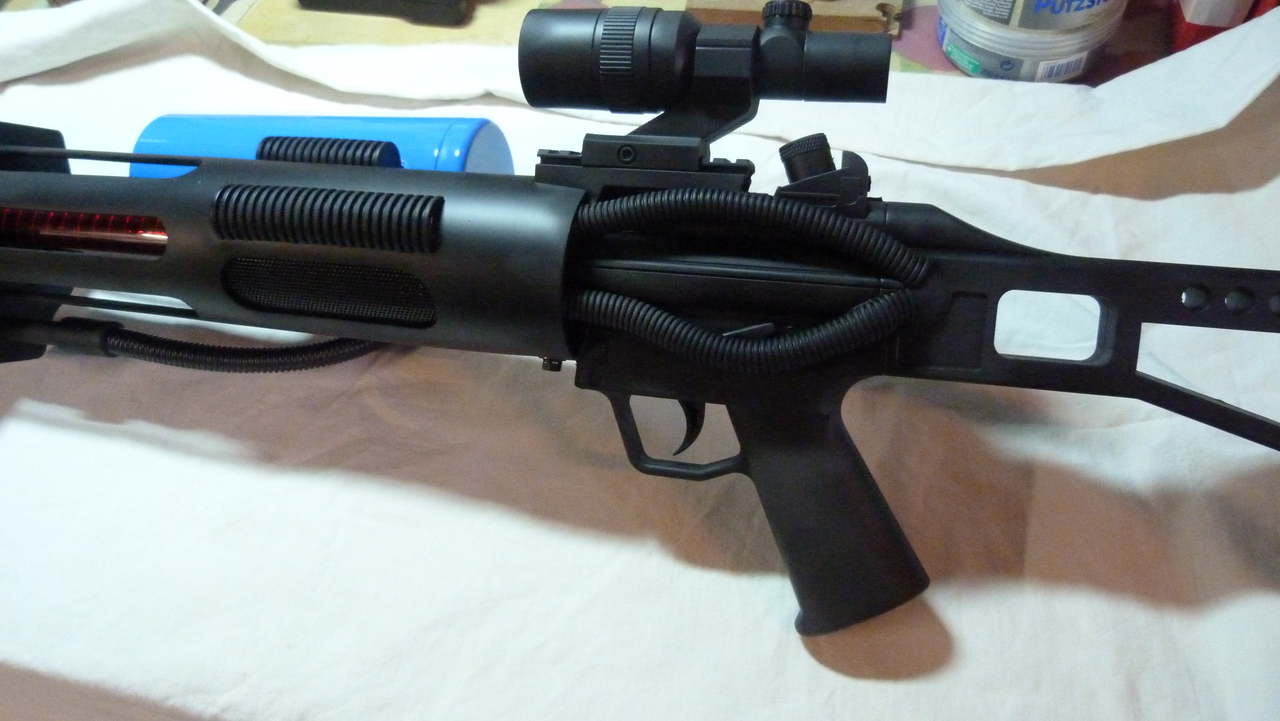
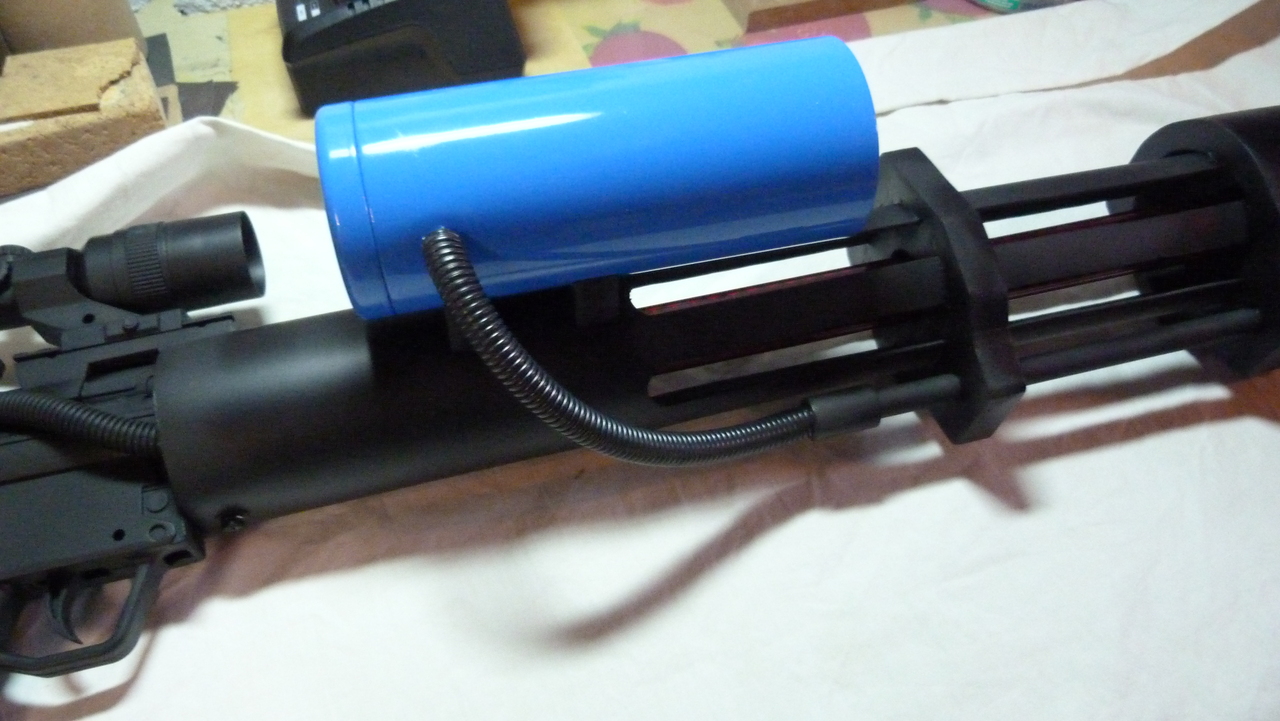
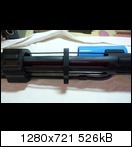
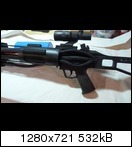
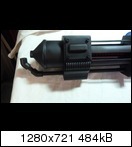
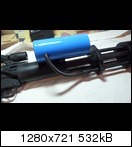
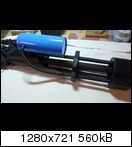
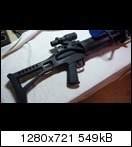
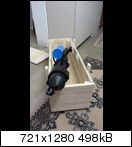
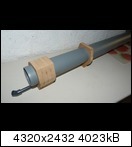
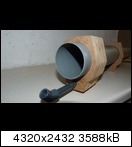
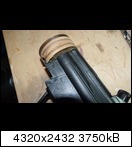
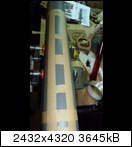
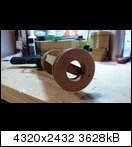
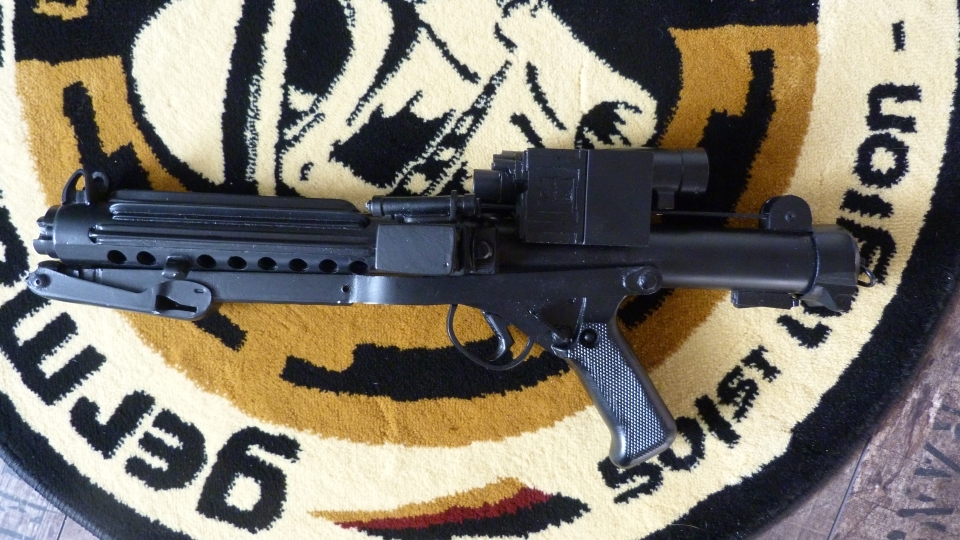
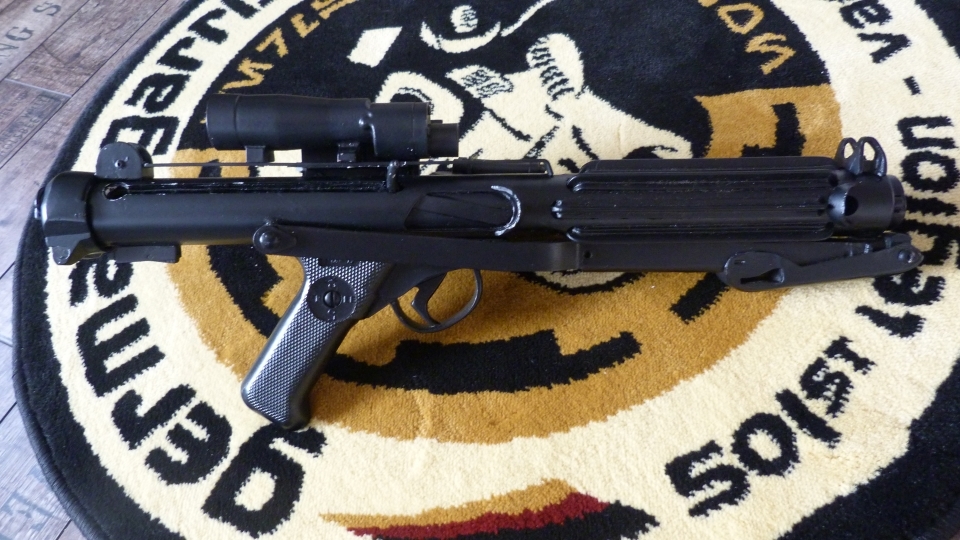
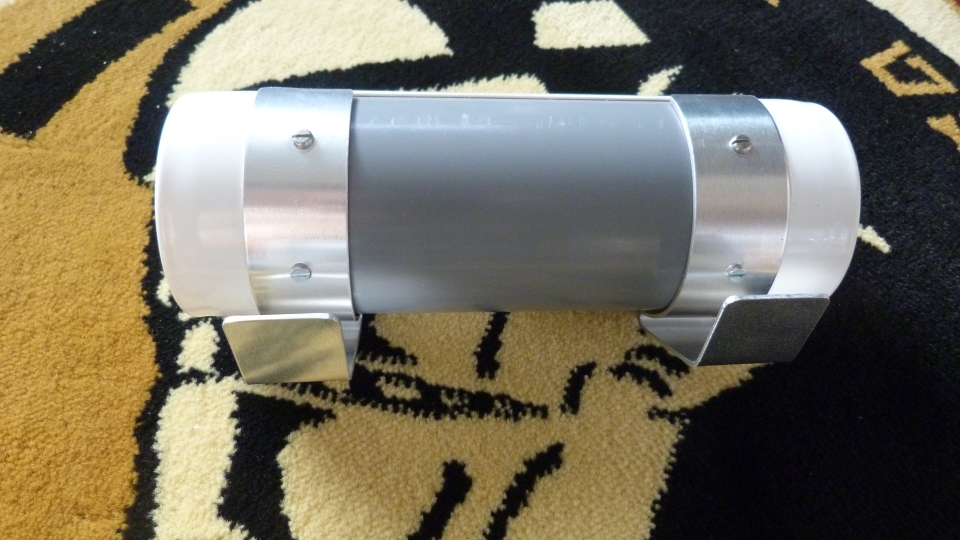
According to and inspired by dashrazor's brilliant thread I gathered all the information I could get and set up a parts list and made plans for constructing my own custom made plasma rifle. I kept an eye on using standard parts and not the most exotic ones. They should be easy to get at DIY or online.
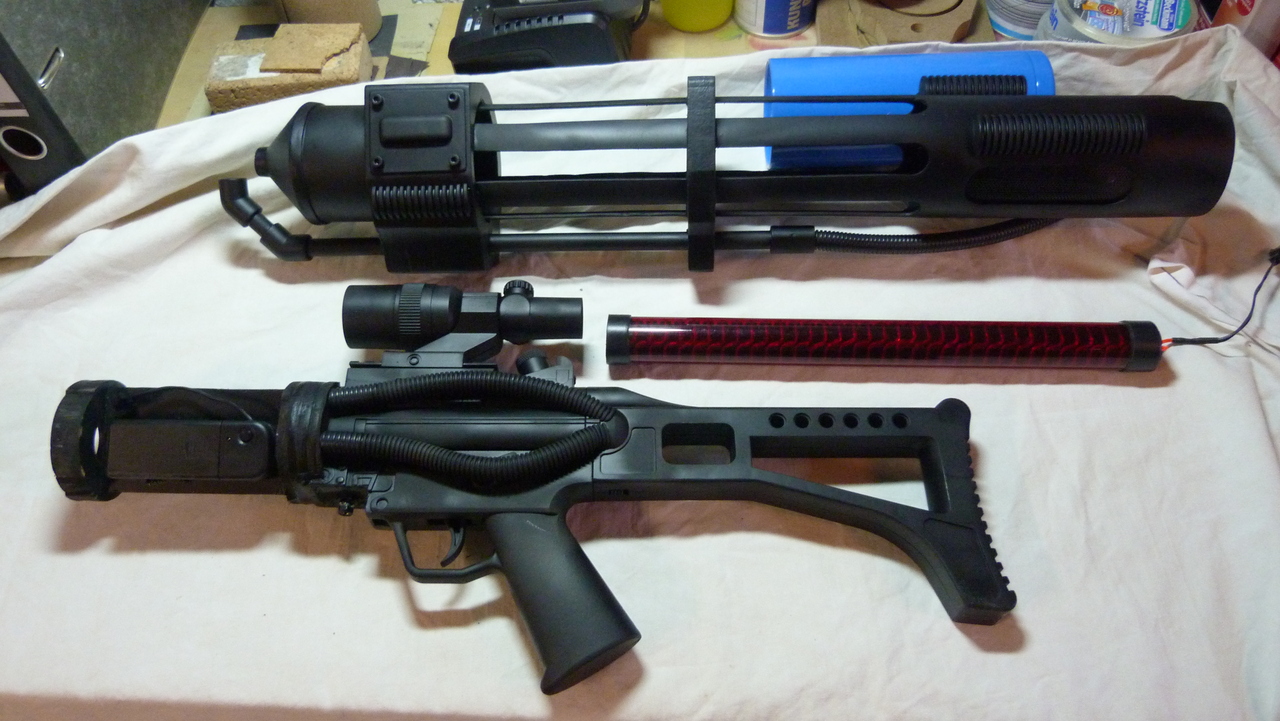
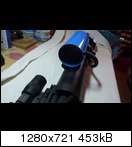
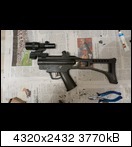
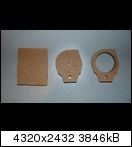
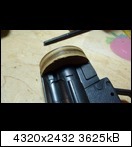
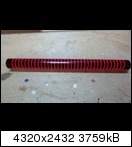
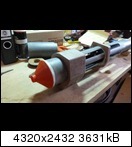
My plasma rifle build is mainly based on a G36 soft air rifle a 75mm HT drainpipe and a tin for coffee pads. In its final state the flamethrower constists of three major parts, that can be easily put together. The red tube in the middle (the "ignitor") holds a little gimmick: A small iluminated neon wire wrapped around a tube which should simulate the working Flametrower
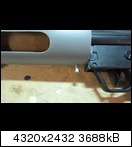
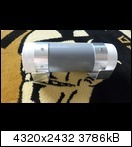
Here are some pics of the finalized rifle (it was just slightly weatherd in final state after taking these pics):

... and action !!!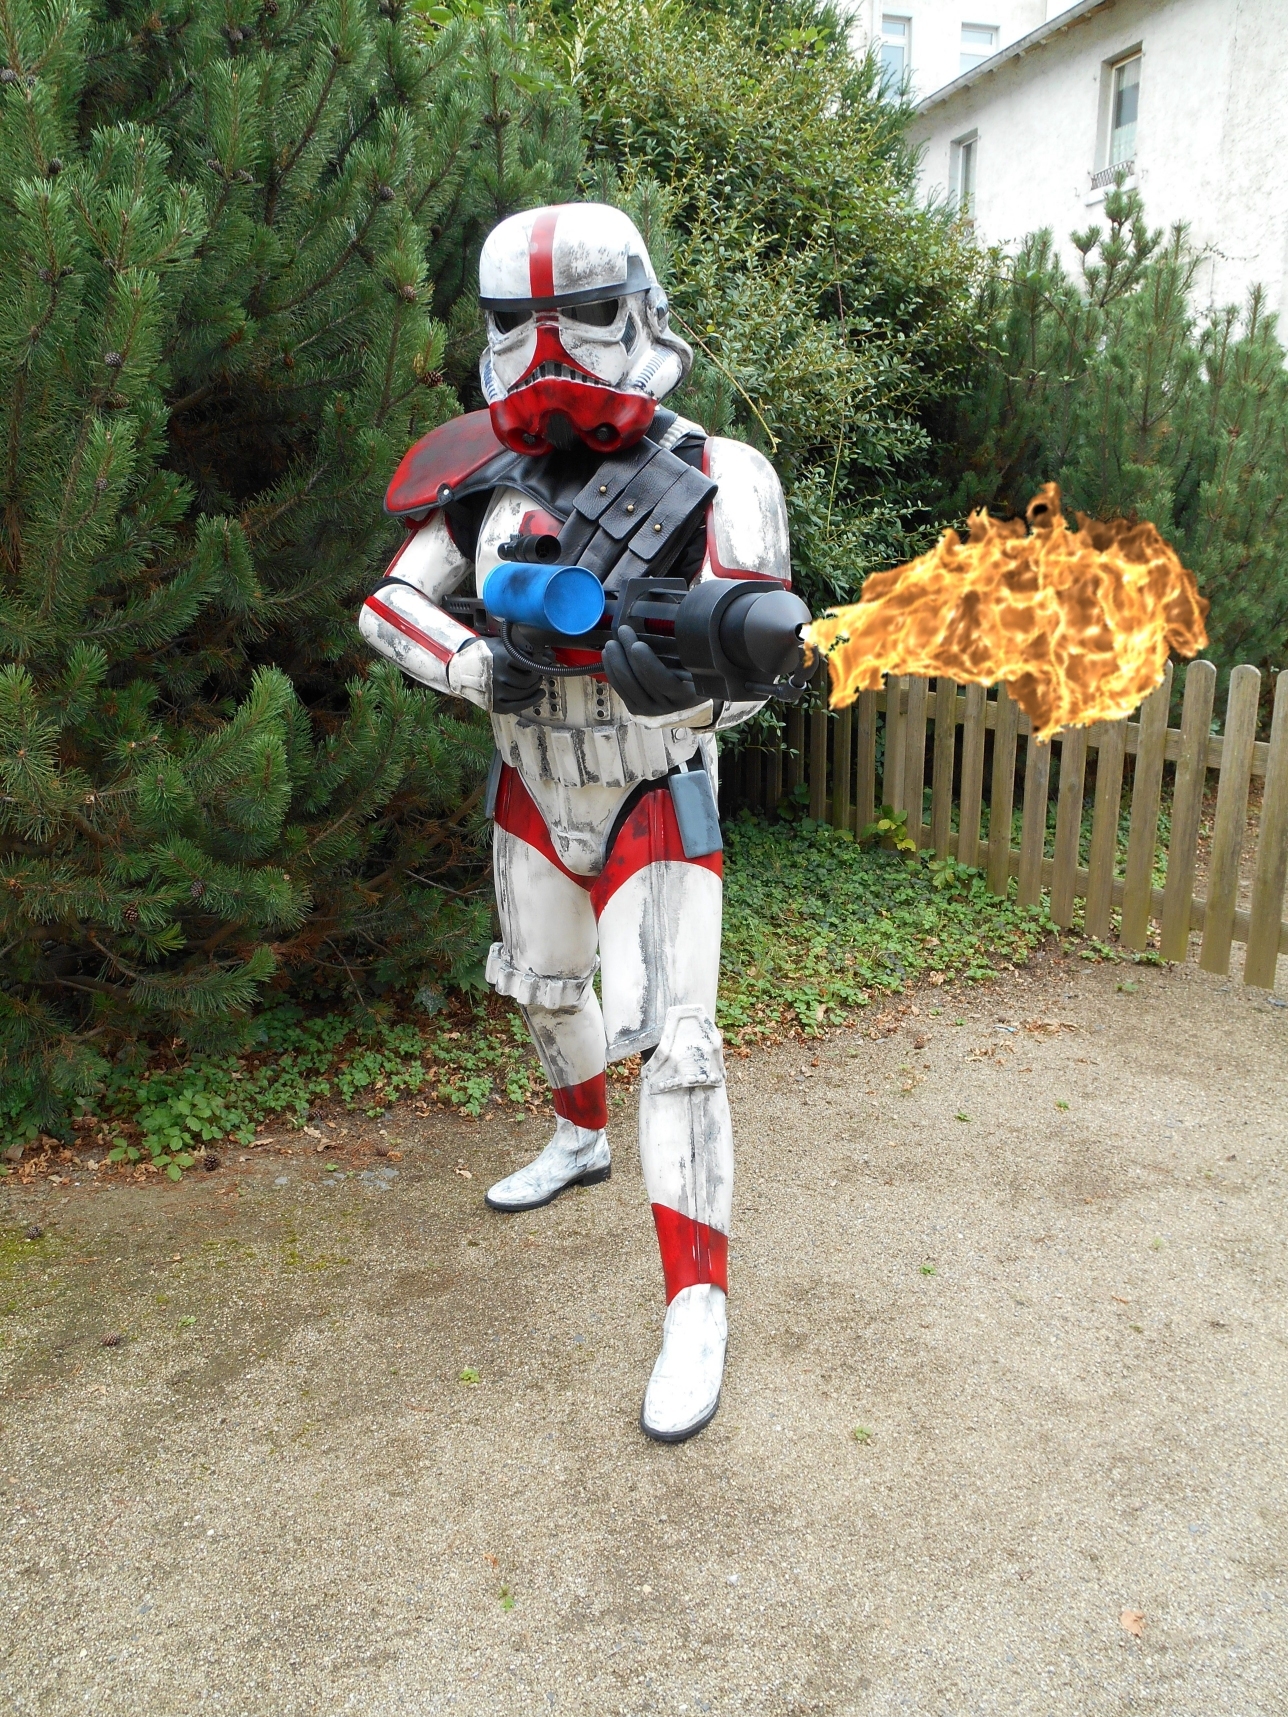
Here are some more pics from my gallery just click at one of the following thumbnails to enlarge ...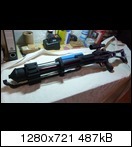


-
2
-
-
Hello everybody,
thank you all for your benevolent comments
I'd like to answer them so far ...@all:
Yes, my thighs are too much twisted outside and it looks quite odd but this is just a problem of the current setting for these pics. I apologize! Should have also used a mirror to finally check that
... Actually it's a matter of adjusting the thight loops along the belt and also get the shins adusted well ;-) ... Here's another pic where you can see that I'm able to adjust this ... kind of ...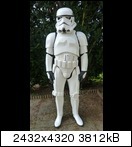 ... still not quite perfectly adjusted but I'm sure you'll get the point
 @Tusken RTT
You're right: The snap on the kidney plate is already for Centurion (next/final step to climb) and the matt is not just for shooting pics but it also lays in our living room
@The5thHorseman
Thanks for your comment on the belt-issue. Maybe you could PM me your points about the improvements suggesting for Centurion?
@SithLord and @Nagedzi
The screw imitation I saw in a thread and I also found it very good looking so I applied the screws in order to achieve more accuracy.
@starsaber25
I'll give it a try by lengthen the straps between the butt and kidney plate (especially on the overlapping side) The strapping here might really be a little bit too tight. It might also be caused by the tightness of the fabric connecting butt and crotch ... I have to check this.
@Dark CMF
Thank you very much for your comment!!! The screws in my TD are painted black, now ;-)

Michael.
-
1
-
-
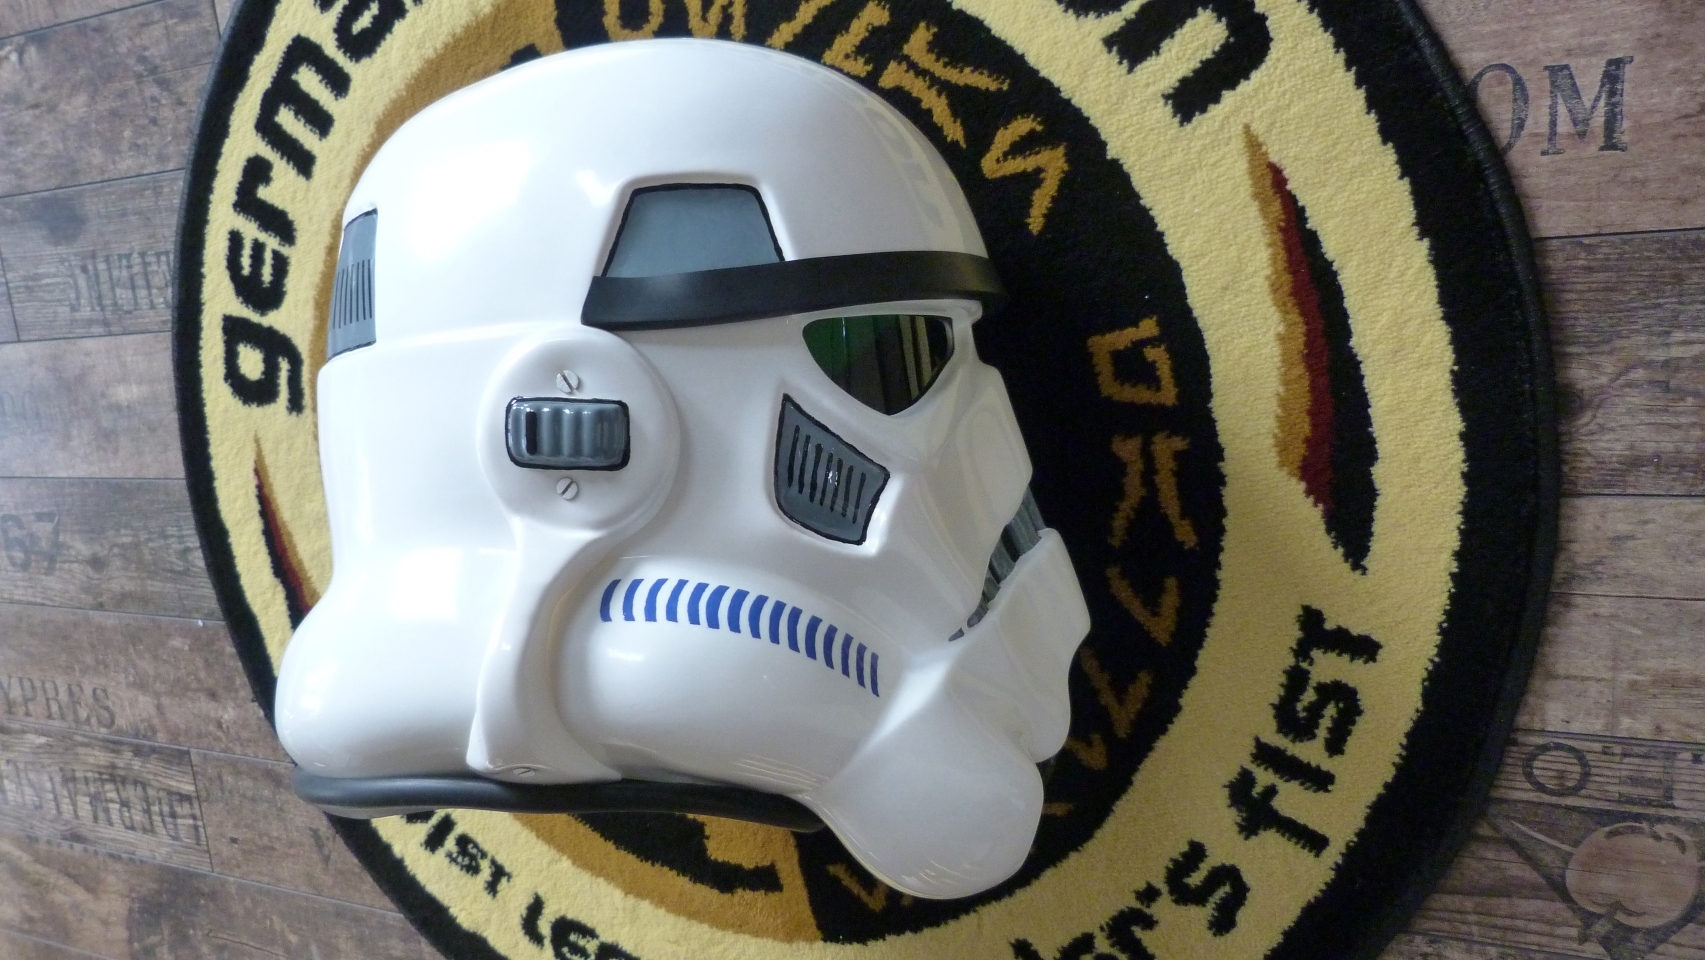
TK-12169 requesting EIB status for his Stormtrooper armor (Trooper Master - ANH Stunt)
- Name: Michael Seeger
- ID: TK-12169
- Forum Name: Trooper Mitch
- Garrison: German Garrison
- Armor Maker: Trooper Master
- Helmet Maker: Trooper Master
- Blaster Type: Doopydoo
- Height: 170 cm
- Weight: 72 kg
- Boots: Busse Jodhpur (painted white)
- Canvas Belt: Self made
- Hand Plates: Self made (latex painted white)
- Neck Seal: TK-2647
- Holster: Self made (using TM's template)
Full Body


Armor Details
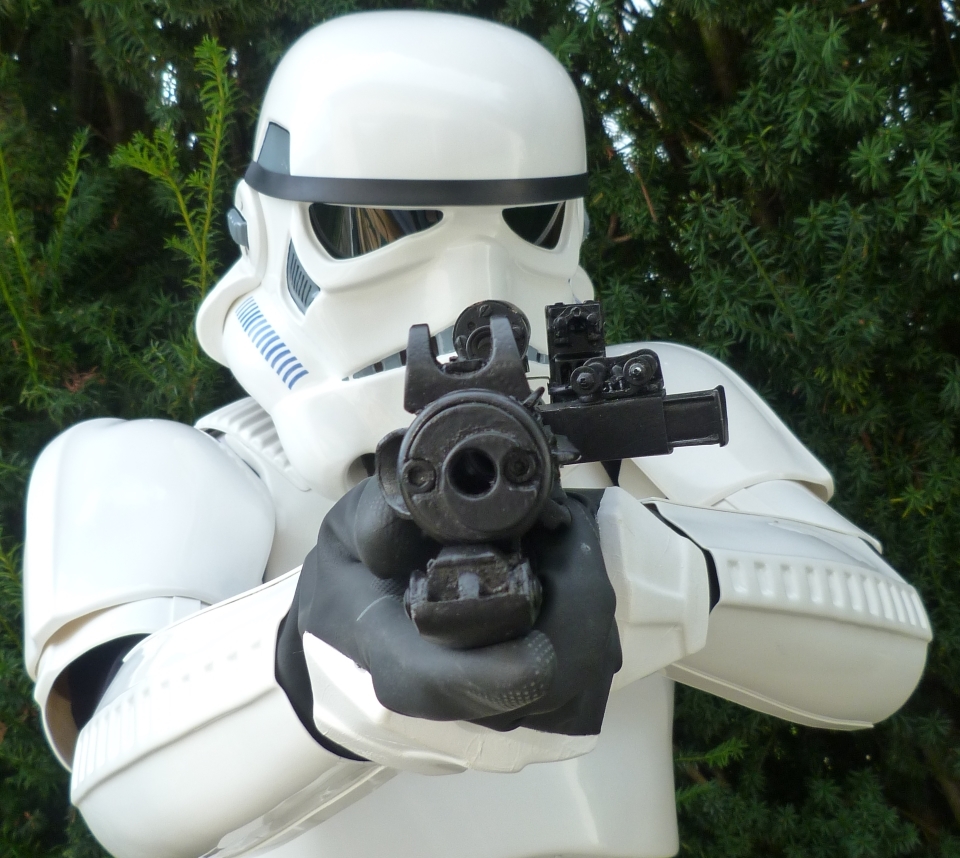

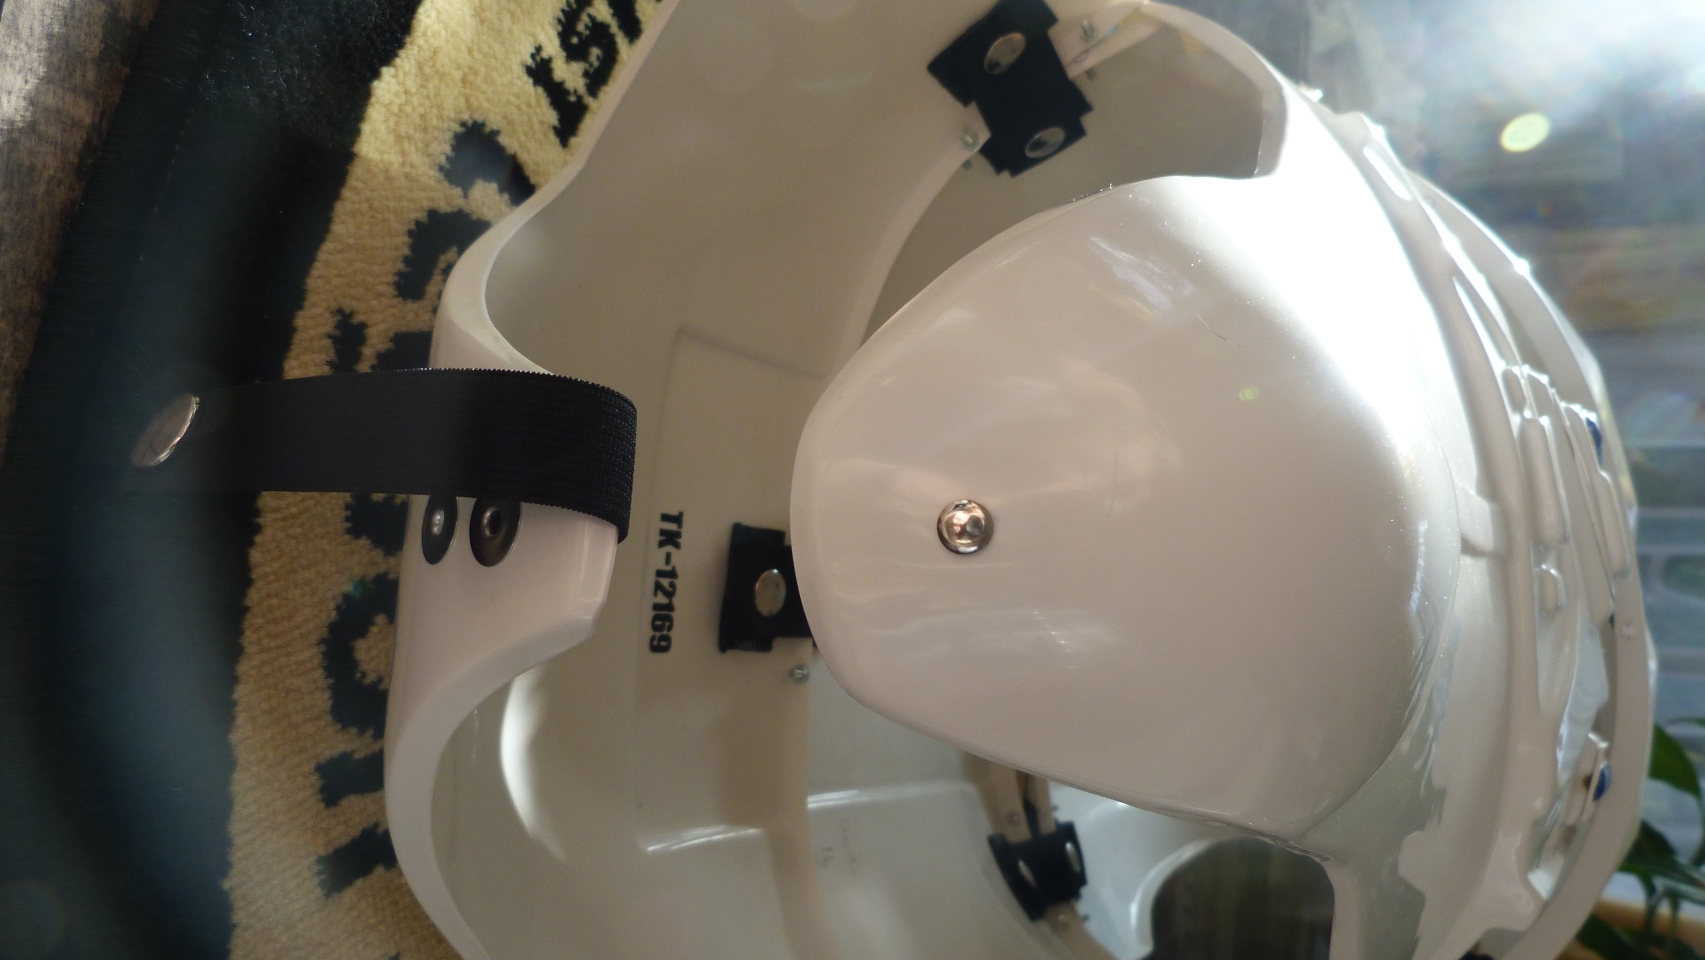


Helmet Details


Blaster Details

Accessory Details


Following this link you'll find some pics of the single components of this armor's build: TK-12169 TM Build
-
TK-12169 requesting 501st access ...
http://www.501st.com/members/displaymemberdetails.php?userID=16513
Thanks in advance.
-
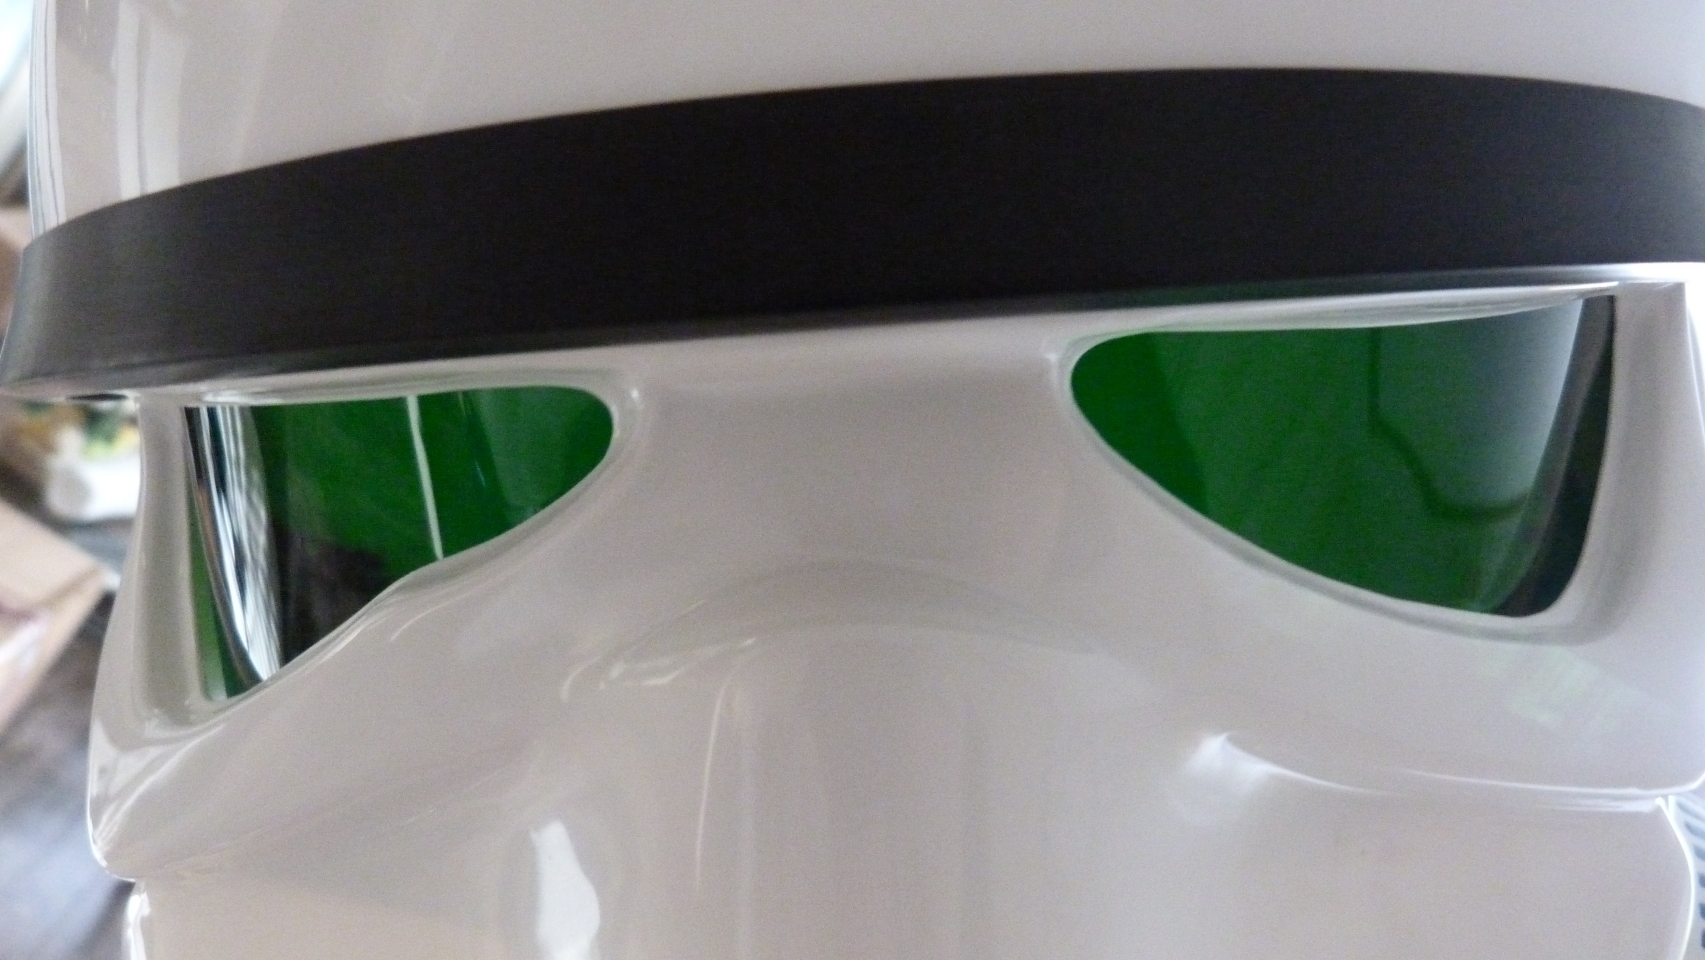
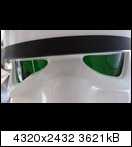
Hi gazmosis, thanks for your explanation. This makes it clearer on how to rate these pics. You're right: These frowns with three of five teeth on both sides can be seen as "anomalies". As you recommend I'm going to stick with the official 4 theeth frown

-
Hi there,
in the CRL of the ANH Stunt you read the following regarding the frown:
"Eight total teeth on the frown are cut out."
Well and all the helmets I saw obey to this rule but when I looked at the photo reference (picture ANHSTUNTfrown2) I saw a helmet shown in the right upper corner with five holes (both sides). Is this really applicable and also accurate in order to get accepted? Great confusion ...


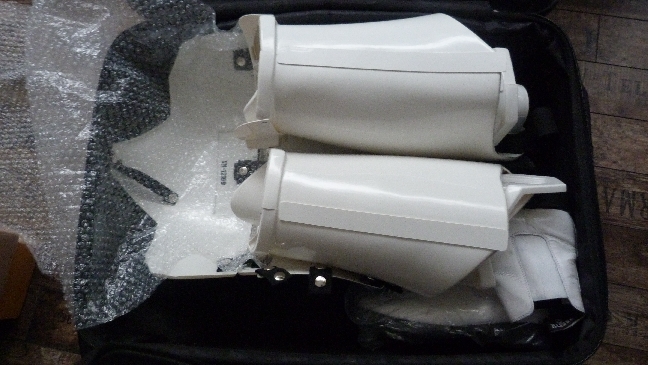
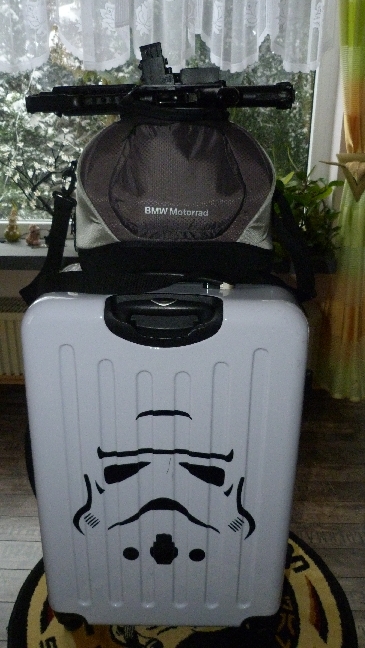
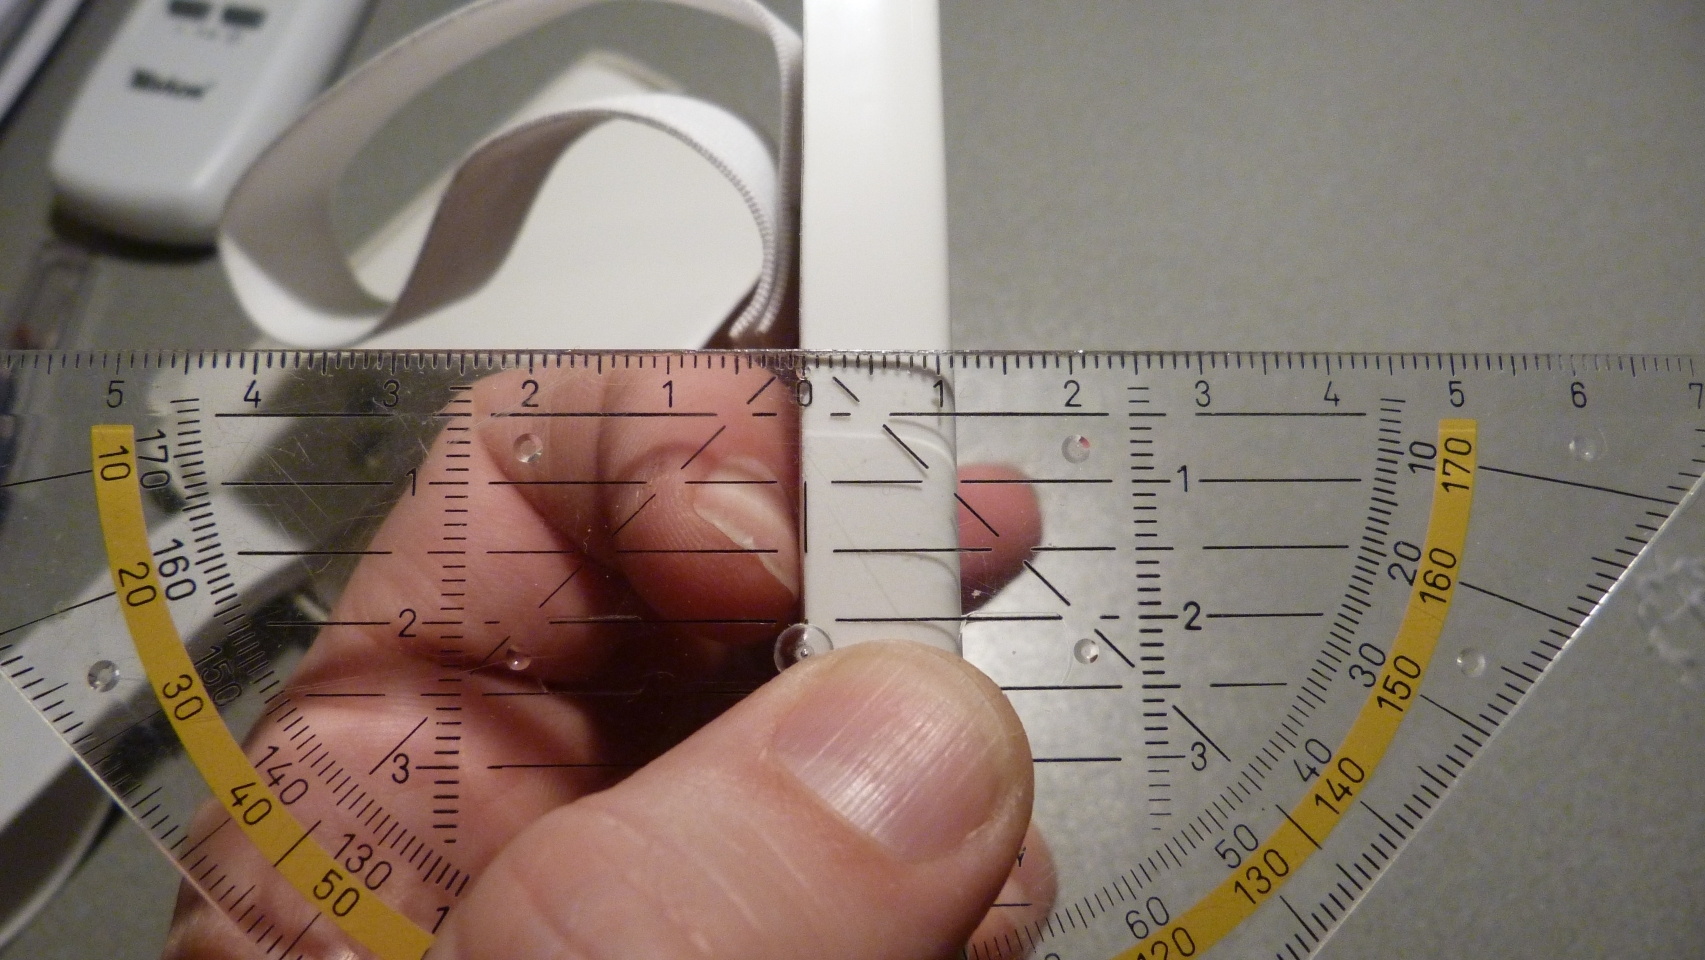
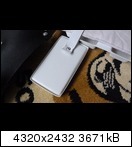
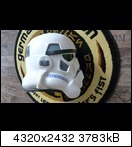
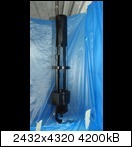
Yet another armor packing ... into a suitcase (75 x 50 x 34 cm / 120L)
in Boots, Soft Parts, and other Accessories
Posted · Edited by Trooper Mitch
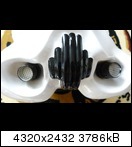
Thanks a lot. We had a little power failure today and I decieded to do someting "offline". So I took the parts of my TM and tried to get them into the suitcase where my "old" FX resides The suitcase is a "Hauptstadtkoffer" Type "Alex". It's the only white one I found which is that large (120L) ...
  ... The stickers are custom made.