

Jim13csulb
-
Posts
59 -
Joined
-
Last visited
Content Type
Profiles
Forums
Gallery
Articles
Media Demo
Posts posted by Jim13csulb
-
-
Thanks Bobby, You have another MTK set of armor joining the EIB ranks with you!
-
Congrats! Glad to see another EIB in the SoCal Garrison!
-
Best of luck trooper it looks good.
While I dont think its necessary for EIB, I would recommend painting your rivets on the ab/kidney. And later on down the road if you look to go for a more screen accurate look try and find some solid domed rivets.
It looks really good though!
-
Thanks James.
Your EIB post reminded me that I need to get my an impolite person in gear and do this EIB.
My sniper plate new glue is drying - and when thats all done. I post up the photo.
Changes are faster with the ABS - dont need to repaint ABS...

Haha yeah, no need to paint
 Hopefully itll be all ready to go soon here, I must say that the new strapping looks much more secure than when I saw it the first time! It looks good!
 -
Best of luck Dominick, I also just got my EIB. Its cool to see us both at this point as a month ago we were still working on stuff at the amor party! If theres anything I can do to help let me know!
-
James Dinwiddie III 51410 EIB Letter
-
Thank you everyone!!!!!
-
Hey there, James! You don;t see too many MTK builds. You did this one well. There are some photos and details that need to be addressed before I can pass you for EIB.
CRL and Other Requirements:
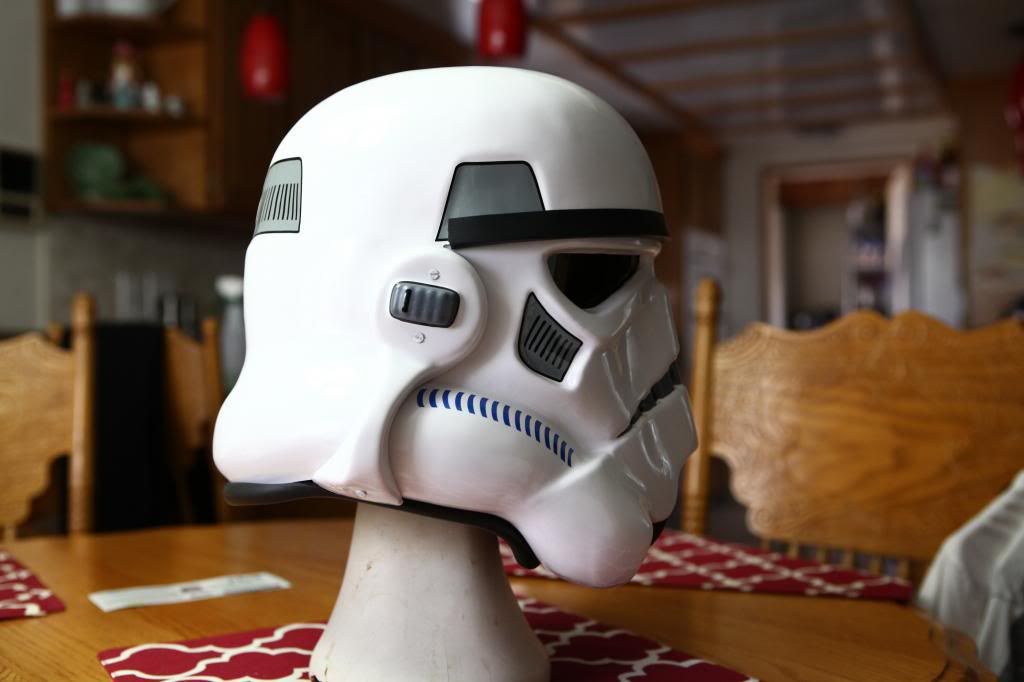
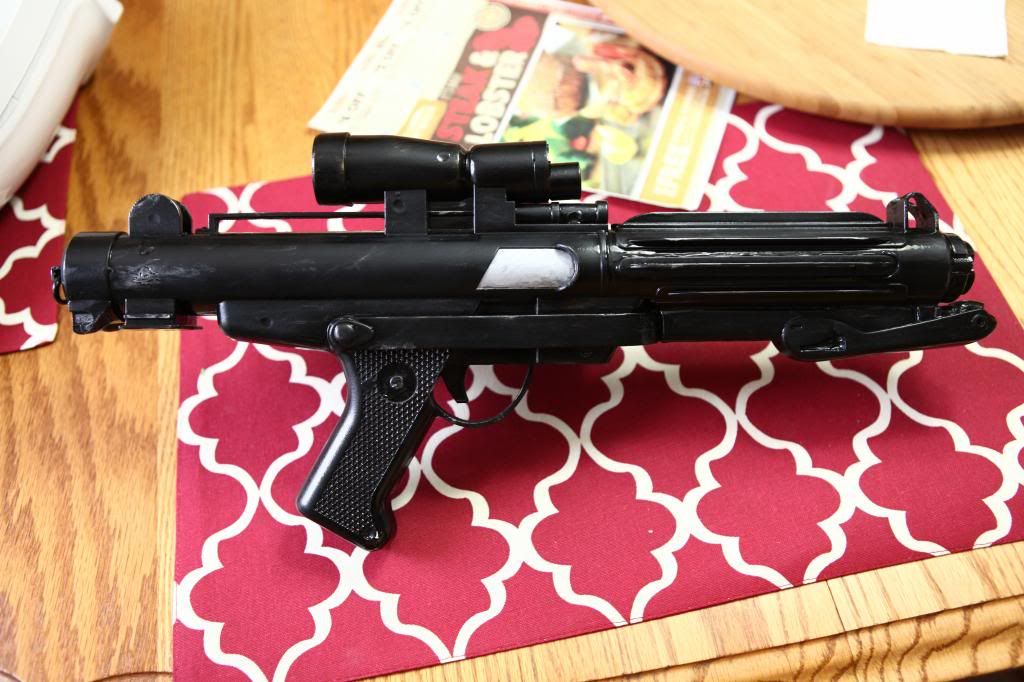
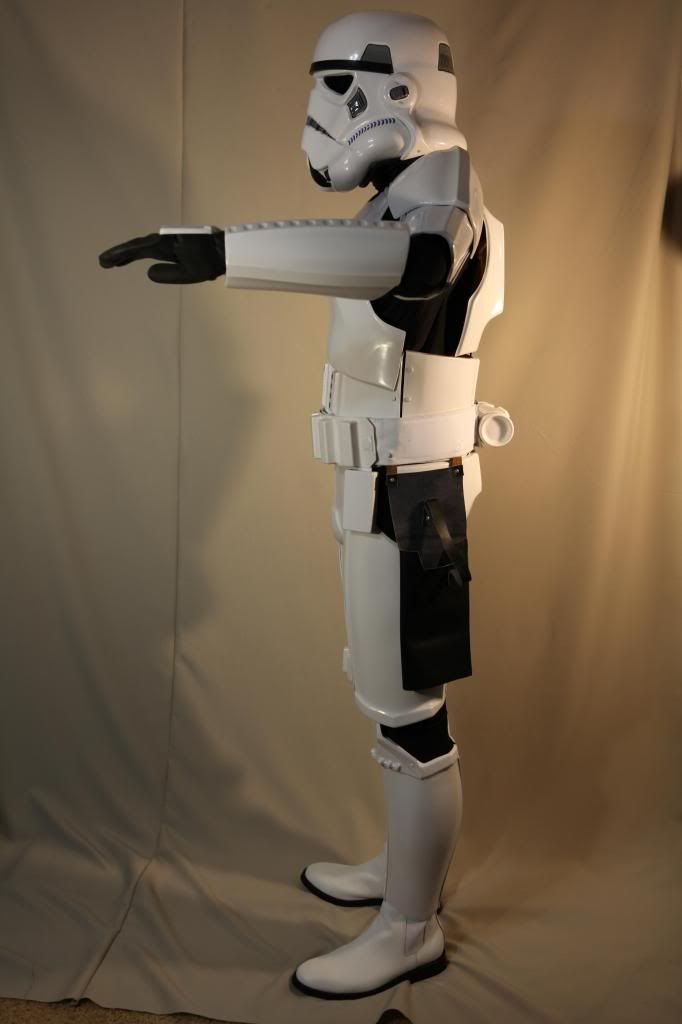
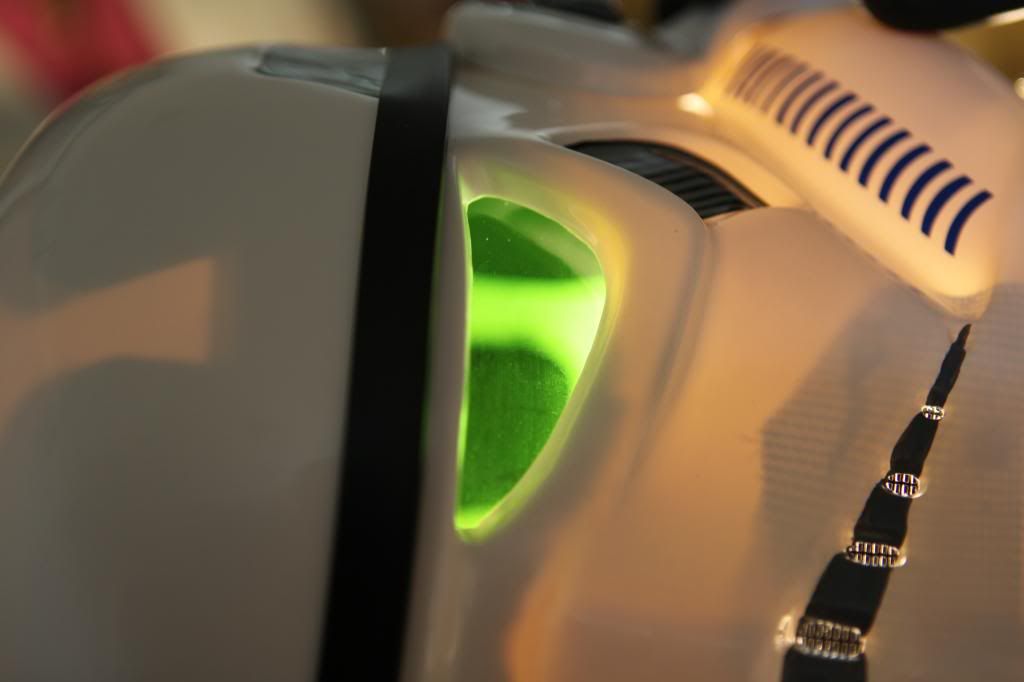
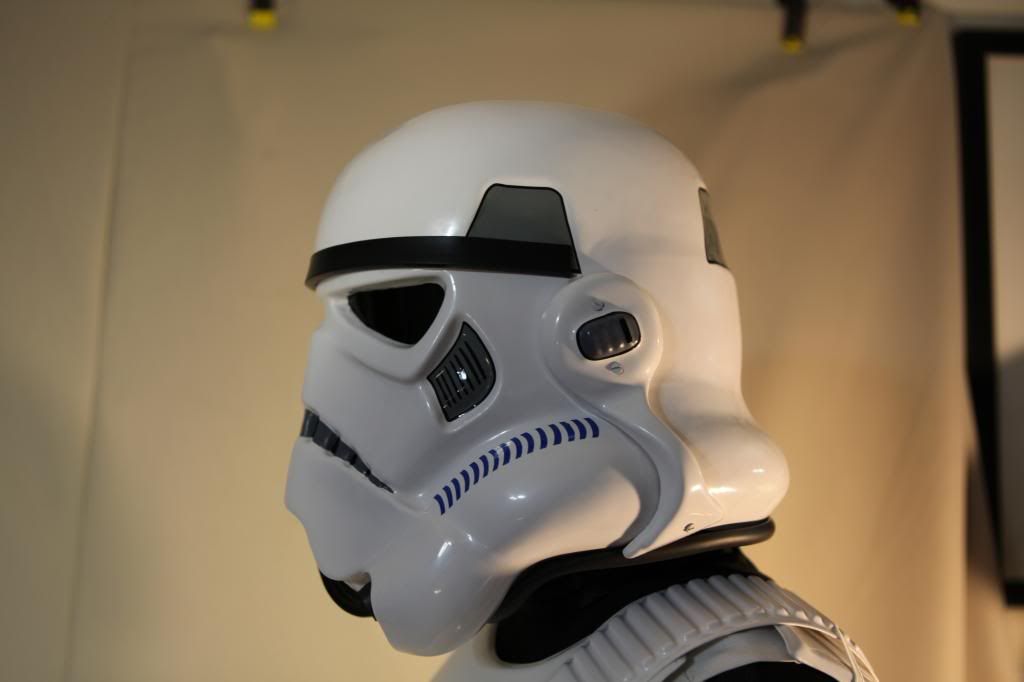
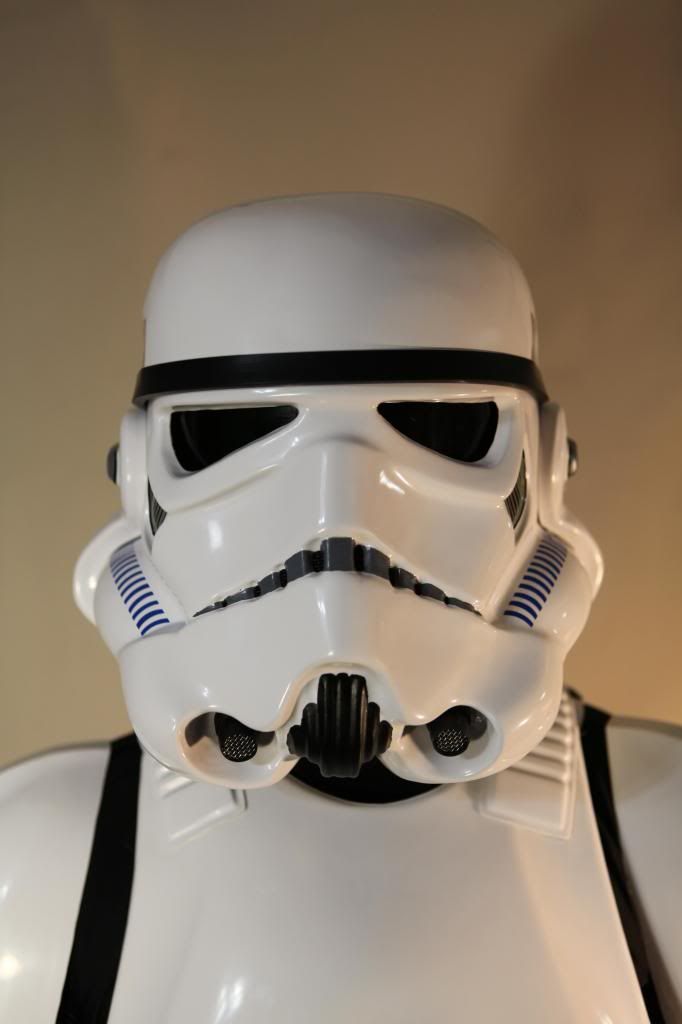
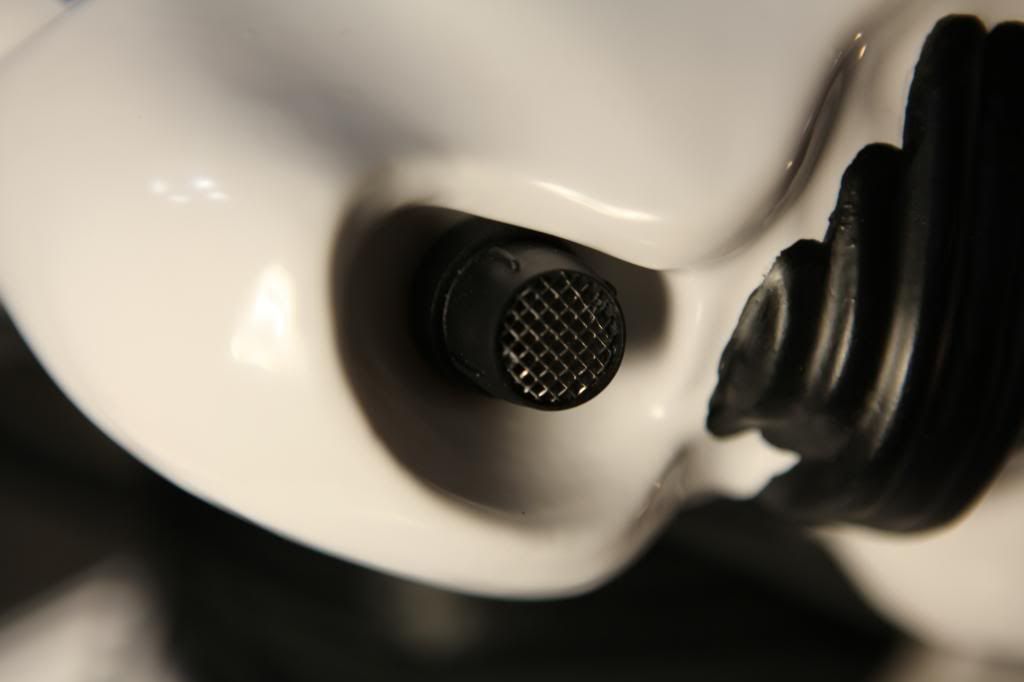
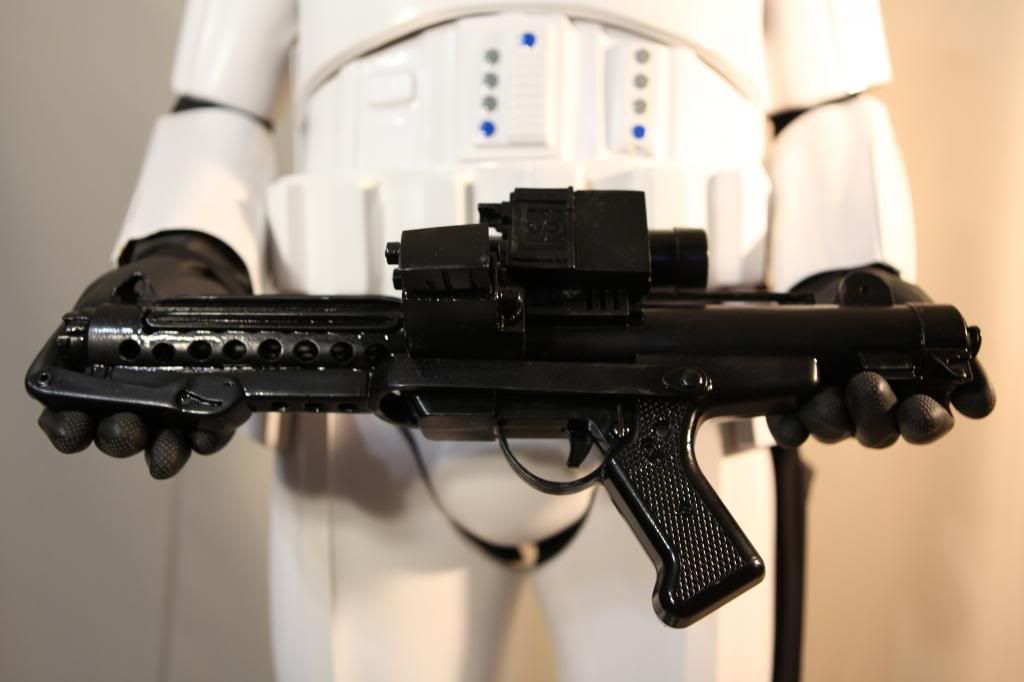
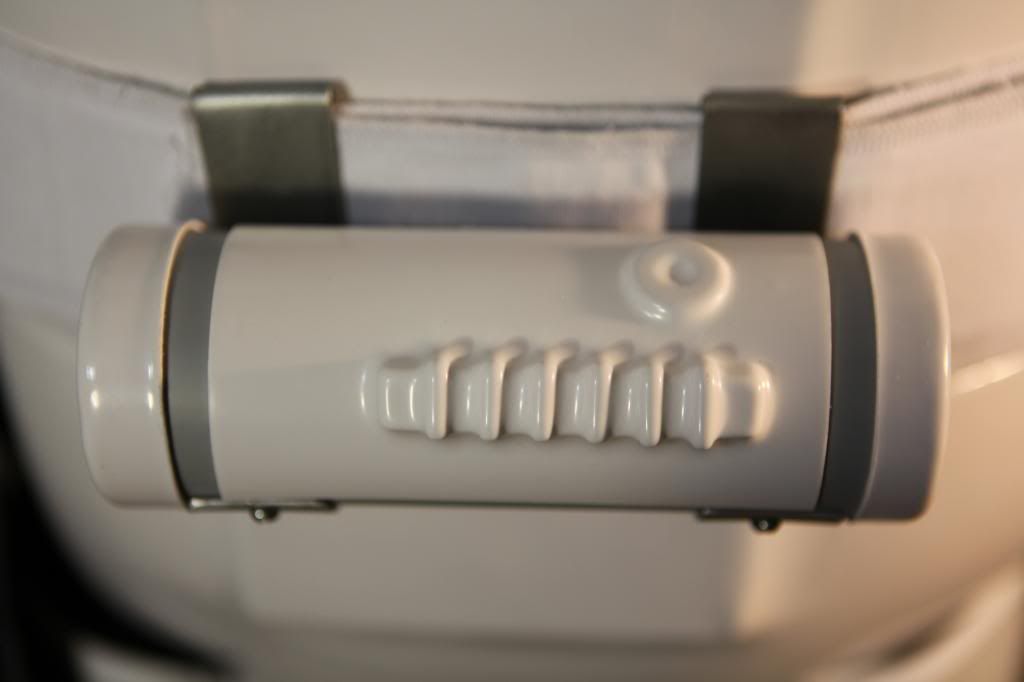
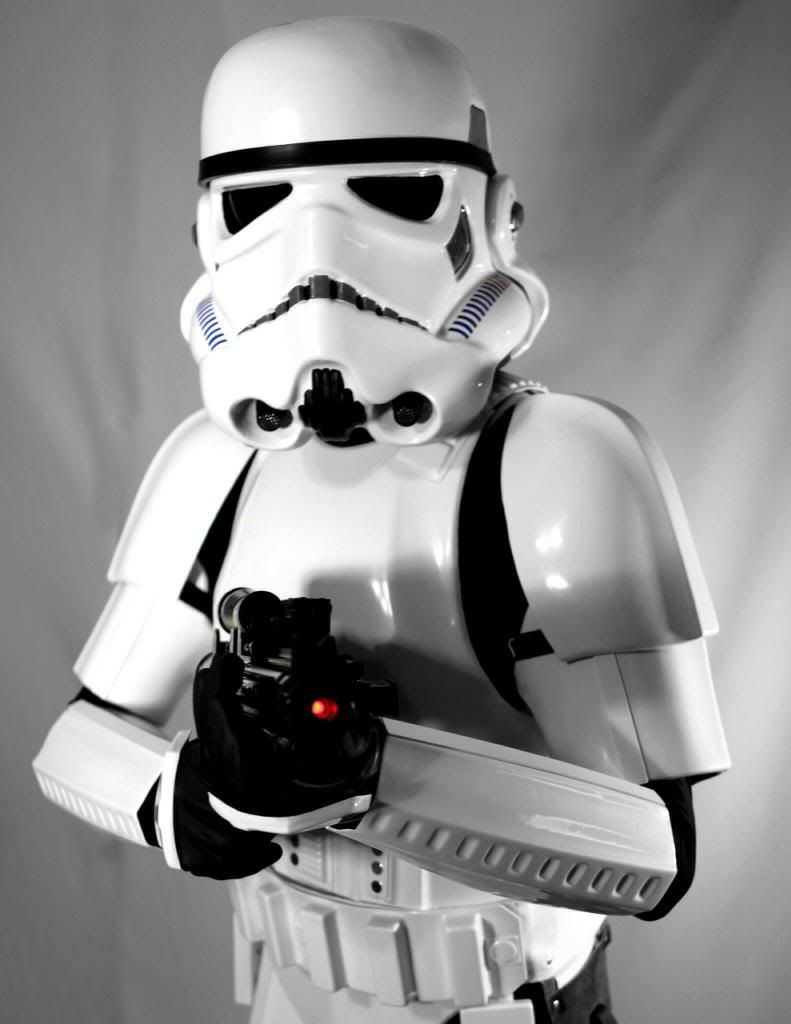
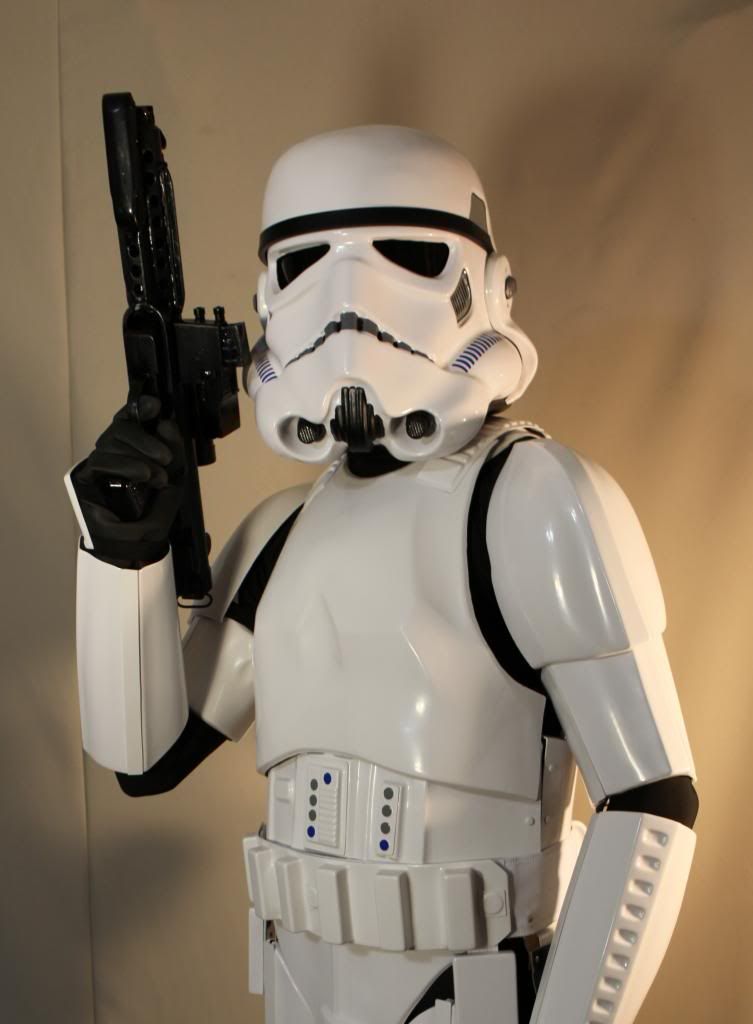
A couple of required photos are missing. I need a shot of both sides of your helmet. I need to be certain of all detail aspects of your helmet which leads me to the other photo I need and that is the back of your helmet. Next, I need pics of both sides of your blaster. I need to confirm that your scope is the correct style as well. Nice work on that lower row of vent holes in front of the mag housing!!! Th last required shot is of the fasteners you used to connect your holster.
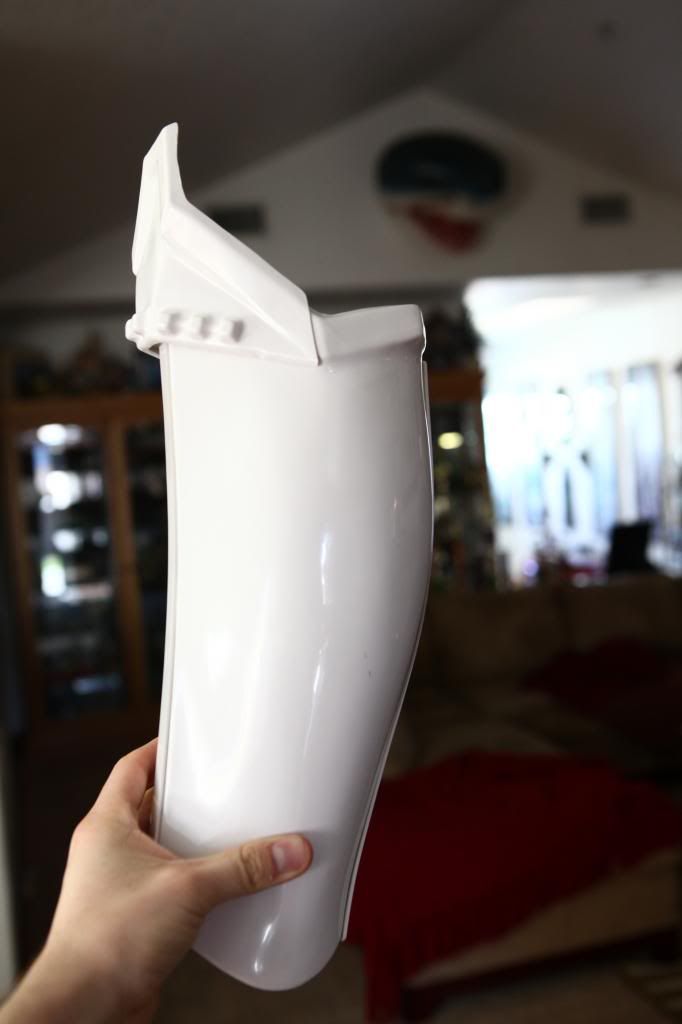
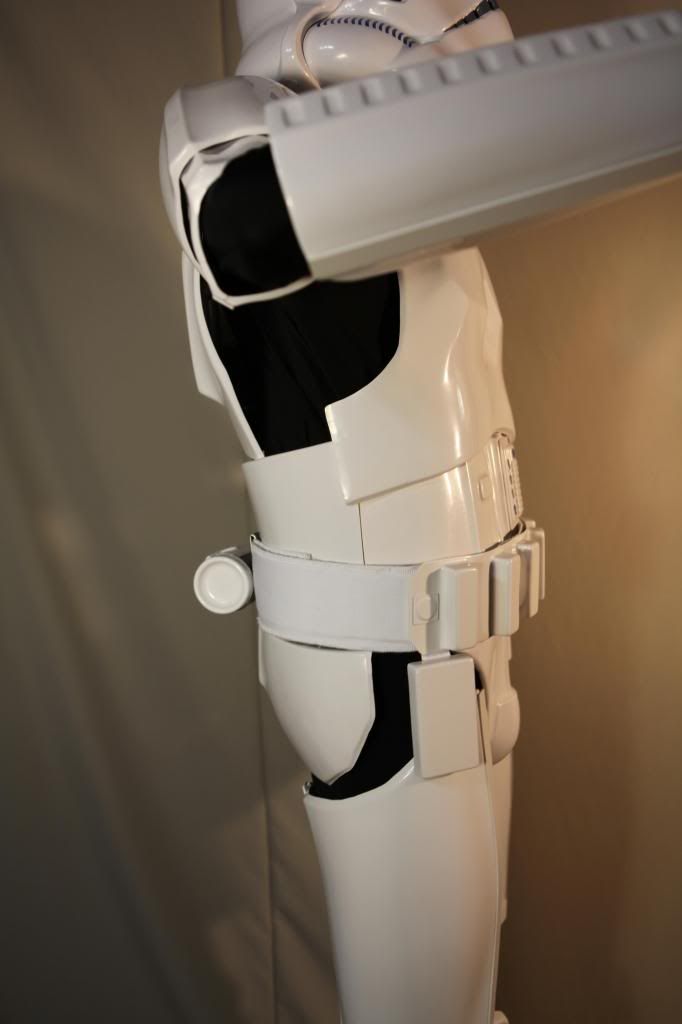
The only issue that I see that needs to be corrected to pass for EIB is the rivets on your sniper plate. This is something that is allowed for basic approval, but to venture into EIB status, this needs to be removed. You can always mix up some ABS paste with scrap ABS shavings and acetone to seal up the rivet holes, then you can glue and clamp it to your shin. Make sure it is lined up with the ridge line at the top of your shin.
Other-Armor Fit, Assembly
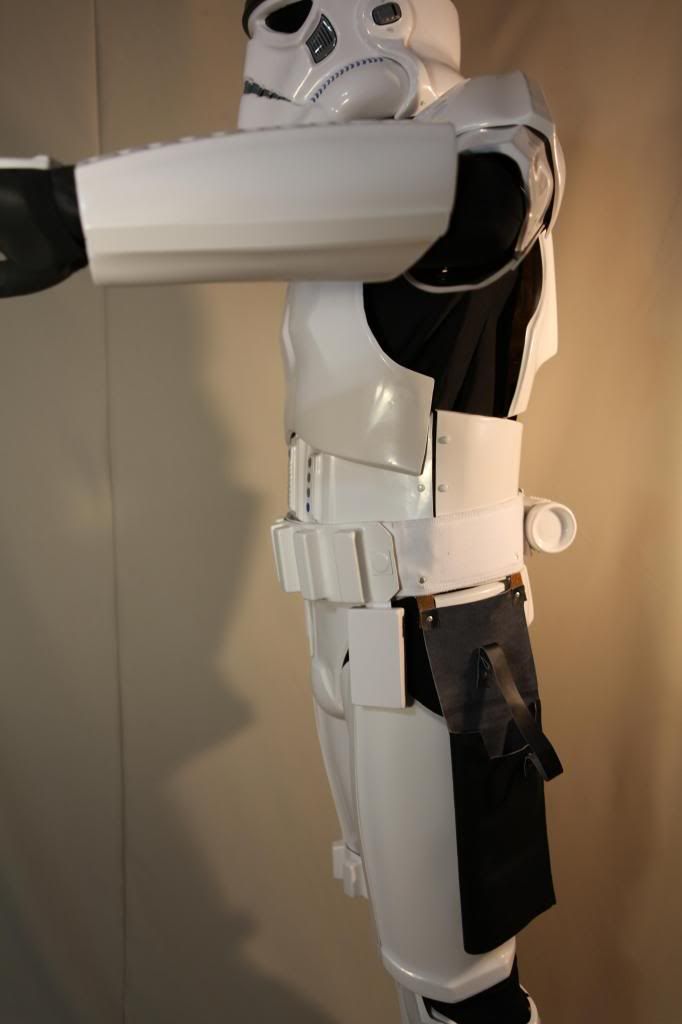
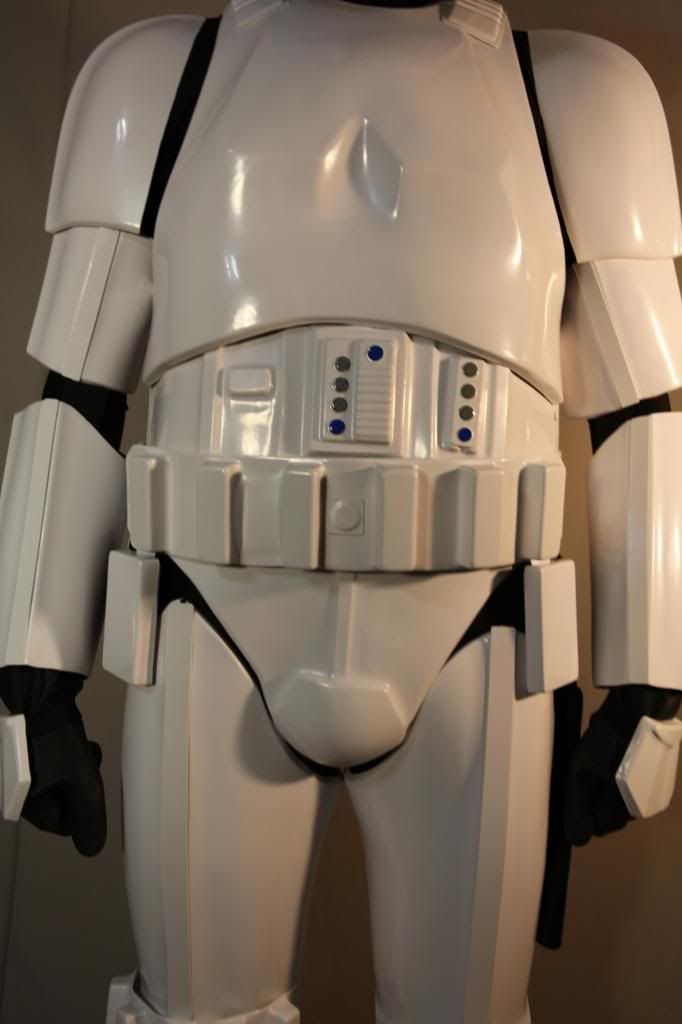
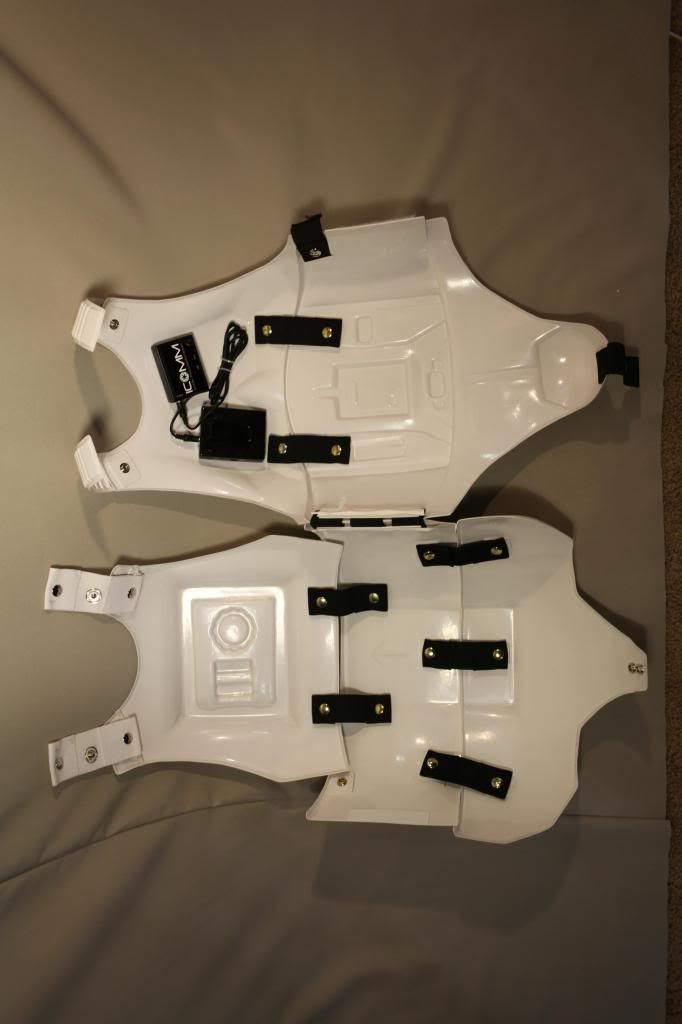
Several other troopers have mentioned about the roominess of your left bicep and right forearm. Adjusting these two parts and making them a bit smaller will go a long way in the over all balanced look of your armor as well as the comfort in wearing it. Last bit. I would recommend contacting Mike and asking him to verify that you have the kidney attached correctly. The Kidney should not have an upward direction towards the ab plate. it should be mostly level around your back. I saw that you marked "up" with an arrow on it, but I would contact him to make sure.
This is some awesome looking armor. You have done a very nice job and are really close. Please make these changes and hopefully you will shoot for Centurion!!!! We look forward to your update!
Hi there again,
I wanted to officially get all my photos over to you and hopefully get passed

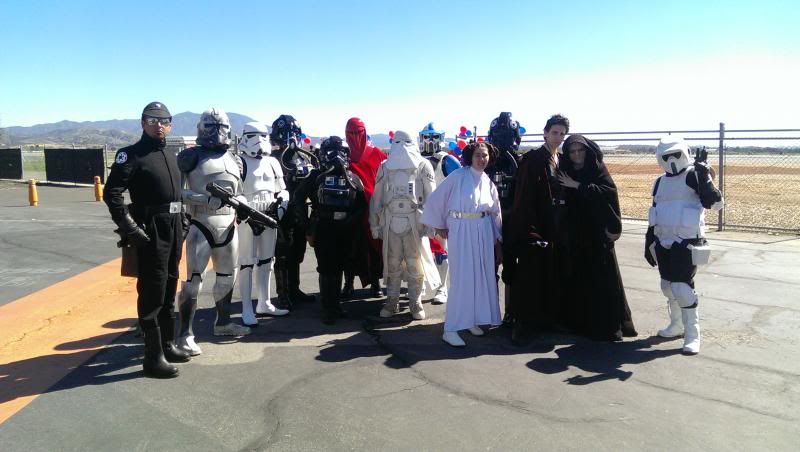
Since posting my first time I have had the opportunity to have my first troop (no broken parts or anything) and have placed an order for a set of animated clone armor!
Here are all the pics you should need, knee plate fixed and the scope should be the correct one as its the one that came in my kit
Here you go!
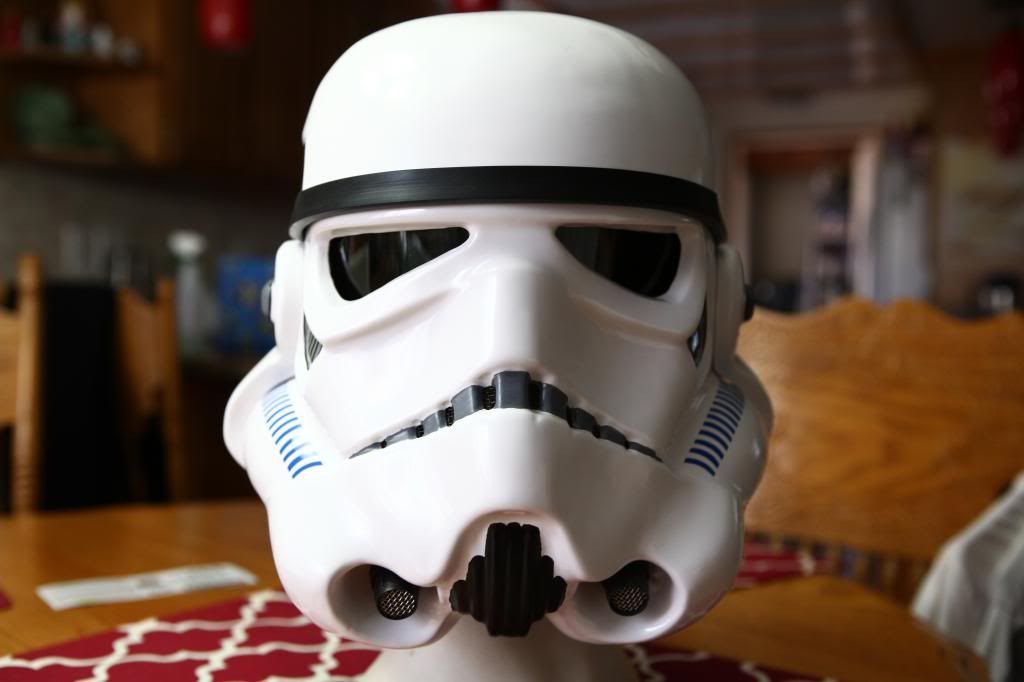
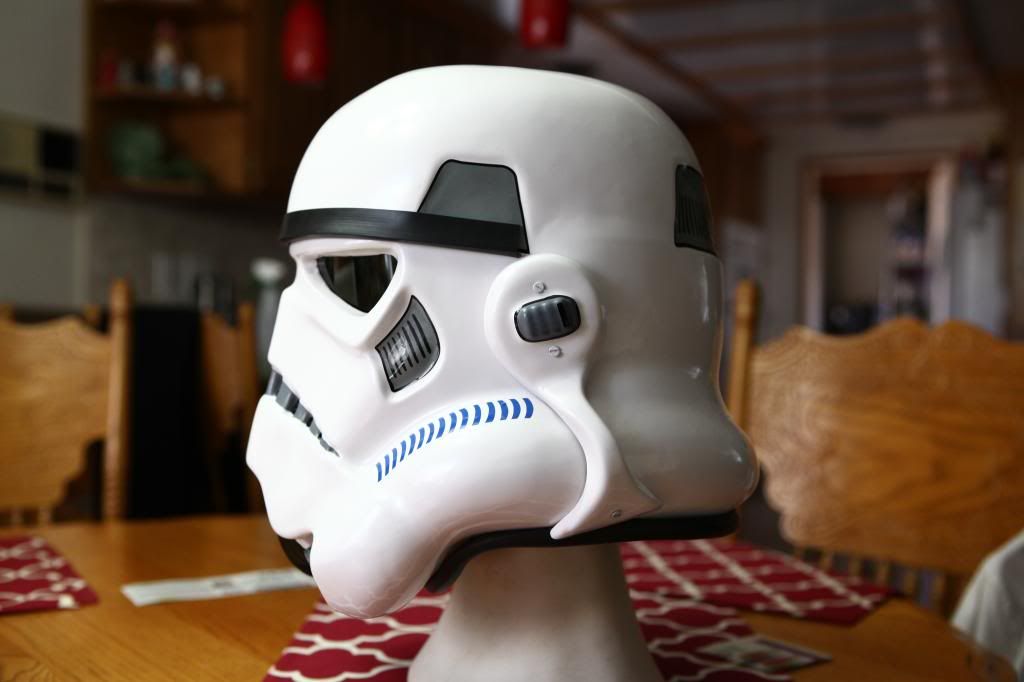
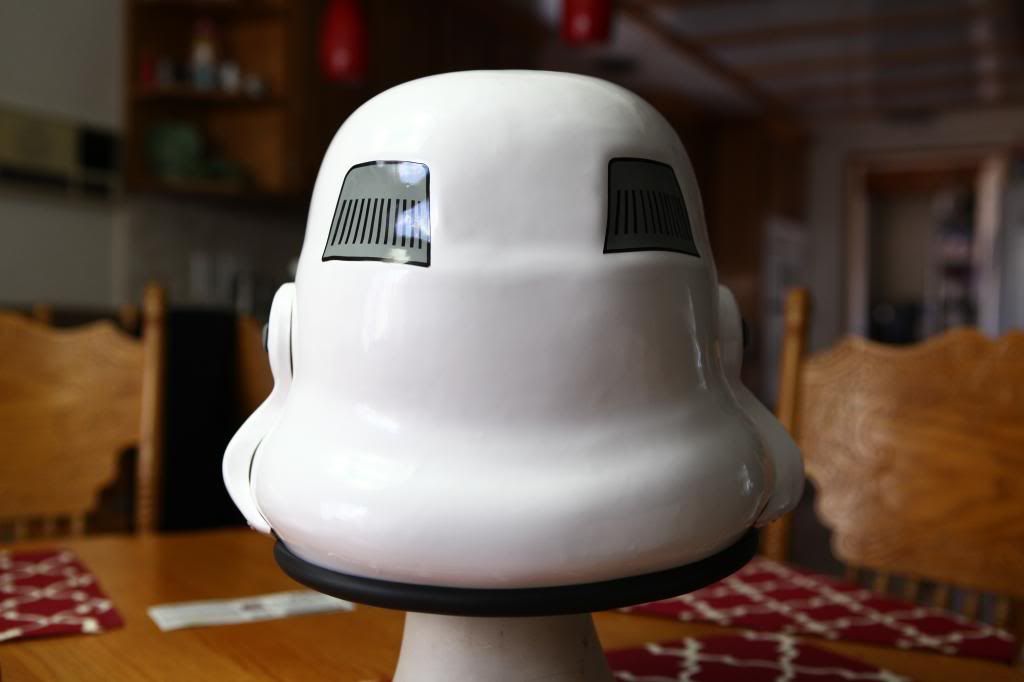


Also sorry about the shotty photo job, I took these on the fly in my kitchen! hahaha
-
Wanted to post here really quick! I had my first troop this past weekend. Spend about 4 or so hours in the armor and not a single problem. No broken parts, no armor bite, or anything else. I am quite happy with how my TK came out!
-
Ian,
As bobby said, I wouldnt atke a whole lot off the back/cap or whatever, as mine is literaly pretty snug. Mine just barely fits on with the mic and fans inside the bucket and I use the twist on method! you can always go back after you got it all together and slowly take a bit of it out at a time in case your head needs more room.
-
Congratulations Bobby!
-
Looking good so far! The biggest help for me was the trooperbay videos mike made and then looking at builds here. There wasnt actually any MTK builds till recently so I looked at ATA builds.
Everything is looking good so far! As Bobby said, make sure to use the TD pipe for the curve on the thigh ammo belt thingy. Aswell take a look at some reference shots to get that awesome 45 degree angle on the main ammo belt!
Bucket: Everything seems to look good here, it took me a while to figure out how I wanted by brow trim on there, so after you put your rivets in the ear really play with it to be sure that you got it exactly where you want it!
I will say that I think you might want to trim a little more of the top corner where the brow line is. While you will not want it to be a 90 degree angle, I think you will need to cut a little more so that the brow trim can properly fit in place. That extra large curve might hinder it.... it might, check it out.
-
I have been unable to make the changes to the shin and other things, however SCG is having an armor party in a week so I'm hoping to get some help with abs paste!
-
Hey there, James! You don;t see too many MTK builds. You did this one well. There are some photos and details that need to be addressed before I can pass you for EIB.
CRL and Other Requirements:
A couple of required photos are missing. I need a shot of both sides of your helmet. I need to be certain of all detail aspects of your helmet which leads me to the other photo I need and that is the back of your helmet. Next, I need pics of both sides of your blaster. I need to confirm that your scope is the correct style as well. Nice work on that lower row of vent holes in front of the mag housing!!! Th last required shot is of the fasteners you used to connect your holster.
The only issue that I see that needs to be corrected to pass for EIB is the rivets on your sniper plate. This is something that is allowed for basic approval, but to venture into EIB status, this needs to be removed. You can always mix up some ABS paste with scrap ABS shavings and acetone to seal up the rivet holes, then you can glue and clamp it to your shin. Make sure it is lined up with the ridge line at the top of your shin.
Other-Armor Fit, Assembly
Several other troopers have mentioned about the roominess of your left bicep and right forearm. Adjusting these two parts and making them a bit smaller will go a long way in the over all balanced look of your armor as well as the comfort in wearing it. Last bit. I would recommend contacting Mike and asking him to verify that you have the kidney attached correctly. The Kidney should not have an upward direction towards the ab plate. it should be mostly level around your back. I saw that you marked "up" with an arrow on it, but I would contact him to make sure.
This is some awesome looking armor. You have done a very nice job and are really close. Please make these changes and hopefully you will shoot for Centurion!!!! We look forward to your update!
Thank you very much, I have these photos, I simply must of forgotten to include them. I will get them up once I take care of the sniper knee plate! Thanks
As for the armor fit, I have begun working towards getting this addresses, as I started with my left bicep! Its a long process, but I should get it taken care of soon! As for the Kidney plate, I think im nutz, but it seemed to fit much nicer that way than the other way. I will check out the other way and see whats up with it, I might have it upside down.
Once again thank you, and I hopefully will get these things for you as soon as I have some free time!
-
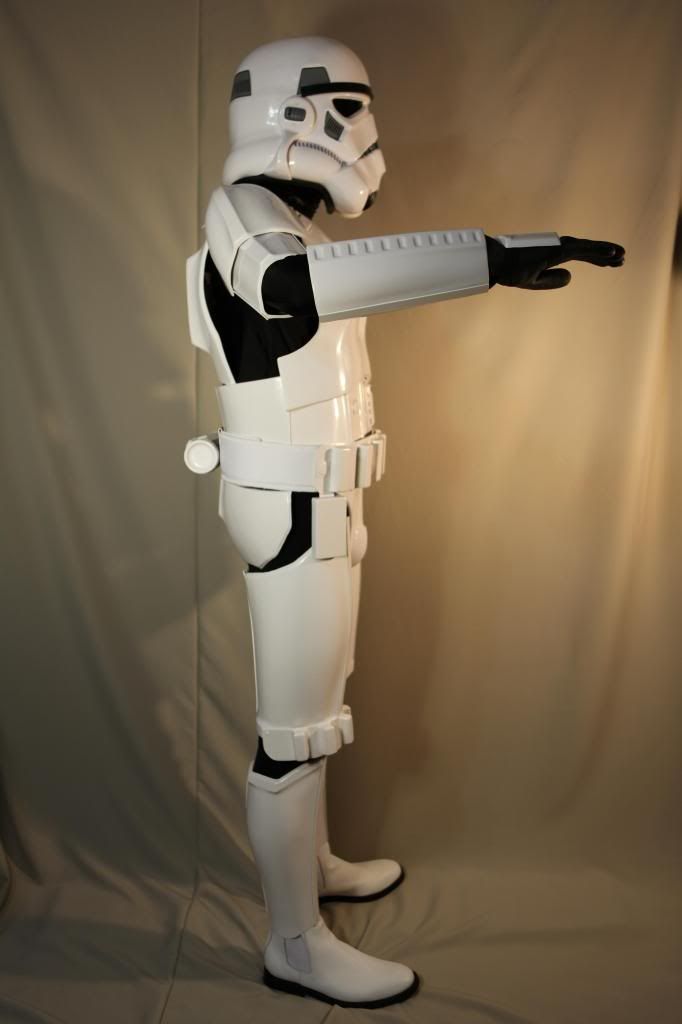
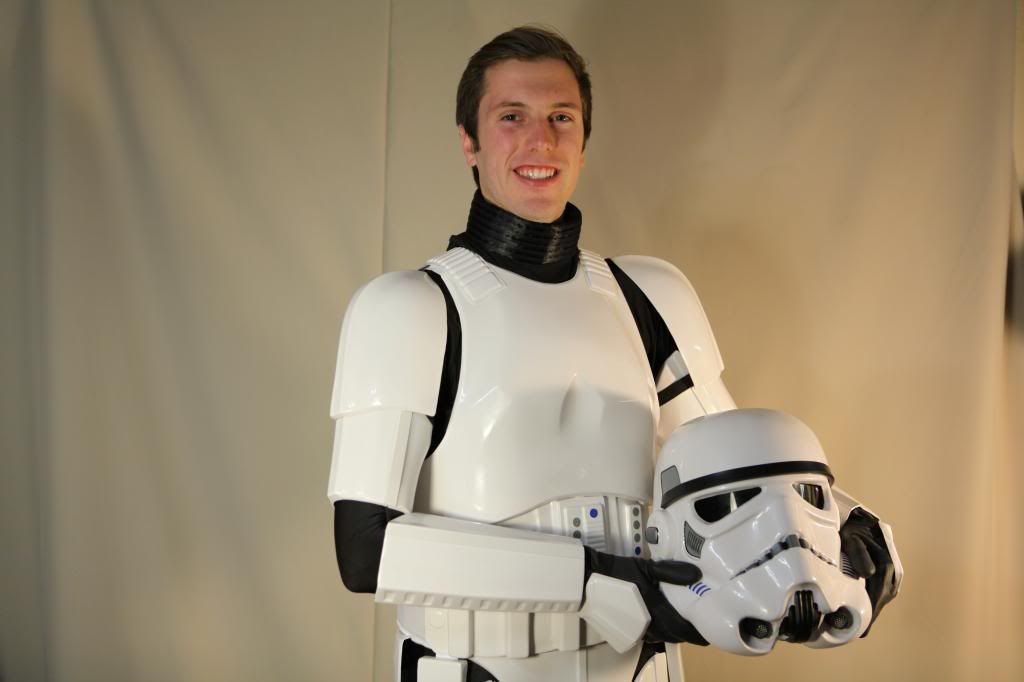
Thank you in advanced for the time looking over and reviewing my application process. I am a new member of the 501st, and looking to hopefully join the ranks of those who have earned EIB
Armor= MTK
Helmet= MTK
Blaster= Hasbro Doopy Conversion
Height = 5 ft, 11 in
Weight = 145Ibs
Boots = TK boots
Canvas belt = Trooperbay
Electronics= Aker/icomm
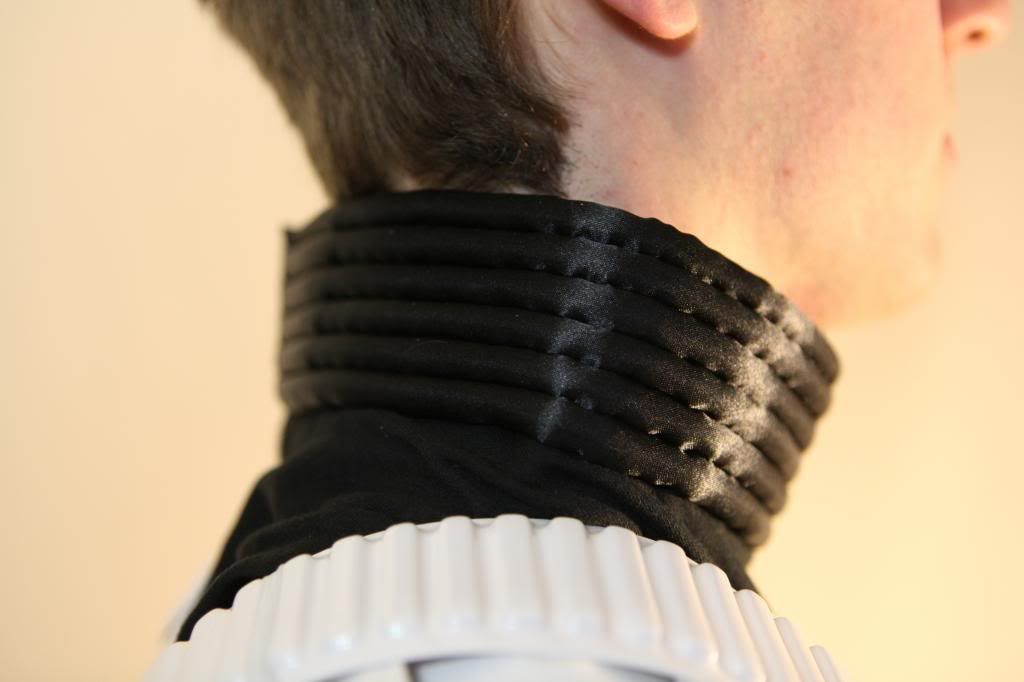
Neck Seal =TrooperbayPhotos


-
Or I could send you another kneeplate if your willing to pay shipping...
Mike, you come to the rescue. I will probably hit you up here in the next day or so, Im going to try and get the abs paste stuff to work. But if it doesnt again, Ill shoot you an email! Seriously everyone Trooperbay is spectacular!
-
Thanks everyone, I want to go EIB however I have a rivet in my sniper knee plate..... I think thats the only real issue I might have.... I had wasnt able to get the abs paste stuff to work when I tried it on a test piece of material, so im hesitant to take apart mine and try it. I might be looking for a new sniper knee plate.....

-
Welcome!!!!!!
-
Welcome Jennifer! Your MTK kit looks fantastic, I recently just got my MTK kit approved as well!
-
UPDATE: officially TK-51410
-
James Dinwiddie
TK-51410
Requesting member access.
http://www.501st.com/members/displaymemberdetails.php?userID=16648
-
UPDATE: AS OF THIS MORNING MY ARMOR WAS APPROVED, now I am simply waiting to receive my TK number! woohoo!
-
Just heard back from the GML, they said that they received my photos and have begun the review process. They said they will have some feedback within a few days! Keep your fingers crossed and wish me luck!
-
Never 100% complete, but I think I meet basic garrison approval so I sent in some photos! Keeping the fingers crossed that my GML approves me!
100% complete? It looks great. I'm trying to catch up! Trimming the ears - giving me heartburn.
James' MTK TK Armor Build
in Build Threads Requireing Maintenance
Posted