

DeathProof
-
Posts
79 -
Joined
-
Last visited
Content Type
Profiles
Forums
Gallery
Articles
Media Demo
Posts posted by DeathProof
-
-
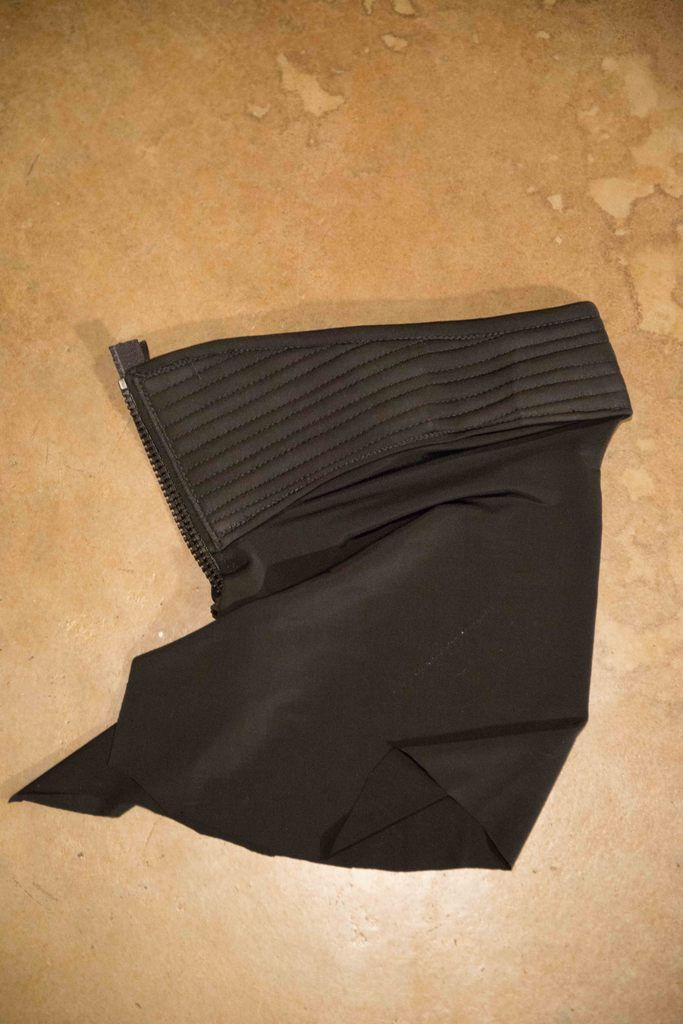
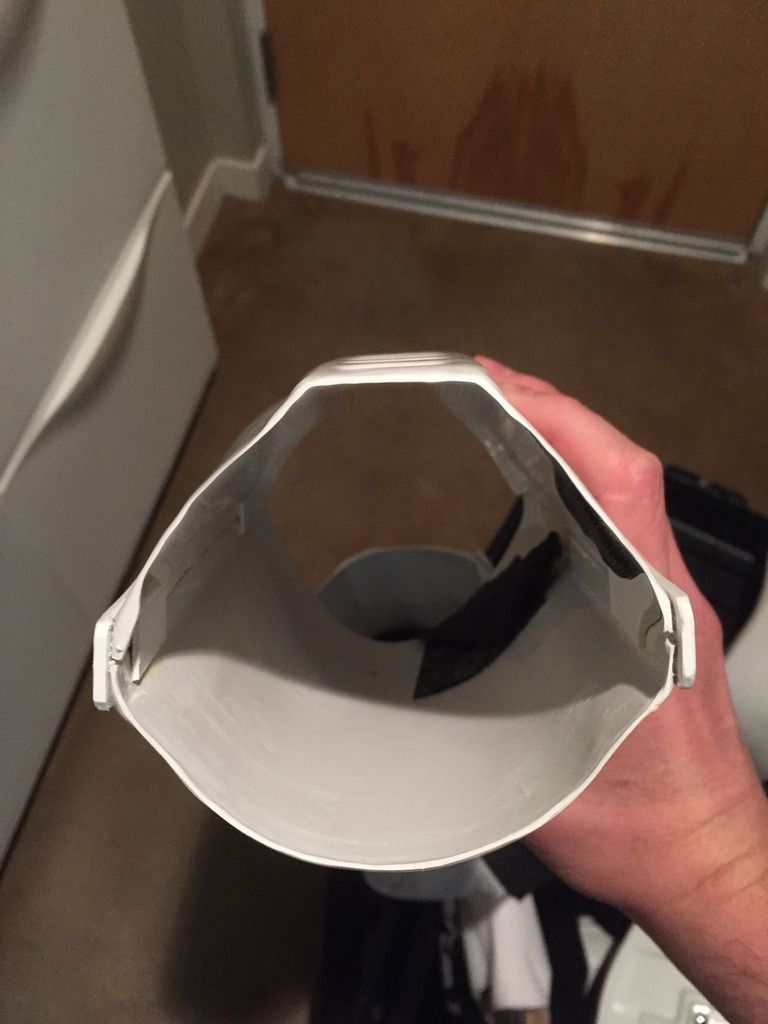
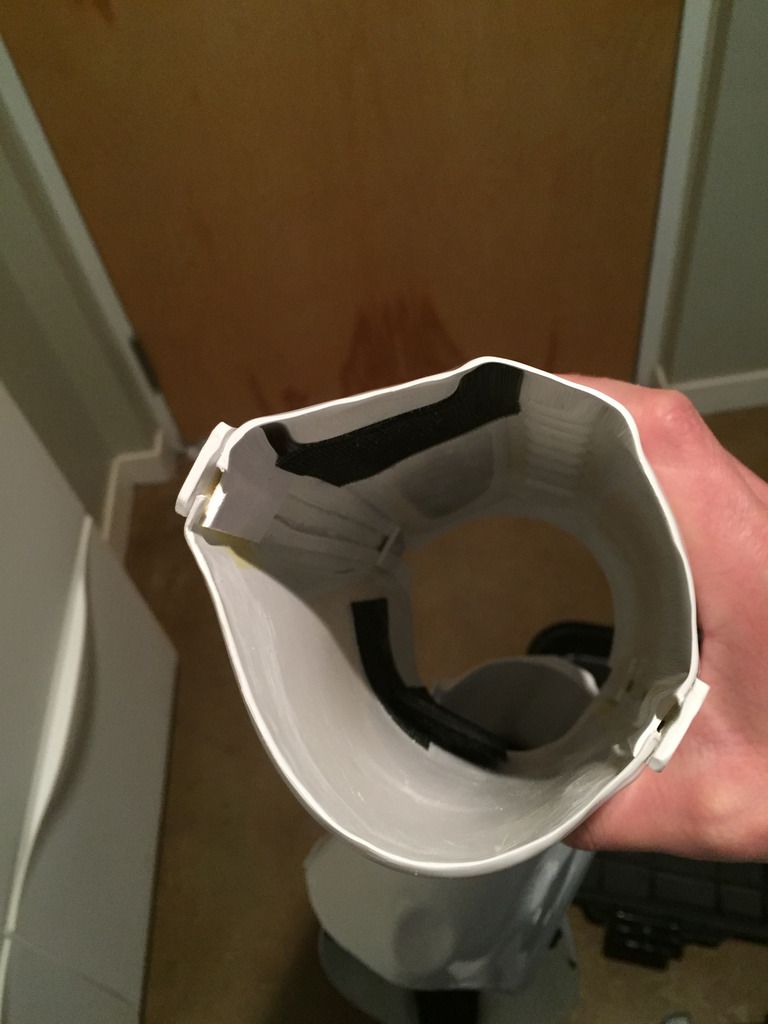
Buddy of mine found this for me. Should fit the gun nicely:
Correction. The bag isn't wide enough

I did manage to find a ski bag though that is a bit big, but fits the gun

-
 1
1
-
-
Hey guys,
Just trying to find a way to transport my DLT. I'm leaving it attached, so at full length it's about 48inches. How do you guys transport your long blasters?
I've been looking at soft gun bags, keyboard bags, even ski bags, but haven't really had much luck for the dimensions.
-
Thanks so much Andrew and Tony! Much appreciated!
-
It really is long eh? I always have to watch when going through doors or with lower ceilings.
Thanks a lot for the kudos!
-
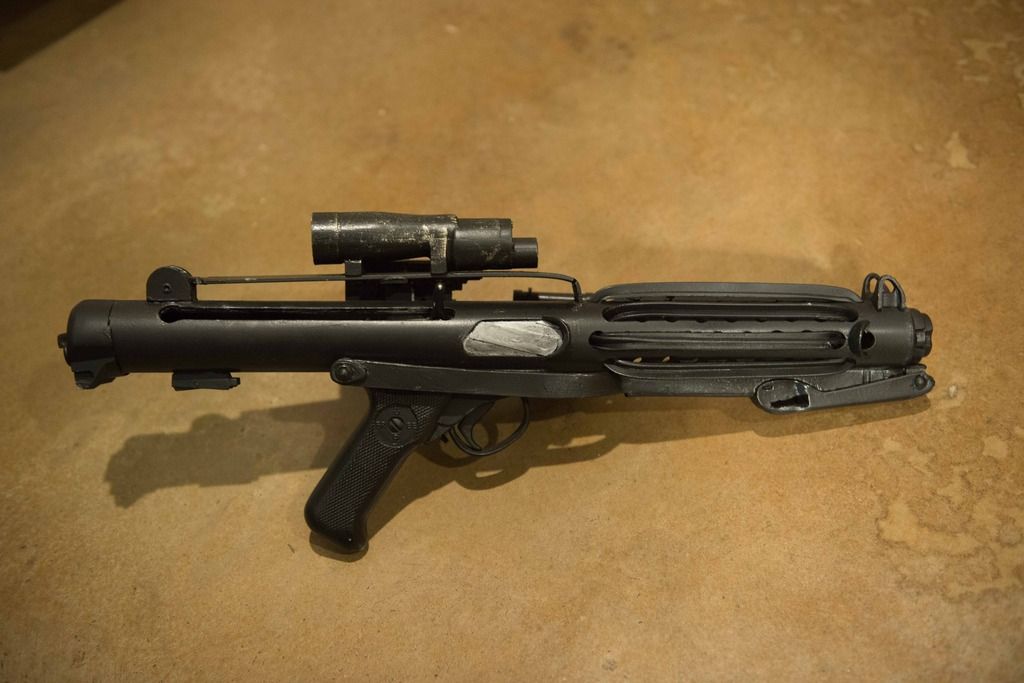
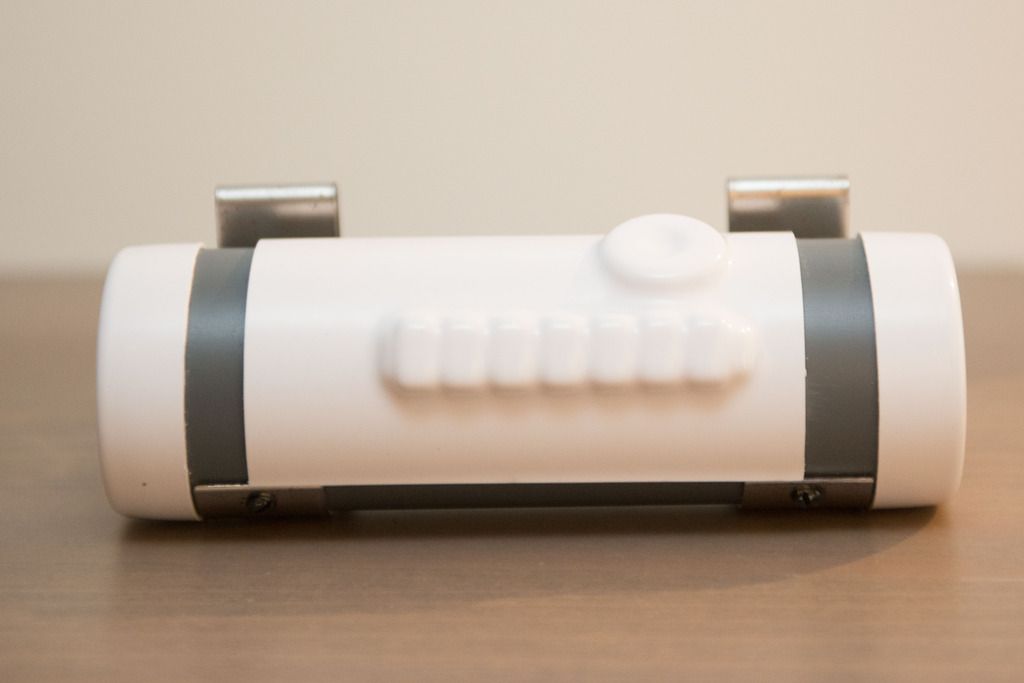
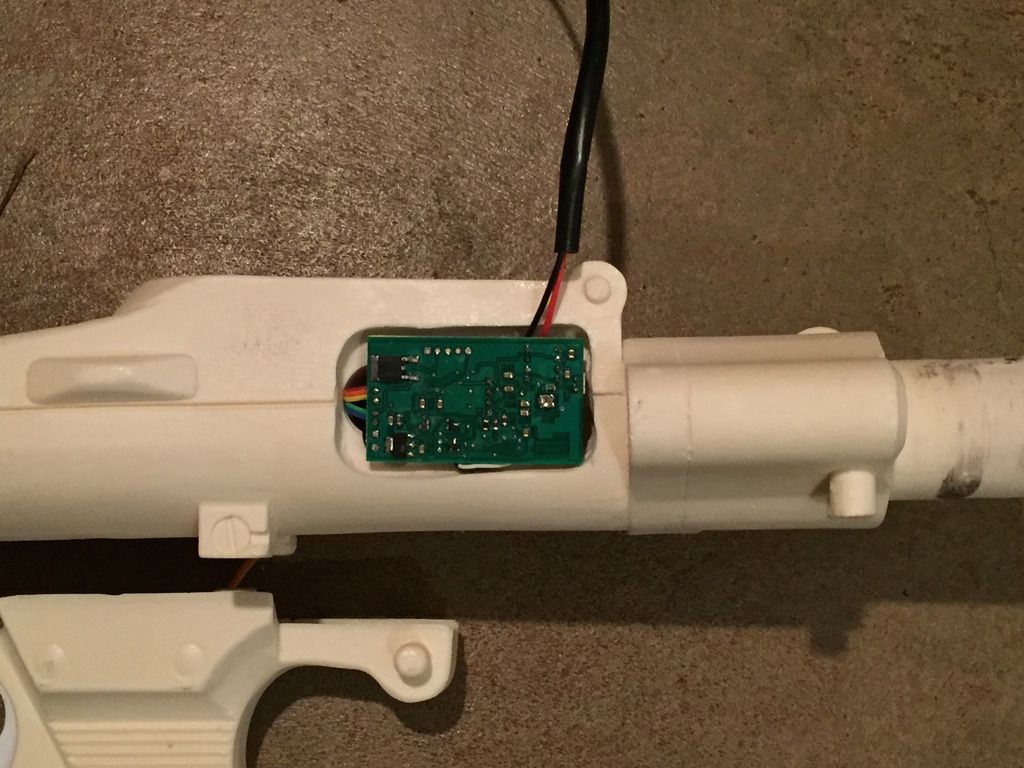
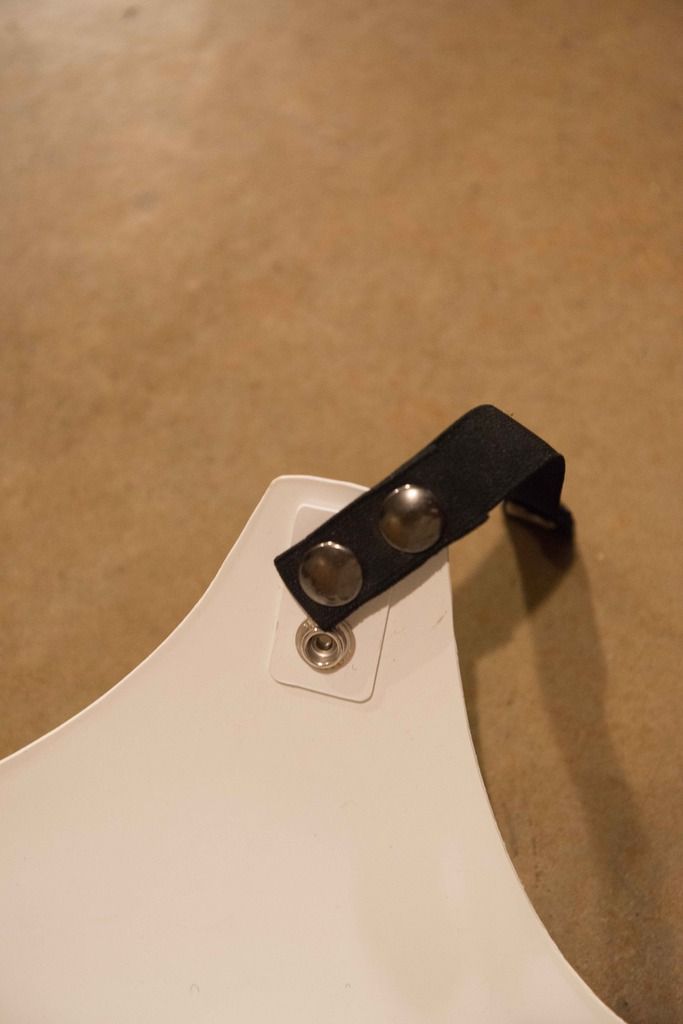
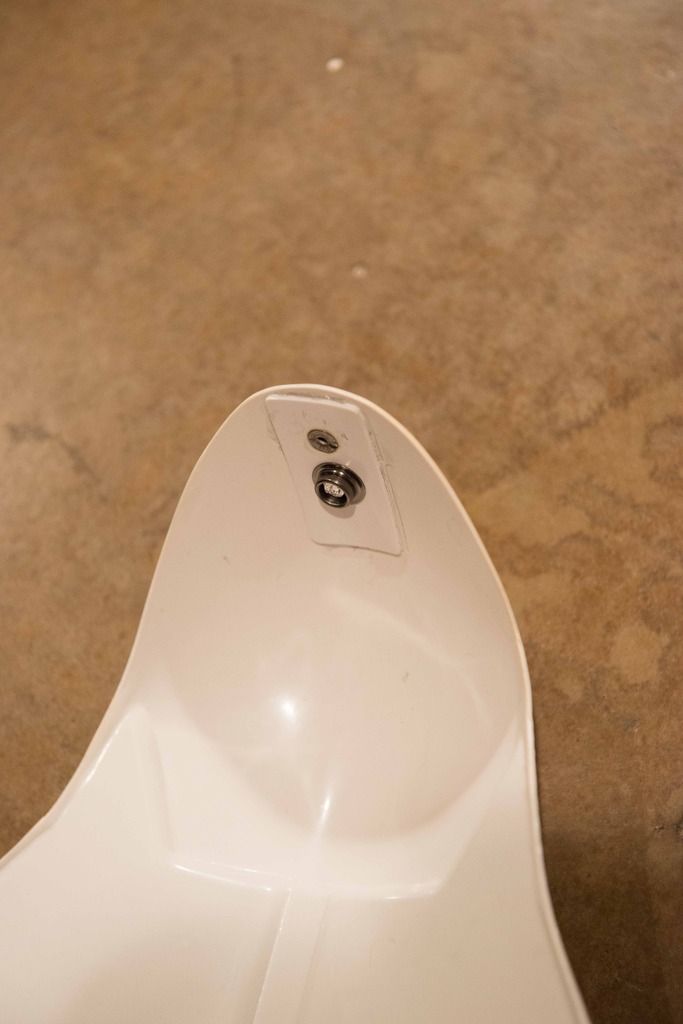
DLT-19 is complete! I managed to work a more appropriate cover than a grill. The board is loud enough that it doesn't get too quiet with the cover in place.
Let me know what you think!

-
-
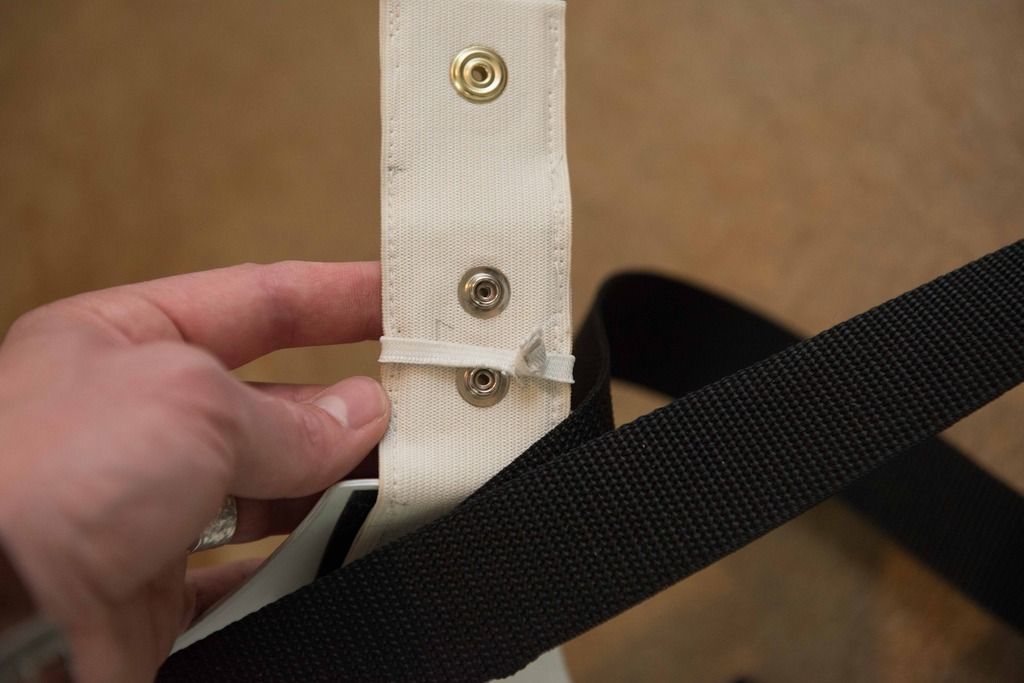
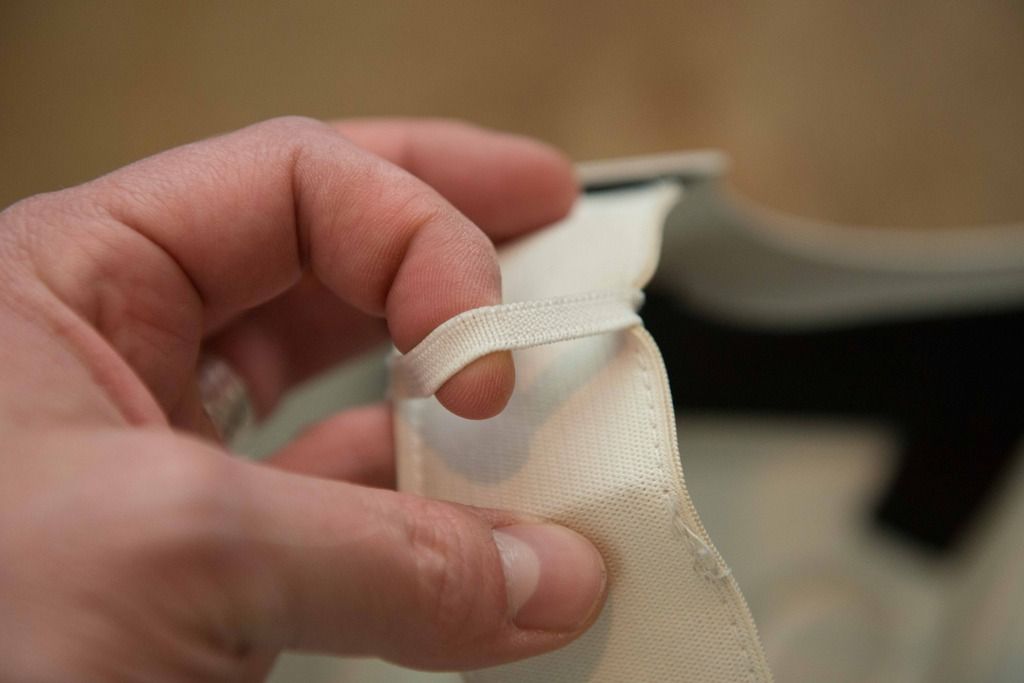
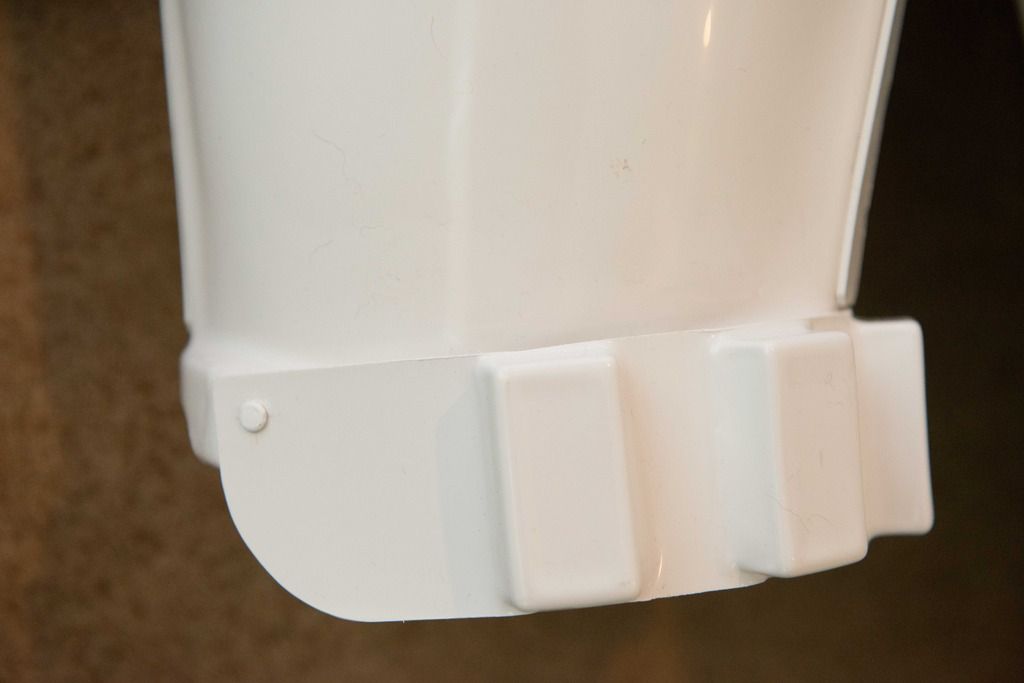
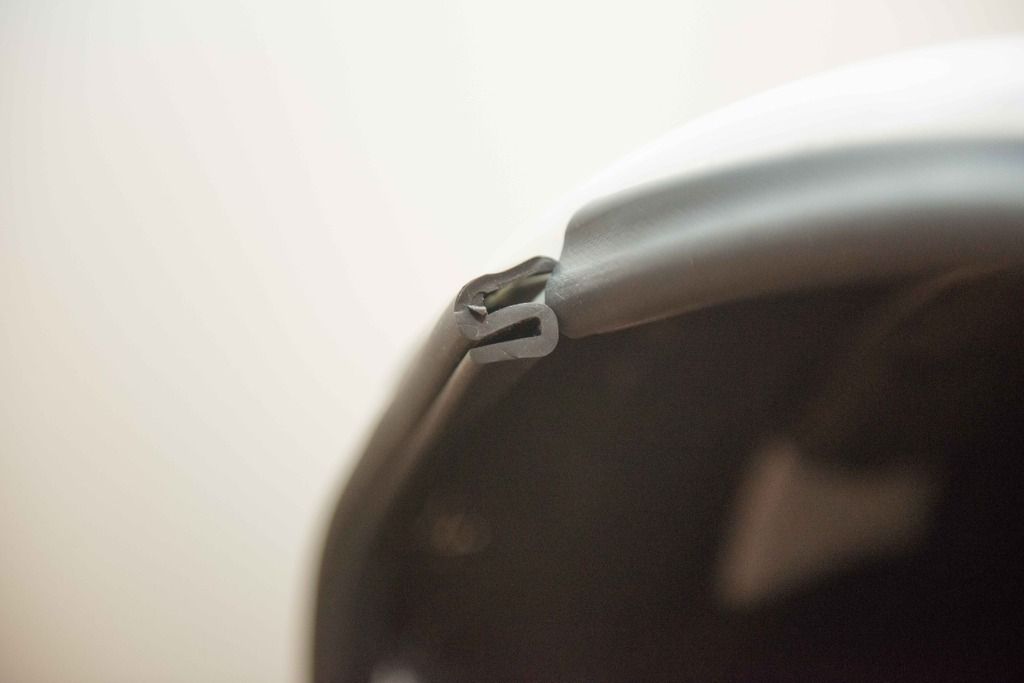
Return edge taken in:
-
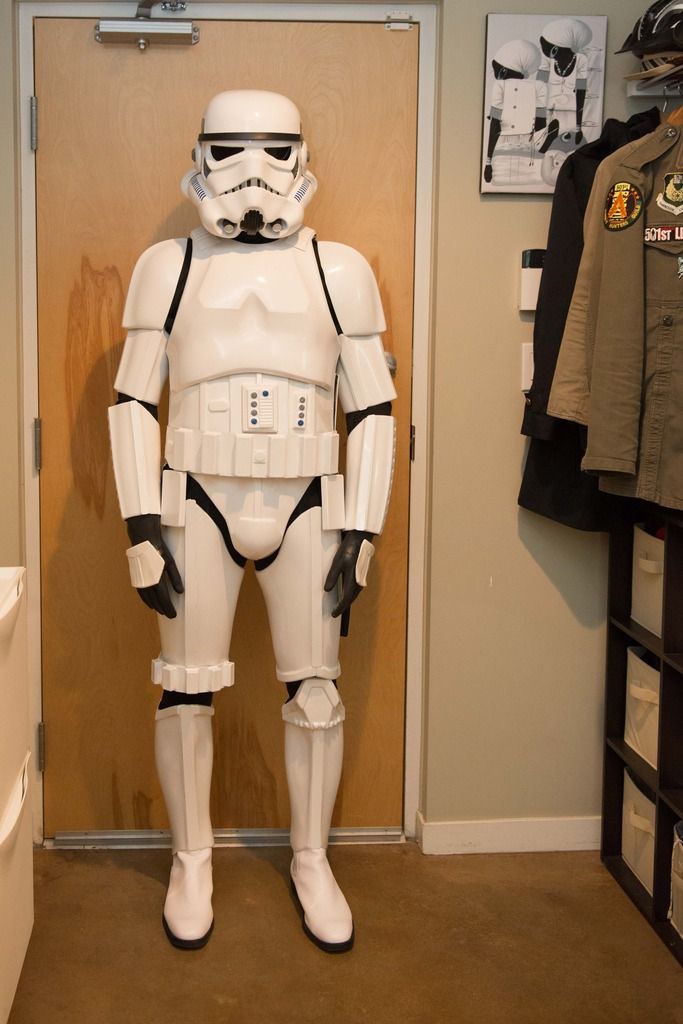
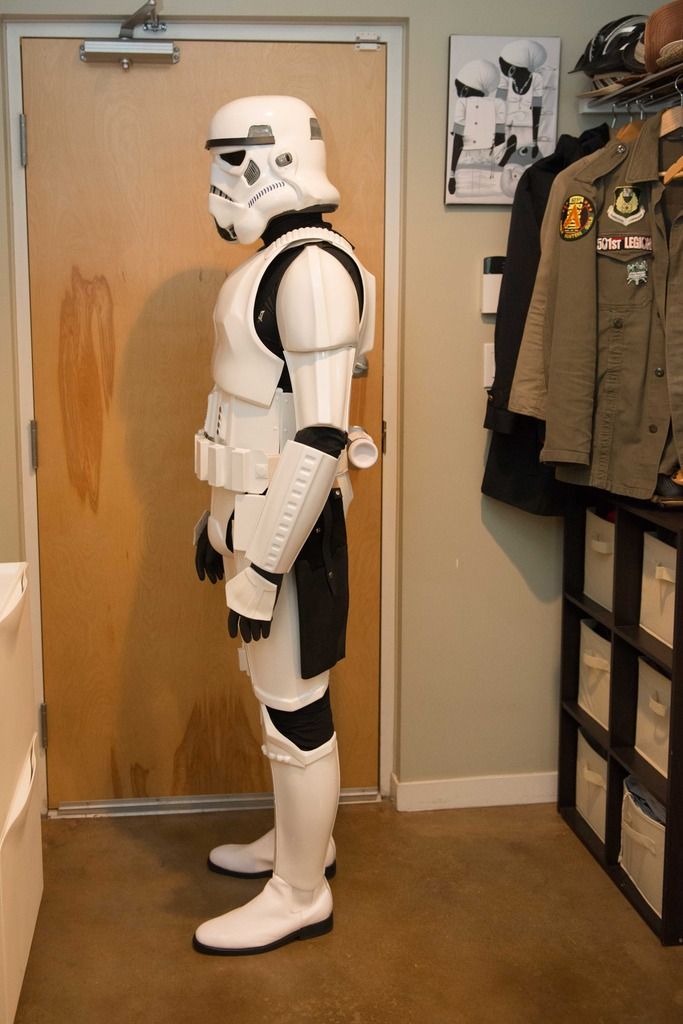
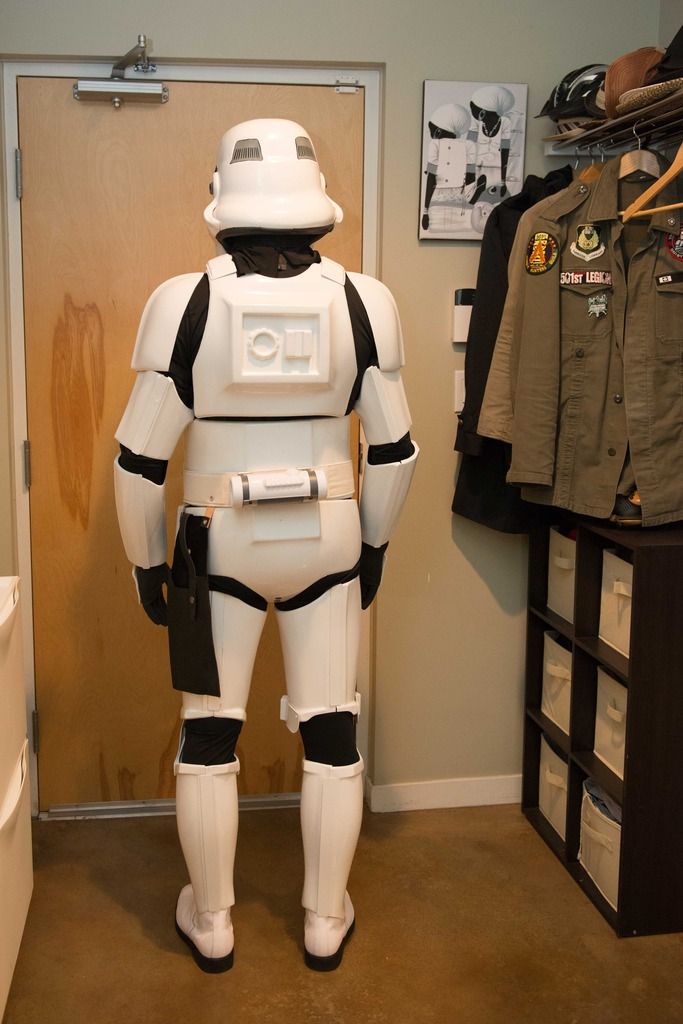
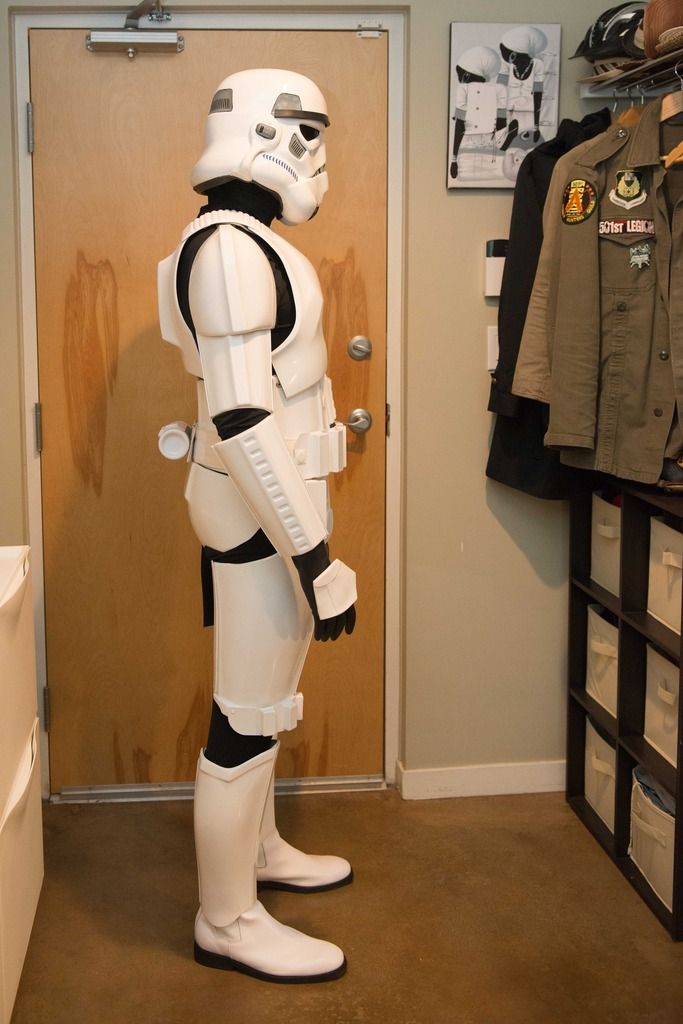
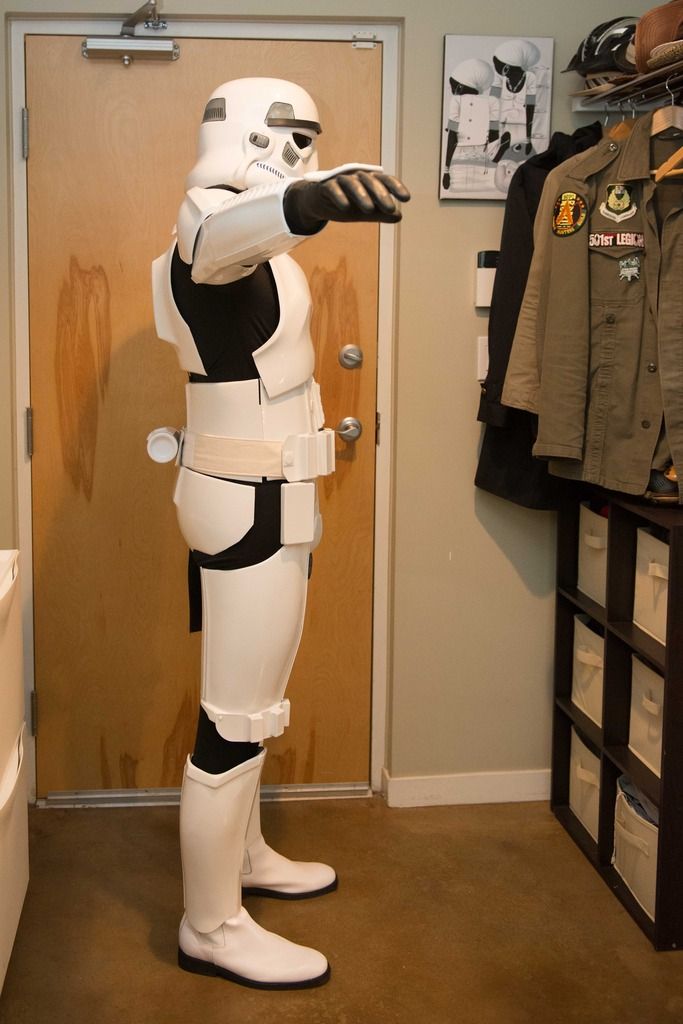
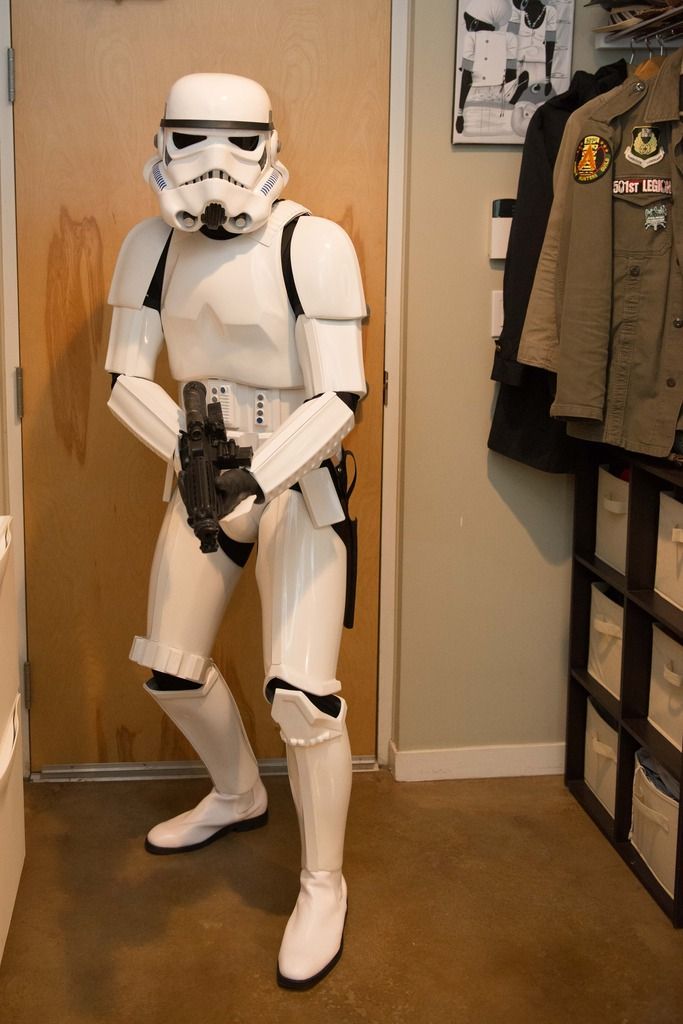
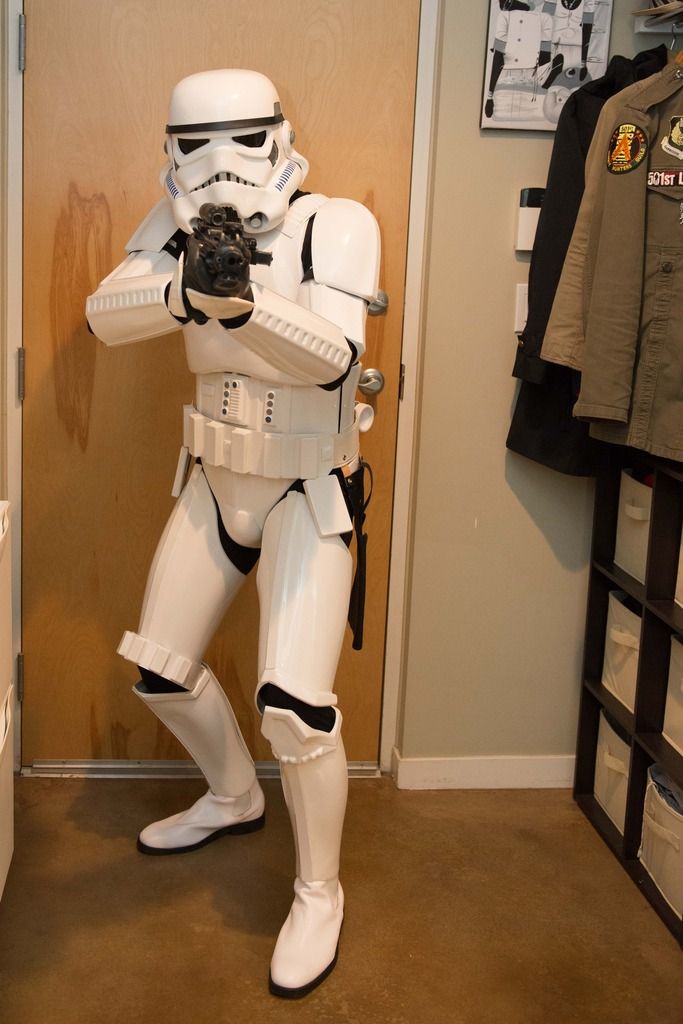
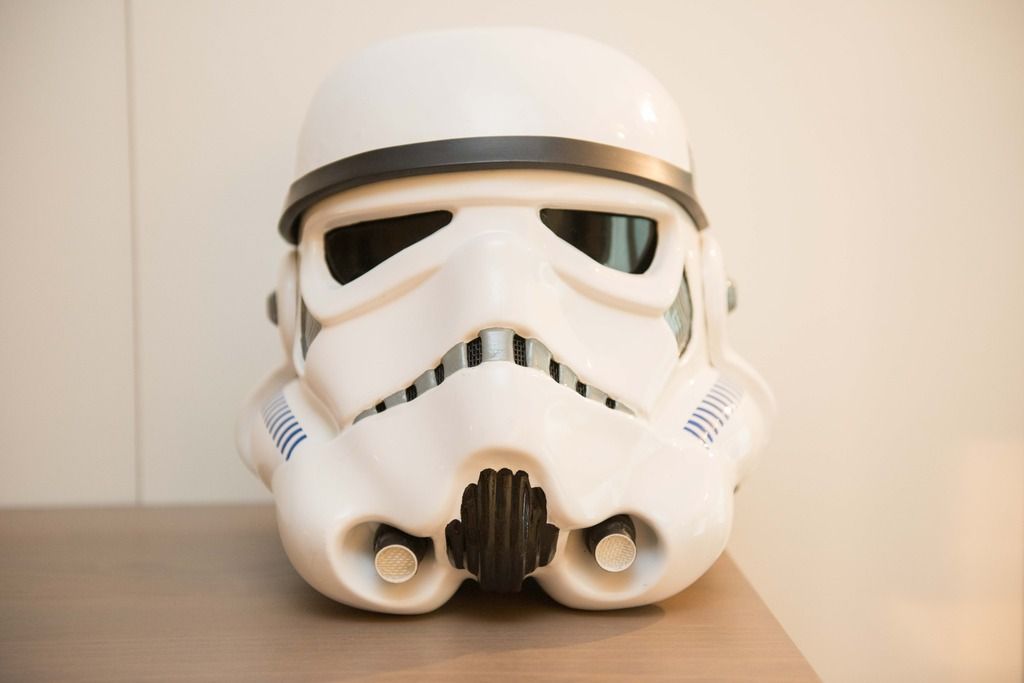
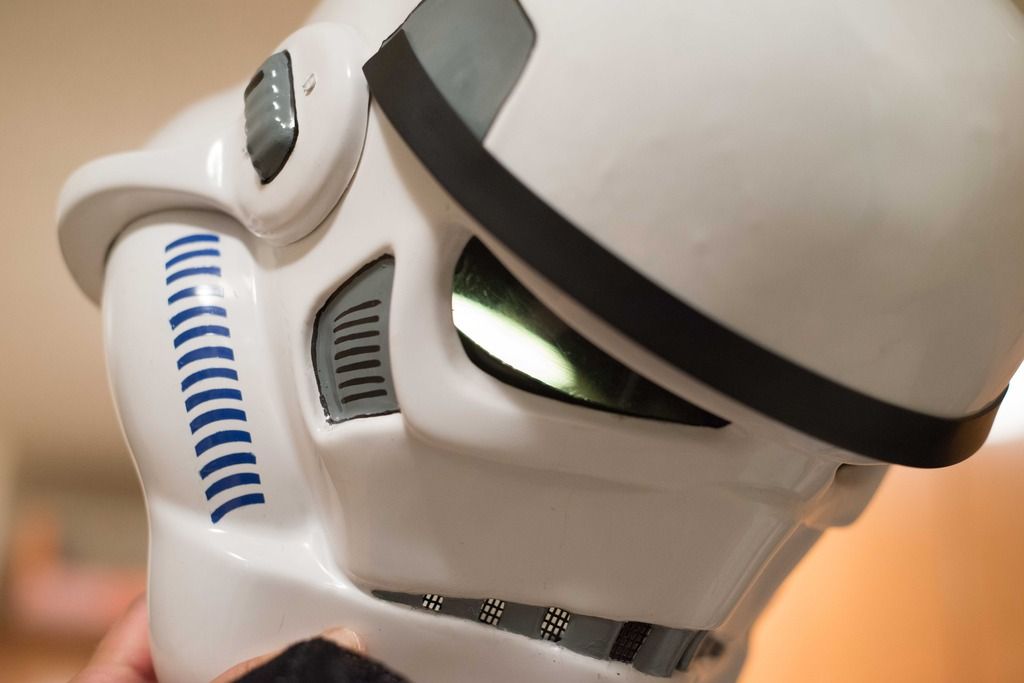
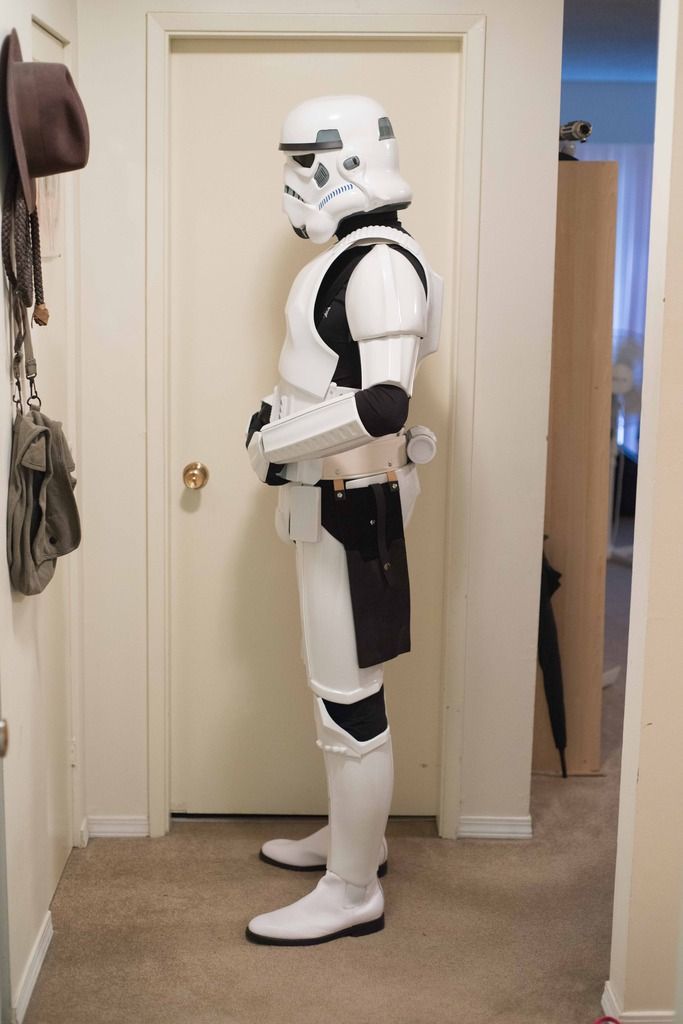
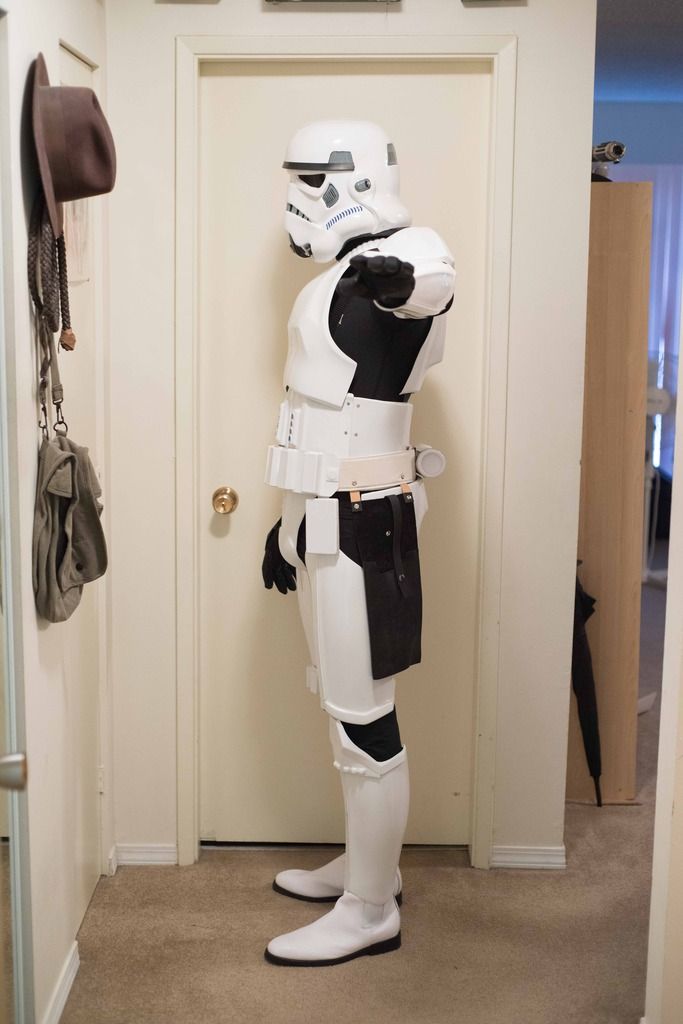
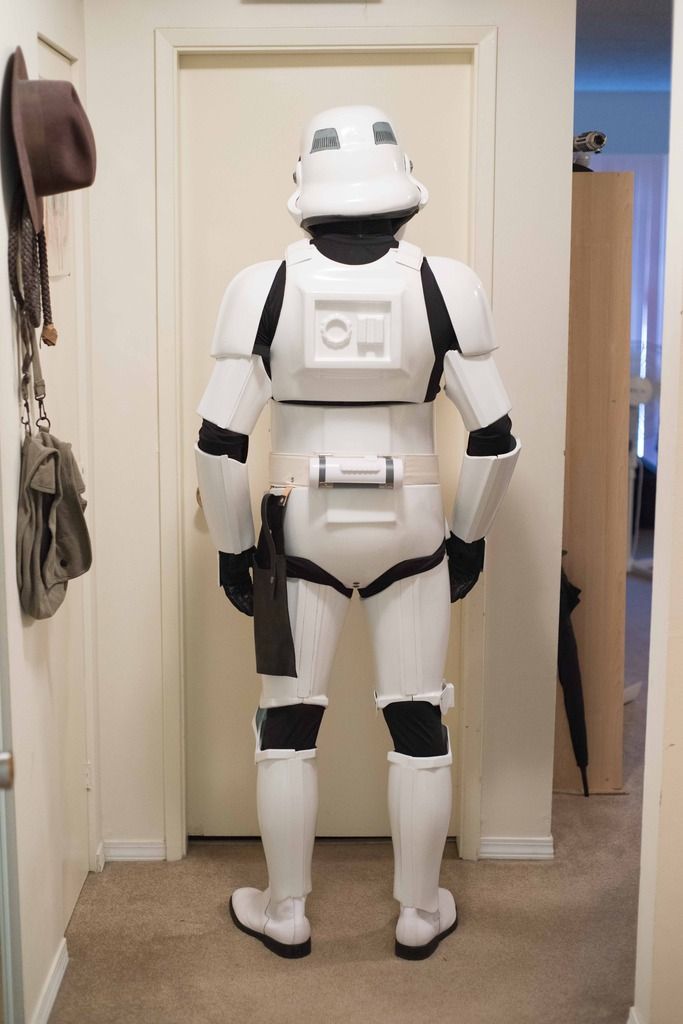
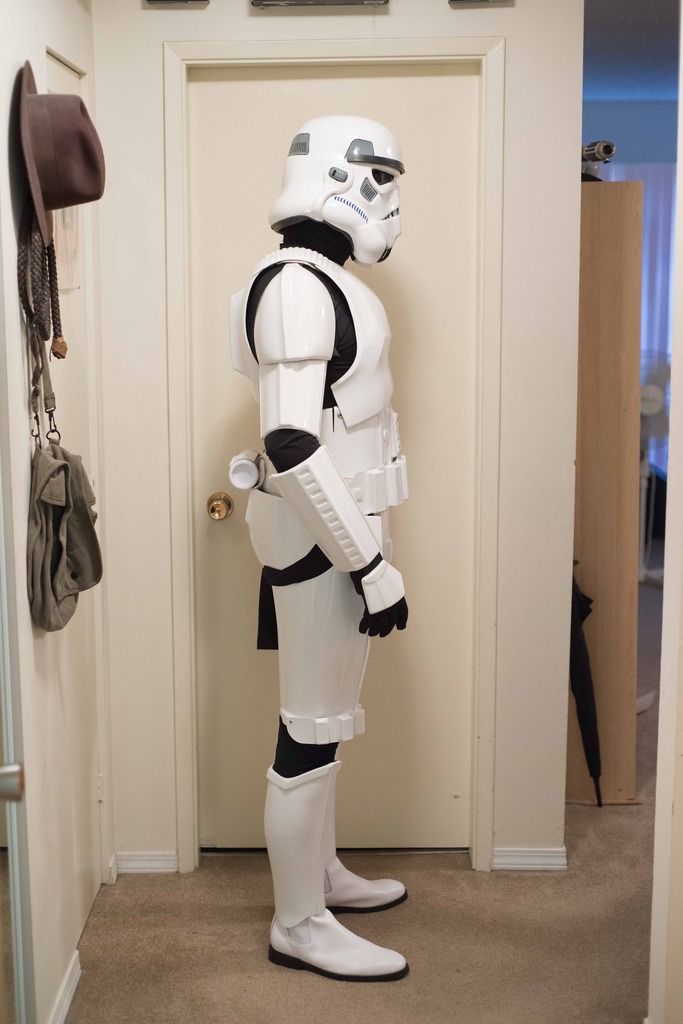
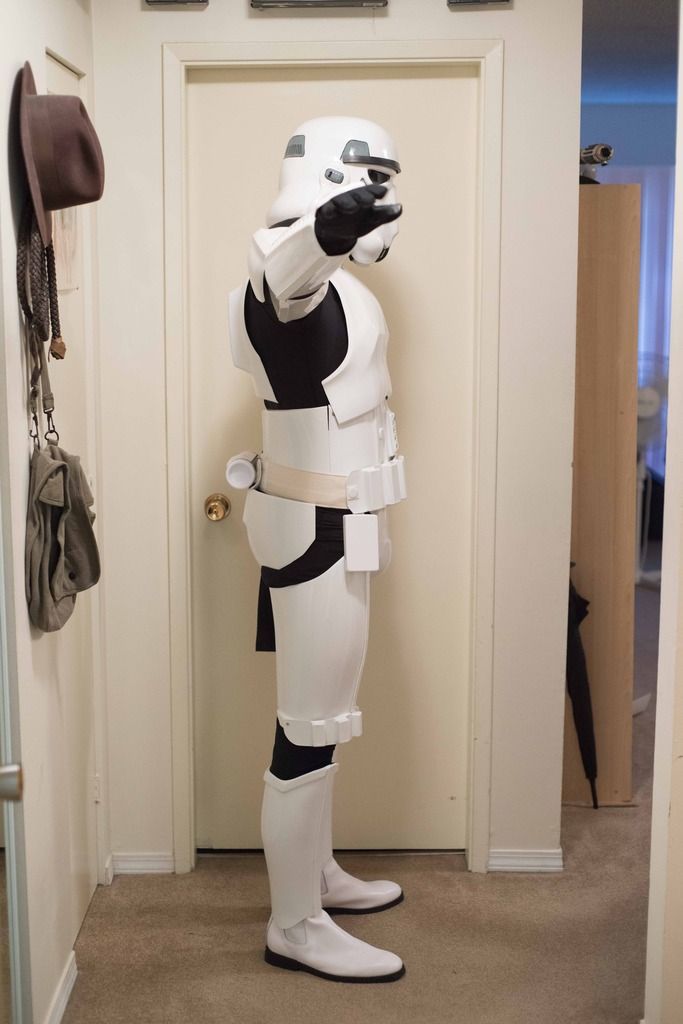
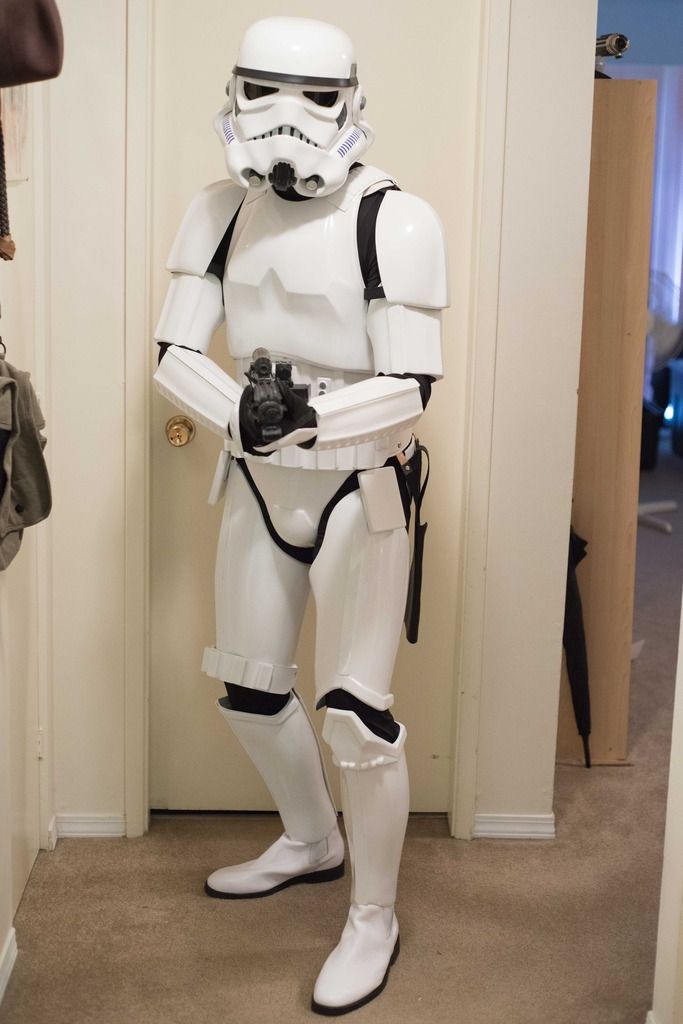
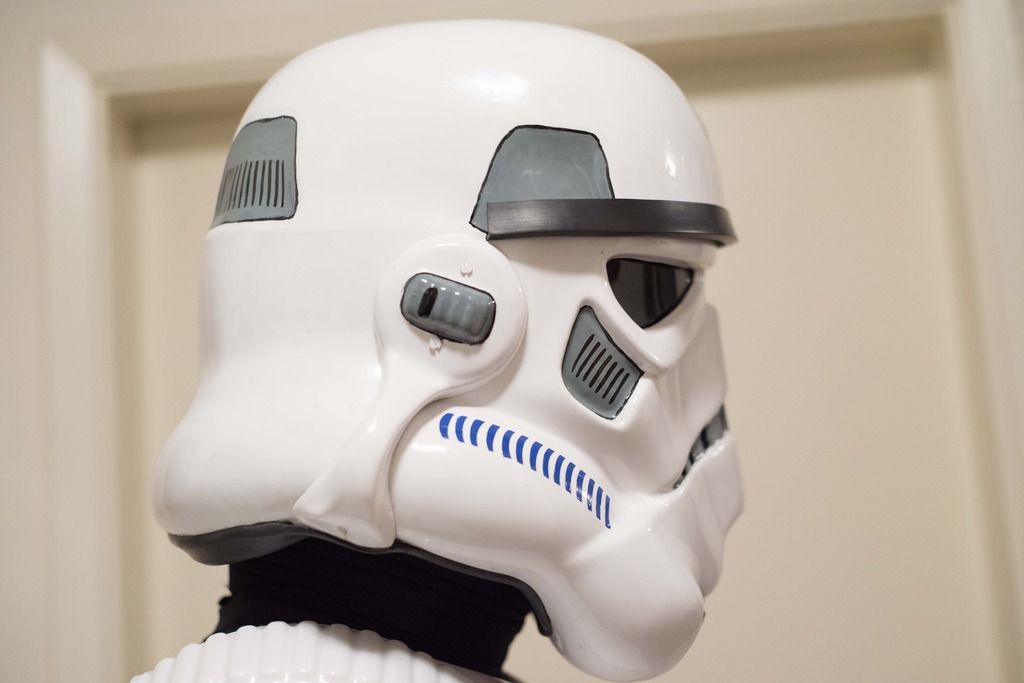
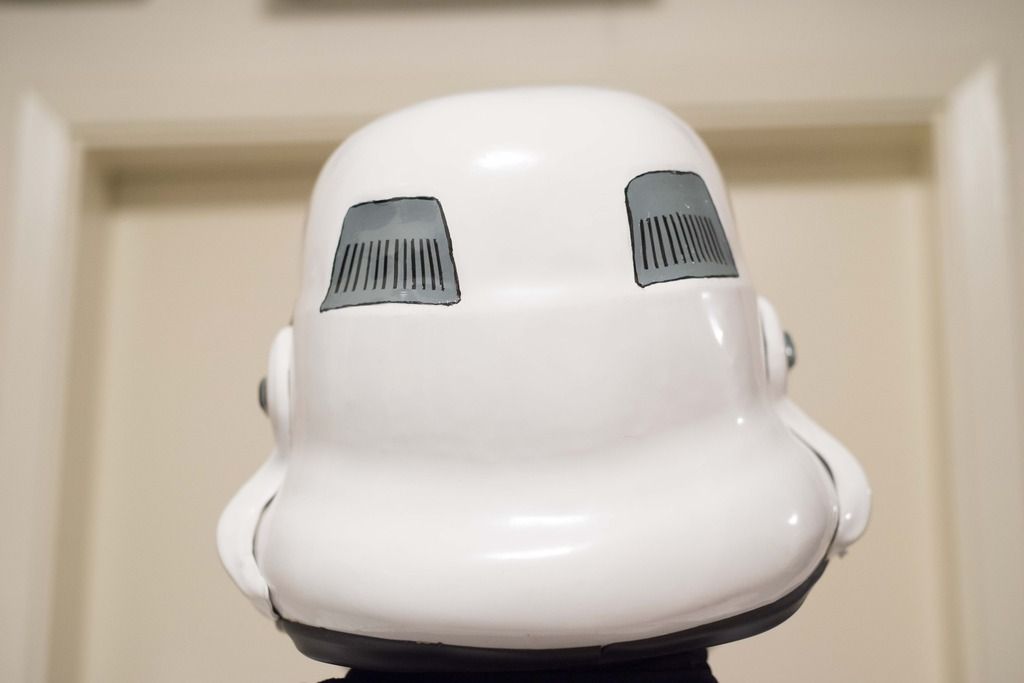
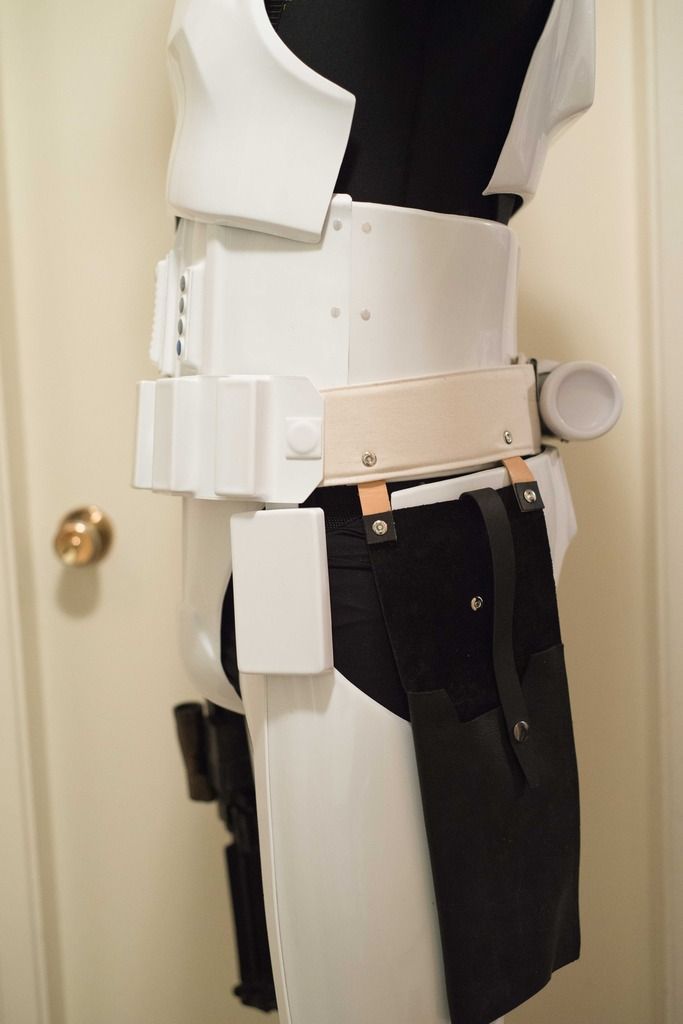
Aaron Lutsch
TK-32794
DeathProof
Outer Rim Garrison
Armor = ATA; (Built by Pandatrooper)
Helmet= ATA
Blaster= DoopeyDoos/Gattaca Props
Height = 5'11.5"
Weight = 175lbs
Boots = TKBoots
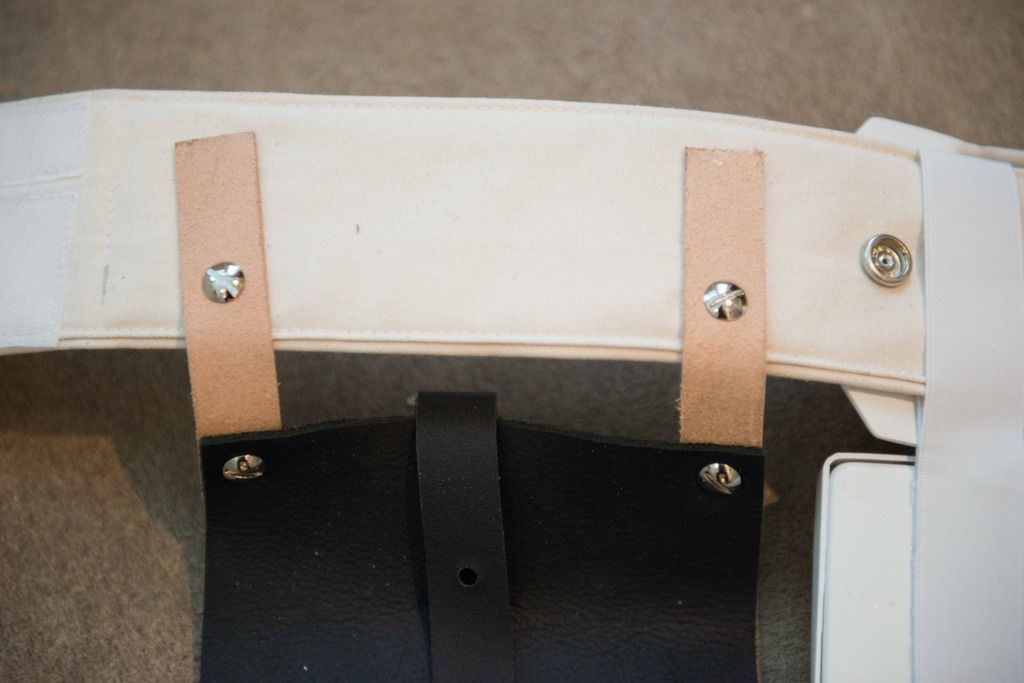
Canvas belt = Pandatrooper
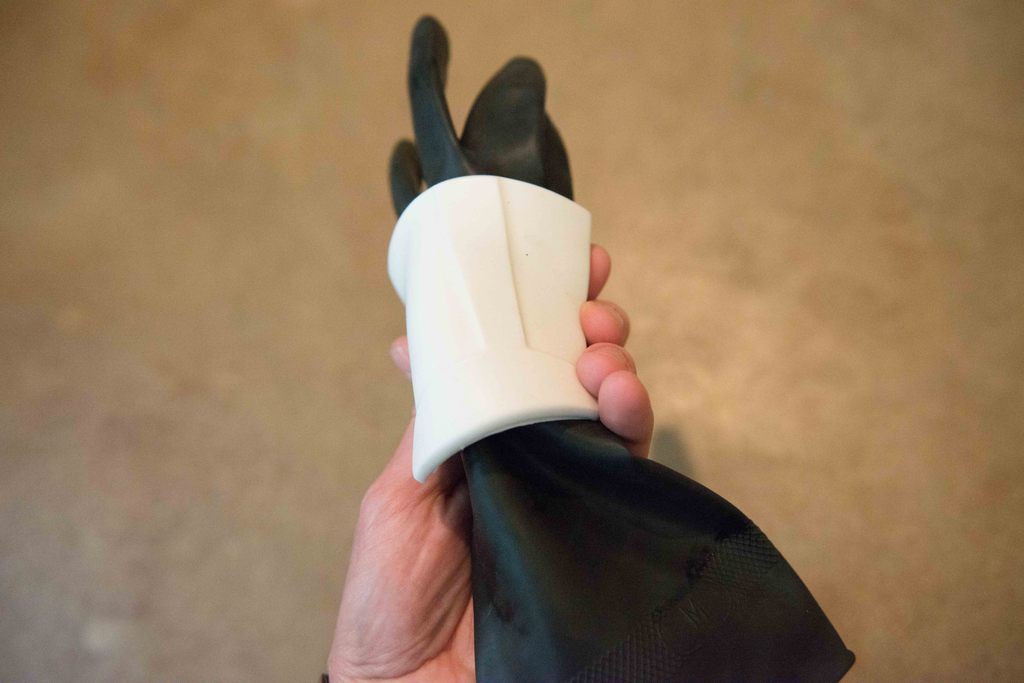
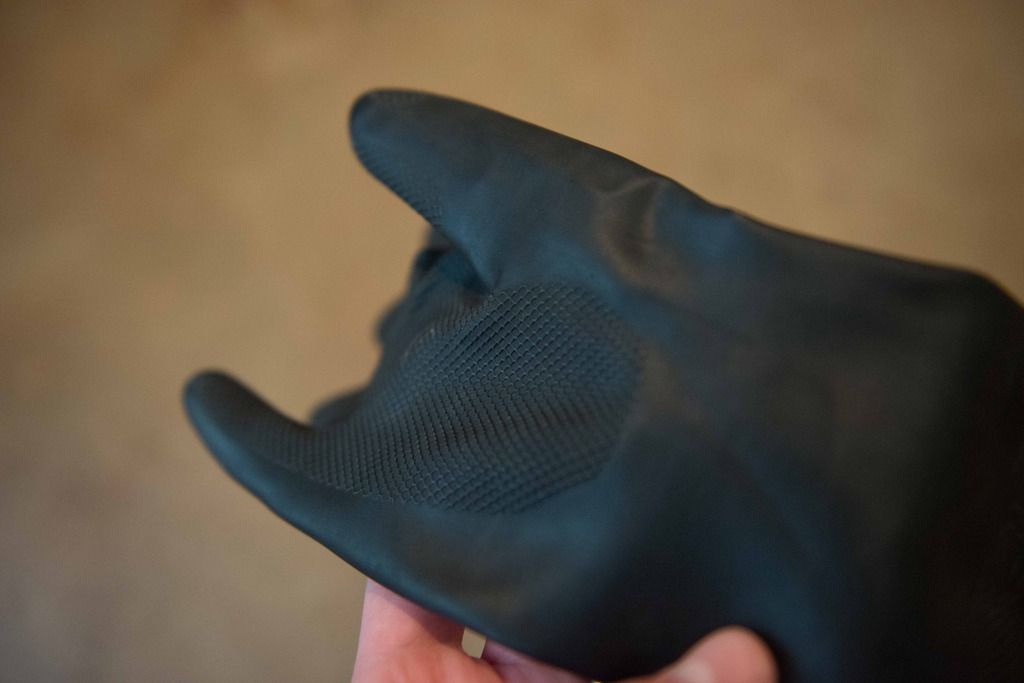
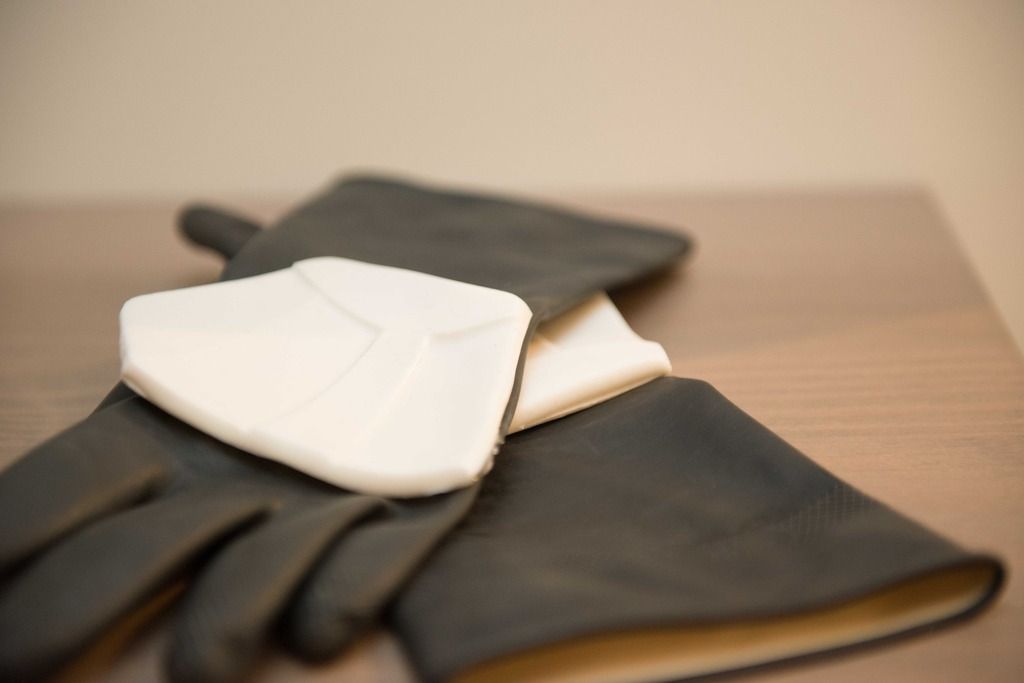
Hand Plates = ABS(ATA); Rubber (AP)
Electronics= Aker, Fans
Neck Seal = Darman
Holster = Darman
EIB Request Thread: http://www.whitearmor.net/forum/topic/37632-tk-32794-requesting-anh-stunt-eib-status-ata-596/


-
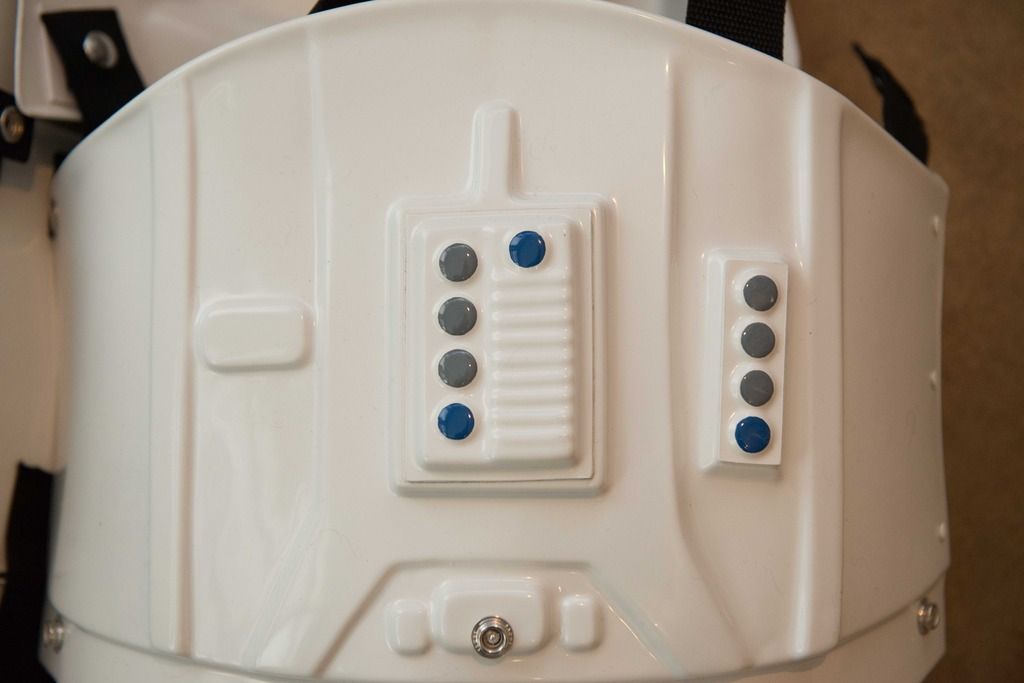
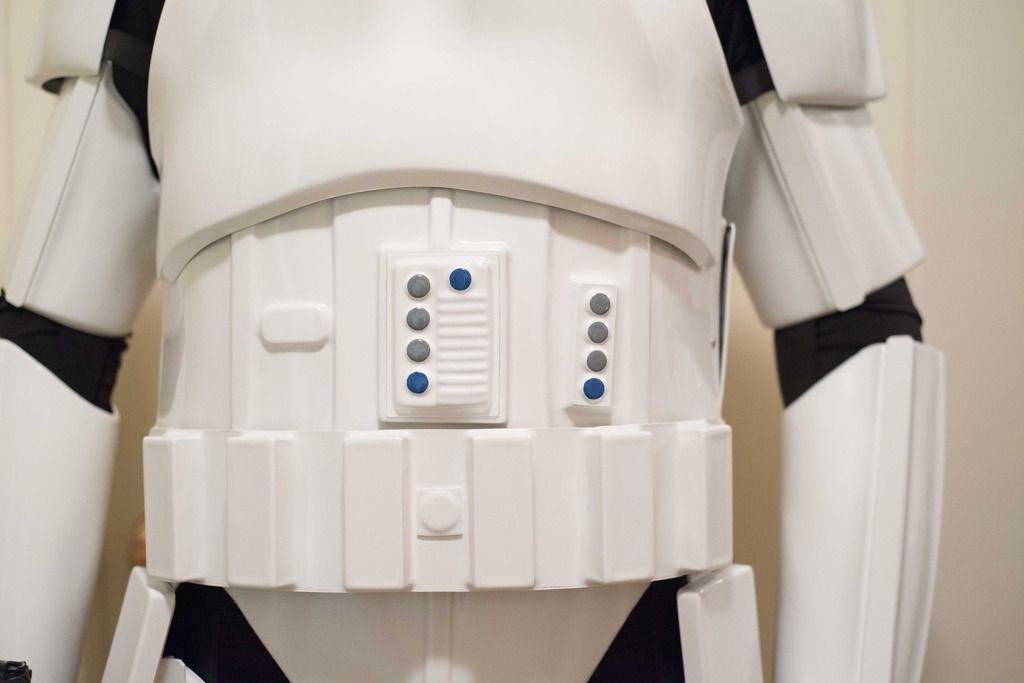
There should be enough airflow as there are holes everywhere for cables
I will try to make a cover box that works within CRL requirements. If the sound gets muffled a little bit, that might be a sacrifice I have to make.
-
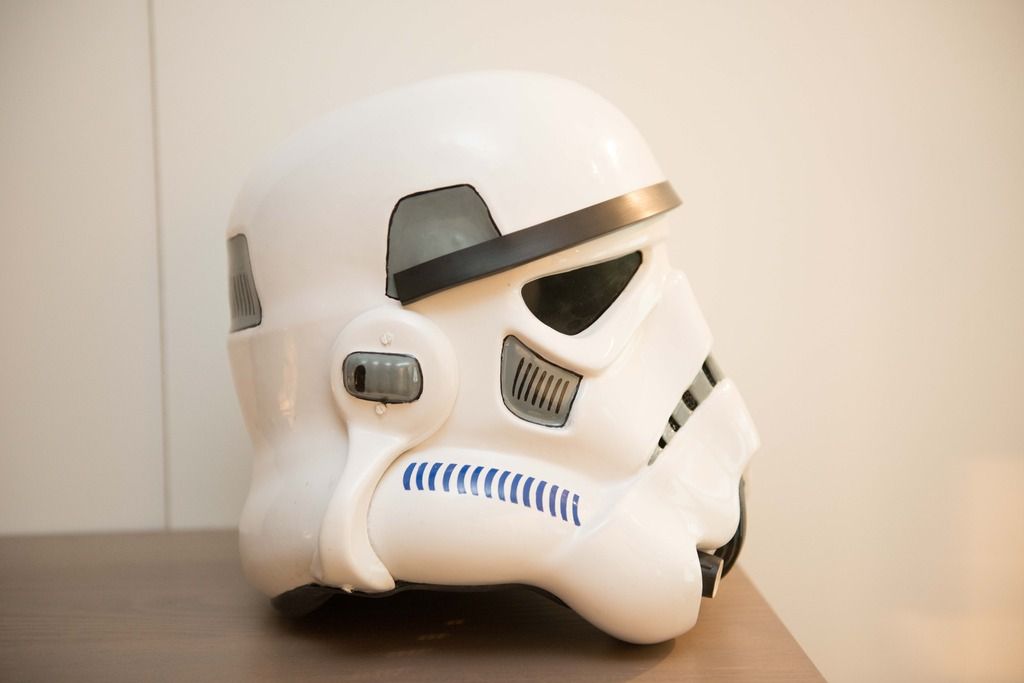
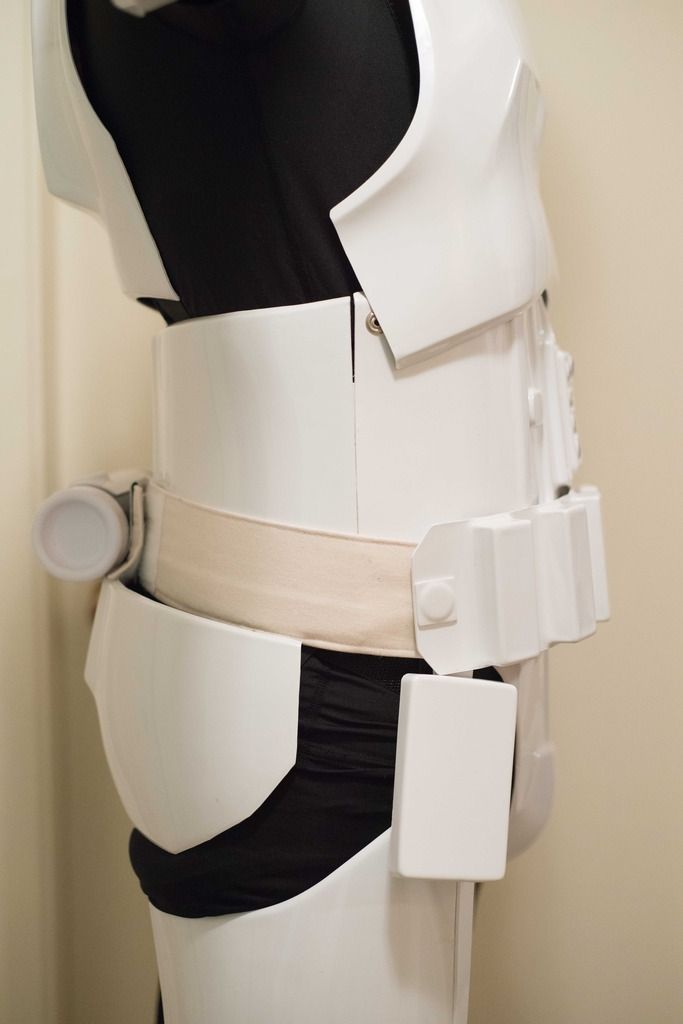
Hi Andrew!
Thanks for the feedback.
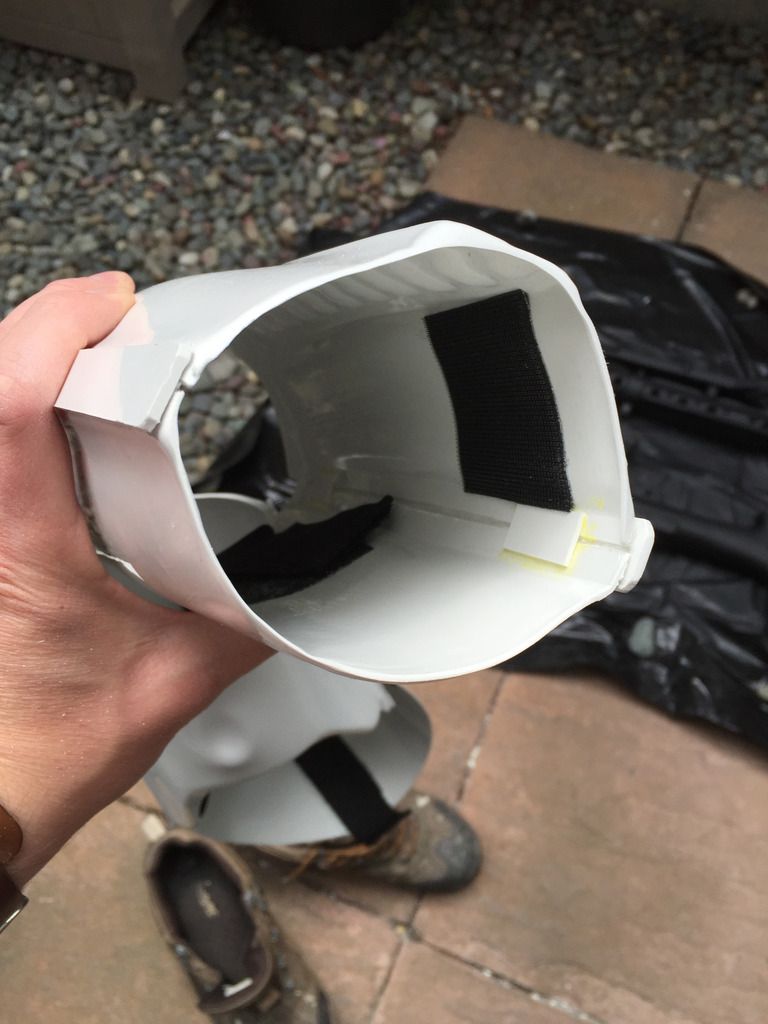
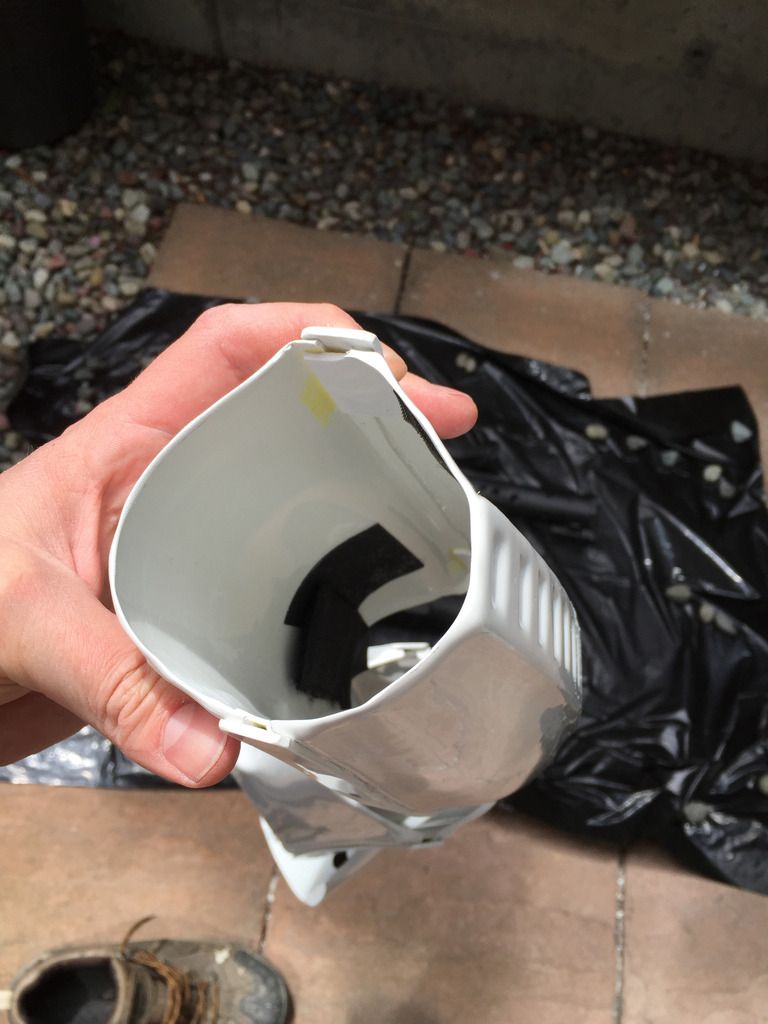
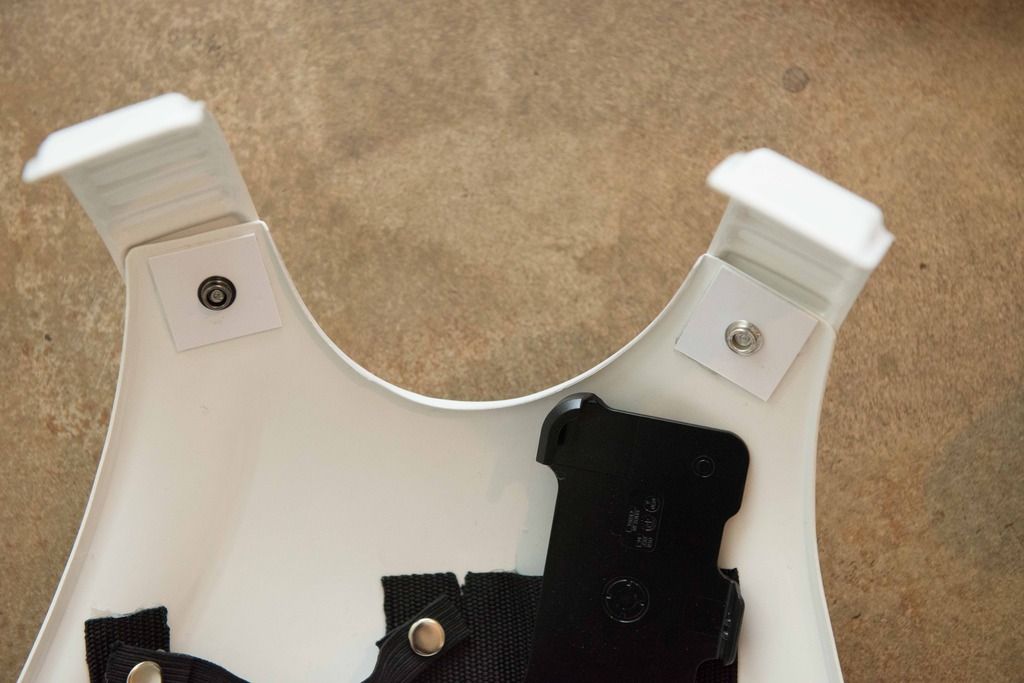
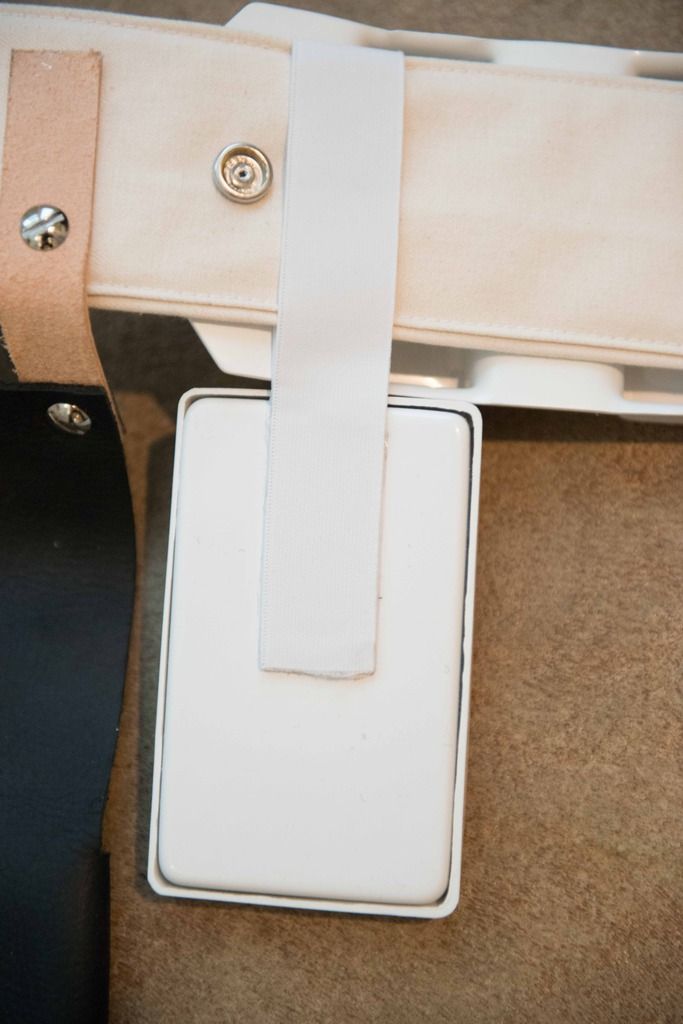
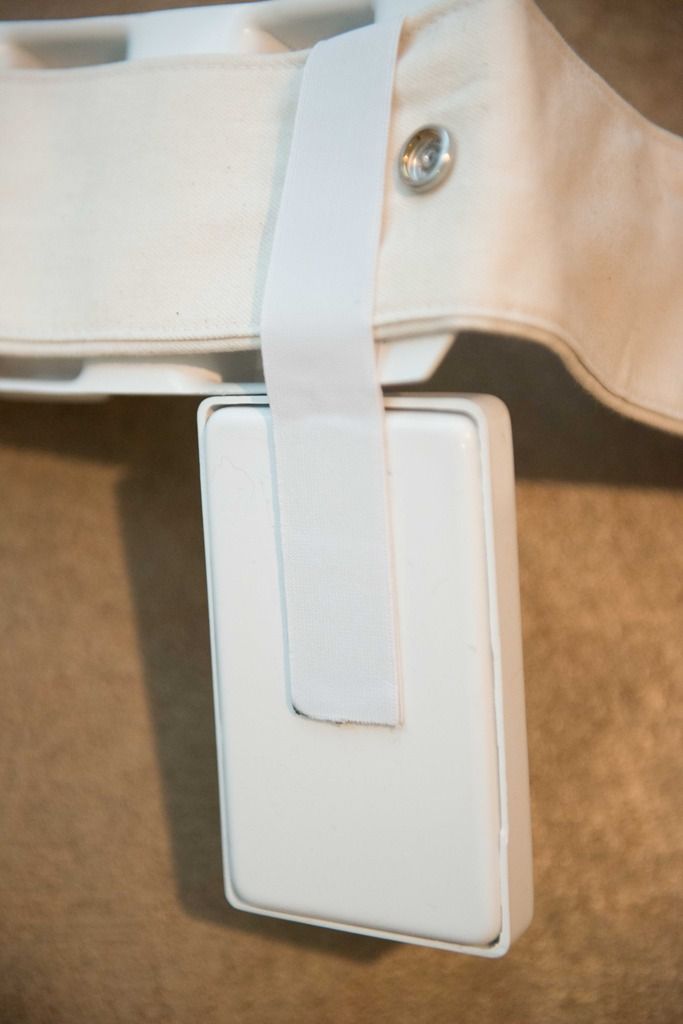
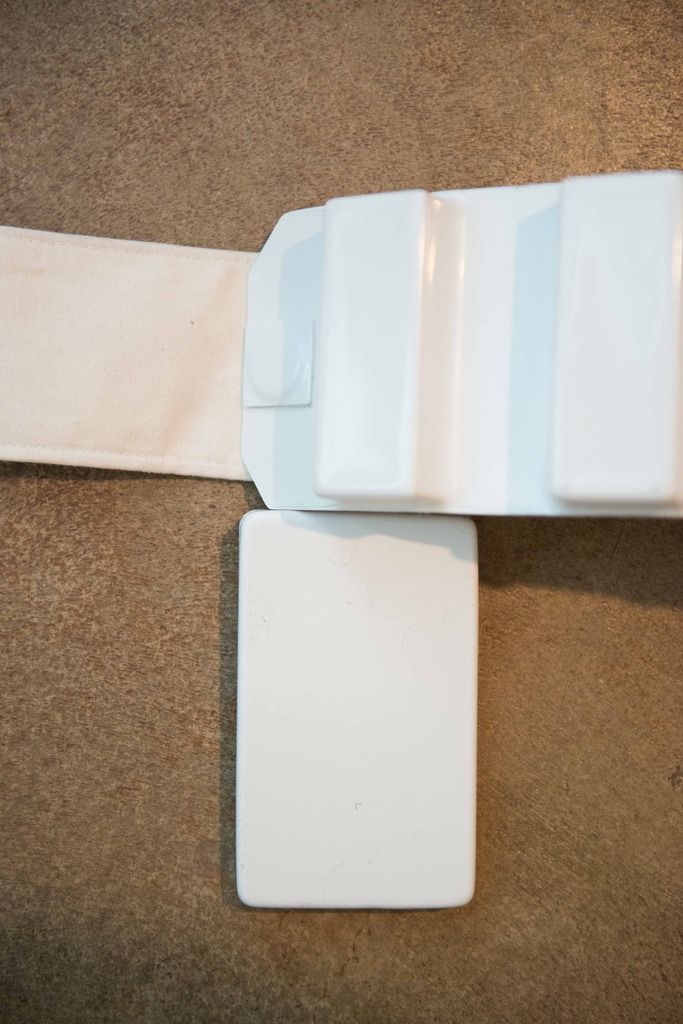
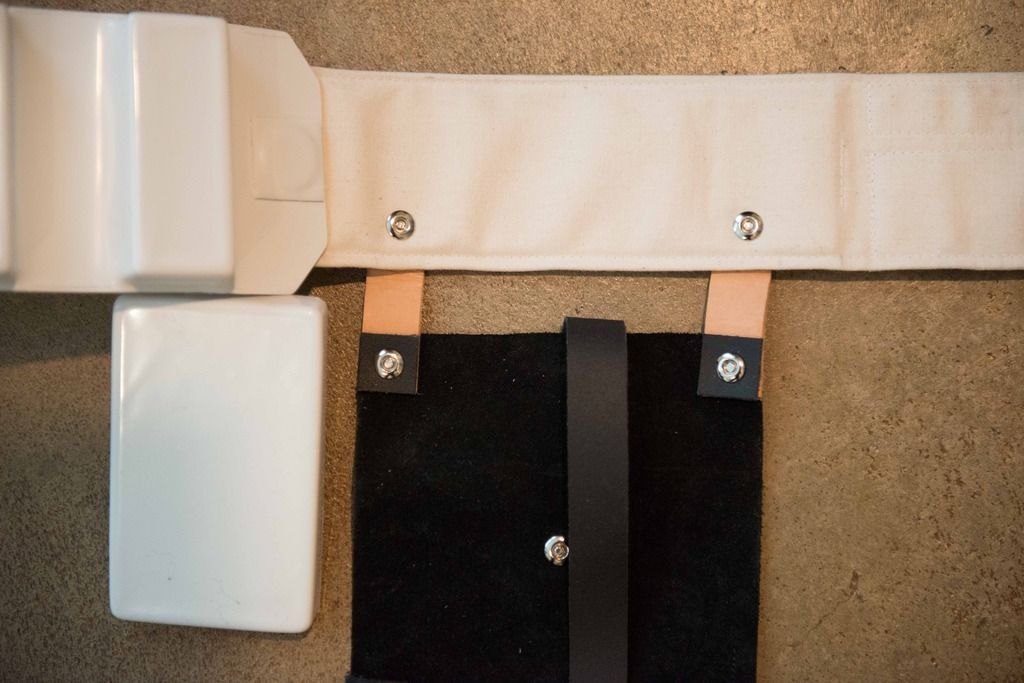
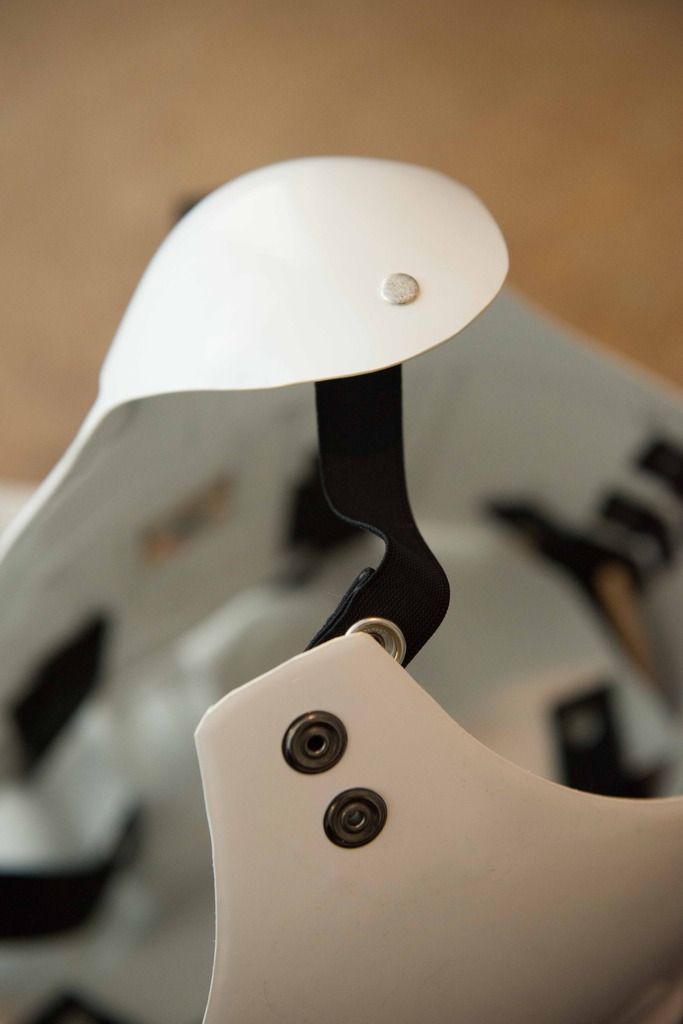
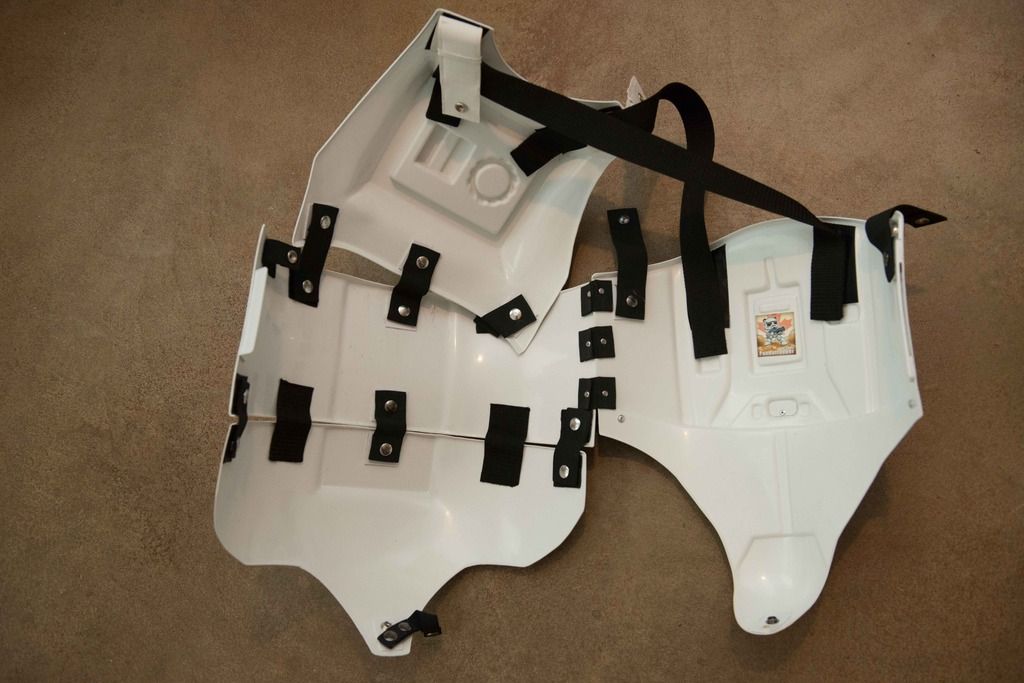
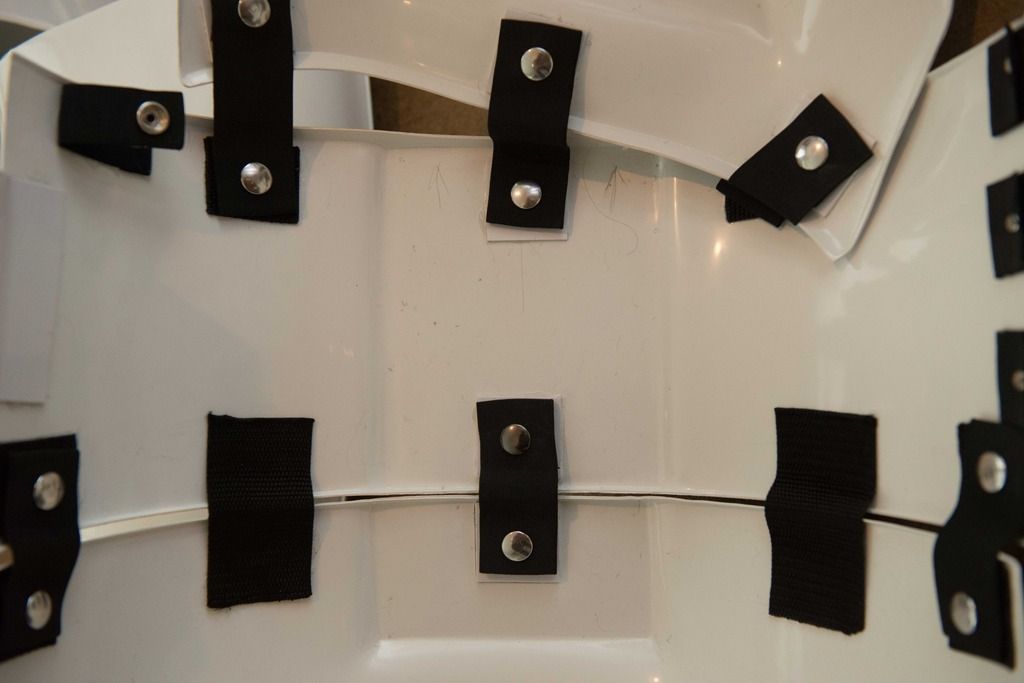
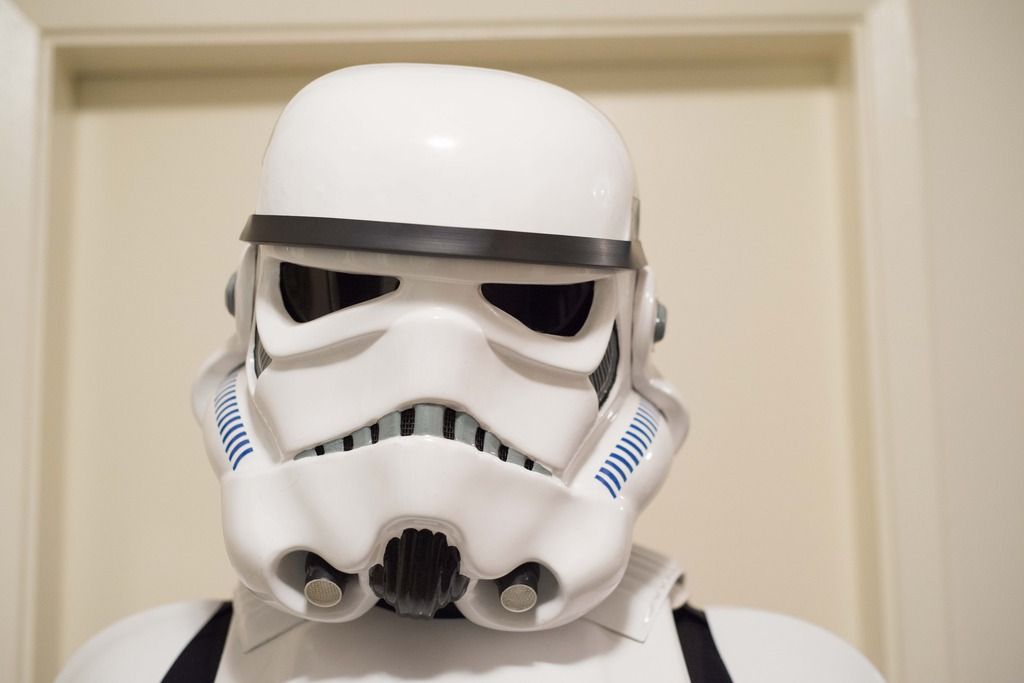
I will do my best to make the changes you suggested. I've already fixed my butt plate by adding some nylon webbing between the kidney and the butt - while the elastic works, this helps keep it closer to my body.
I was planning on adding an elastic to the top of my TKboots and attach it to the insides of the shins to prevent the boots from jutting out. I think this will also help keep them centered. I'll also add some foam though just to be safe
I'll take care of the TD!
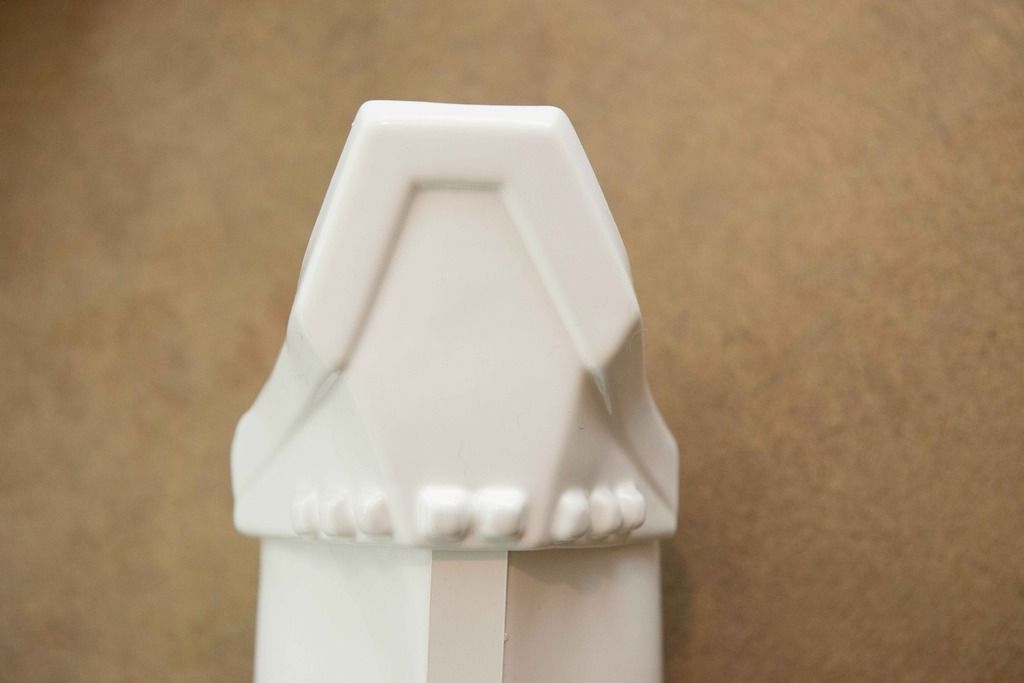
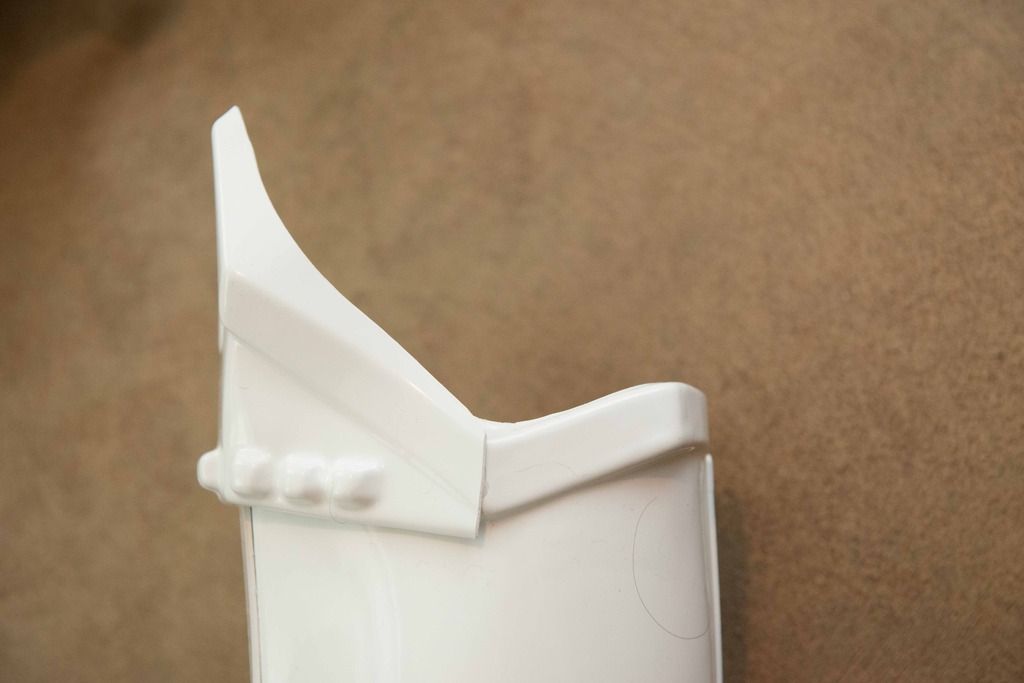
Regarding the traps - I painted them based on their natural curvature. Cutting the angle off might look a bit odd if there is empty space within the dip (does that make sense?) It's an easy fix, but just curious if it's a make or break for centurion as I believe I've seen some helmets have this issue.
Again, thanks for the feedback, and I'm already prepping for my centurion application!
Cheers,
Aaron
-
I plan on just screwing in a metal cover with a nice grill so the sound can escape. For the sound card cover, I just screwed in a rounded piece of styrene.
I started painting it, but the paint didn't stick at all. I also noticed a lot more bumps that I probably should go back and fill in
-
-
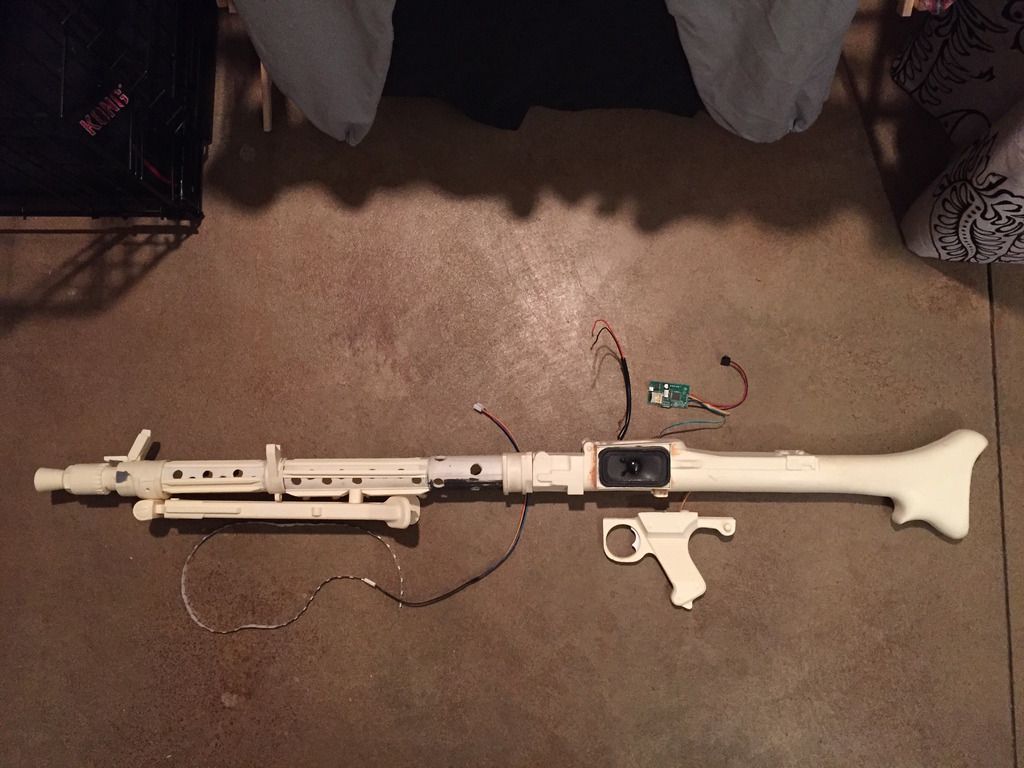
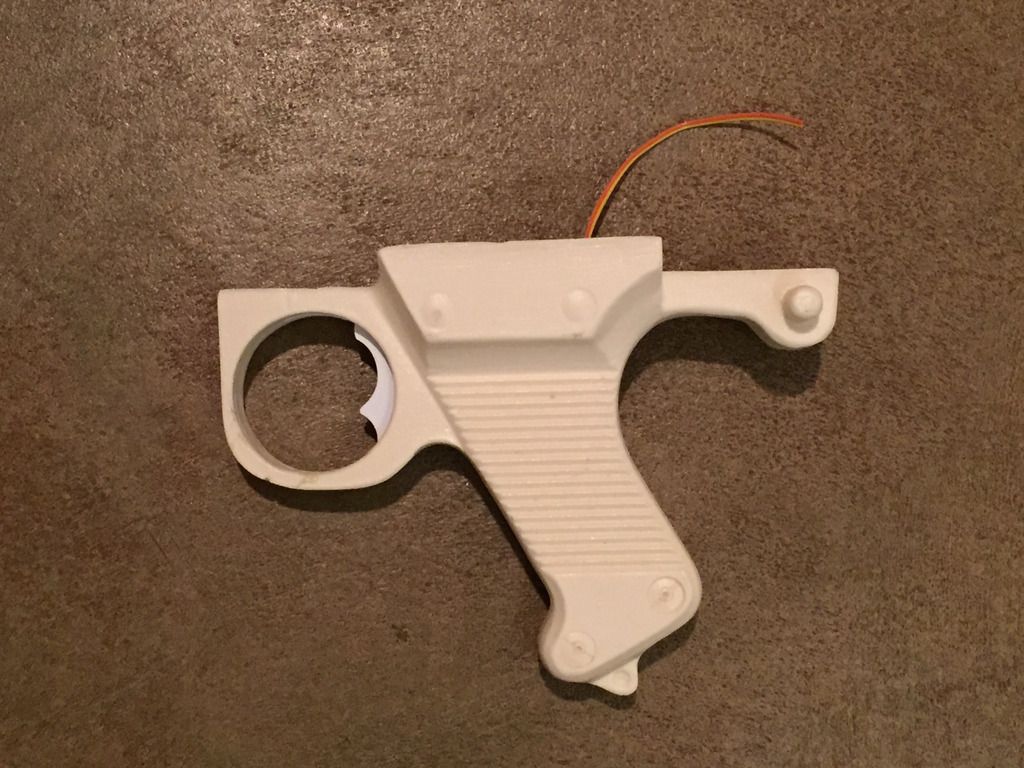
Back to progress on the DLT. Huge thanks to my buddy Colin for helping me out. It's definitely been a workout trying to get the electronics to fit properly, but we're almost there. We made room for the sound card today, and I built a housing for a different speaker and got the working trigger together. If you do this, I highly suggest a hollow DLT
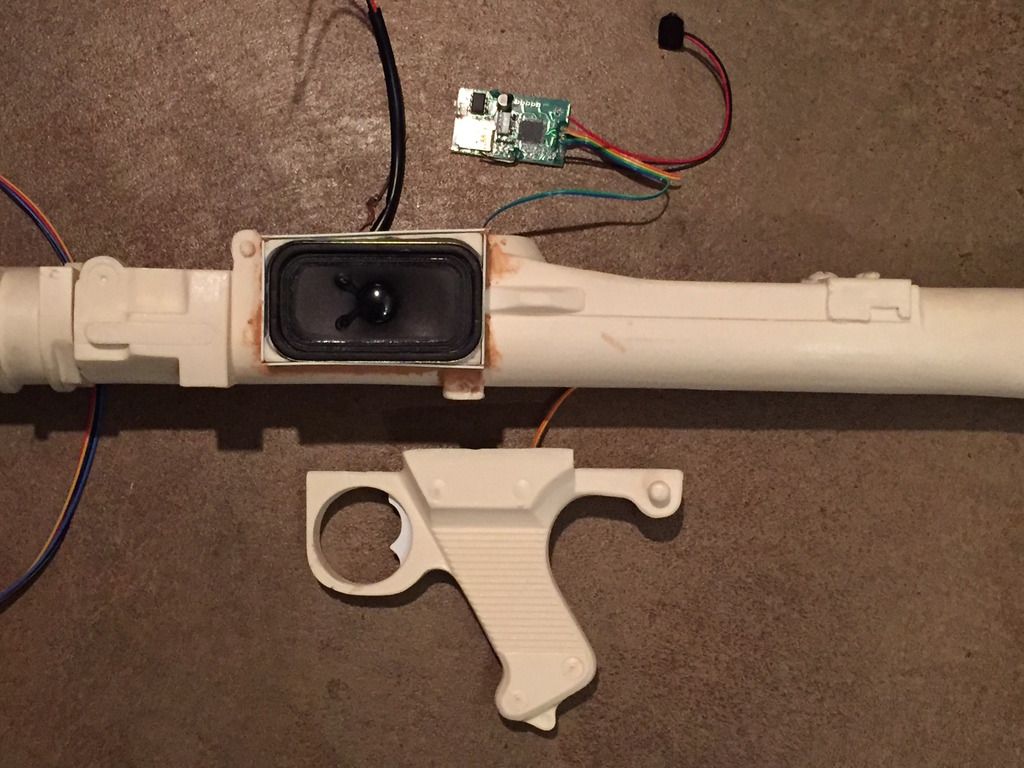
We had to change out the speaker that came with the kit as it was round and didn't fit where we wanted to put it. I will also have to extent the wires to the trigger switch. The battery will be an A23 battery that we pop in behind the speaker. There will be a mesh grill that covers the speaker - not exactly accurate, but it will still look the part. I also have to build an access panel for the sound board.
-
1
-
-
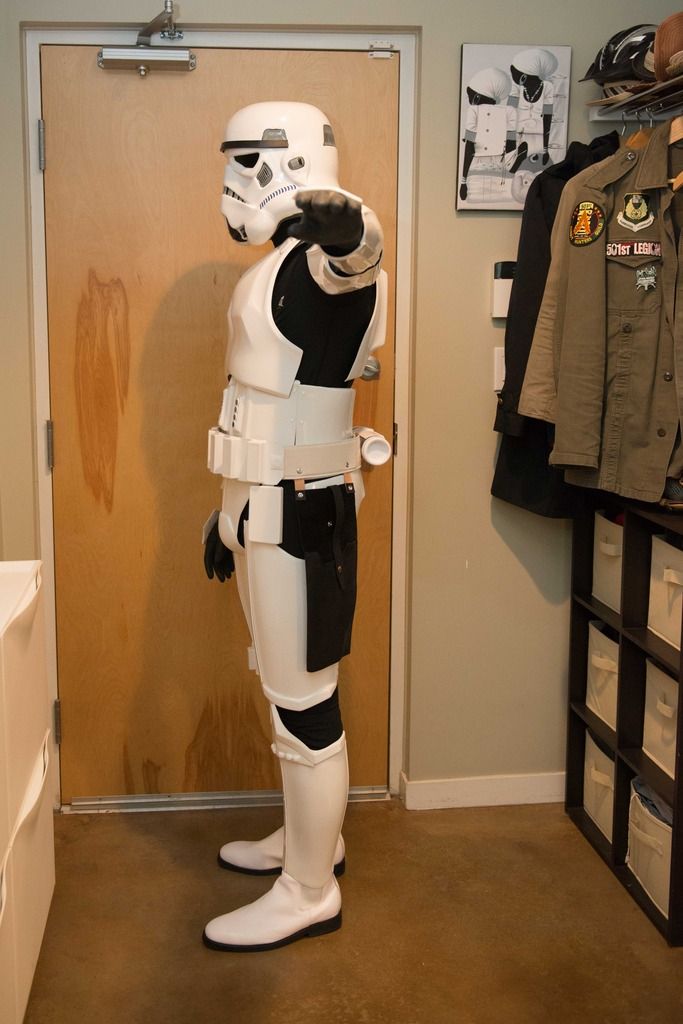
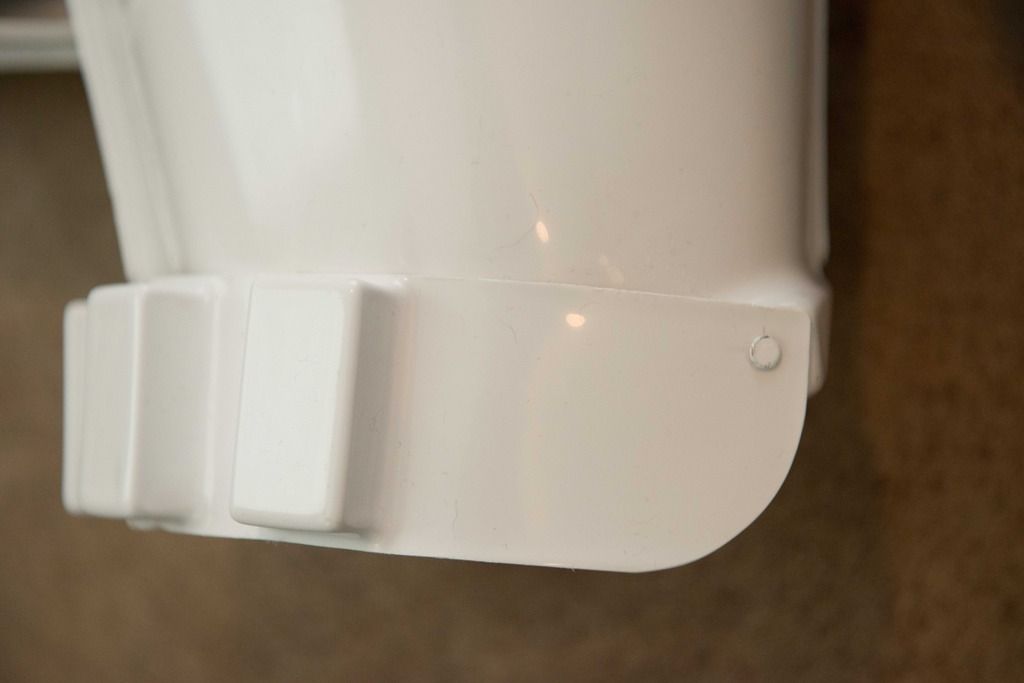
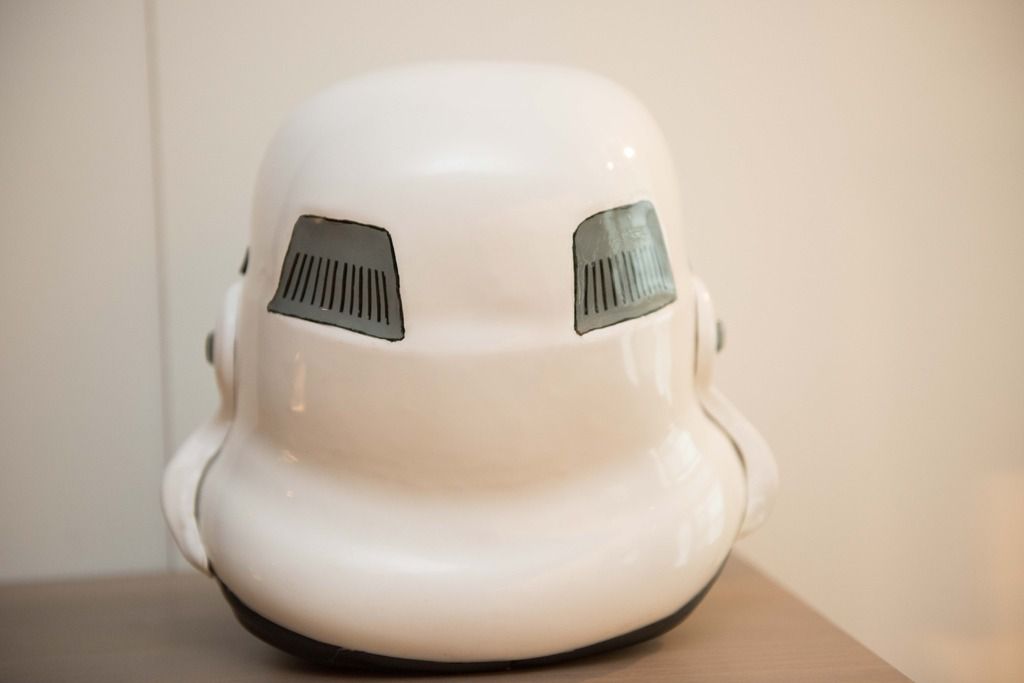
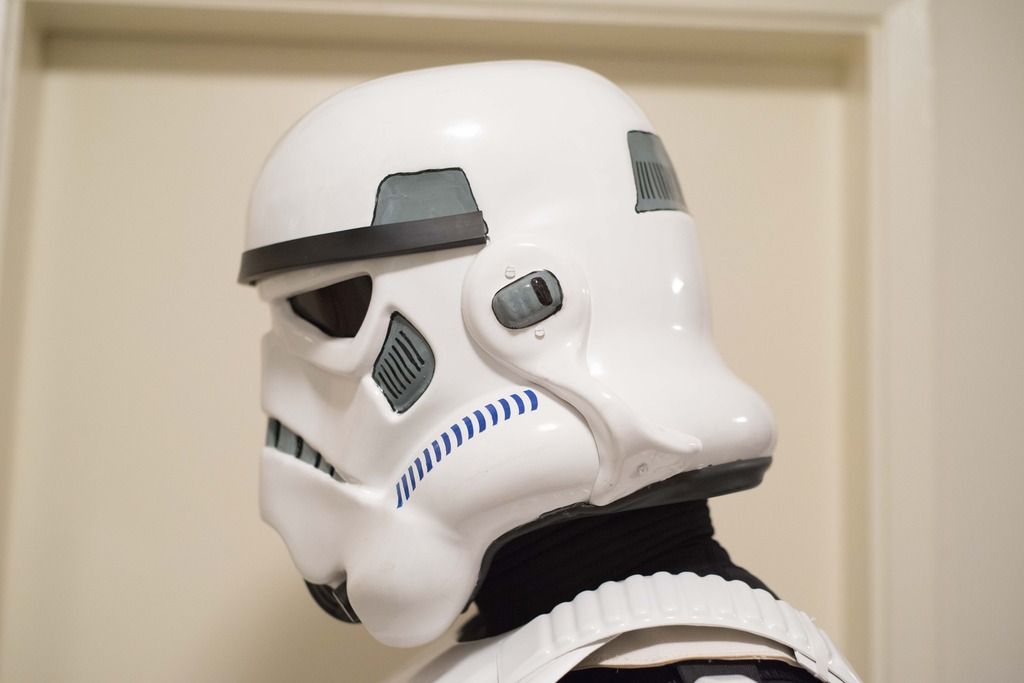
Since taking the photos I have shortened the bicep strap which has pulled the shoulders closer to my chest, closing the gap nicely
-
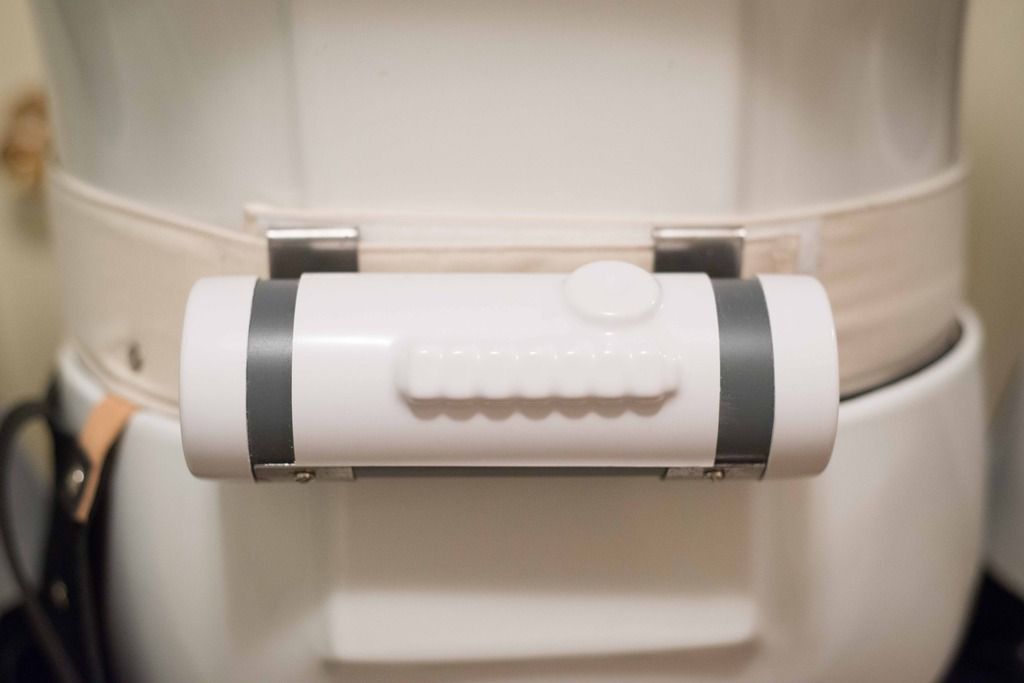
Aaron Lutsch
TK-32794
DeathProof
Outer Rim Garrison
Armor = ATA; (Built by Pandatrooper)
Helmet= ATA
Blaster= DoopeyDoos/Gattaca Props
Height = 5'11.5"
Weight = 175lbs
Boots = TKBoots
Canvas belt = Pandatrooper
Hand Plates = ABS(ATA); Rubber (AP)
Electronics= Aker, Fans
Neck Seal = Darman
Holster = Darman

-
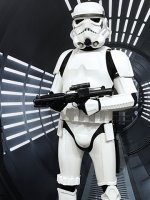
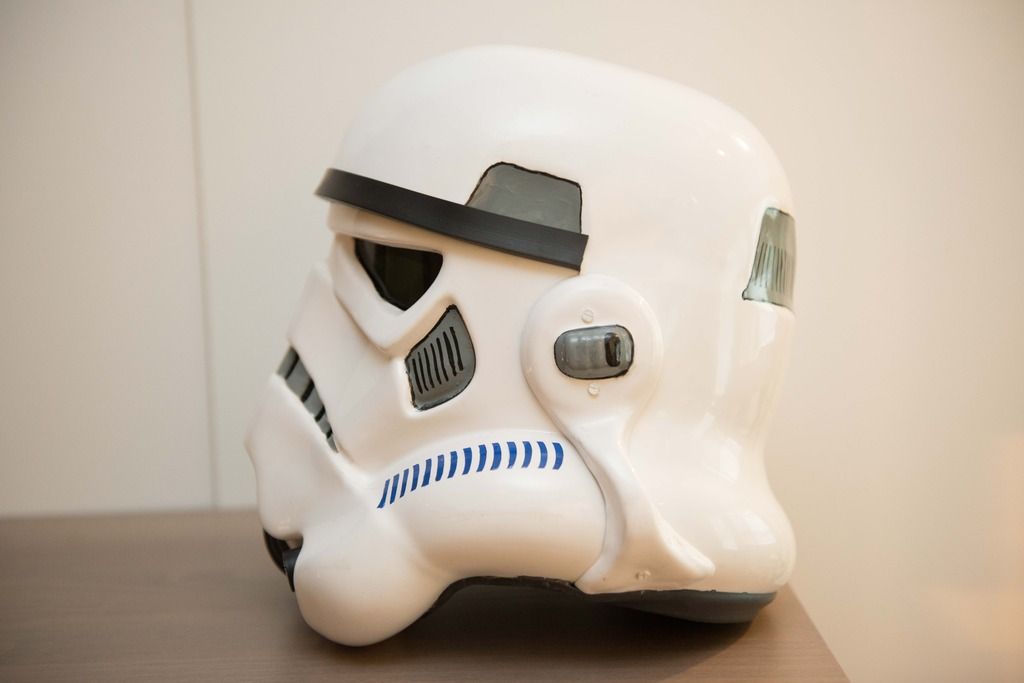
Newly approved TK requesting status update!
http://501st.com/members/displaymember.php?userID=18380&costumeID=124
-
I just received two of these. They work great! I've tested it with TKVoice and it works. I've also tested it with both of them on to check interference and found they don't cross over.
-
1
-
-
Thanks! I originally thought that the DLT-19 was an E11 sound just repeated, but after playing Battlefront, I find that it has more bass. If anyone is looking, here are all the sounds from Battlefront for download:
http://forum.symthic.com/star-wars-battlefront/9948-starwars-battlefront-audio-files/
-
1
-
-
I'm trying to do the same for the official E-11 blaster shot and stun setting but I can't figure it out.
Under sound effects & more/blasters
----------
-
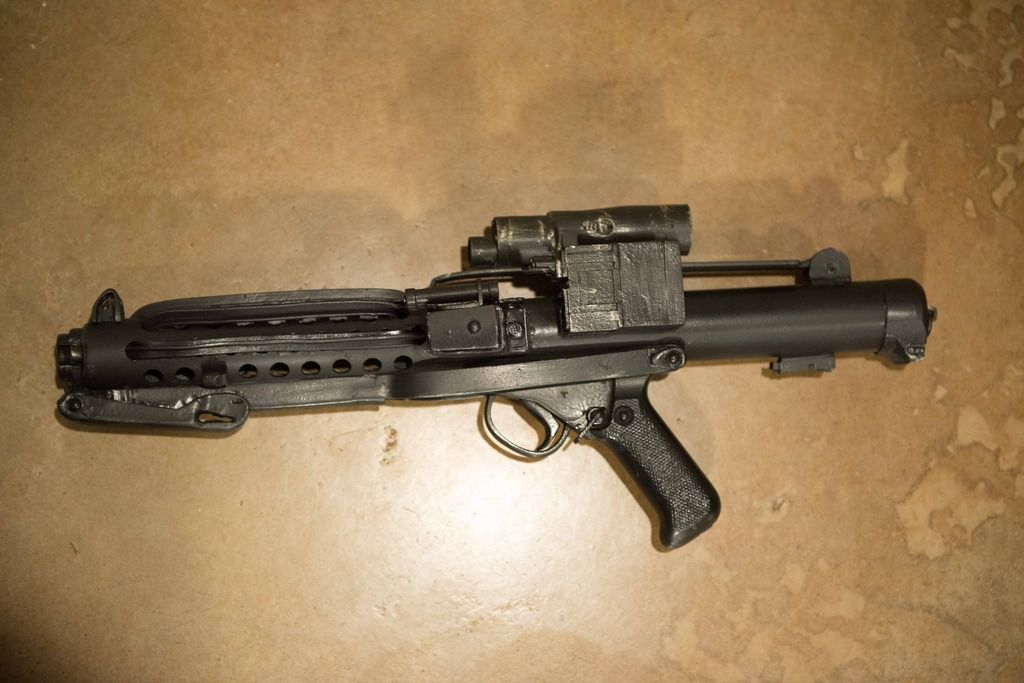
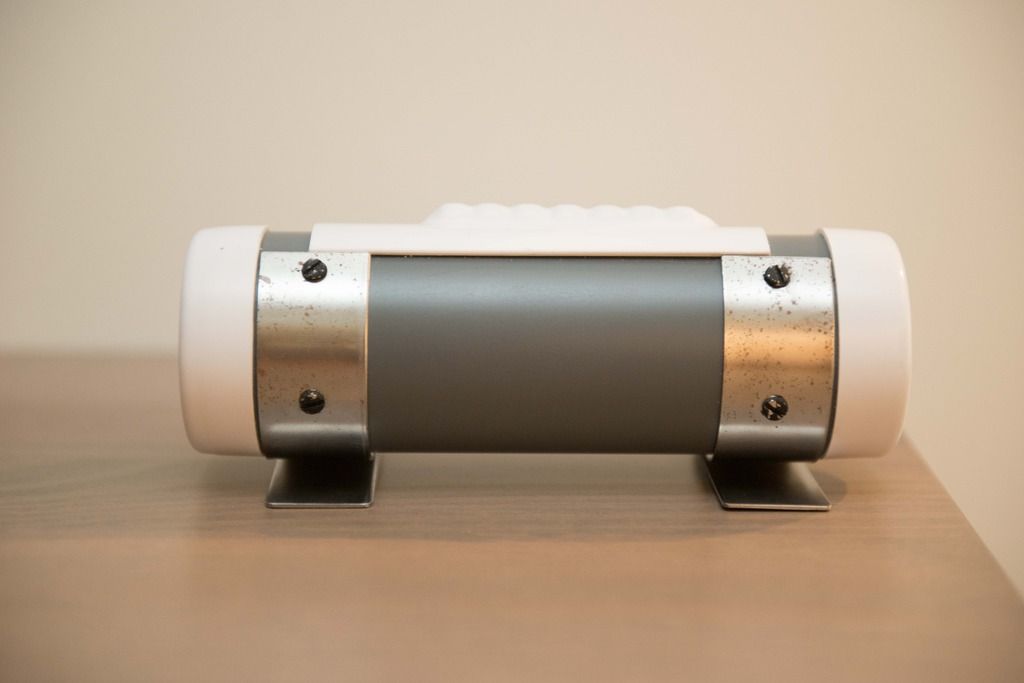
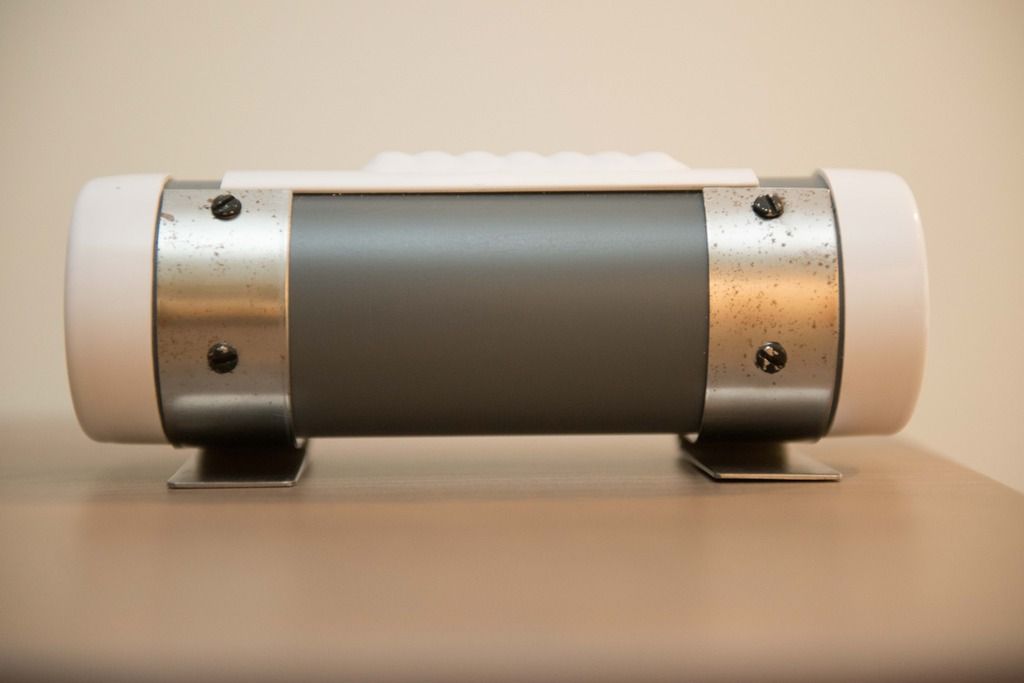
The electronics came in! I can now get to work on installing them
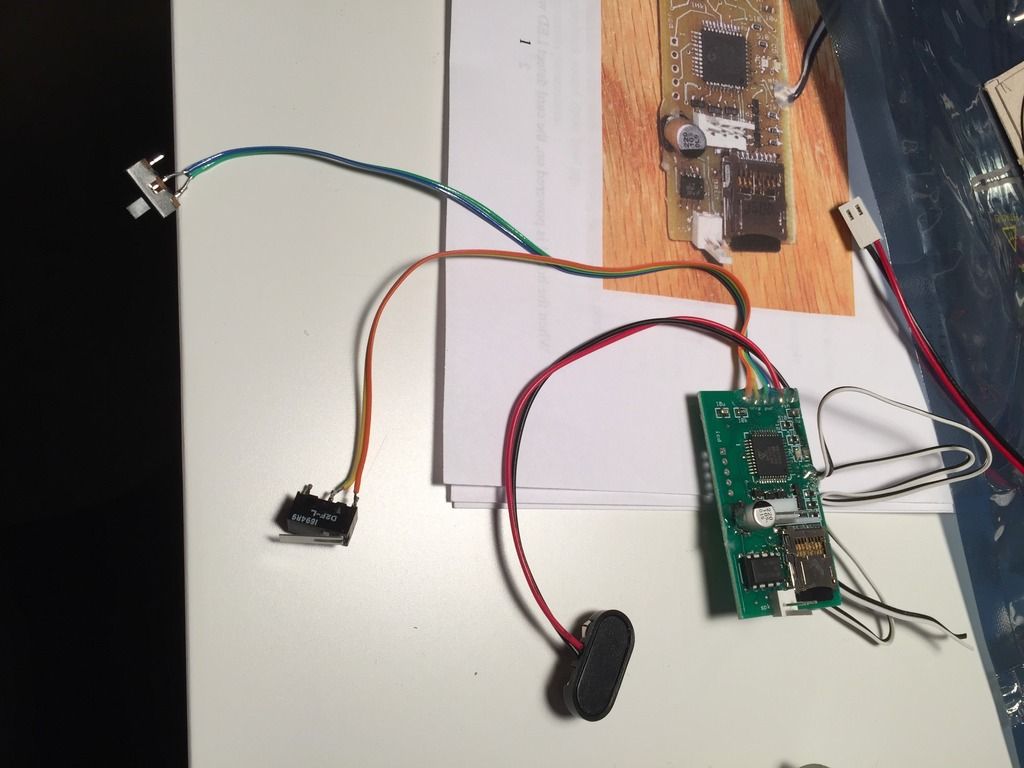
Not pictured are the speaker and the LED strips for going down the barrel.
I have a feeling I'm going to try and find a different speaker. Ideally I'd like to have one small enough to go into the barrel as that would have the sound move forward. The current speaker is too wide to fit in the barrel.
Going through the instructions doesn't give to much insight on the actual installation of the electronics - placement, how to tips, etc. Good stuff on changing the sounds, but placing it in the gun itself may be challenging.
@magni - did you go with the additional muzzle flash? How is your gun powered? The board comes with a 9V battery connector...but then I'm reading that if I want to do the barrel strips (included) it needs to be 12V. I'm assuming he means an A23 battery? In which case, how is this connected to the 9V connector?
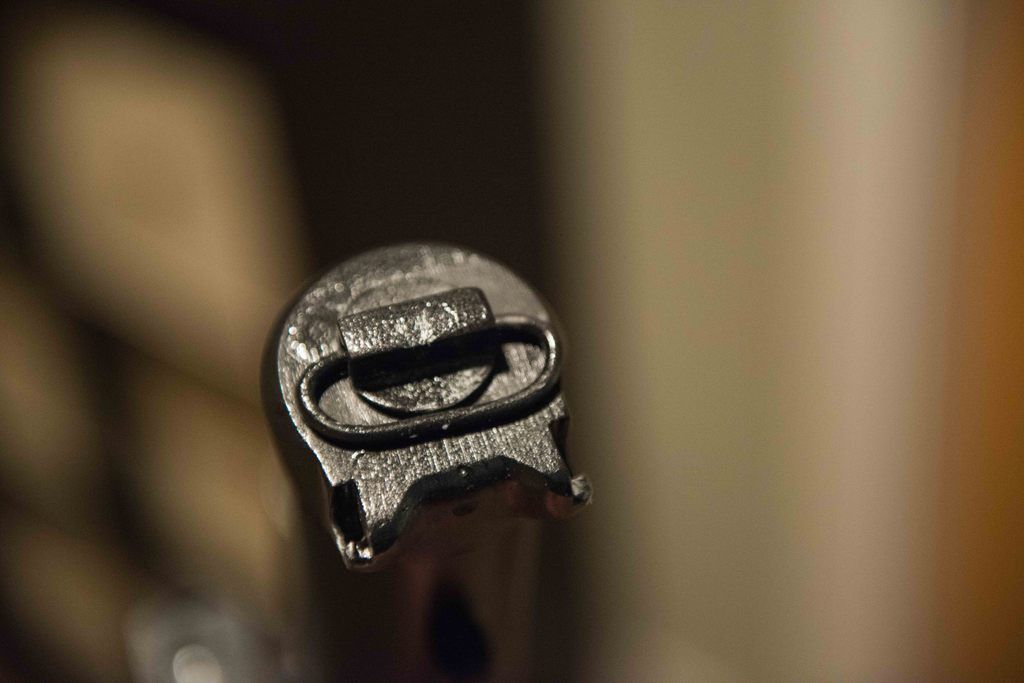
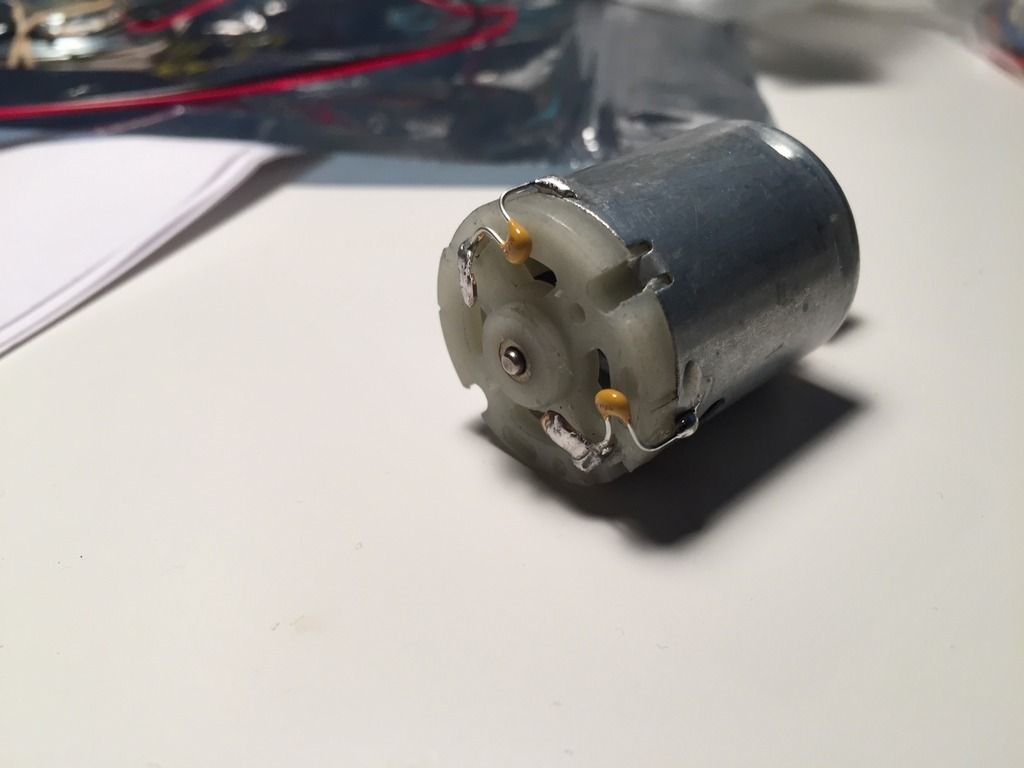
Also - this thing came with it...and I have no idea what it is as it is not listed in his instructions. Is this the force feedback motor? I thought that was extra...
-
I picked up two. Pretty good deal, and if it works as advertised, it will be a huge help to get rid of unwanted wires
-
1
-
-
Gotcha. The stock half of the gun is solid, so I know I'll have a fair amount of drilling to do.
-
Thanks guys.
Sorry bulldog, the maker stopped making them only after a short run.
@magni : Can you share any pics of your setup or a link to a built thread? Cool to hear that it comes already with a trigger. That's one thing less to make
How do you find the volume? It's a 1w speaker, right? And mounting it in the stock keeps it loud enough? ...forgive me....where is the ejector port cover? My kit should be shipped soon so I'll have it in hand in a few weeks.
-
I will correct this when I get home....I hate tapatalk...
FIXED
Gun Bag?
in BlasTech DLT-19
Posted
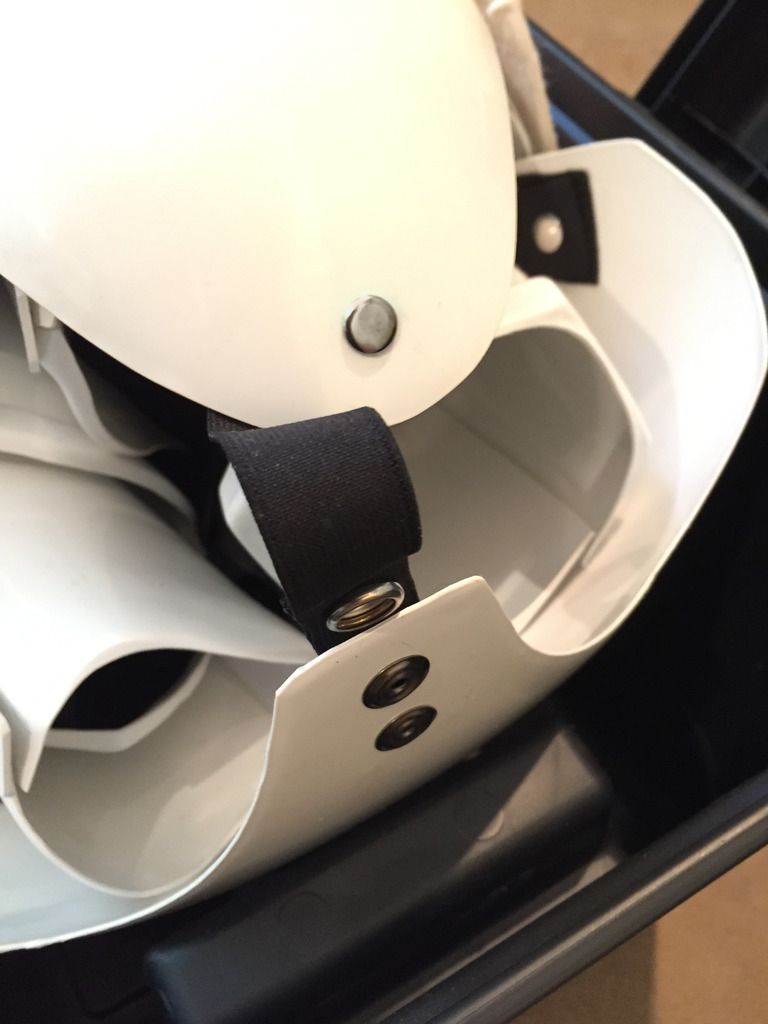
I've tried a couple gun bags like that, but they are too thin.
I ended up going with a ski bag. It's a little long, but it lets me add some foam for protection.