

Barcoder
-
Posts
405 -
Joined
-
Last visited
-
Days Won
3
Content Type
Profiles
Forums
Gallery
Articles
Media Demo
Posts posted by Barcoder
-
-
-
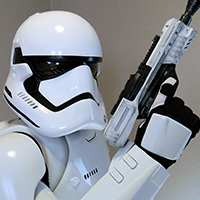
Welcome back Steven!!!!! It's awesome to have you back in the fold.

The world ALWAYS needs more Stormtroopers, regardless if they are short or tall!
-
I really want a black shoulder bell now. Seems much easier than getting a pauldron.

-
 2
2
-
-
Well done trooper!!! Badlands is proud to have you in the ranks!

-
There is elastics good sir - I think I should double them up or change elastic style - great catch and thanks for the help Peter!

Yep, just looked the pics & your thread again. My bad. Might as well rip 'em off and re-glue. lol However, maybe take a break and enjoy the fruits of your labour for a while?
You deserve to bask in the gloriousness of completing your armour.
Those straps are not going anywhere... -
Looking awesome!!
Personally, I think you can move the shoulder bridges forward about two "bars" - that should give you what you are looking for.
Agreed. (Since you used E6000, not much trouble.) But in the meantime, and if you need a break from armour insanity, you can always just add the little white elastics to hold them down flush in the back....
-
Remind me to give you a big 'ole bear hug at Calgary Expo. Badlands garrison is EXTREMELY proud to welcome you to our little family and to the Legion.
I hope to be by your side, standing proud on your first official troop!!
-
2
-
-
Super clean job!
The original suit were very thin almost half the thickness of my suits so it was easier to flex and line up all the parts using the cover strips, plastic being thicker there's less give therefore harder to align ect... I have a test suit made of .50 gauge plastic almost like original and the leg assembly was much much easier.
Mark (AP)
Thanks Mark! The armour is gorgeous! Almost makes me want a set for myself.
My sister is so excited to get this done.The alignment issue is totally minor; it's an easy fix!
-
1
-
-
If you mean the 2 piece Adult Rubies one, it actually isn't that bad. With some mods & lenses, it could look great sitting on a shelf. However, it is VERY small for an adult helmet: no way it can be worn with armour.
I had bought one awhile back in hopes of modding it for occasional use....but quickly gave it away to a small, sick kid during a hospital visit.
Hope this helps!
-
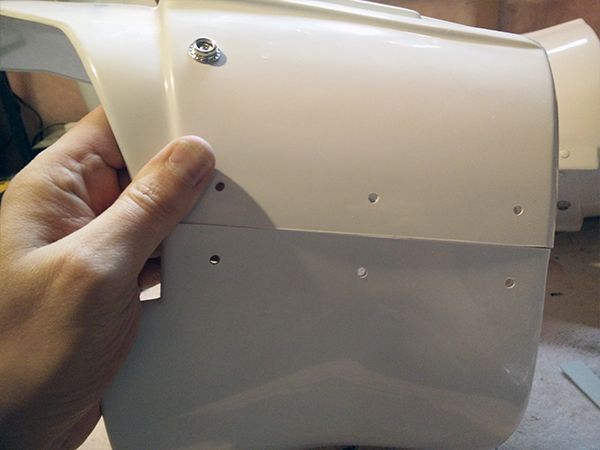
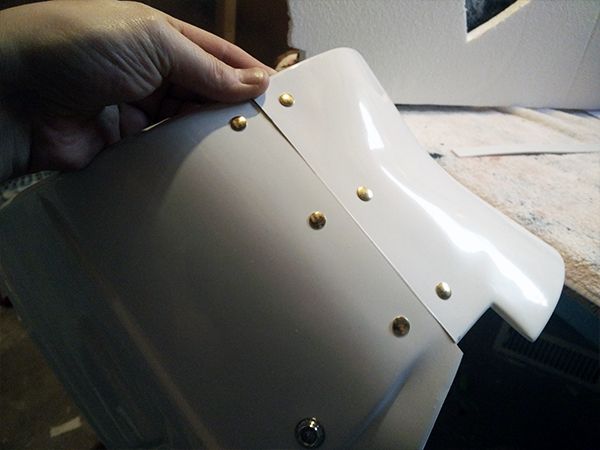
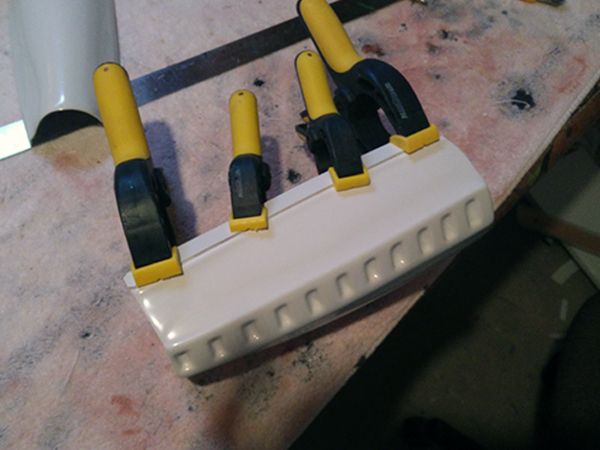
The kidney & the ab section have been cut to size and are ready for the super-accurate split rivets! Thankfully I have my set of armour on hand for reference! That is making this very easy.
(My armour showing the split rivet set-up)
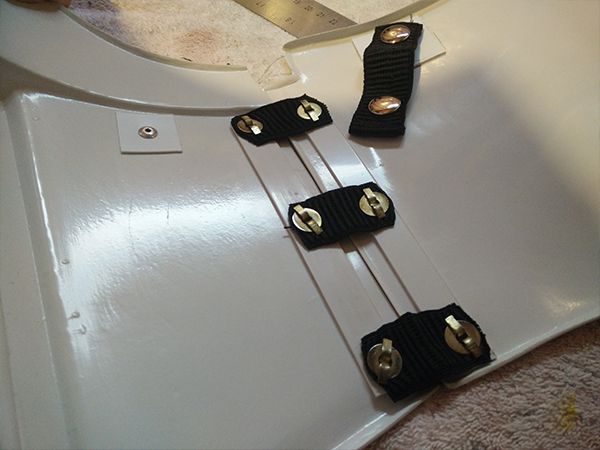
To be accurate, I measured out the rivet placement....10 mm from the armour edge, to the edge of the rivet.
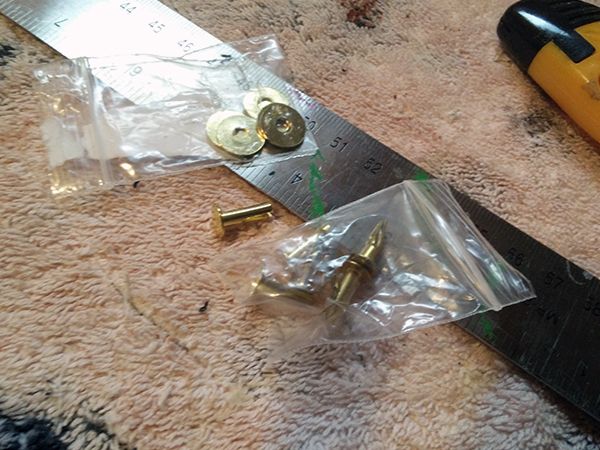
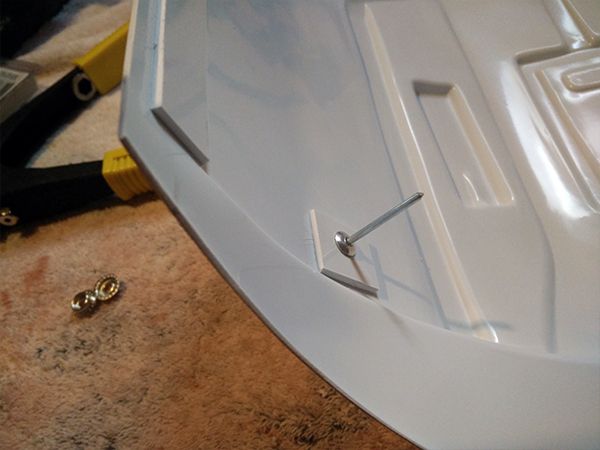
Reinforcing the inside of armour, in preparation for the rivets and washers.
All the lovely holes pre-drilled.
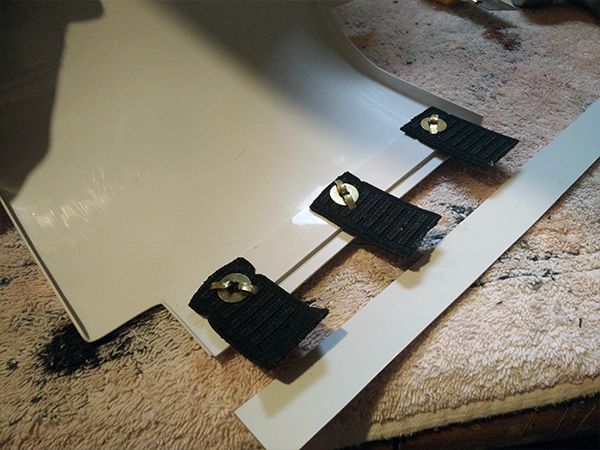
Time for the rivets! I was happy to discover I had the sense to purchase 2 sets of these rivets & pop rivets back when I did my first build. Yay for forward thinking.
One side done!
Here's a pic of using a screwdriver to "split" the rivet enough before hammering down both sides until nice & flush.
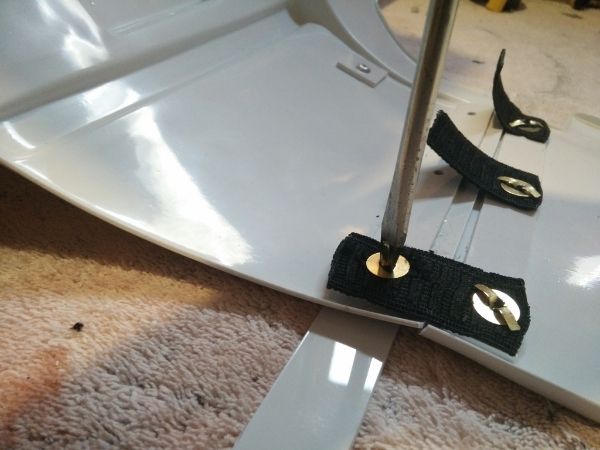
All finished, minus painting the rivets head gloss white.
Also installed the snaps for the belt on the Ab Section. I reinforced the back of the snap placement before using rivets to hold the snaps in place.
-
1
-
-
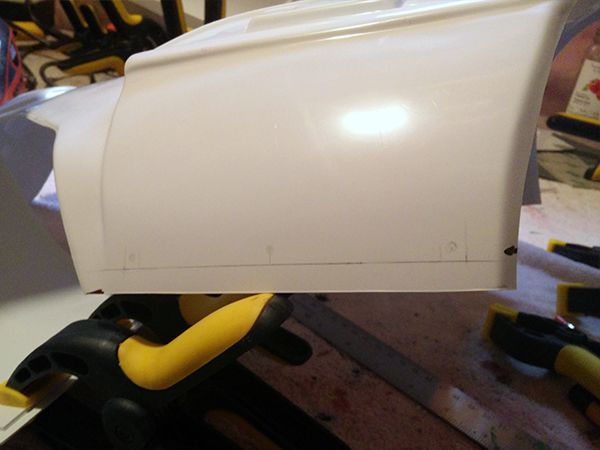
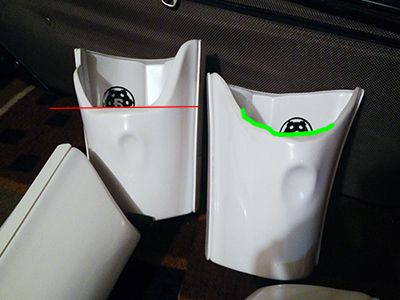
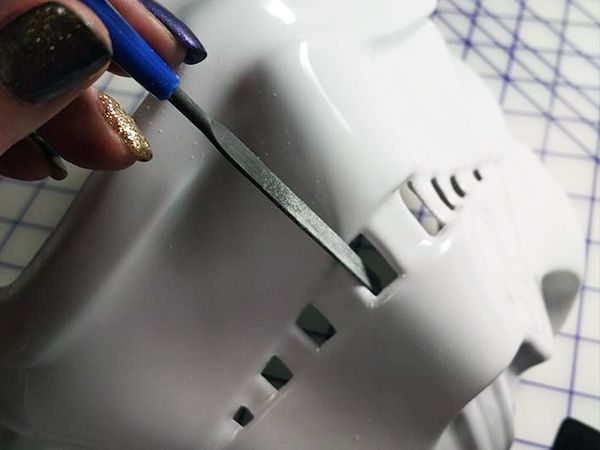
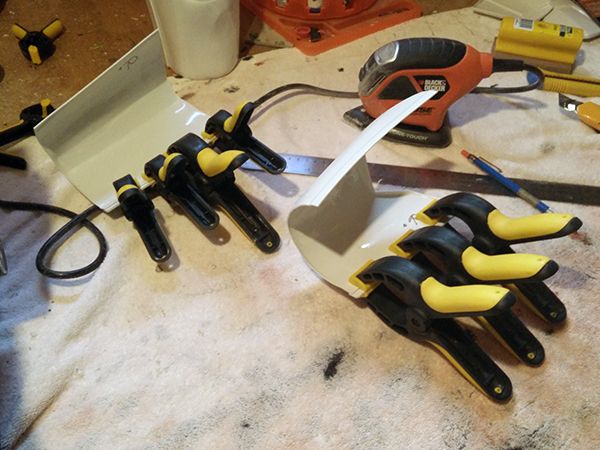
Here is the issue I am having with the shins. they are not lining up properly...and as a result, some heat-gun action will be required.
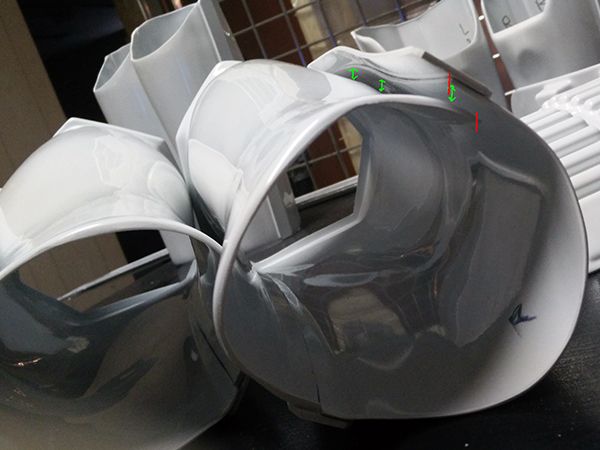
You can see the edges (in red) are not parallel & seriously overlap each other. There is also a large-ish gap (in green) toward the bottom of the shin. The top is totally fine.
-
1
-
-
It will be a pleasure to meet you both and I'm really looking forward to it!
I look forward to it as well.

-
Wow, that's intense. Your butt plate ain't going anywhere! (You'll be able to rock out with out worrying about your butt flying off!
) -
1
-
-
You're sister is going to be trooping before I am at this rate - stellar job!
Ha! I highly doubt that.
Plus, if I do finish before you do, her first troop won't be until Calgary Expo. You both can do your first troop together.-
1
-
-
Not as a productive night as I would have hoped, but productive none the less!
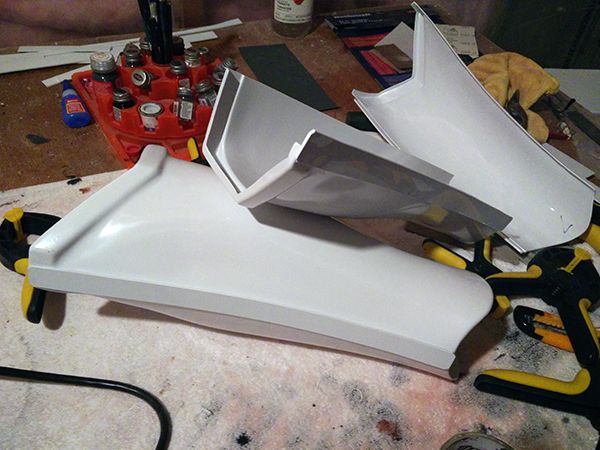
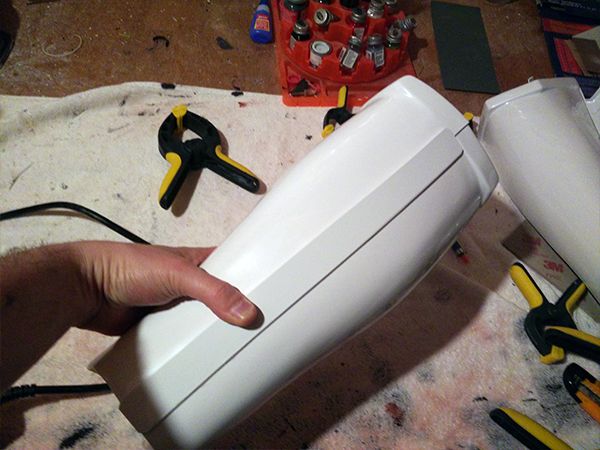
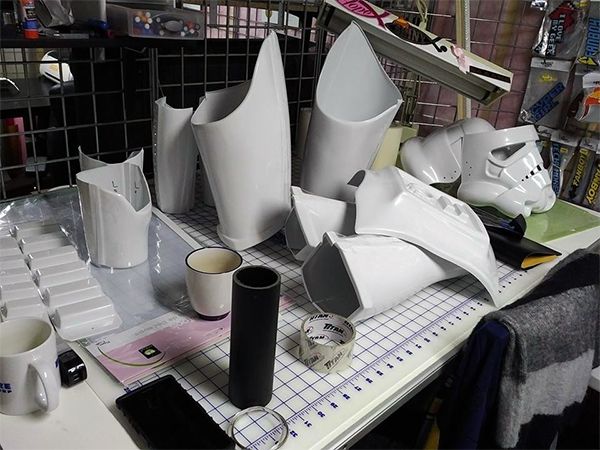
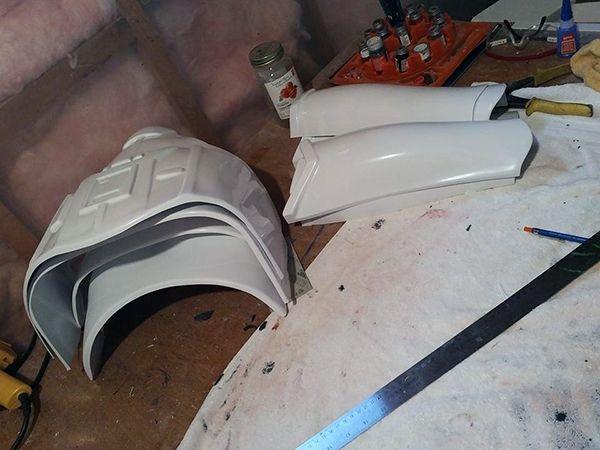
Forearms & biceps are sanded, glued and good to go! (Minus a dip in the hot tub on the forearms.) They are a little squished and need to be reshaped...
I also did some creative sanding on the biceps. I guess APs biceps are identical to each other. (The one of the left is how APs biceps look without extra sanding.) Now they look similar to how mine look...
Went ahead and shaped the ammo belt & the chest straps. using my heat gun was not a stressful as I remember. That thing usually gives me an anxiety attack!
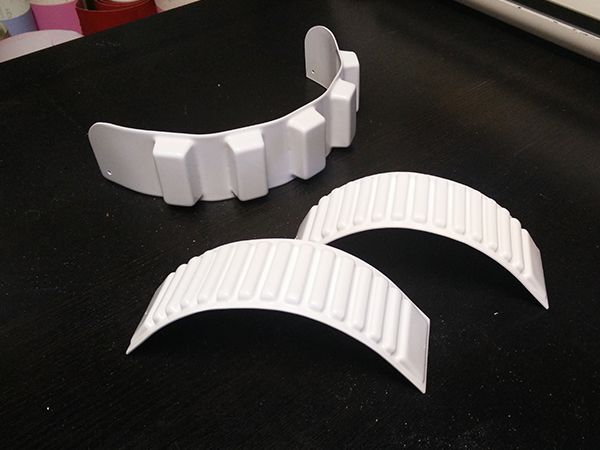
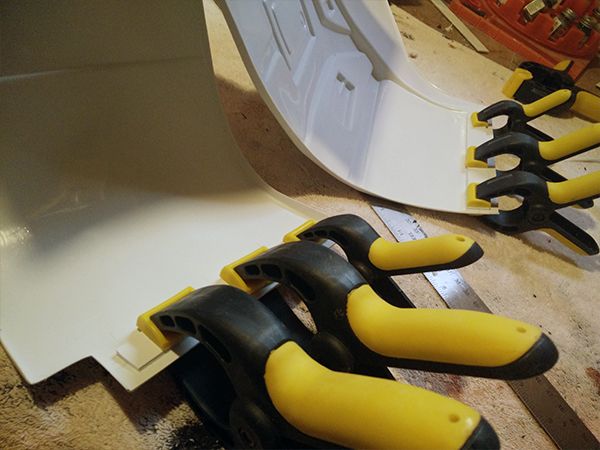
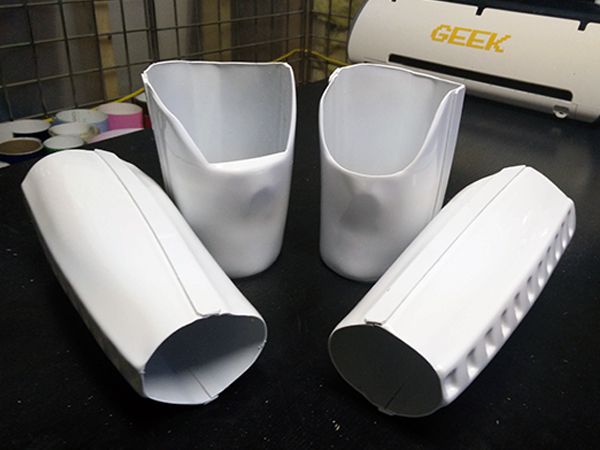
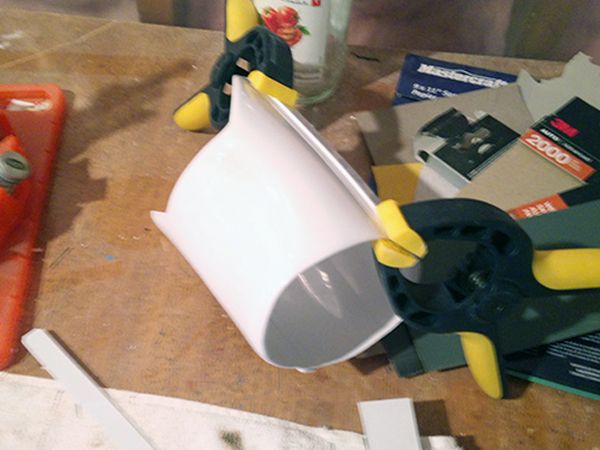
Almost finished the shins! One is completely finished, the other one just needs to be glued together. (Cover strips already glued.)
The backs of the shins needed a bit of re-shaping with the heat gun. They seriously didn't want to line up or lay flat against the back strip....and it would made using Velcro a challenge. After a few choice words and hot finger tips, all is good.
-
1
-
-
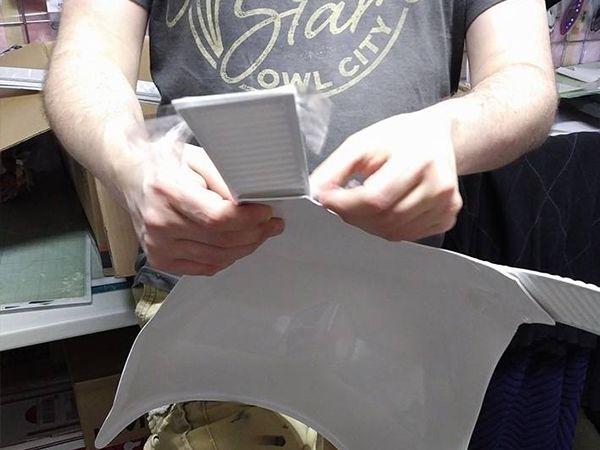
Just make sure to use a lot of glue (allow for 24 hours cure time) and install inner cover strips.
My seams split in a couple places after shaping a few times so I had to bust them apart and redo them but it was easy peasy.
Hmmm, wonder how CA glue will react to the hot tub... (No E6000 for this baby, I'm on a tight deadline!!!)
-
3
-
-
I've dubbed it "Tony's Hot Tub Trick" - and it has helped huge with lots of ways.
My forearms are now comfortable, my shoulder straps have a nice curve, and my thigh ammo belt nicely curved as well... Dang I wish I had tried it on my knee plate come to think of it.
I have only ever used my heat gun to re-shape armour. (Scares the living crap outta me every time I use that thing!!!.) Looking forward to a stress-free hot tub.
-
2
-
-
This is what I hope the hot water will fix - black pointer shows where armor is digging in - white pointer shows extra space that I can use to help alleviate pinching

I used a photo editor app for the pointers and will share the link later

.......aaaaand I've just run into this exact same issue on my sister's armour.
 Well, looks like it's time for a TK hot-tub party.
 -
1
-
-
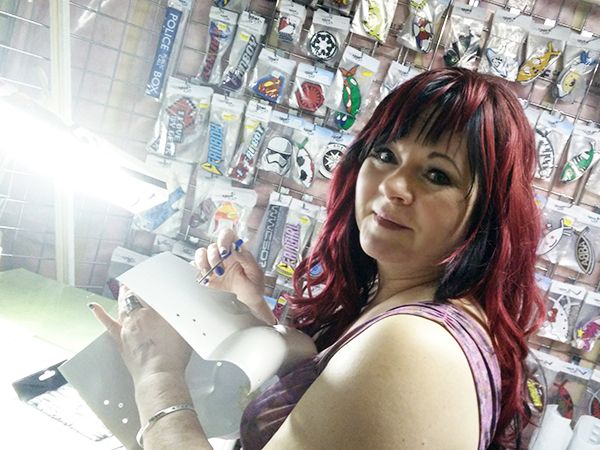
YAY! Work on my sister's AP armour has finally begun!
http://www.whitearmor.net/forum/topic/36195-barcoders-sisters-soulart-ap-build-extravaganza/
-
1
-
-
While I work on construction, I had my sister do all the fine sanding...making all the edges nice & smooth. (I hate that part anyway.
)Working on the teeth...
Using my bucket as a reference....
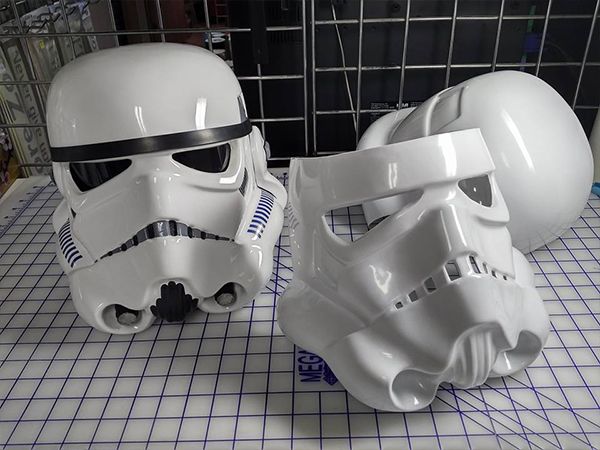
A very happy future Stormtrooper!!!!!
-
2
-
-
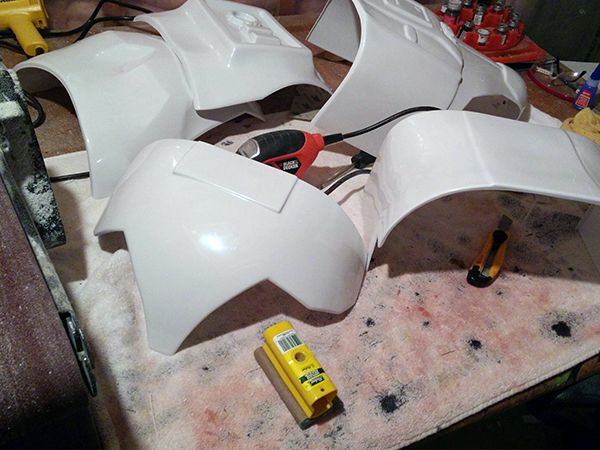
Next up, the easy stuff! Biceps & forearms. My belt-sander & mouse sander have been a God-send! I really wish I would have had them for my first build.
While I was busy with rough sanding, I had my sister working on the fine sanding details on her helmet. (Getting her feet wet.)
Biceps are almost done! Thank you CA glue.
....and done!
On to the forearms.
-
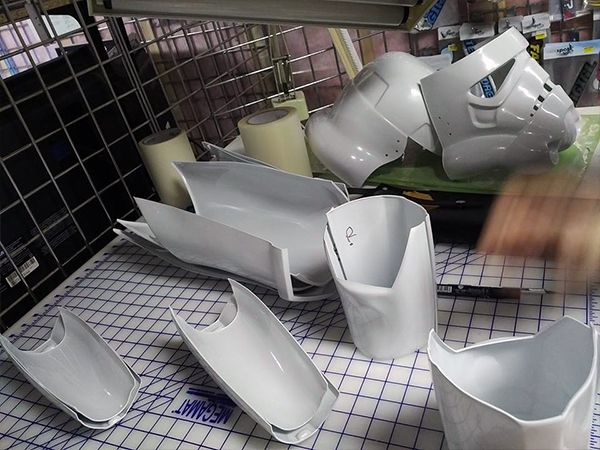
On to the sanding and pre-fitting! Thankfully there is not much altering needed for her armour. It pretty much fits, right out of the box. (Although, I hear that she plans on wearing some Spanx to help.
)
We taped up all the parts to ensure a nice fit...and to check if we needed to add shims to anything.
Testing out the shoulder straps.
We are good to go! Time for cover strips
-
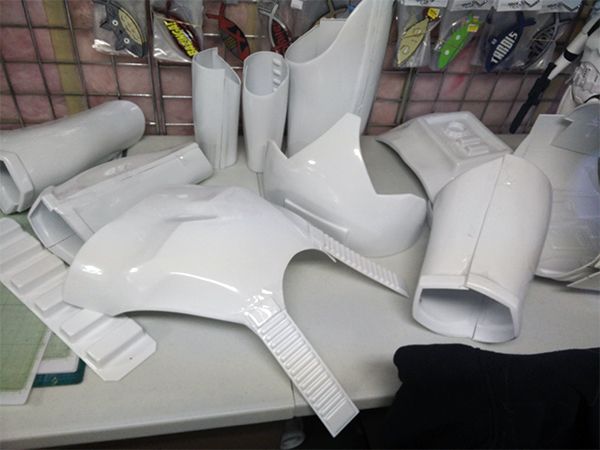
As they saying goes, keep it in the family! My sister has decided to join the 501st, as an ANH Stunt TK. (Like I would let her do anything else!!)
After a lengthy wait on her AP armour, and even more of wait for her to bring it to my house, it is finally time to begin her journey!!! Together, as siblings!
As I already have 2 TKs under my belt, this build will take no time at all! Plus, she needs to be approved by the end of April for big convention in our area. Plenty of time! I have learned a lot since my first build, learned some new tricks, gathered better tools.....and am now comfortable using CA glue. (Thanks to my TFA build.) So yeah, no E6000 on this build!
On to the obligatory BBB pic! (Little trooper is telling her to get her helmet done NOW!)

Doing some extra trimming, as we will not be using the bracket system. (Thankfully she opted for the "trimmed" kit. I HATE the trimming part.)
My sister is also above average height for a woman, she's 5'9".
-
I must admit I do have an absolute absence of any kind of knowledge in clone armors or their CRLs. If they indeed require a seamless appearance for base level, and people are used to it and accept it, maybe I'm wrong asking to change that. It just feels like a shame to me that those troopers can't be officially approved when they look so much like movie stormtroopers.
I myself do not have a vast knowledge of Clone armour either, but have many in my garrison who offered suggestions on making things "seamless". There are parts on the clones that must be seamless (Biceps, etc...) but at the same time, I do believe there are parts that may not have to be. (almost stated as it's preferred?) I also believe that they ALL have to be painted.
But yes, I assume people accept it & are used to it...seeing as there are so many Clones.
FOFT
in TFA Stormtrooper
Posted
Very exciting!!!!!