

roguewedge
-
Posts
49 -
Joined
-
Last visited
Content Type
Profiles
Forums
Gallery
Articles
Media Demo
Posts posted by roguewedge
-
-
good job DG trooper!
-
Congrats brother!
-
Looking good my man!
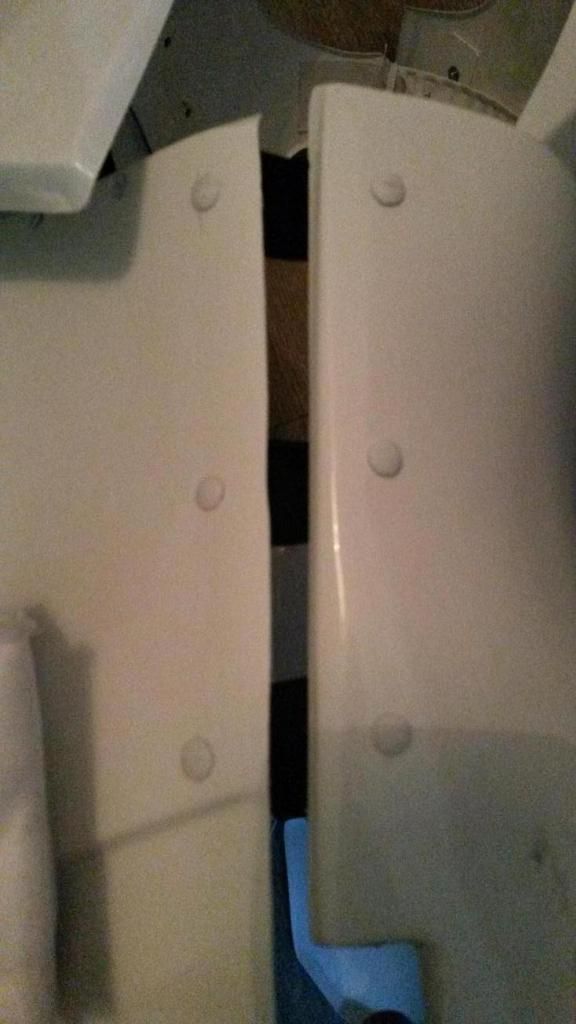
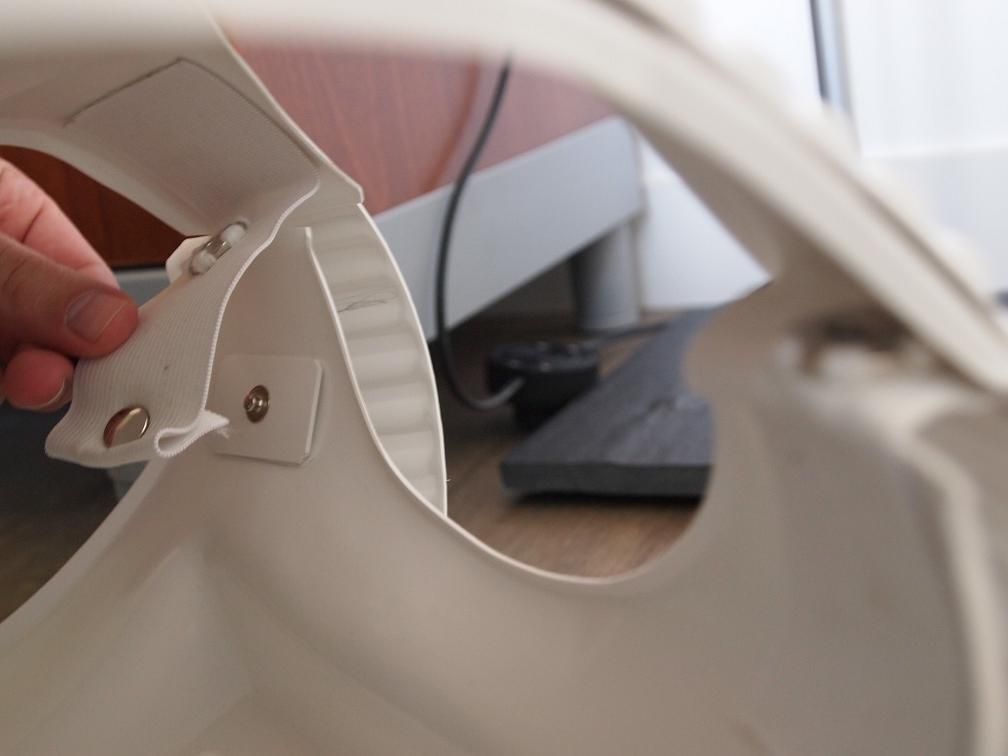
a suggestion: your right ab- and back plates shows a gap, where your left ab- and back plates overlap. you might want to look into that. At the minumun, trim off the overlap on the left a bit. (yes, it scary to cut your armor, but trust me, it will look so much better)
also, please make sure that your ab- and back plates align at the top.
other then that! go DG!
-
Nice built!
Besides the above pointed-out size issues, this is a very good built. IEB ANDCenturion worthy I would say.
-
Gefeliciteerd!
The Dutch Centurion Squad salutes you.
note: DCS consisted only of myself, untill recently. In the few weeks of my sole attendence, there have been quite a number of festivities. I am afraid that I have ran through the massive budget quit rapidly, so we are now left with next to nothing to go forward with. Nevertheless I welcome you to the ranks!
-
there should be no return edges on your wrist, but I think you already took care of that.
ps. who are you all kidding? Random Access Memories is the fruitation of what Daft Punk has evolved into over past past few decades. Name me 1 track that is not close to perfect.
-
ps. for those who are wondering about TK-31870's name....In English it is pronounced: 'Tate'
It is a pun on his last name... it has nothing to do with any part of the body...
And you don't have to thank me for bringing this up...it was my pleasure!

-
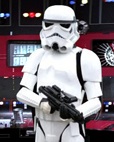
Dutch Garisson is on a roll!!!
whoohaa!
-
Twan van Exsel 12436 Centurion A4
-
Gefeliciteerd maat!
congrats!
-
Yes! So exited! First Centurion of the Dutch Garrison!
I am going to improve my armor even more in the future. Tighten the shoulderbell straps, round off the upper thights, obtain a new belt to enable to get the holster closer to the ammobelt. Since I assembled my armor myself, I shoul be able to fix the rivet covers.
As you all know...work on your armor is never done. I love it!
-
Forgot to mention....need a pic of your forearm return edge
HA! that is a trick question.... because there are no return edges on my forearms!


-
There are still some things I want to finetune in the future. Holster placement is 1 of them. Probably need to obtain a new belt for that, because if I take of the holster now, it will screw up my old belt.
additional fans in my bucket, Icom next to my Aker, helmet padding, smaller biceps, more rounded tops of the tighs are some other things on my to do list.
Sometime...somewhere in the future, my armor will be near perfect. We should have an additional class/status for that.
Anything which goes beyond Centurion: A Superb class or whatever.
But to have a Centurion status would already be such a huge honor! The first in the Dutch Garrison.... Oh boy.. can't wait!
-
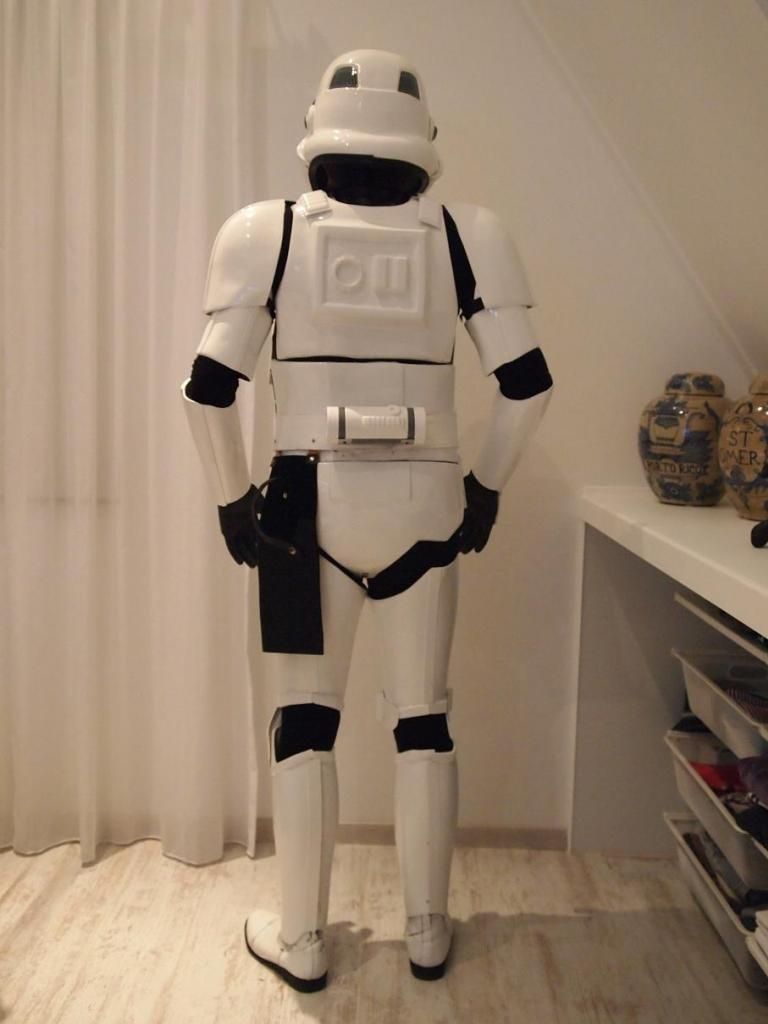
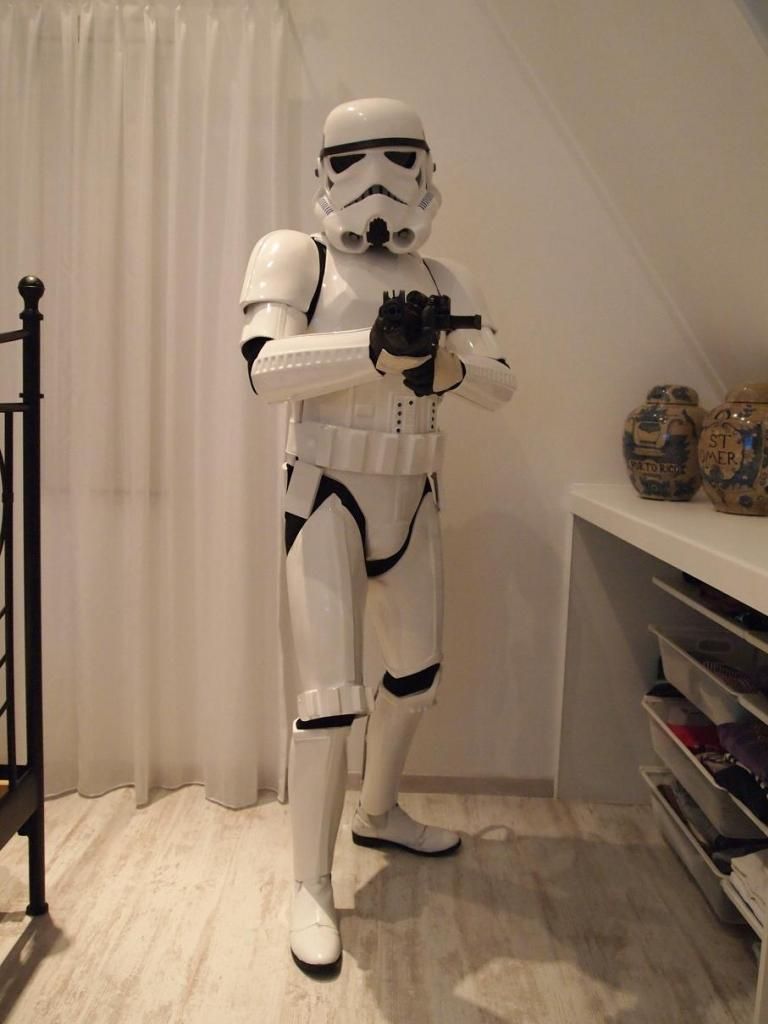
TK-12436 requesting Centurion for my first Armor
My IEB application photos can be found here:
http://www.whitearmor.net/forum/topic/28283-tk-12436-requesting-anh-stunt-eib-status-rs403/
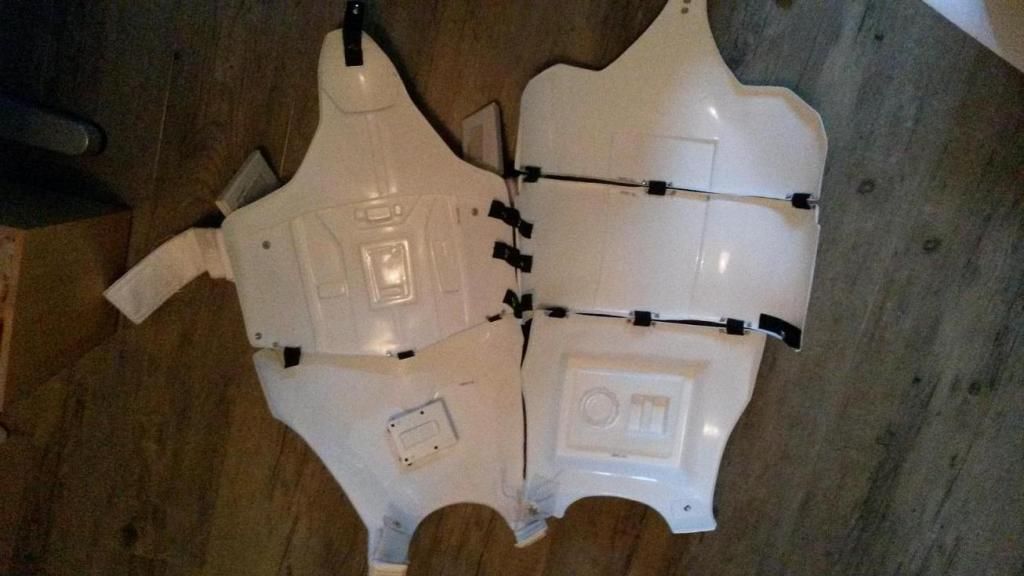
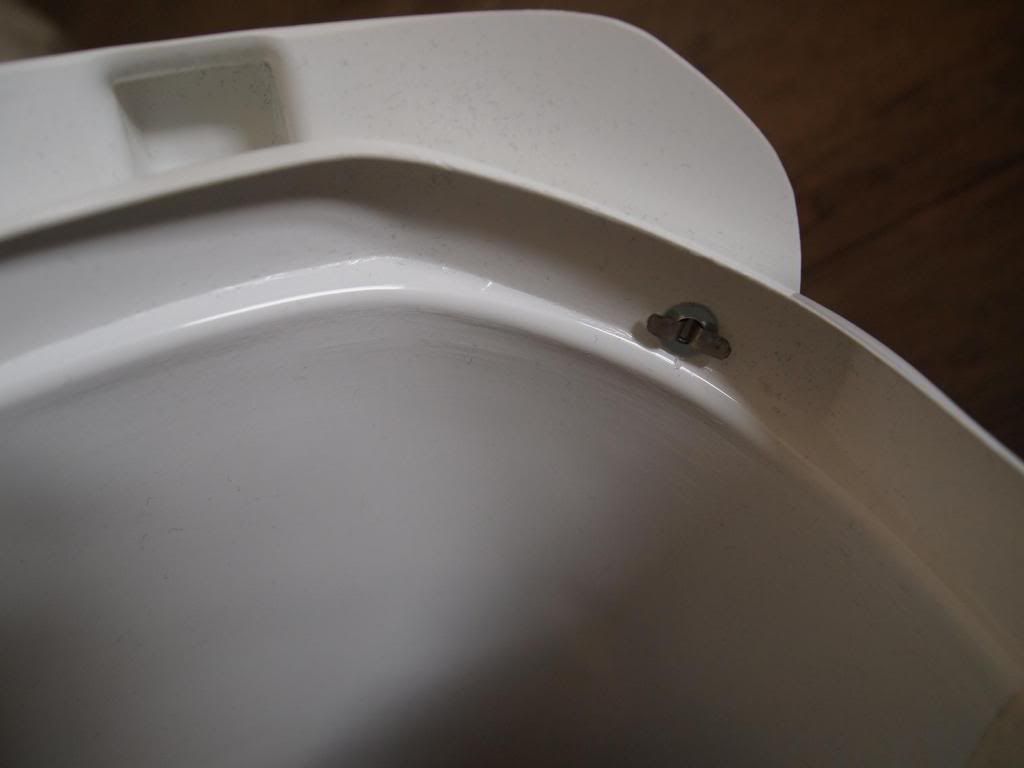
In the mean time I have trimmed the Ab plate sides to get rid of the overlap.
I painted various buttons and screws
My blaster got an ‘upgrade’
Stats:
· Armor = RS
· Helmet= RS
· Blaster= SDS
Optional
· Height = 1.78m
· Weight = 76 kg
· Boots = Cabots Wood
· Canvas belt = RS
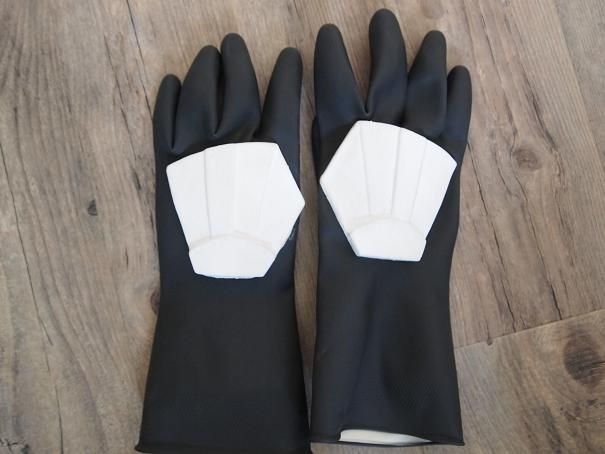
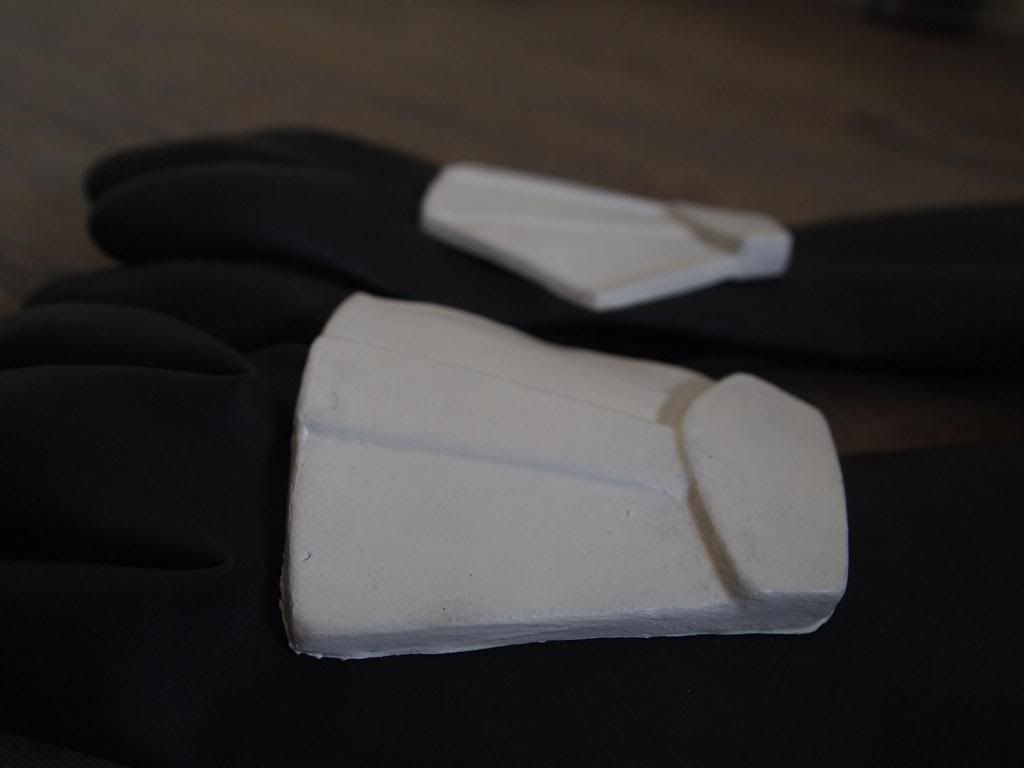
· Hand Plates = latex
· Neck Seal = via RS
· Holster = RS
Armor Photos
Full Body Front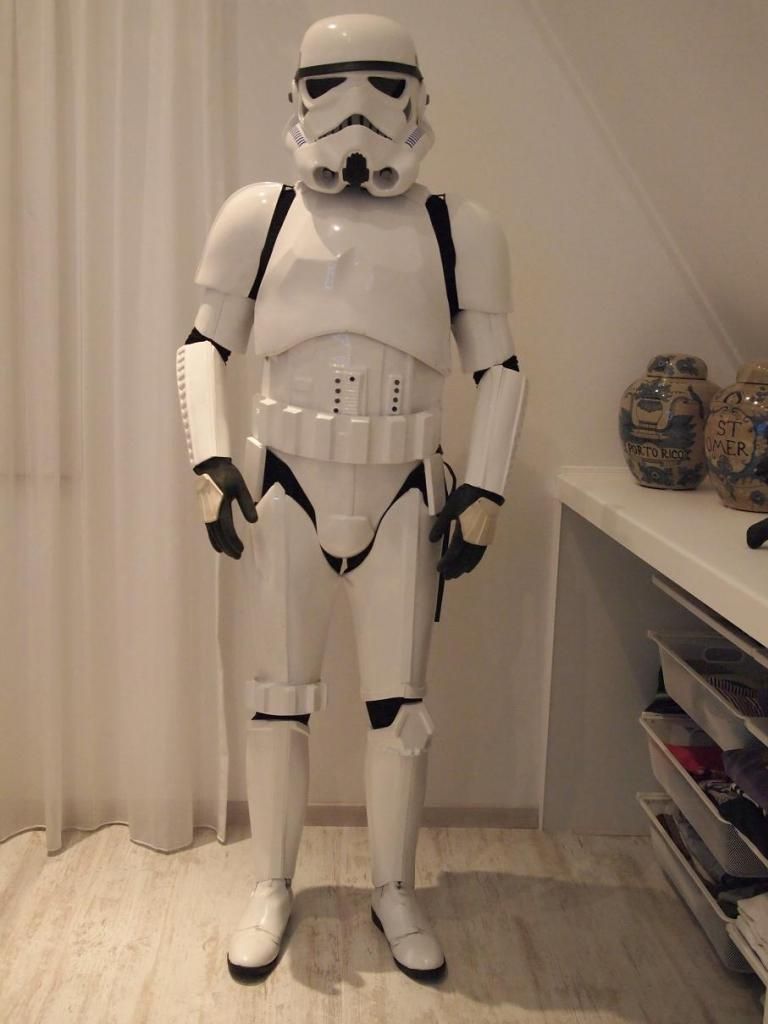
Full Body Back
Full Right
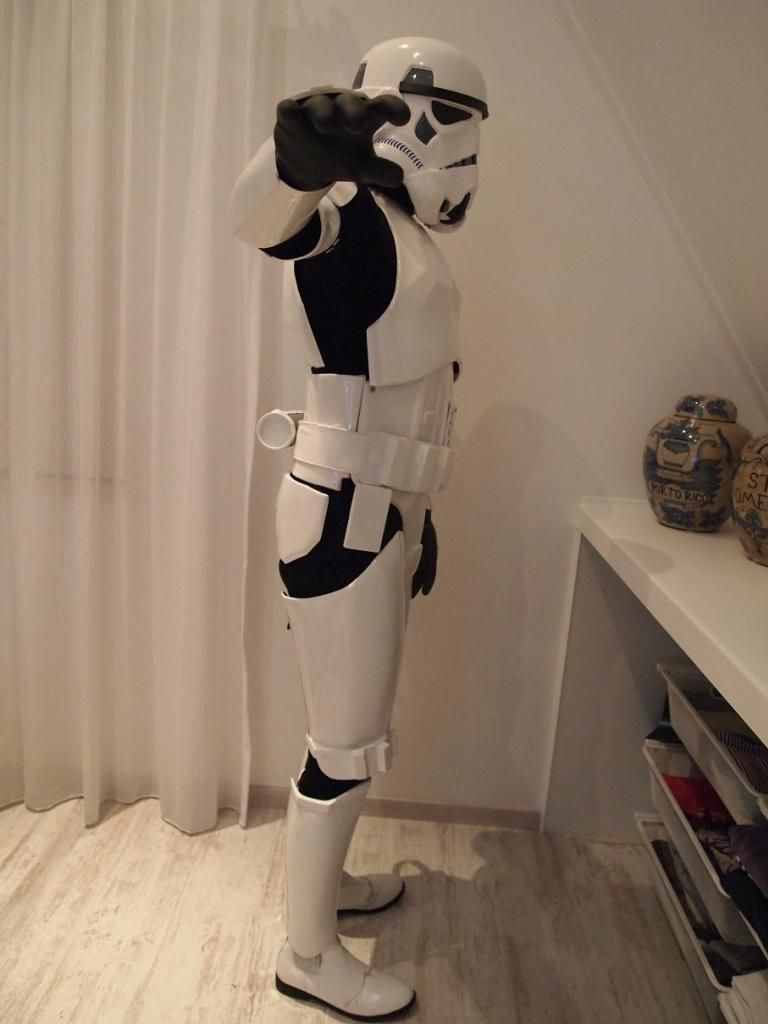
Full Left
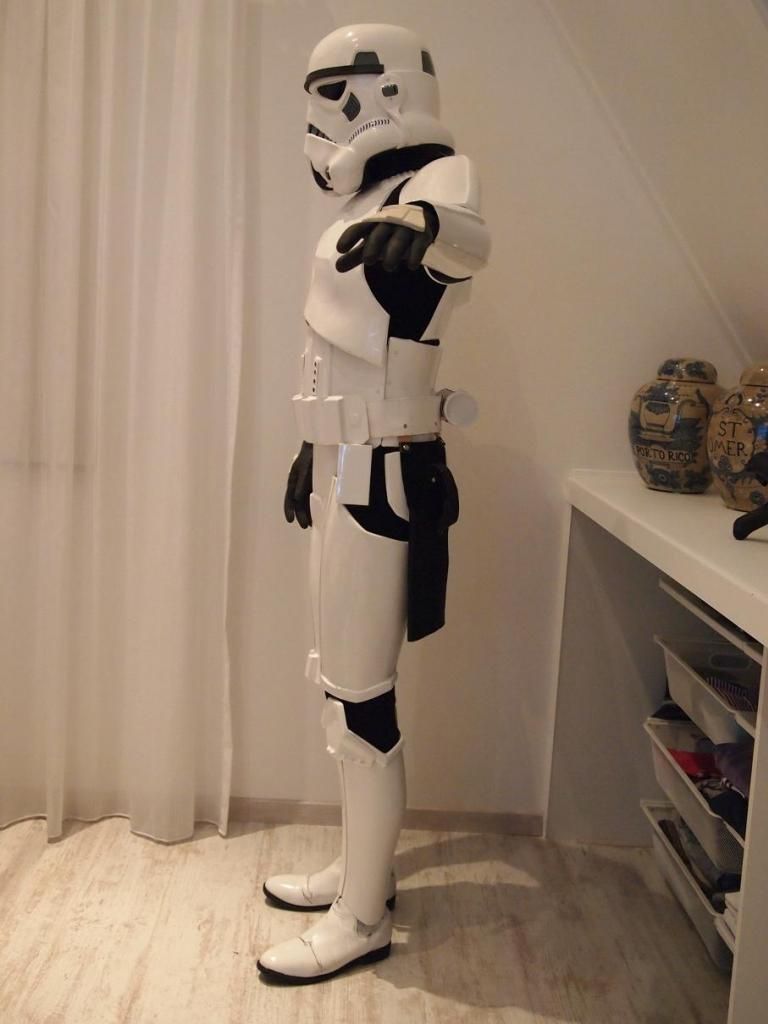
Right Side Detail
Left Site Detail
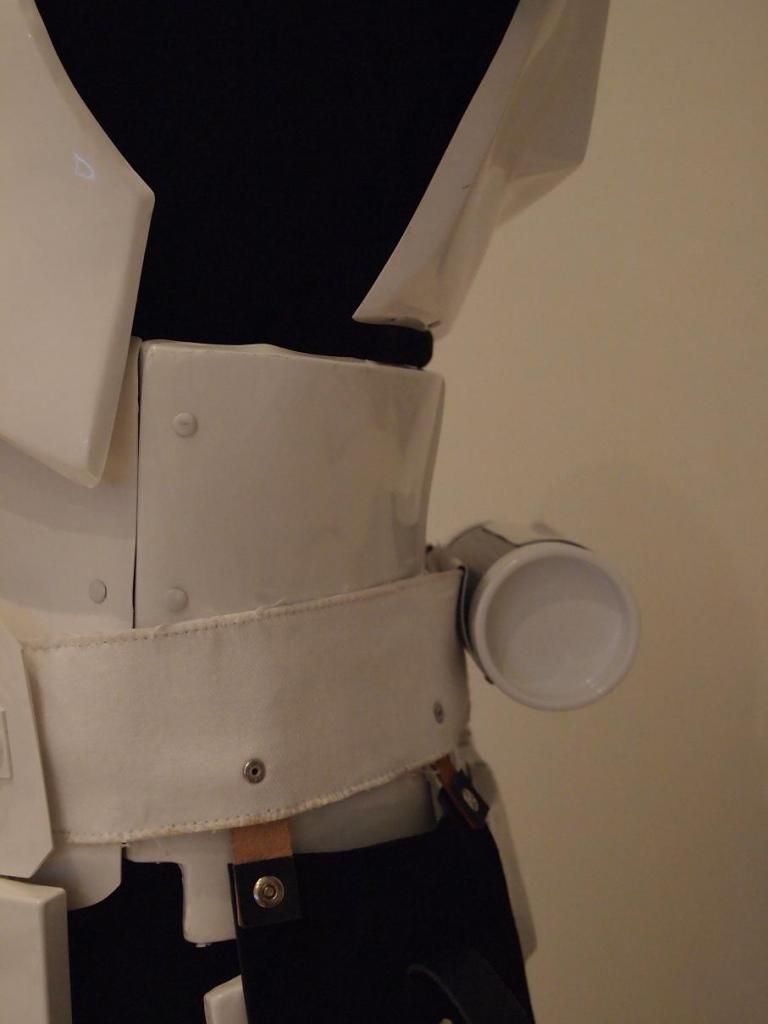
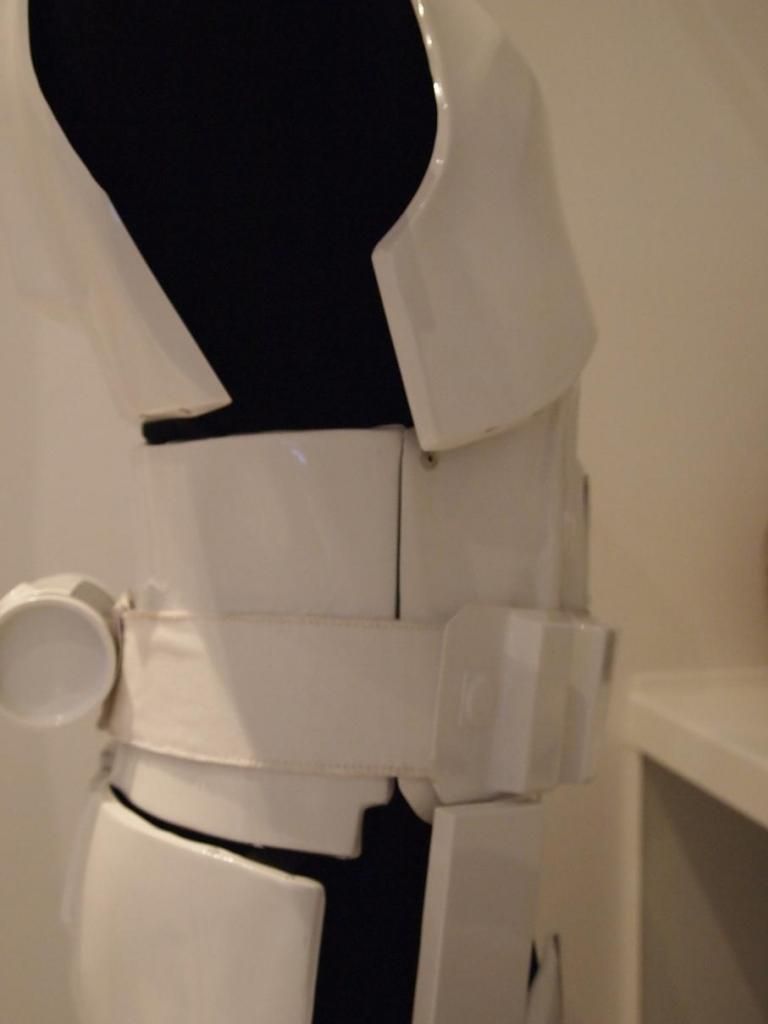
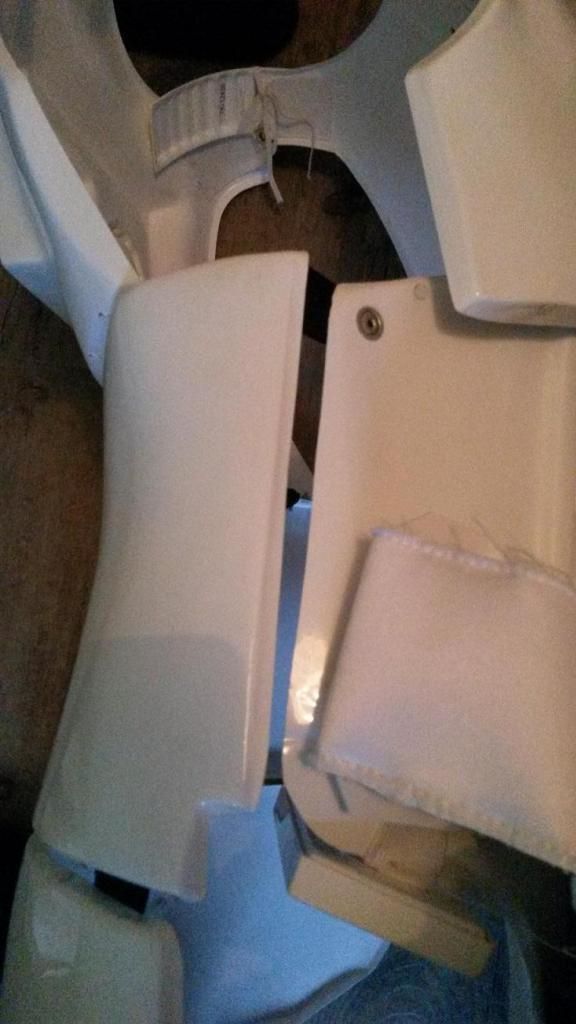
Armor Detail Photos
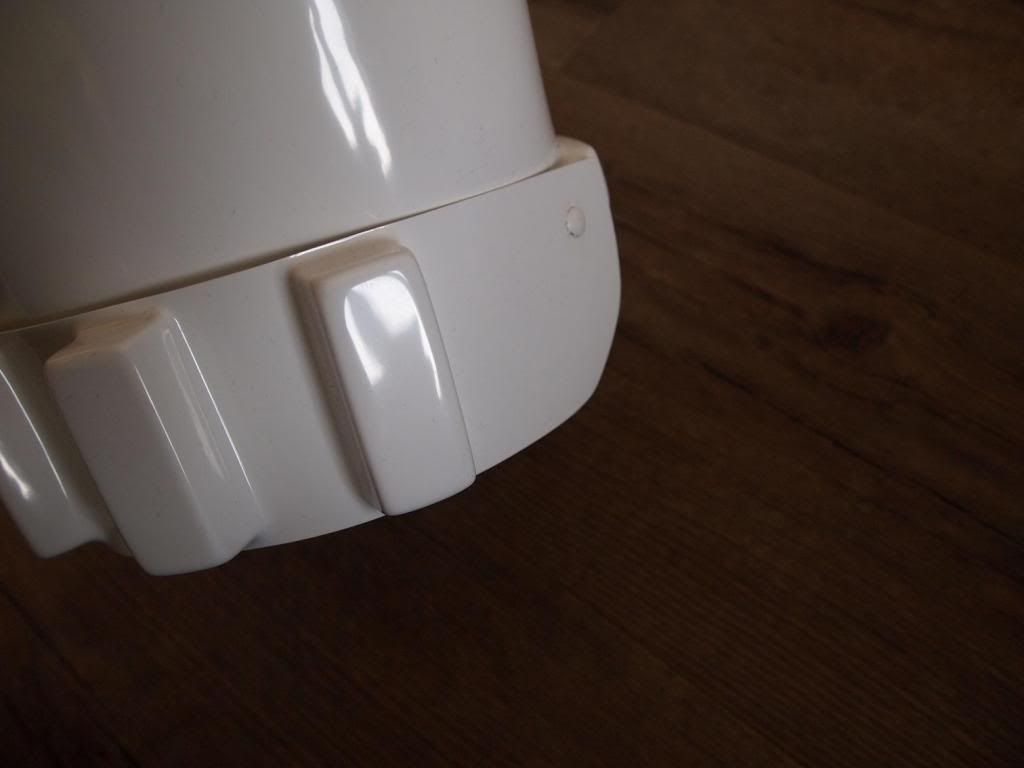
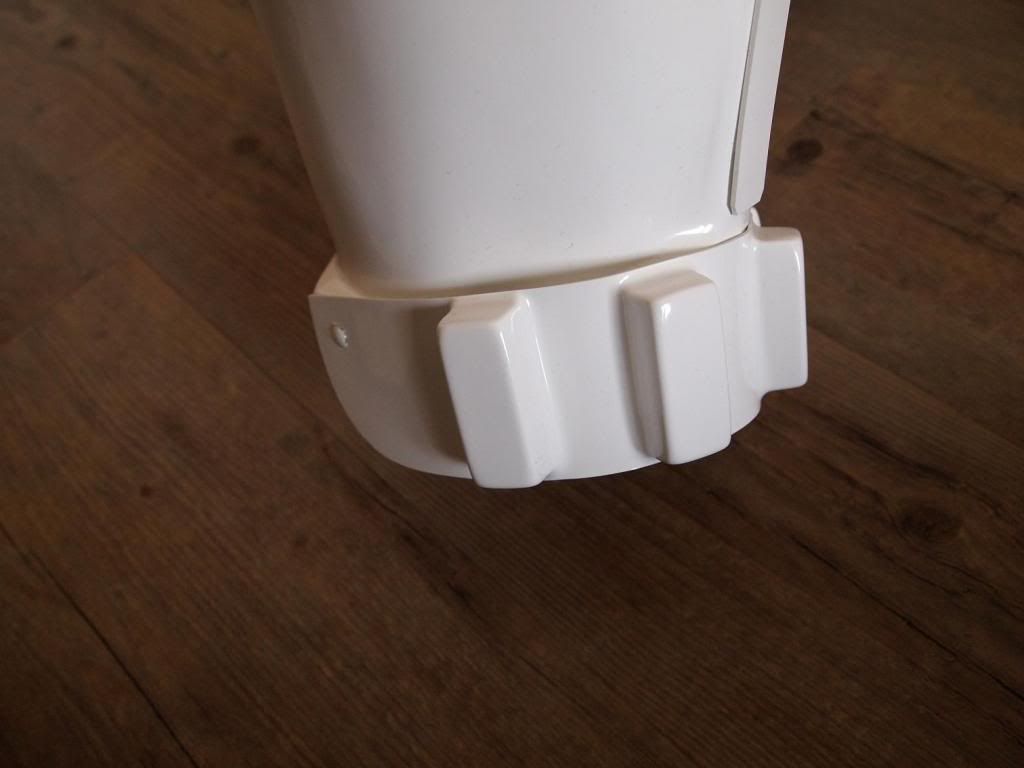
Ab/Kidney Attachement – Button Orientation
Right
Left
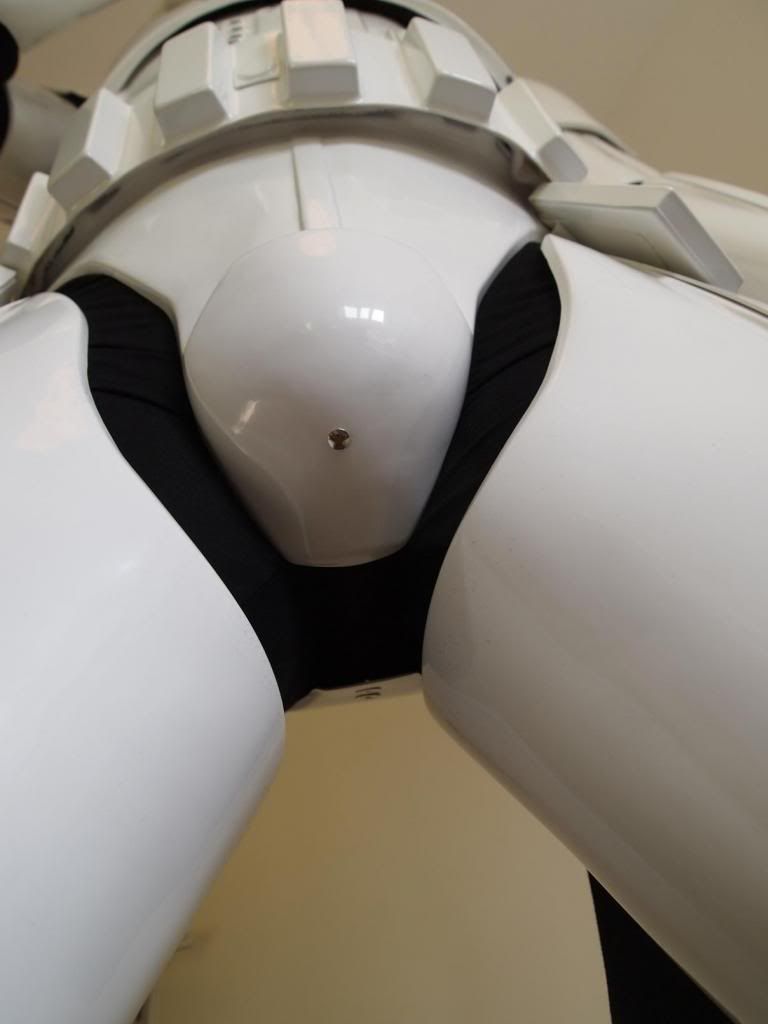
Butt Kidney – Fixed: Yes
Hand plates
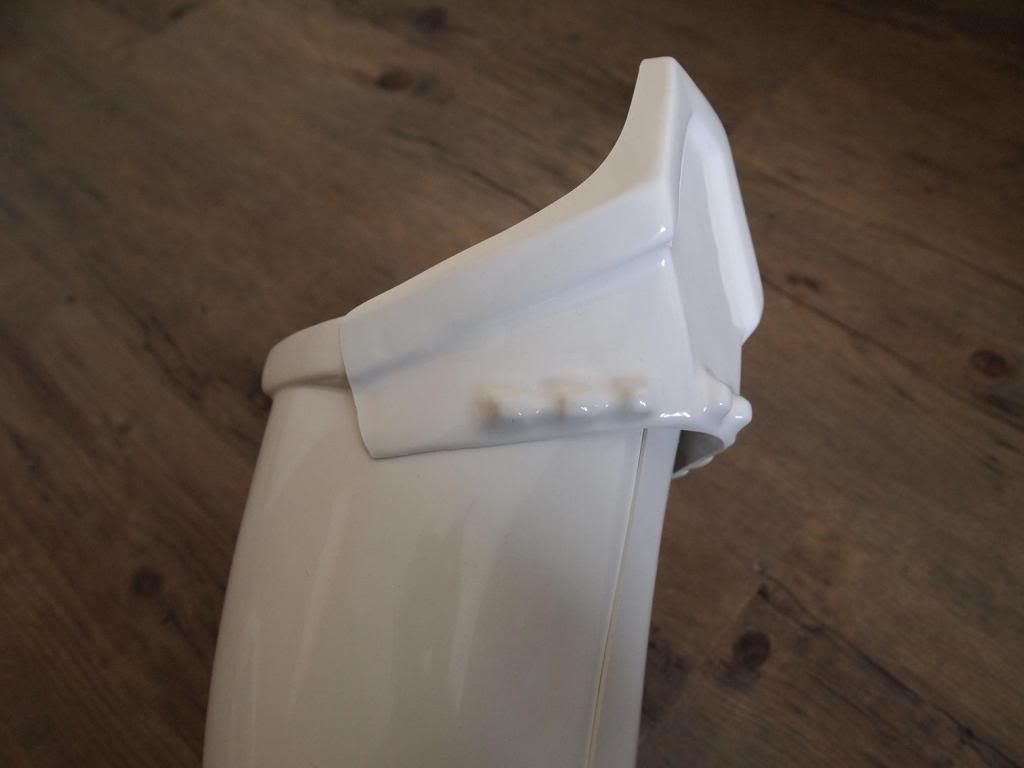
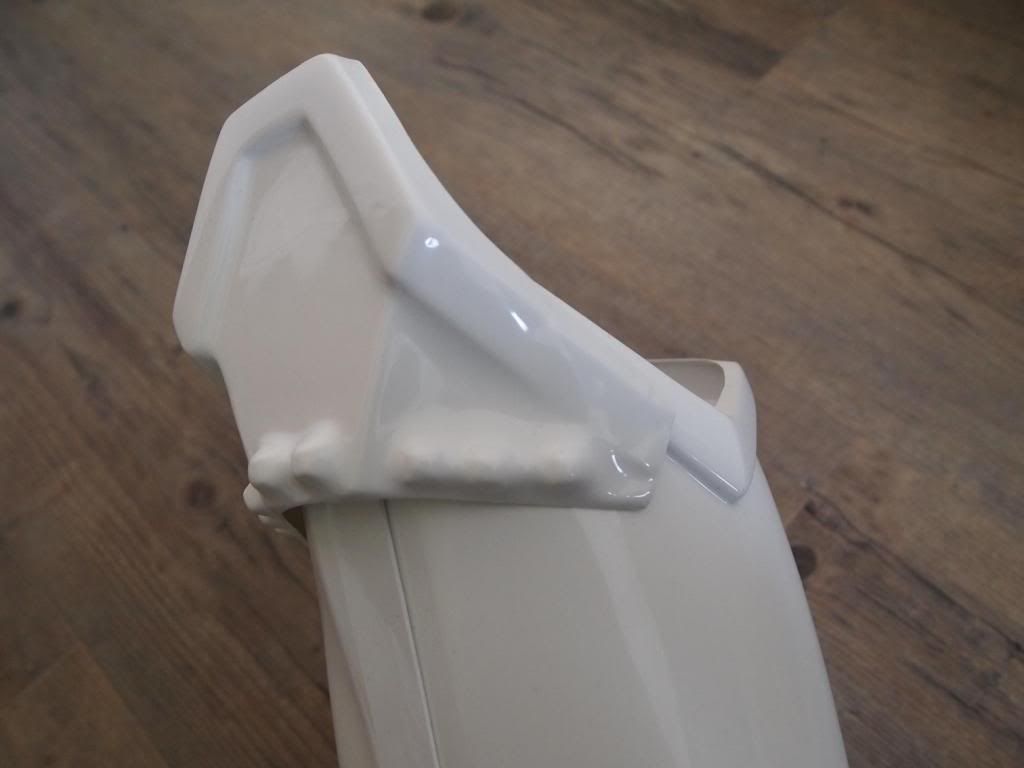
Schoulder Bridge Back
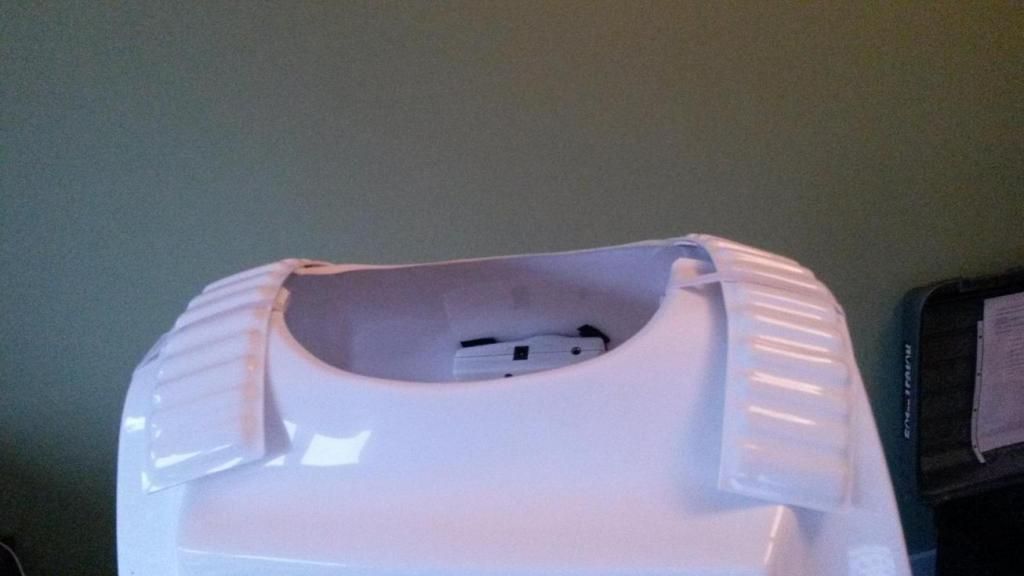
Shoulder Bridge Front
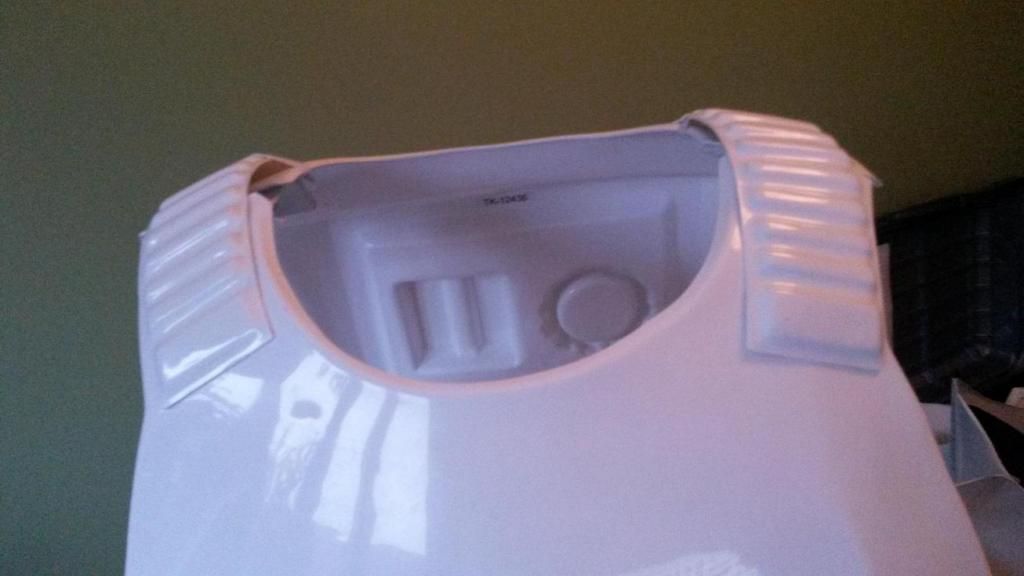
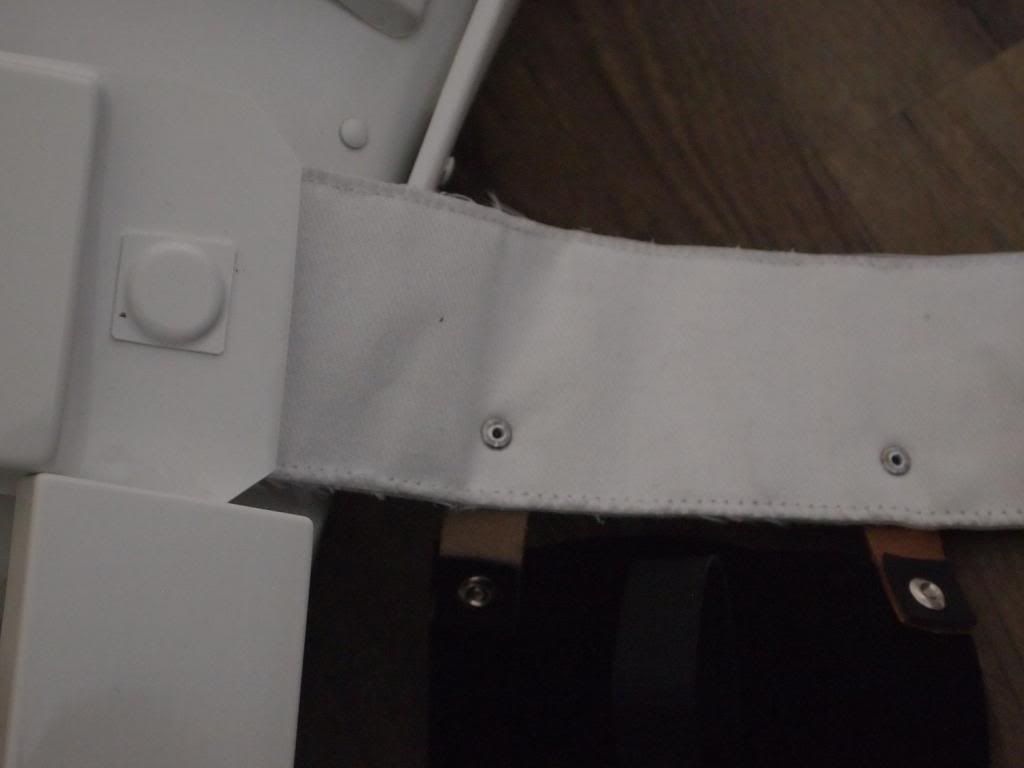
Back/Chest Connection
Thigh Pack Attachement
Knee Plate
Drop Box Back

Cod and But Plate AttachmentCod and Bud plate
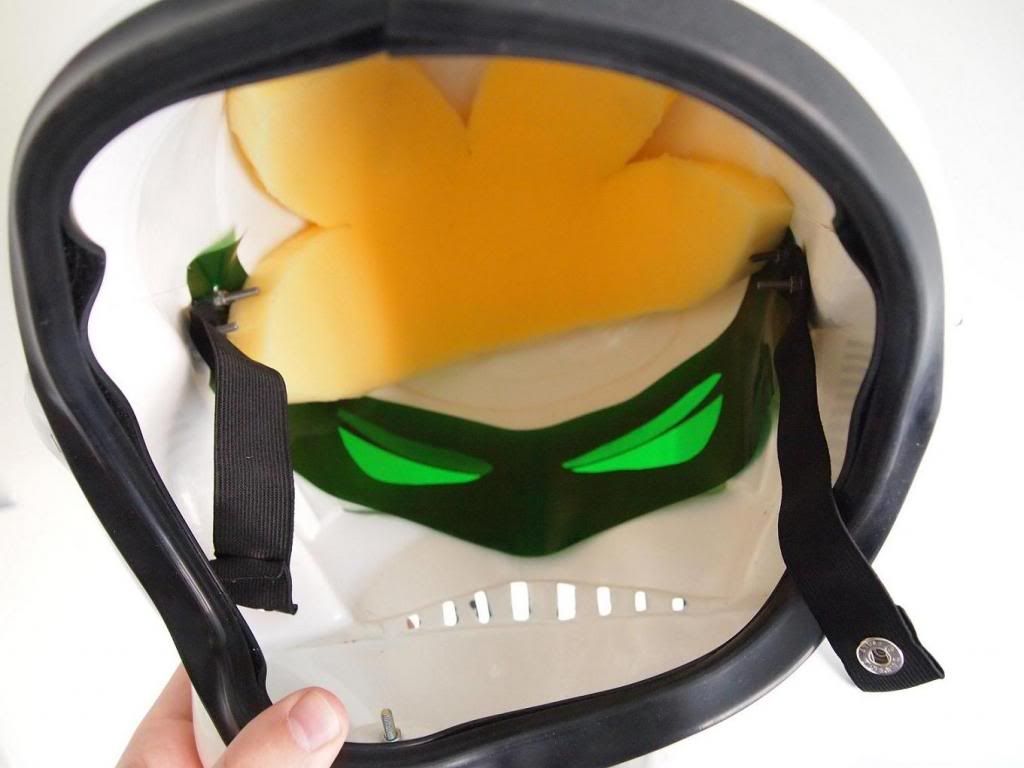
Helmet Detail Photos
Front
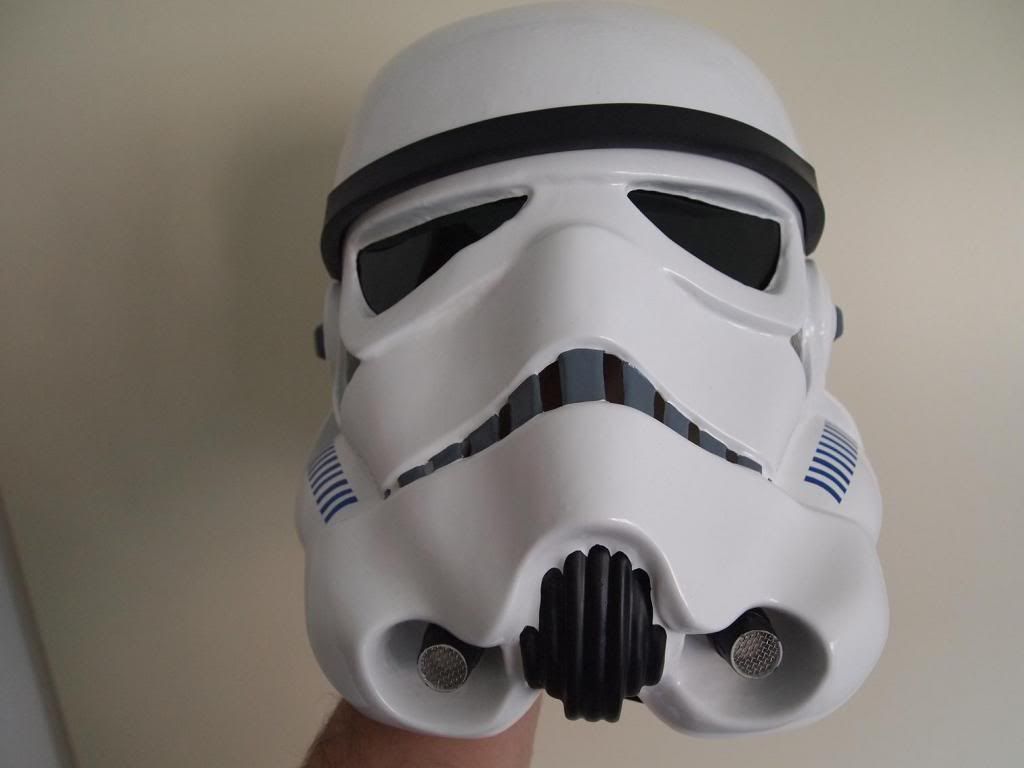
Side
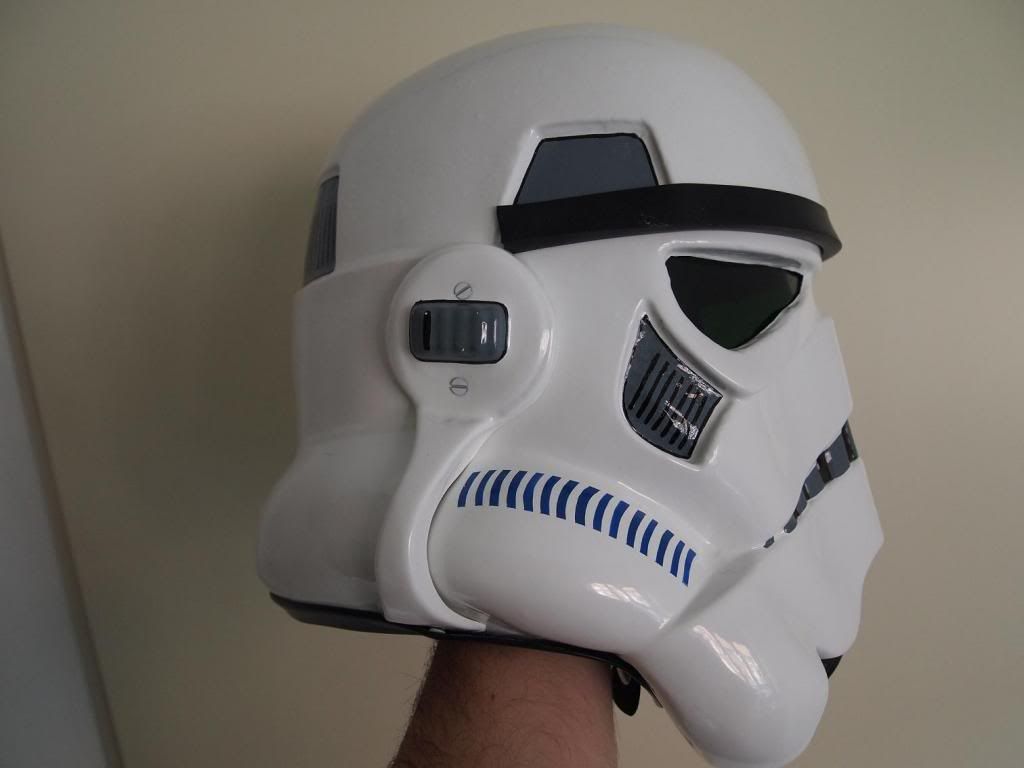
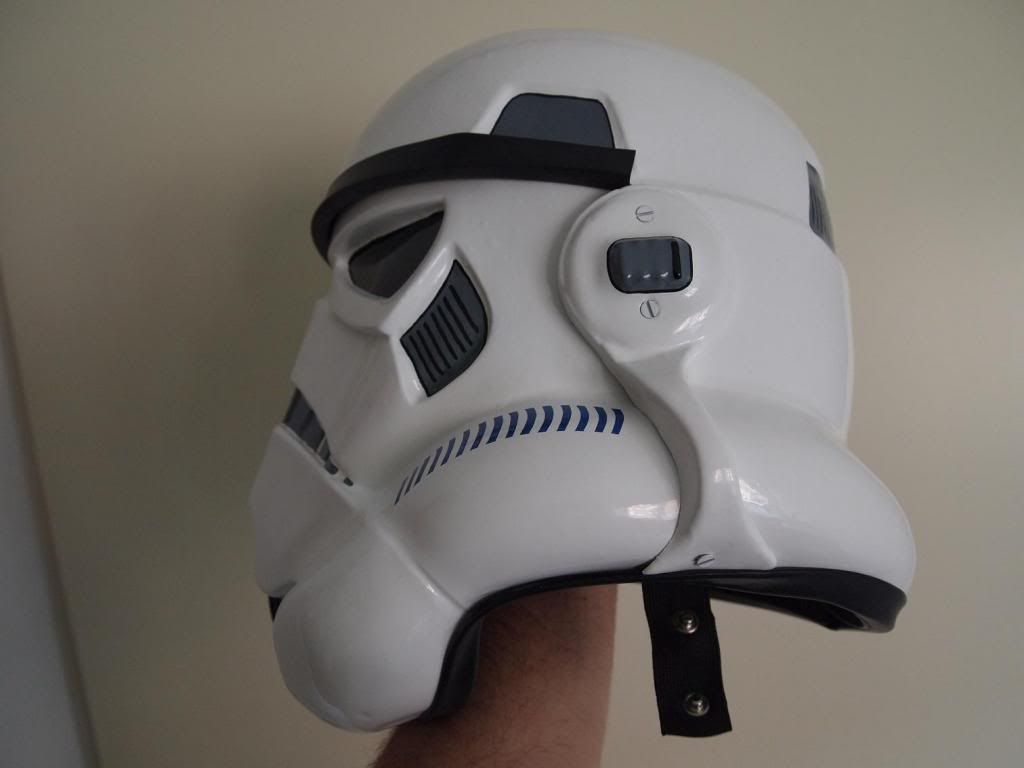
Back

Hovi Tip Detail
Lens Color
S-Trim
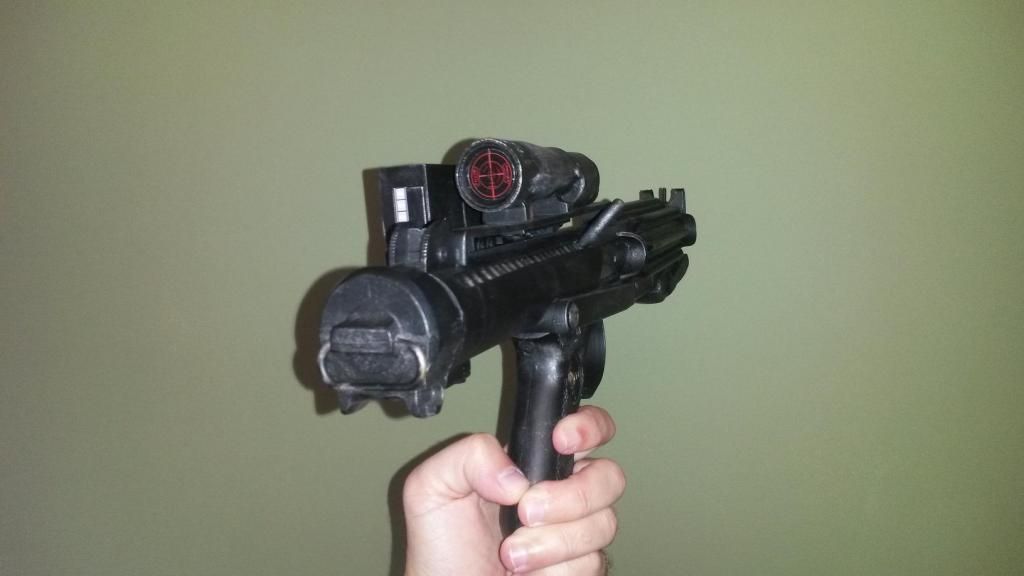
Blaster Detail Photos
Left
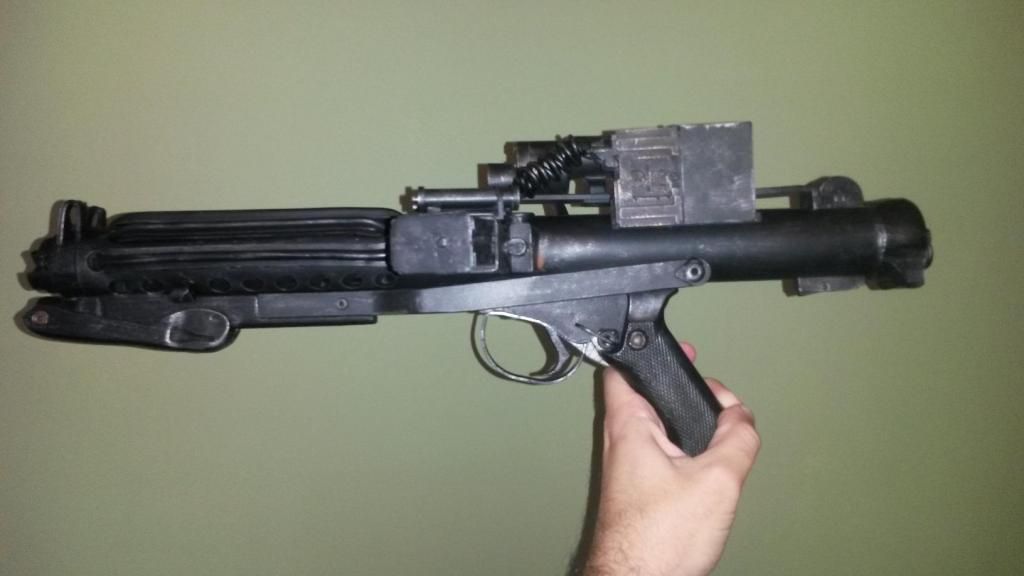
Right
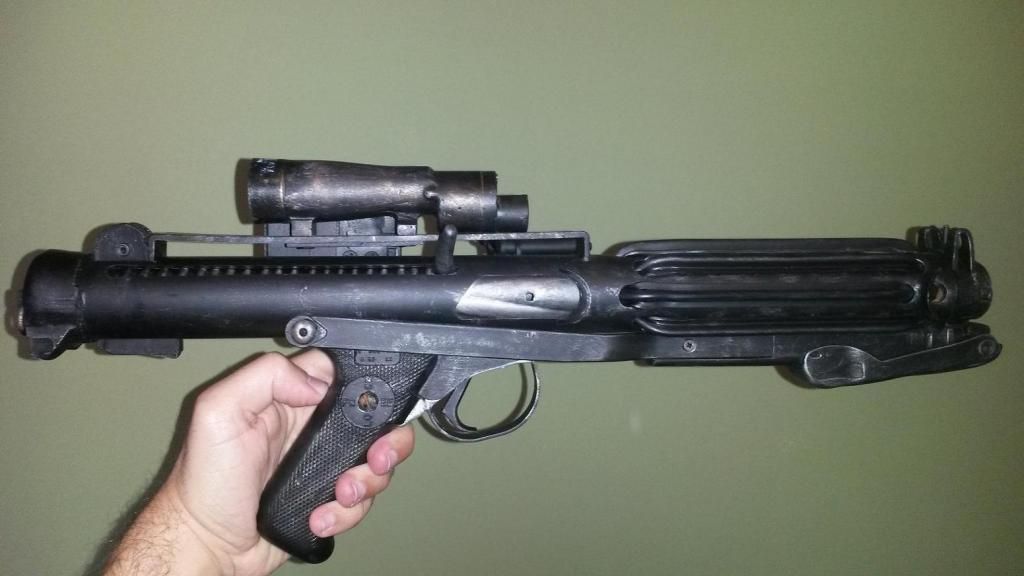
D-Ring
Accessory Detail Photos
Neck Seal
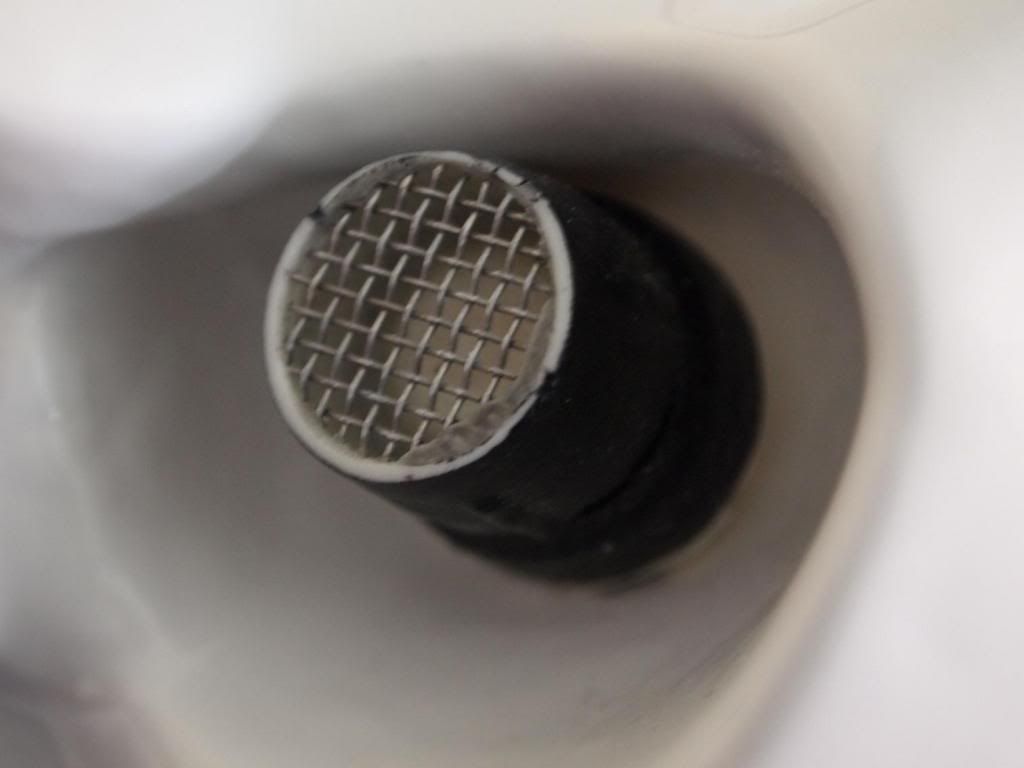
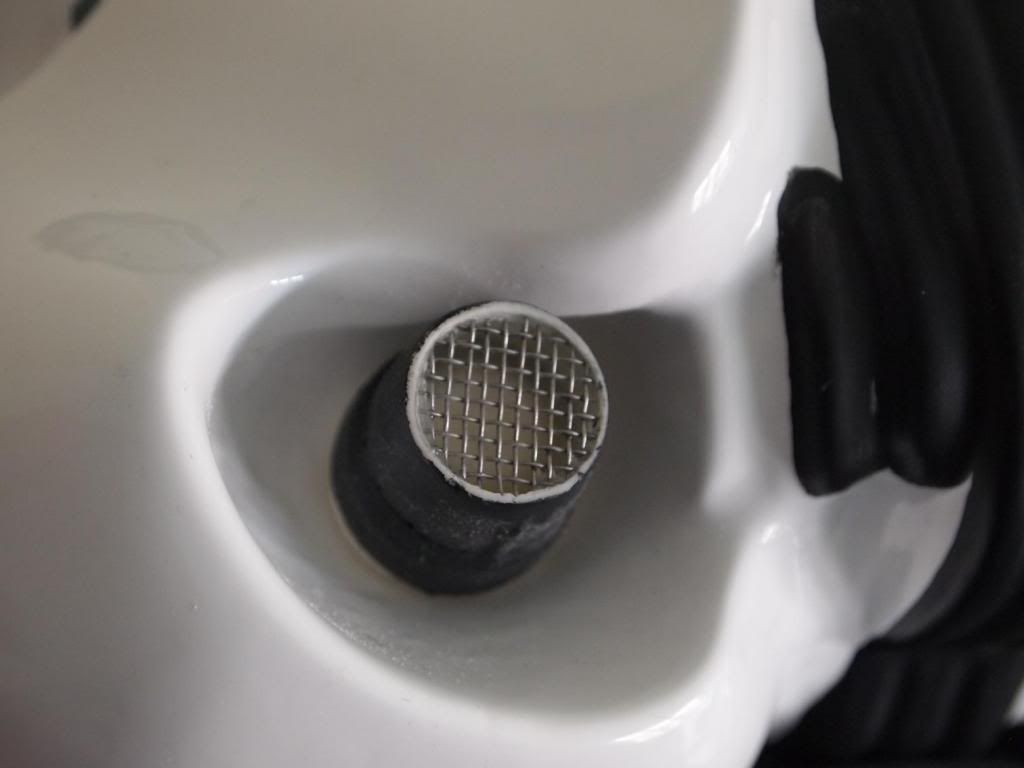
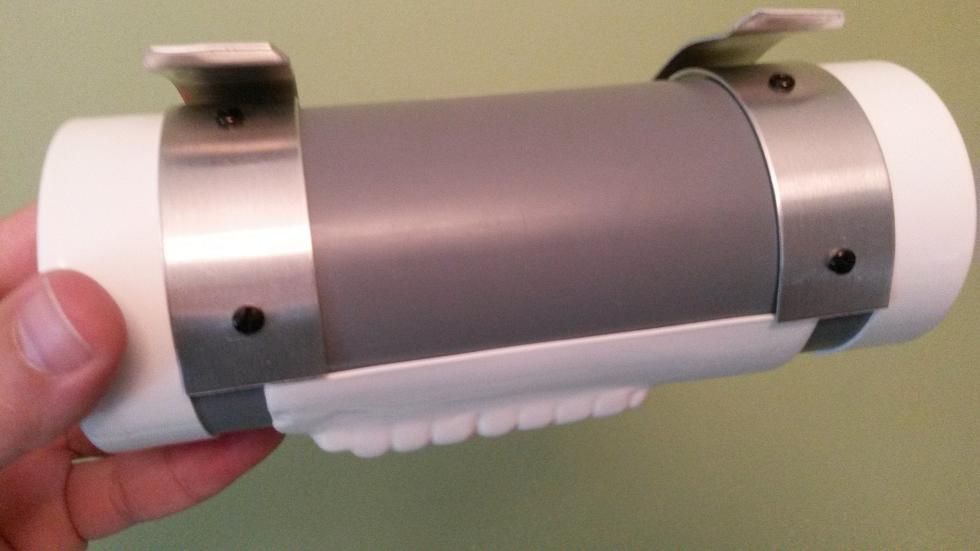
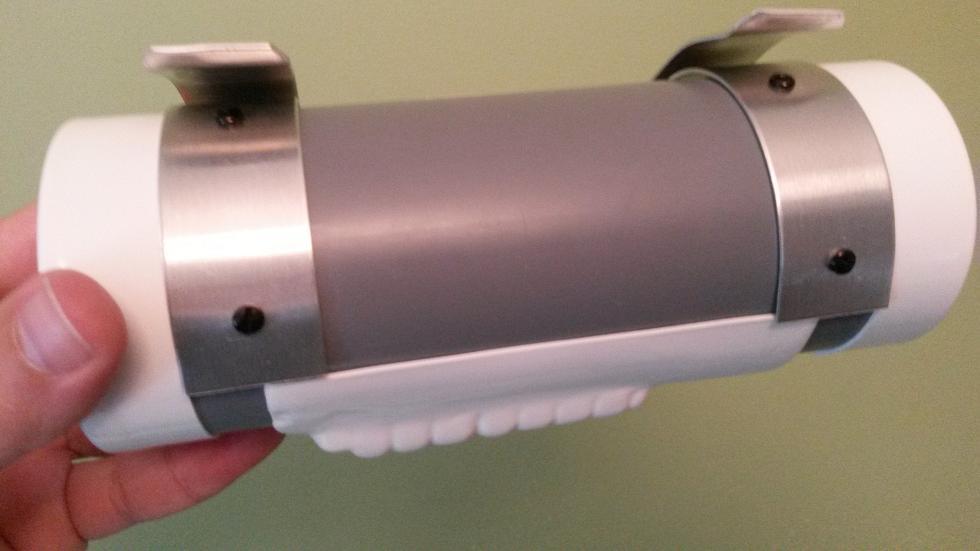
Thermal Detonator - Back
Holster Attachement
Action
Thank you for your Advice,
Twan van Exsel
-
thx guys!

-
Hi,
I was trying to post pictures for my Centurion status, but I have got this message:
You can upload up to 6.37KB of files (Max. single file size: 6.37KB)
how am I supposed to upload quality images, if I cannot upload more then 6.37 KB?
-
unofficially: gast! geweldig!

officially: nice RS build!
before the real verdict comes, some points to consider:
The dropboxes on your belt should allign the outside of the plastic ammo belt. They can be moved a couple of cm to the outside.
You painted all bolts and screws either white or black, as it should be.
however, the buttons on your crotch/cod armor, should not be painted. So you need to scratch the paint off there.
Besides that: very nice indeed!
-
Hi there,
You did a good job, turning this FX suit, bought on ebay, into something nice.
Some general advice, which you could take into consideration after the real verdict has been given:
The CRL for Kidney armor states:
‘ Squared cut-out sections at the lower left and right corners of the Kidney Armor.
The cut out is roughly 15 mm tall from the bottom and 10 mm in from the side.’
I do not see that in your armor.
I don’t know if it will affect your application, but you should pay attention to how your limp parts are positioned. Your right lower arm seems to be twisted too much to the right side. Twist it back, so that the part with the ridges faces to the right and not to the back.
Also because the richt tigh is facing outward a bit, it is hard to see, but I am not sure if the ammo pack is centered. It seems to be too fat to the right.
The size of your leg parts seem to be bigger then needed. You might want to consider trimming them down to fit your legs better.
Amazing job on your blaster! Totally build from scratch!
a small point of attention: there are too many shiny unpainted parts on your blaster. Paint those parts black. And if you want, you can then apply some wheathering later. The power cords are not correct. They need to be curled.
Conclusion, good job, succes with your application!
-
Thank you!
-
Twan van Exsel 12436 EIB A4
-
Thanks guys!
I will be working on my ab plate, biceps and blaster handle and all your other small suggestions.
I AM SOOOO HAPPY!
-
I have painted the TD screws black:
-
oh...off course...
I was caught off gaurd... I did not link Themal detonators with screws...


-
hi Jason, thanks
I hate to sound like a Noob, but I am not sure what you mean with 'TD screws'
The only abreviation I know for TD is: Sandtrooper...


ScaryGuy building his Anovos kit in the Netherlands
in Build Threads Requireing Maintenance
Posted
Wow, this is one fantastic WIP!
Really love all the details. Too bad for the few mishaps, but it does not look like something you cannot fix.
I am really looking forward to welcome you in our mids:
KR,
Twex,
CO
Dutch Garrison.