
Maxl
-
Posts
156 -
Joined
-
Last visited
Content Type
Profiles
Forums
Gallery
Articles
Media Demo
Posts posted by Maxl
-
-
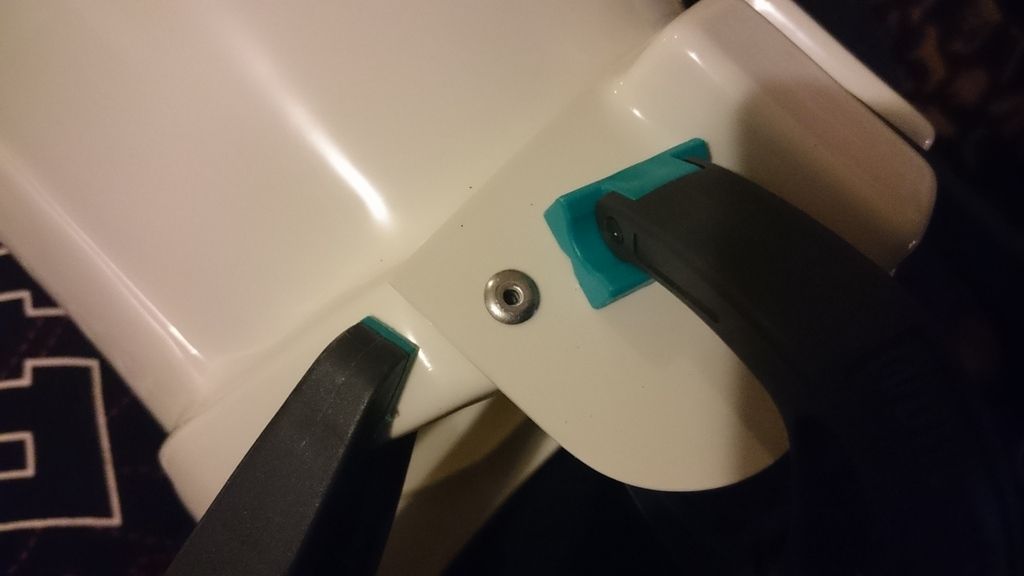
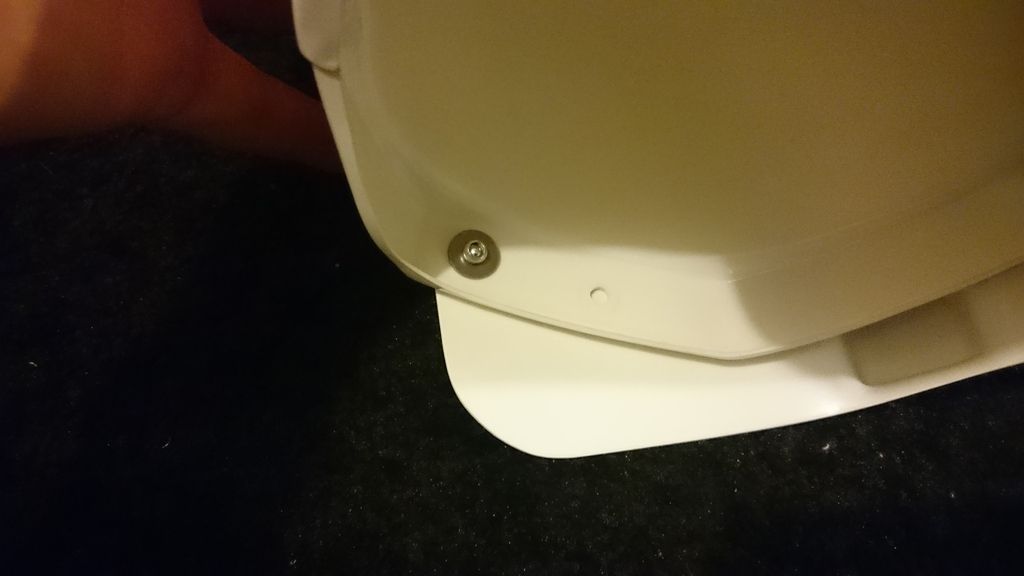
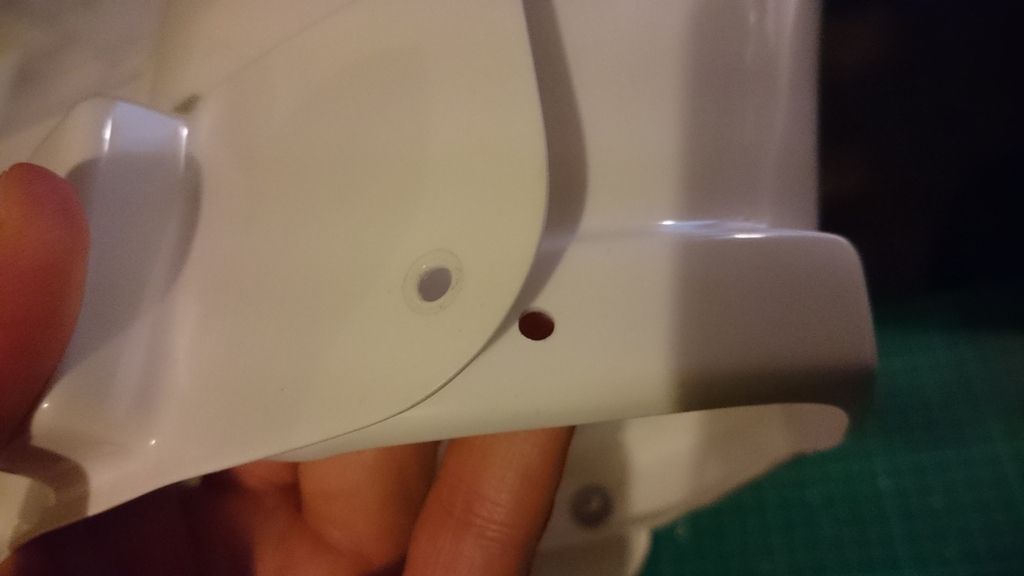
Does anybody know where exactly on the belt will the holster be riveted (I know on the right side
 )?
)? -
My armour is from CFO and I am also more off white than white - I used a can of spray paint from Bunnings in Colourbond Surfeits ( used to be called off white ) worked for me. I also painted my white gasket trim around the armour with it as there was a bit of a difference between the armour and the gasket/trim - it matched spot on for me so maybe give that a go - just spray some onto a plastic plate or lid etc and then use a brush to transfer it onto the rivets.
Nice! Thank you for the tip!
-
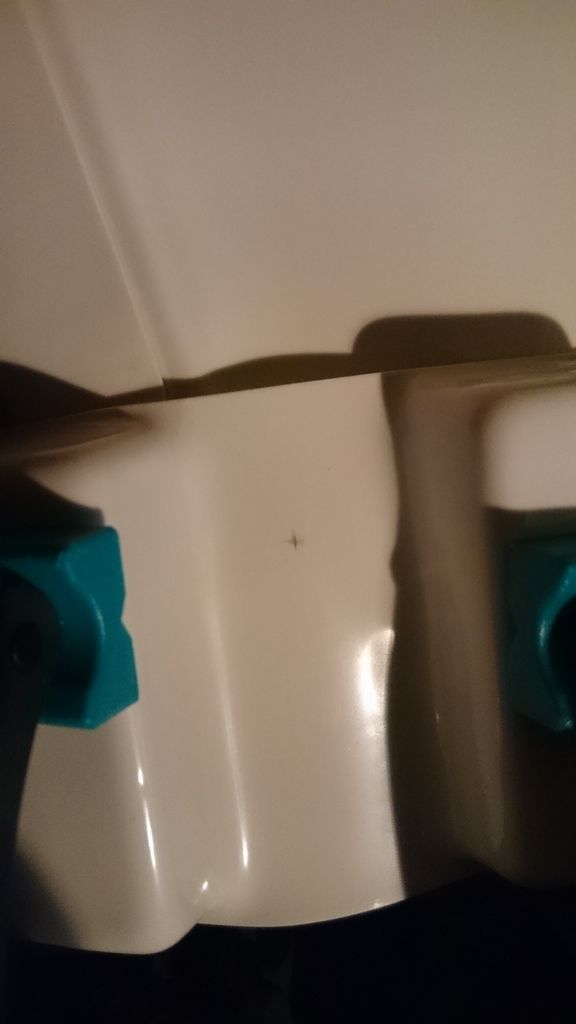
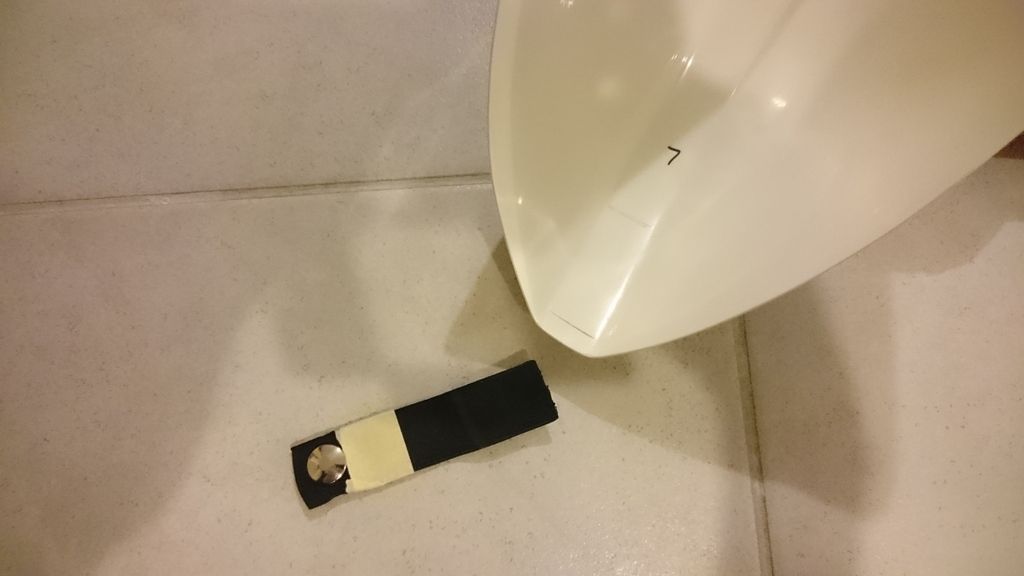
I have a question about painting the rivets:
In this following picture is a piece of plastic I painted with white color (which I would take for the rivets). It is actually not the same color as the plastic. My question therefore:
is it ok, or shall I take a more similar color?
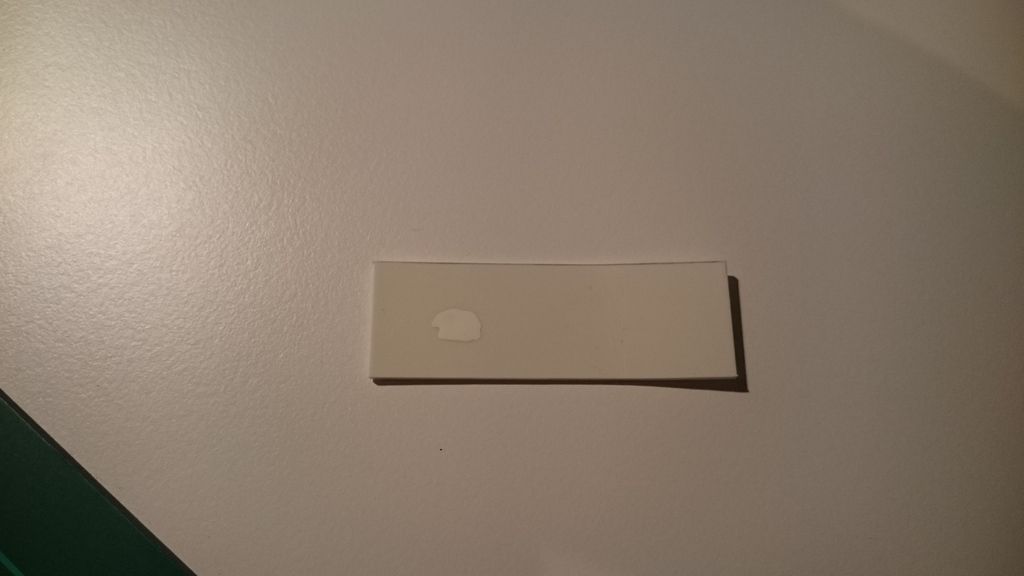
greets, Markus
-
Markus, your attention to detail makes me feel - frankly - Lazy
 :D Why? You did also a very good job on your armor!
-
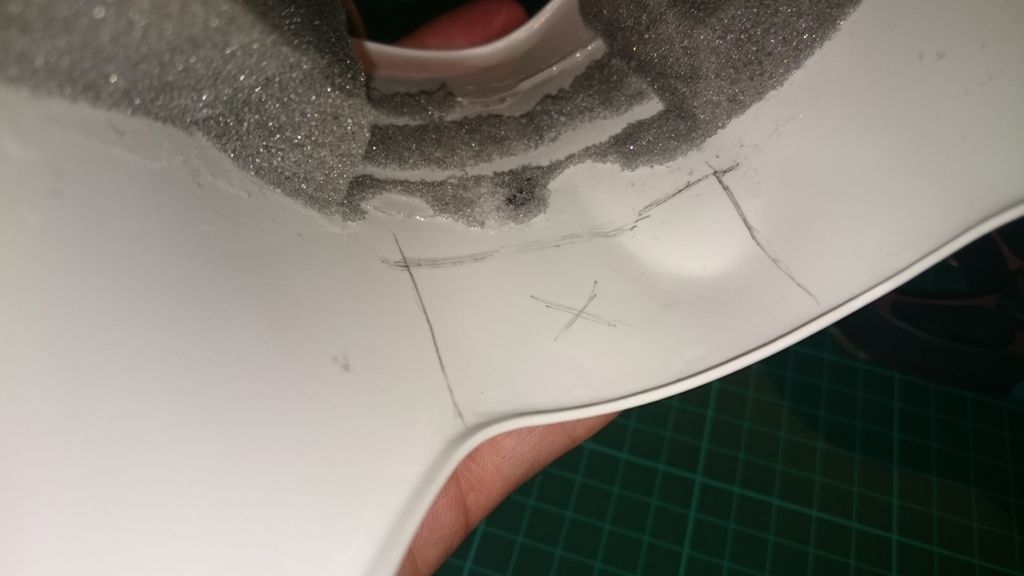
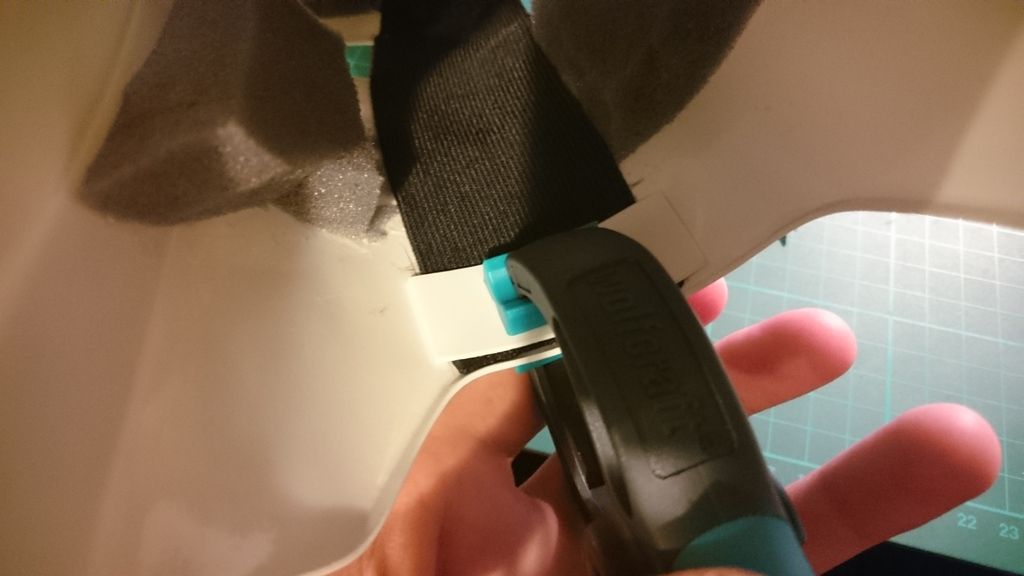
next step:
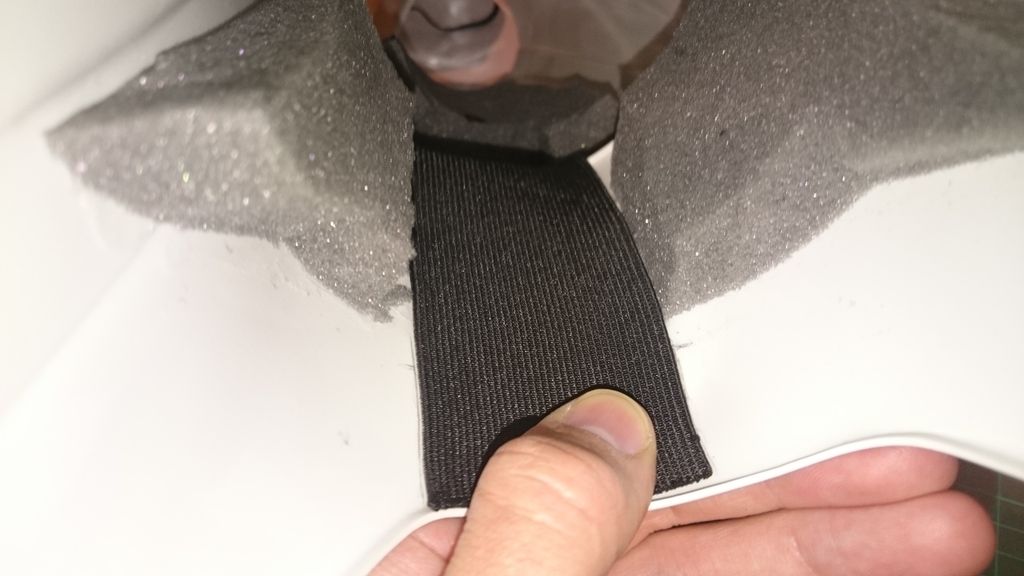
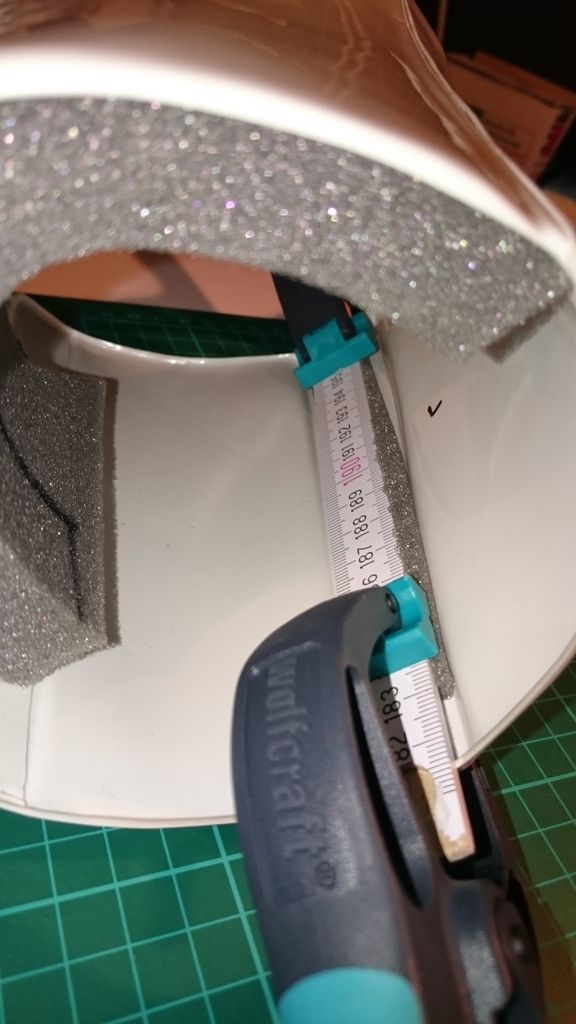
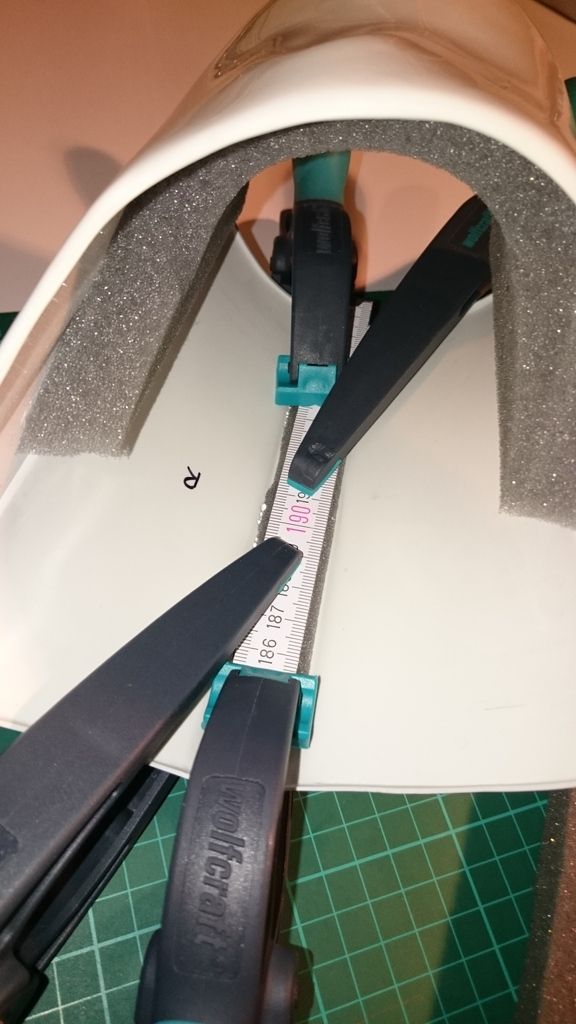
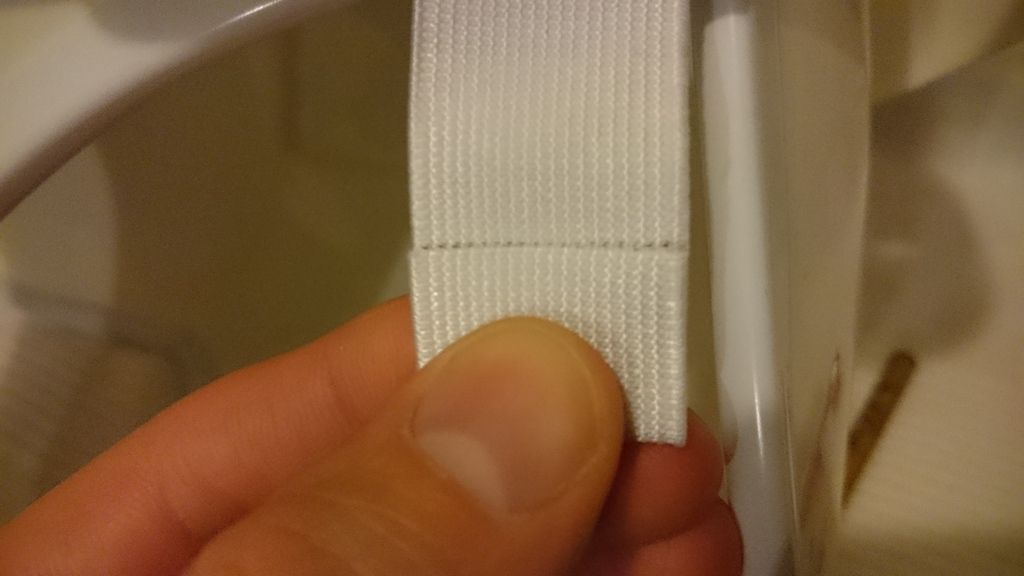
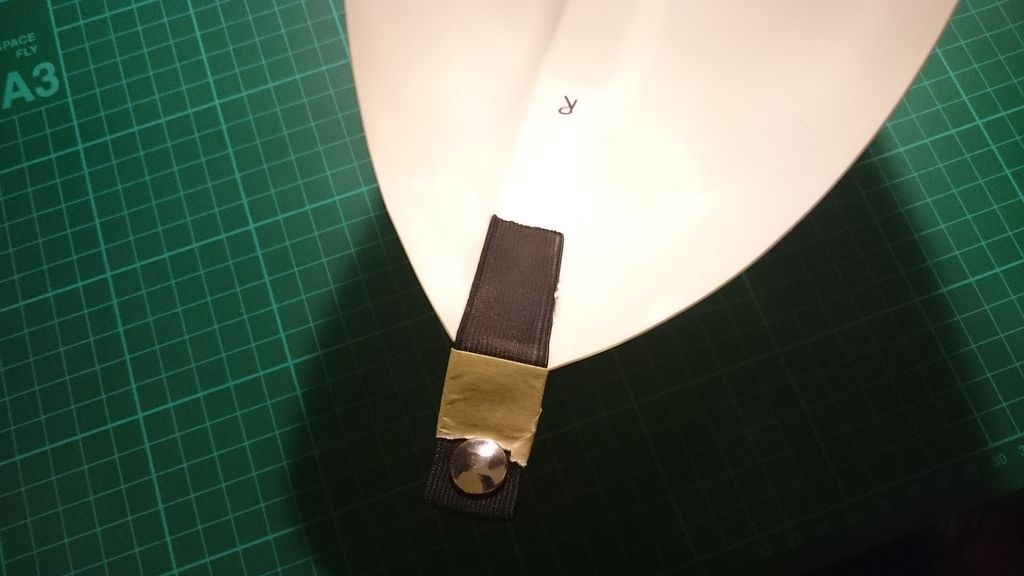
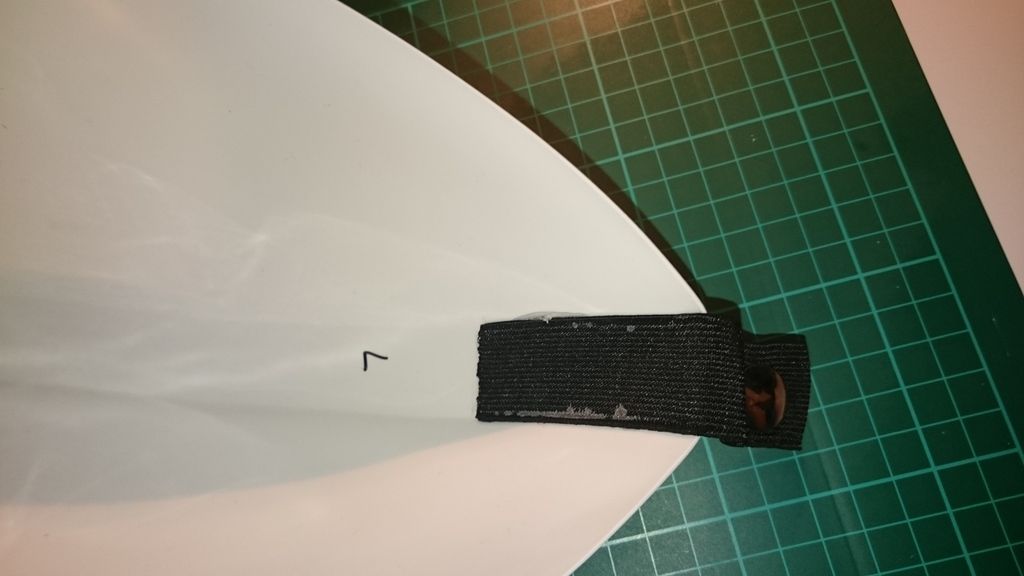
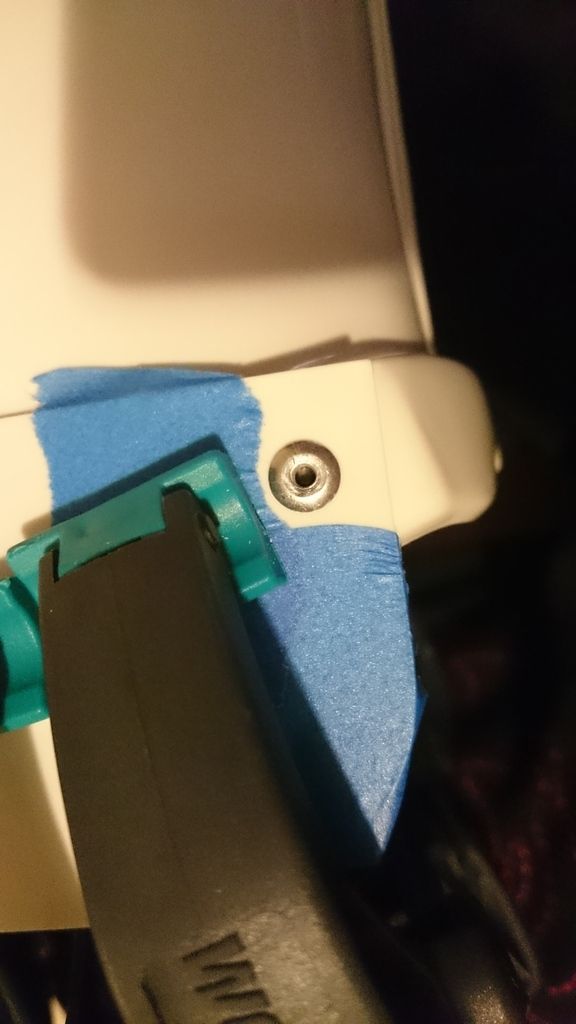
I fixed a tape around the strapping to trace the contours better.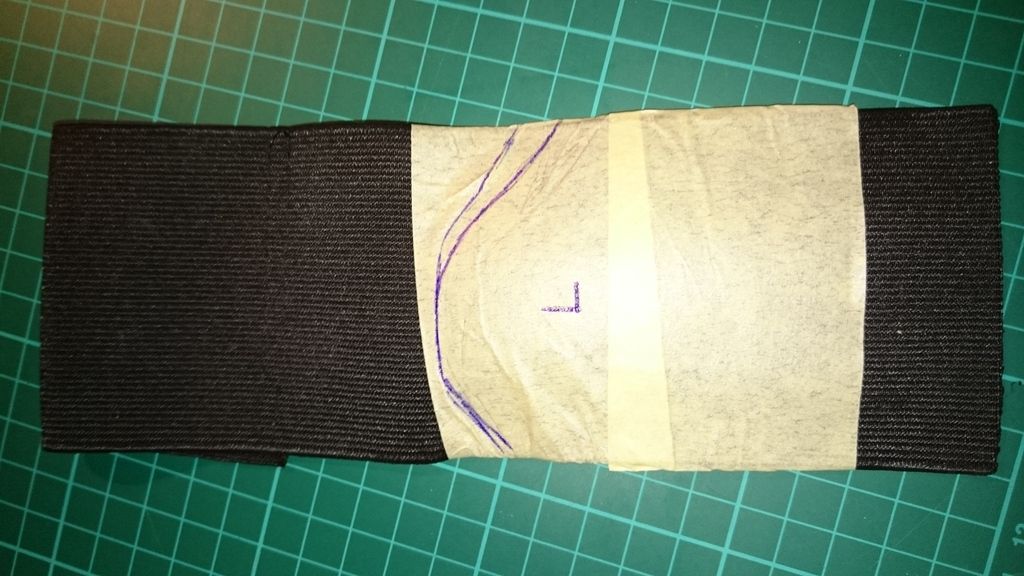
put the strapping in position ...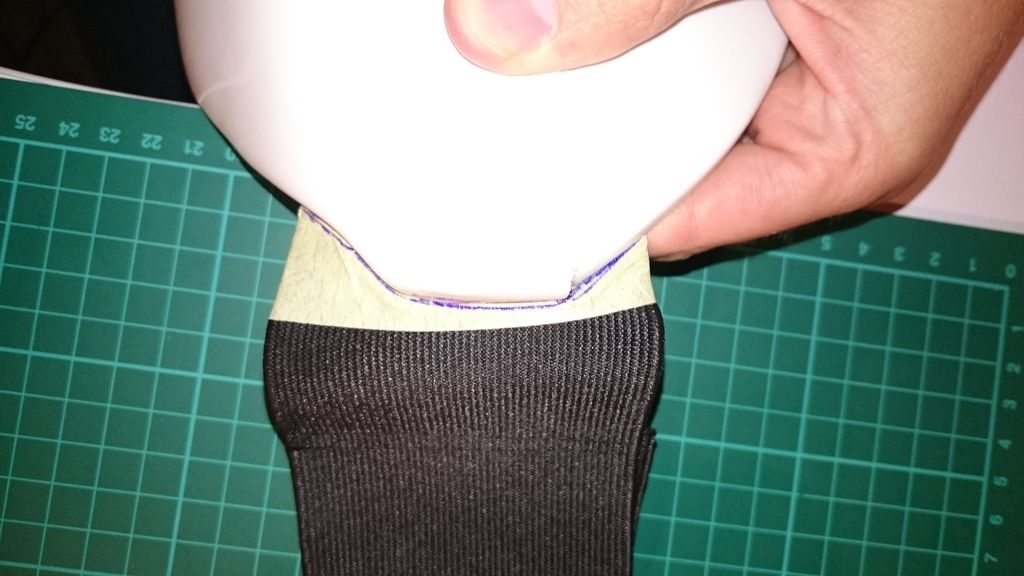
... and trace on the inner side of the thighs the strapping-contours: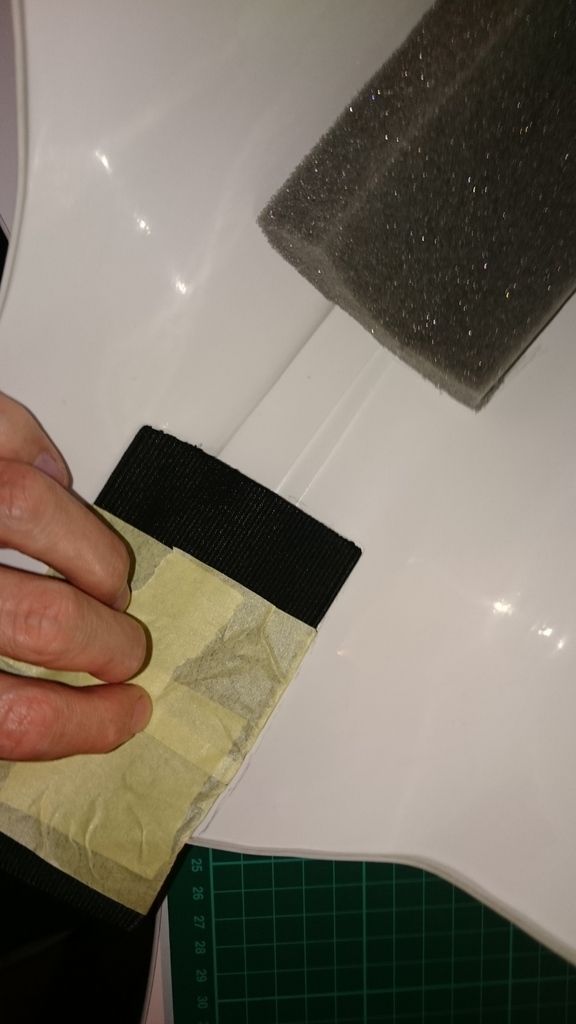
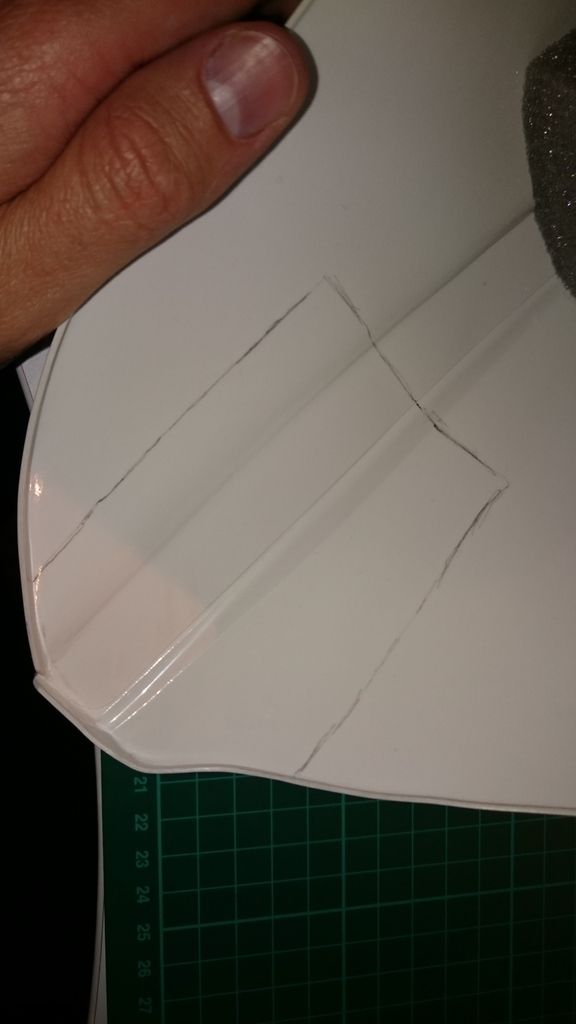
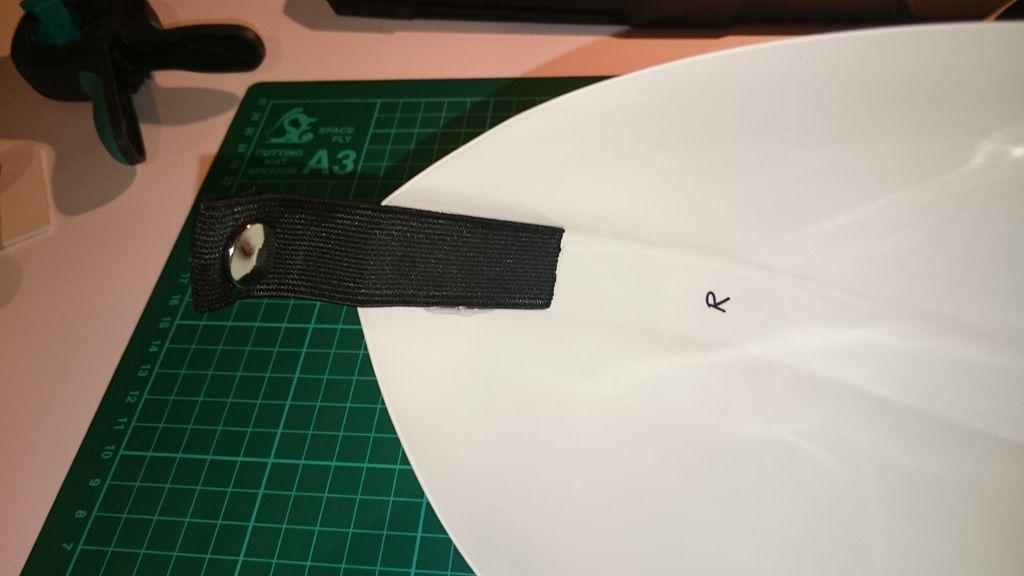
and finally glue the strapping: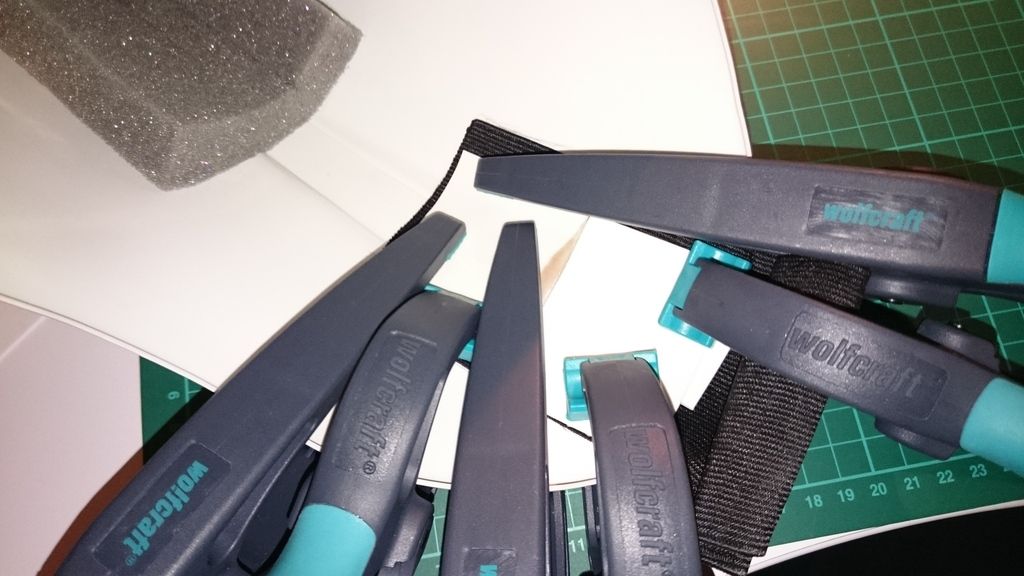
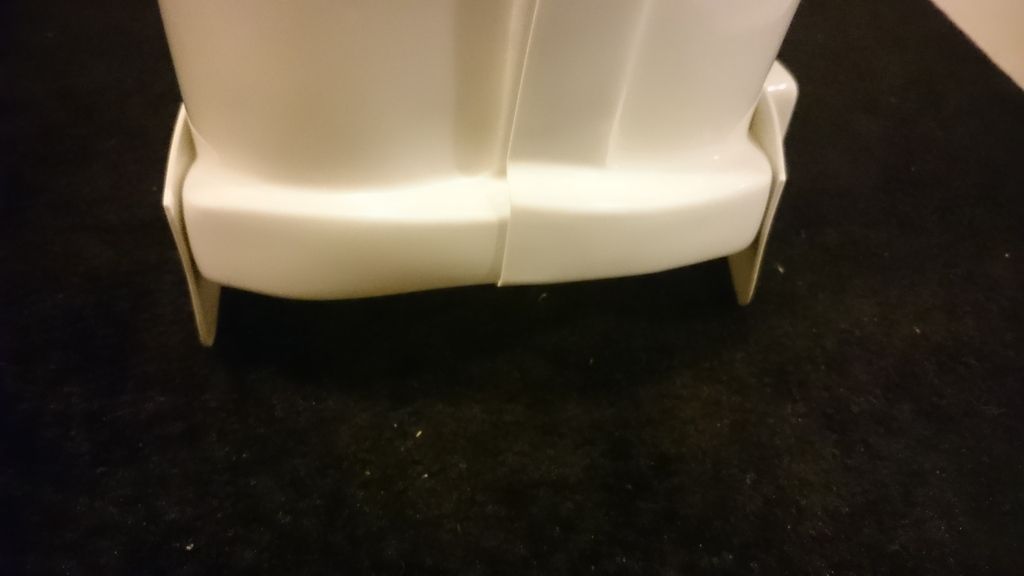
Now both thighs fit perfectly and the gaps between "shins and thighs" and "thighs and abdomen" look great!
I also went stairs up and down and the right thigh pinches a bit (really just a bit) on the hollow of the knie, but by far nothing that would blow a real Stormtrooper :D
:D
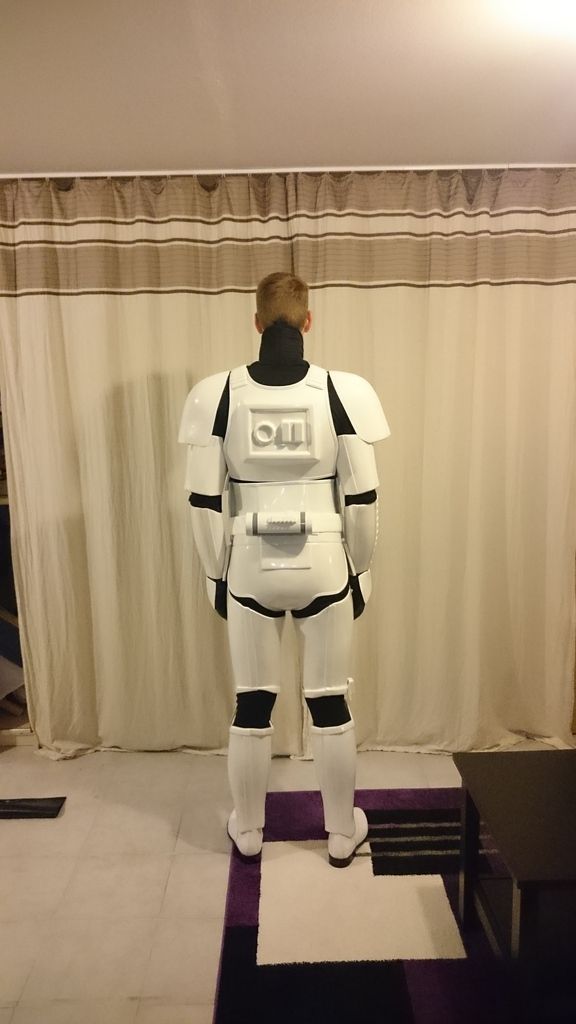
Photos from the finished (except the helmet) Stormie follow at the end of the week -
Thank you Paul! They fit very well and I can kick up beltline almost
I think, I let them in place an glue the strapping! 
And there is still another question:
The holster is fixed on the right side and in the vertical center of the belt. But where definitely on the right side? Is there a certain amount?


greets Markus
-
The foam padding is already glued in upper arms and thighs
I also have found an old black 100%-leather belt. On the picture it looks a bit brown, but it is a black one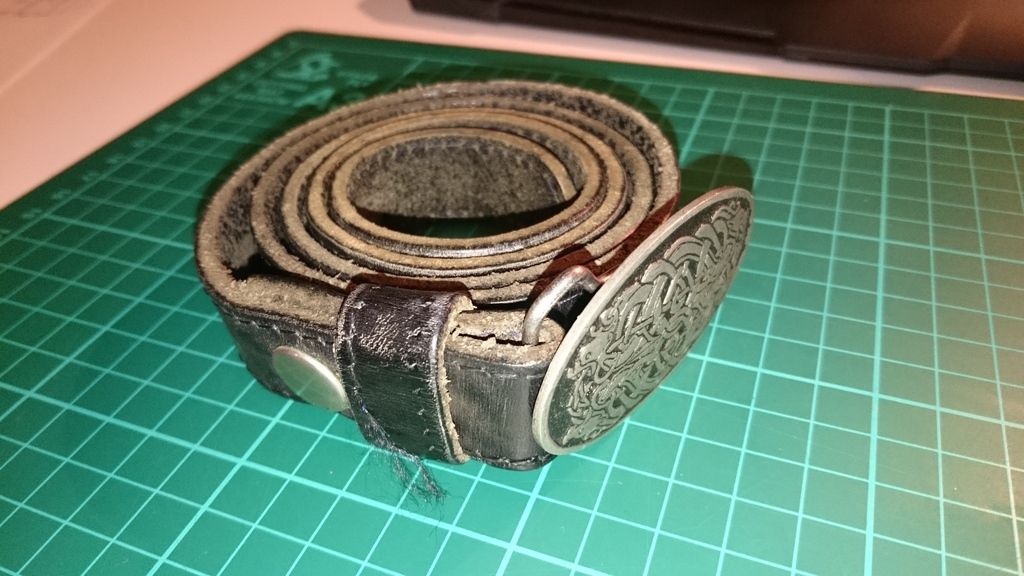
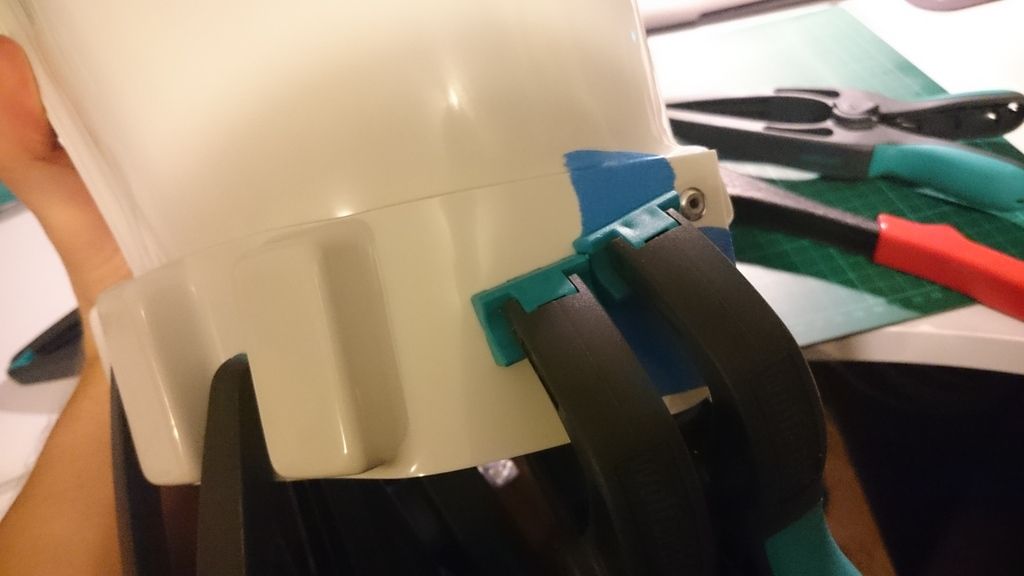
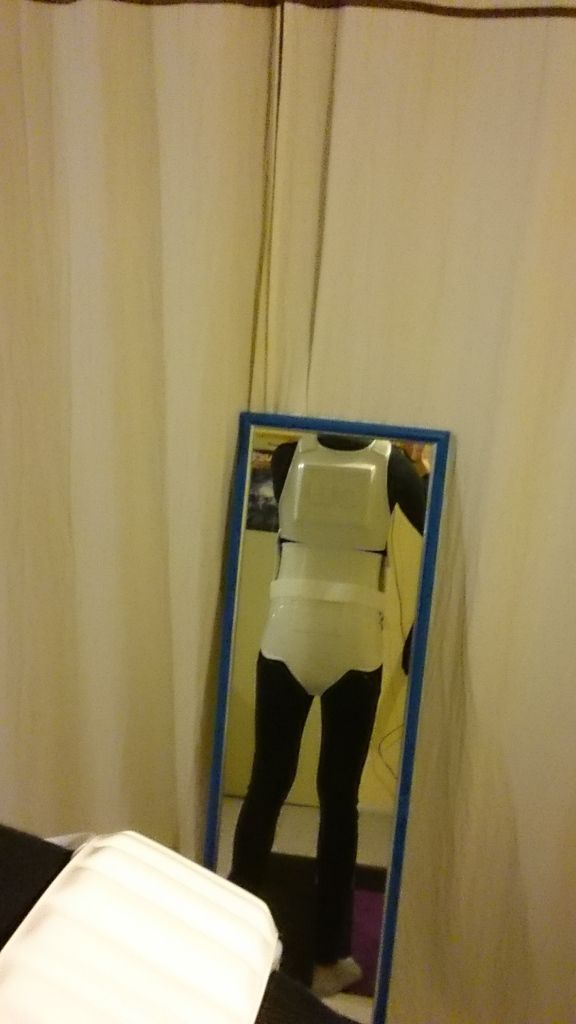
And here is the newest test fitting: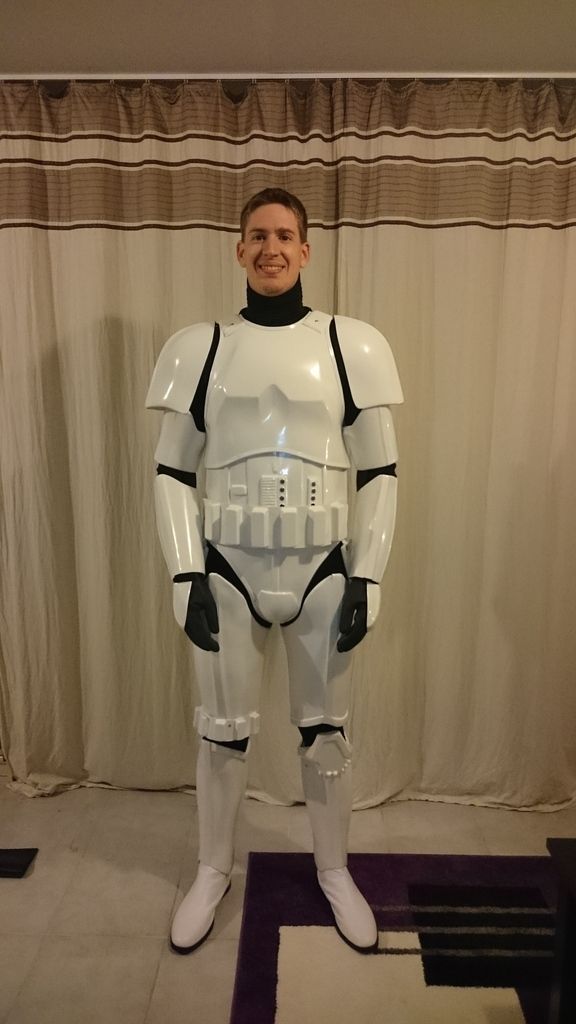
I know I have to strap the shoulder bells.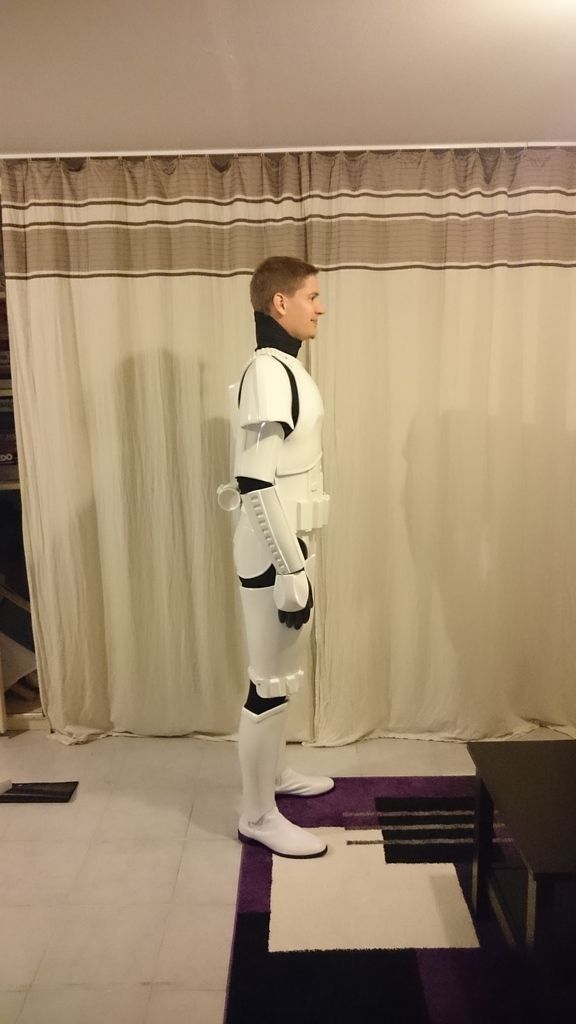
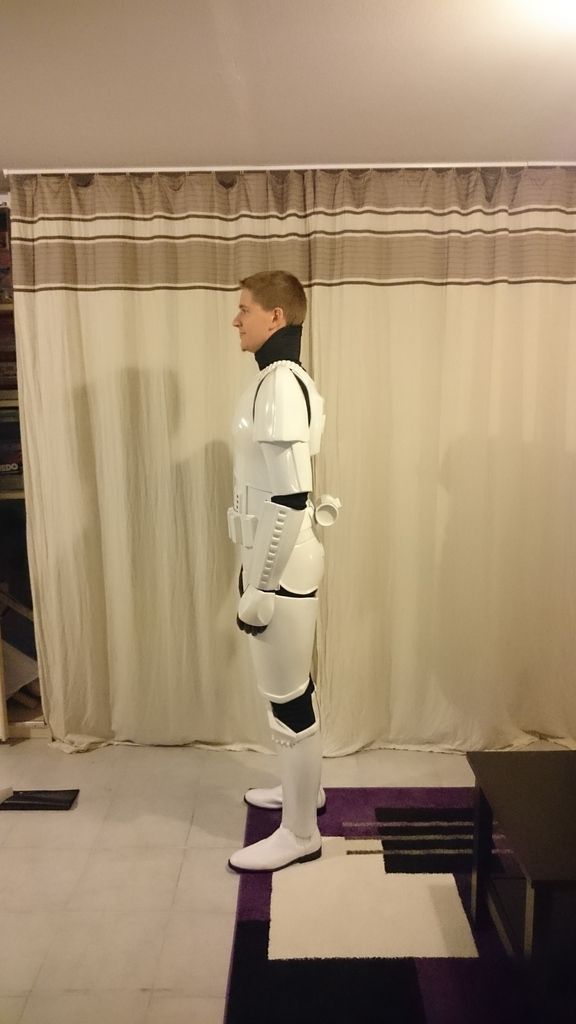
How do you think about the gap between the shins and thighs and further on the gap between the thighs and the abdomen?
Here the missing points to finish the armor (without helmet ):
.) strapping of the shoulder bells
.) painting rivets white
.) riveting the Holster
.) both "drop boxes" finishing
.) strapping of the thighs
.) painting the sole of the boots white -
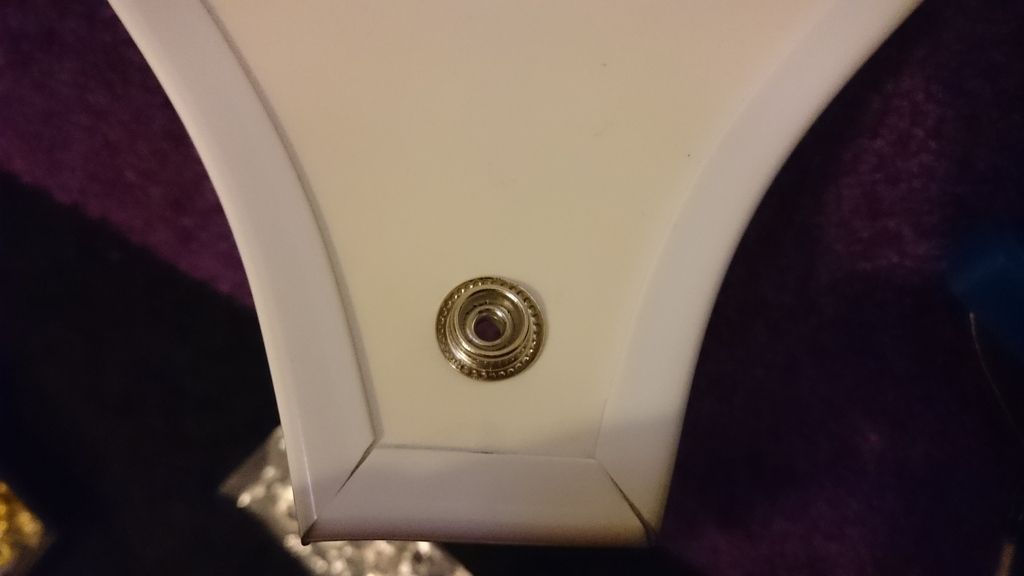
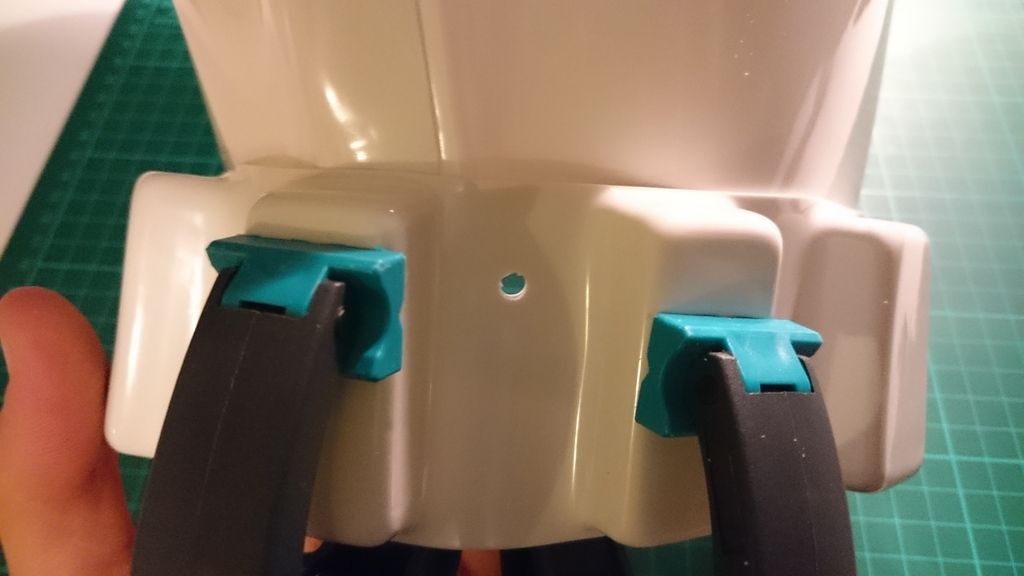
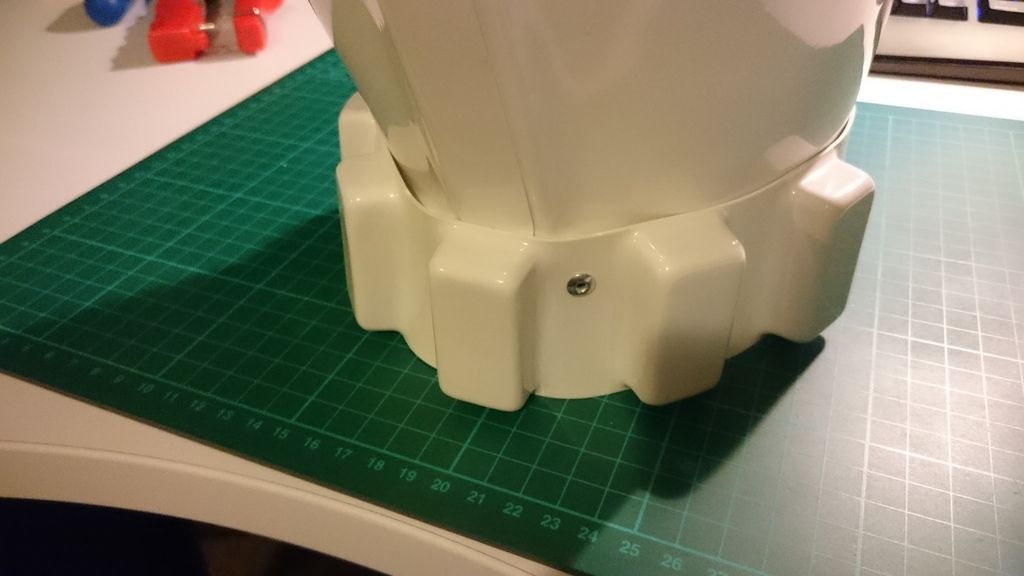
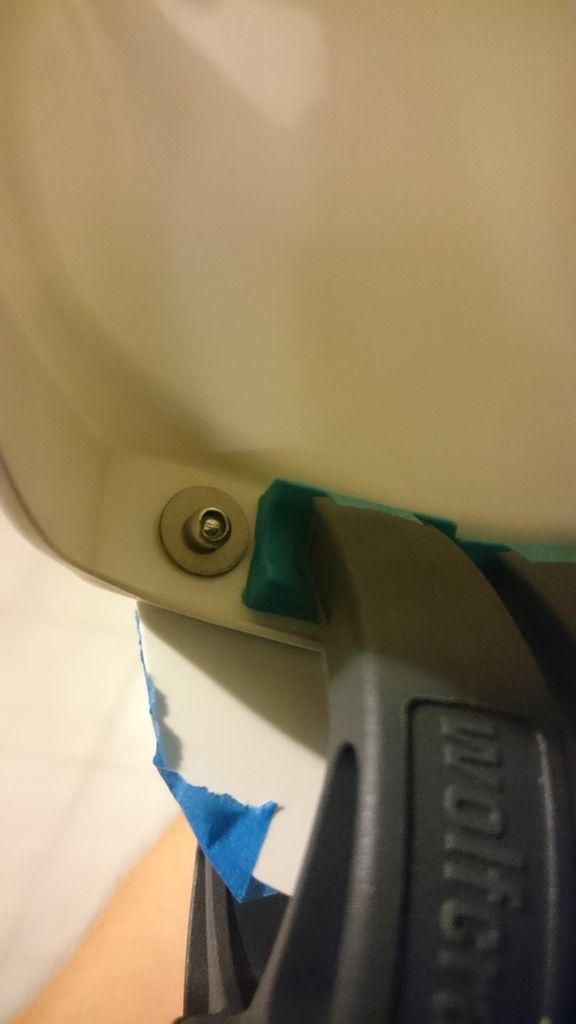
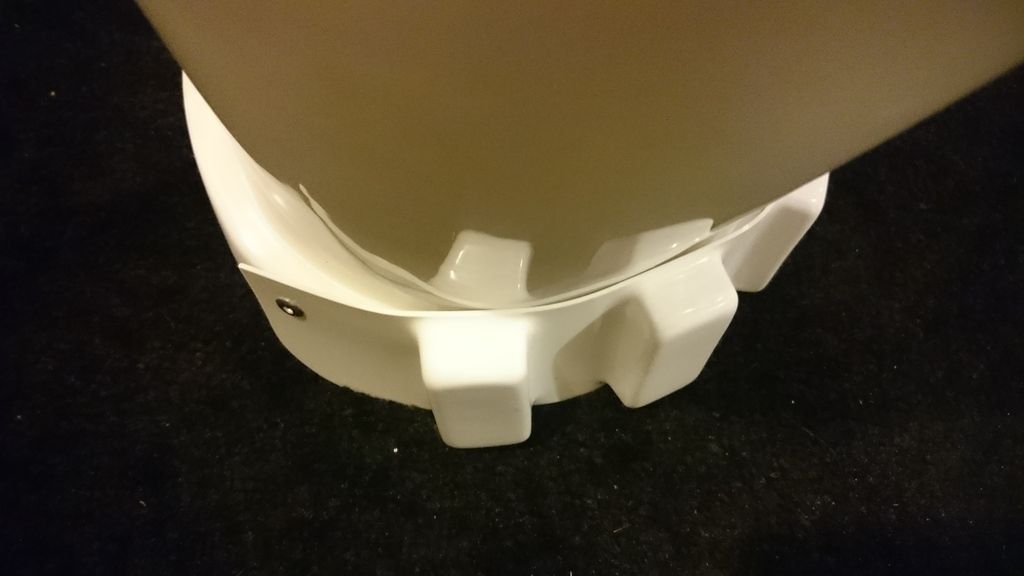
The "cod plate" was finished today.
riveted: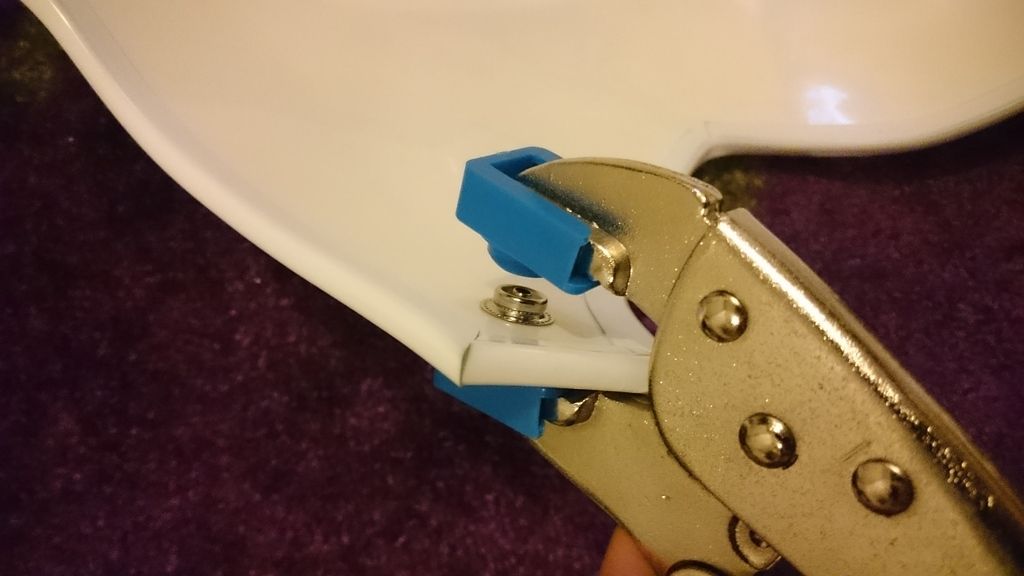
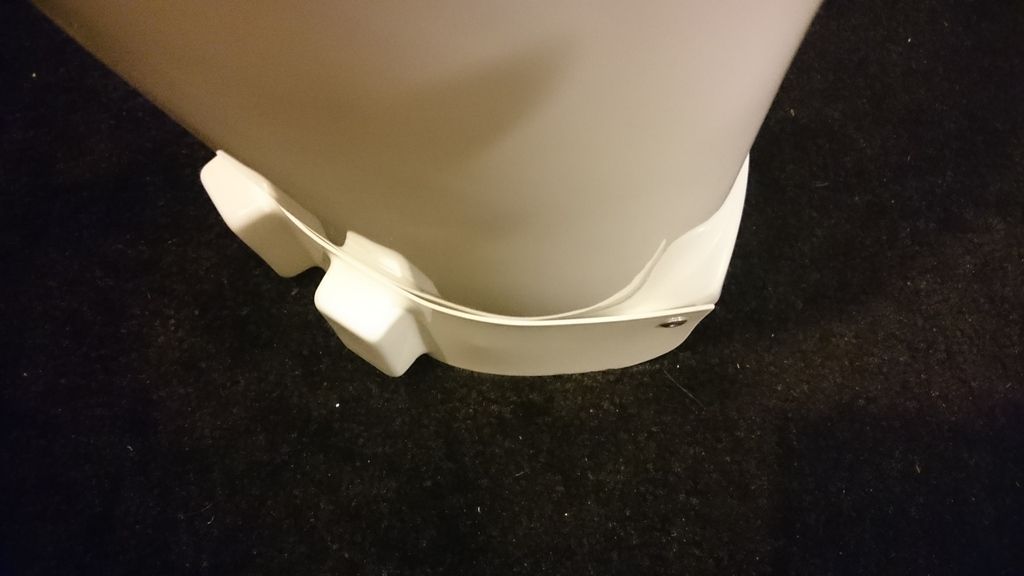
and the "strapping" on the testicular protection is also glued: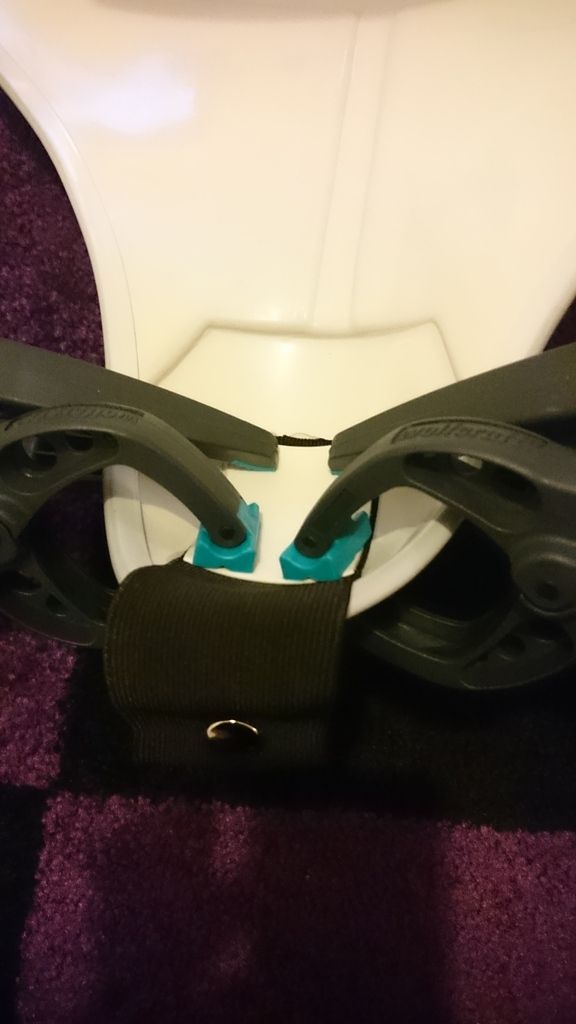
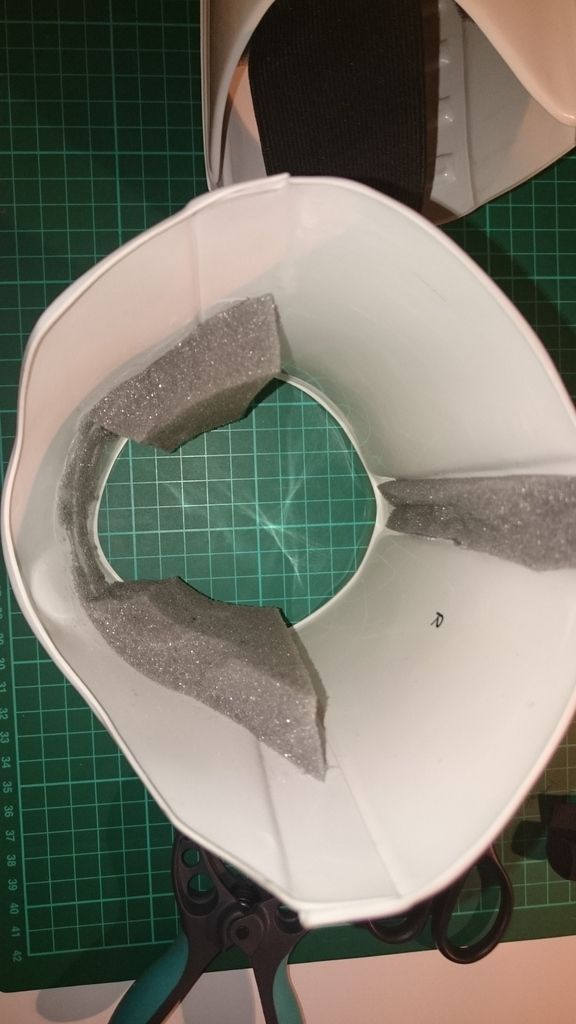
The foam padding is glued: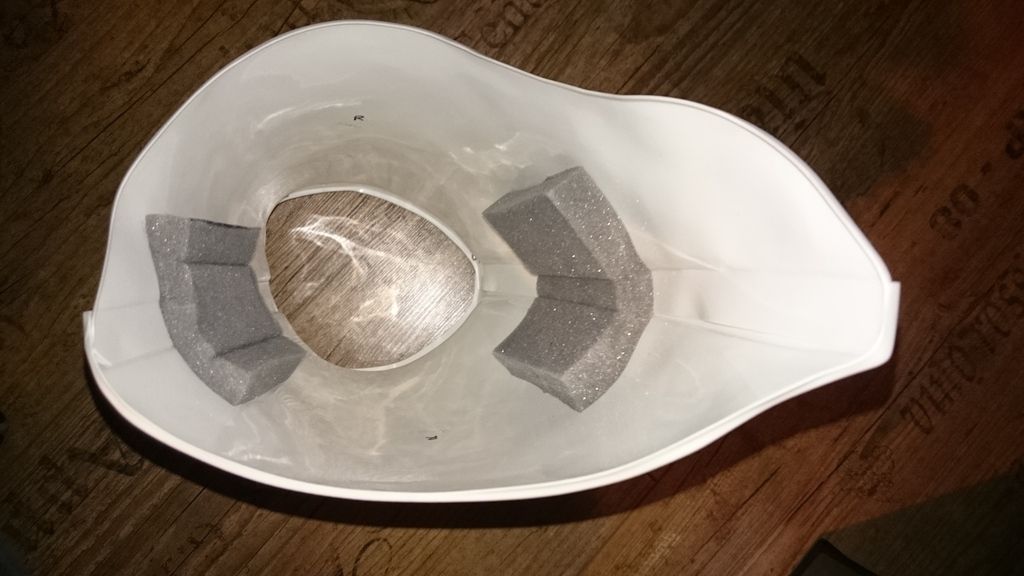
Tomorrow I will finish the foam padding in the left thigh. And then the time has nearly come to start assembling the ..... voltage increases ..... H E L M E T ! ! ! :D
I'm very happy about assembling the helmet. This would be certainly a chelange -
I knew it because I spoke to Paul before I riveted it!

And I saw it in the movie, that the original Stormtrooper HAS a rivet on the cod plate

sent from Deathstar
-
 1
1
-
-
To be continued ... the strapping of the two upper arms were glued ...
left arm: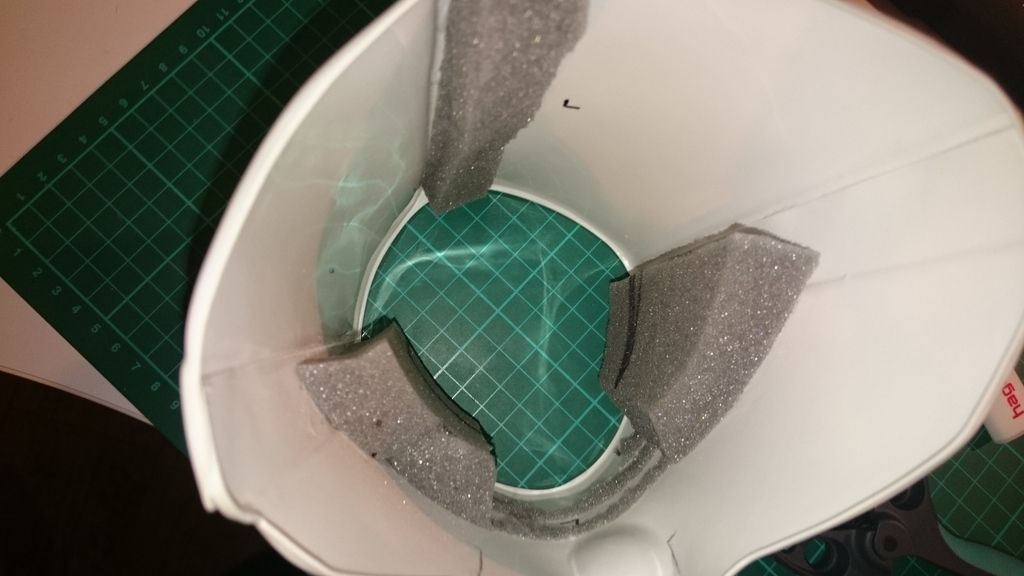
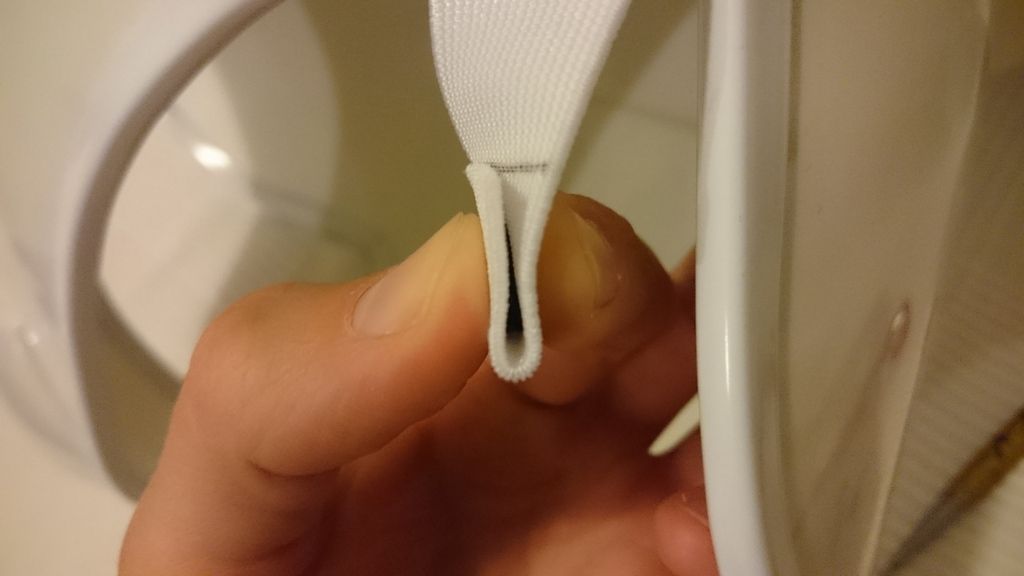
cutting the strap: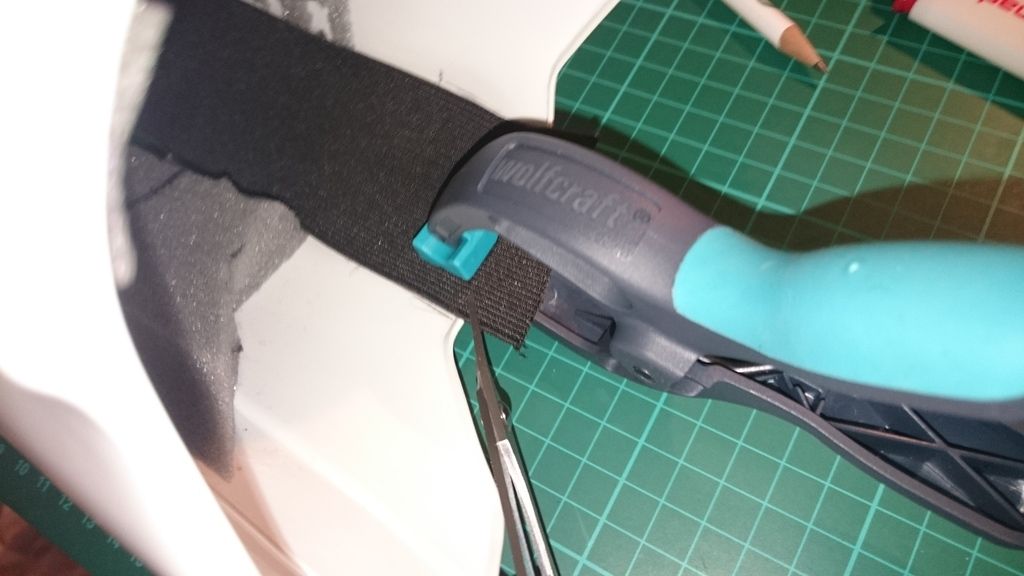
... aaaaand ready! Now I hope it fits. I tryed on the arms many times.
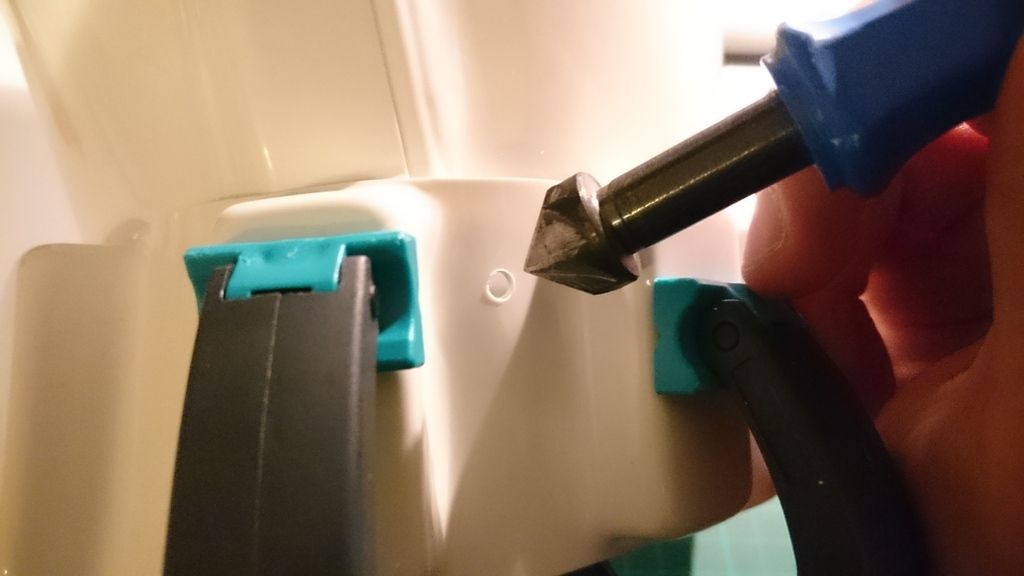
riveting cod plate: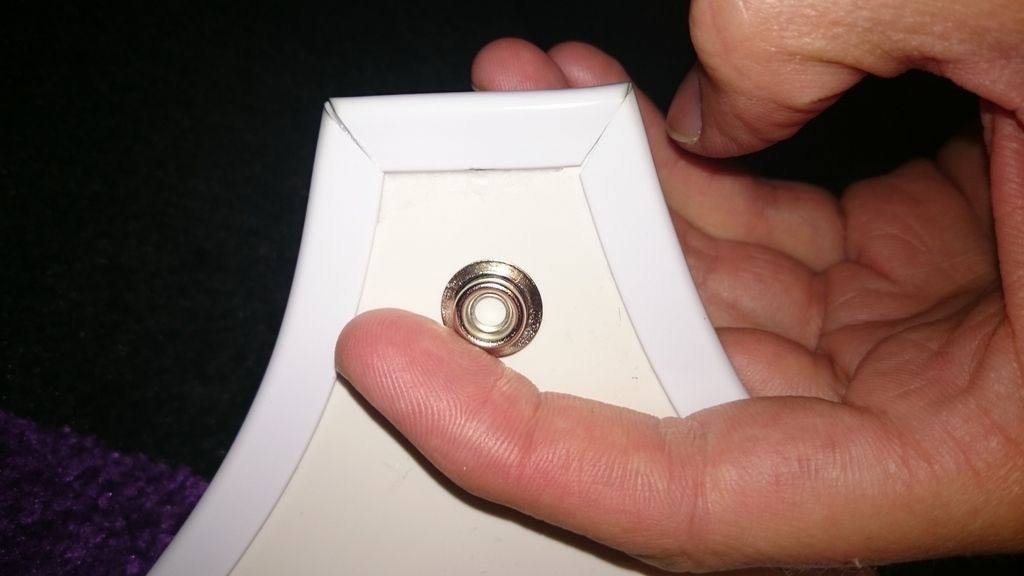
Tomorrow I will rivet the cod. -
Nice work. From whom did you get the air conditioner?
sent from Deathstar
-
looks good! is it hot while wearing the armor?
-
Because my biceps and thighs sit a bit too loose and I don't want they wobble while walking. So I glued some foam padding inside:
Today my taughter helped me attracting my armor
-
I glued the strapping for "biceps to forearm" on the forearm yesterday. Here some pictures of it:

I have awesome news: the Darman's "neck seal" has arrived today!!!
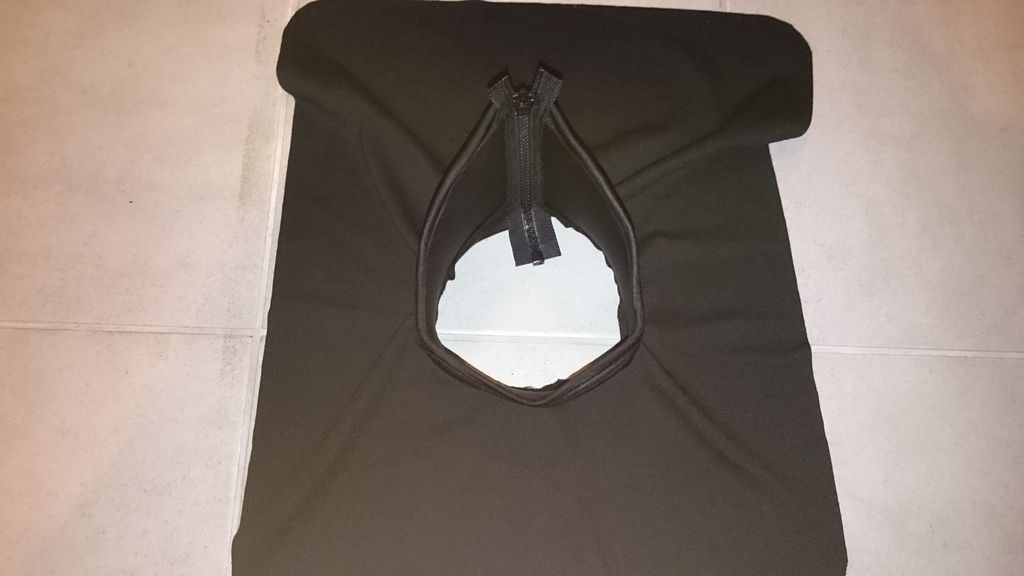
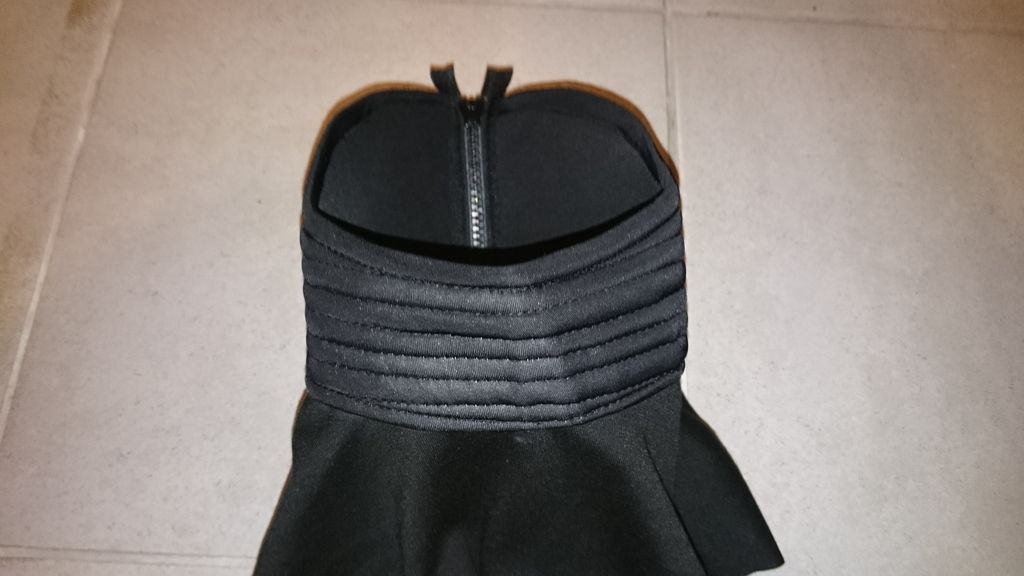
I can only say that the "neck seal" from Darman is very, very great!!!real good work, fits very well an looks fantastic!!

THANK YOU DARMAN!!!!
-
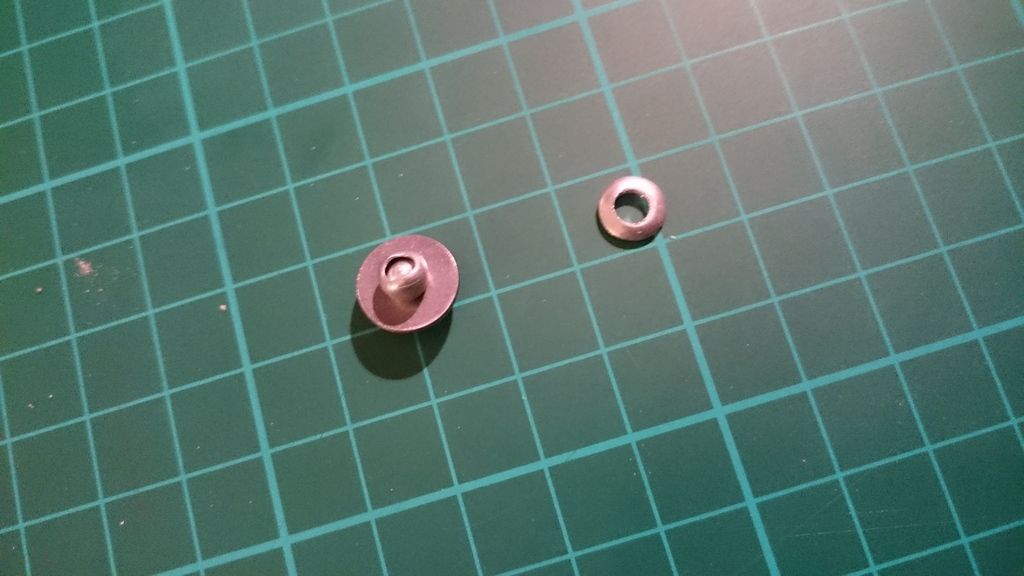
What are the meassurements of the snap rivet of the cod?
-
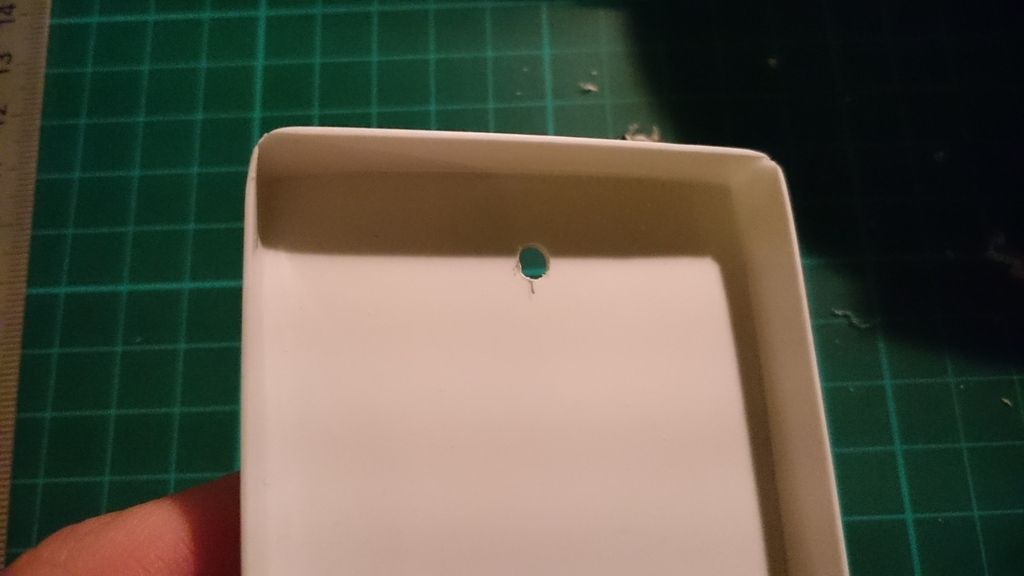
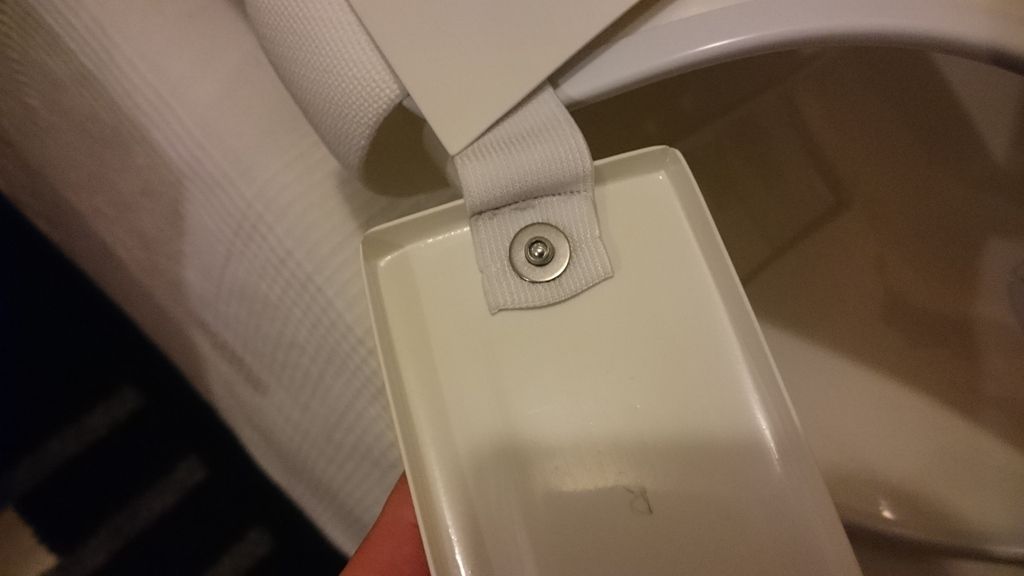
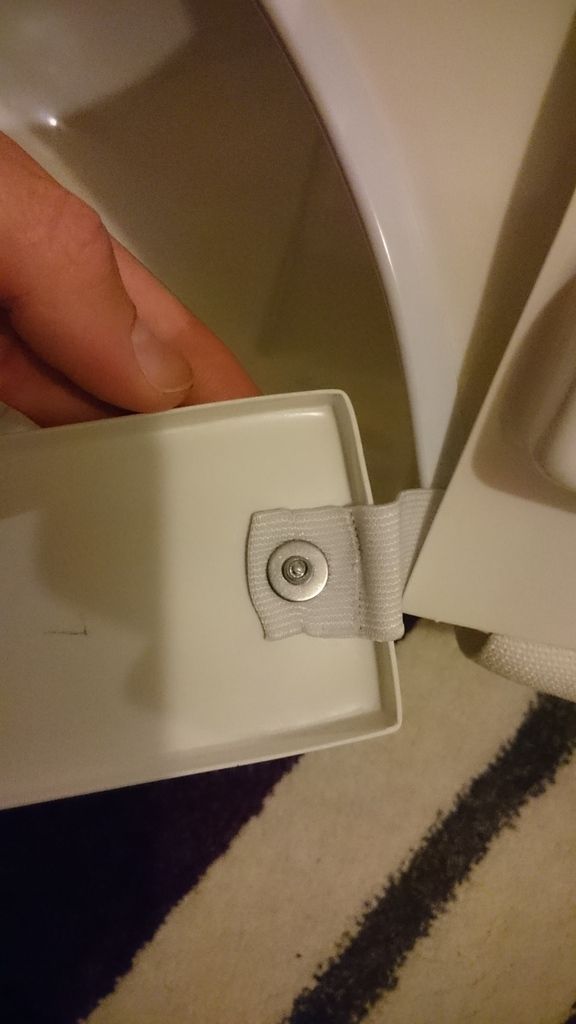
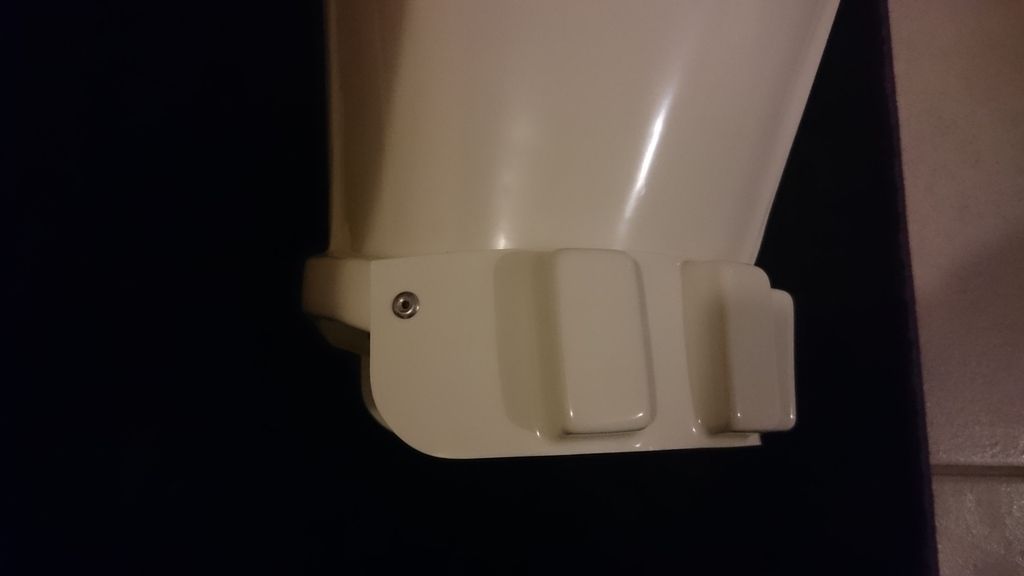
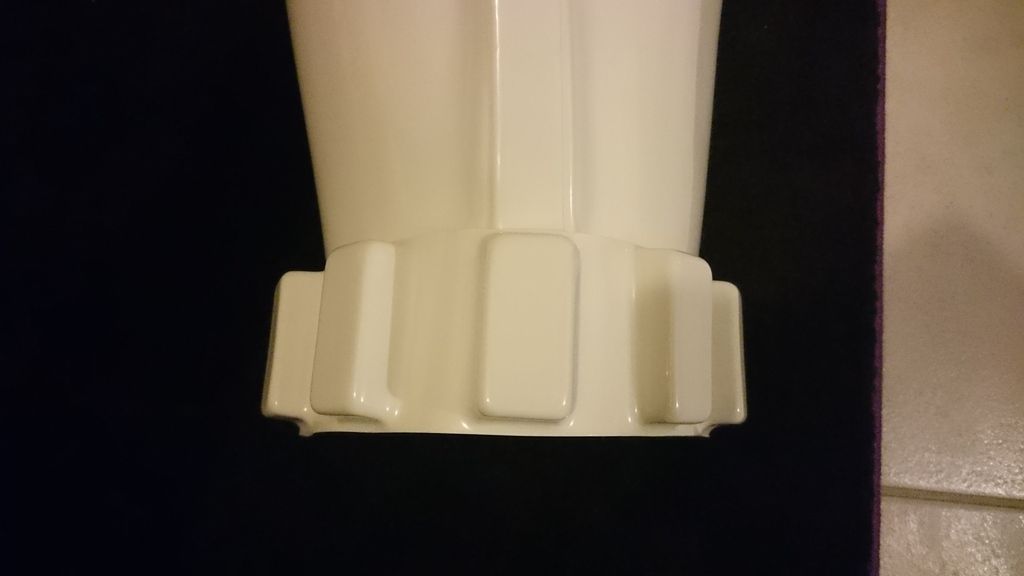
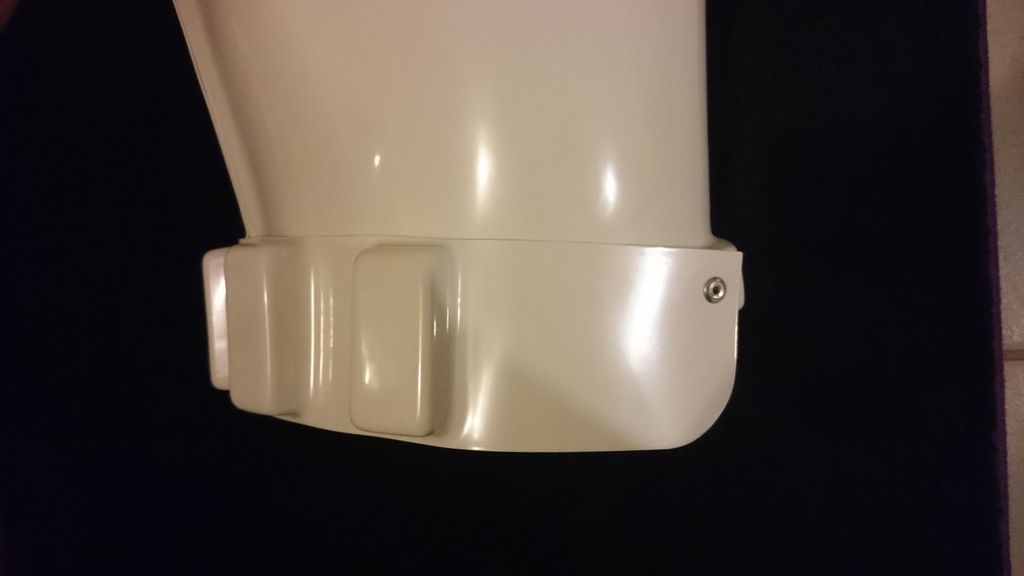
Yesterday I couldn't keep my eyes open, therefore I riveted the dropboxes. Here the result:
Can someone help with my strapping? I don't know where exactly the strapping of the upper arm will be fixed? AND does the forearm and the upperarm fit as I posted?
right arm: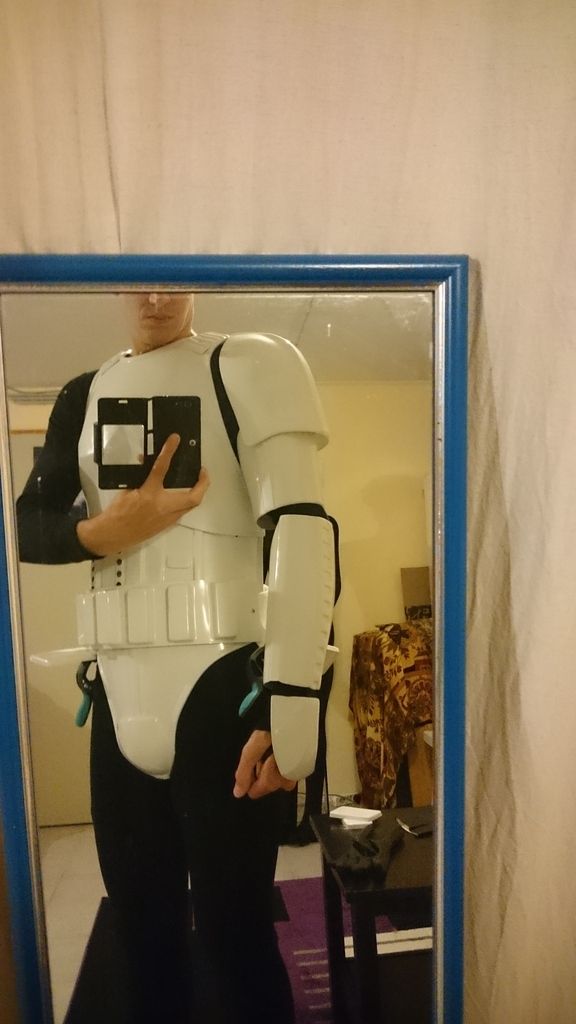

left arm: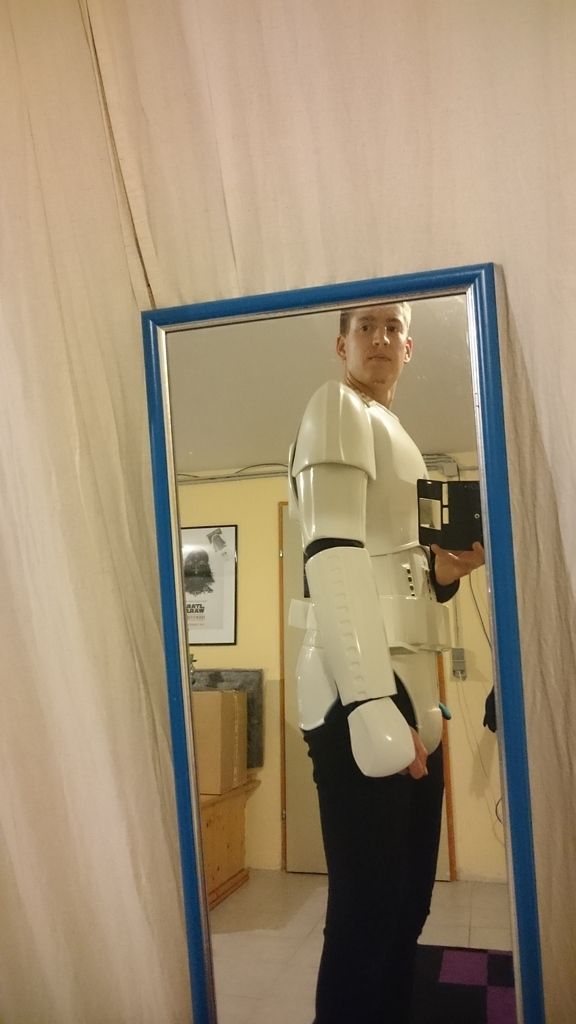
I ask for advice / tips / critiques / etc.
Thank you!
-
Wow, nice explanation!

Ok, I'll see what I can do. Maybe I have to extend the strapping between hands and forearms
-
Thank you

Are they too low?
-
Ah, ok. Thank you
First I present my newest progress:

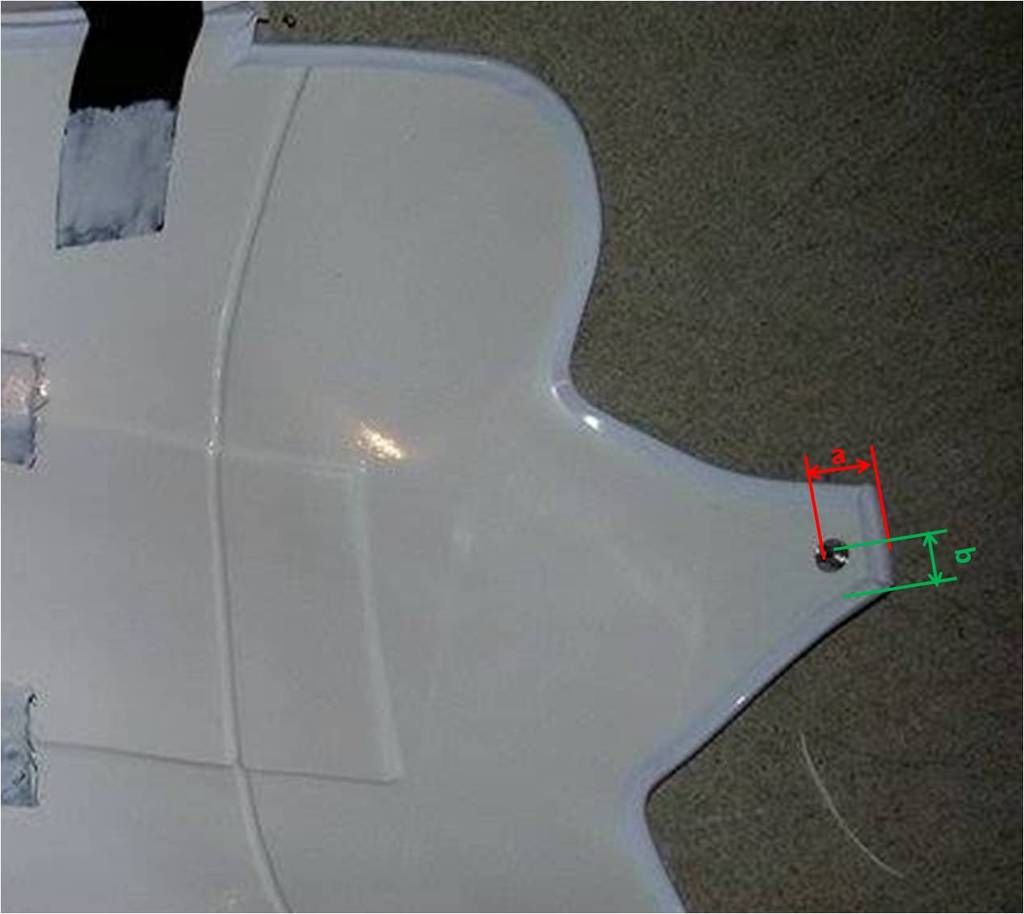
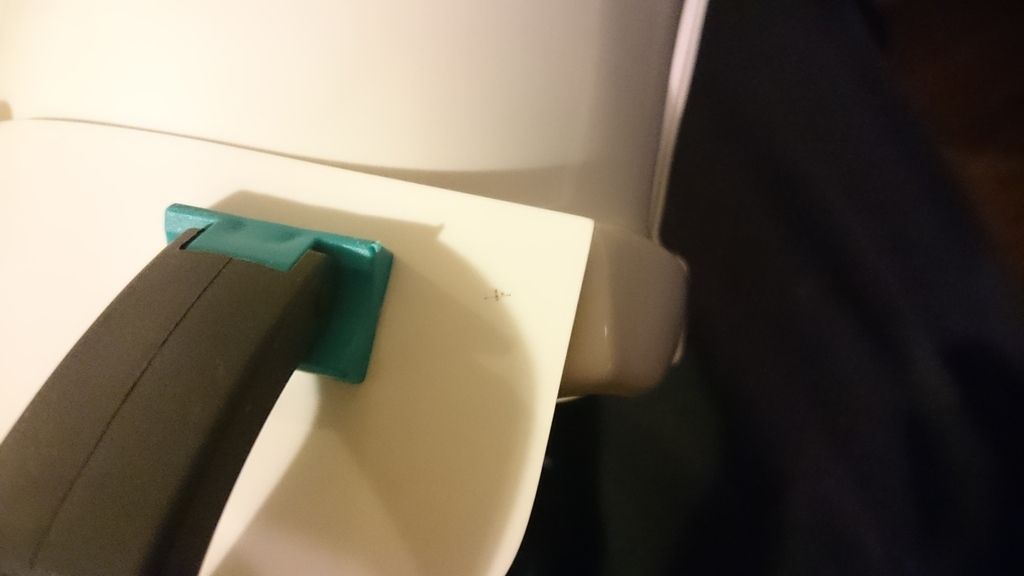
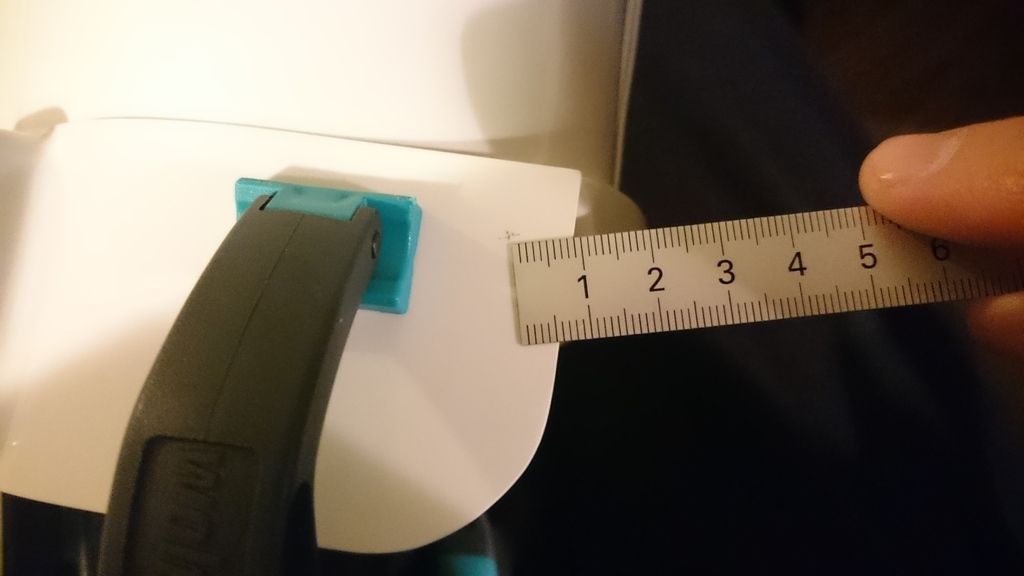
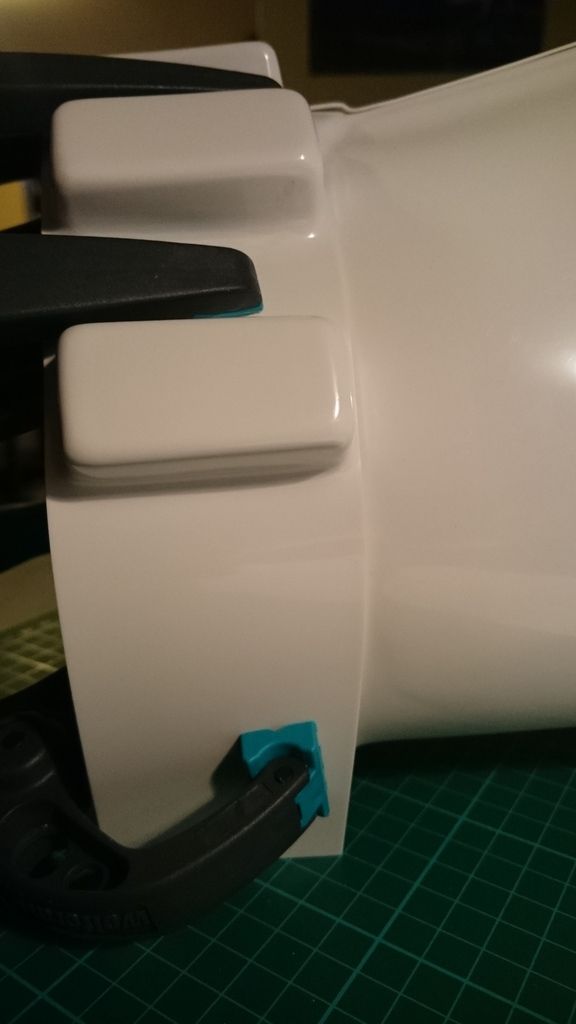
Next step: "drop boxes"
I marked the sides and the upside to could not change the pieces: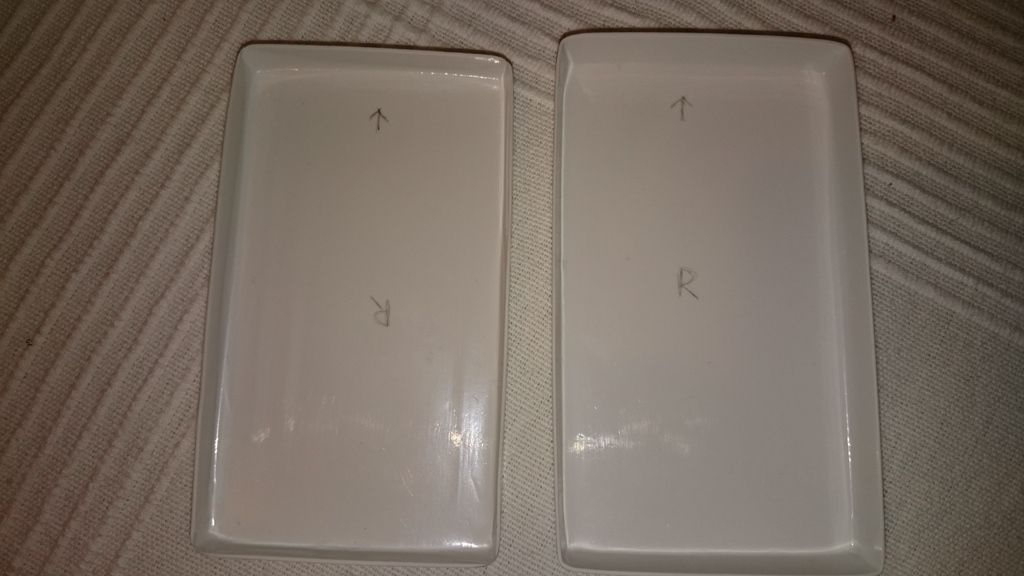
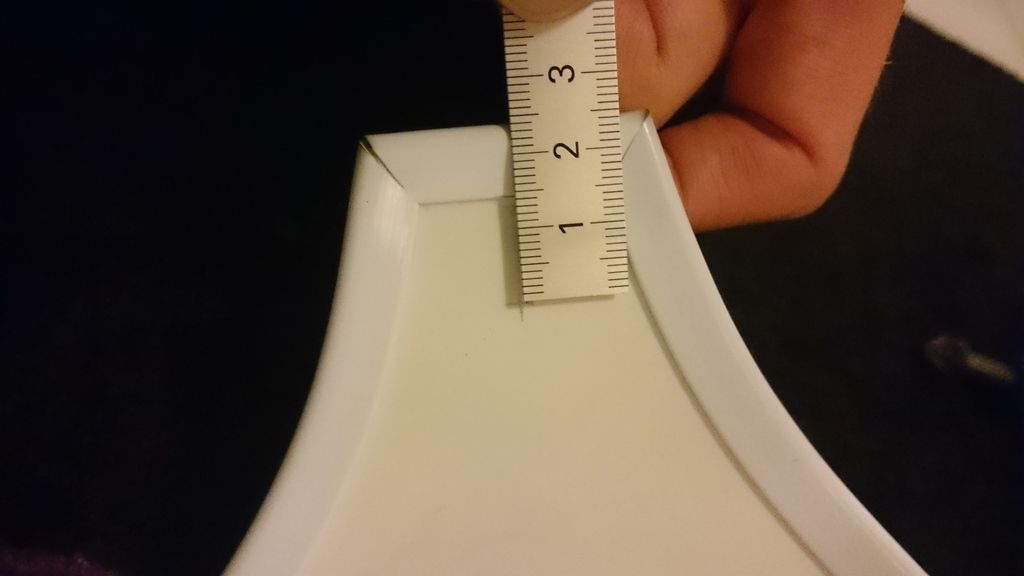
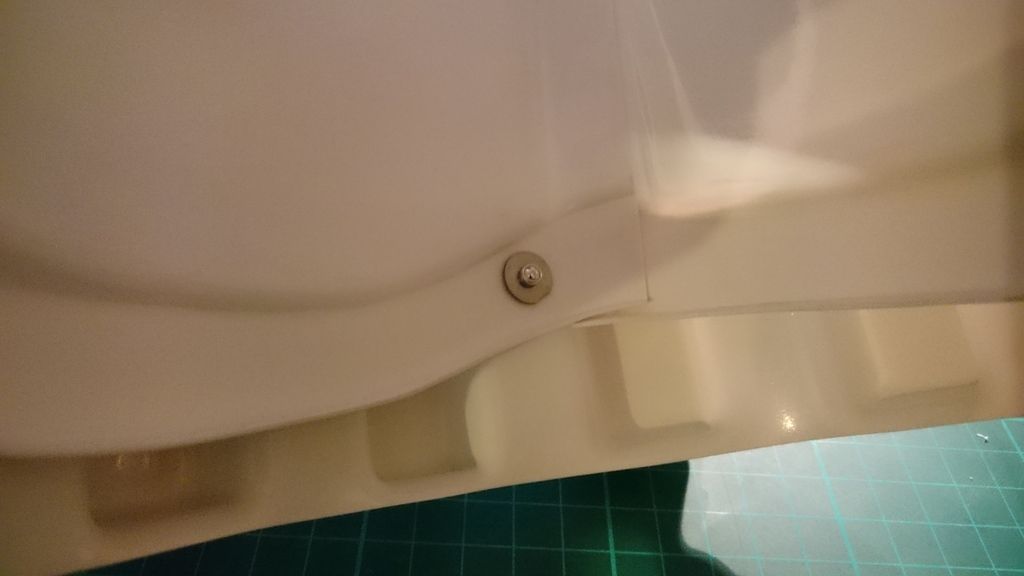
meassurement to belt: exakt 1cm (proof follows downwards )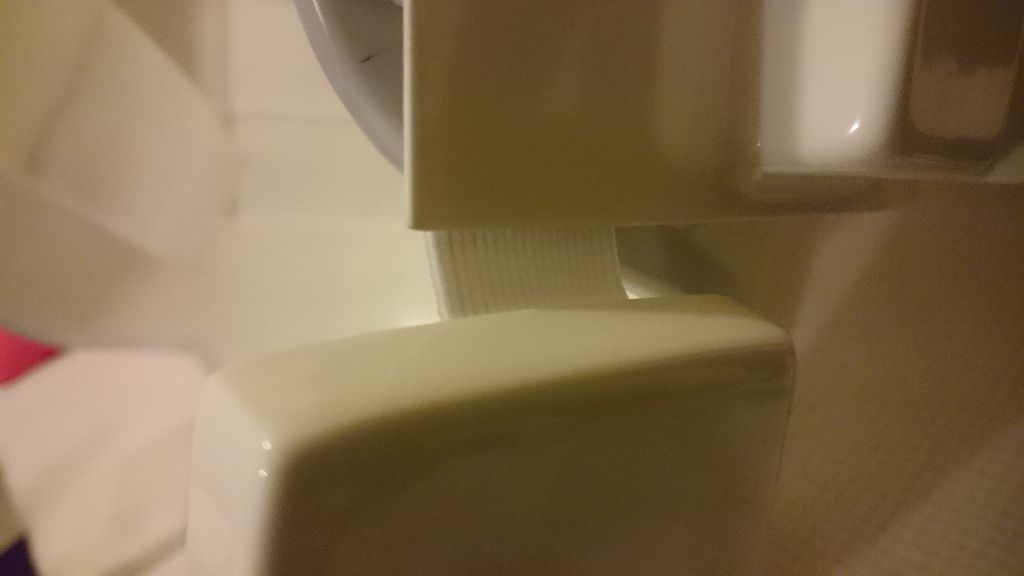
proof - 1cm!!!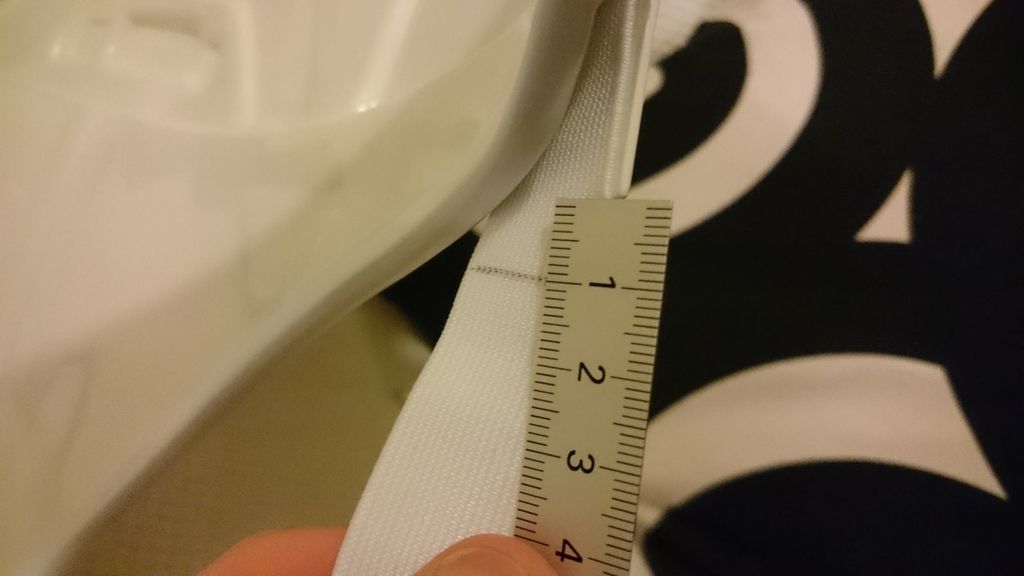
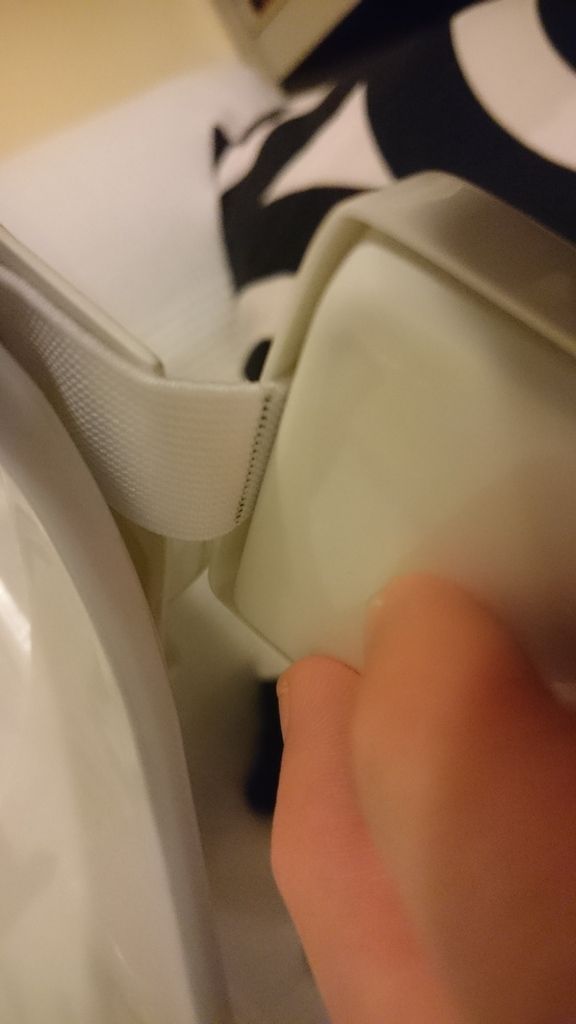
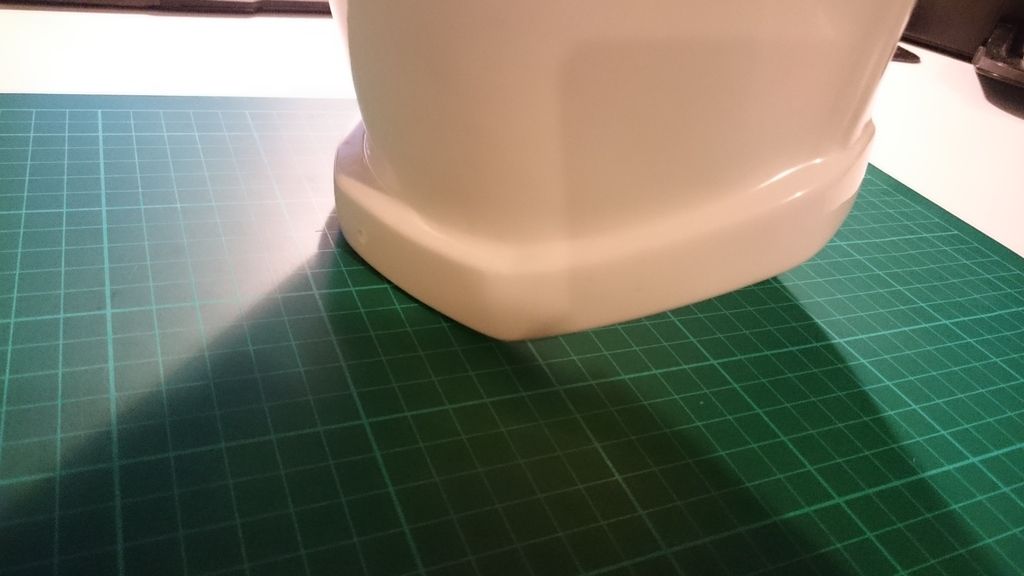
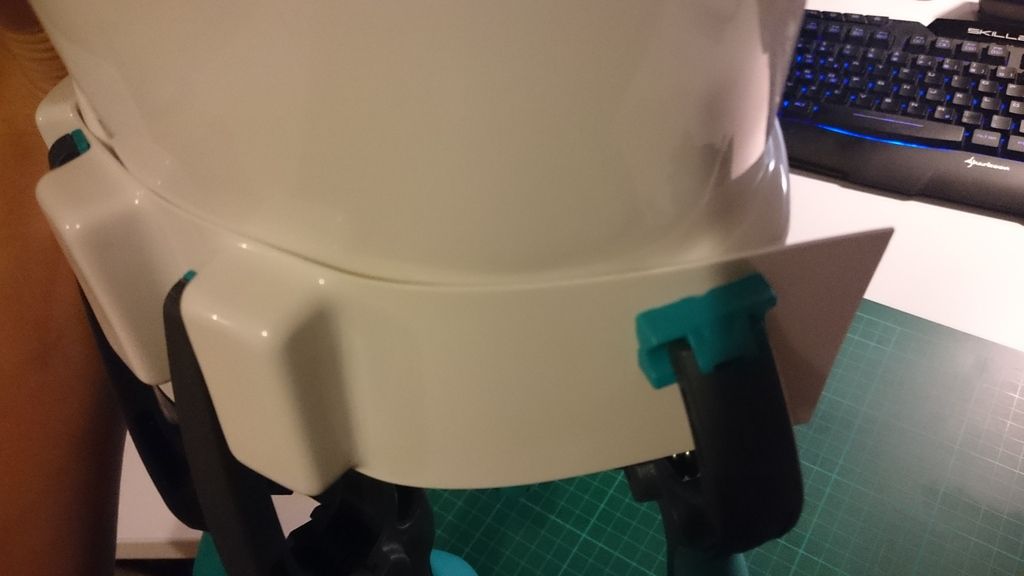
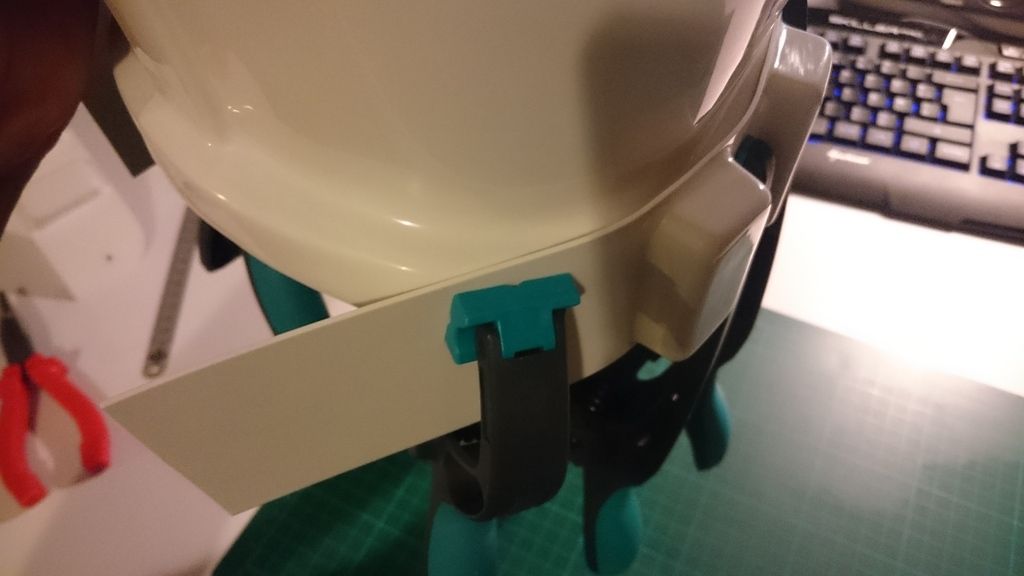
left box: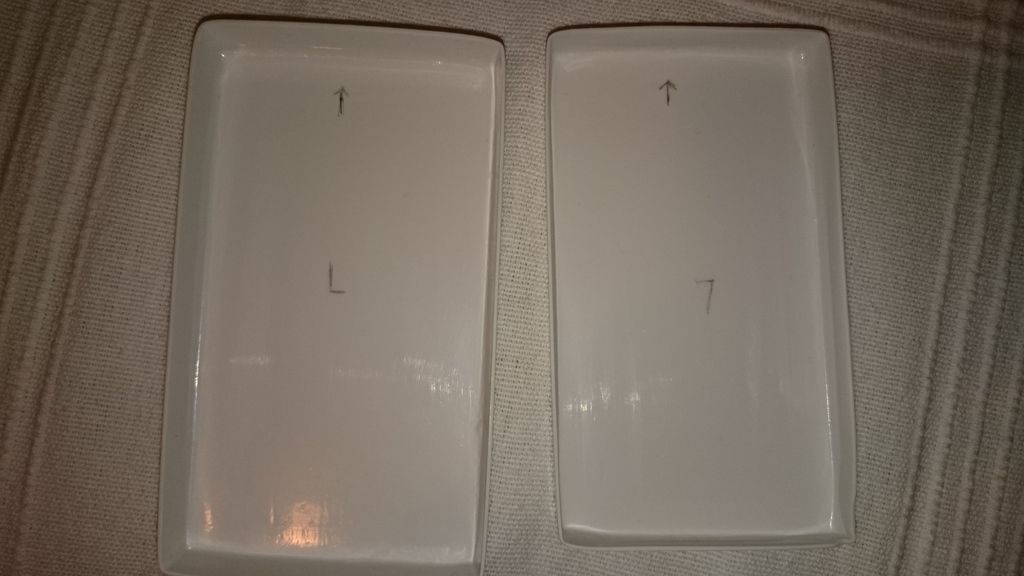
proof :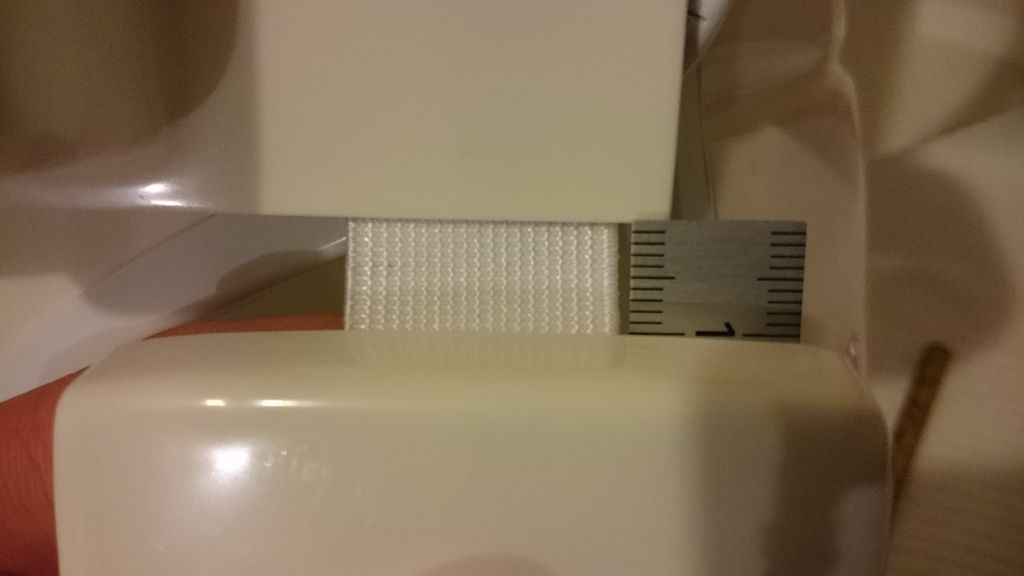
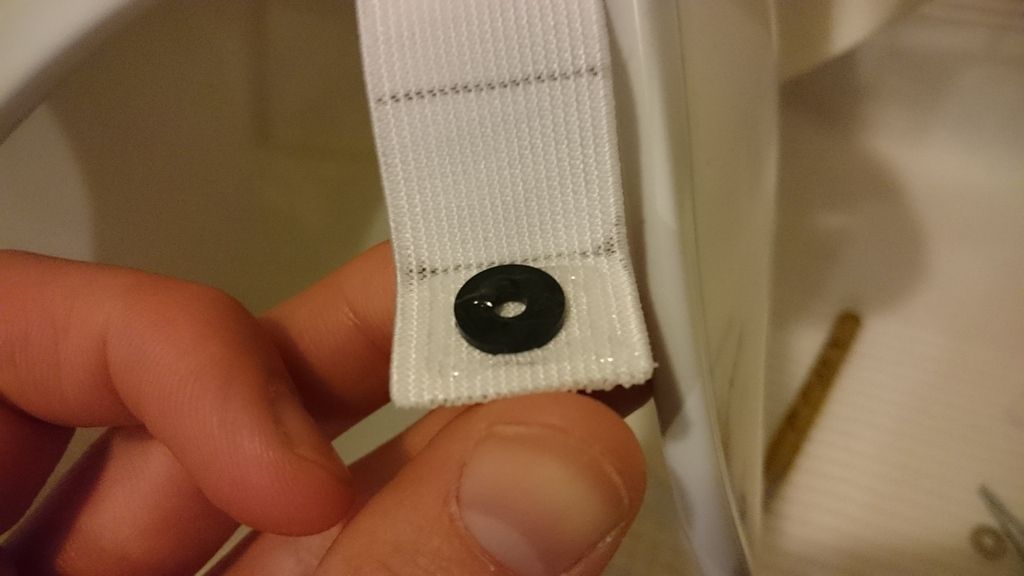
and I didn't forget the rubber washer: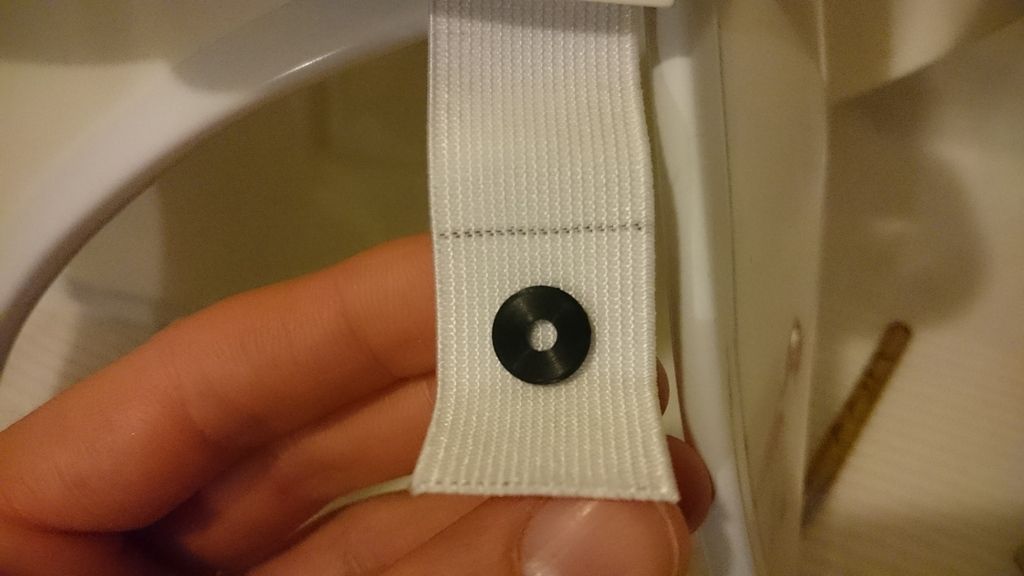
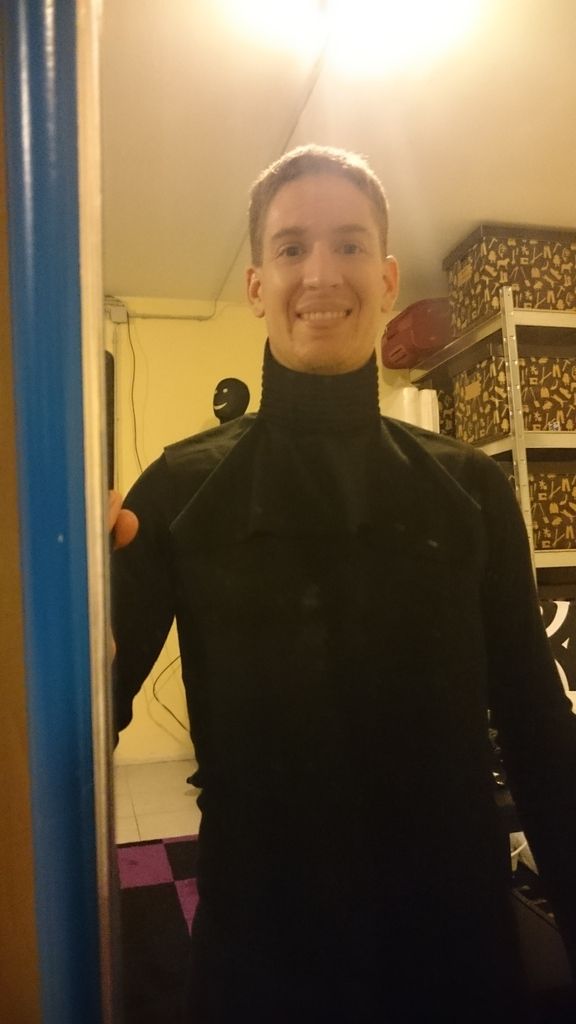
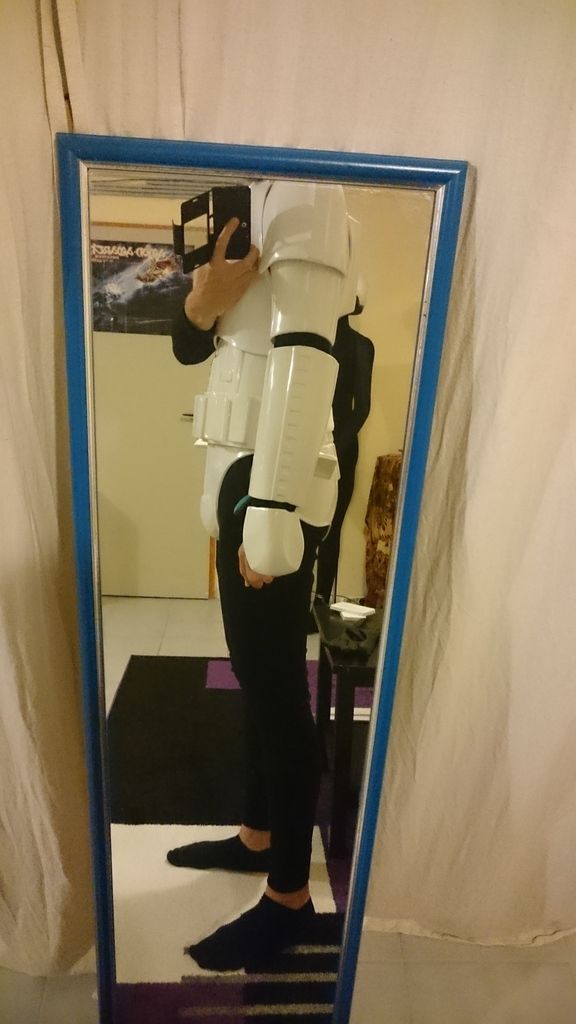
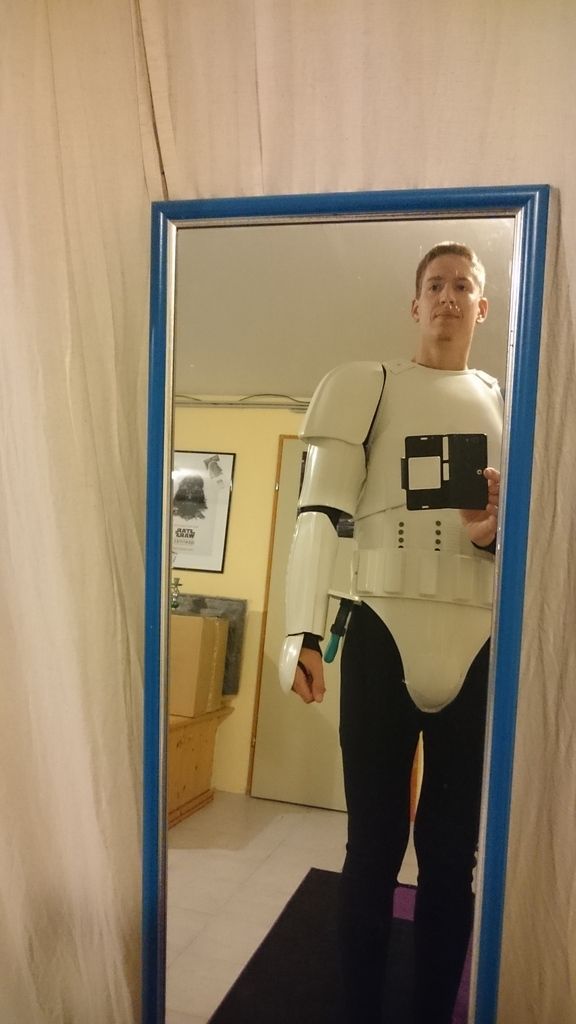
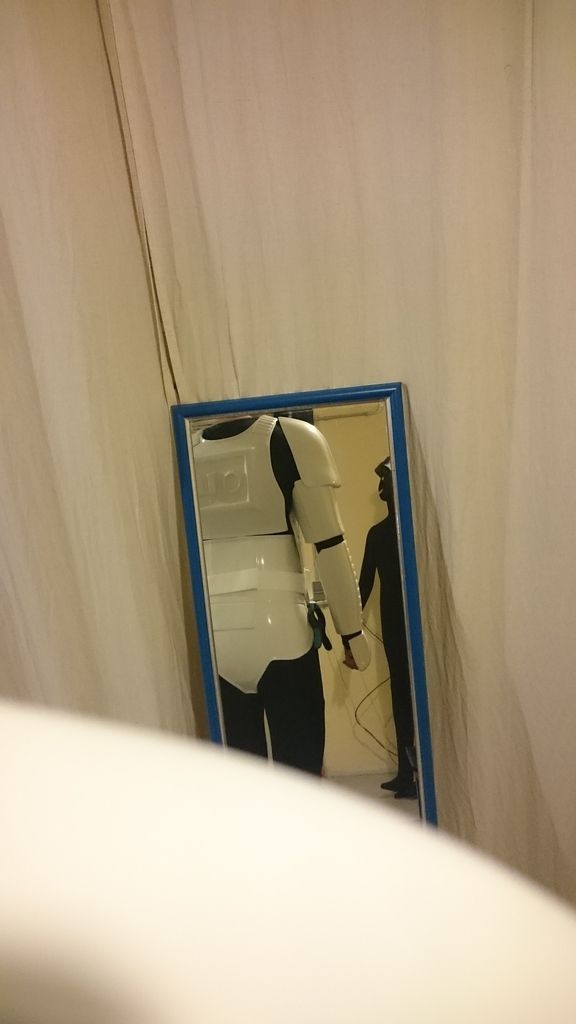
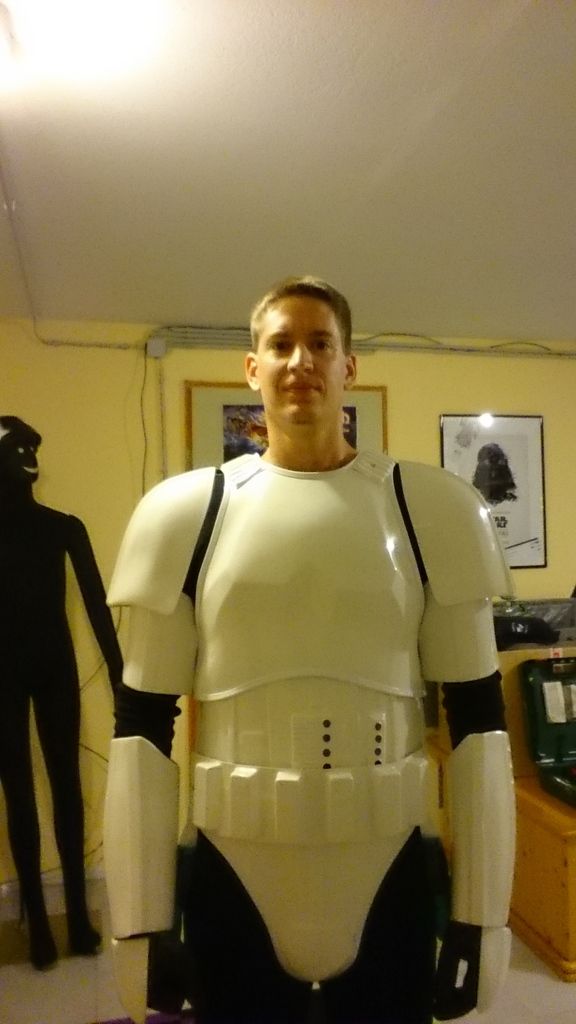
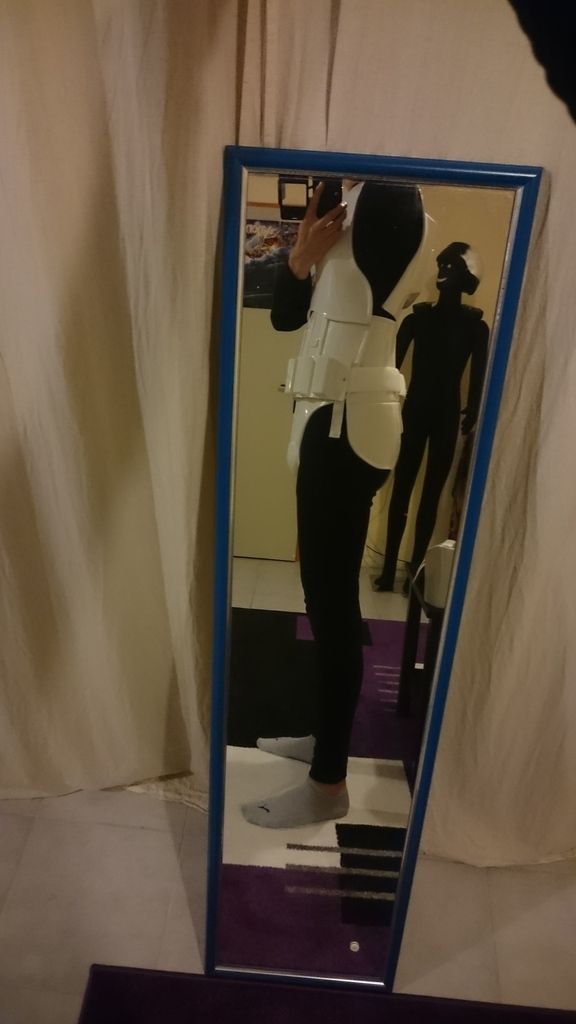
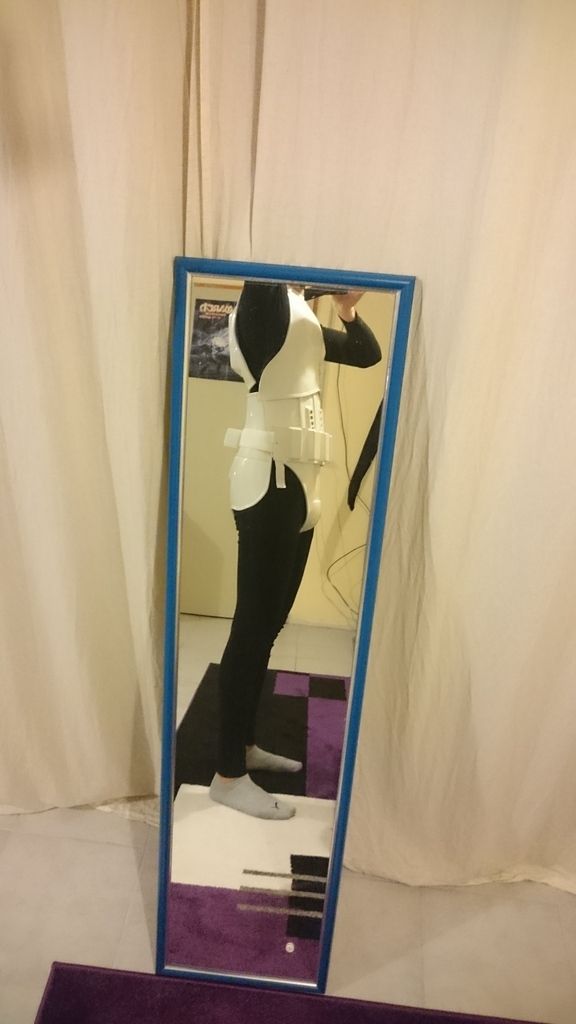
Next part of my operation: test fitting and making selfies . It is very difficult to do this allone
I shot countless photos, but only a few are "good enough" to show here in this threat
my goodness, I look stupid, but here you can see the shoulder bells. What do you think about the position? Is it ok? (there is still no strapping around the upper arm)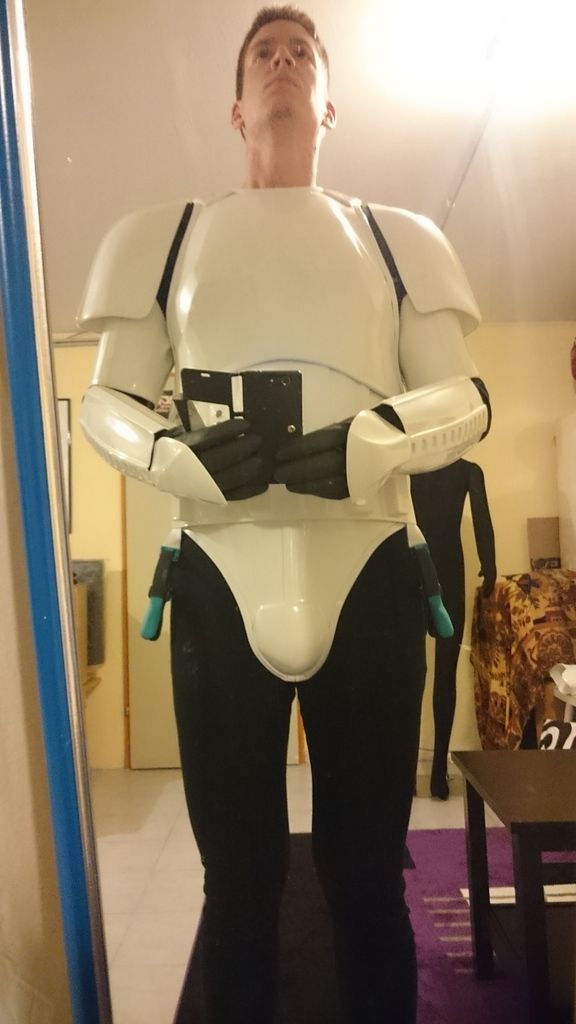
-
Yes, I havn't forget it ;-)
I have too few rivets so I have to buy some today. It is not listed in the CRL's to use 2 or 3.
Shall I paint the rivets white? If so, what color-"number" has the white?
sent from Deathstar
-
Here are the shoulder bells:
...and I fitted it, but I don't have any photos of me wearing the shoulder bells. BUT there is something similar: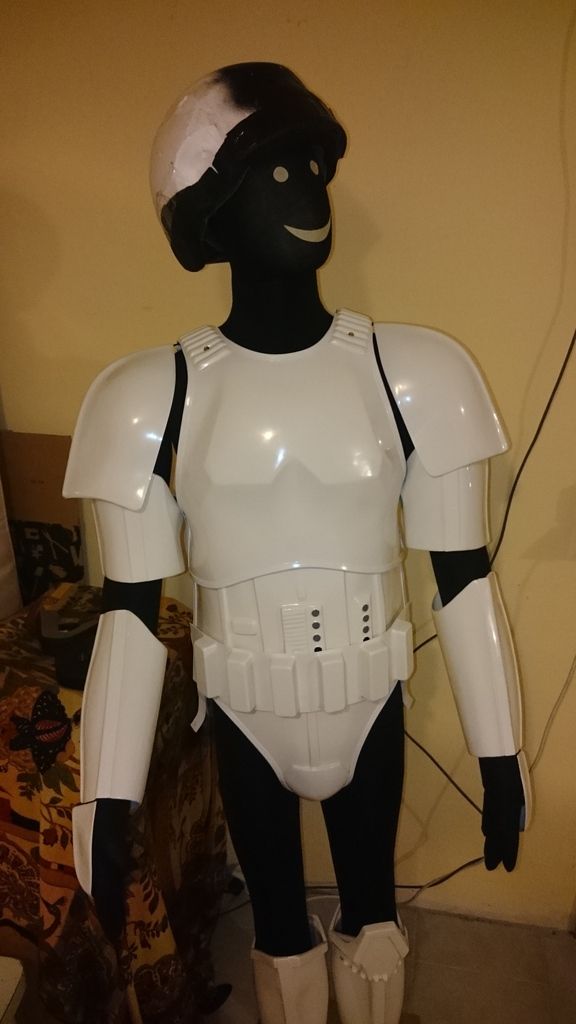
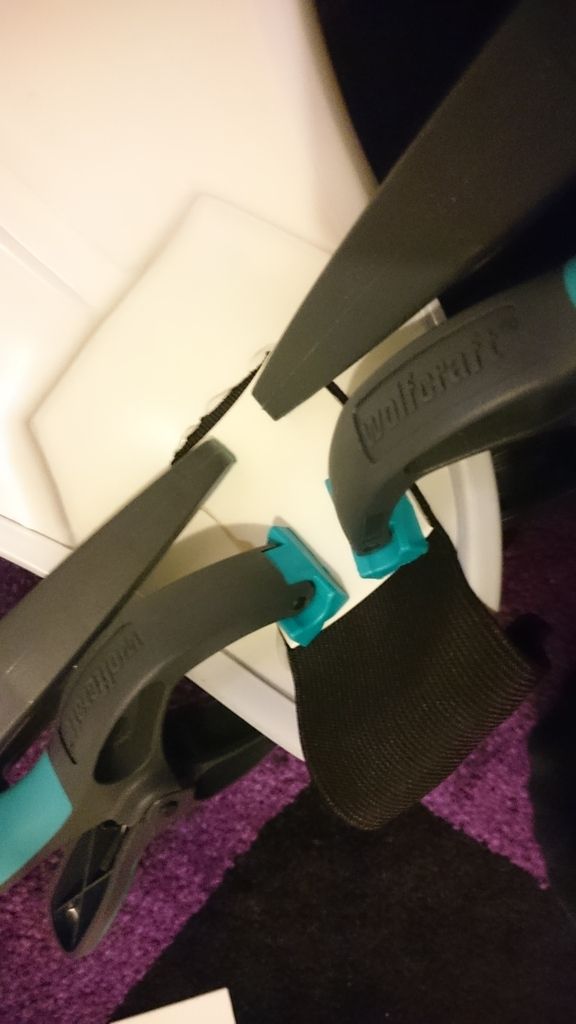
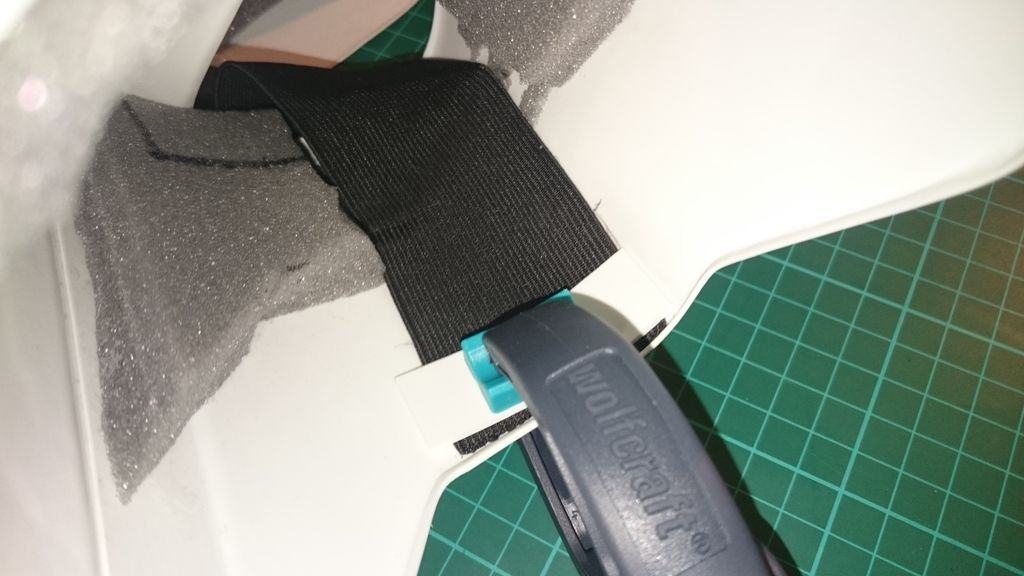
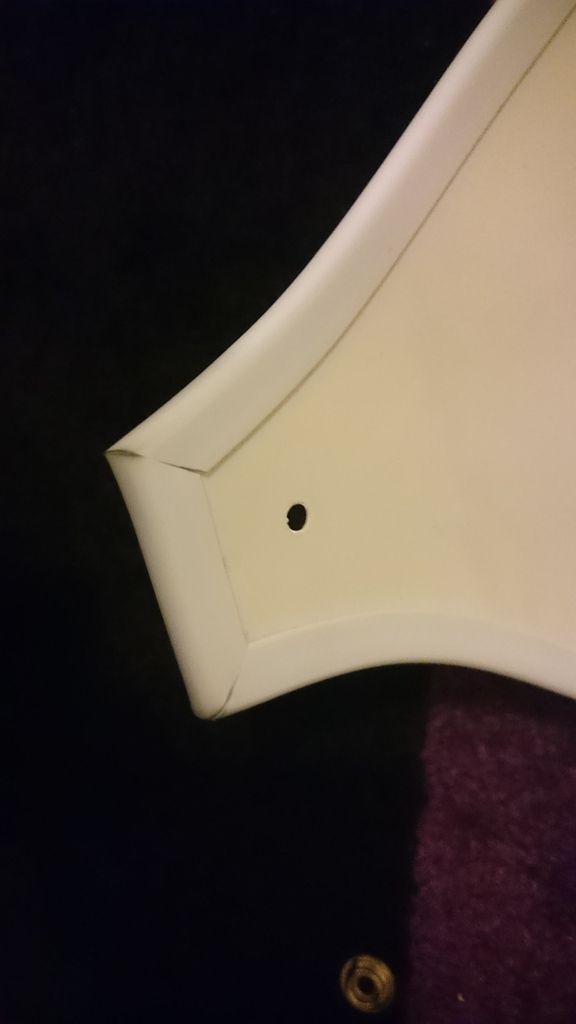
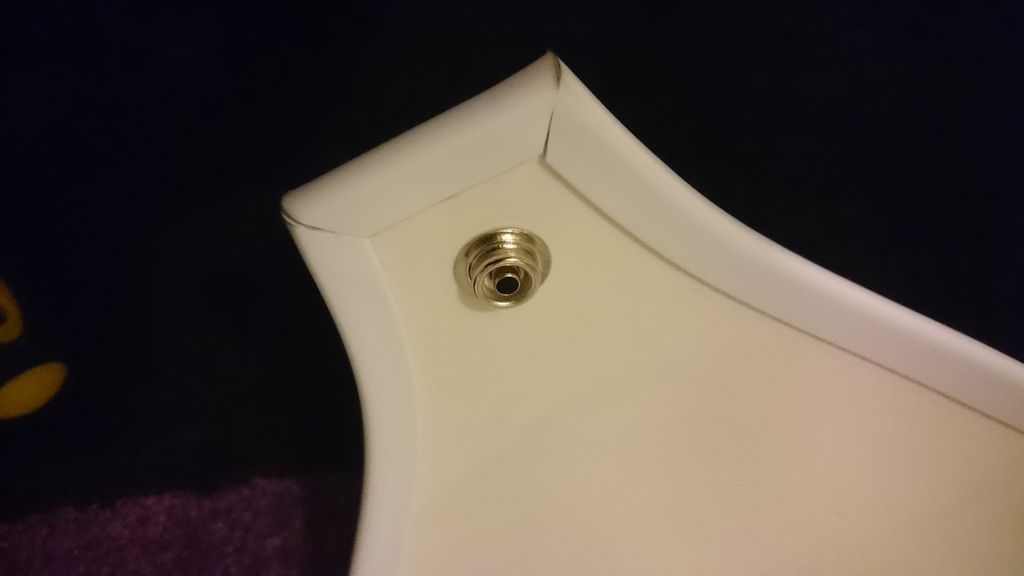
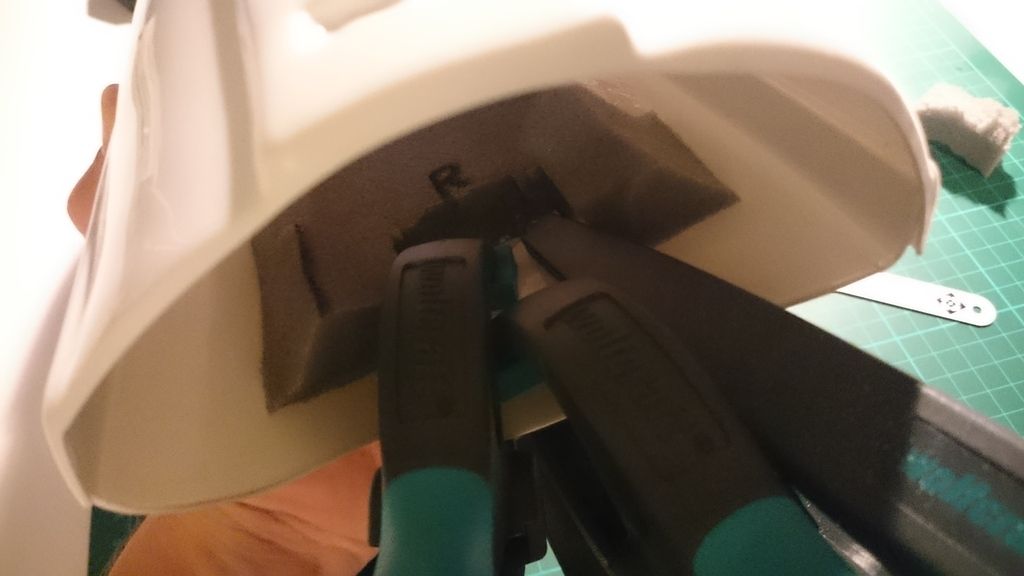
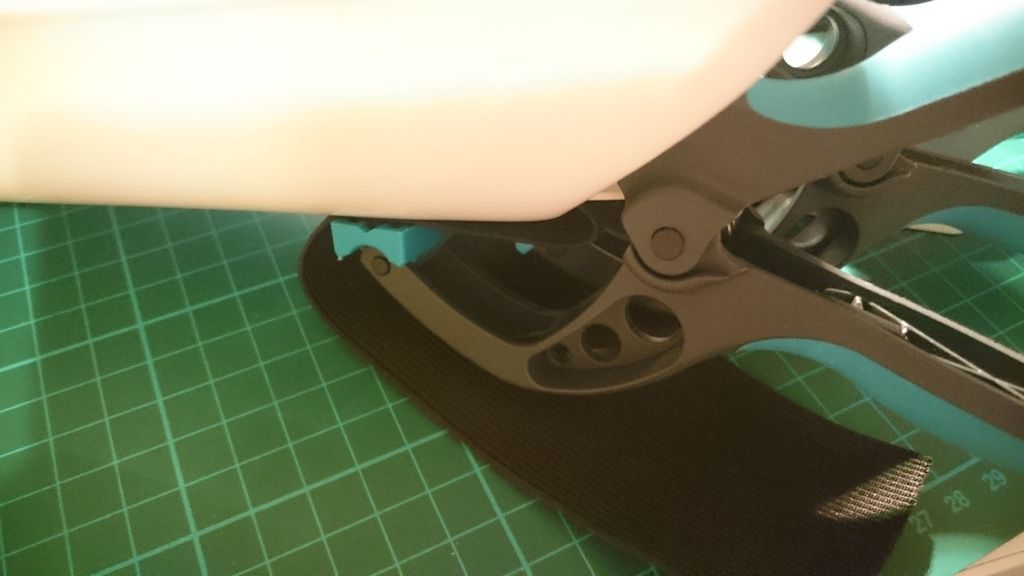
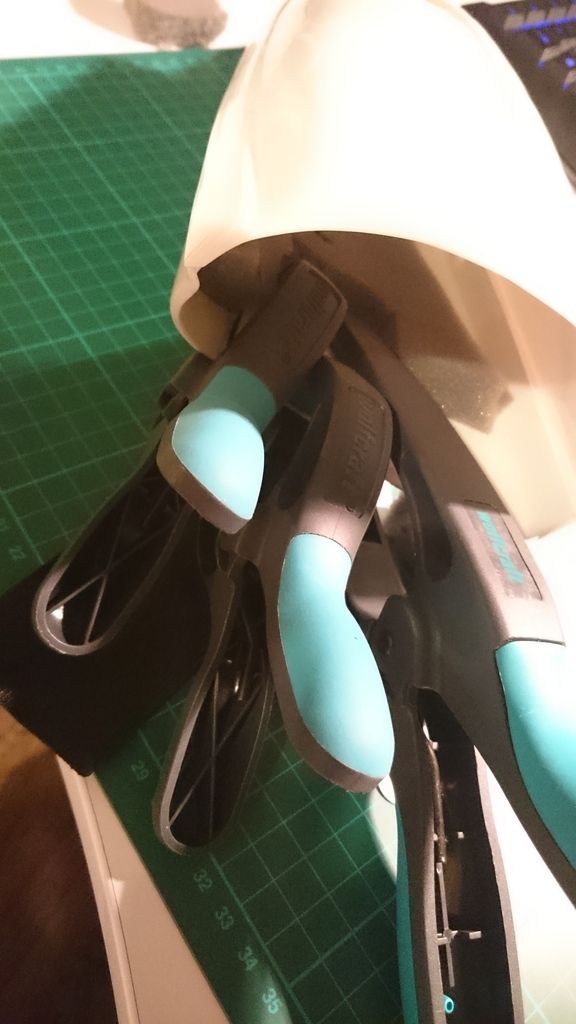
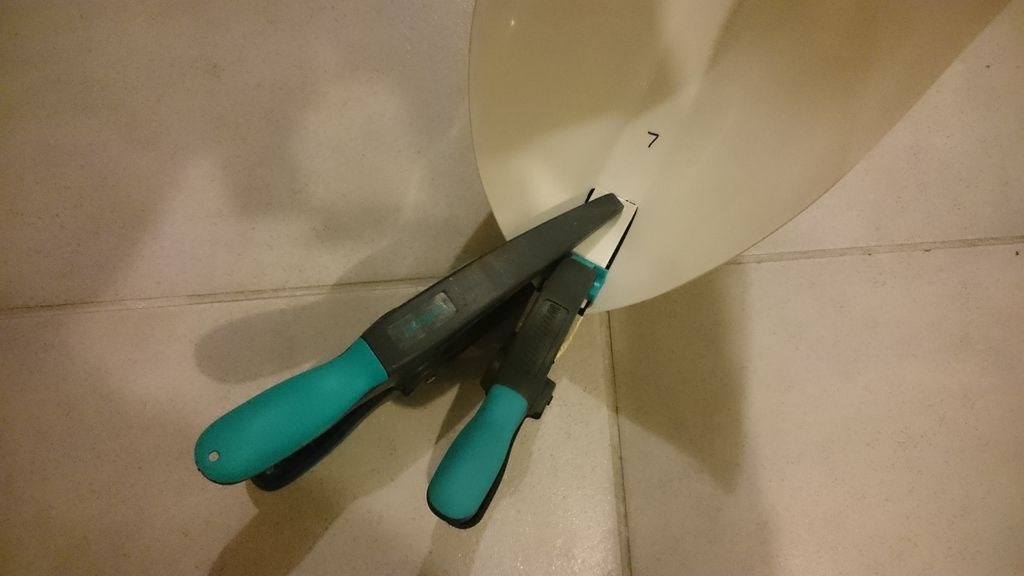
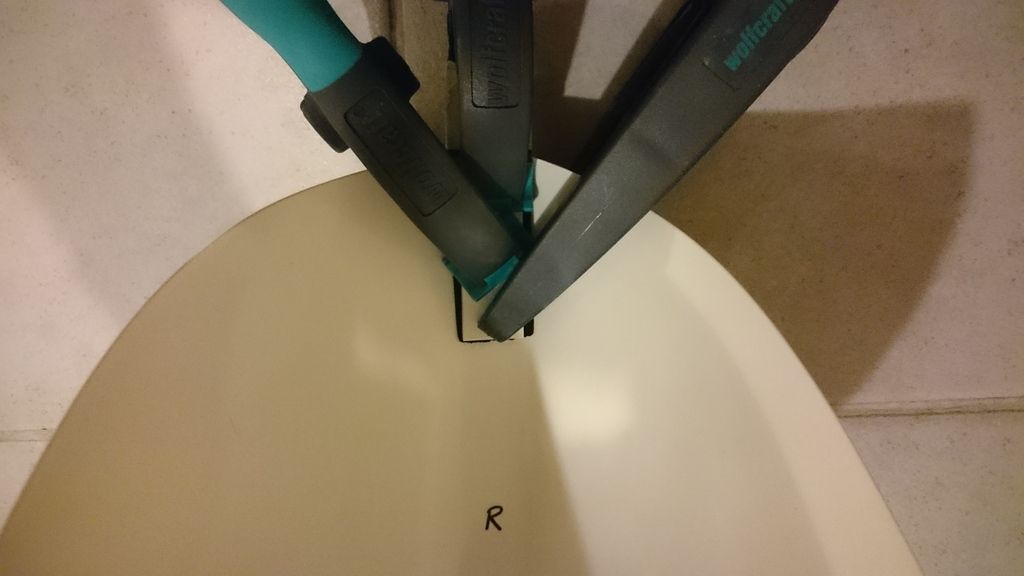
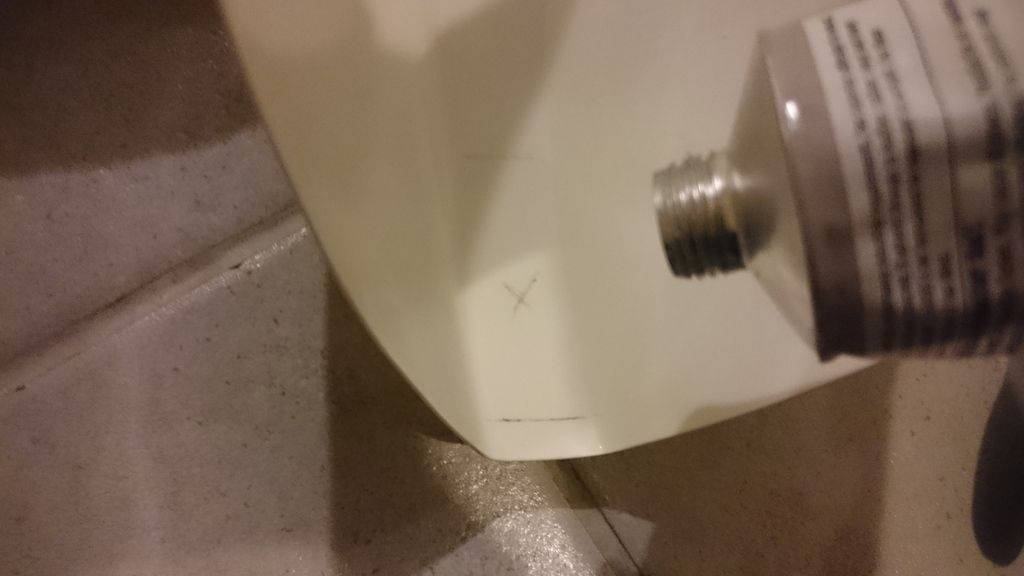
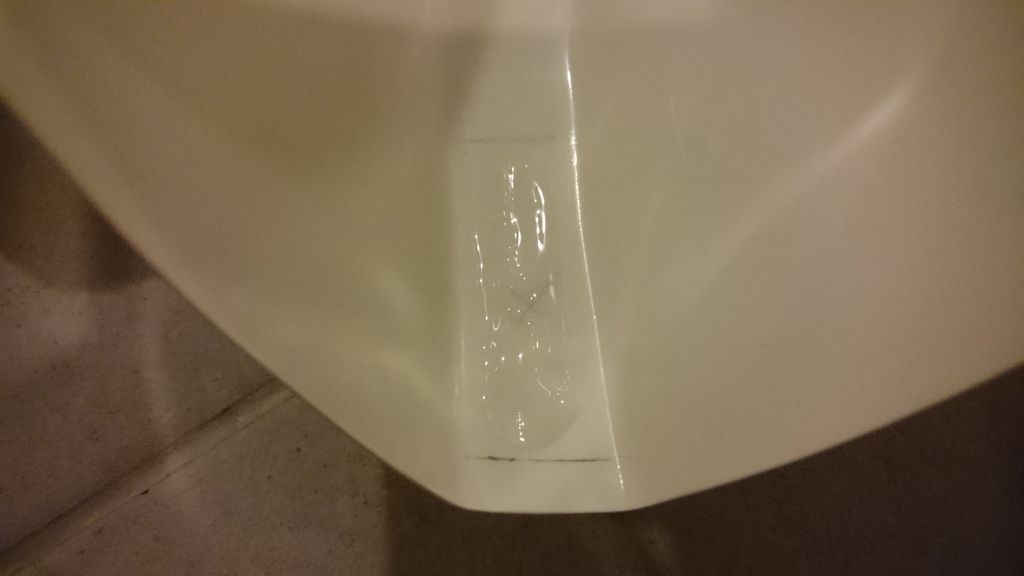
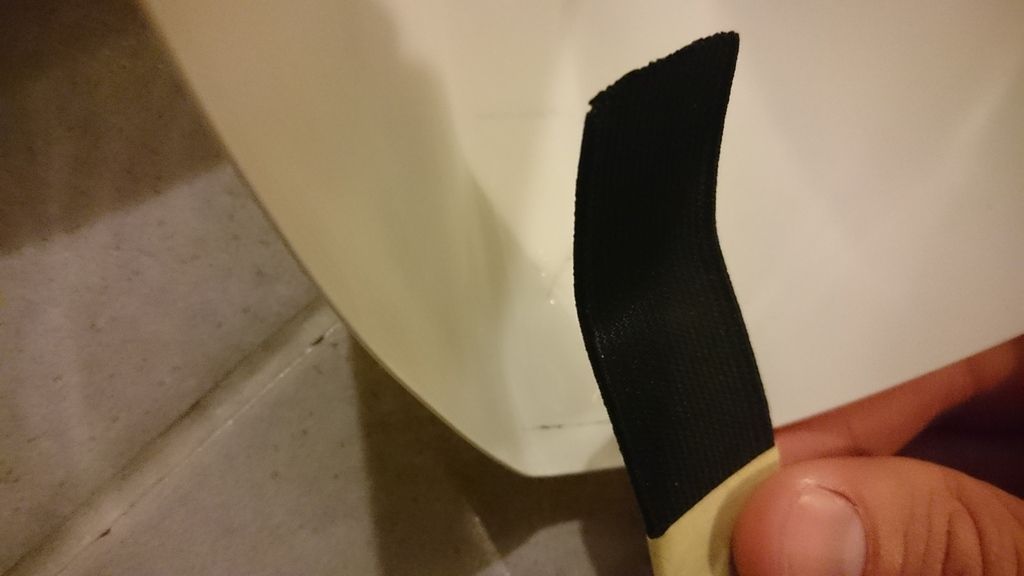
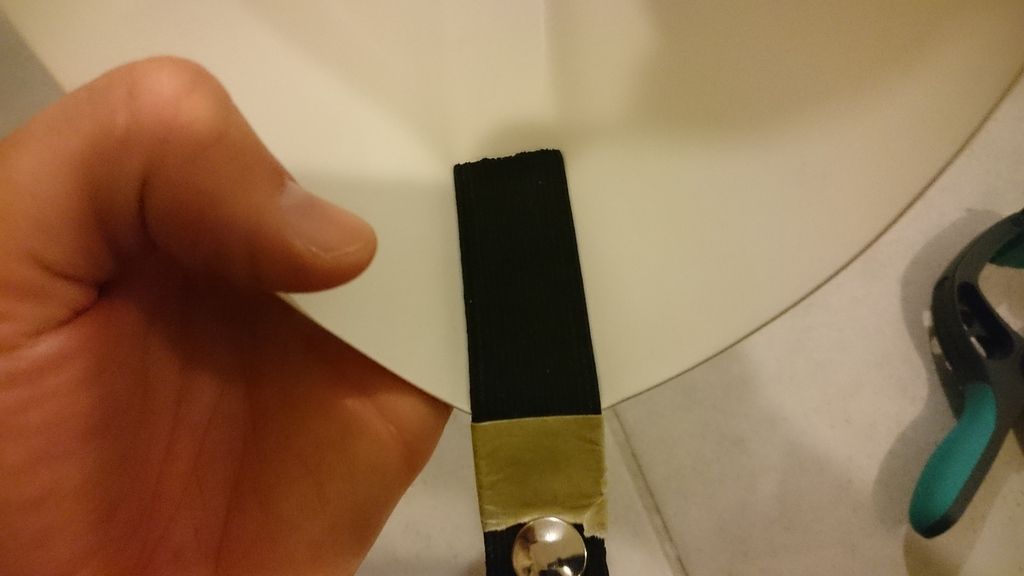
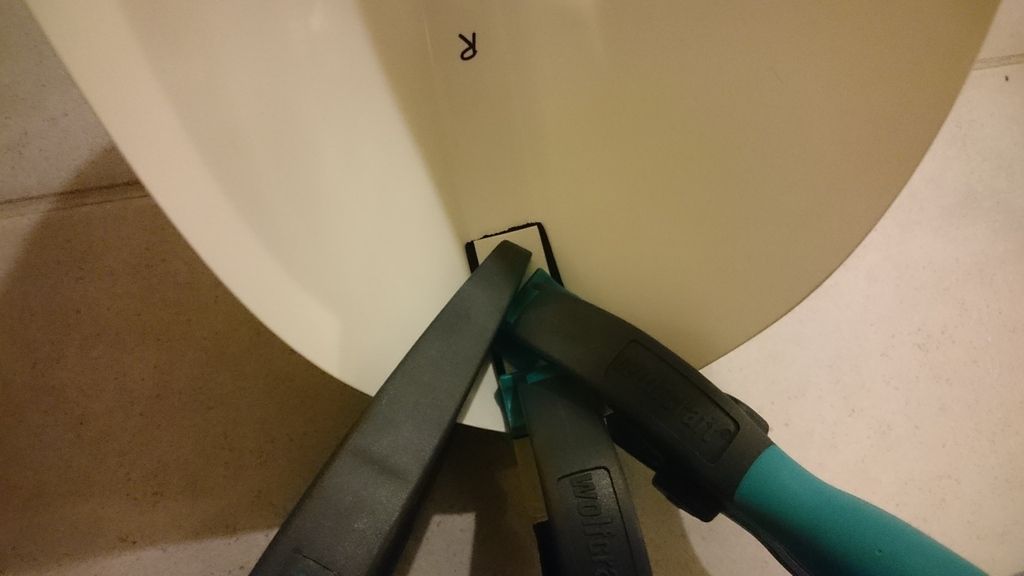
The right thigh is ready now (except the strapping to the (underwear-)belt. One after another:First I positioned the ammo stripe correctly and fixed it with my clamps. After that I marked it and drilled a hole (DM 4,0mm) and put the rivet in it - ready!

-
Ok. Thank you. Is this the right position and can I rivet it this way?
sent from Deathstar
-
Strapping of the shoulderbells is already glued.

A little test fitting is not wrong: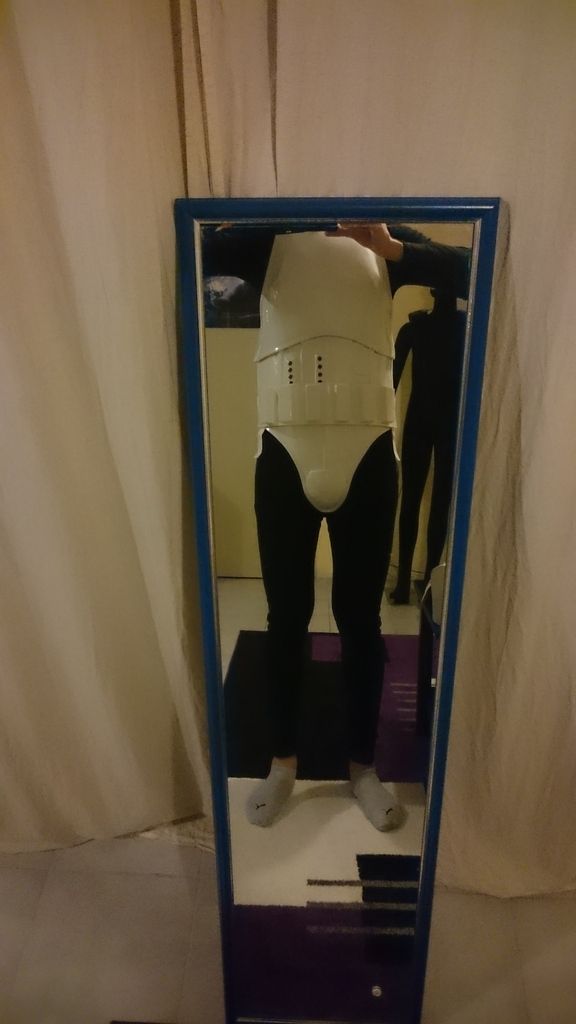
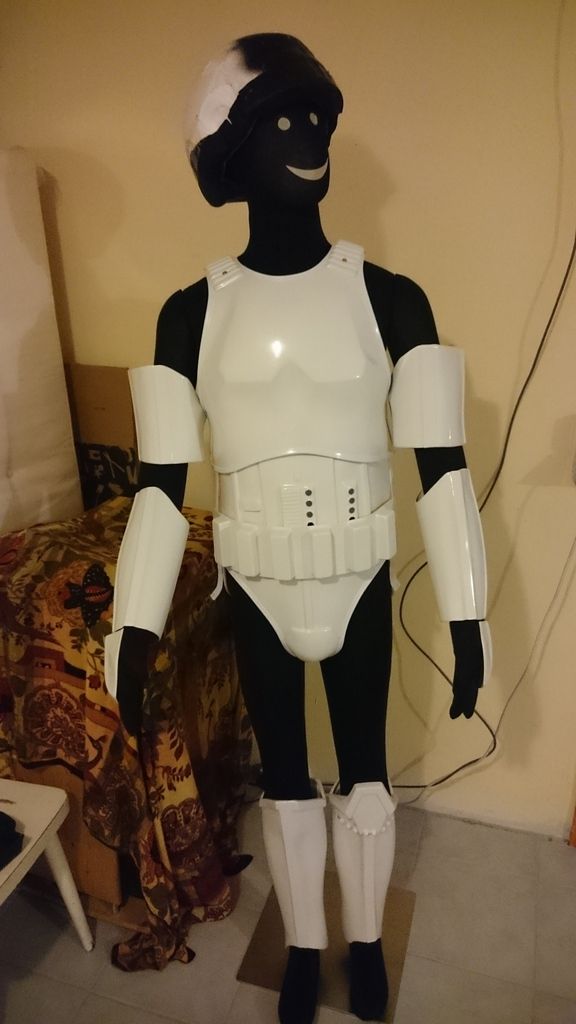
The armor does fit the doll very well -
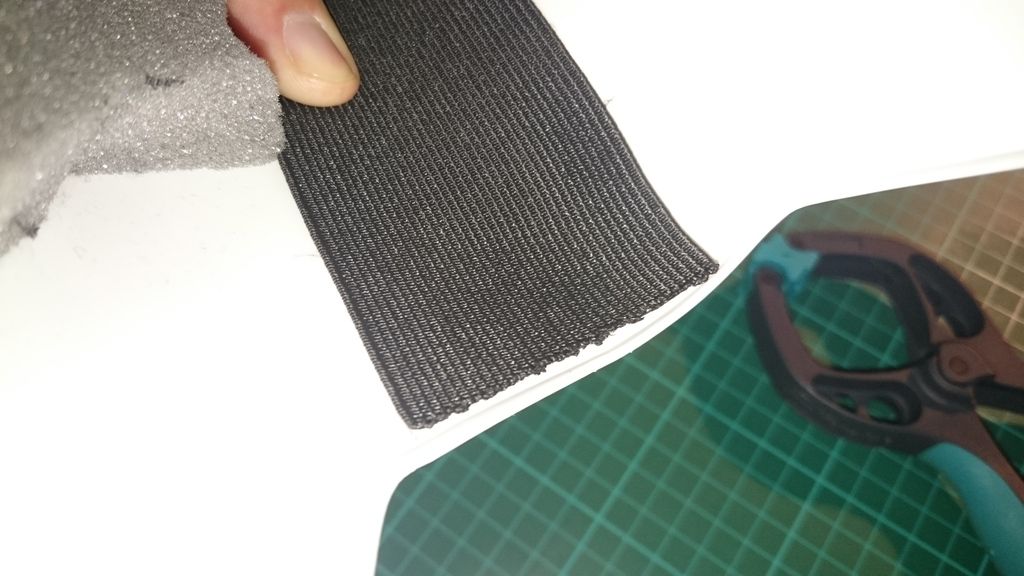
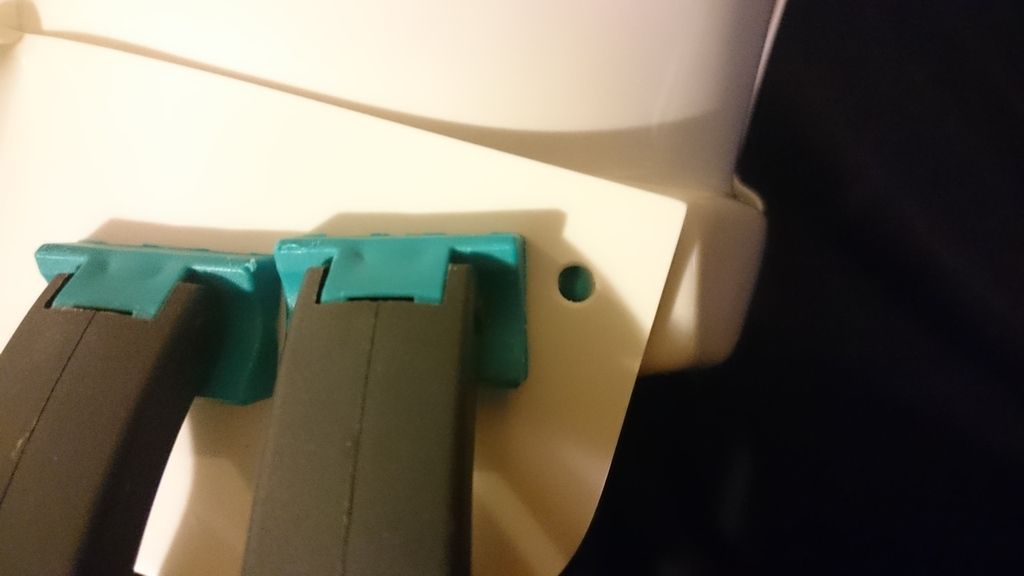
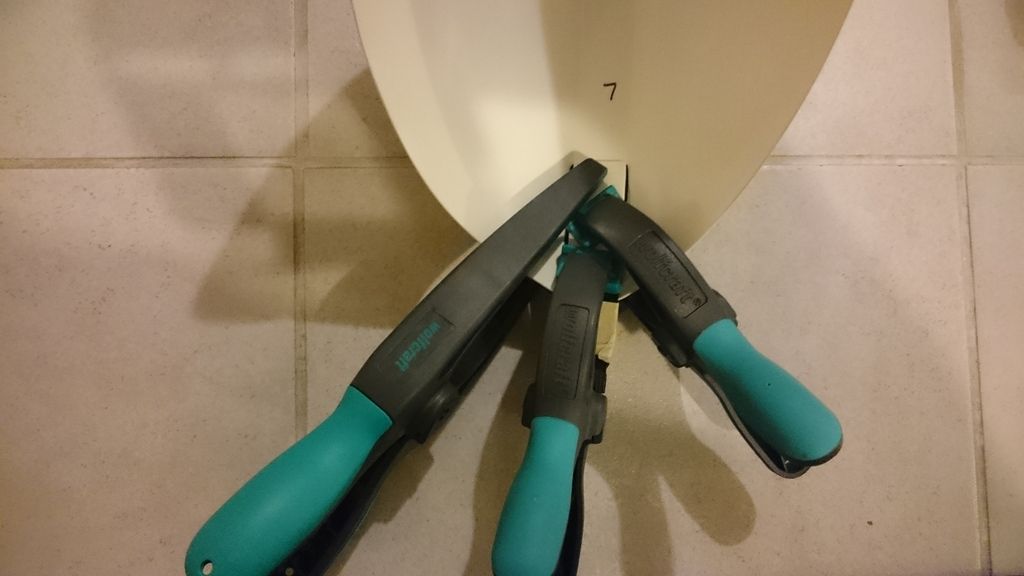
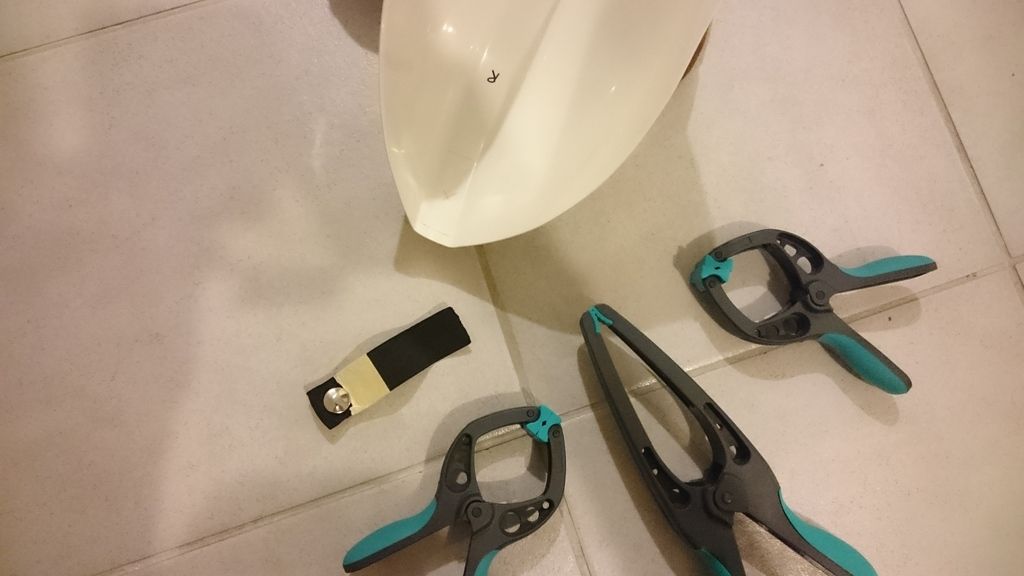
The rivets are removed now:
I used a 4mm drill (for metal)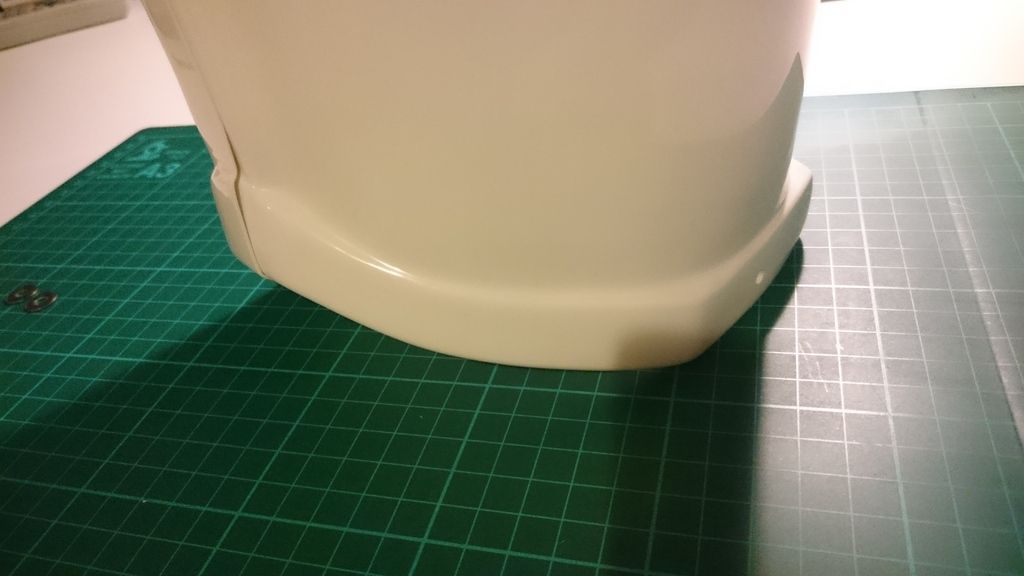
After that I put the new ammo stripe in place and fixed it with clamps: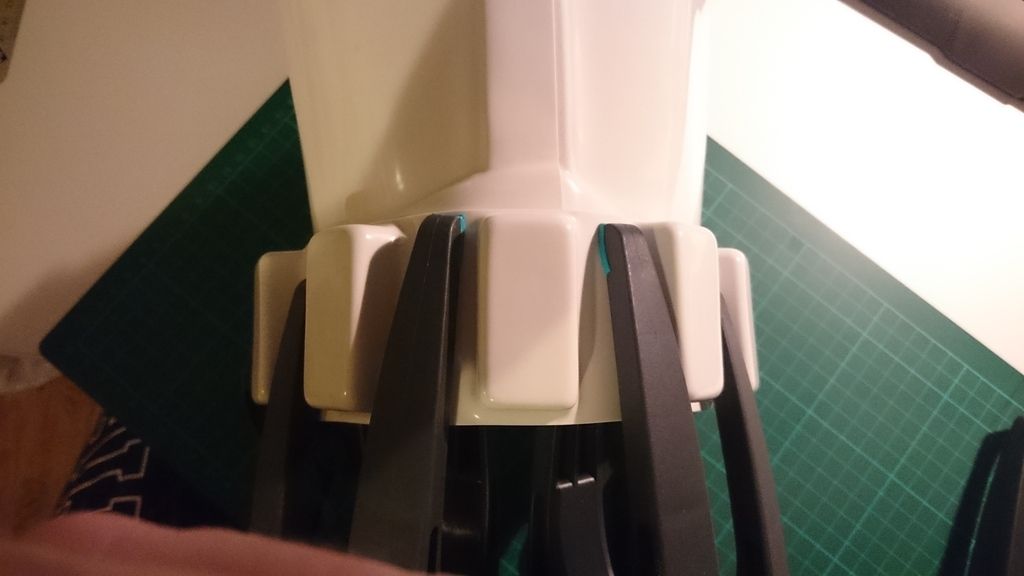

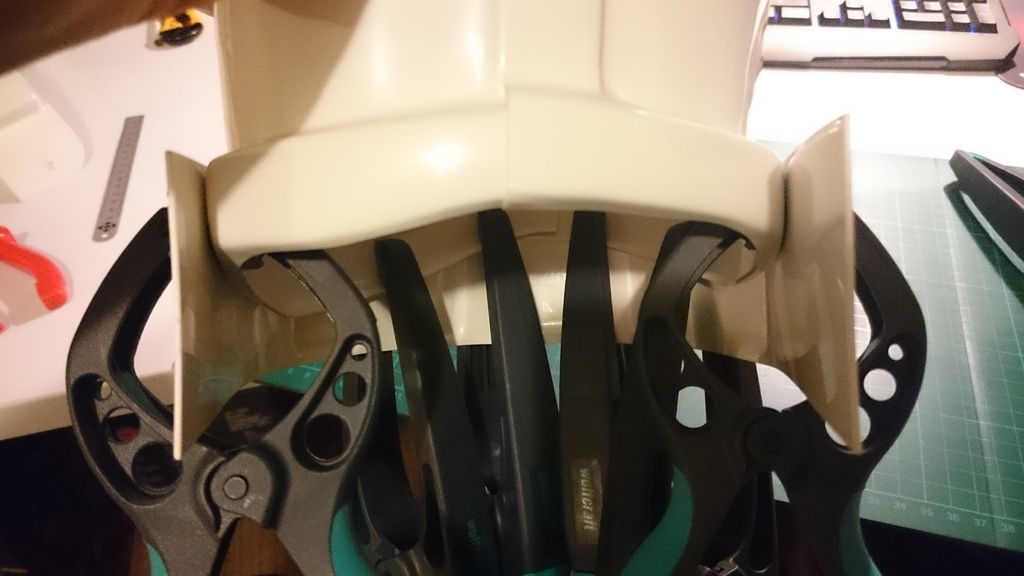
I know I have to round out the bottom corner of the stripes, but is that the right position, Paul?


ROTJ reinforcement for Austria & the Empire
in Build Threads Requireing Maintenance
Posted · Edited by Maxl
cool! thanks, Paul!
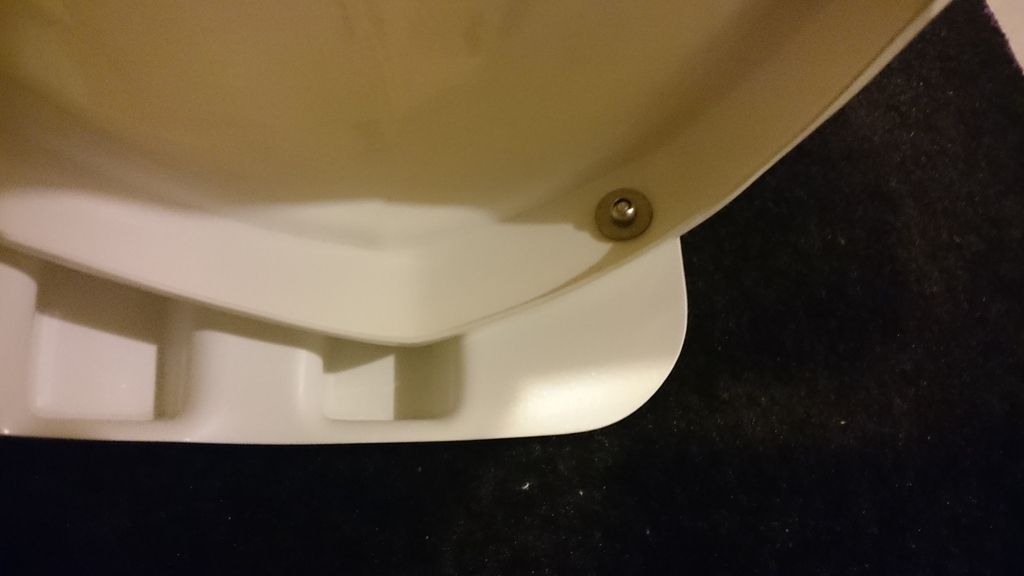
next step for me today: riveting the holster