
Goggytalks
-
Posts
135 -
Joined
-
Last visited
-
Days Won
1
Content Type
Profiles
Forums
Gallery
Articles
Media Demo
Posts posted by Goggytalks
-
-
Found quite a big crack on my bum panel a few weeks ago using this method. Couldn’t see it with the naked eye but shining the torch showed how bad it was. Fixed it now. Really good tip this.
Sent from my iPhone using Tapatalk -
Really nice work your doing there. look forward to a video showcasing the effects.
-
Congrats Andrew.
Sent from my iPhone using Tapatalk-
 1
1
-
-
2 hours ago, Generalsneers said:
Hi there,
long time no post...just having a look at the TK boots out there, I’ve looked on the forum and can’t find a recent conversation of where to get 501st approved white boots (I don’t want to paint my own...I don’t want to deal with the flaking paint), can someone please point me in the right direction?
")
Hi,
Try looking at Imperial Boots on line. They are i believe white leather, not the black painted white kind. They're website only opens for 1 week each month for orders then closes until the following month. They are a reputable vendor.
-
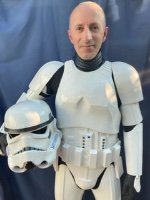
My forearms are the same length too. I had to trim from the wrist end back towards the first raised square. The CRL states that none of the squares can be removed , but you can get close. I did reduce the length on my arms to about 8 mm raised edge, but then reduced again to about 5 mm now. Doesn’t sound much but makes a world of difference when trooping. I haven’t taken anything off at the elbow end other than shaping and taking off the surplus . I like the returns on the armour so haven’t really reduced the length at that end. Here’s a couple of photos of mine for you to look at.


Sent from my iPhone using Tapatalk -
Hi Sean and welcome,
RS provide an excellent suit of armour. Look forward to your kitting up photos.
-
1
-
-
Welcome Roux to the FISD. Exciting times ahead. I hope you enjoy the journey as much as I have.

-
Not to start a discussion but, Hamil was closer to 5’7 and that according to himself. At 5’9 there wouldn’t be any need for that extra trimming they did on both the chest and back piece.
Yes I’m 5’6 and didn’t need to cut the bottom of my chest plate, abs or kidney. Looking at the photos above it looks like the gap between the back and chest at the shoulder bridges need to be closer. That should sort the issue out. Just raise the chest up.
Sent from my iPhone using Tapatalk-
1
-
-
Here’s a utube video from Cableguy Dan specifically talking about arm alignment.
Sent from my iPhone using Tapatalk-
1
-
-
Good progress. Once you’ve gained confidence in building the arms it gets easier.
Don’t forget to wear your undersuit when testing the size of the armour. Makes a big difference than normal clothes.
I used a 1m long metal spirit level to act as a cutting edge when cutting the cover strips. You only have to score the plastic and then turn the material over and gently prise the section up and it will naturally snap along the line you’ve scored with the blade.
Sent from my iPhone using Tapatalk -
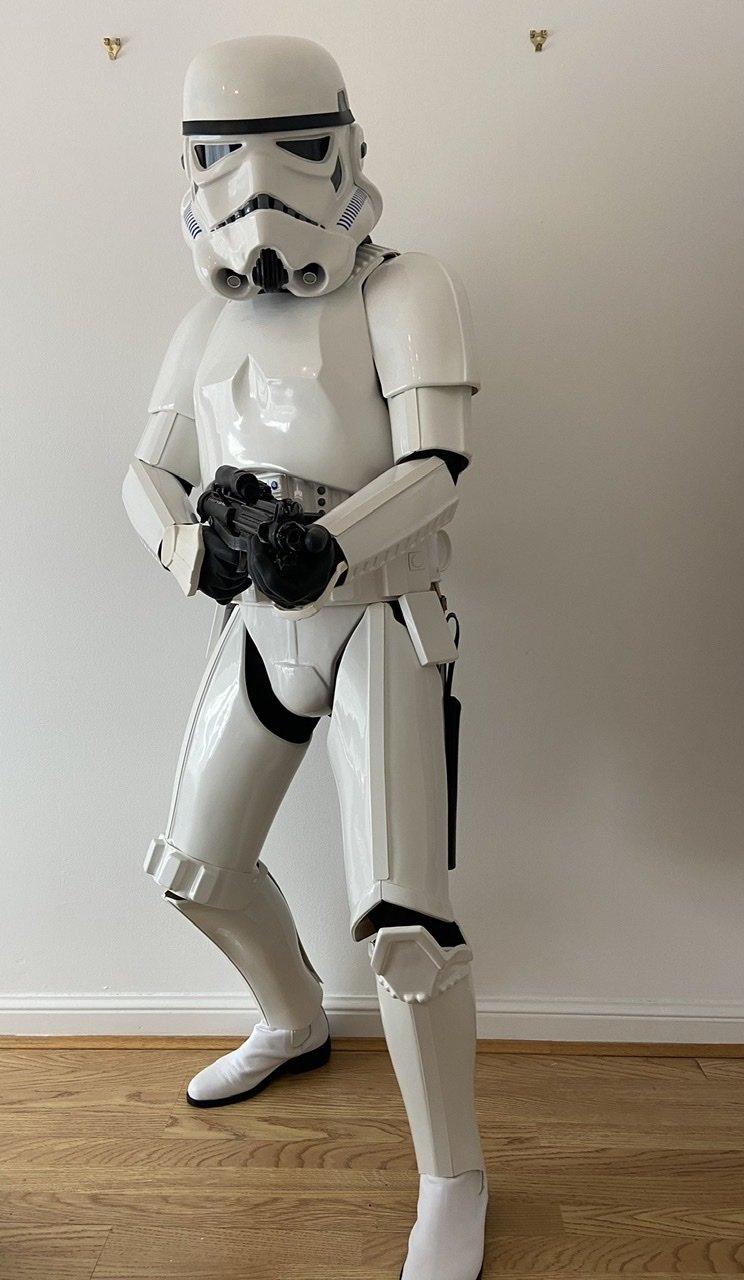
GREAT tip! Thank you. Tried it all on together-- I didn't realize the front was crooked when I took this, apologies!

front
back

bonus accidental side picture when I turned too early
I've done a little bit of hot water bath shaping: the chest & ab pieces to curve the sides more, and the shoulder pieces of the back plate after I took these pictures.
I have a bit to trim in the waist for the ab/kidney pieces, there was a lot of extra overlap when I taped these off. I'm still unsure about the height of the front. For the back, I have to shape the kidney piece and the butt piece a bit, but overall I feel good about the height unless you guys spot something I've missed?
A couple of questions:
1) Mark from AP suggested that I use foam strips inside the arm/leg armor rather than trim them exactly to me since I have skinnier limbs and that may look off proportionately with the torso. That makes sense, but so far, I haven't found a similarly-sized person's build thread who did this? Is that an acceptable method?
2) Do y'all heat shape the....crotch area connection? I'm sure adding the snap will help, but those two pieces did NOT want to go together when I did this try on, haha!
As I mentioned before, I wouldn’t recommend trimming anything off yet on the abs / kidney joints as it may seem too big around your torso at this point, but when you try on all your legs and arm pieces you will find actually that it will all come together. Looking at your photos, it looks like the gap between the shoulder bridge of the chest and back needs to be shortened. On my armour I have only 1 inch gap. That will bring the bottom of the chest piece up above the ab button panel more and look better. As far as my arms, when I cut off the excess to form the girth the joints were almost at right angles! The cover strip wouldn’t naturally touch both surfaces to glue, so I had to place heavy weights on them in order to glue them on. I then reinforced the joints by glueing strips on the inside to. Had to do this for the thighs as well. I hadn’t read about water hearing at the time so I haven’t tried that method but the way I achieved the right fit for my skinny limbs it worked.


Sent from my iPhone using Tapatalk-
1
-
-
Hi,
Good to see a new build starting. believe it or not I'm approximately the same height and not much heavier than yourself. 5'6 high and 60kg.
When i started my build earlier this year, I thought starting with the Ab and chest piece was the obvious thing to do, but they are actually the easiest parts to work on as they didn't need trimming at all other than the excess around the edges. I started with biceps as they are mostly hidden underneath the shoulder bells. That way you can get some practice with spacing the girth around your arms and legs. Aim for approx a fingers width all around between the inside of the armour to your arm. I then moved onto the shoulders, forearms and thighs, shins practising the same principle of a finger room all around the armour. I actually left the abs and chest as they came because when I tried it all on together it all seemed to gel perfectly. One tip that i can say that makes a massive difference. Always have your under suit on for any sizing as the under suit sucks your body in and helps to get the nice snug fit your looking for.
-
4
-
-
Congratulations Dwight on your EIB status.
Don't be put off by any of the suggested adjustments to reach Centurion level. I think most of us have had to make the same adjustments, but the satisfaction you get when it passes is a great feeling.
Well done .
-
1
-
-
Hi Steve from a much shorter trooper,

Enjoy the experience of your armour build and welcome to the FISD brother.

-
1
-
-
Hi,
Looks so much better now that you have completed the minor adjustments. Well done .
Sent from my iPhone using Tapatalk-
1
-
-
Wow. Congratulations on a fabulous build there brother. It looks awesome. Well done.
Sent from my iPhone using Tapatalk -
Hi Adam,
Well done on flying through for Centurion . Armour looks great on you.
-
1
-
-
Congrats Jessie. well done.
-
Welcome to the FISD. Armours looking like a nice fit on you apart from what you have already noticed.
-
Hi there and welcome to the FISD ranks. I joined earlier this year with a kit build from the UK too. RS make an excellent suit of armour. Look forward to following your build.
-
Welcome back to the FISD. Look forward to following your build.
-
1
-
-
Yes I glued a strip of ABS on the inside of the joint and then made up some ABS paste and filled the gaps.
-
I found that when building my armor that I couldn't get the strips to be consistent from end to end with the ridge lines . Due to the nature of the imperfections of lacking perfect straight lines it tends to be impossible to line them up dead perfect. However I suppose it depends on which make of armor your building. Small idiosyncrasy's like this is what makes the suit look more like how they were made back in the day. If its going to be something that every time you look at it , its going to just annoy the hell out of you, then I would change it. But it looks ok to me.
-
Hi Ben,
Welcome from one of your UKG brothers.
I have enjoyed following your journey in getting clearance for your costume. You look great. Glad to hear your going for EIB and Centurion. Plenty of help here and in safe hands for this. Look forward to meeting you and trooping along side. Good luck.
Sent from my iPhone using Tapatalk-
1
-
HWT lid
in TK Pre-Approval Questions & Discussion
Posted
Looking great Richard. I’m not too familiar with the HWT character but an image I saw of one somewhere looked quite weathered. Not as much as a sandy but still quite profound enough to see at a fair distance. I would add some more weathering on the helmet as I can hardly see it in the photo. How are you enjoying the build?
Sent from my iPhone using Tapatalk