

RavynMaza
-
Posts
9 -
Joined
-
Last visited
Content Type
Profiles
Forums
Gallery
Articles
Media Demo
Posts posted by RavynMaza
-
-
On 9/24/2018 at 7:43 PM, Ensi said:
That TD is looking fine! Before my ANH TK i'd never cut much plastic and can definitely relate, you'll get much more confident after a few parts
")
Thank you! I'm slowly gaining a bit of confidence - I'm sure with so many pieces to cut and trim, I'll get to where I don't even worry about it much. But I'm still in the "stressful" phase for now.
-
On 9/23/2018 at 8:31 PM, Rat said:
Great to see you getting started Stacey. Just a reminder though, when using e-6000 make sure to roughen up both pieces you are gluing to give it bite for a solid bond.
Thank you for the tip! I admit I only roughed up one side (the gray tube side) on the thermal detonator panel when I glued it, I did not rough up the inside of the white plastic panel. I'll definitely rough up both sides from here on out when I glue!
-
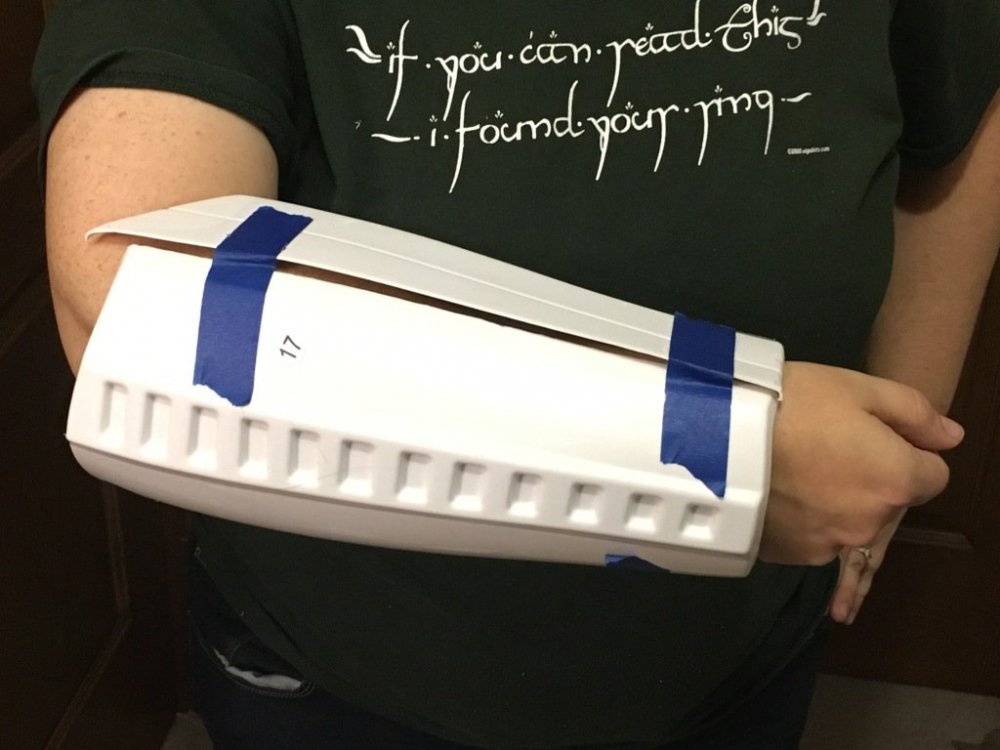
So it’s slow going, working on cutting out pieces in the spare time between working around the house, family stuff, and working on Halloween costumes (this year my daughter will be Rainbow Dash from My Little Pony). But I do have the right forearm cut out completely! Just for fun I blue-taped it so I could put it on. Of course it’s too big for my short arms but it’s neat to make progress, even if it is extremely slow.
-
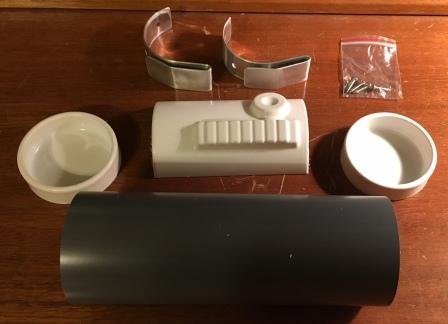
My e6000 arrived, and I opened the tube for the first time and used it to glue on the control panel to the thermal detonator. I hope this piece is done! Now it’s just a matter of letting the glue set for a day or two and then putting the detonator away while I work on other things.
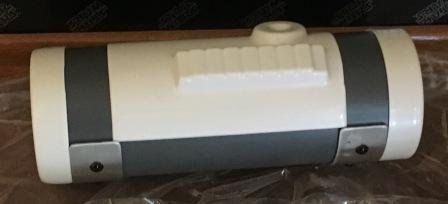
I also got out the Exacto knife and started trimming out parts. I decided to start with the handguards, I figured they were fairly easy to start with since I was nervous about messing up. I got them trimmed out without much going on, so hopefully I’m off to a good start – but I’m just happy about really getting started trimming parts!
-
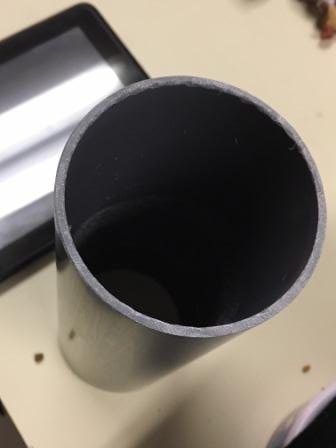
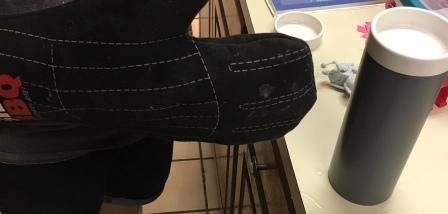
So after almost a month of basically trying to overcome my fear of doing anything and messing up, I finally got some time (and courage) today to work on the thermal detonator. The gray tube was just as described in Ukswrath’s tutorial, just a bit oversize on the overall length. I took a file to the edges and filed it down about 3/16” until it was close to level all the way around. Then I did the very, very scary method of giving the end caps a boiling water bath and popping them on the ends of the tubes while they’re still warm. (yes, that is my husband’s “Dark Side BBQ” oven mitt, being used to handle hot parts)
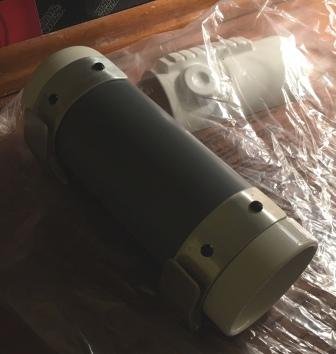
I was able to drill the holes pretty easily, install the metal clips, and paint the heads of the screws black per Centurion guidelines. The only thing I didn’t do was glue on the control panel; my e6000 hadn’t arrived yet (I had to mail order it off of Amazon, since my local Lowe’s was out of stock). I did tape the control panel in place so I could line up the clips. I think so far it looks pretty good!
-
Thanks for the well wishes everyone! Don't worry, I will be sure to ask tons of questions. You all have already made me feel more confident even though I haven't done anything so far, LOL.
I did an inventory of all the armor pieces to make sure I had everything, and I found what I thought was a problem on the left bicep piece (#12 on the ANOVOS armor kit) - there's a dent in the middle of the bicep piece. I thought it was a mold error or something - but then with more research found out that this "dent" is actually supposed to be there and is one of those fun "features" of the original TK. BBB day is great, but you're right, I can't wait for approval day too! This will be so much fun and so nerve-wracking all at once!
This site and this group of people are so awesome to have all this knowledge, it was so easy to search for "Dent in left bicep" and immediately find an answer.
-
 1
1
-
-
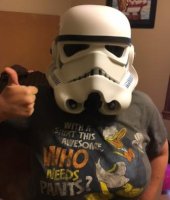
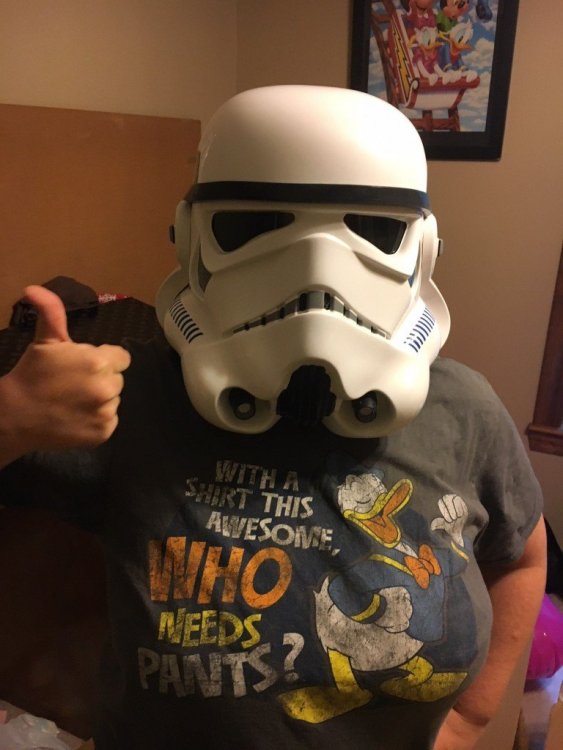
Big Brown Box Day has finally arrived! My ANOVOS armor finally delivered today - I ordered it in November 2017. Couldn't resist putting on the helmet first. So super excited but also so nervous to cut anything!
-
Hi all! I've been interested in the 501st for a while now, and finally want to get started making my first set of armor. However, I can't decide between a First Order Stormtrooper or my personal favorite Captain Phasma.
If it makes any difference, I'm only 5'3", so I could only get a couple more inches of height out of a set of heel inserts - would it be pretty ridiculous to have a very short Captain Phasma, like to the point where it would be pretty unusable for events? Would it be better to go with something like the First Order Stormtrooper for a vertically challenged person like myself? Or would a short Phasma be fine?
Thanks to all of you for the advice - it's awesome to see all the work done on here!
Shout out and thanks also to the 501st group that was at the Geek'd Con event in Shreveport, Louisiana today, it was the highlight of my day getting to chat with you all.


Ravyn's ANH TK Build
in ANH Build Threads
Posted
Thanks! I cut at the first line just so I would make sure not to cut it too small. I do agree that I think I need to go back and cut at the other trim line, and take a notch off the wrist side of the forearms. I appreciate the advice!")