

beamishgunn
-
Posts
68 -
Joined
-
Last visited
Content Type
Profiles
Forums
Gallery
Articles
Media Demo
Posts posted by beamishgunn
-
-
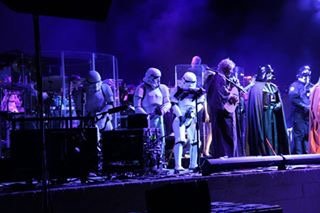
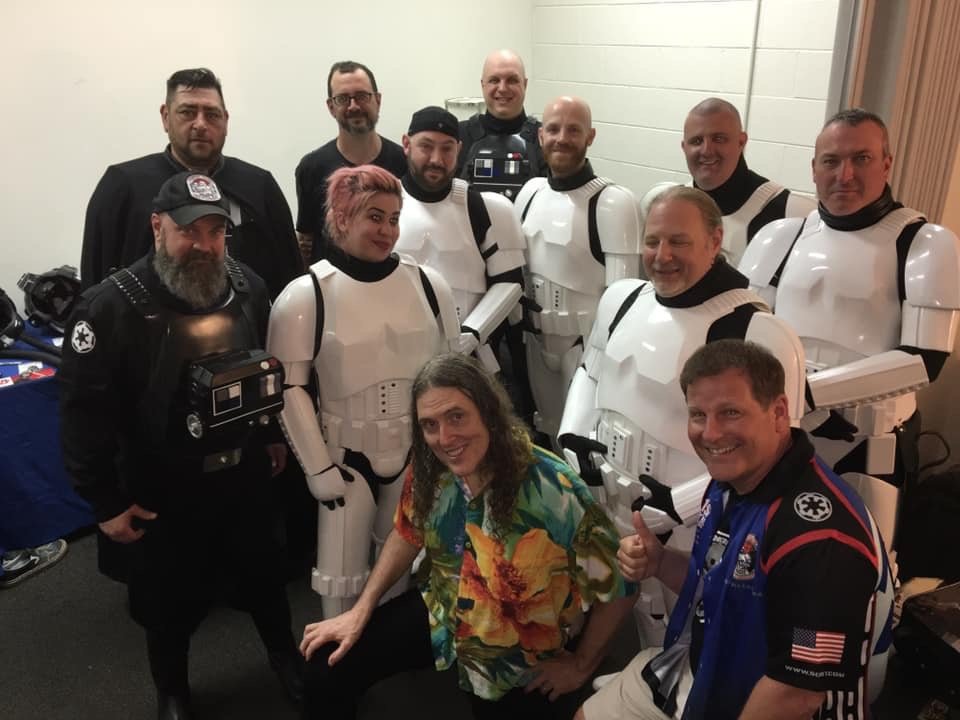
7. Weird Al Yankovic Strings Attached Tour, Virginia Credit Union Live, Richmond, Virginia, 27 June 2019
-
 2
2
-
-
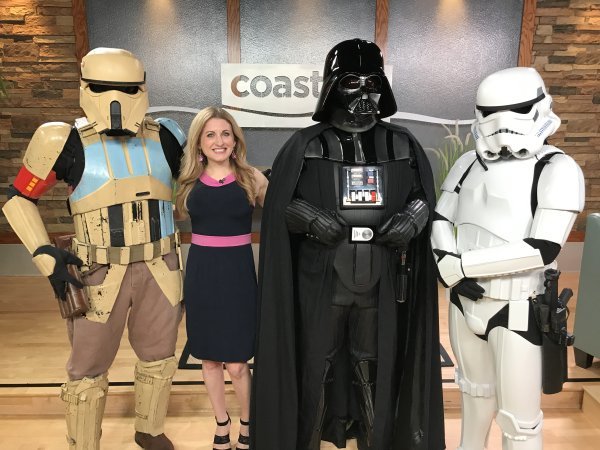
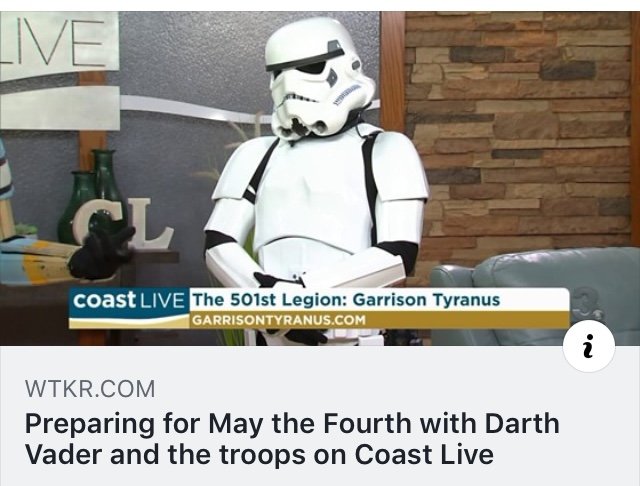
6. WTKR Coast Live, Norfolk, Virginia, 02 May 2019
-
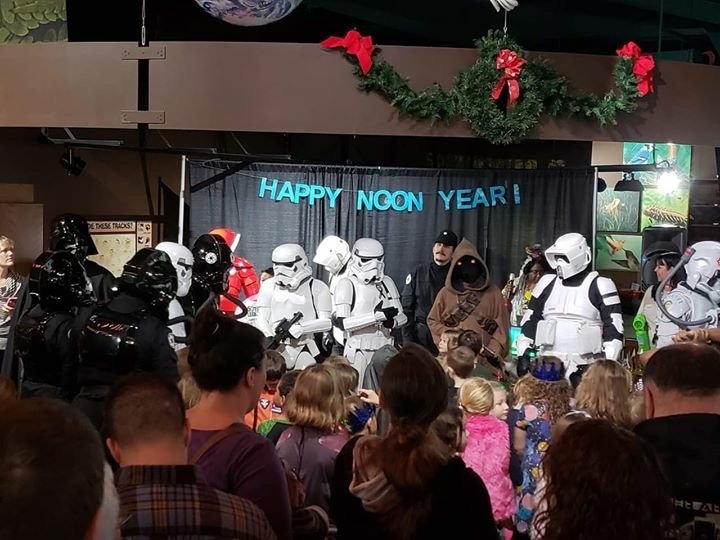
5. Noon Year's Eve, The Virginia Living Museum, Newport News, Virginia, 31 December 2018
-
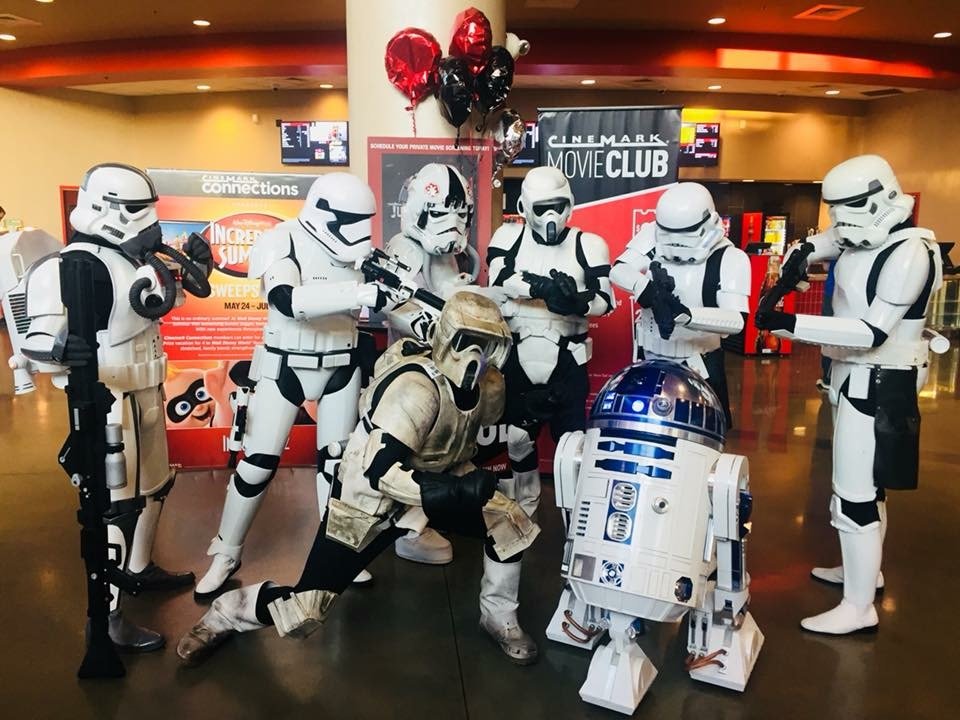
4. Solo Premiere, Cinemark City Center 12, Newport News, Virginia, 25 May 2018
-
3. Shaving for Heroes - St Baldrick's, Roger Brown's Restaurant and Sports Bar, Portsmouth, Virginia, 21 April 2018

-
Roger that, will do!
:-)
Sent from my iPhone using Tapatalk -
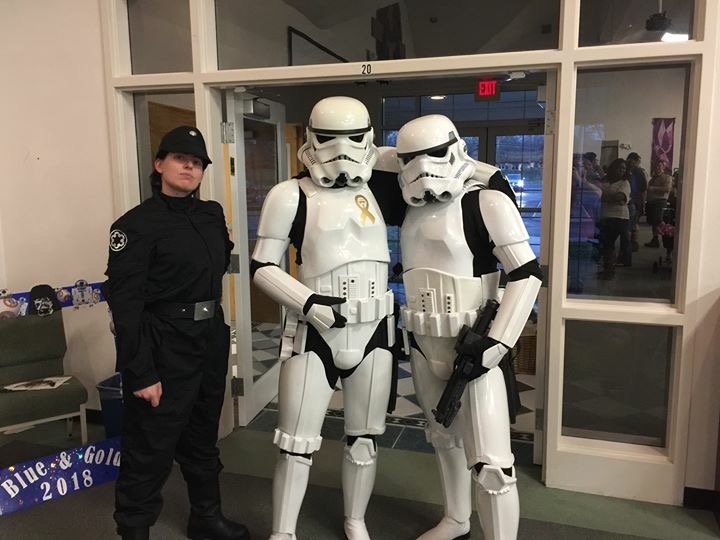
2. Cub Scout Blue and Gold Ceremony, Virginia Beach, Virginia, 24 February 2018
-
1
-
-
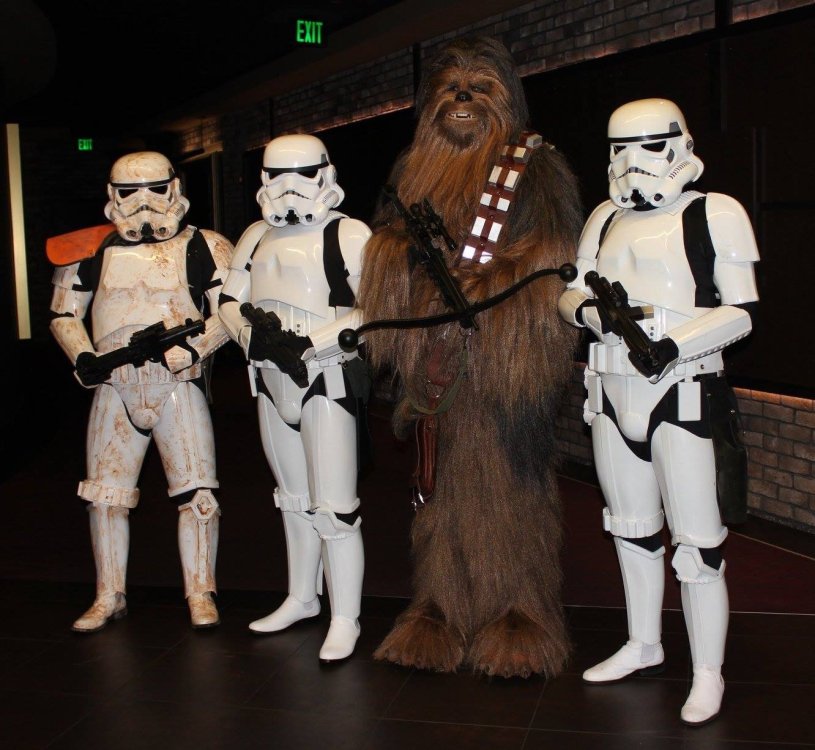
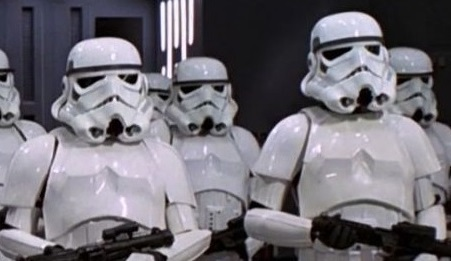
1. The Last Jedi Premiere, Peninsula Movie Bistro, Hampton, Virginia, 15 December 2017
My first troop as a TK!
-
1
-
-
Welcome, and stay safe!!!!
Sent from my iPhone using Tapatalk -
Looks great!
Sent from my iPhone using Tapatalk -
All set Alban!
Thanks, Brother!
You rock!!!!
Sent from my iPhone using Tapatalk -
Good morning,
My status appears as ‘pending’ as regards voting privileges for the elections.
I am duly registered on the forums and active, is there some sort of synchronisation problem?
Thanks for any assistance !
Kind Regards,
Alban MEADOWS
TK-23462
-
Good morning,
My status appears as ‘pending’ as regards voting privileges for the elections.
I am duly registered on the forums and active, is there some sort of synchronisation problem?
Thanks for any assistance !
Kind Regards,
Alban MEADOWS
TK-23462
Sent from my iPhone using Tapatalk
-
Thank you!
-
1
-
-
Congratulations Alban and welcome to the ranks of EIB, a few minor tweaks and we will be seeing you in Centurion. Nice one

Sent from my iPhone using Tapatalk
Thank you, Sir!!!!
Yes, that’ll be the next challenge!!!
Pleasant week to ya!
Alban
Sent from my iPhone using Tapatalk
-
1
-
-
Alban Meadows 23462 EIB A4 Andrew
Sent from my iPhone using Tapatalk
http://www.whitearmor.net/eib/certificates/23462-eib.png
-
Good job, Alban. Another great looking trooper added to the EIB ranks.

Thanks Mate, proud to be in!!!
Let me know if you need anything from VA!!!!
Regards,
Alban
Sent from my iPhone using Tapatalk -
Congratulations and welcome to the EI ranks trooper
Thank you Mate!!!
Chuffed, chuffed, chuffed!!!!
:-)
Sent from my iPhone using Tapatalk -
G'day Alban thank you for your EIB application and your patience as we catch up, so let's have a look.
CRL and EIB Application Requirements:
All the required submission photos have been posted, and your armour meets all the necessary requirements for level 2. With that Tony and myself would like to welcome you to Expert Infantry, congratulations
Other-Armor Fit/Assembly:
In this section we review observations made by your fellow troopers and ourselves. Some observations may lead to suggestions to improve the overall look of your armor. If any suggestion affects any application, it will be listed separately in the above or below sections.We can see your a stocky guy and you have done a great job to get this armour to fit. We do have some minor things that are simply dressing issues, so some adjustments, a mirror and an assistant will get you looking in the best shape you can.
In the below image I have highlighted the areas and will give some explanations as how things should sit and look.
I will add the reference images below your images.
Shoulder Bells: the tops of these should virtually, if not touch the plastic shoulder bridges. Perhaps shortening the top connecting straps will bring them in. It will also reduce the gap between the front of the bells and the chest plate
Fore arm position: The forearm outer cover strip, needs to line up with the bicep center cover strip , this will bring the scalloped out section to the inner bend of the elbow or facing your fore arm. In turn the dimples on the back of the forearms will now face out instead of to the back of the arms.
Thigh position: your thighs are sitting to low as mentioned by one of your fellow troopers. these can come up an inch or so and will stop the bottoms from sitting directly on top of your shins. Should also give you a bit more flexibility to bend the knee
Shin rotation: one last adjustment from the front, would be to rotate the sniper shin outwards so the cover strips line up with the thigh cover strip. That shin is also sitting higher and should come down to the same level as the other.

Shoulder bell reference image
Fore arm position reference
As we move around to the back there are a 3 things that can easily be remedied so lets look at those.
Gap between Back and Kidney plate: When looking at your internal strapping, i think we can see why you are getting the separation. Replacing those 2 narrow elastic straps with some wider elastic and also moving those outwards a little will give you the added strength and less stretch hopefully stopping the gap occurring. If you can get them sitting on top of each other, that would be perfect.
Butt plate popping out: Moving the outer 2 elastic straps closer to the ends and again, using wider elastic will also reduce the amount it will pop out at the end.
Rear cover strip sizing: The shin cover strips should be virtually the same width as the rear thigh cover strips. Not sure why you needed to make both of them so wide as the thighs look to fit well, but the shin strips do look way too big.


Ear screws: The top two screws look to be correct, the bottom screw is a dome head rather than the above flt blade tapered head. this one will need to be replaced.
Thermal Detonator screws:
This is one of those nice to have things that we like to see for a Centurion application.
The correct type of screws to use are flat blade pan head variety, and they should be painted black for that ultimate look.

Reference Image.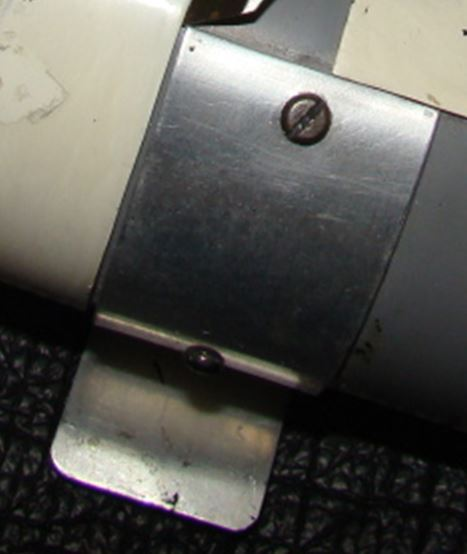
Centurion Suggestions:
In this section we prepare you for Centurion. More photos are requested that allow us to make better decisions on possible adjustment etc. If there are any areas of concern they will be discussed here.
Great work on those side shims Alban, all you need to do to get them Centurion level is to only have one seam on each side. Filling that second seam with ABS paste is the way to go about it. There are a few examples and threads here on the forums.
As stated in the CRL for level 3
For level three certification:- A single visible seam line is present.

Drop Box alignment: It looks as though your drop boxes may slide around a little from some of your images. These need to sit inline with the very ends on the plastic ammo belt
For level three certification (if applicable):- Drop boxes are vertically aligned with the end of the ammo belt with minimal gap between belt and box.

Reference image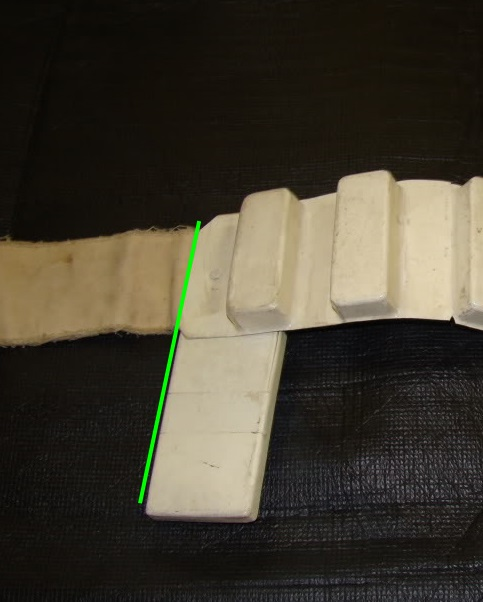
That is it my friend, Congratulation on your EI award, make your adjustments and modification, follow the Centurion photo check list and we hope to see an Centurion application from you in the future great job trooper
Thank you so much for that and the time spent reviewing my application!
I’m over the moon!!!!!!!
Big shout out and thanks to Fabrice Jouglas for his unwavering support and expert advice!
Salute!
Alban
Sent from my iPhone using Tapatalk-
2
-
Not too much longer to wait Alban, I promise, thank you for your patience.
Hey Sly!
No worries, Sir!
All for a Good Cause and to please the Emperor!!!! ;-)
Regards from Virginia!!!
@
Sent from my iPhone using Tapatalk
-
Hang tight as there is a backlog since the festive season break and our DO's are trying to get through as fast as they can

Thanks for the heads up, Sir!
Good of you!
:-)
Sent from my iPhone using Tapatalk-
1
-
-
Quick Q?
Is there anything we need to do in order to get into the approval queue?
I may have missed a step!
Regards,
@
Sent from my iPhone using Tapatalk -
Just updated a couple of pics....better resolution!
:-)
TK-23462
Sent from my iPhone using Tapatalk
-
Nice work, I would advise trying to bring up those thighs a little, will reduce the gap between them and you cod, also give you a little more room around the knees
 .
.
Good luck with approval
Roger that! I need to work on the legs....Army’s deformed my poor little body!
;-)
Sent from my iPhone using Tapatalk

[8] TK-23462 Troop Log
in Field Training Exercises
Posted
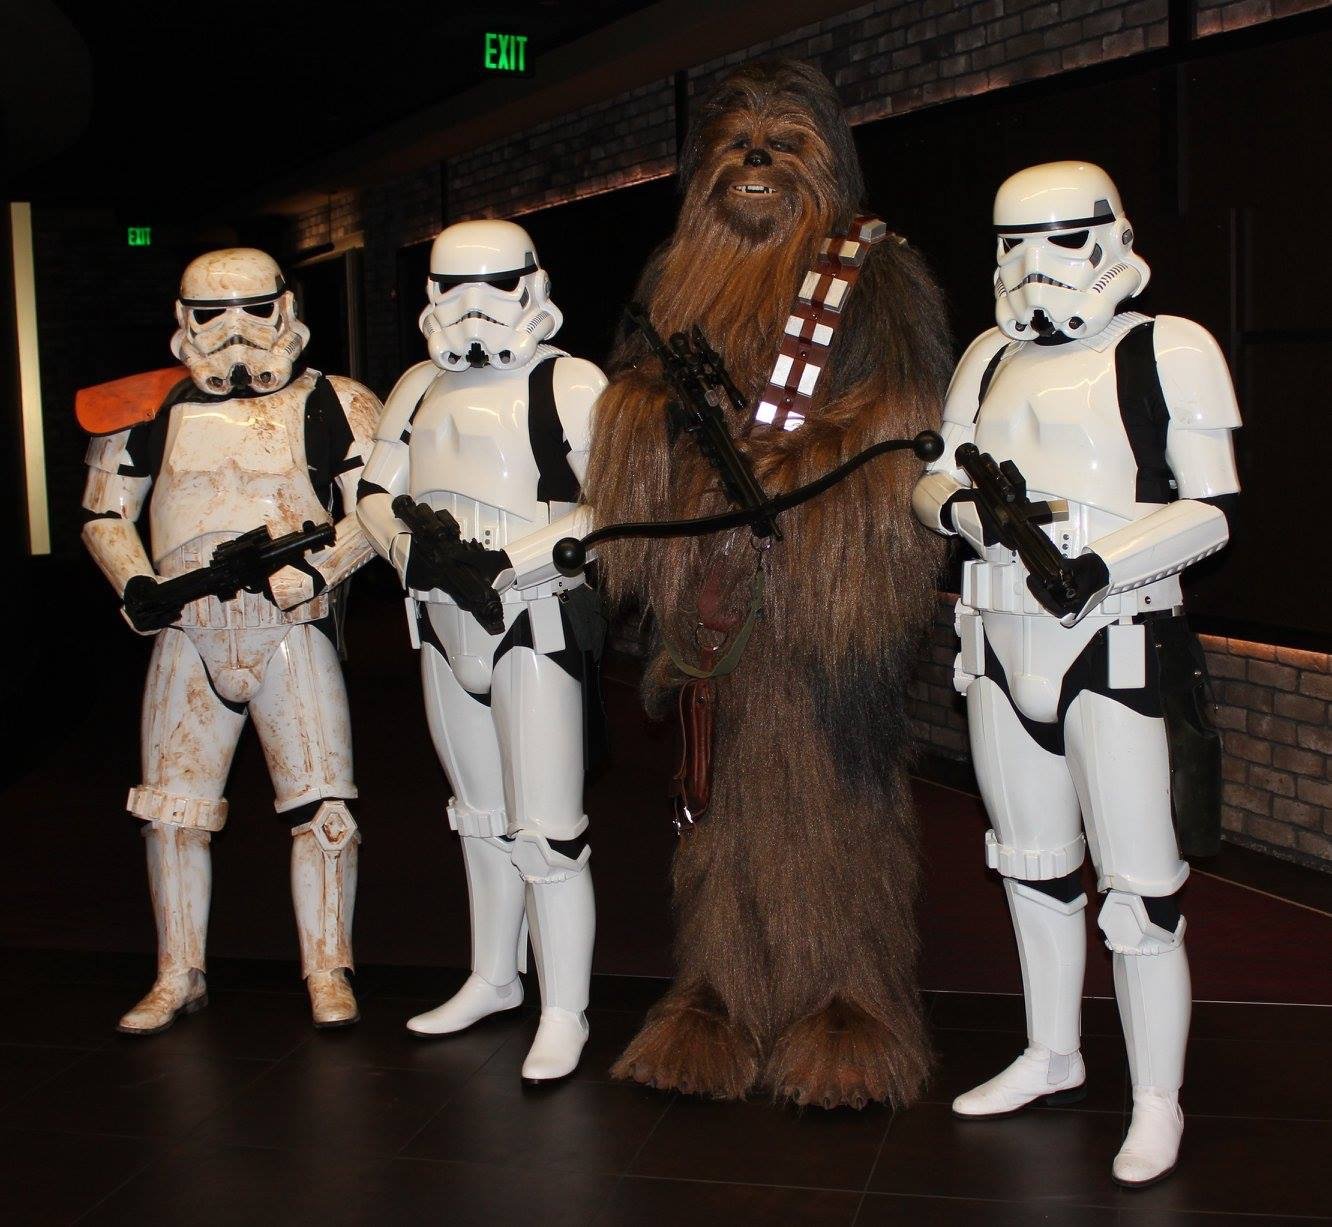
8. Sortie Groupe GEXXIA/Volkswagen, 11 June 2022, Chateauroux, France


Sent from my iPhone using Tapatalk