

Fry
-
Posts
7 -
Joined
-
Last visited
Content Type
Profiles
Forums
Gallery
Articles
Media Demo
Posts posted by Fry
-
-
Thanks. I kind of get what you are saying with the pencil. Not confident so will just continue to slowly sand it down and test, this time with tightening bolts just to be sure. Might take a while longer screwing and unscrewing nuts, but hey I have a 10 month wait still on armour... there is no rush
 <br><br>
I think I worded the 2nd question wrongly. Did not mean to actually move it down, but to sand it down.
-
 1
1
-
-
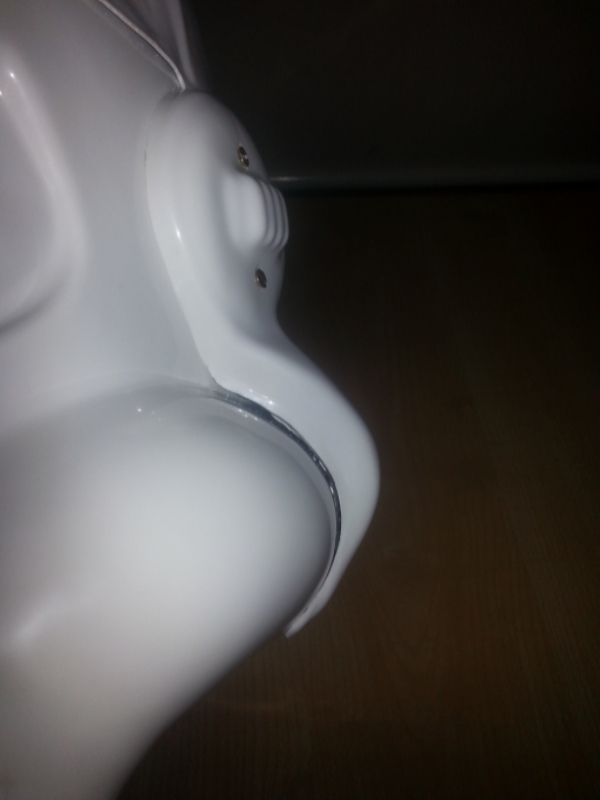
OK time for a little SOS. Not a huge problem (hopefully) and I probably know how to fix... but just wanted to check with the pros
Have tackled my first ear. Got it fairly close to how I wanted it. Just a bit of a gap in the front but it was pretty good. For the final adjustments I had drilled all the holes, and kept lining the ear up on the helmet with the screws inside.
Now im assuming it was how I was applying pressure on the helmet or something but once I put the screws on and tightened them up I get a larger gap in the front and a bit of a gap in the back.
So first question. When doing the ears do you just lightly place them on the helmet when testing? Rather than applying some kind of pressure? I was basically pressing in where the screws would be tightening from the inside.
Second question. How to fix it? Im guessing I need to take the whole top disk region down about 1mm or so and maybe a little from right off the bottom...
Last question. If I do that fix, it should still be large enough? How small is too small for the ears?
Anyways here are the pics.

-
Thanks for the replies again
Yes I am reading through heaps of build threads and how - to's. Progress has been a little slow the last few days. Wife is working over the weekend, but I've got the last week of school holidays off work so I am home with both boys. So I am doing more research and getting together my shopping list. The youngest goes to Daycare on Monday so I am going on a shopping mission tomorrow. But I have cleaned up the eyes and teeth, and cut the ears out ready to start sanding them down to shape.
A couple of things worth mentioning... while wife is working I've got heaps of jobs to do around the house...

Yes my Doopys arrived. Have been reading up all the build threads on it also, not really sure what I was going to do with it. Pretty sure I will order T-Jays finishing kit for it. But focusing on finishing the bucket first.
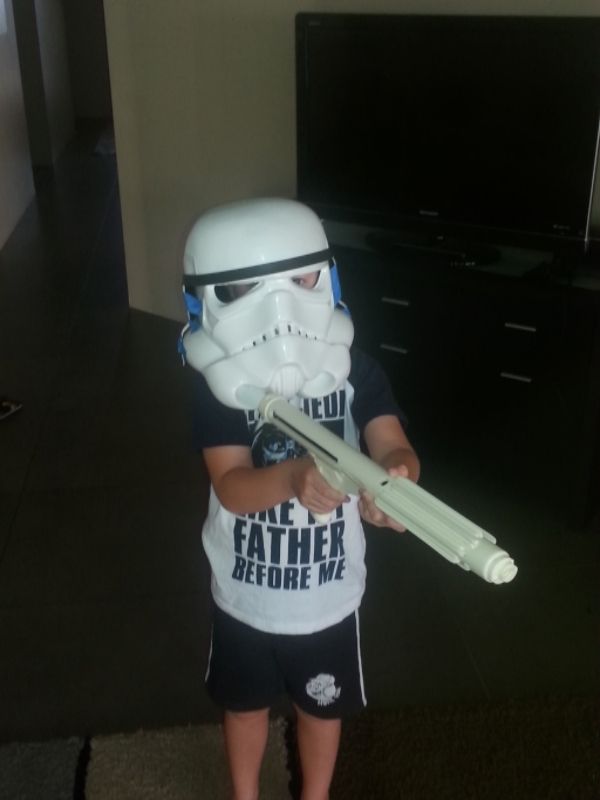
My eldest couldn't help himself and had to pew pew some lasers.
Now while getting my shopping list together I was going to grab some foam for lining the helmet. But remembered I had an old motorbike helmet that I had a crash with while wearing. Was a decent crash, I broke my collarbone and the helmet had a decent whack. So it really should have got destroyed, but I held onto it just incase. I think I will cut out the chin strap and use that on the bucket. But I can also use the lining from it.
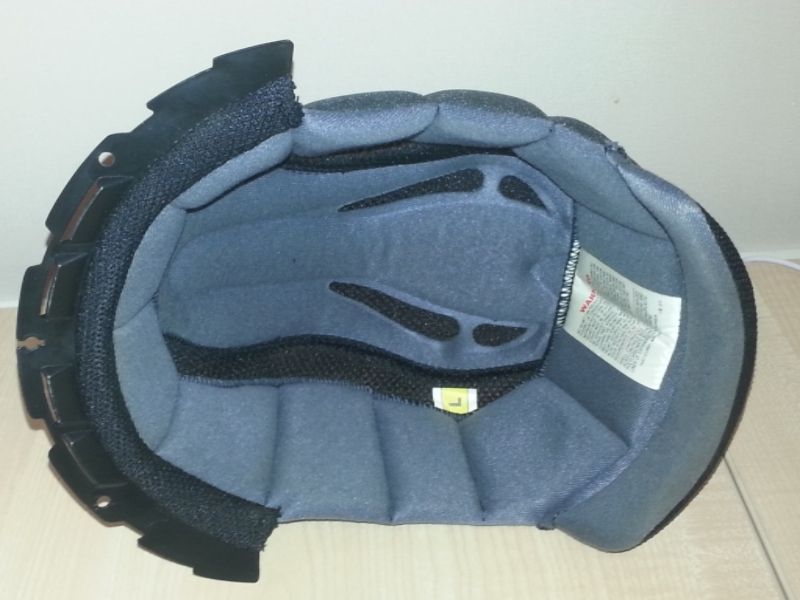
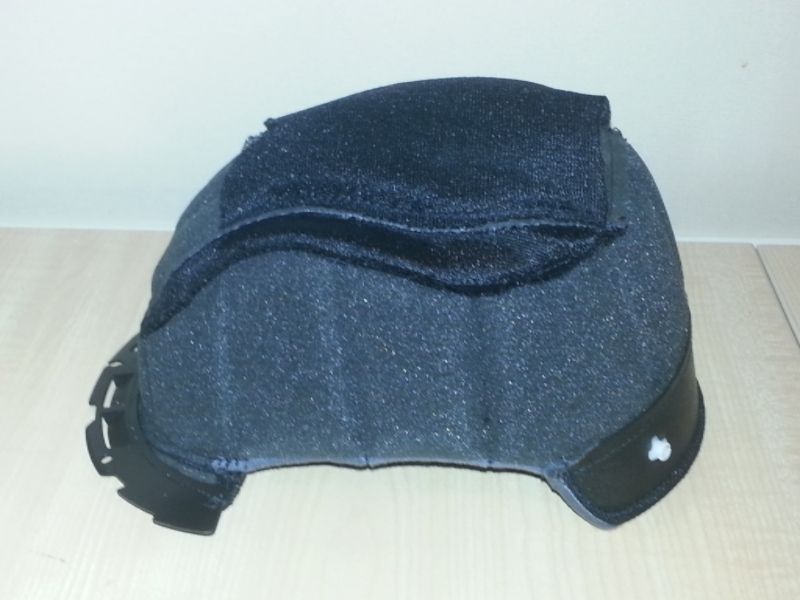
Just need to remove the plastic shield part that sticks out at the front. The white plastic clips at the back should be easy to remove, then I will attach some velcro on that back plastic part. Also on the top it has a black fabric mesh. Removing that will not affect its structure and will allow me to put a bit of velcro straight onto the foam part at the top. Also I think it could be used as the mesh covering for the teeth. There should be no reason why you can't use a fabric mesh for that?
-
Thanks for all the replies
Great start!, what paint are you using, automotive?
Not automotive, I just asked the guy at the hardware store for a flat black paint to use on plastic.
Good work! I have ATA as well and am very happy with it. Use the wait time to save and gather together your soft parts. Where in Australia are you?
I am in Perth. Definately will use the wait time to gather everything. Will try and source as much from in Australia as possible. Shipping from overseas is a killer, basically doubles the price of anything

So on to todays effort. My two boys are as excited putting this together as me I think. The youngest (3yo) is getting angry as "he wants to build it" and will run off with the helmet at any chance he gets.
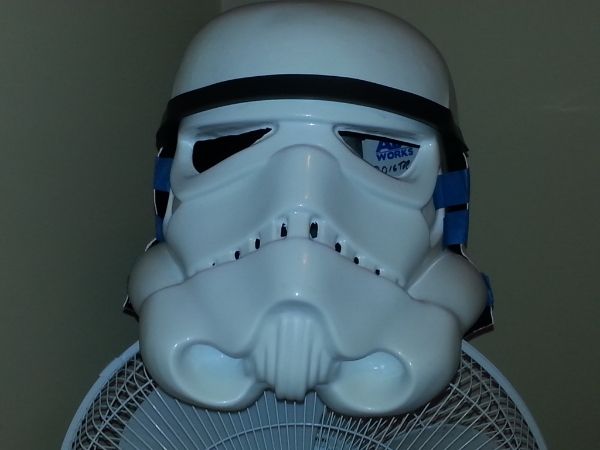
Trimmed the sides first, then started on the eyes. Scary cutting the eyes out! I scored the plastic a few times with a knife then cut through. My first eye was not so great as you can see from the picture, but the 2nd eye I think was better. Thats the left one with the ATA logo peeking through (I had masked that before painting the inside). So improving my skills already...
Got out the rotary tool and sanded down the teeth from the inside. Cut the brow trim to size. Then I could not help myself and had to tape it up and try it on.
My boys are going to go mad in the morning when I show them
Tomorrow I will just start to tidy up the eyes and teeth. I am guessing the eyes need to get sanded down until there is no more 90degree edge to them?
-
Well I have been reading up on this forum a lot recently and took the plunge to order in an ATA TK kit.
Its currently an 11 month wait on the armour
But helmets were ready to go. Seeing as the shipping costs to Australia for a helmet by itself then armour once available was almost the same as the whole thing I decided to grab the helmet kit so at least I had something to keep me occupied for the next 11 months.... lets hope I can nail the helmet before then hey! If I manage that I also have ordered a DoopyDoos E-11 kit. So have a few things to keep me busy.Anyway the Not As Big As I Would Have Liked Box arrived just before the weekend. I was busy this weekend so sat it aside until today.

Masked it up and spray painted the inside black.
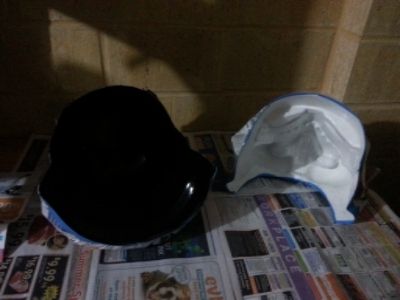
Nothing exciting really, but was exciting to me just start on the thing!
-
Just had an email from them then. In stock now and I ordered one!<br><br>
*edit* Had another look after buying and it says only 5 left in stock.


Fry's ATA build
in Build Threads Requireing Maintenance
Posted
I had checked some other armour vendors, price for ATA was a big factor. Im not going to be able to buy armour, boots, undersuit, blaster ect all at once. Australian dollar is not as good vs US as it was a couple of years ago and shipping costs here kinda suck too. So basically spreading the costs of everything over a year by buying things here and there while I wait is best for me. Got the helmet and doopys to keep me occupied for a while anyway